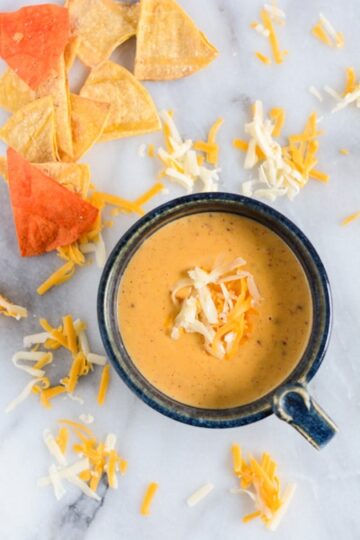

From now on this recipe for Chica's Queso is what you can call my "house" queso. Here in Texas almost every household has their recipe for queso or cheese dip. It may be the typical recipe found on the Velveeta box or the Rotel can, but for me, that just doesn't cut it. I normally try to stay away from any processed foods such as Velveeta, hence my love for organic foods, but if you want a super creamy, velvety queso, you really need at least a little bit of Velveeta. With a mix of Monterey Jack cheese, cheddar cheese and Velveeta you get the best flavor and consistency for queso.

Chica's Queso Tips:
- You can make this ahead of time on the stove top and keep it warm in a slow cooker for easy serving or transport.
- If using a slow cooker to keep the queso warm, be sure to keep an eye on it and stir occasionally.

For more awesome recipes from The Cake Chica be sure to follow on social media: Facebook, Instagram and Pinterest.
You May Also Like:
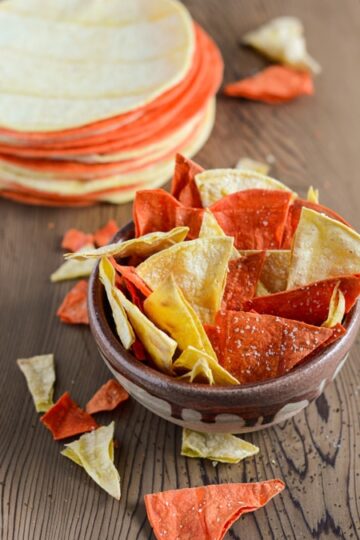
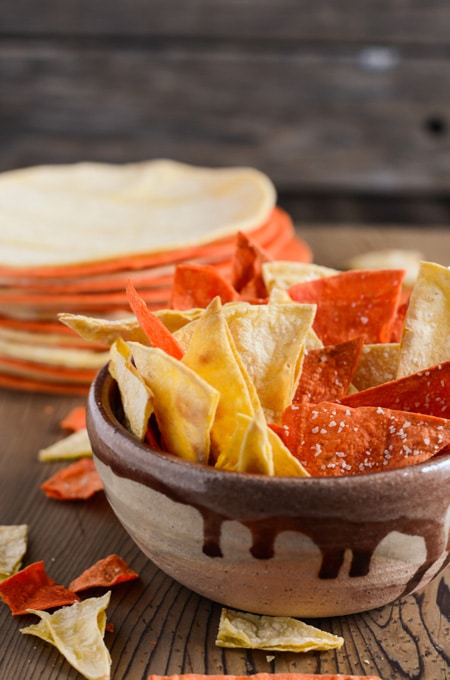
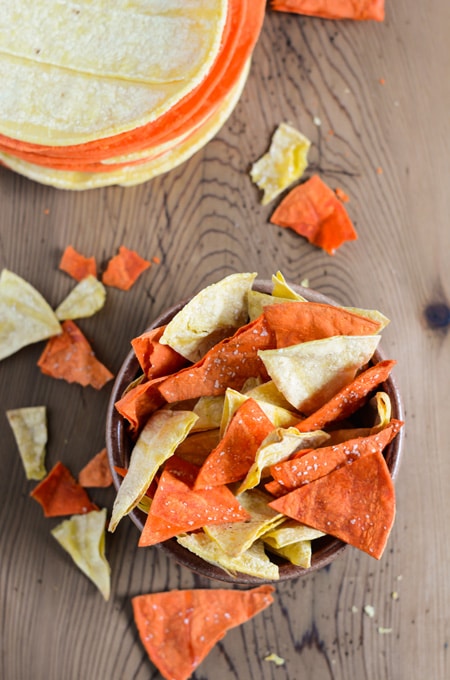
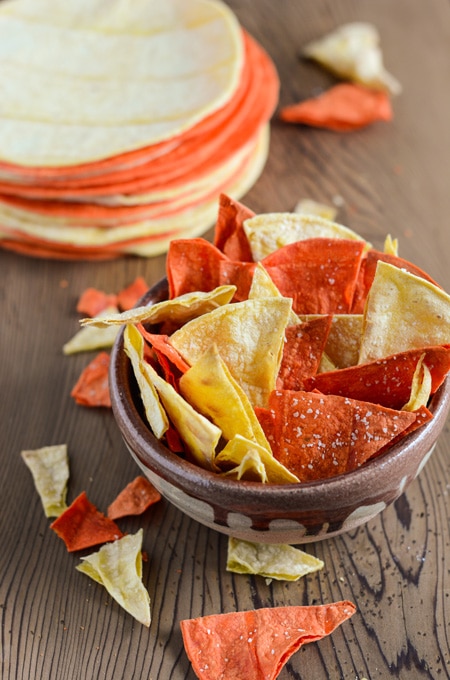
Baked Tortilla Chips
Game Day Guacamole
Adapted from Buenos Nachos by Gina Hamadey
...


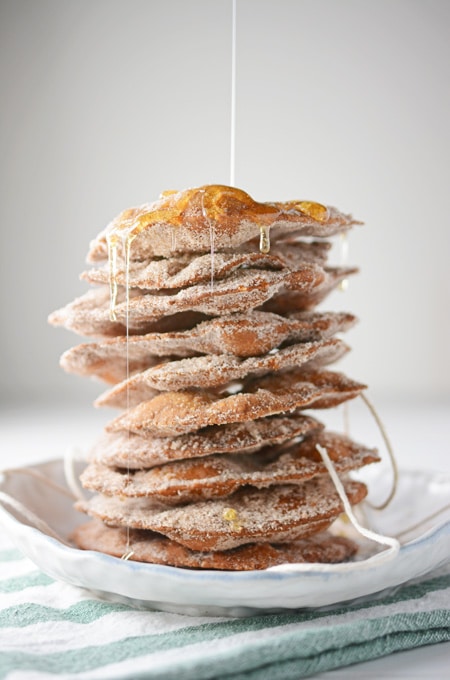


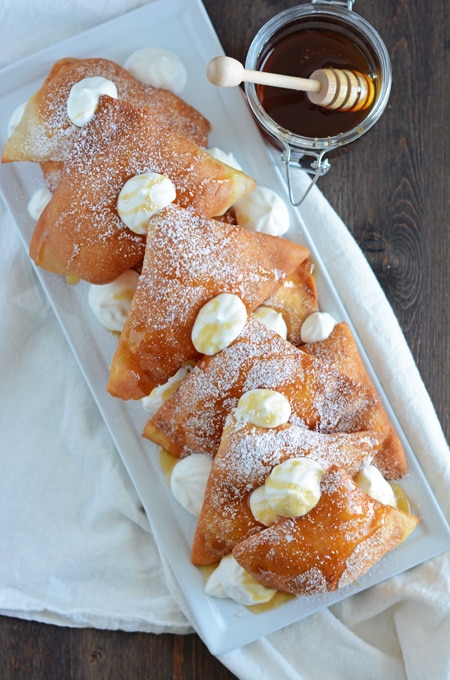

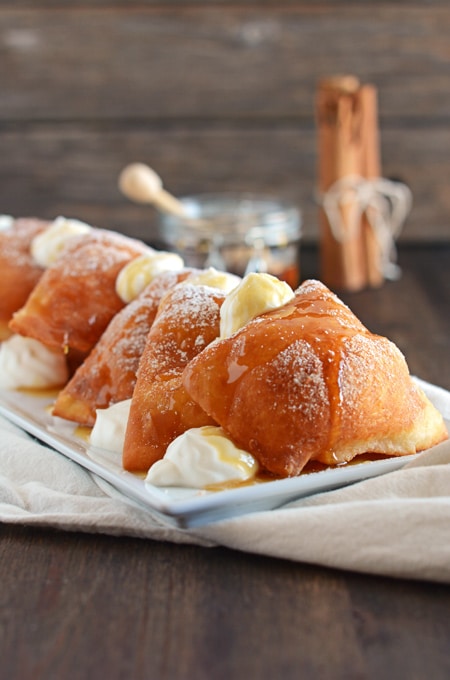
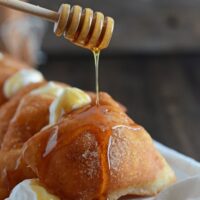
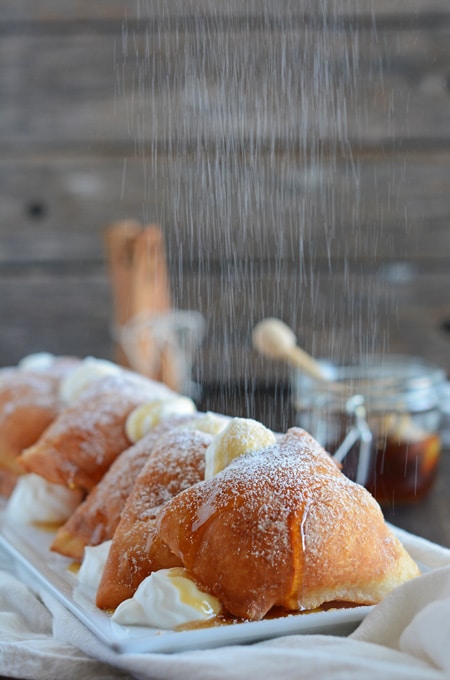 Frying Sopaipillas is not difficult. Just be sure you are frying safely with a fry thermometer, and you are always watching your oil temperature. Do not leave the kitchen for any reason. Frying needs your full attention. To make things even easier I have outlined a few tips that might help you with making these beautiful little pillows of sweetness.