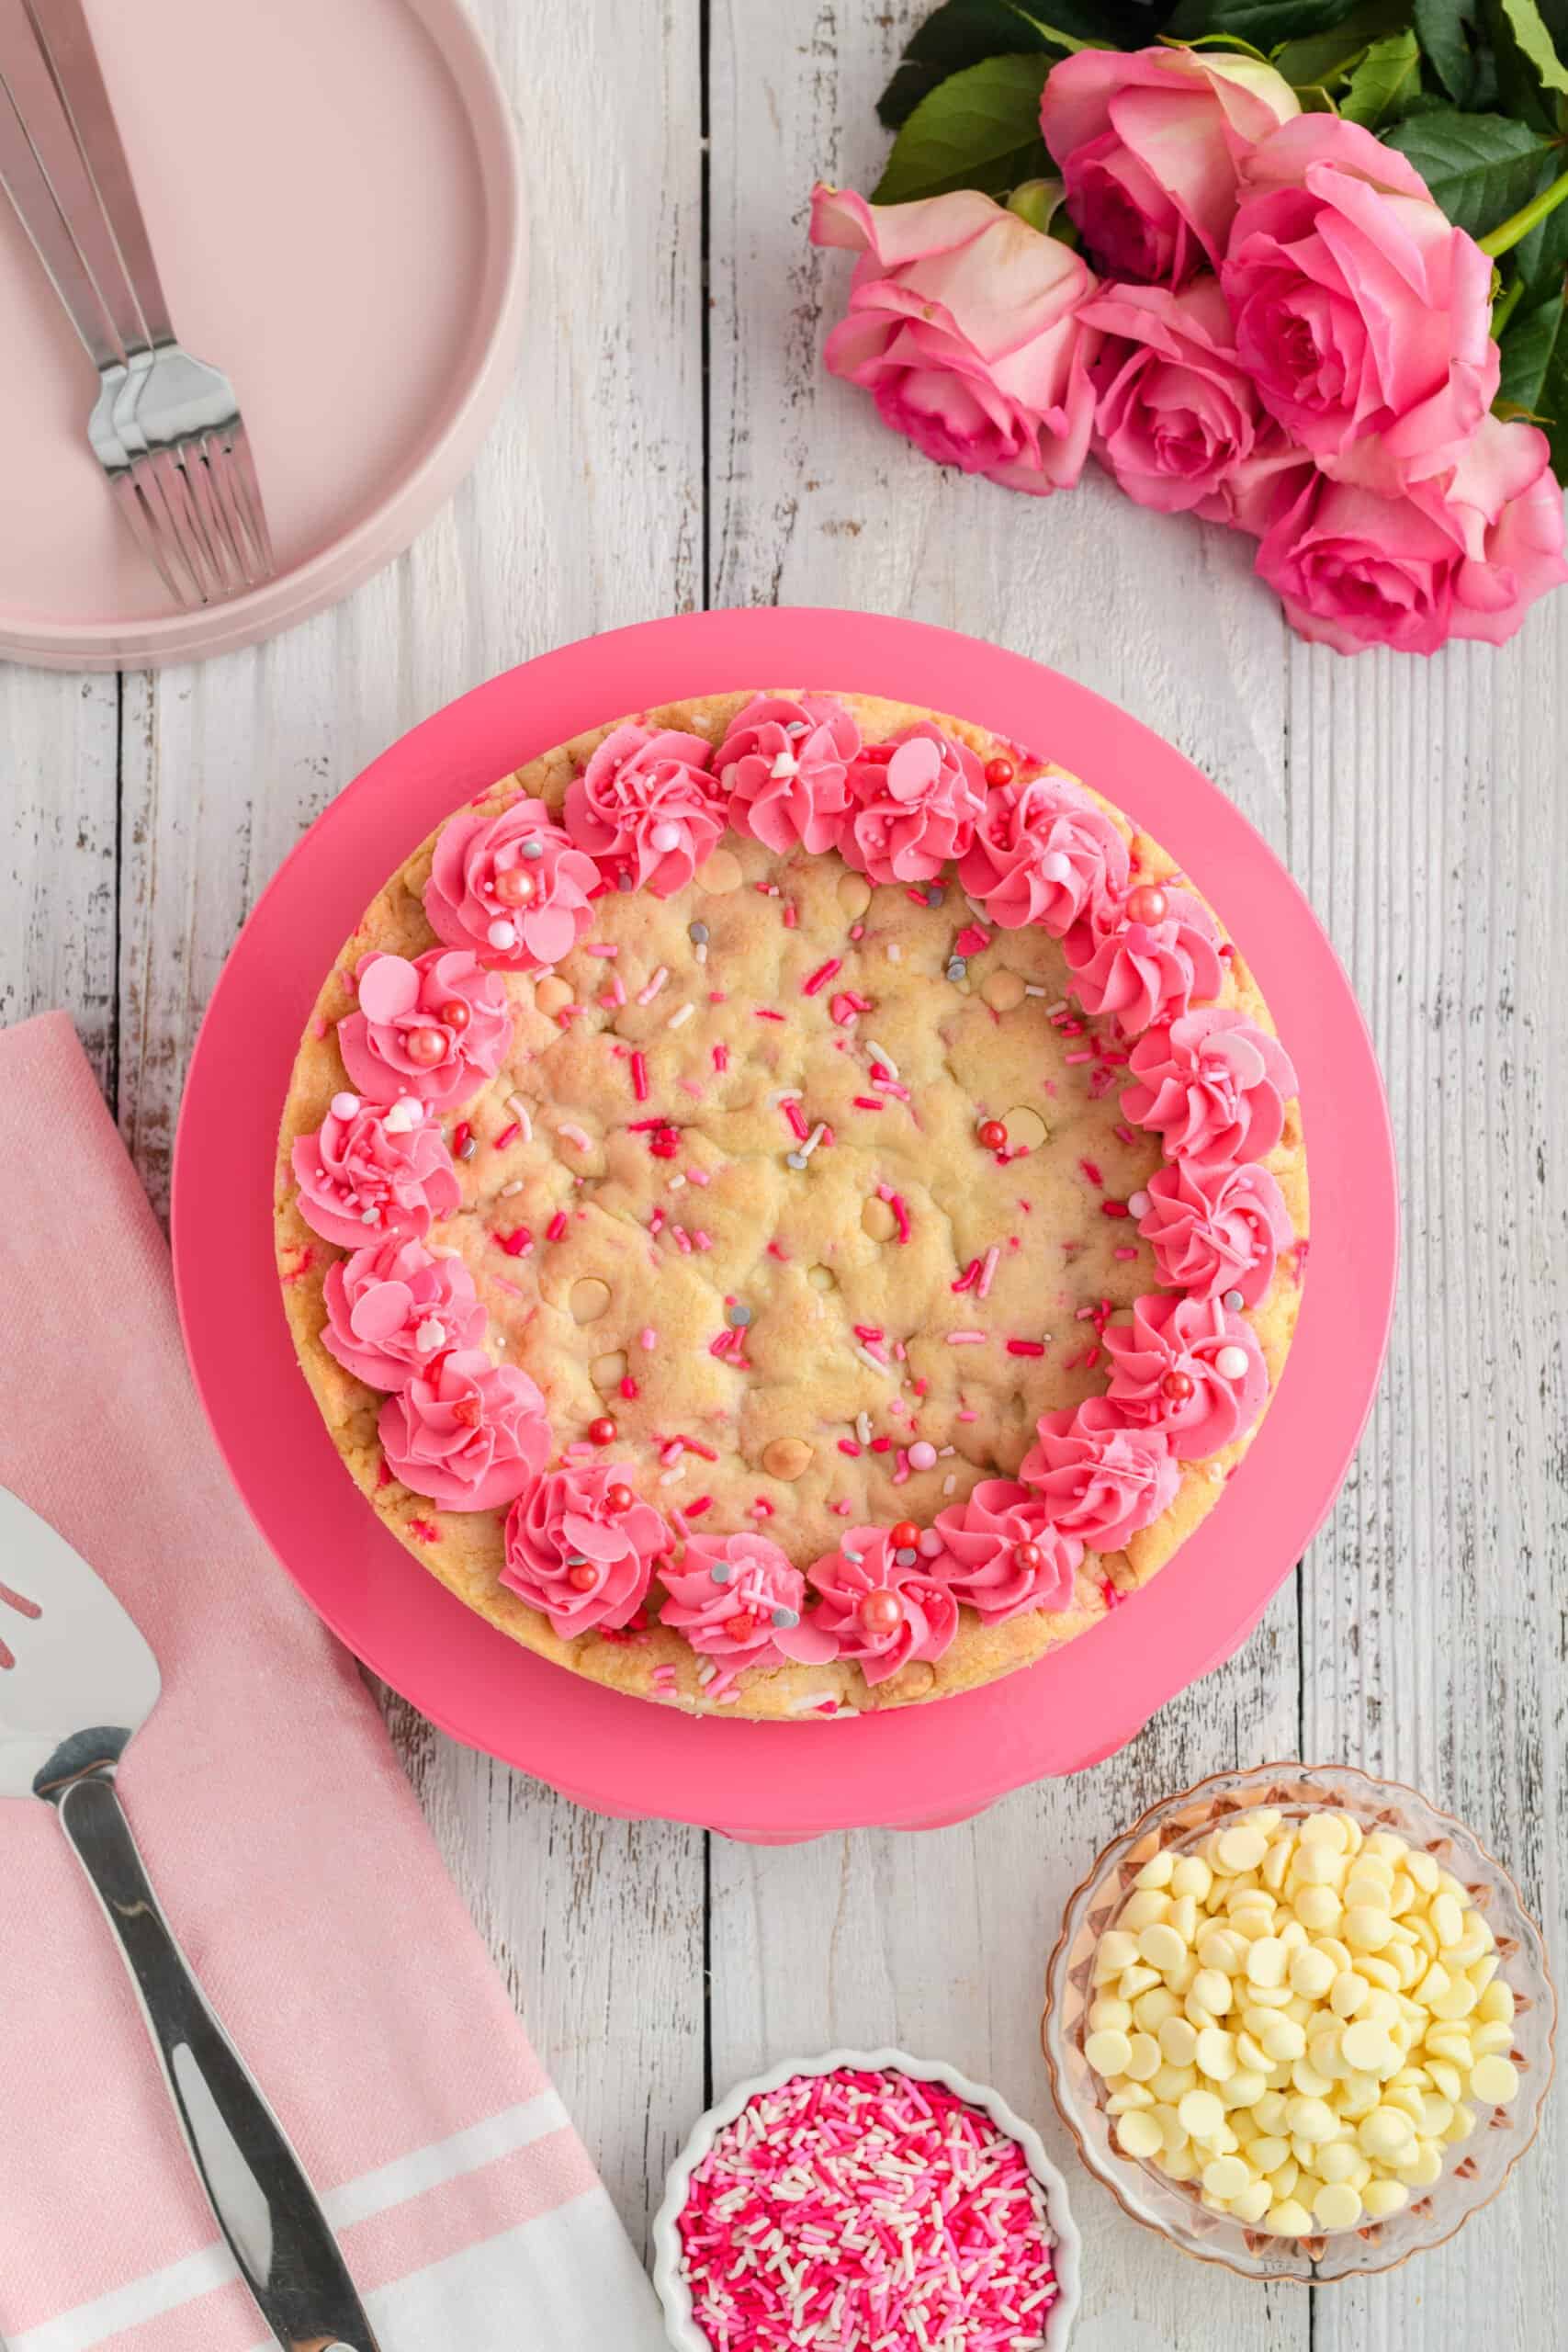
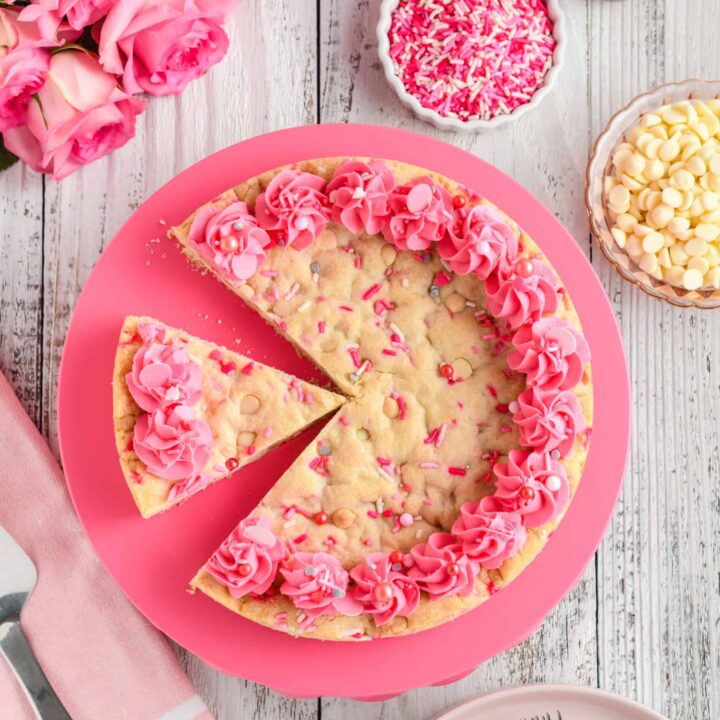
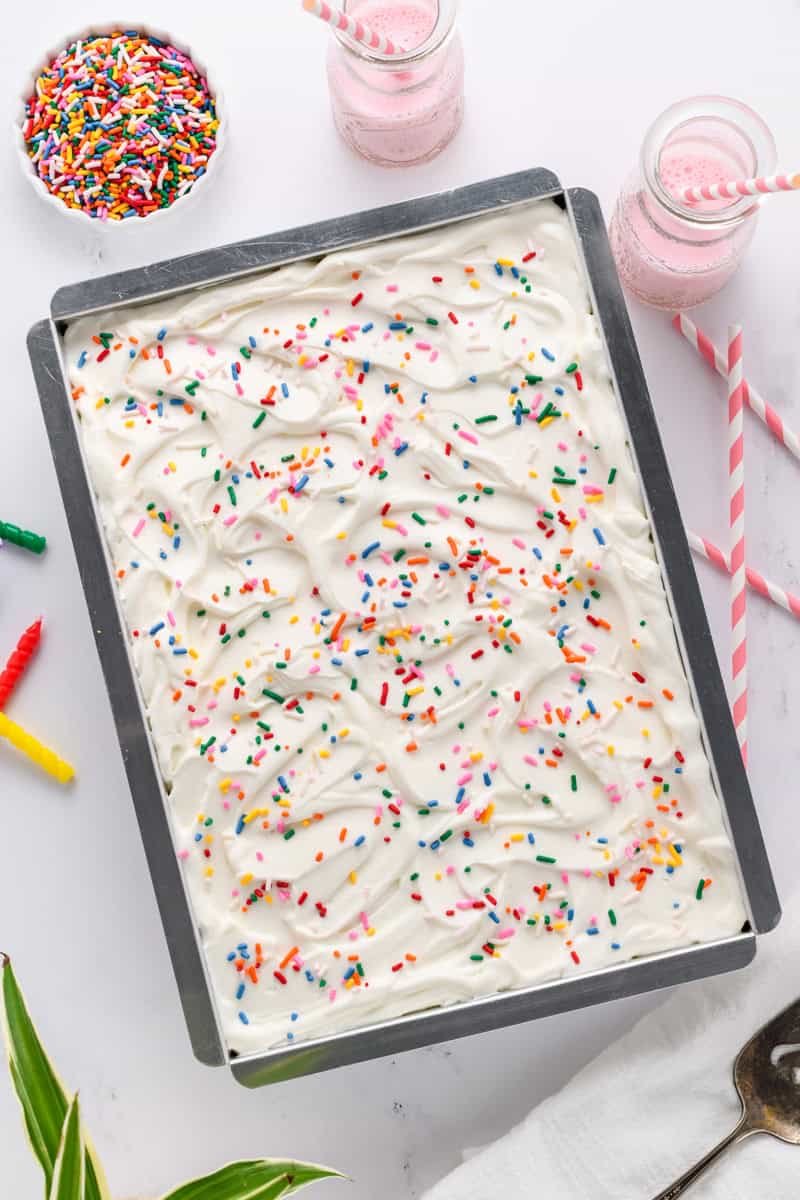
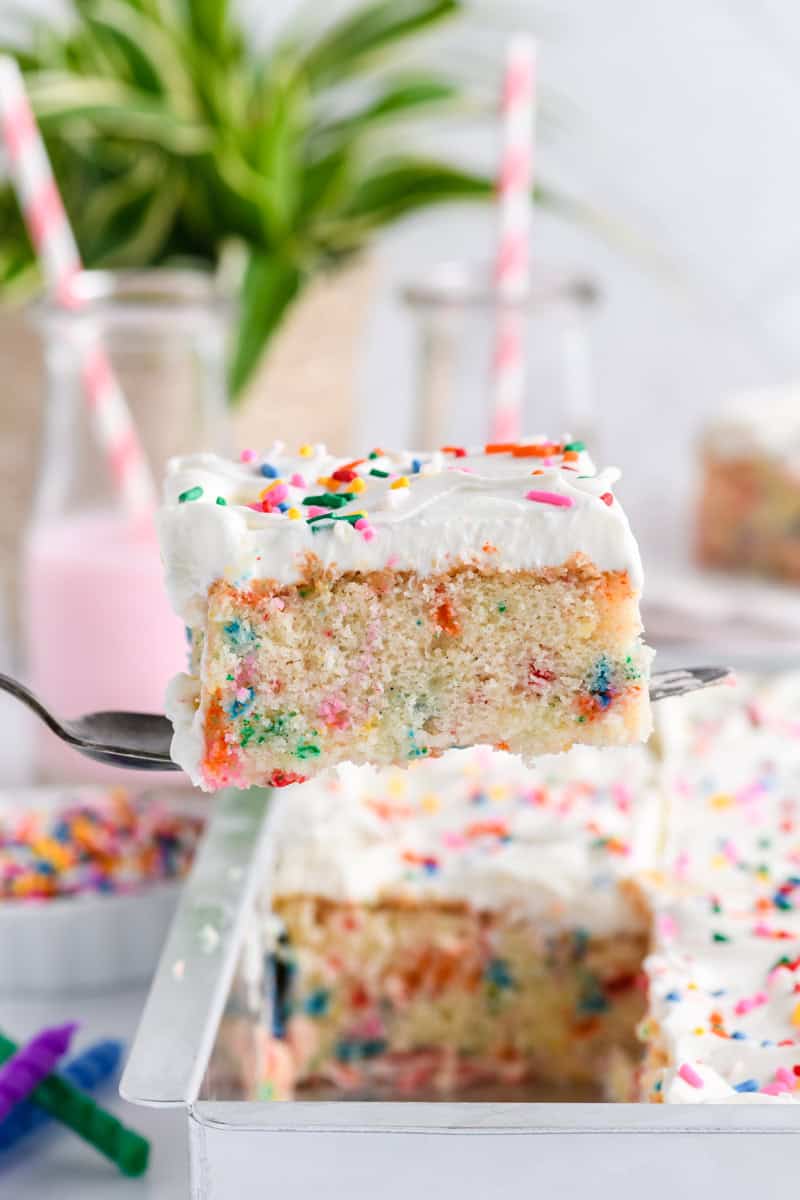
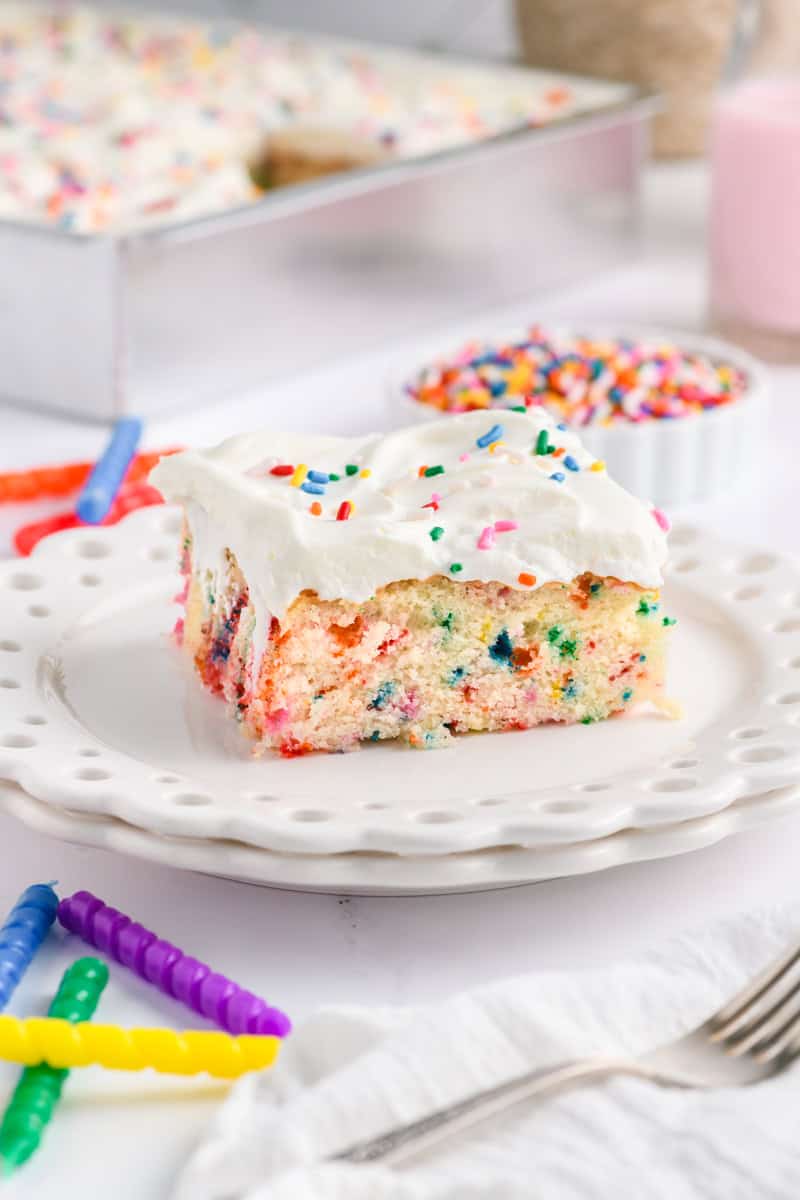
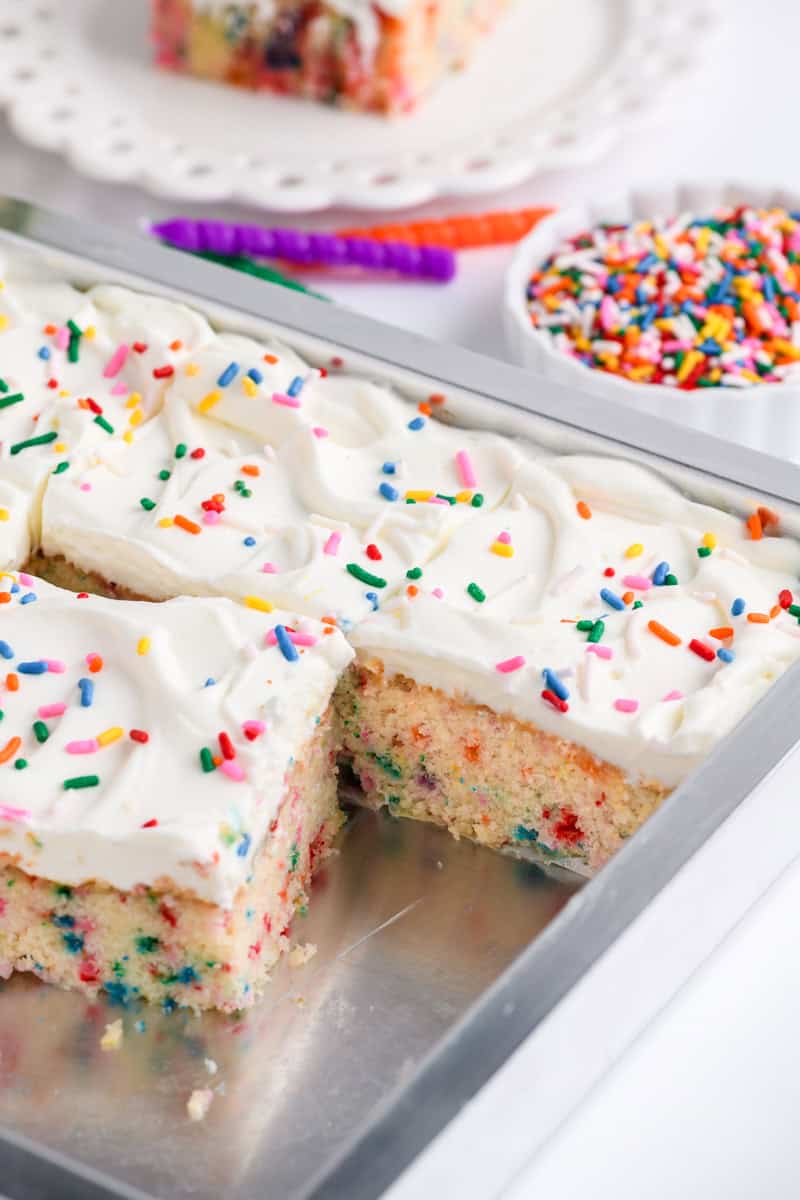
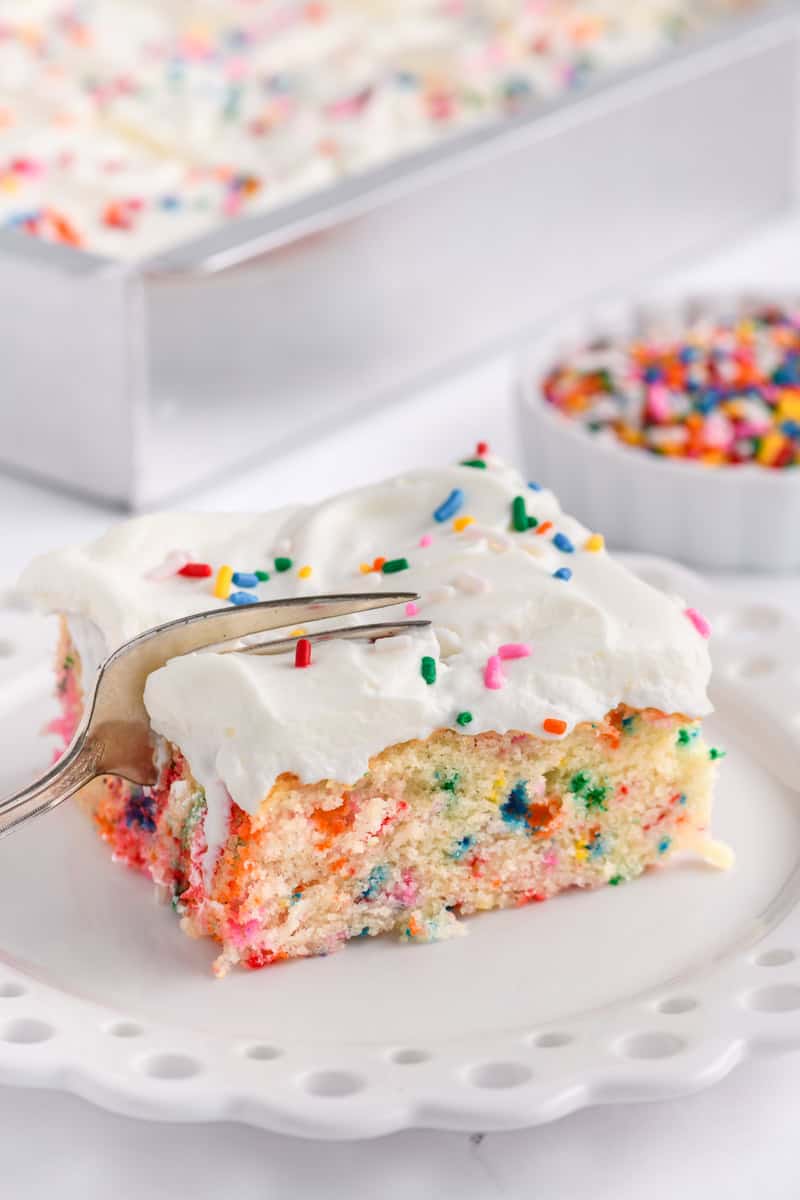
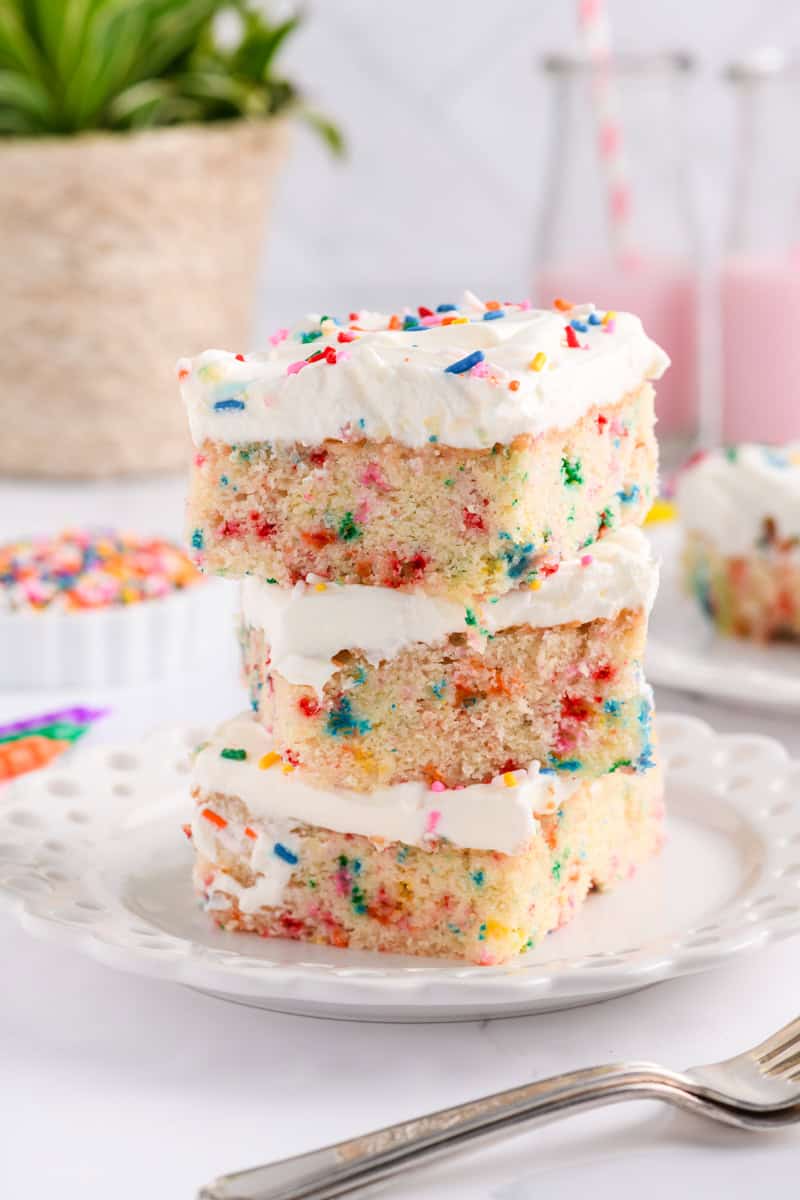
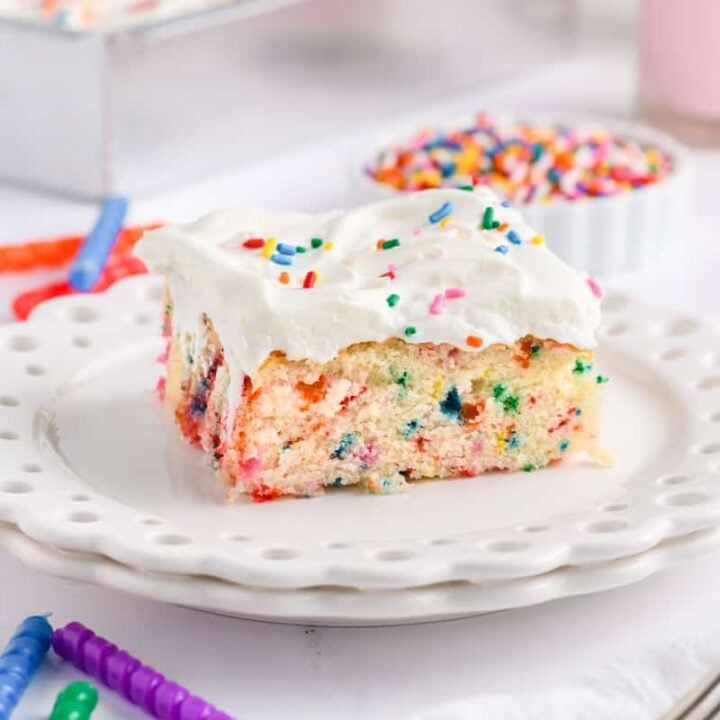
Funfetti Sheet Cake
If you’re looking for the ultimate homemade birthday cake, this Funfetti Sheet Cake is it! This soft and fluffy vanilla sheet cake is packed with colorful rainbow sprinkles and topped with a light and creamy stabilized whipped cream frosting. Every bite is nostalgic, cheerful and perfect for birthdays, celebrations or anytime you’re craving a classic bakery-style Funfetti cake.
Unlike boxed cake mixes, this made-from-scratch Funfetti cake has a tender buttery crumb and rich vanilla flavor thanks to the combination of clear vanilla extract and Princess emulsion. The whipped cream frosting keeps the cake light, creamy and not overly sweet, making it perfect for both kids and adults.
And the best part? This easy 13x9-inch sheet cake comes together in one pan, making it ideal for parties, potlucks and casual celebrations.
[feast_advanced_jump_to]
Why You’ll Love This Recipe
- Soft and fluffy scratch-made vanilla cake
- Filled with colorful rainbow sprinkles
- Easy 13x9-inch sheet cake format
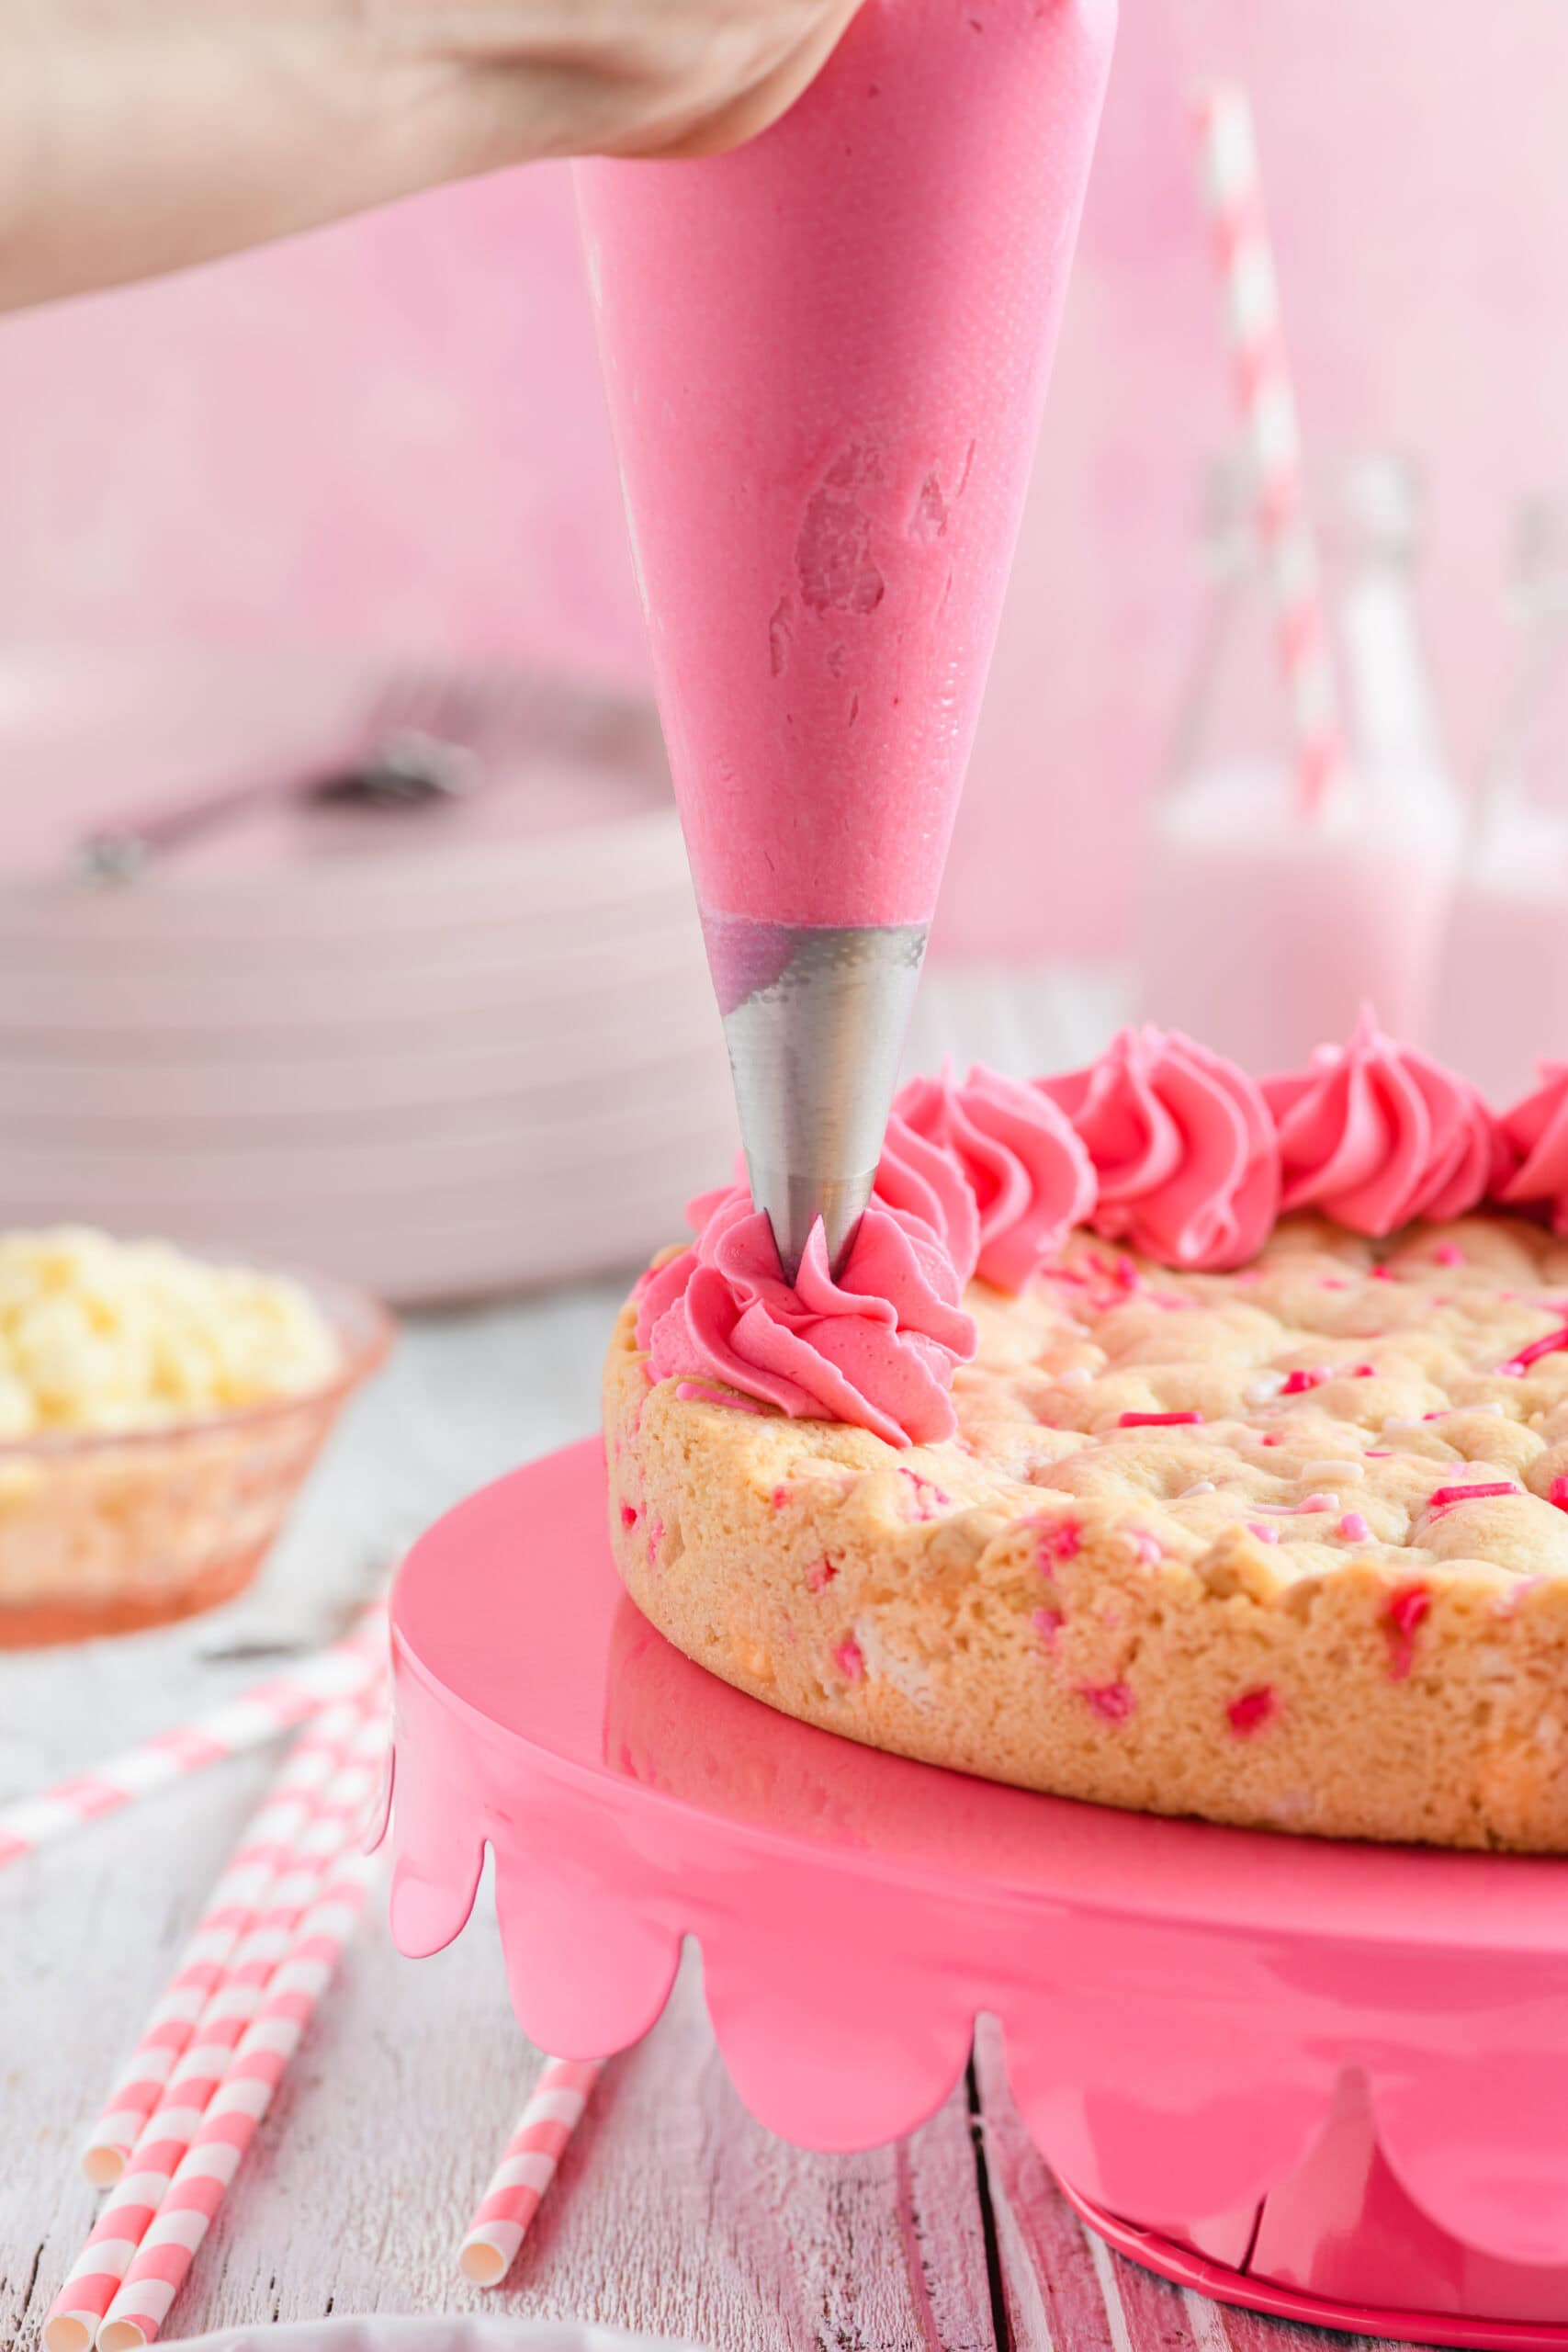
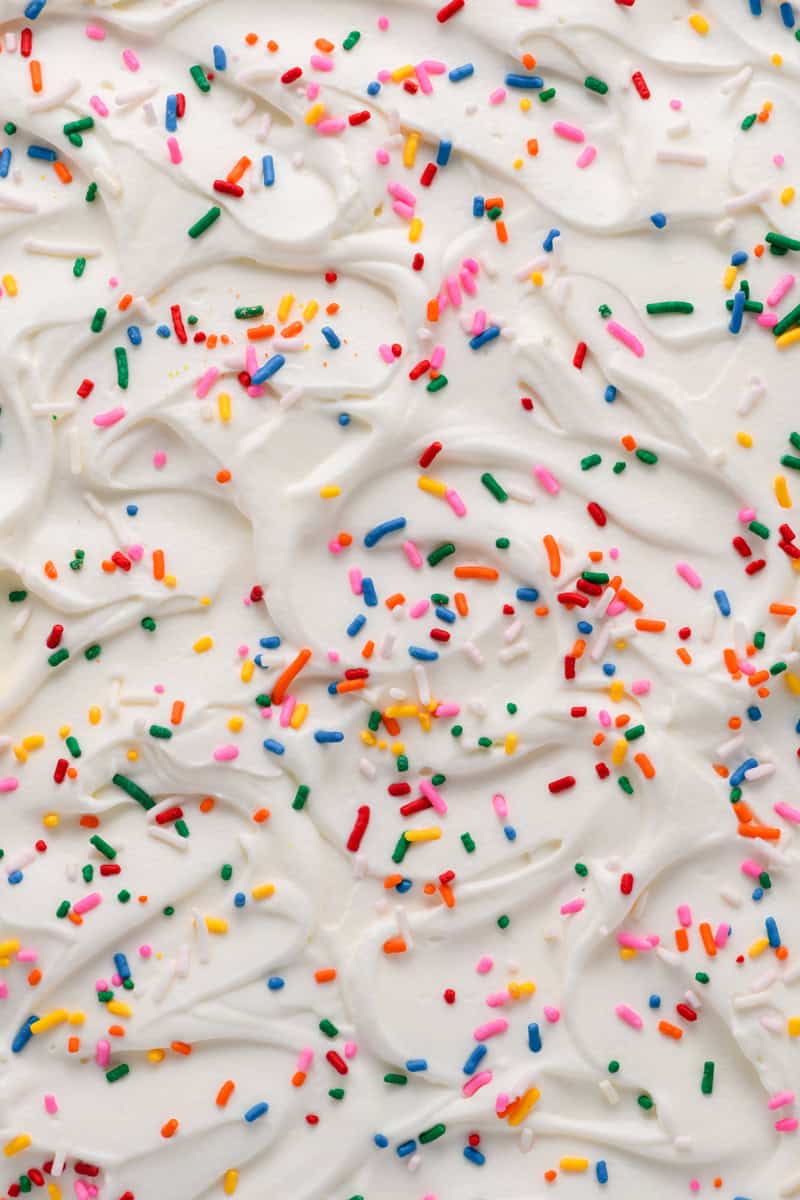
- Stabilized whipped cream frosting that holds beautifully
- Perfect for birthdays and celebrations
- Lighter and less sweet than traditional buttercream cakes
- Great make-ahead dessert option
What Is Funfetti Cake?
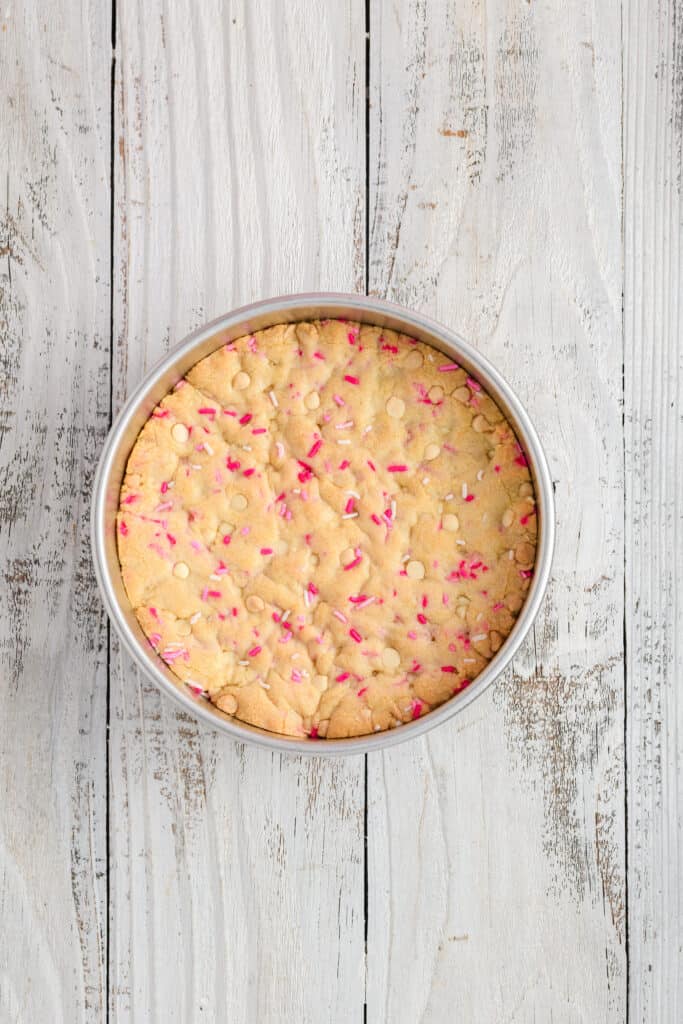
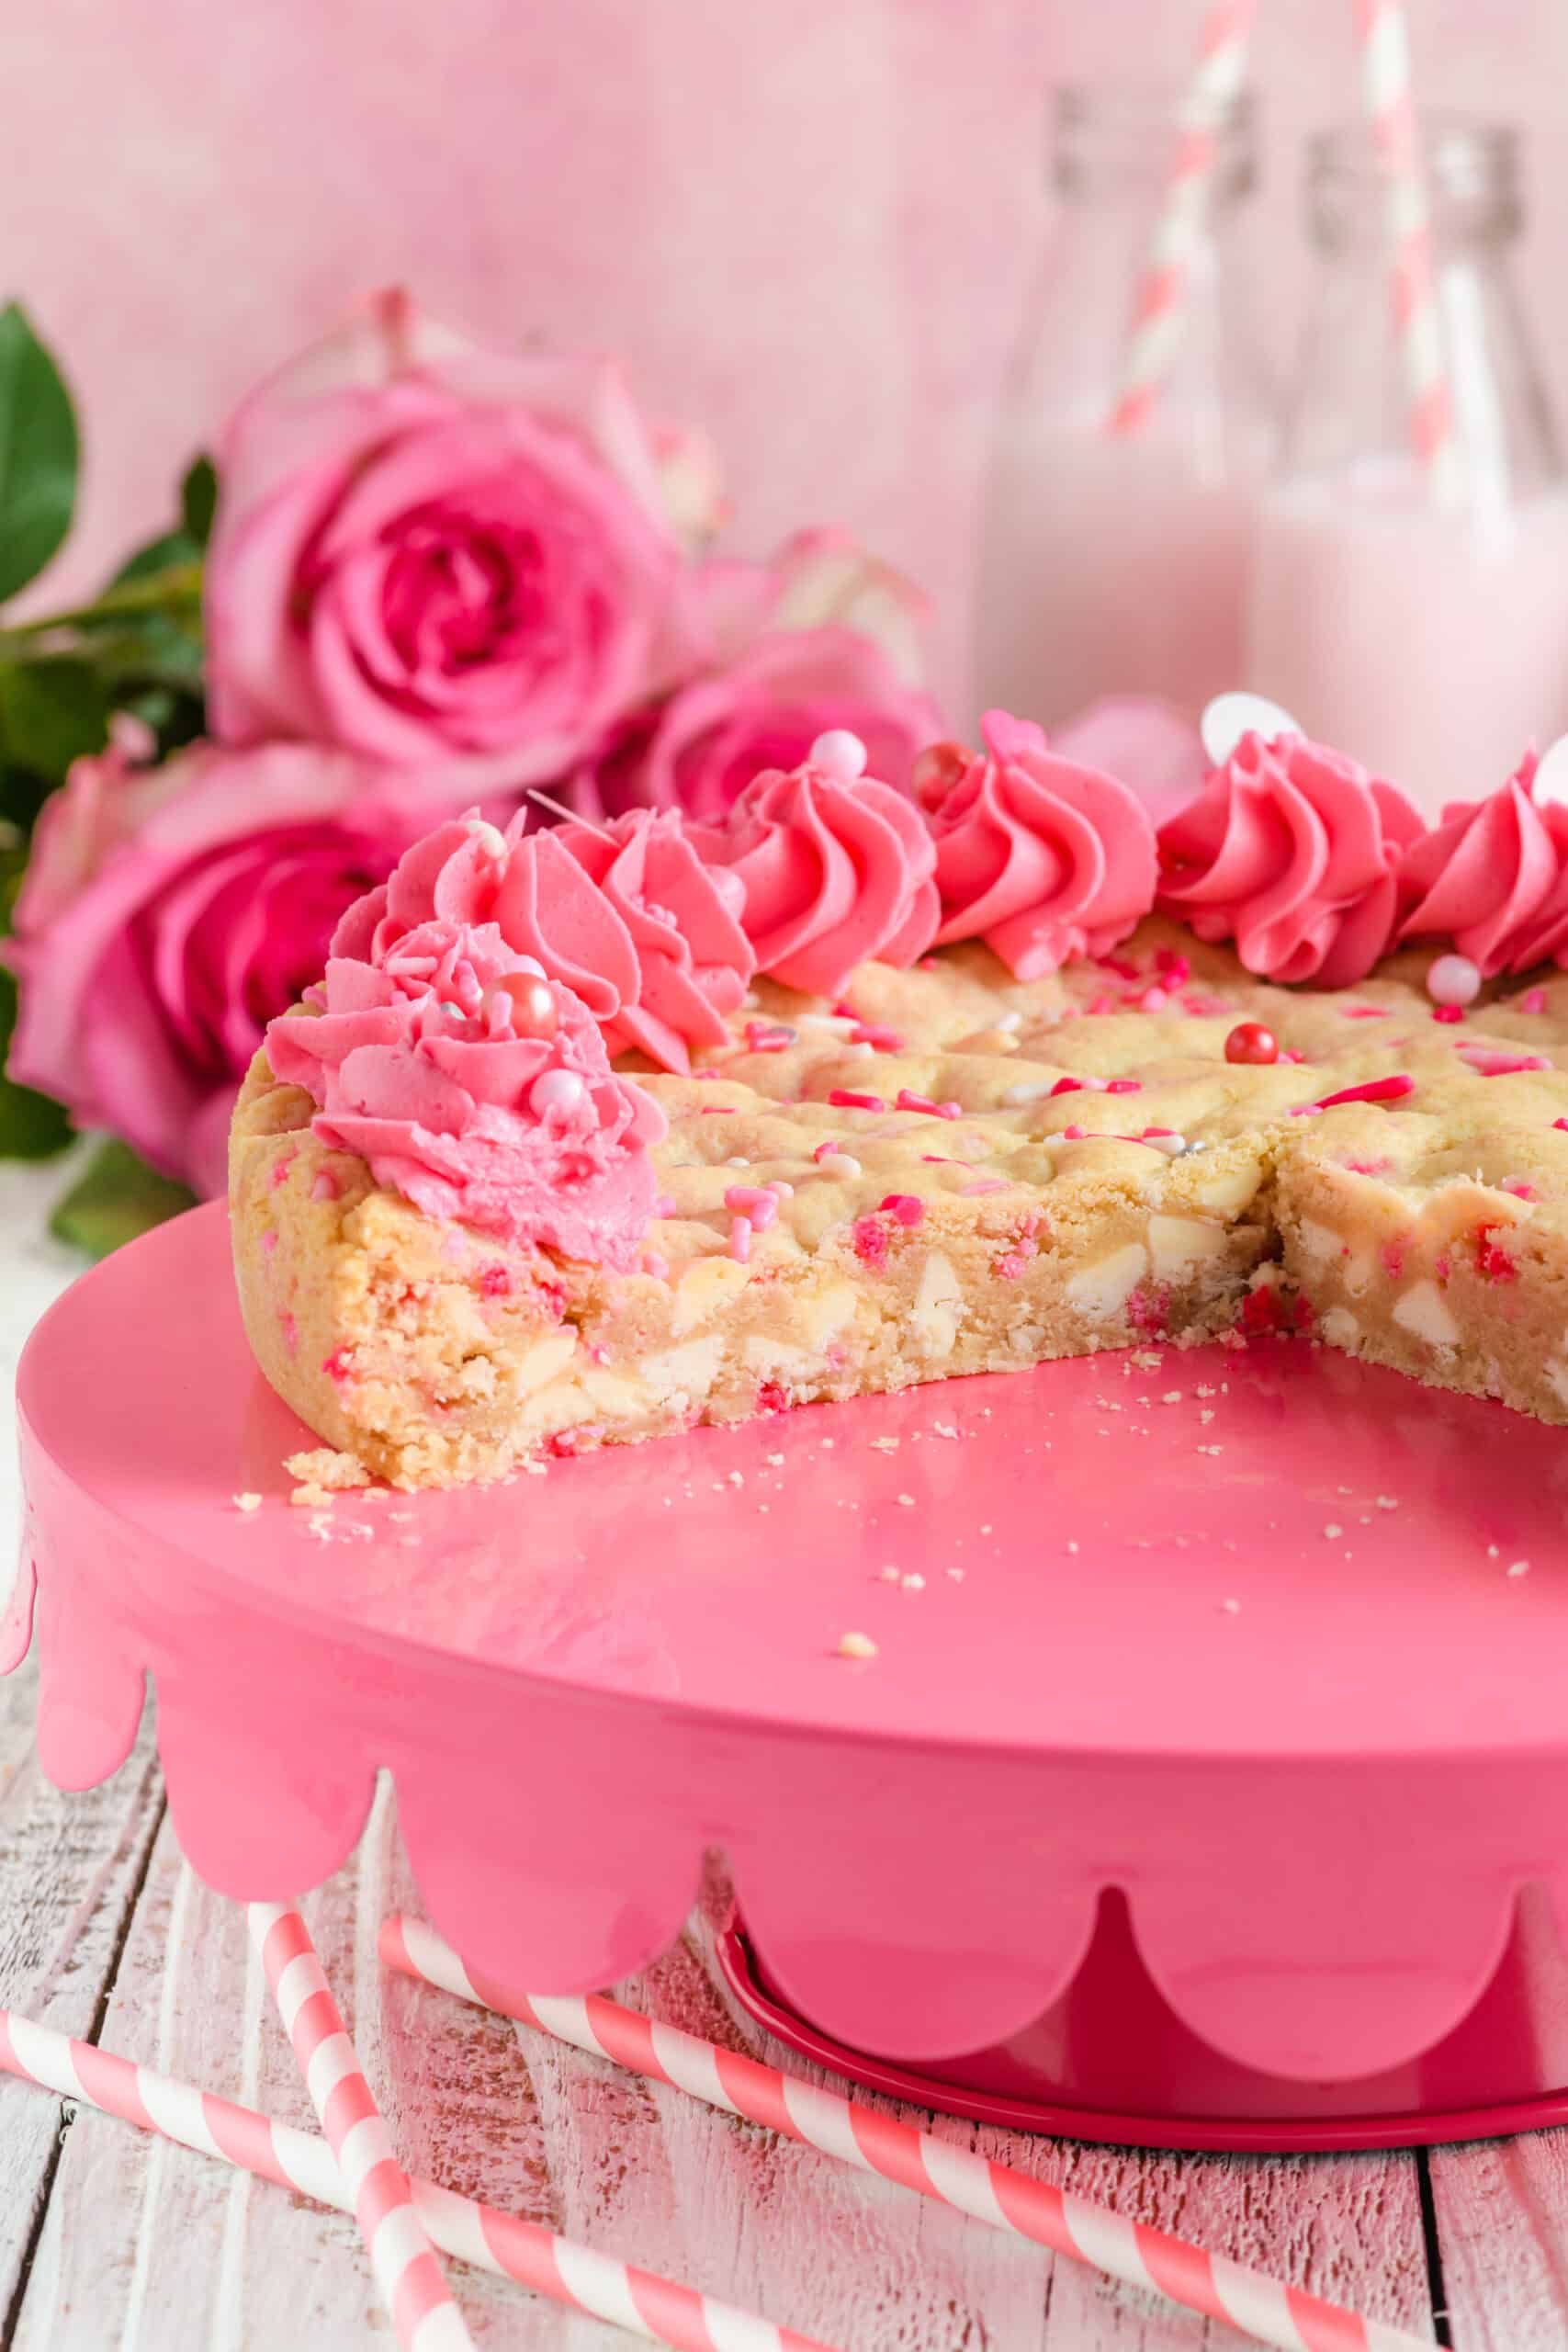
Funfetti cake is a vanilla cake filled with colorful rainbow sprinkles baked directly into the batter. The sprinkles melt slightly while baking, creating the signature colorful confetti appearance throughout the cake.
While classic Funfetti cakes are often made with boxed cake mix, this homemade version has a richer flavor and softer texture while still delivering that nostalgic birthday cake flavor everyone loves..
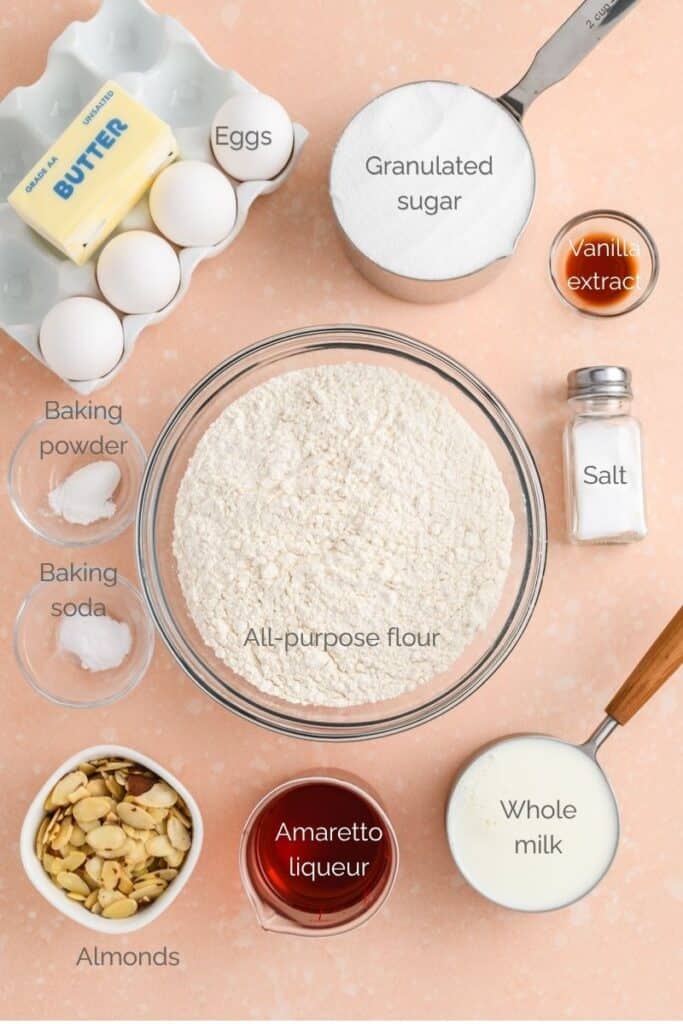
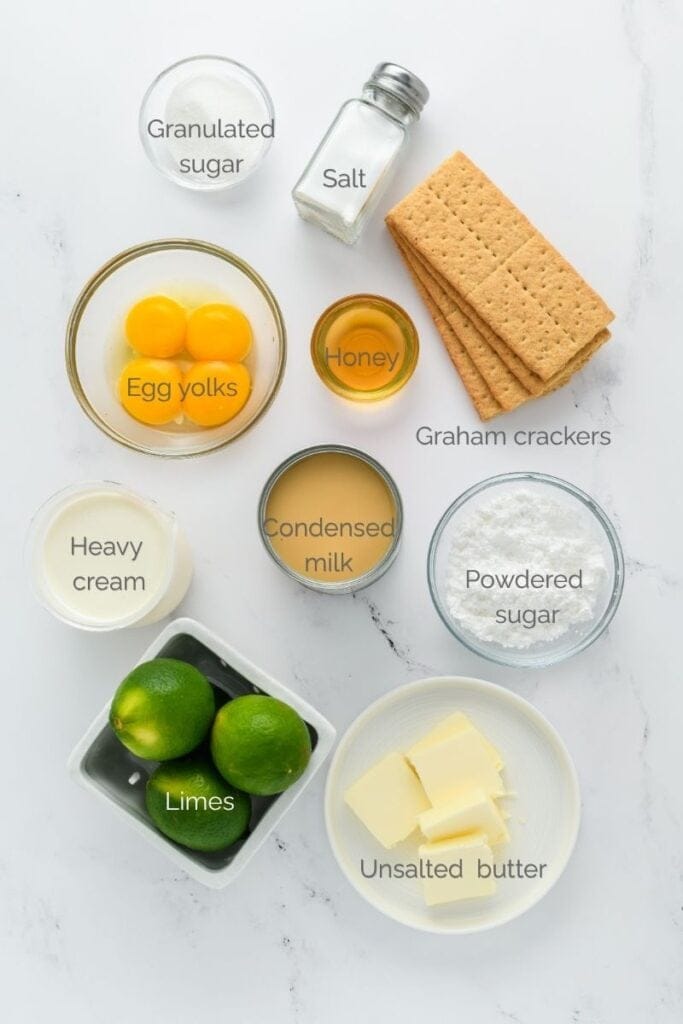
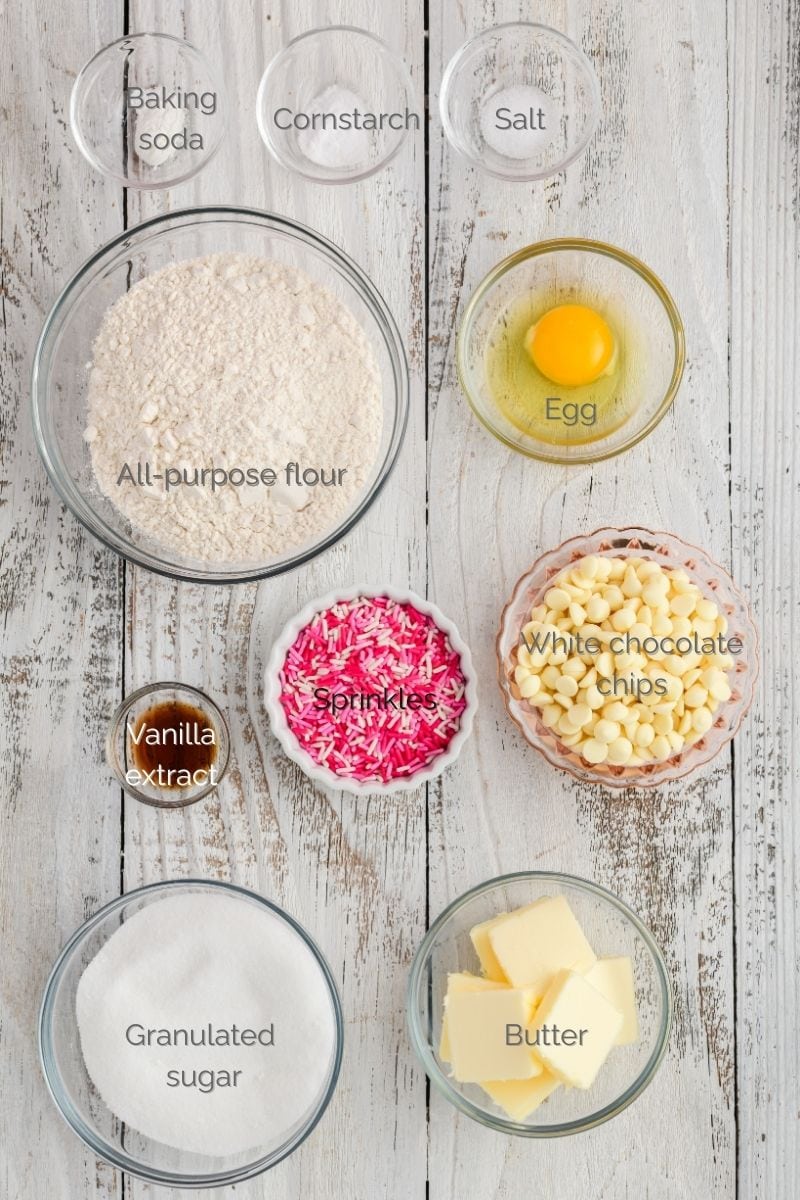
Ingredients You’ll Need
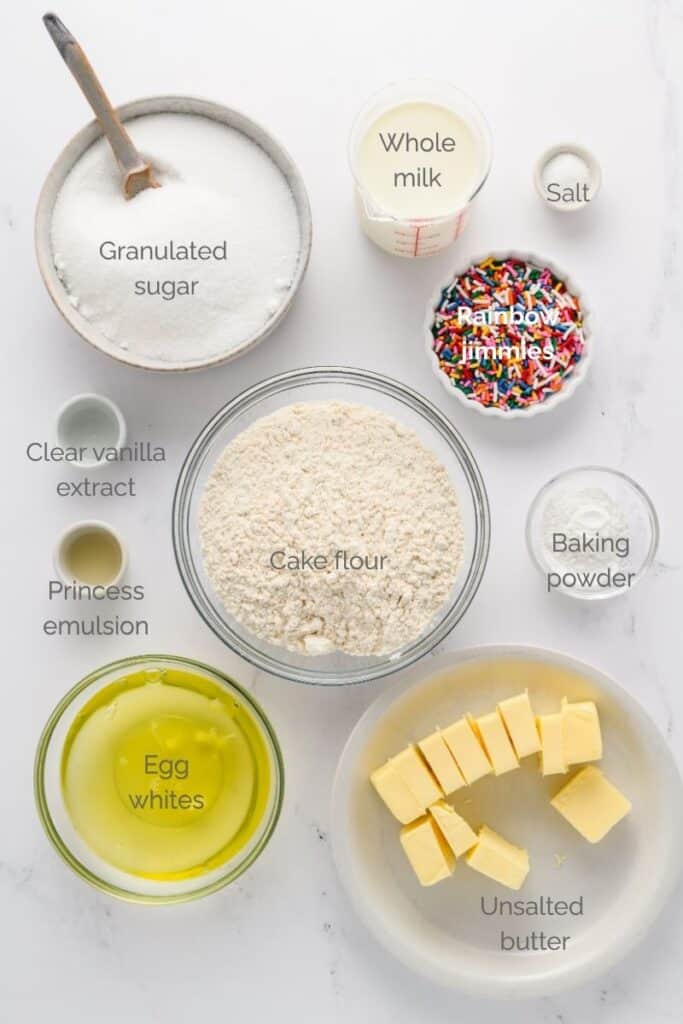
For the Funfetti Sheet Cake
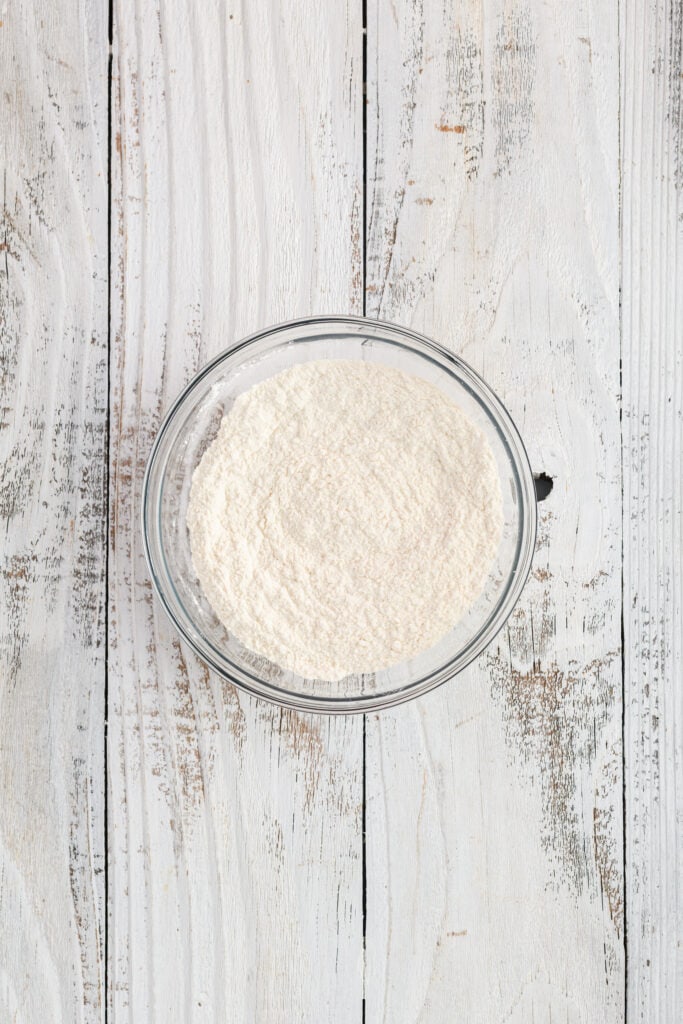
- Cake flour
- Granulated sugar
- Baking powder
- Salt
- Unsalted butter
- Whole milk
- Egg whites
- Clear vanilla extract
- Princess emulsion
- Rainbow jimmies sprinkles
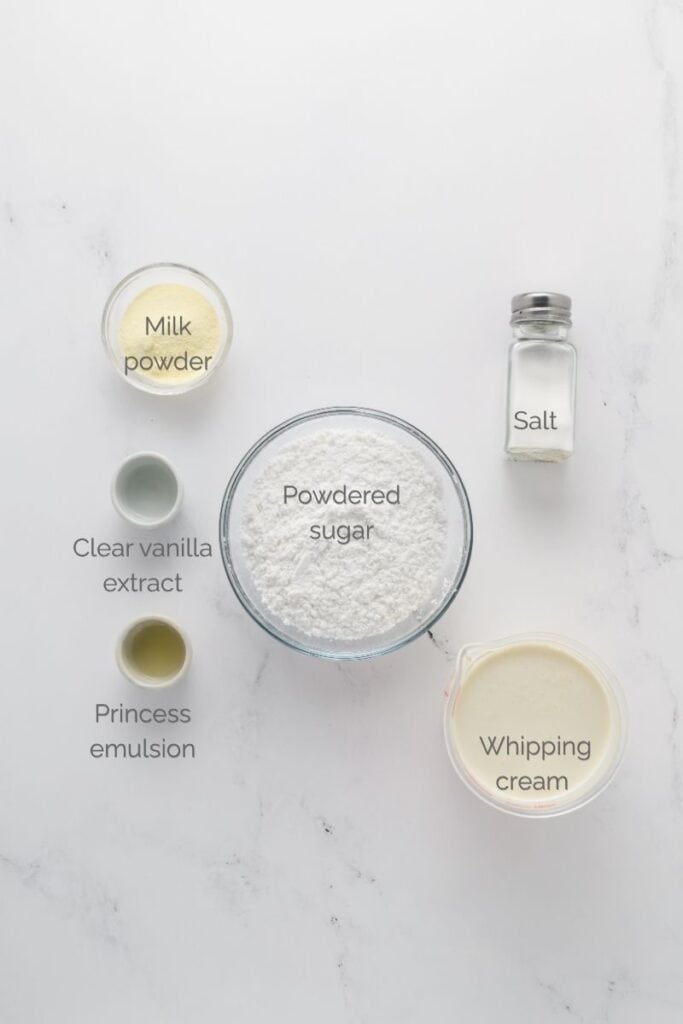
For the Stabilized Whipped Cream Frosting
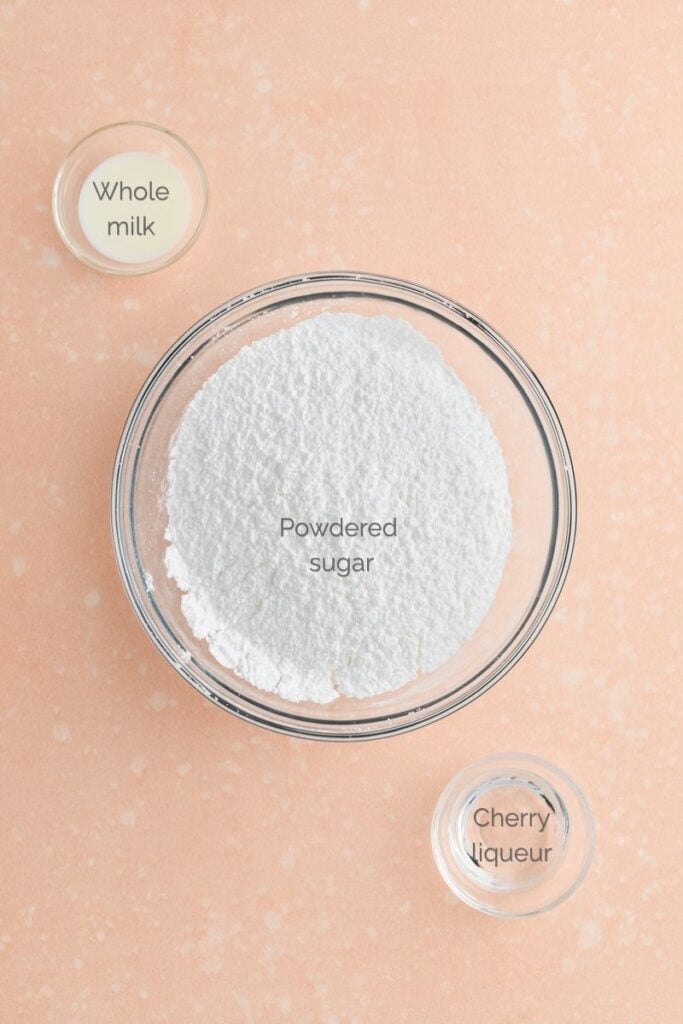
- Heavy whipping cream
- Powdered sugar
- Nonfat dry milk powder
- Vanilla extract
- Princess emulsion
Why Use Jimmies Instead of Nonpareils?
For best results, use rainbow jimmies sprinkles in the cake batter. Jimmies hold their shape better during baking and won’t bleed as much into the batter.
Nonpareils tend to dissolve quickly, which can create streaks of color and affect the texture of the cake.

Tips for the Best Funfetti Sheet Cake
Use Room Temperature Ingredients
Room temperature milk, egg whites and butter help create a smooth batter and even crumb texture.
Don’t Overmix the Batter
Once the wet ingredients are added, mix only until combined. Overmixing can create a dense cake.
Crush Some of the Sprinkles
Crushing a portion of the sprinkles helps distribute color more evenly throughout the cake while still keeping classic sprinkle pops from the whole jimmies.
Bake Low and Slow
Baking the cake at 325 degrees helps the cake bake more evenly and prevents excessive browning.
Cake Storage
Because this cake is topped with stabilized whipped cream frosting, it should be stored in the refrigerator up to 3 days. For best texture and flavor, let cake sit at room temperature for about 30 minutes before serving.
Make Ahead
Cake Layer
The unfrosted cake can be baked 1 day in advance. Once completely cooled, cover tightly with plastic wrap and store at room temperature overnight.
Frosting
The stabilized whipped cream frosting can be made several hours ahead and stored covered in the refrigerator until ready to use. Rewhip lightly if needed before frosting the cake.
Fully Assembled Cake
The fully frosted cake can be made up to 1 day ahead and refrigerated until ready to serve.
FAQ's
Cake flour gives this Funfetti sheet cake its soft and tender texture. All-purpose flour can be used in a pinch, but the cake may have a slightly denser crumb.
Rainbow jimmies are best because they hold their shape during baking and don’t bleed as much as nonpareils.
Yes. The unfrosted cake freezes well. Wrap the completely cooled cake tightly in plastic wrap and freeze for up to 2 months. Thaw overnight in the refrigerator before frosting.
Sprinkles can bleed if nonpareils are used or if the batter is overmixed after adding the sprinkles. Fold the sprinkles in gently just until combined.
Yes. Regular vanilla extract works fine, but clear vanilla helps keep the cake crumb lighter in color and gives the cake a more classic Funfetti-style appearance.
Let's Connect
Want more behind-the-scenes peeks, recipe drops, and food photography inspo? Come hang out with me on Instagram, Pinterest, Facebook and more. I’d love to connect with you there!
Final Thoughts
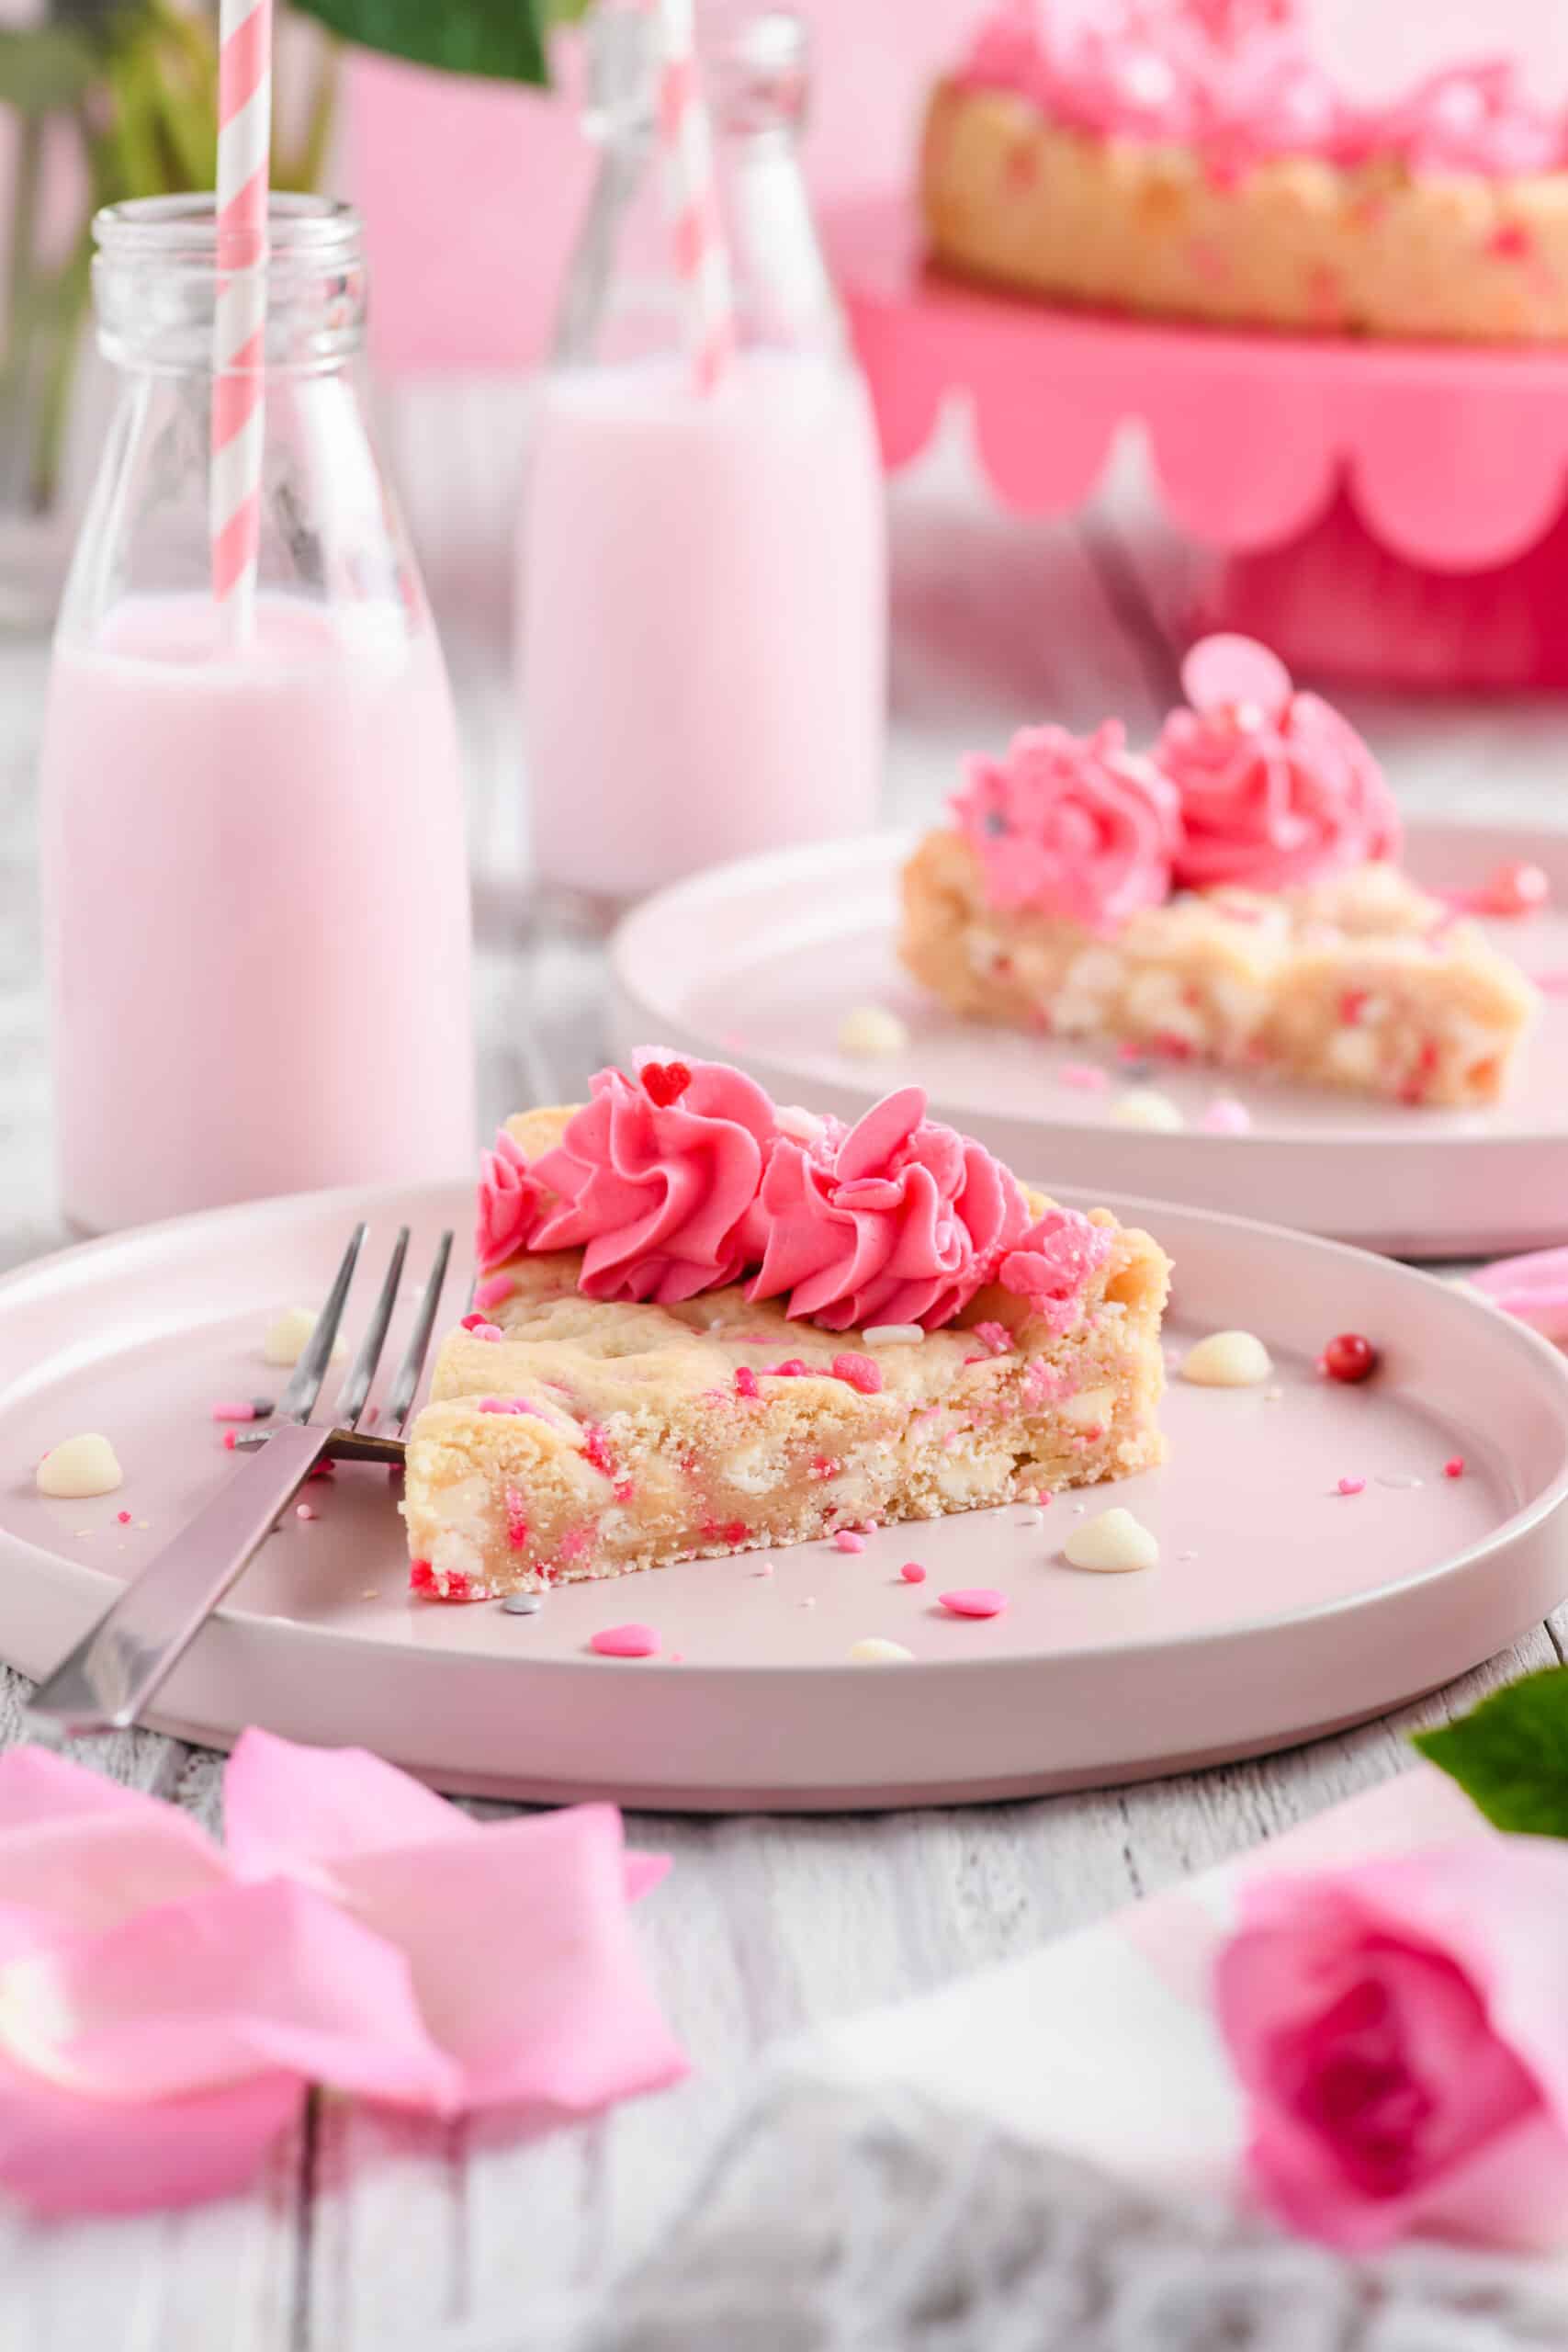
This homemade Funfetti Sheet Cake is everything you want in a birthday cake. It's soft, fluffy, colorful and packed with nostalgic vanilla flavor. The stabilized whipped cream frosting keeps the cake light and creamy while still holding beautifully for serving and celebrations.
If you make this recipe, I’d love to hear what you think! Be sure to leave a comment and rating below, and don’t forget to share your creations and tag The Cake Chica on social media.
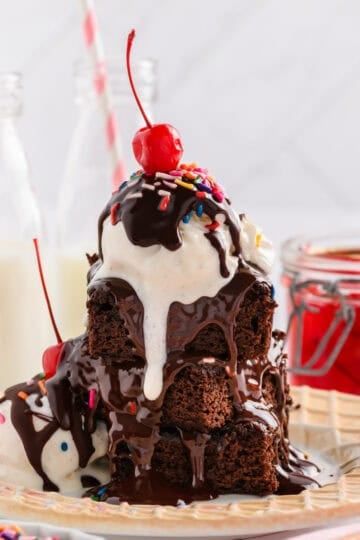
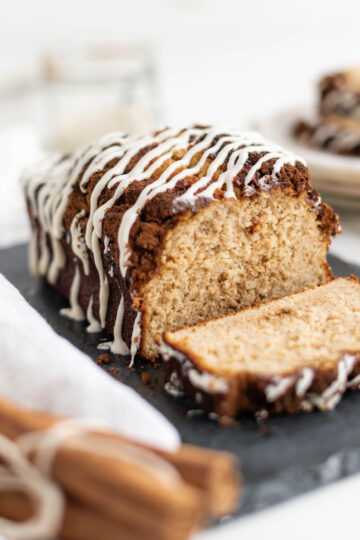
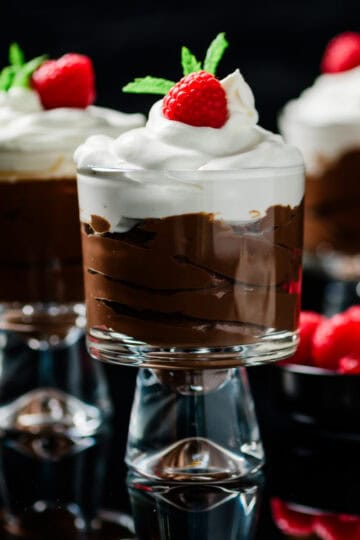
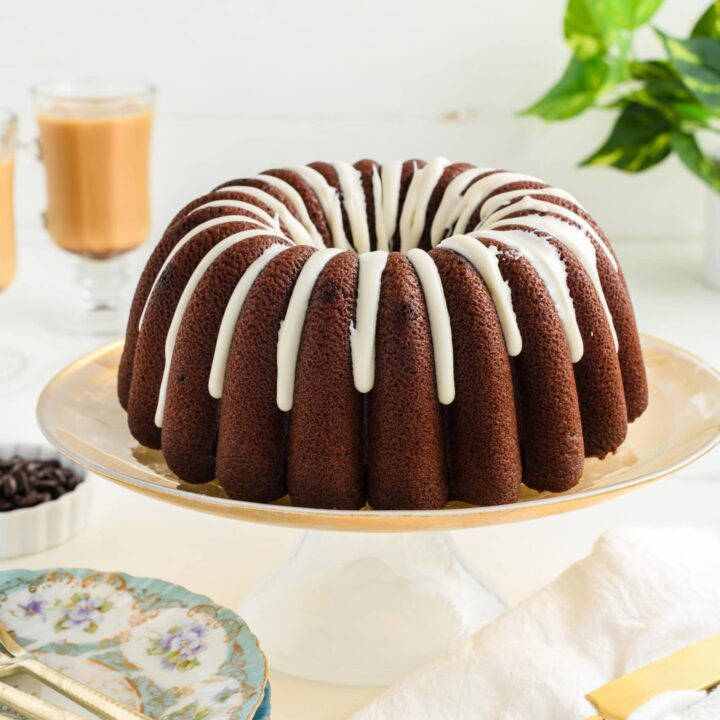
Recommended Recipes

Recipe Card
Funfetti Sheet Cake
This Funfetti Sheet Cake is soft, fluffy and filled with colorful rainbow sprinkles, then topped with stabilized whipped cream frosting for the ultimate homemade birthday cake.
Ingredients
SPECIAL TOOLS
- 13x9-inch metal baking pan
- Stand mixer fitted with paddle attachment
- Offset spatula or rubber spatula
FUNFETTI SHEET CAKE
- Non-stick baking spray
- ½ cup (3 ounces/85 grams) rainbow jimmies sprinkles, divided
- 1 cup (8 ounces/227 grams) whole milk, room temperature
- 6 large egg whites, room temperature
- ¾ teaspoon clear vanilla extract
- ¾ teaspoon Princess emulsion
- 2¼ cups (9 ounces/255 grams) cake flour
- 1¾ cups (12¼ ounces/245 grams) granulated sugar
- 4 teaspoons baking powder
- 1 teaspoon salt
- 12 tablespoons (6 ounces/170 grams) unsalted butter, cut into tablespoon-sized pieces and at room temperature
STABILIZED WHIPPED CREAM FROSTING
- 2½ cups (20 ounces/567 grams) cold heavy whipping cream
- 1 cup (4 ounces/113 grams) powdered sugar
- 2 tablespoons (½ ounce/14 grams) nonfat dry milk powder
- 1 teaspoon clear vanilla extract
- ¼ teaspoon Princess emulsion
- Pinch of salt
Instructions
For the Funfetti Sheet Cake
- Adjust an oven rack to the center position and heat oven to 325 degrees.
- Spray the bottom and sides of a 13x9-inch metal baking pan evenly with non-stick baking spray. Set aside.
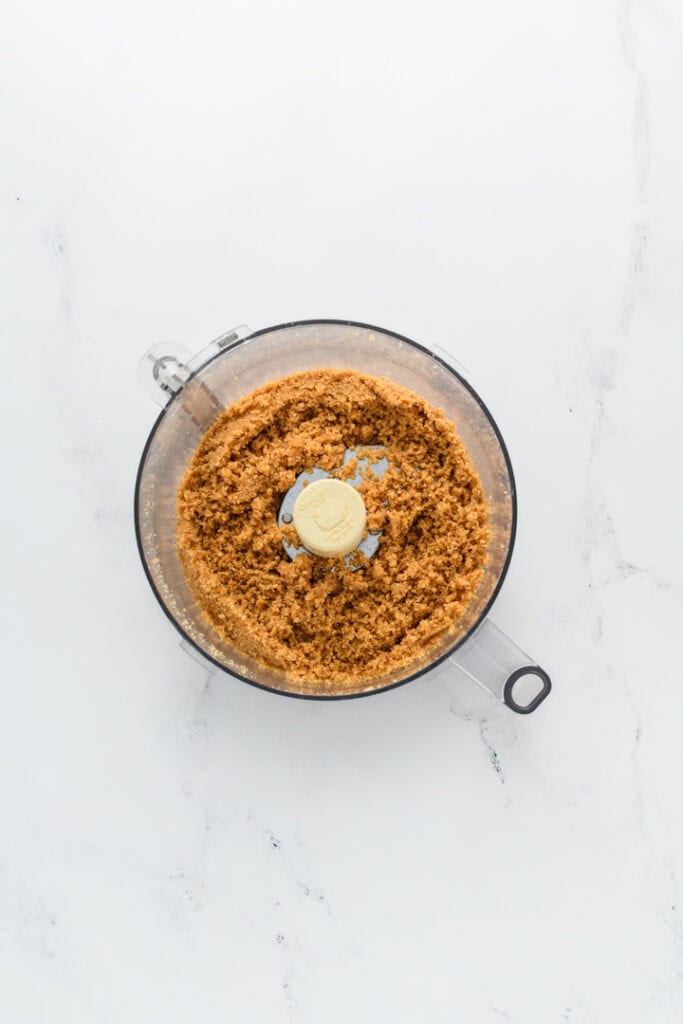
- Place ¼ cup of the rainbow sprinkles in a zip-top bag and gently crush with a rolling pin until coarsely crushed. Do not crush into a fine powder. Leave the remaining ¼ cup whole and set aside.
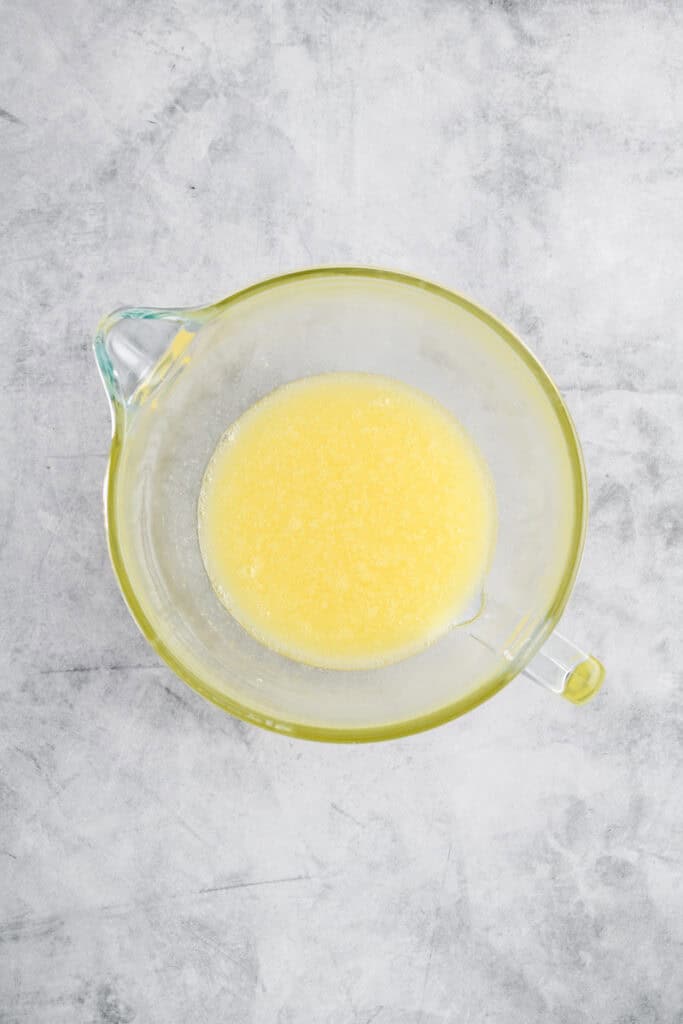
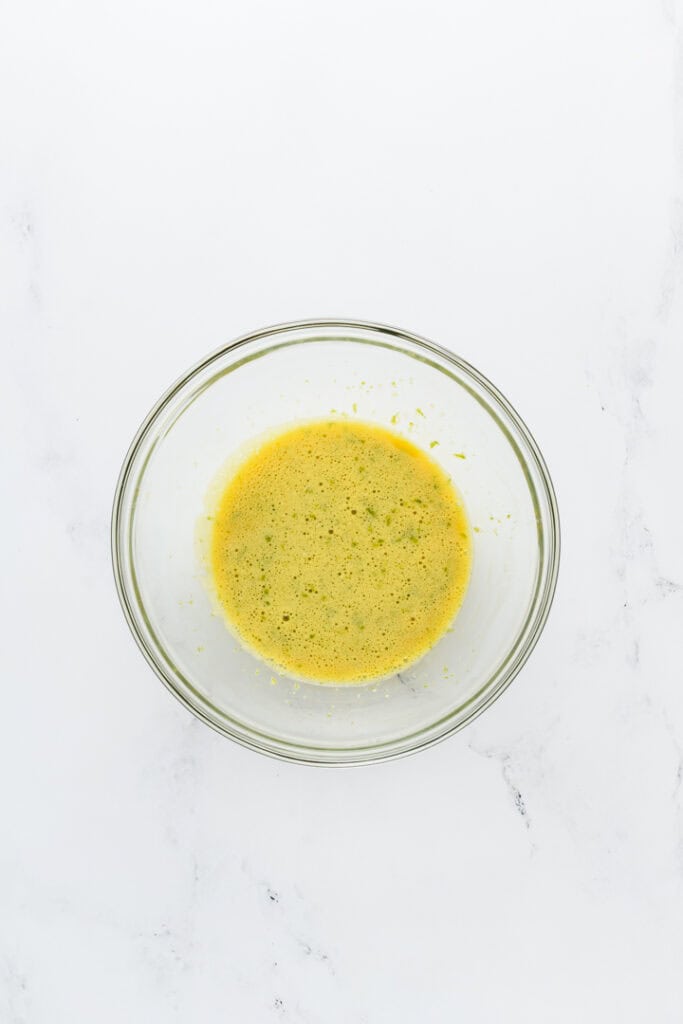
- In a medium bowl, whisk together the whole milk, egg whites, clear vanilla extract and Princess emulsion.
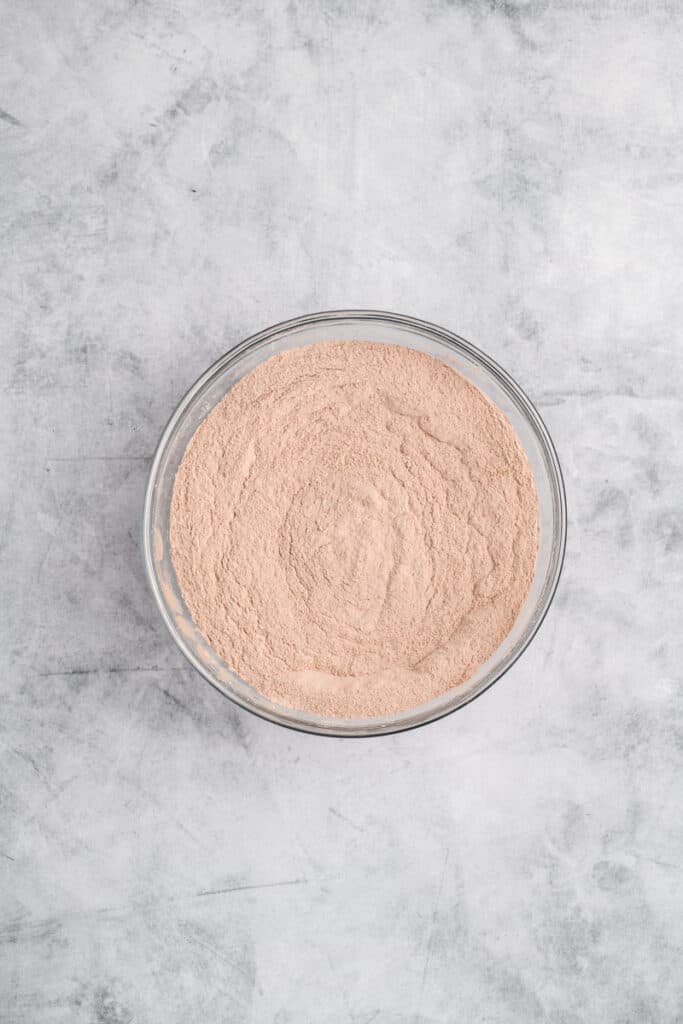
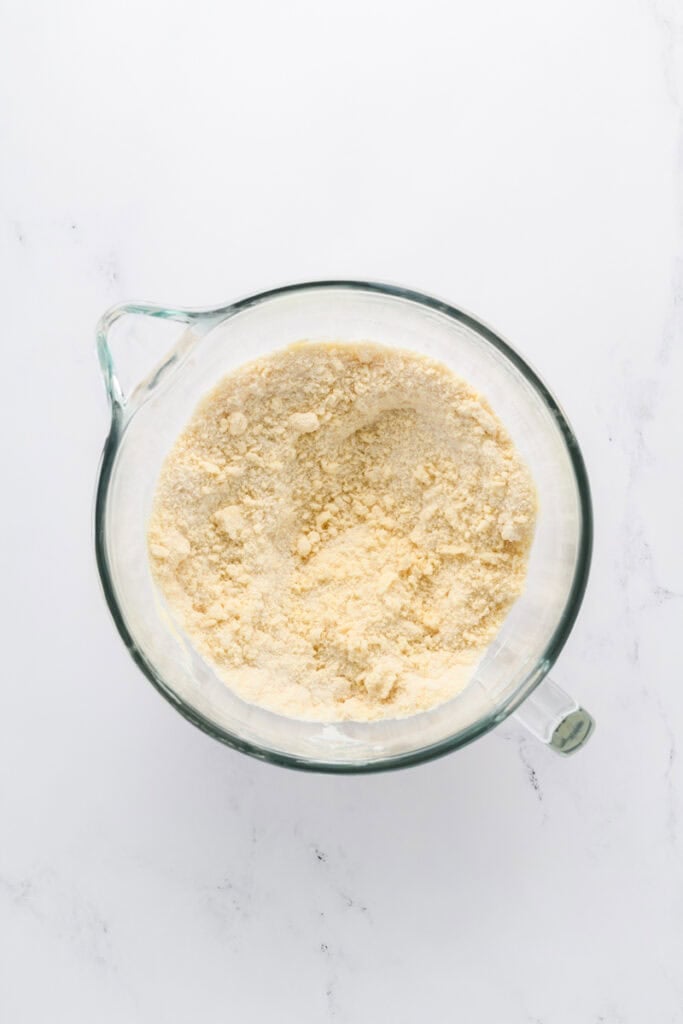
- In the bowl of a stand mixer fitted with the paddle attachment, combine the cake flour, sugar, baking powder and salt on low speed.
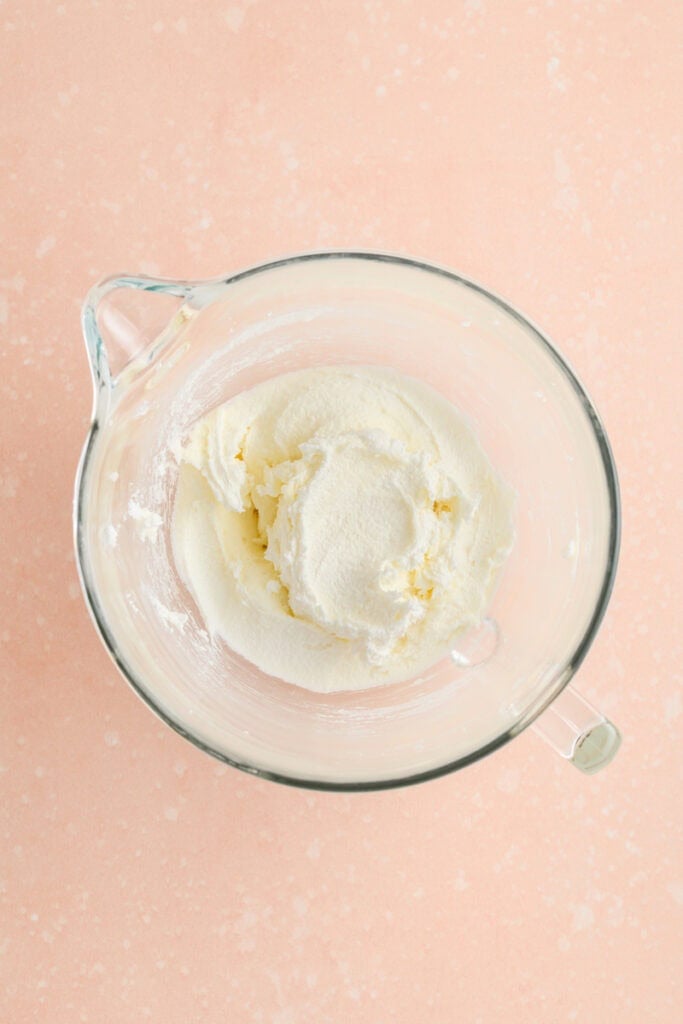
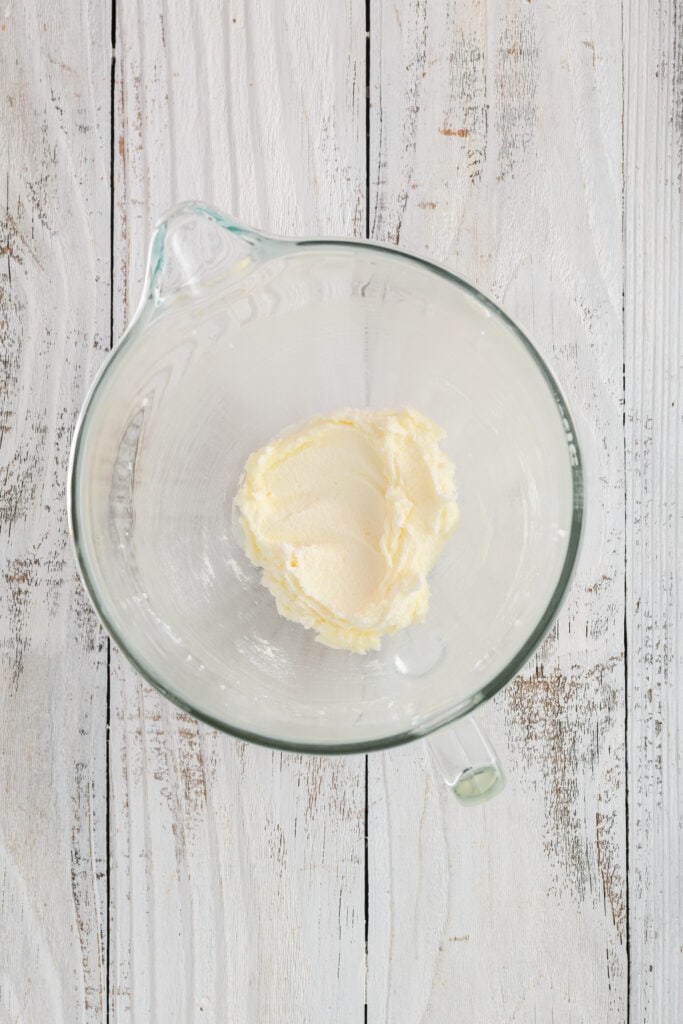
- Add the butter one piece at a time and mix until the butter resembles coarse crumbs with pea-sized pieces remaining, about 1 minute.
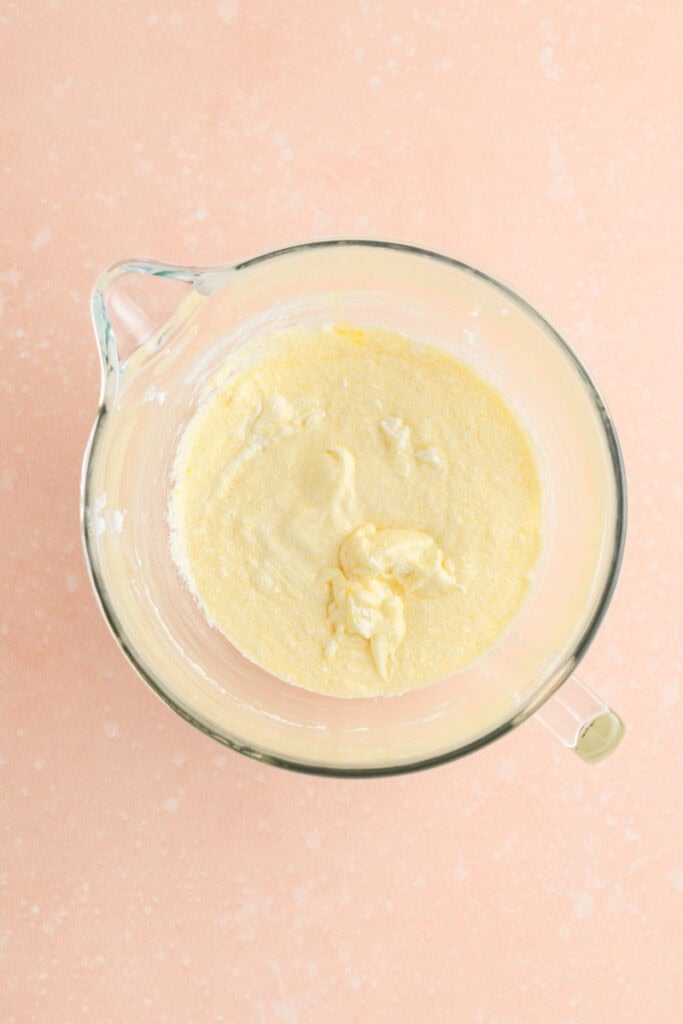
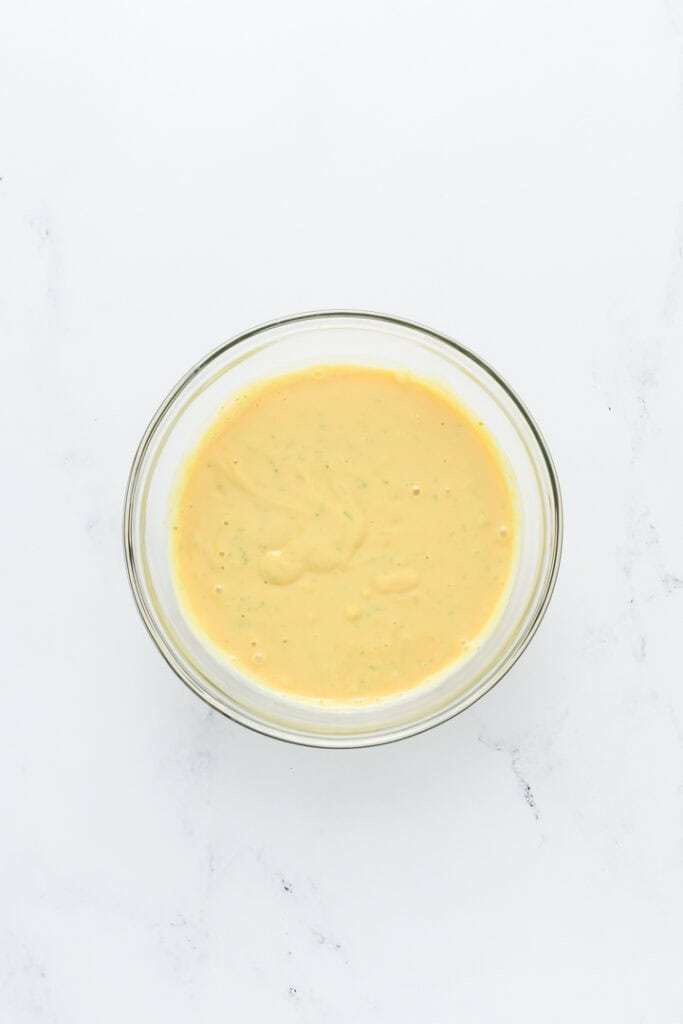
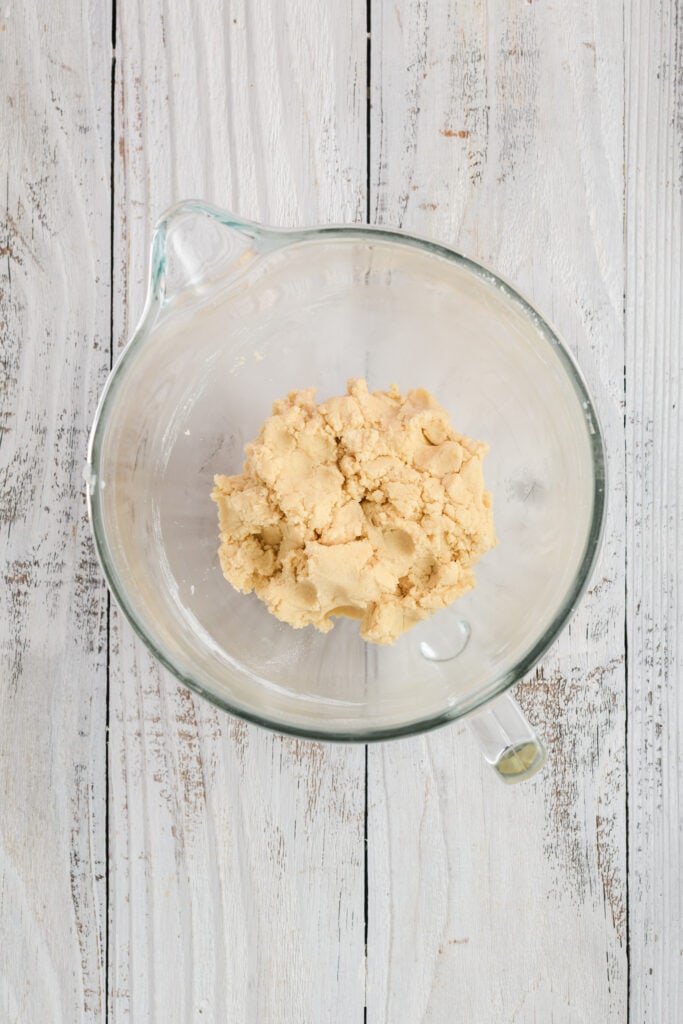
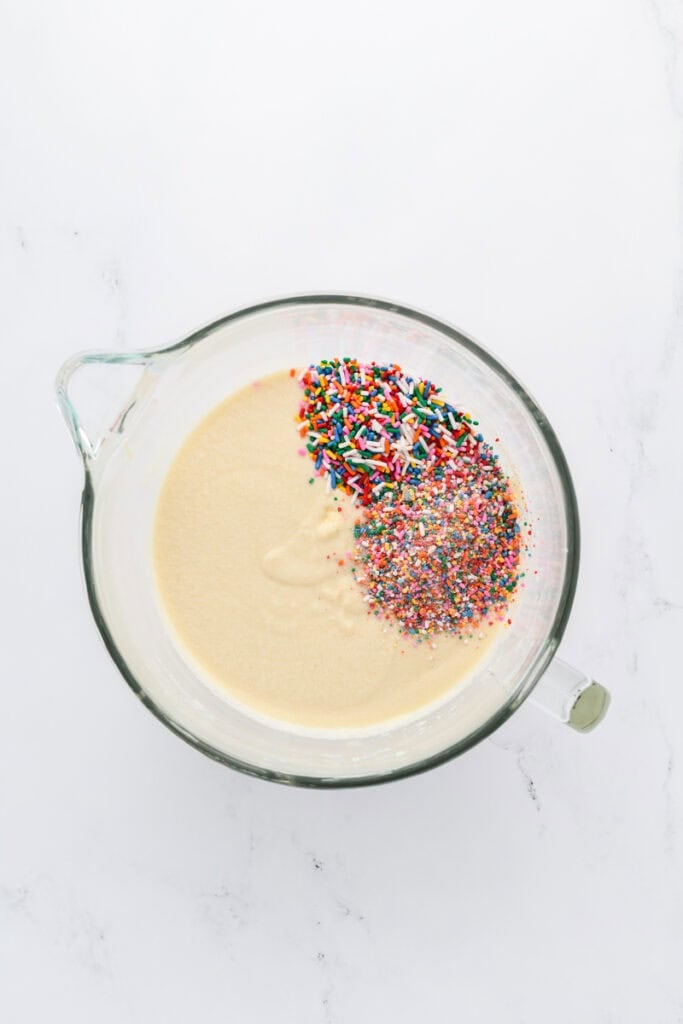
- Reserve ½ cup of the milk mixture. Pour the remaining milk mixture into the flour mixture and mix on medium-high speed until light and fluffy, about 1 minute.
- Reduce mixer speed to medium-low and slowly add the reserved milk mixture. Mix until combined, about 30 seconds. The batter may look slightly curdled.
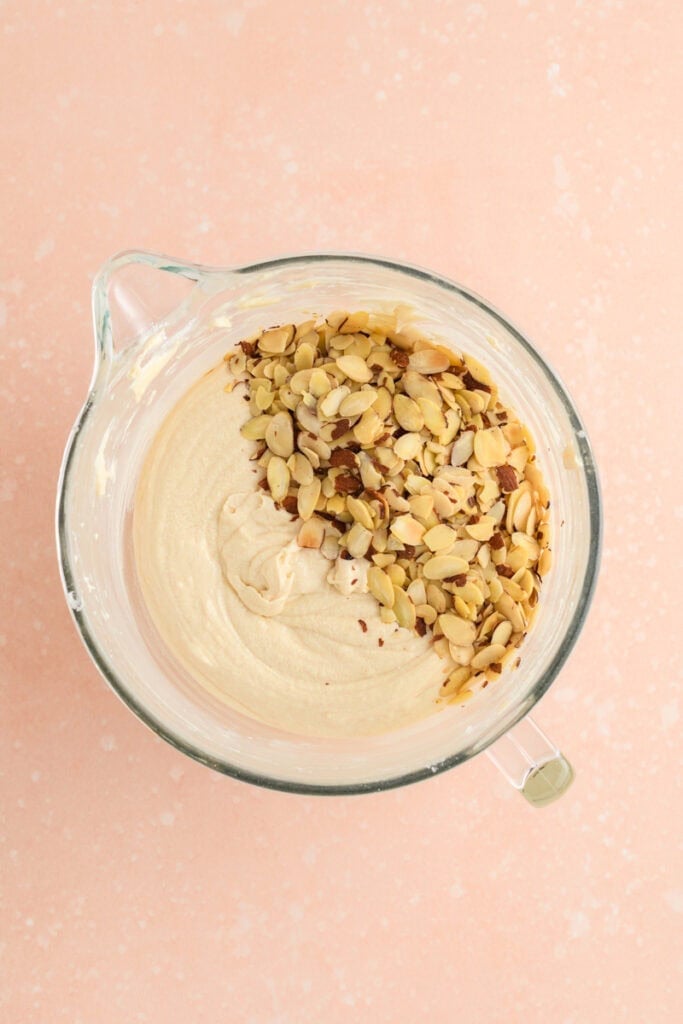
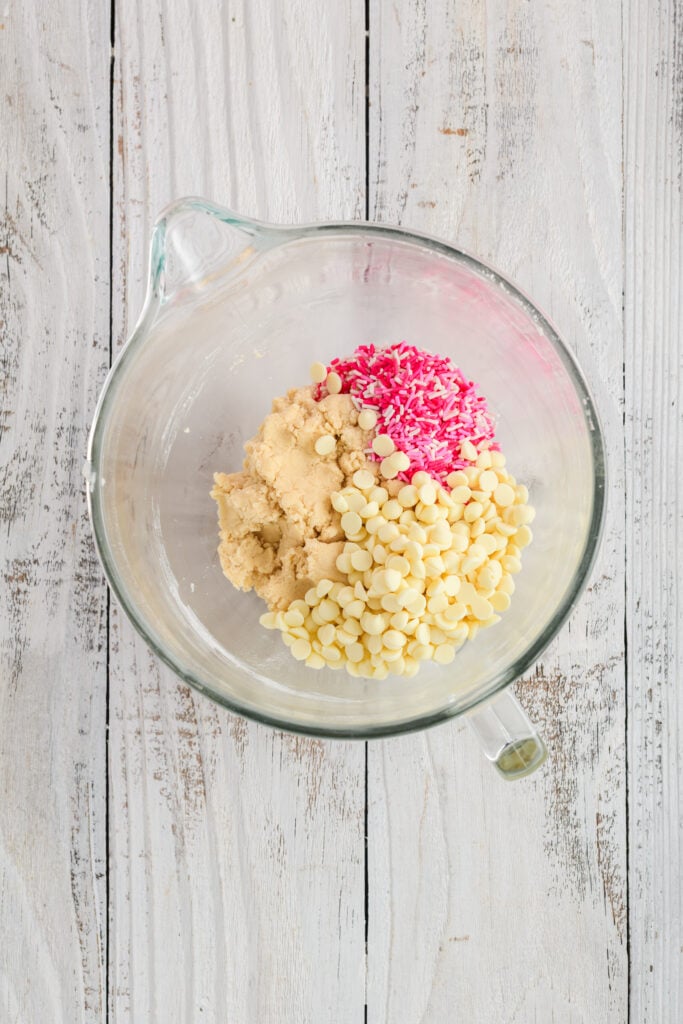
- Remove the bowl from the mixer and gently fold in the crushed sprinkles and remaining whole sprinkles with a rubber spatula.
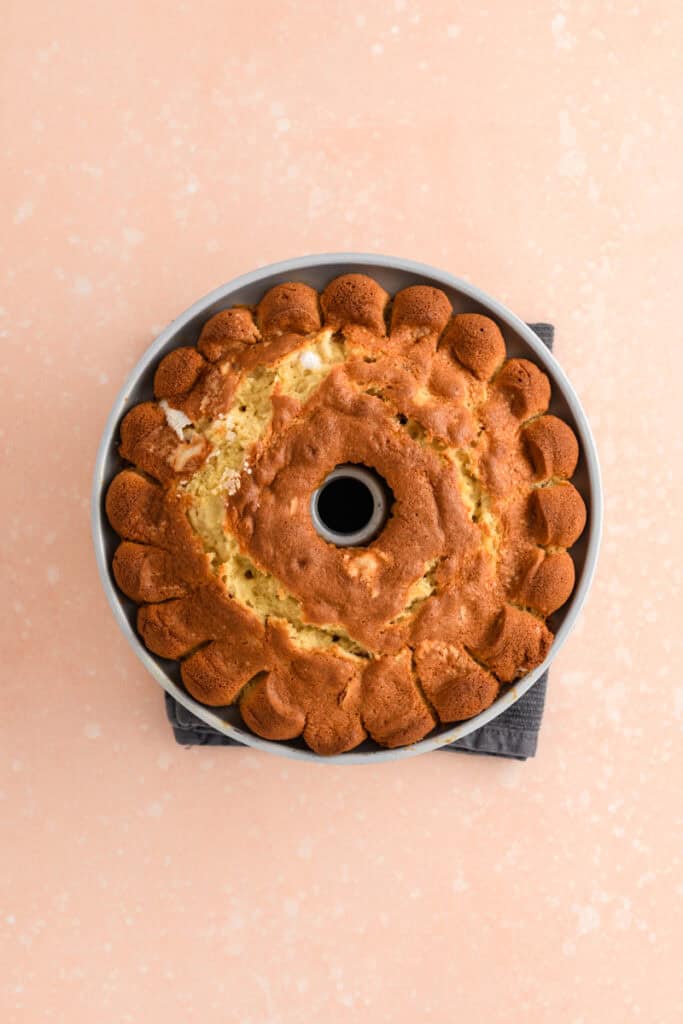
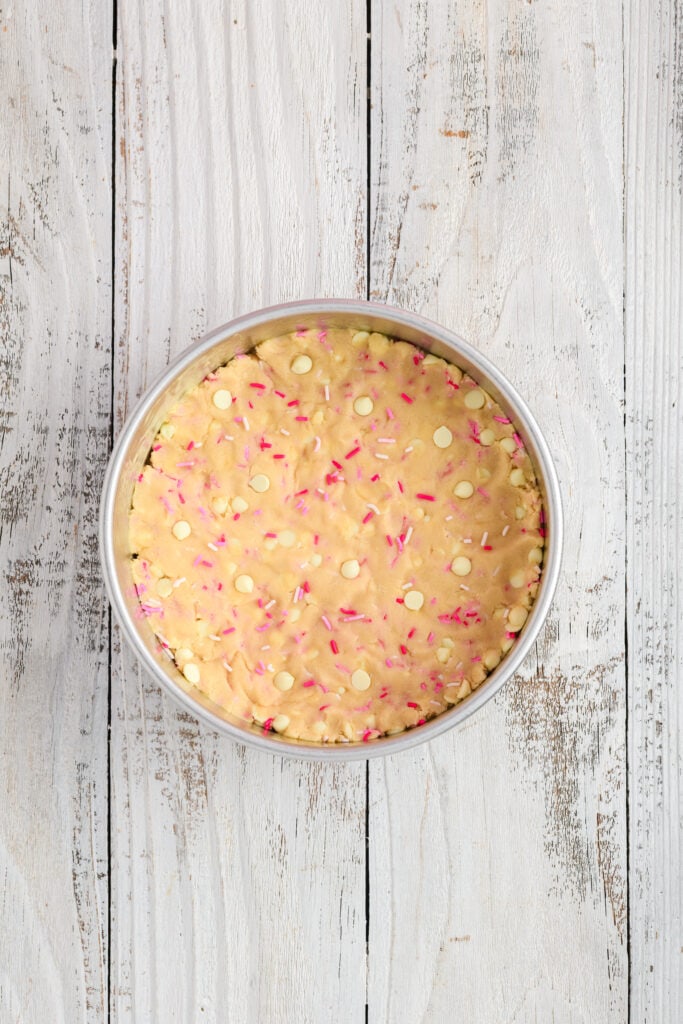
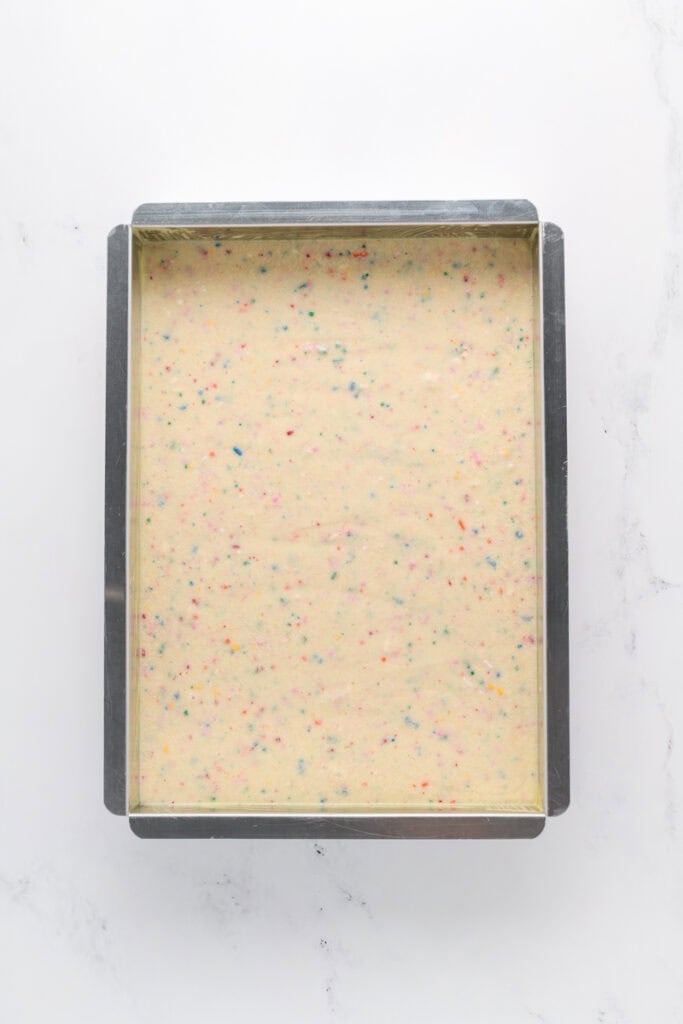
- Pour the batter into the prepared pan and smooth the top with an offset spatula.
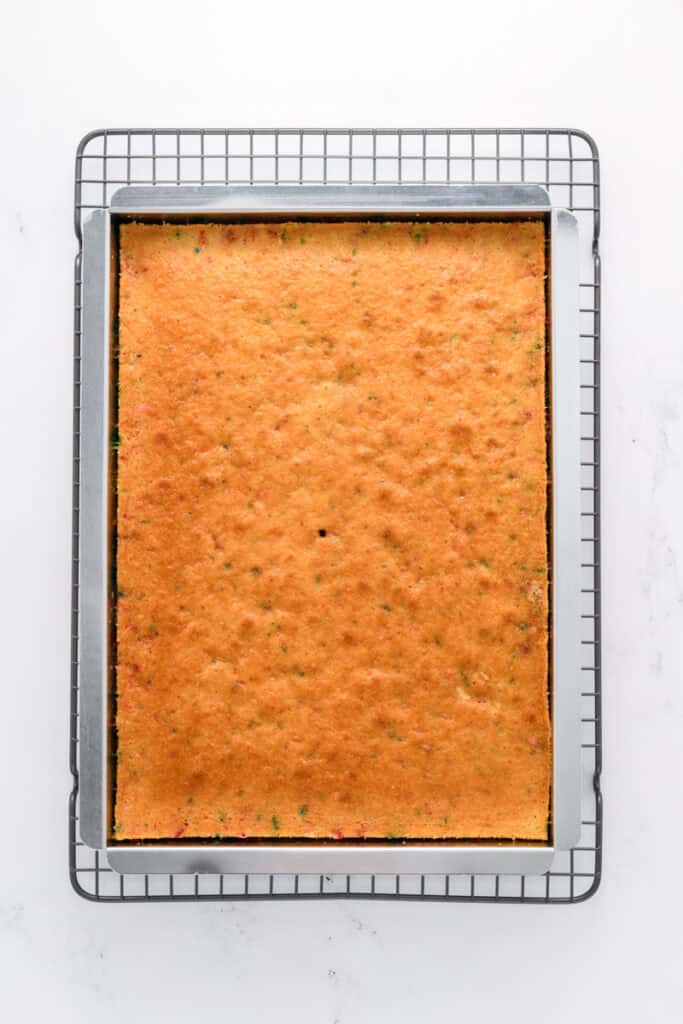
- Bake for 30 to 40 minutes, rotating the pan halfway through baking, until a toothpick inserted in the center comes out with a few moist crumbs attached.
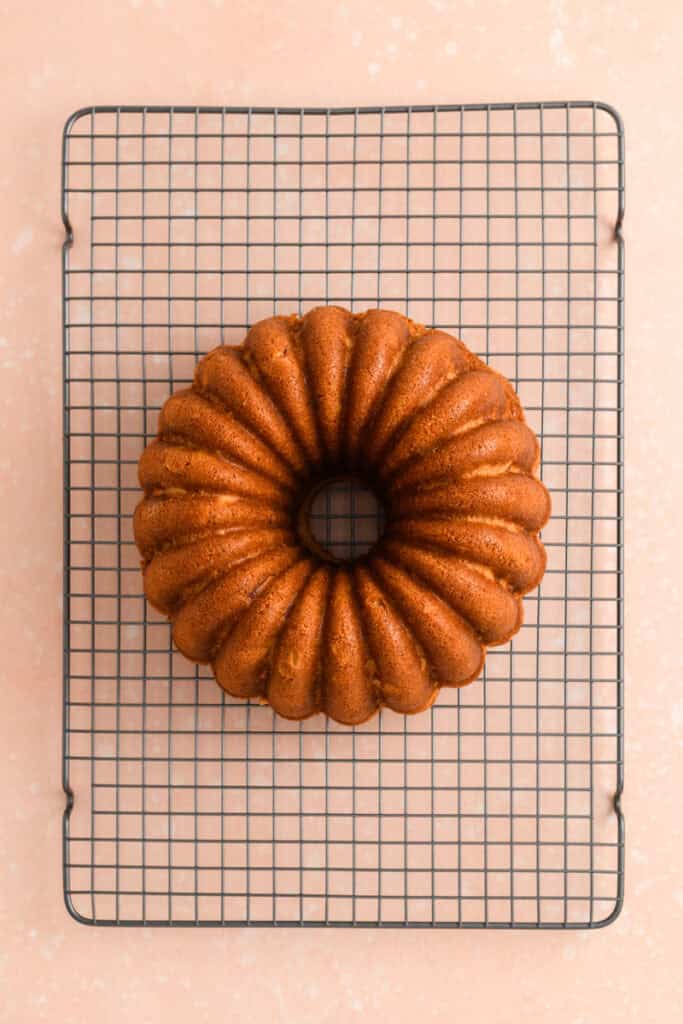
- Let the cake cool completely in the pan on a wire rack before frosting.
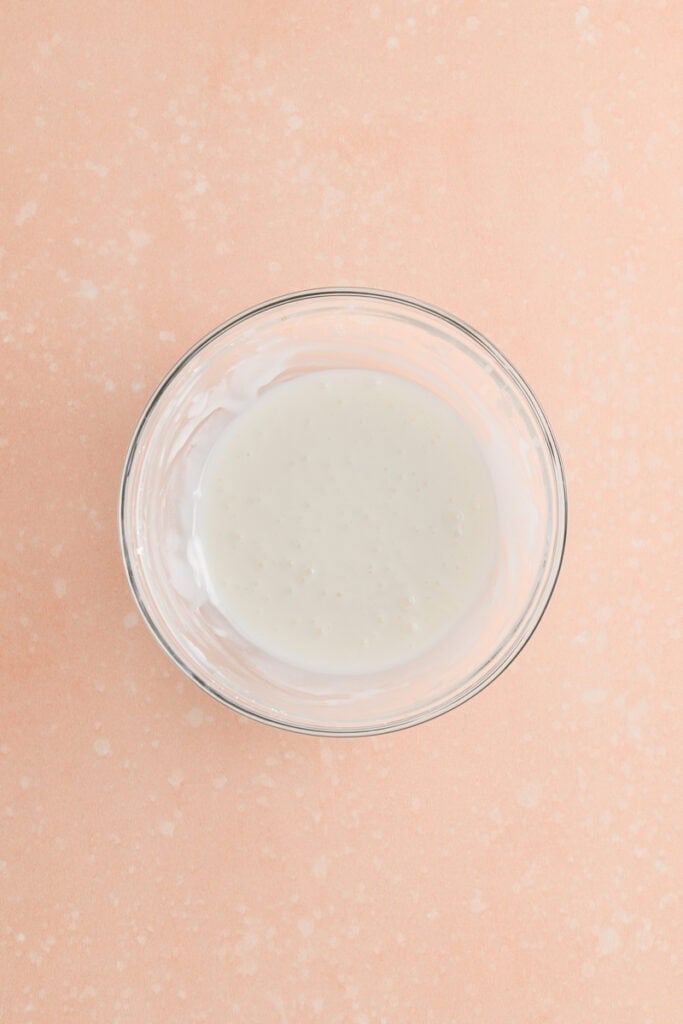
For the Stabilized Whipped Cream Frosting
- In the bowl of a stand mixer fitted with the whisk attachment, whisk together the powdered sugar and dry milk powder.
- Add the heavy cream, vanilla extract, Princess emulsion and salt.
- Mix on low speed until combined, then increase speed to medium-high and whip until medium-stiff peaks form.
- Use immediately or refrigerate until ready to frost.
Assembly
- Spread the whipped cream frosting evenly over the cooled cake.
- Top with additional rainbow sprinkles, if desired.
- Refrigerate for at least 30 minutes before serving for the cleanest slices.
Notes
Store covered in the refrigerator for up to 3 days.
Nutrition Information:
Yield: 12 Serving Size: 1Amount Per Serving: Calories: 765Total Fat: 34gSaturated Fat: 20gUnsaturated Fat: 14gCholesterol: 92mgSodium: 450mgCarbohydrates: 105gFiber: 1gSugar: 66gProtein: 9g
*Nutrition information is an estimate and will vary.*