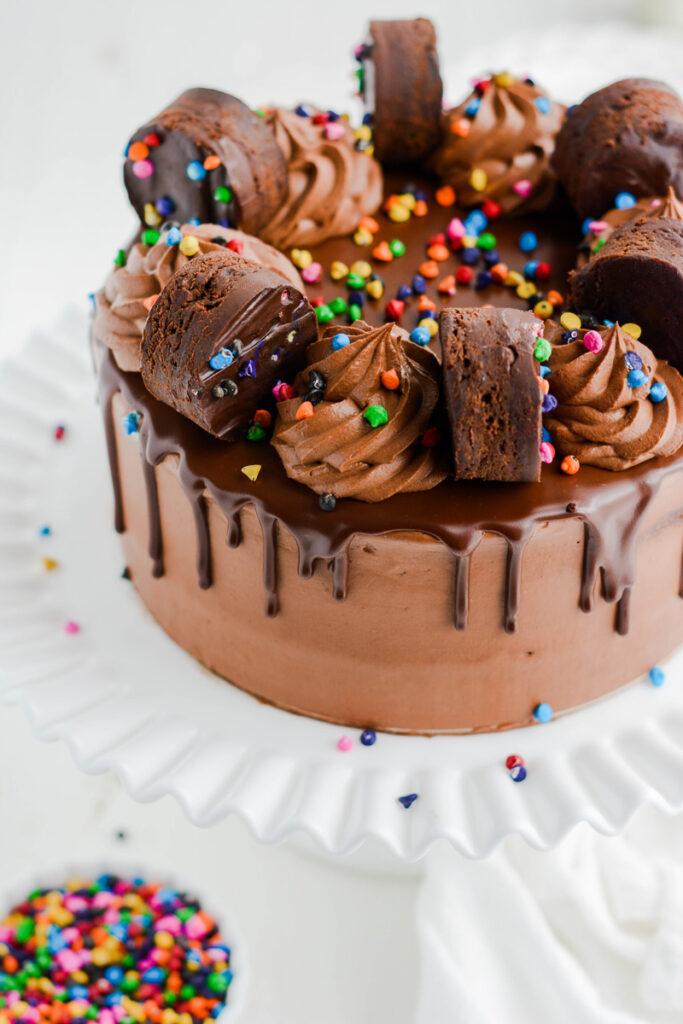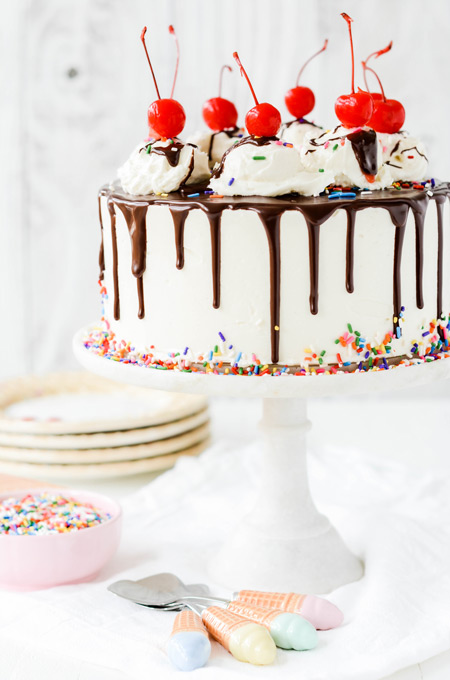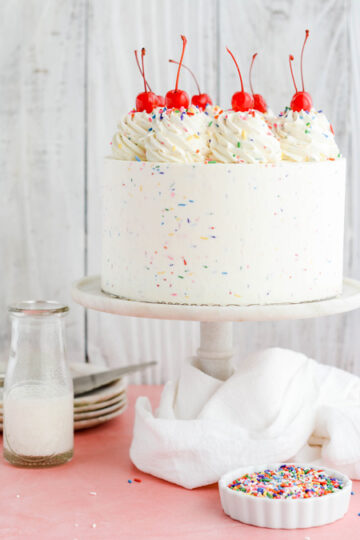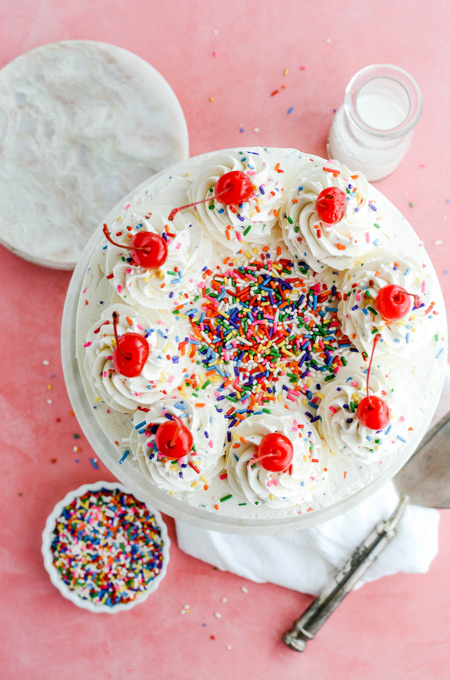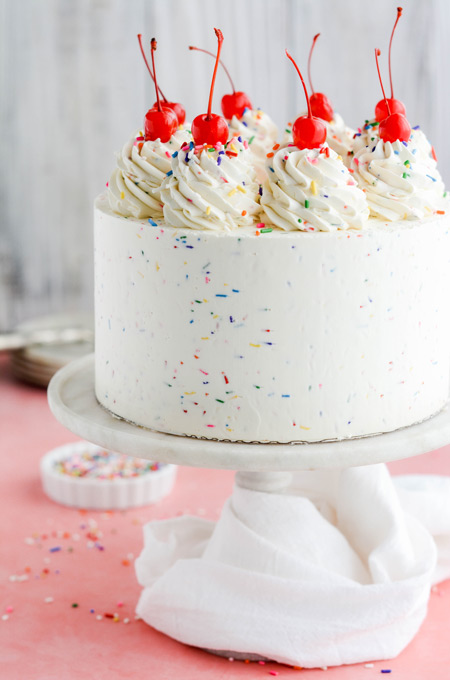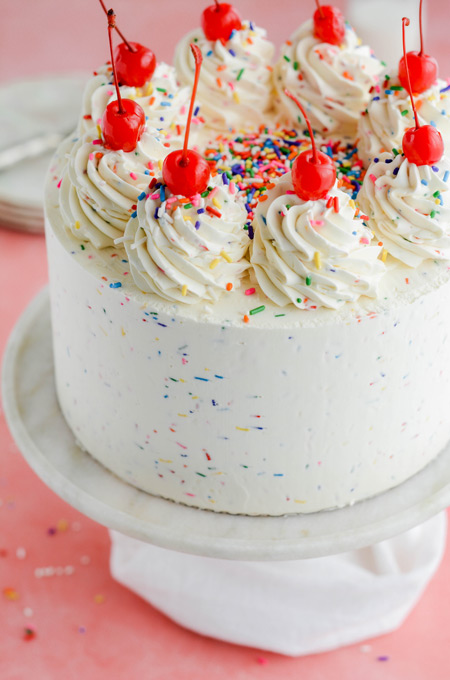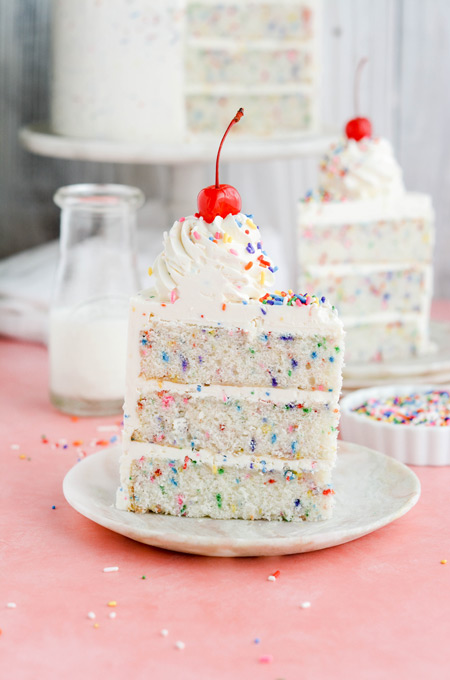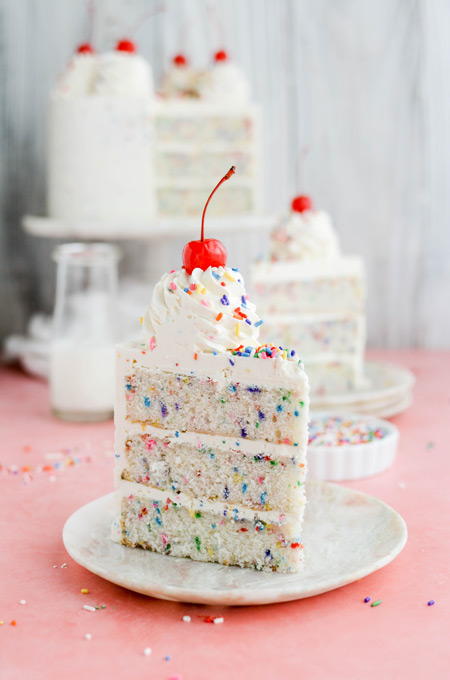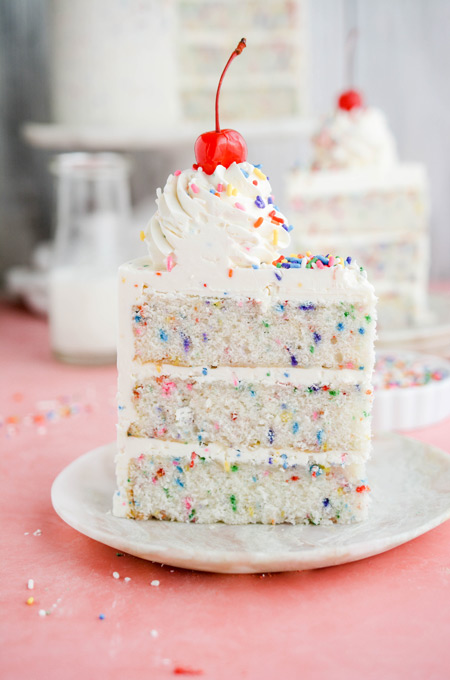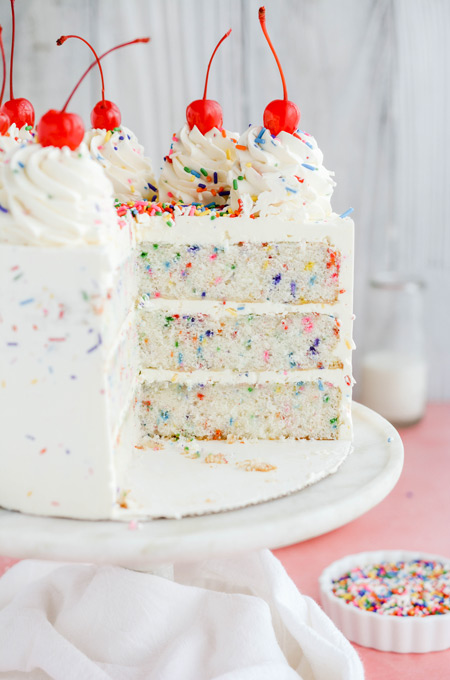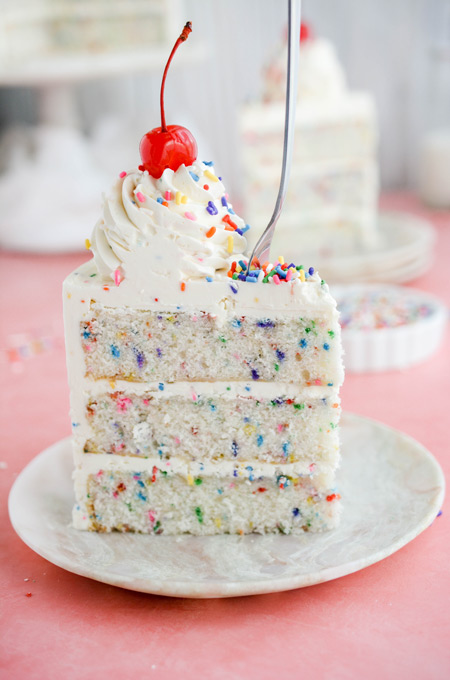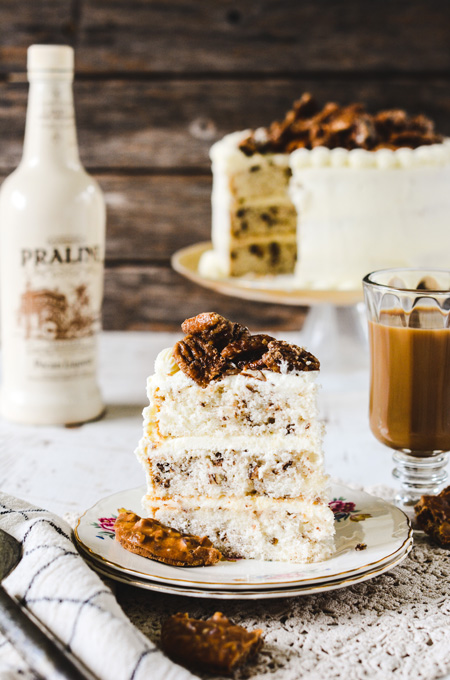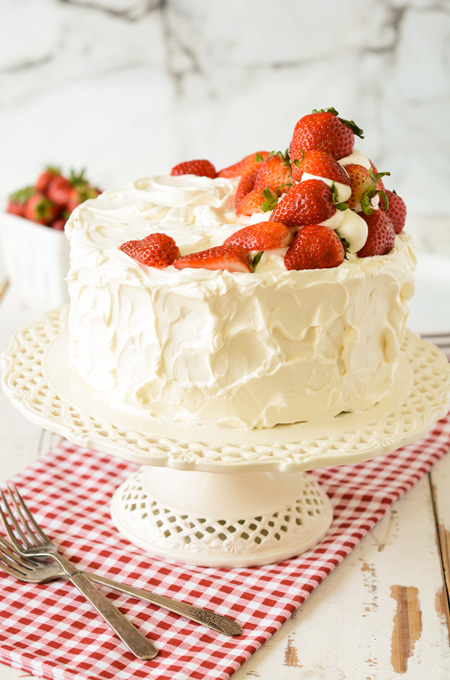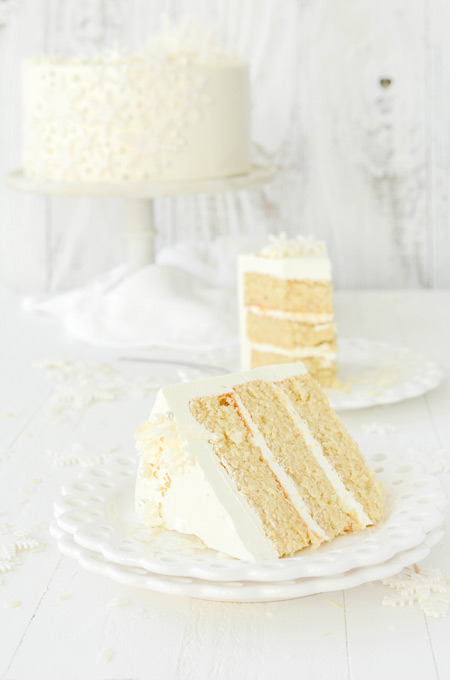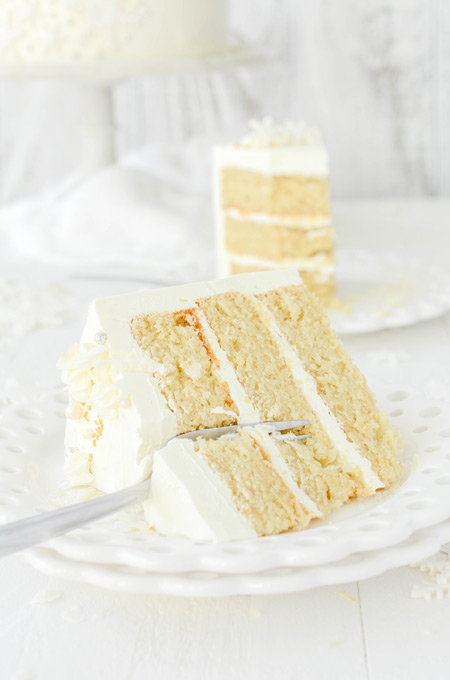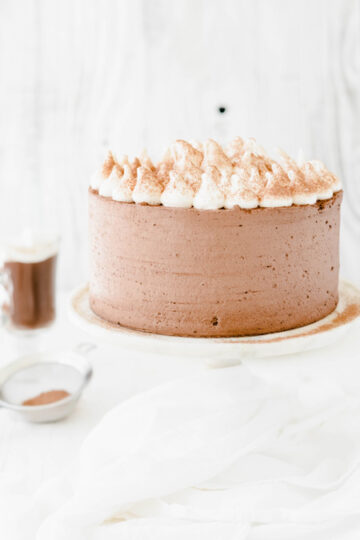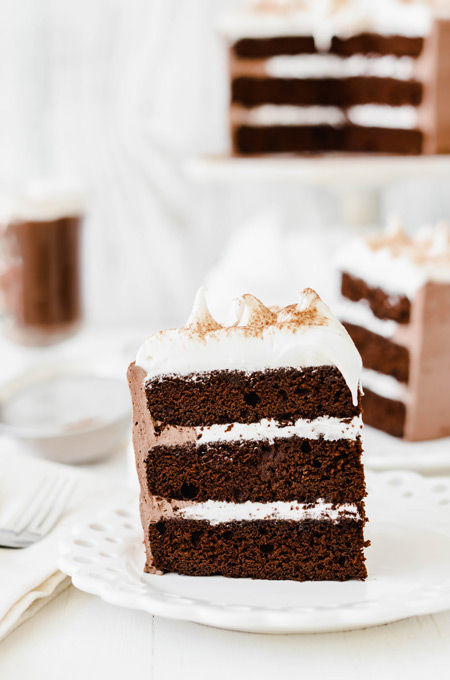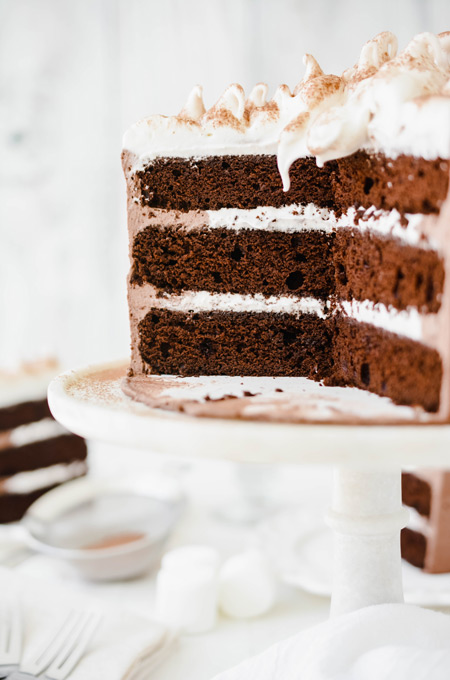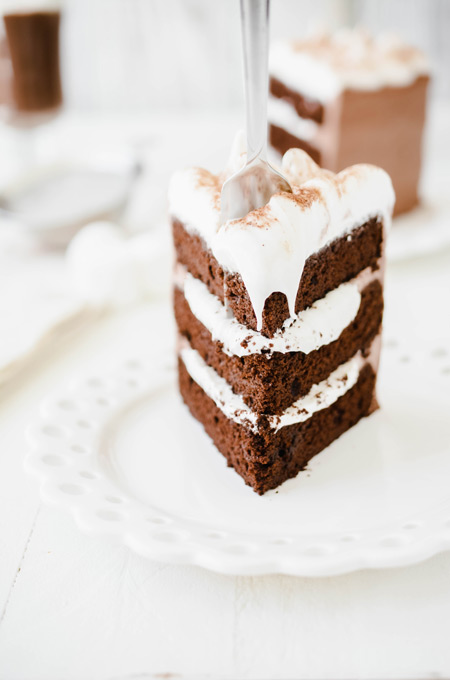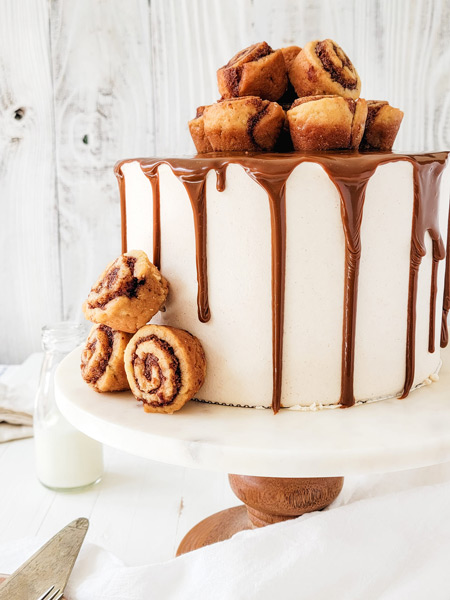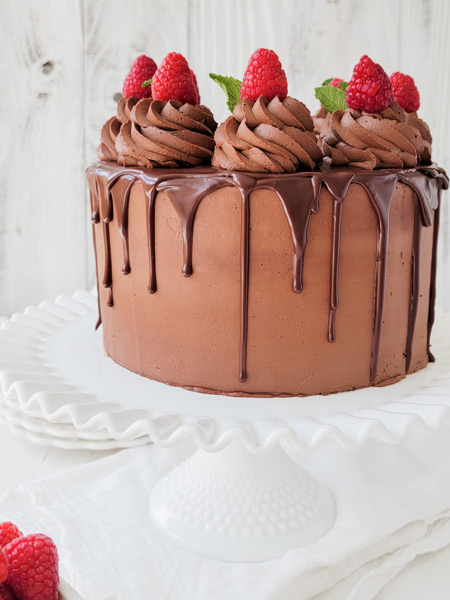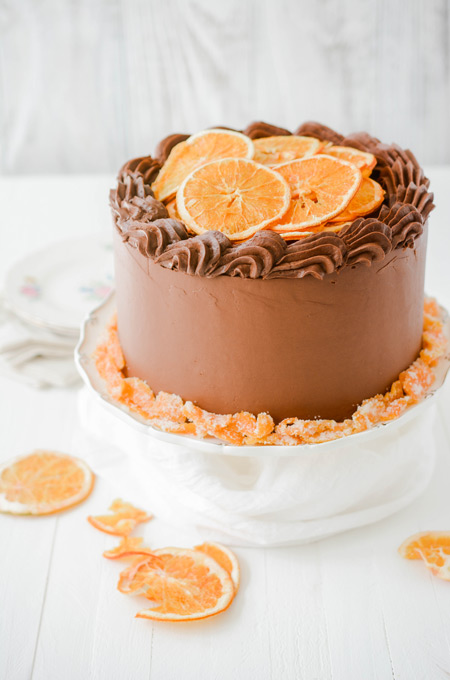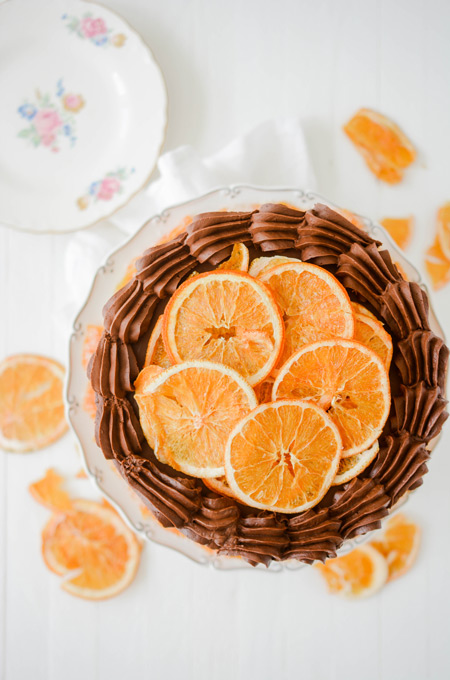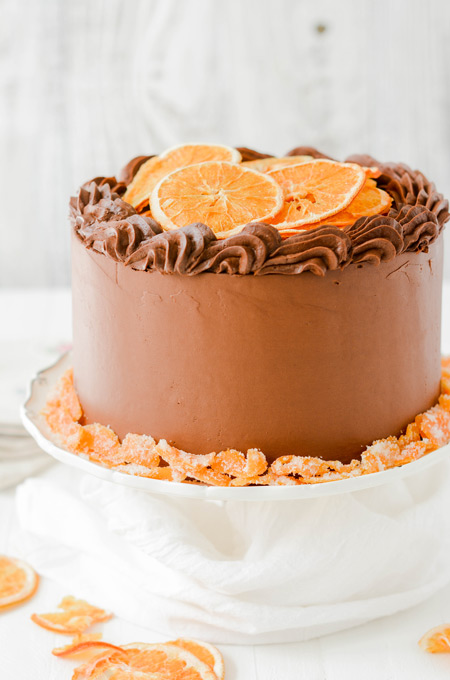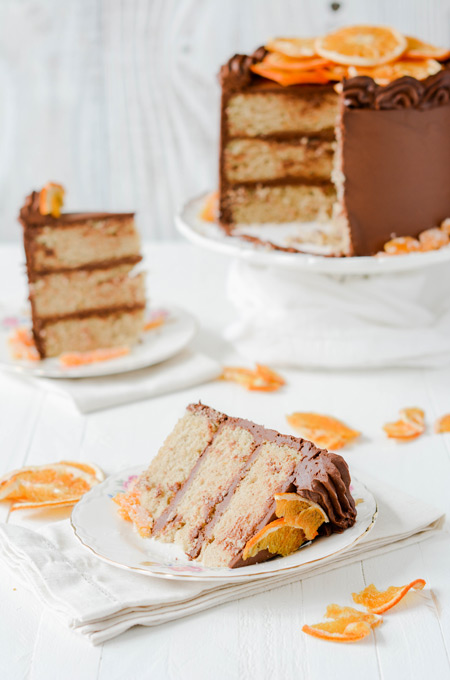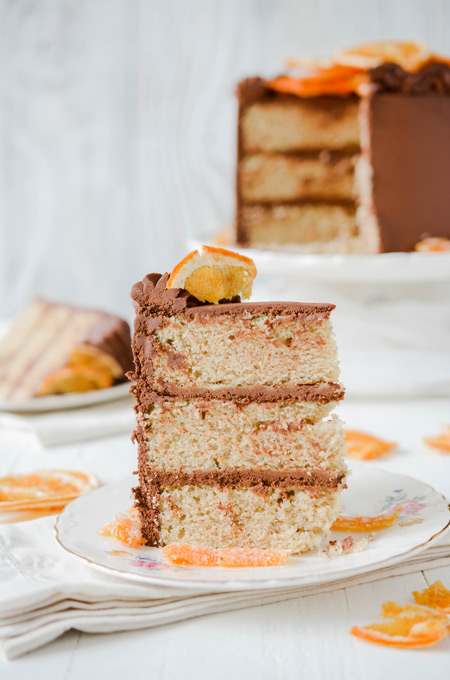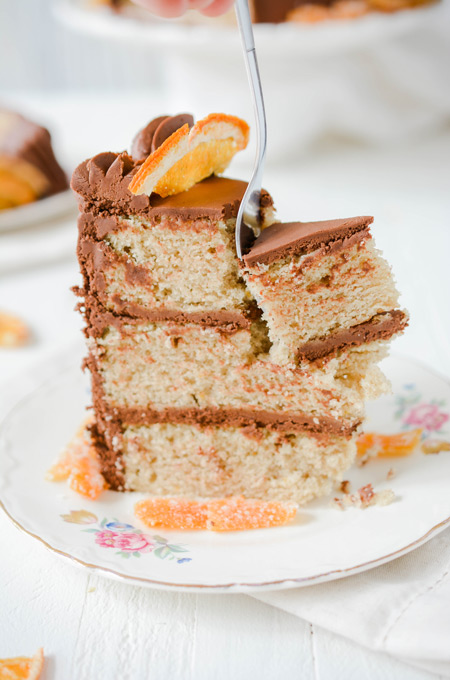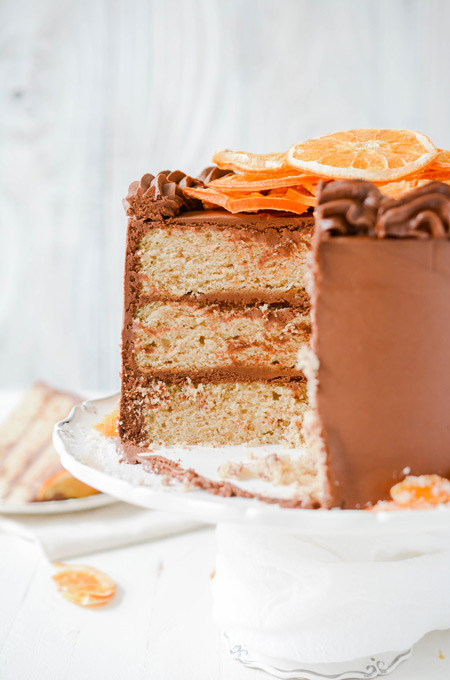
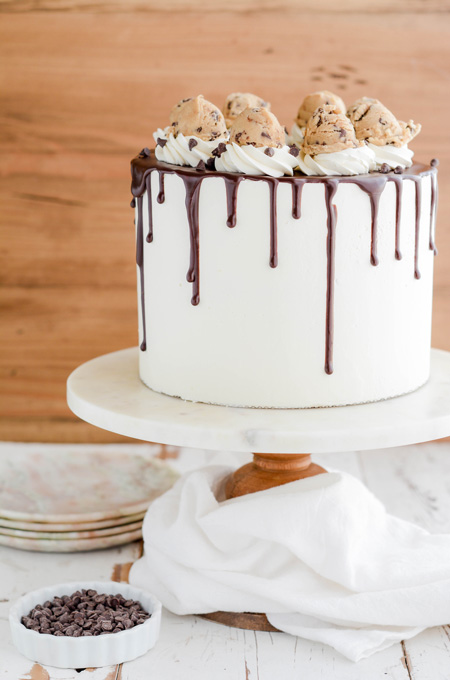
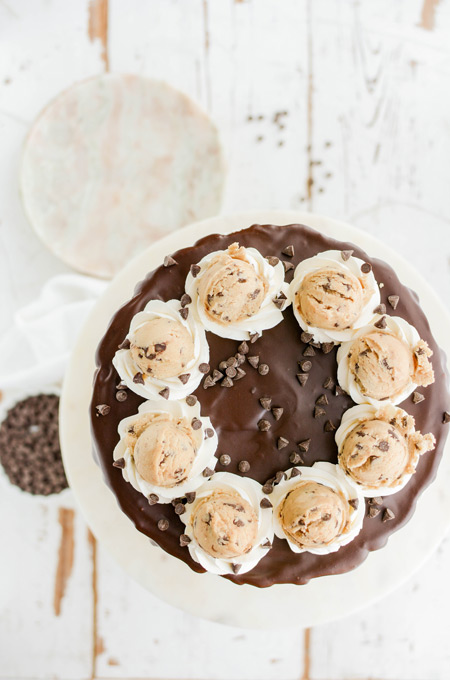
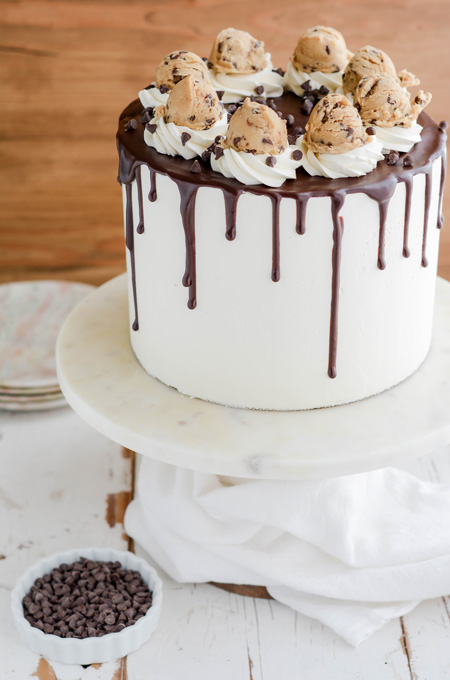
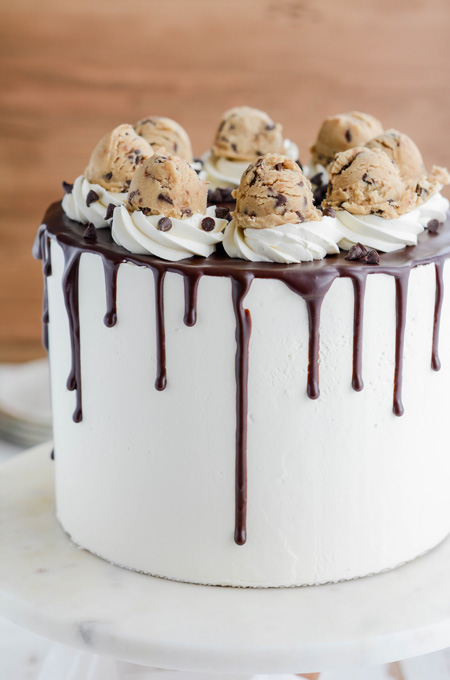
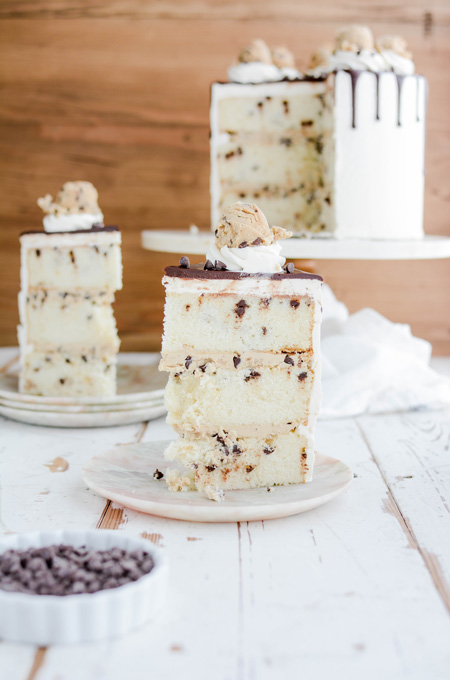
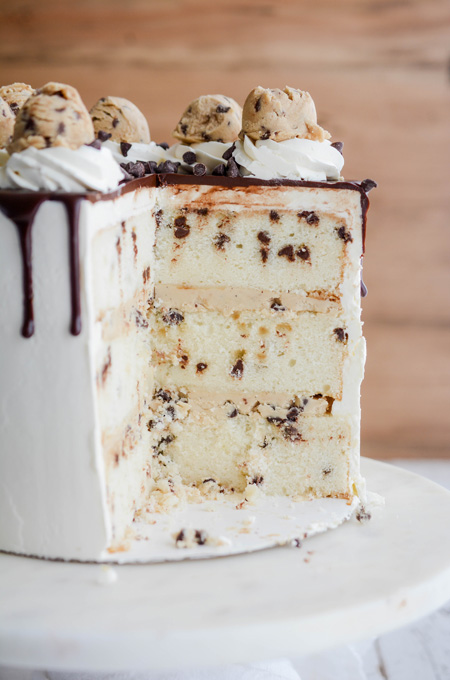
Get ready for a show stopping layer cake recipe! My Chocolate Chip Cookie Dough Layer Cake has 3 tall layers of chocolate chip layer cake, that's filled with chocolate chip cookie filling, frosted with vanilla Swiss meringue buttercream and topped with edible chocolate chip cookie dough. Where are my chocolate chip cookie lovers at? Because this one is for you!
How To Make Edible Cookie Dough
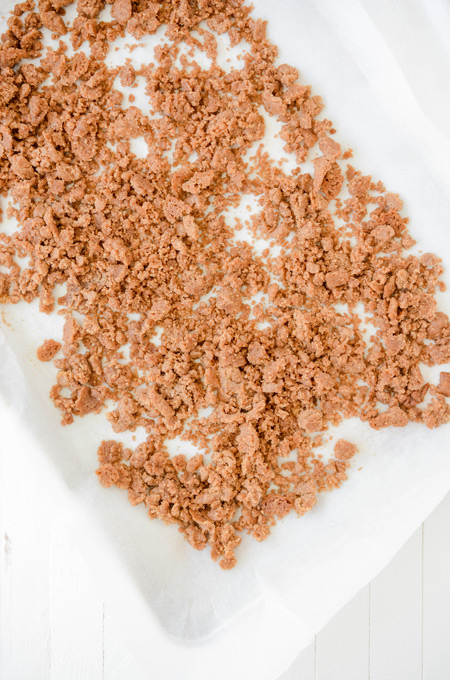
No eggs are used for this cookie dough but flour is. Flour is a raw ingredient so it must be cooked before using in this cookie dough to kill any bacteria.
- Adjust an oven rack to the center position and heat your oven to 350 degrees.
- Line a rimmed baking sheet with parchment paper and spread the flour in an even layer.
- Bake for 15 minutes, or until the flour starts to turn ivory in color.
- Let cool to room temperature then sift the flour to remove the clumps before using.
Chocolate Chip Cookie Dough Layer Cake
These vanilla cake layers are light and buttery, thanks to the addition of cake flour and egg whites. The sour cream gives it extra richness. And the addition of mini chocolate chips makes it the perfect base for our Chocolate Chip Cookie Dough Layer Cake.
Cake flour: has a low protein content which helps deliver a cake with a delicate fine crumb.
Baking powder: is an alkali which must be used in conjunction with an acidic ingredient, such as sour cream, buttermilk, molasses or brown sugar to produce carbon dioxide. This happens right after mixing so you should bake the cake right away.
Baking soda: is a mixture of baking soda and cornstarch. Baking soda works twice, when it first comes into contact with liquid and again while it's baking.
Salt: enhances the flavor of your baked goods.
Whole milk: thins out the batter and contributes to a cakey crumb as the liquid creates steam while baking. Milk also helps with gluten development when it interacts with the flour. Opt for whole milk since the fat helps to tenderize the cake crumb and can weaken gluten development.
Sour cream: lends a tangy flavor and helps moisten the cake. It can also be substituted for buttermilk or yogurt. Be sure to use full fat sour cream in baking recipes unless the recipe specifically says otherwise.
Unsalted butter: should be soft enough for creaming but malleable enough to be whipped firm to retain air, which provides structure. Softened butter should be around 65 to 67 degrees. The butter should bend without breaking.
Granulated sugar: incorporates easily in cake batters and helps aerate the butter.
Vanilla extract: enhances the cakes flavor.
Egg whites: help give structure to the cake.
Cookie Dough Filling
To achieve the cookie dough flavor in this filling, be sure to brown the butter until it lets off a nutty aroma and is the color of caramel. You can use mini chocolate chips for the filling or coarsely chop regular chocolate chips instead.

Vanilla Swiss Meringue Buttercream Tips
- Be sure your mixer bowl is clean. There should be no grease in the bowl and there should be no traces of egg yolk in your egg whites.
- Whisk the egg whites and sugar together well before heating, or the egg whites could start cooking on their own.
- Make sure your water stays at a simmer in your double boiler.
- Add in the butter to the egg whites a tablespoon at a time.
- Reduce the mixer speed to low during the last minute to reduce the air bubbles in the buttercream.
Chocolate Drip Tips
- Chill the frosted cake before applying chocolate drips.
- Make sure your chocolate drip is the correct temperature before dripping. The chocolate should be fluid but not warm or hot.
- Test the drip by making a practice drip on the sides of the cake before adding the drips to the entire cake. The drip should flow slowly and smoothly.
- Instead of pouring the chocolate drip on top of the cake and spreading it out, add drips individually to the sides of the cake with a spoon or squeeze bottle.
- Tap the cake on the counter to release any air bubbles.
Chocolate Chip Cookie Dough Layer Cake Baking Schedule
- Day 1: Prepare the edible cookie dough and bake the cake layers.
- Day 2: Prepare the cookie dough filling, buttercream and chocolate drip. Assemble cake and serve.
Lets Connect
The Cake Chica is on Facebook sharing sneak peeks of recipes to come, Instagram for your food porn desires and Pinterest for your board pinning needs.
You May Also Like
Cherry Chocolate Chip Cake
Best Big Fat Chewy Chocolate Chip Cookie
Best Big Fat Chewy M&M Chocolate Chip Cookie
Adapted from The Magnolia Bakery Handbook by Bobbie Lloyd and Jenna Rae Cakes and Sweet Treats by Ashley Kosowan and Jenna Hutchinson
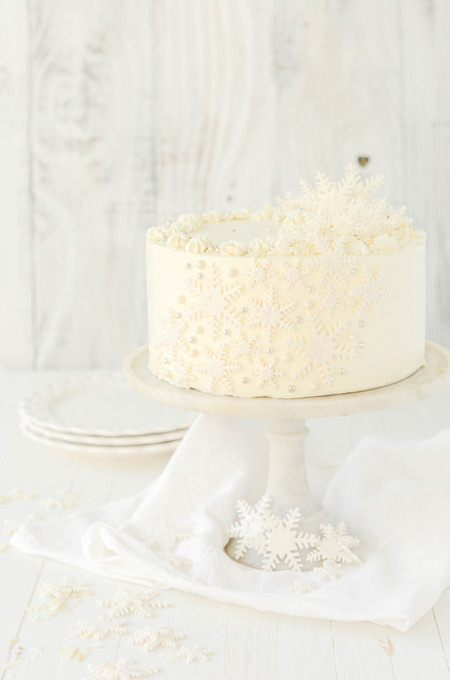
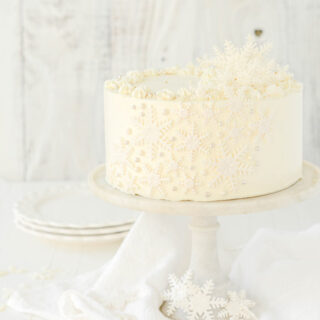
Chocolate Chip Cookie Dough Layer Cake
Three tall layers of chocolate chip layer cake, filled with chocolate chip cookie dough filling, frosted with vanilla Swiss meringue buttercream, topped with chocolate drip and edible chocolate chip cookie dough.
Ingredients
SPECIAL TOOLS
- 3 8-inch round cake pans
- Stand mixer
- Fine mesh sieve
- 8-inch round cake board
- 8-inch round acrylic disc
- Cake turntable
- Cake scraper
- Piping bag
- Ateco piping tip #827
- Small spring loaded ice cream scoop
EDIBLE COOKIE DOUGH
- 1 cup (5 ounces) all-purpose flour
- 1/2 cup (1 stick) unsalted butter, at room temperature
- 1/2 cup (3.5 ounces) packed light brown sugar
- 1/4 cup (1.75 ounces) granulated sugar
- 1/2 teaspoon vanilla extract
- 2 tablespoons whole milk
- 1/4 teaspoon salt
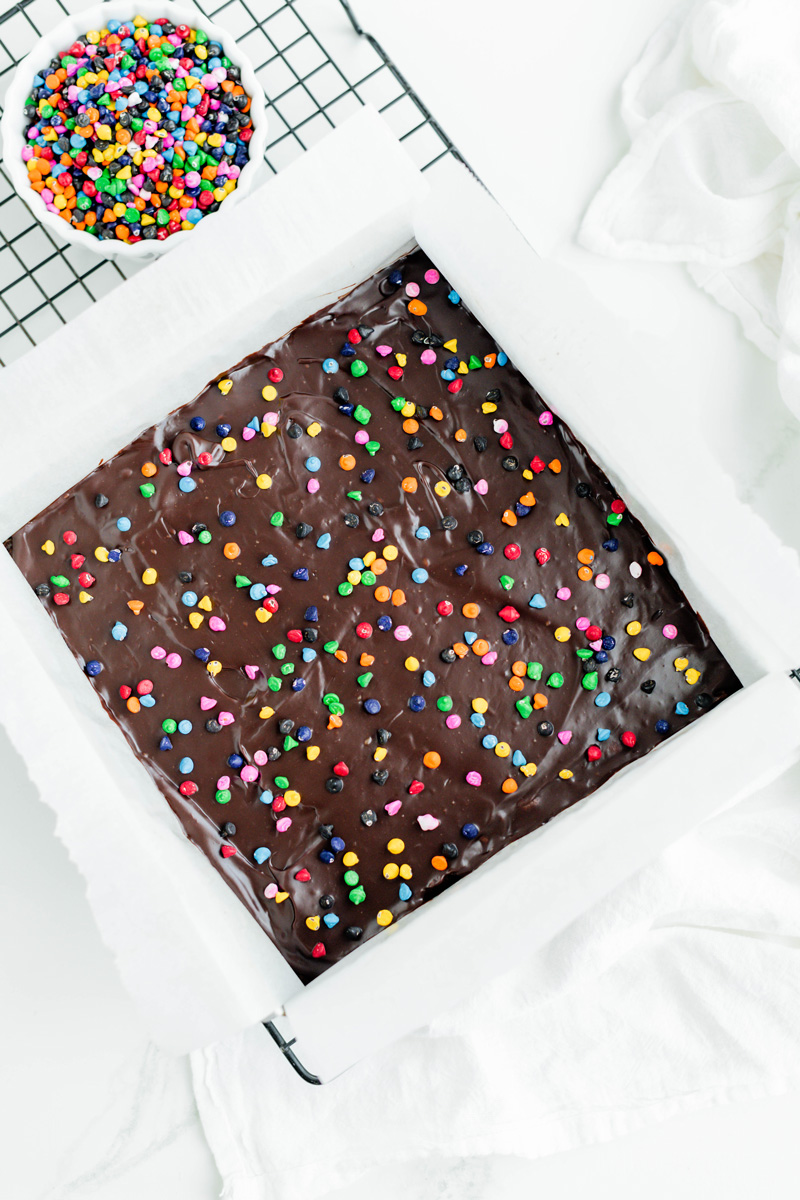
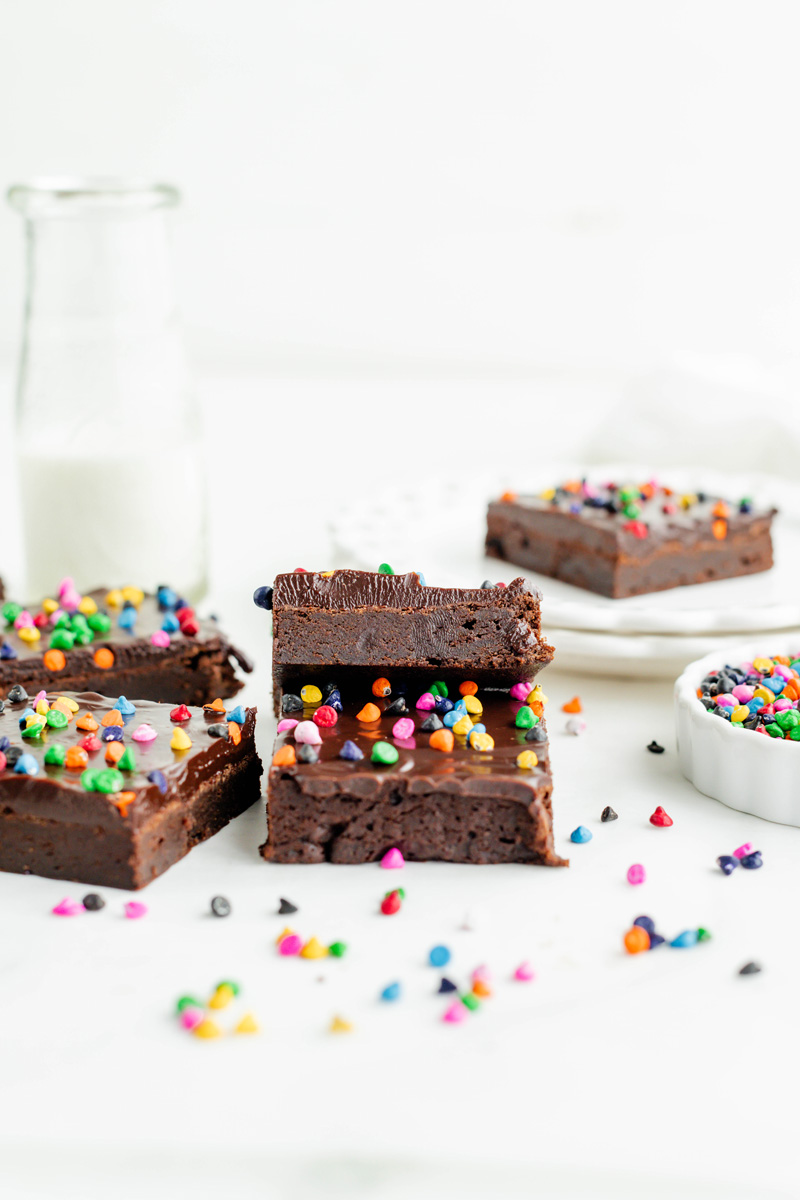
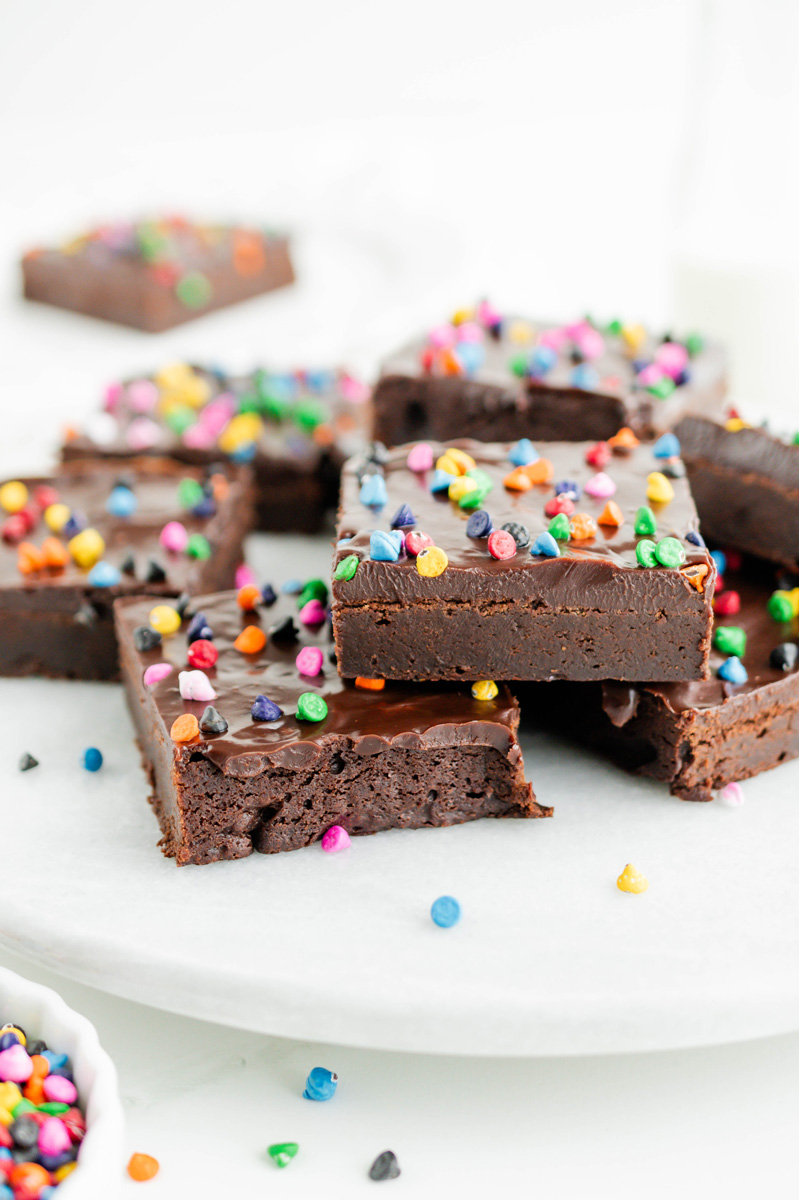
- 1/2 cup (3 ounces) mini chocolate chips
CHOCOLATE CHIP CAKE
- 4 1/3 cups (17.3 ounces) cake flour
- 1 1/4 teaspoons baking powder
- 1/2 teaspoon baking soda
- 1/2 teaspoon salt
- 1 3/4 cups whole milk
- 2/3 cup sour cream
- 1 1/4 cups (2 1/2 sticks) unsalted butter, at room temperature
- 2 1/2 cups (17.7 ounces) granulated sugar
- 1 tablespoon vanilla extract
- 6 large egg whites
- 1 cup mini chocolate chips
COOKIE DOUGH FILLING
- 3/4 cup (1 1/2 sticks) unsalted butter
- 2 1/2 cups (10 ounces) powdered sugar
- 1 teaspoon vanilla extract
- 1/2 teaspoon fancy molasses
- 1/8 teaspoon salt
- 1 tablespoon milk (more as needed)
- 1/2 cup (3 ounces) mini chocolate chips
VANILLA SWISS MERINGUE BUTTERCREAM
- 1 cup egg whites, from about 8 large eggs
- 2 cups (14 ounces) granulated sugar
- 3 cups (6 sticks) unsalted butter, cut into tablespoon sized pieces, at room temperature
- 1 tablespoon vanilla extract
CHOCOLATE DRIP
- 6 ounces semisweet chocolate, chopped
- 3/4 cup (6 fluid ounces) heavy cream
- 2 tablespoons unsalted butter, cut into 8 cubes
Instructions
EDIBLE COOKIE DOUGH
- Adjust an oven rack to the center position and heat to 350 degrees. Line a rimmed baking sheet with parchment paper. Spread flour evenly over the lined baking sheet and bake for 10 to 15 minutes, or until the flour start to turn ivory in color. Let the flour cool to room temperature and sift to remove any clumps. Store in an air tight container at room temperature until ready to use.
- In the bowl of a stand mixer fitted with the paddle attachment, combine the butter and sugars on high speed for 2 minutes or until light and fluffy. Add the vanilla and milk and mix until combined, scraping down the sides of the bowl as needed.
- Add the heat-treated flour and salt to the wet ingredients and mix on medium speed until combined. Add mini chocolate chips and mix for 30 seconds. Use immediately or store in an airtight container in the refrigerator for up to 5 days. Remove from the refrigerator and let come to room temperature for 1 hour before using.
CHOCOLATE CHIP CAKE
- Adjust an oven rack to the center of the oven and heat to 325 degrees. Spray 3 8-inch round cake pans with nonstick baking spray and set aside.
- In a medium bowl whisk together the flour, baking powder, baking soda, salt and set aside.
- In a liquid measuring cup, whisk together the milk and sour cream until no lumps remain.
- In a stand mixer with the paddle attachment attached, cream the butter, sugar and vanilla on medium speed until light and fluffy, about 5 minutes. Scrape down the sides of the bowl.
- On medium speed, slowly add the egg whites in a little at a time. Mix until the egg whites are just combined. Scrape down the sides of the bowl as needed.
- Reduce the mixer speed to low and add the flour mixture in three additions, alternating with the milk mixture in 2 additions. Mix until just incorporated. Scrape down the sides of the bowl as needed.
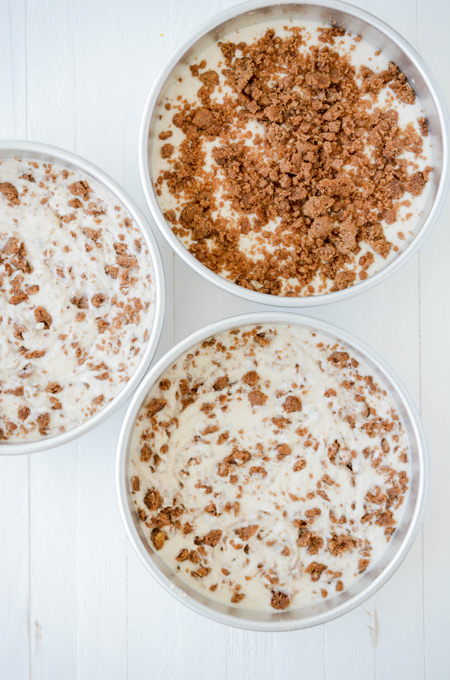
- Stir in the mini chocolate chips.
- Evenly divide the cake batter between the prepared pans and bake for 45 minutes, or until a toothpick inserted in the center of the cakes come out with a few moist crumbs attached.
- Let cakes cool in their pan for 30 minutes, then invert on to a wire rack to cool completely.
COOKIE DOUGH FILLING
- In a medium-sized saucepan, melt the butter over medium-low heat. Increase the heat to medium-high heat and cook, stirring constantly to keep the butter from sticking and burning on the bottom of the saucepan. Continue to cook for 8 minutes or until the butter is fragrant and it amber in color. Strain the butter through a fine mesh strainer over a heat proof bowl to catch any browned bits that may have formed. Chill the browned butter in the refrigerator for one hour or until it has come to room temperature, about 70 degrees.
- In the bowl of a stand mixer with the paddle attachment attached, beat the cooled browned butter on low speed until smooth. Slowly add the powdered sugar, vanilla, molasses and salt. Once combined, increase the mixer speed to medium and mix until the filling is smooth and creamy, about 3 minutes. The filling should be a spreadable consistency. You may need to add additional milk by 1 teaspoon increments if the filling is too thick. Fold in the mini chocolate chips by hand with a rubber spatula.
VANILLA SWISS MERINGUE BUTTERCREAM
- In the bowl of a stand mixer fitted with the whisk attachment, pour in the egg whites and sugar and whisk by hand until combined. Fill a medium saucepan with about 2 inches of water and bring to a simmer. Place mixer bowl on top, being sure the bottom of the bowl does not touch the water and attach a candy thermometer.
- Whisking occasionally, heat the egg mixture until the temperature reaches 160 degrees. Once the mixture reaches 160 degrees, transfer to a stand mixer and beat the mixture on high speed for 10 minutes or until medium-stiff peaks form. At this point the outside of the mixer bowl should be room temperature. Switch out the whisk attachment with the paddle attachment and with the mixer on low speed, add the butter one tablespoon at a time, and then add the vanilla extract. Once combined, turn up the mixer speed to medium-high and beat until the buttercream is smooth about 5 minutes.
ASSEMBLE
- (If you premade your Edible Cookie Dough now is a good time to take it out of the refrigerator.)
- If you’re using an acrylic disc, place a nonslip mat on top of a cake turntable and place an 8-inch cardboard cake round on top. Center the first cake layer on top of the cake board. Make sure there’s even spacing from all the edges. Spread half of the Cookie Dough Filling on top, spreading all the way to the edge of the cake. Place the second cake layer on top and spread the remaining filling on top in an even layer, spreading out to the edges. Place the last cake layer on top (bottom side up) and apply a thin coat of Vanilla Swiss Meringue Buttercream over the top and sides of the cake to catch the crumbs. Be sure not to add any crumbs to your clean bowl of buttercream in the process. You can also add about 3 cups of clean buttercream in a small bowl as your designated “crumb coat buttercream”. Chill the crumb coated cake in the refrigerator for 30 minutes.
- Place the 8-inch round acrylic disc on top of the chilled cake making sure it’s straight. Apply buttercream to the sides of the cake. Using a cake scraper, gently press scraper against the sides of the cake and smooth out the buttercream. Fill in any gaps in the buttercream and gently press the scraper against the cake and rotate the cake turntable one more. Continue this process until there are no more gaps and buttercream is smooth. Refrigerate the cake for 30 minutes.
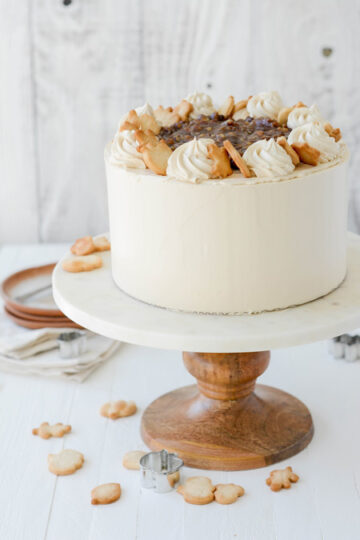
- Gently use a small thin cake spatula to remove the acrylic disc from the chilled cake. Using an off set cake spatula, fill in any gaps on the top of the cake with more buttercream. Pull in the edges carefully with the spatula, cleaning the knife with each swipe. Save remaining buttercream for decorating by placing it in a piping bag that is fitted with piping tip #827. Place the cake in the refrigerator to chill while you prepare the Chocolate Drip.
CHOCOLATE DRIP
- Place chopped chocolate in a heatproof bowl. In a small saucepan, over medium heat, bring the cream to a simmer. Pour hot cream over the chopped chocolate and stir until the chocolate has melted and is smooth. Add the butter and stir until melted. Cool on the counter for about 10 to 15 minutes before using.
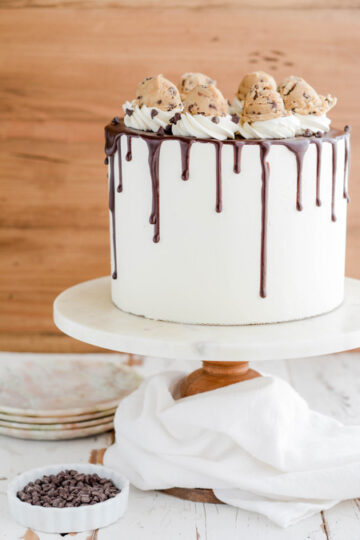
- With a spoon or squeeze bottle, strategically work around the cake edge to apply the chocolate drip, coaxing the drips to drip where you want, then place just enough chocolate over the top center of the cake and push out with a metal cake spatula to spread around, meeting the chocolate that has been spooned on to the edges. Use as much or as little of the chocolate drip as you like. Chill the cake in the refrigerator for 15 minutes.
- With the remaining buttercream in your piping bag, pipe swirls around the edge of the cake. Using a small spring loaded ice cream scoop, scoop out balls of cookie dough and place one on each buttercream swirl. Serve cake immediately or store in an airtight cake container in the refrigerator. Bring to room temperature before serving (about 2 hours).
Notes
Store cake in an airtight cake container in the refrigerator for up to 3 days. Bring to room temperature before serving (about 2 hours).