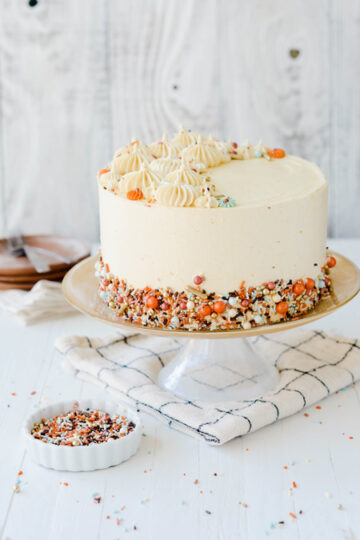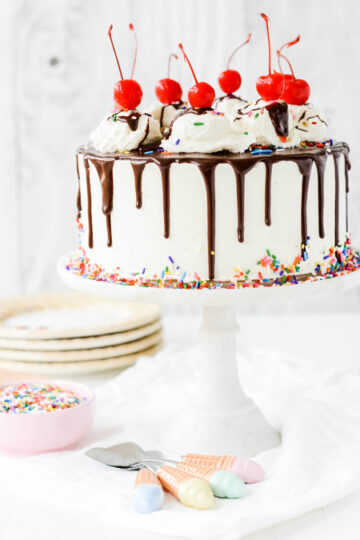
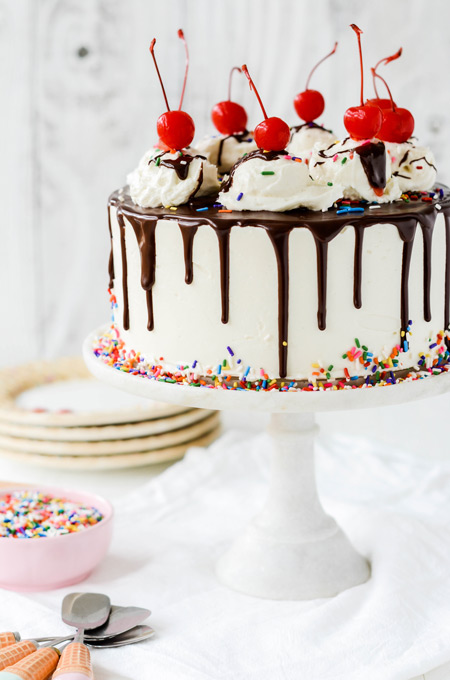
Imagine a brownie in cake form filled and frosted with Vanilla Ice Cream Frosting, topped with Chocolate Drip, rainbow sprinkles and cherries. Those are the stars that make up this Brownie A La Mode Layer Cake!

Imagine a brownie in cake form filled and frosted with Vanilla Ice Cream Frosting, topped with Chocolate Drip, rainbow sprinkles and cherries. Those are the stars that make up this Brownie A La Mode Layer Cake!
...
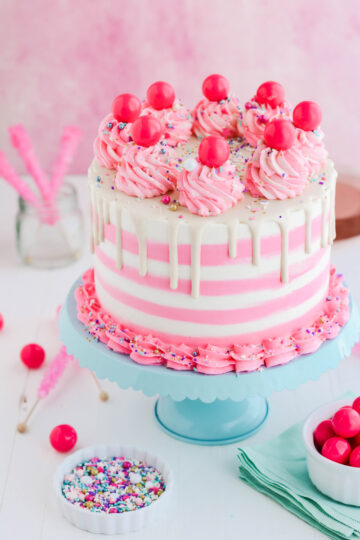
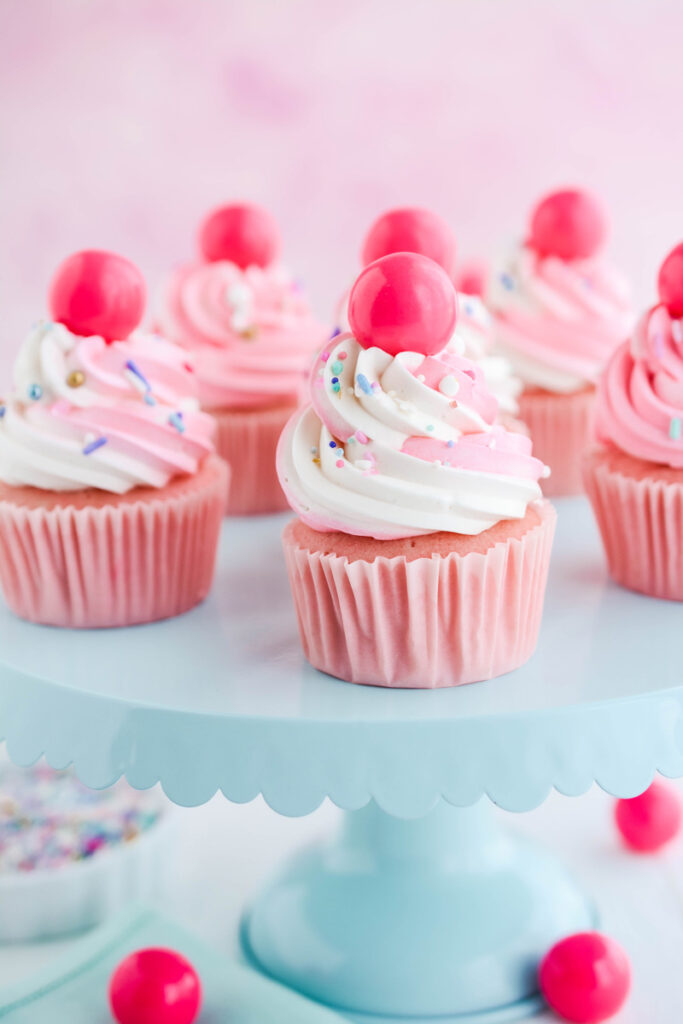
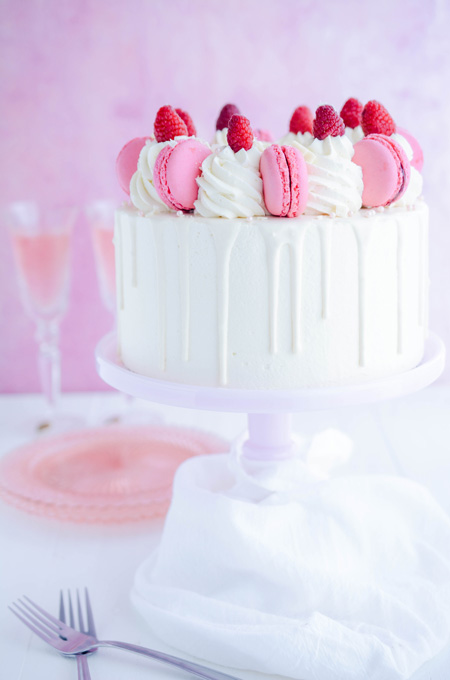
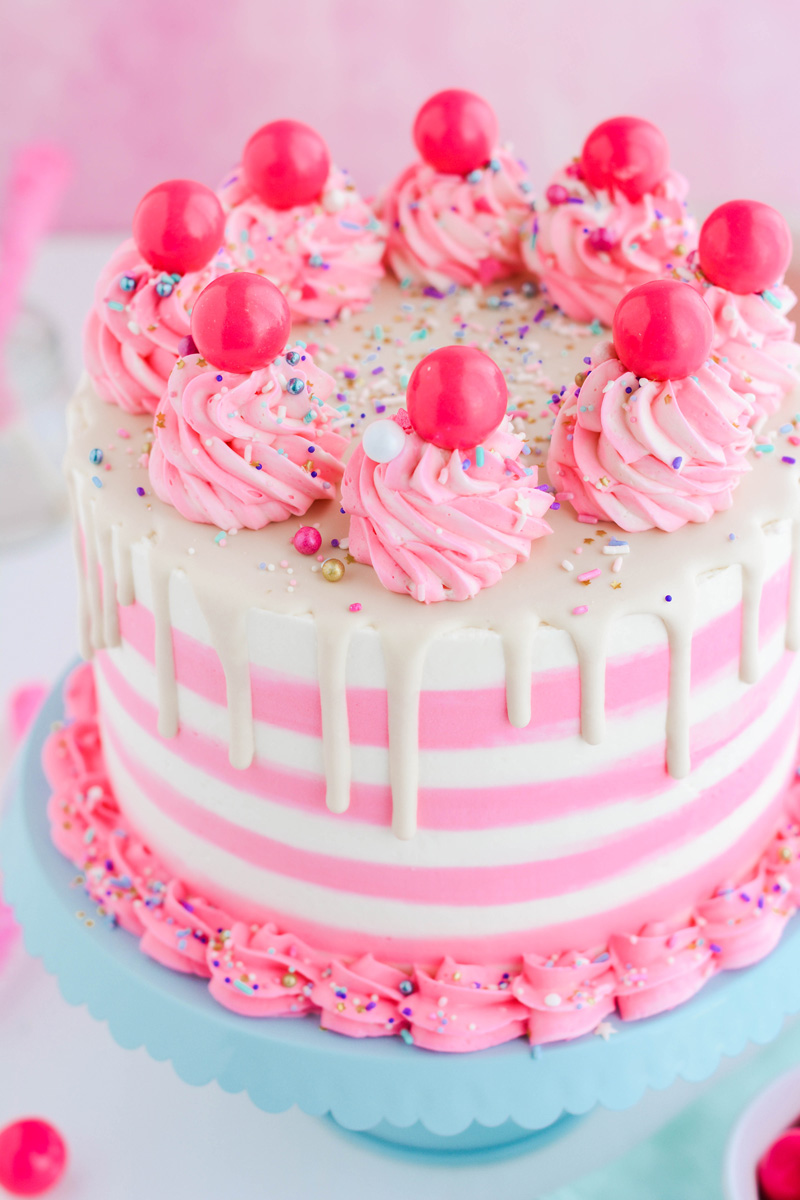
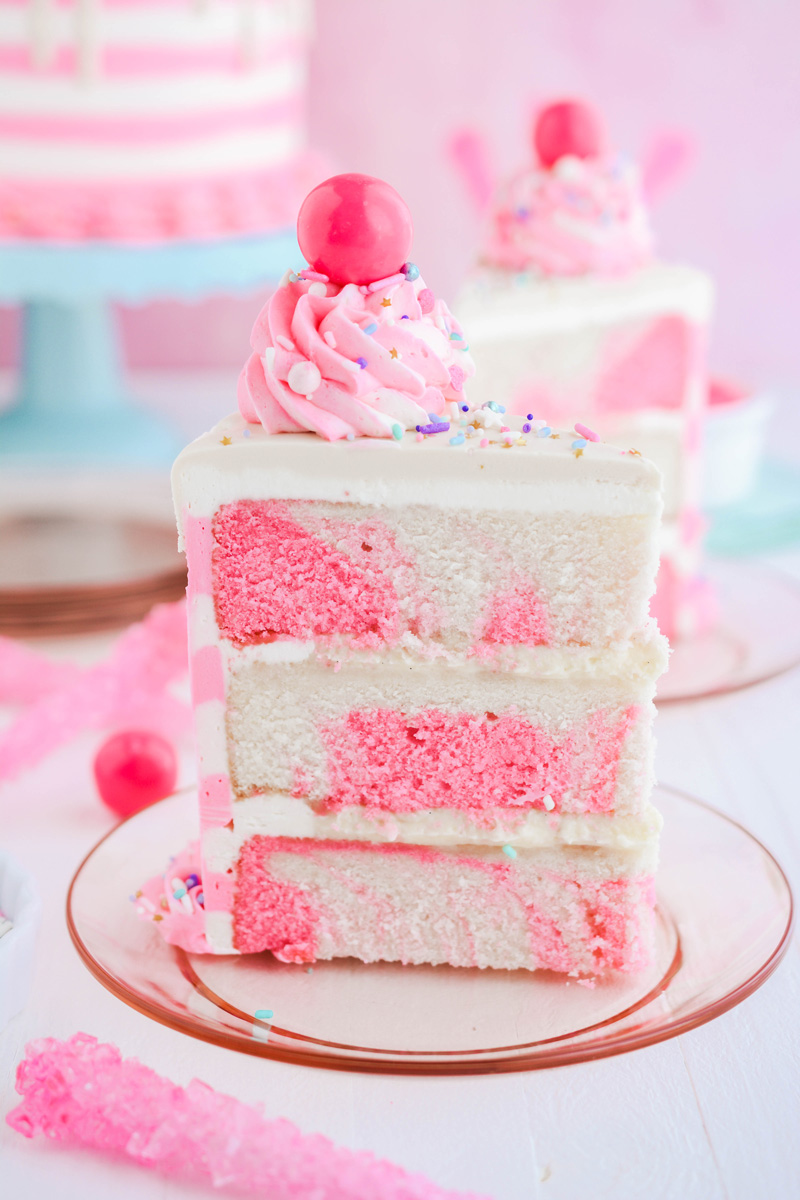
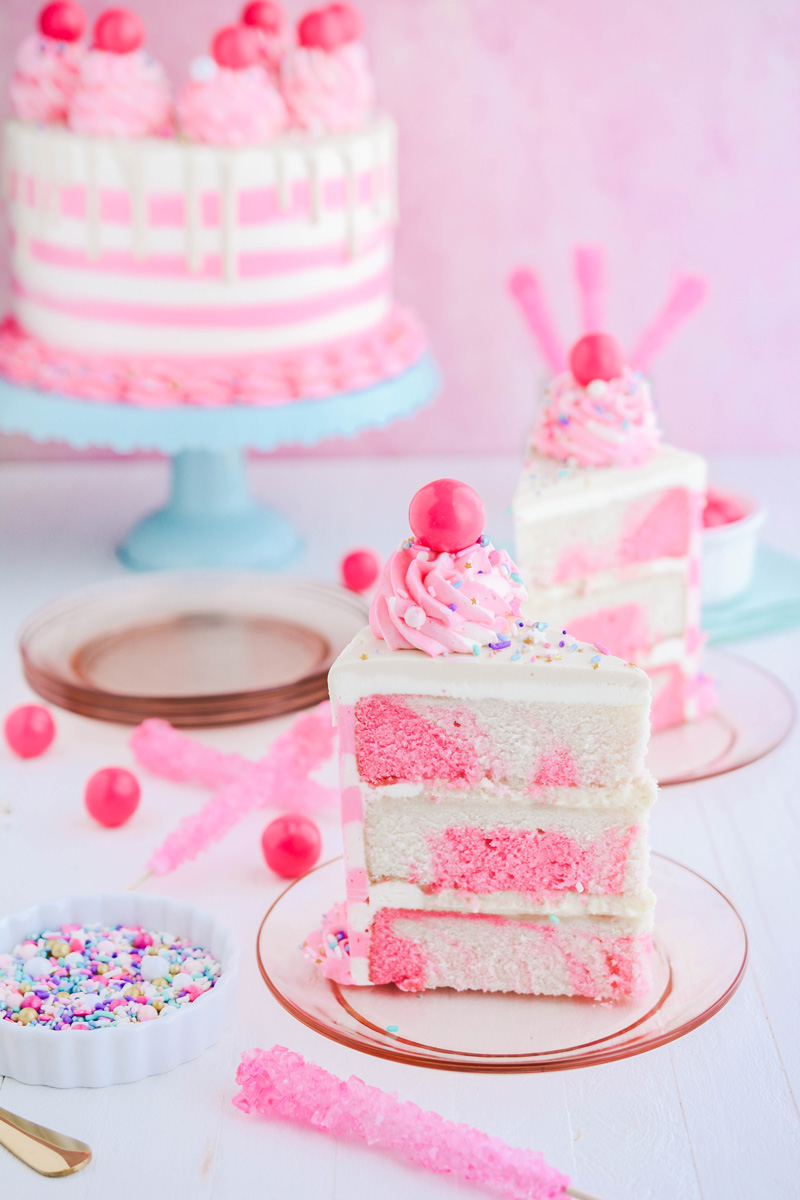
This Bubble Gum Layer Cake is not only fun to look at but tasty too! You'll be the hit of the party bringing this beauty to the dessert table.
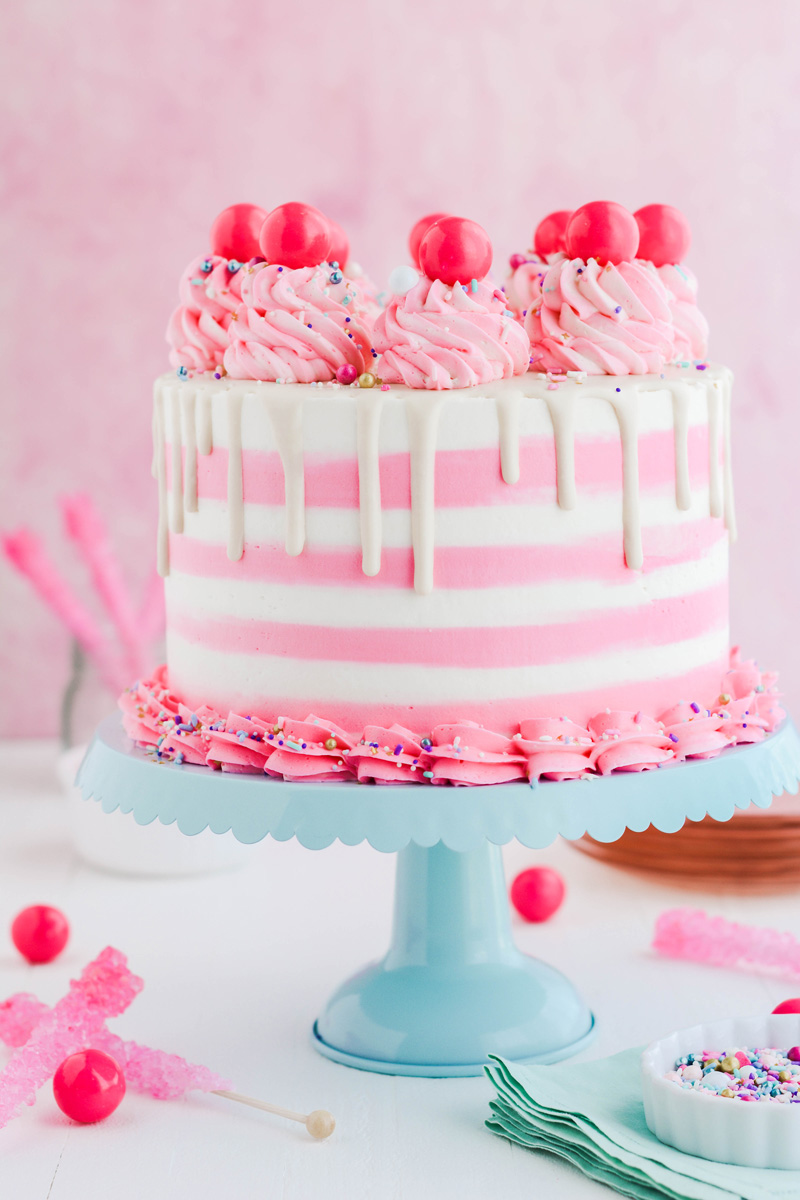
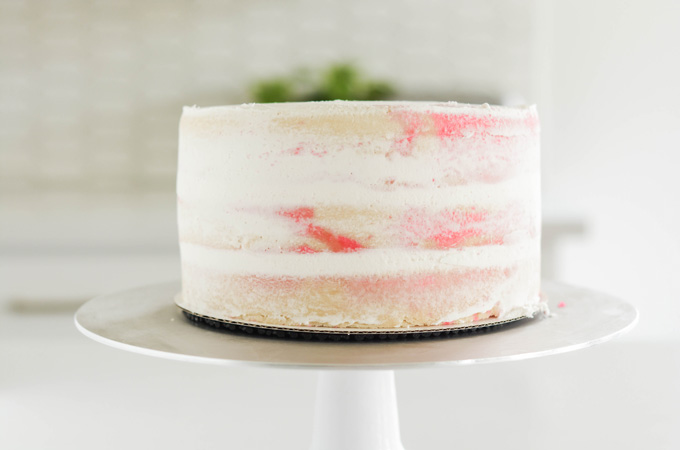
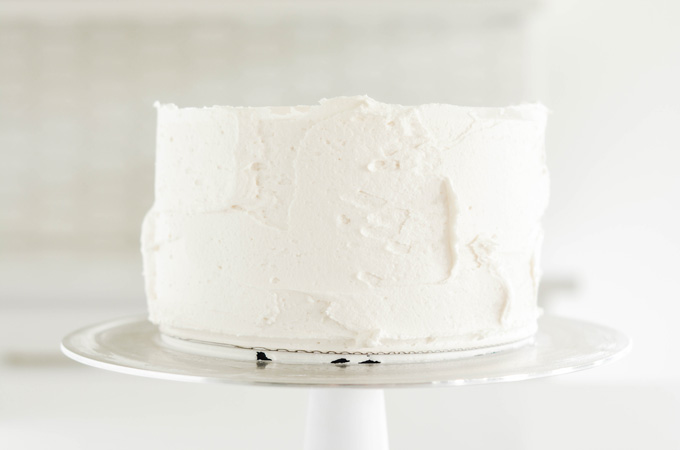
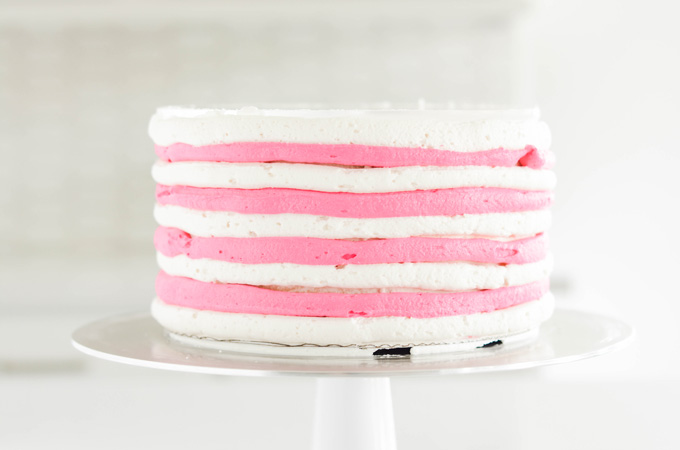
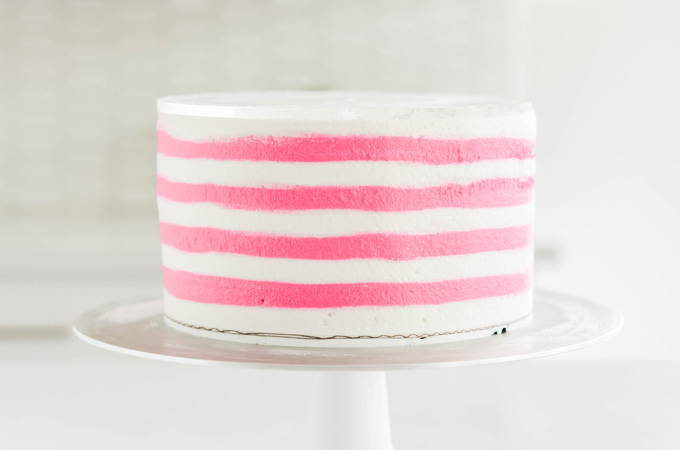
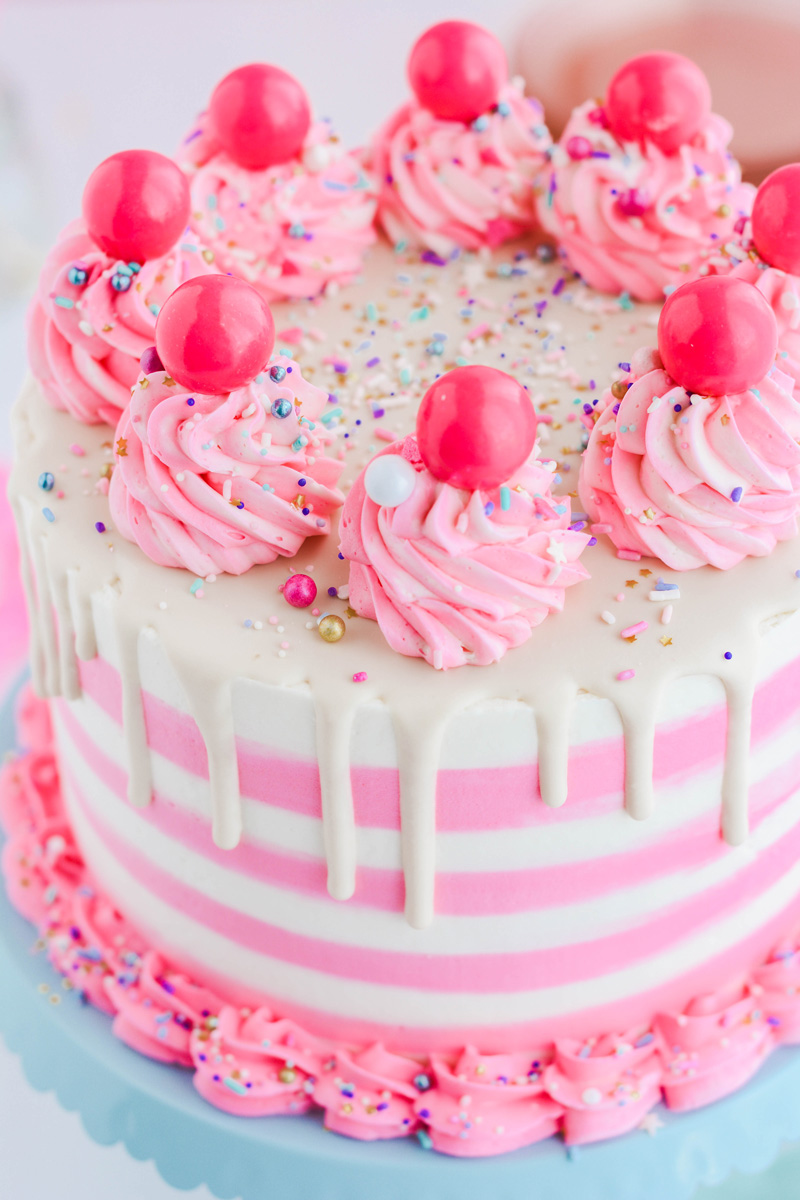
Thanks to the reverse creaming method and cake flour this cake is delicate with a fine crumb. I've added frosting stripes for a fun and whimsical look. Plus the addition of a white chocolate drip takes this Bubble Gum Layer Cake to the next level. Bespoke sprinkles and pink bubble gum balls finish off the look.

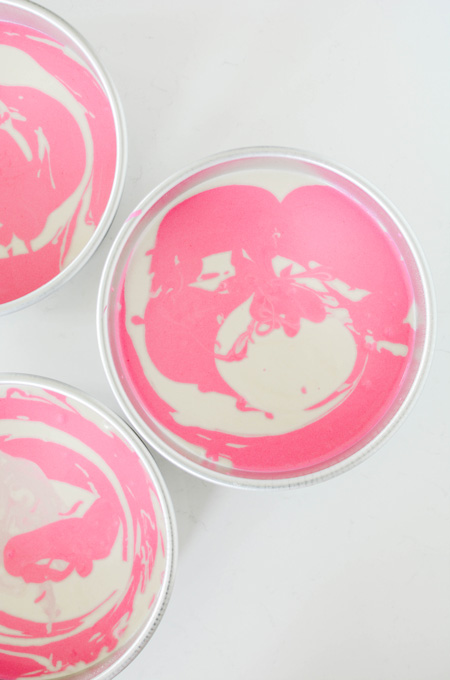
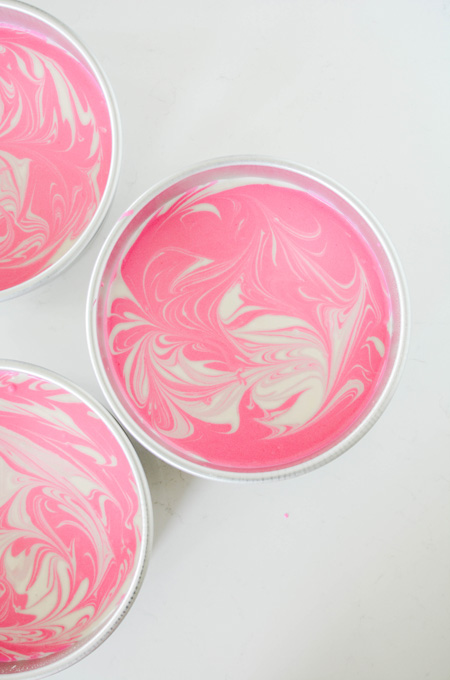
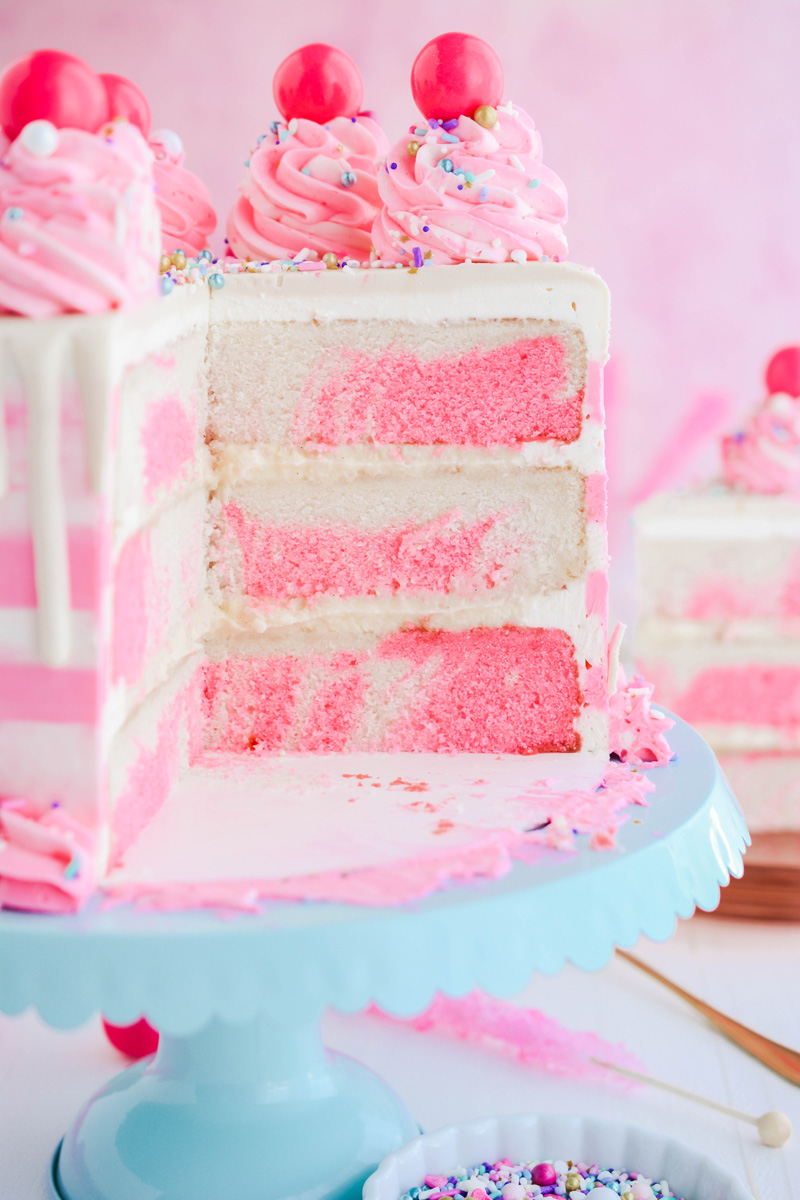
Reverse creaming is when you combine all the dry ingredients together, and then add softened butter to the dry ingredients, followed by the wet ingredients. This creates a cake that is tender but sturdy. And creates an ultra fine crumb. During this process the butter coats the flour particles, minimizing the gluten development, creating a tender and fine crumb.
This is a new addition to Bubble Gum Layer Cake. I thought adding a more luxurious filling instead of just frosting would elevate this cake to the next level. And you know what, I was right! Vanilla beans can be pricey so if they're not in your budget you can substitute 1 1/2 teaspoons vanilla extract, mixing the extract in with the butter.

Assembled cake can be stored in an airtight container at room temperature for up to 1 day or stored in the refrigerator for up to 3 days. Bring to room temperature before serving.
Cake layers can be made up to 3 days in advance, wrapped in plastic wrap, stored in an airtight cake container in the refrigerator.
Vanilla bean pastry filling can be made up to 3 days in advance, stored in the refrigerator.
Frosting is best made the day of assembly.
The Cake Chica is on the following social media platforms below. Click subscribe, like and follow! We would love to have you over!
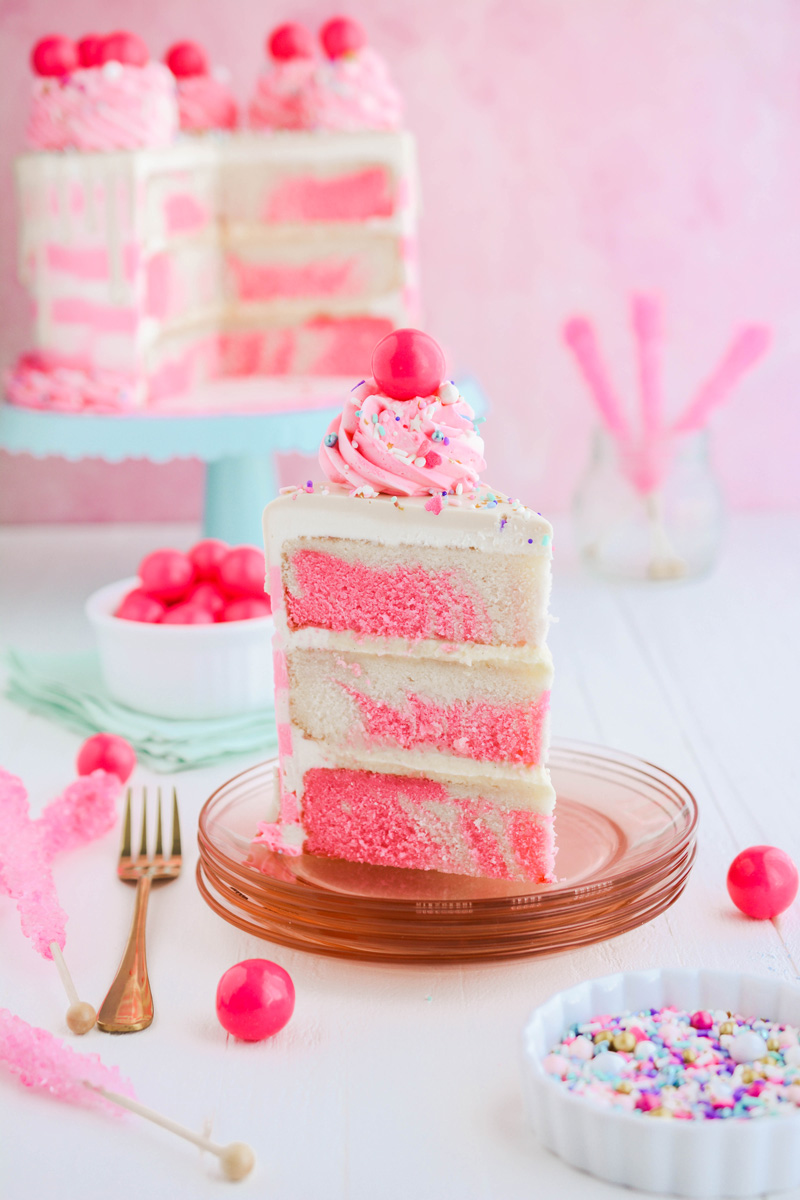
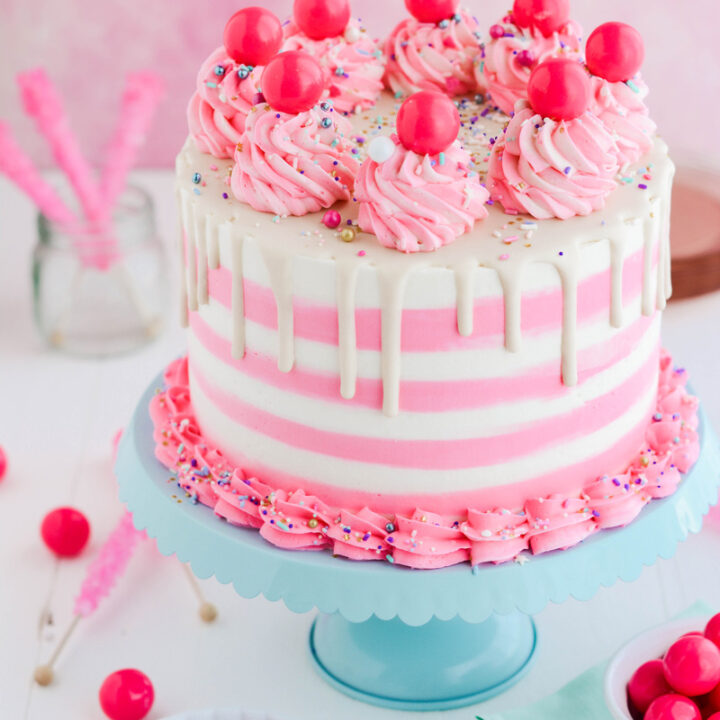
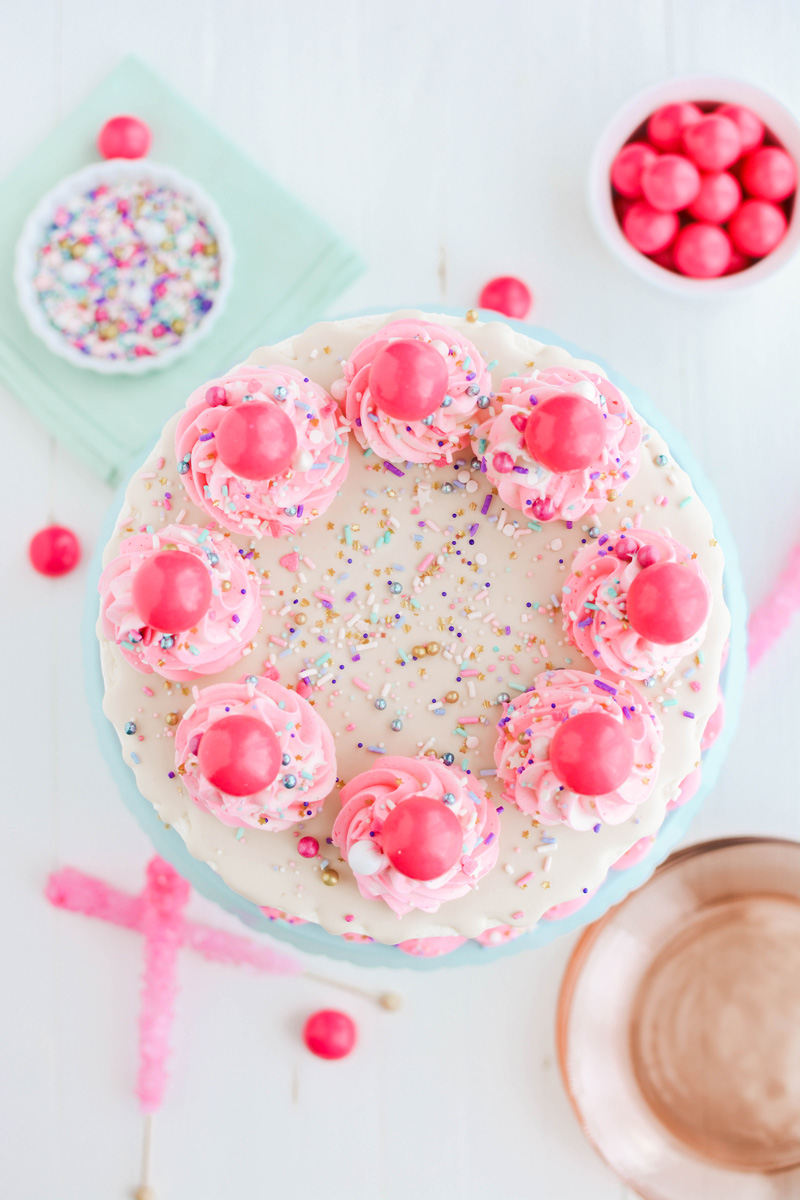
Bubble Gum Layer Cake filled with vanilla bean pastry filling and frosted with bubble gum flavored frosting. Garnished with white chocolate drip, sprinkles and pink bubble gum balls.
Assembled cake can be stored in an airtight container at room temperature for up to 1 day or stored in the refrigerator for up to 3 days. Bring to room temperature before serving.
Cake layers can be made up to 3 days in advance, wrapped in plastic wrap, stored in an airtight cake container in the refrigerator.
Vanilla bean pastry filling can be made up to 3 days in advance, stored in the refrigerator.
Frosting is best made the day of assembly.
*Nutrition information is an estimate and will vary.*
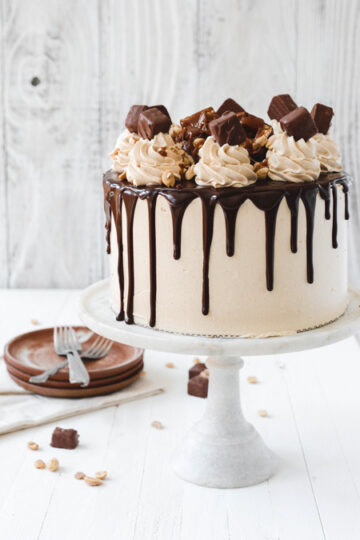
Snickers is by far my favorite candy bar! So I don't know why it took me so long to create a Snickers inspired Candy Bar Layer Cake. But as they say, 'better late than never'. Get ready to devour three layers of homemade milk chocolate cake, filled with nougat filling that's topped with homemade caramel sauce, frosted with peanut butter Swiss meringue buttercream and topped with chocolate drizzle. This cake is a real treat!

As an Amazon Associate, I earn from qualifying purchases.
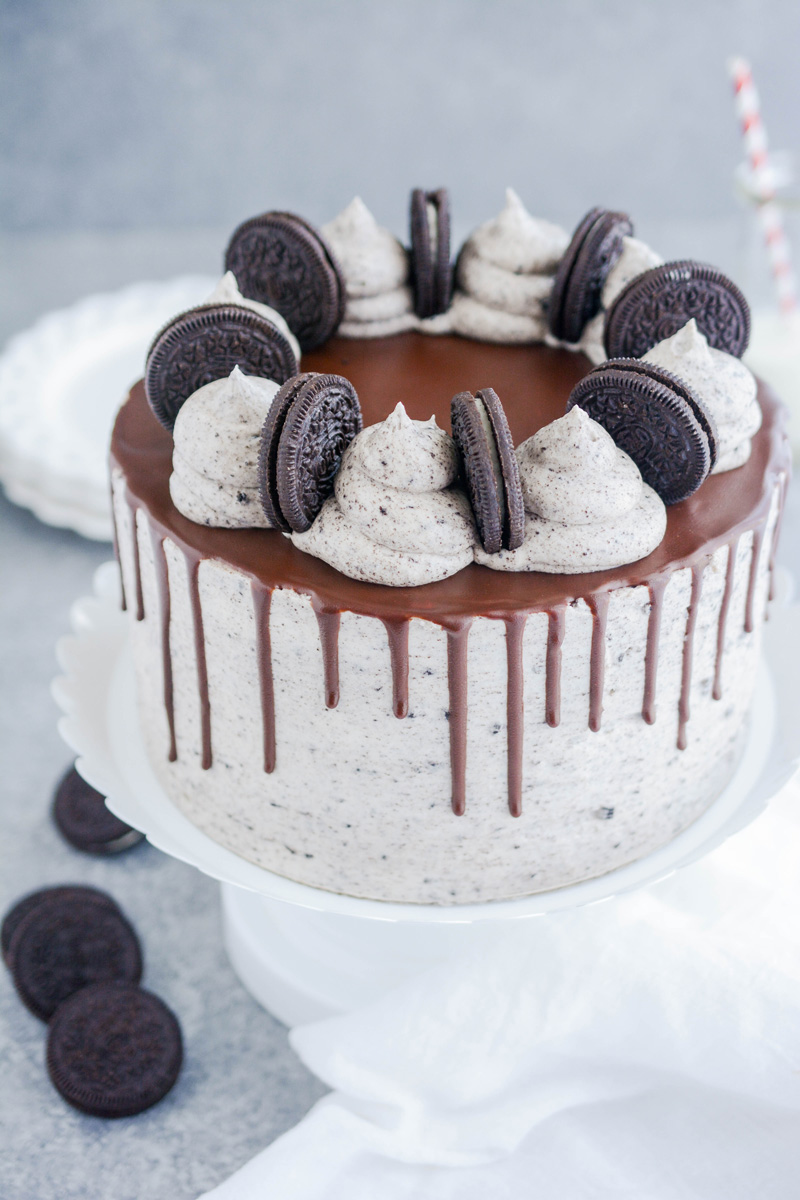
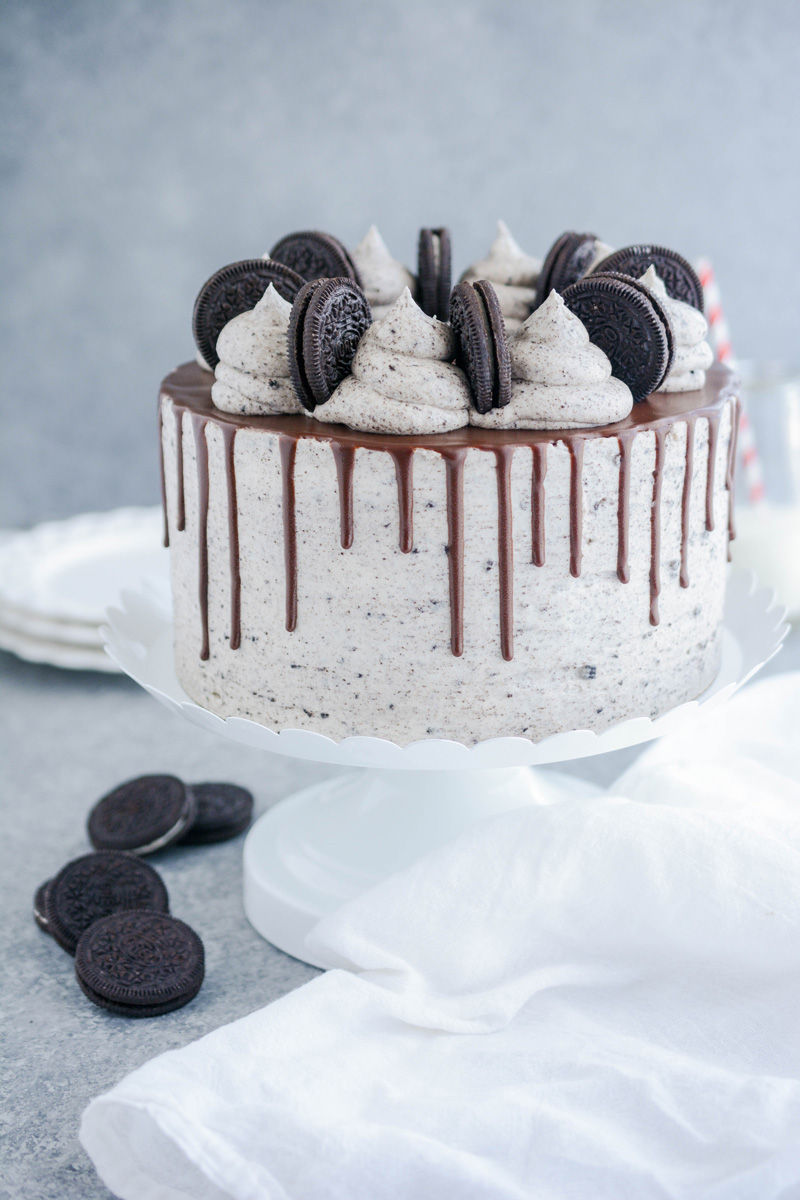
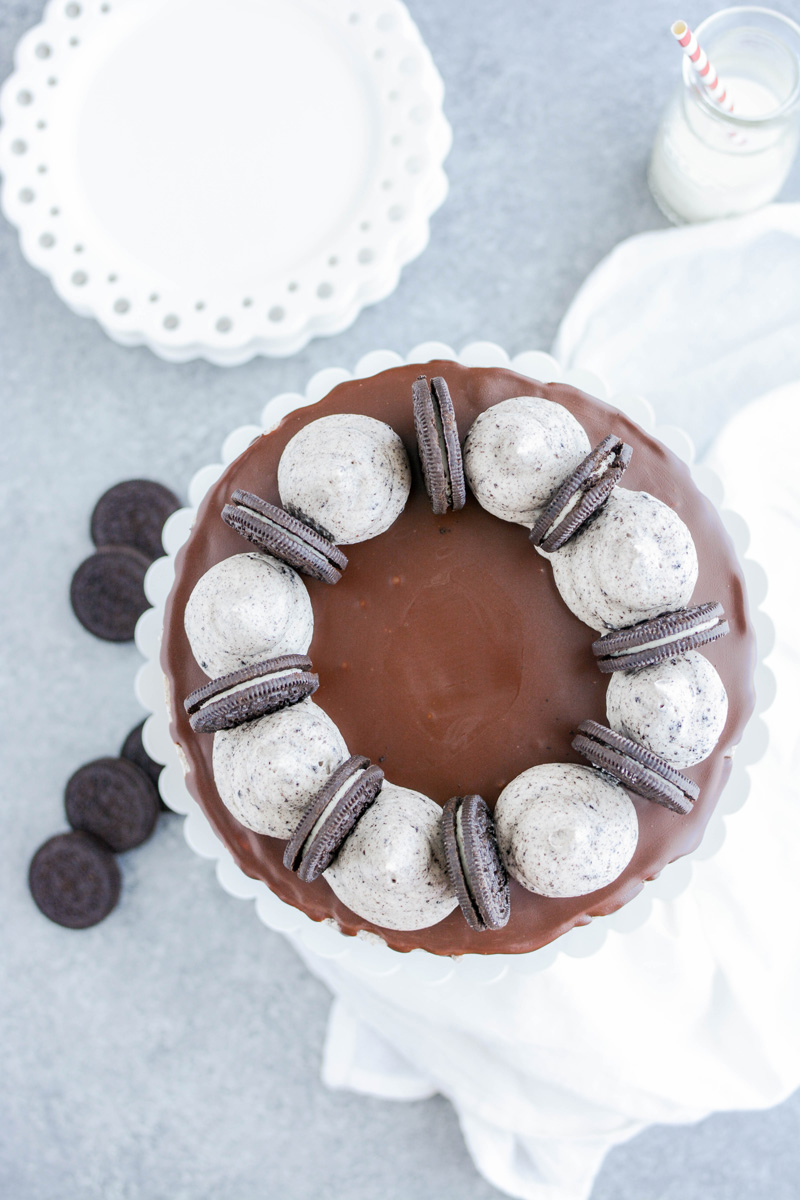
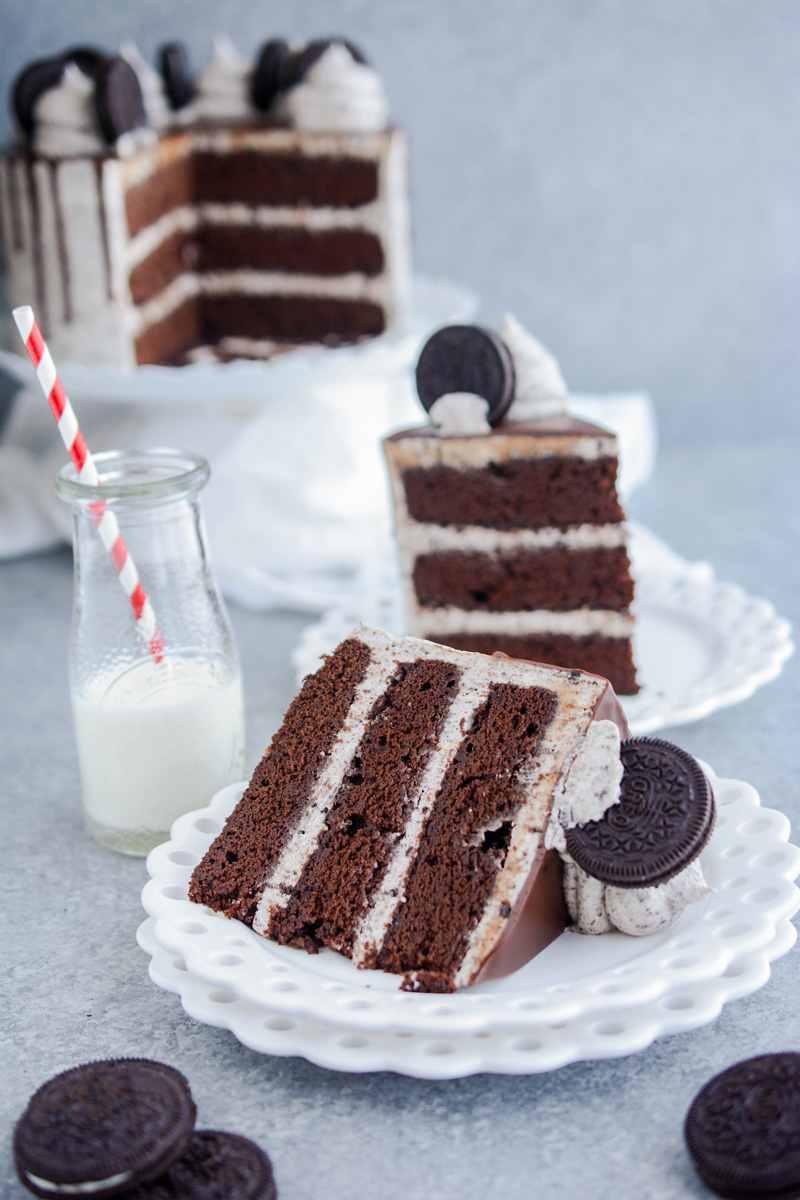
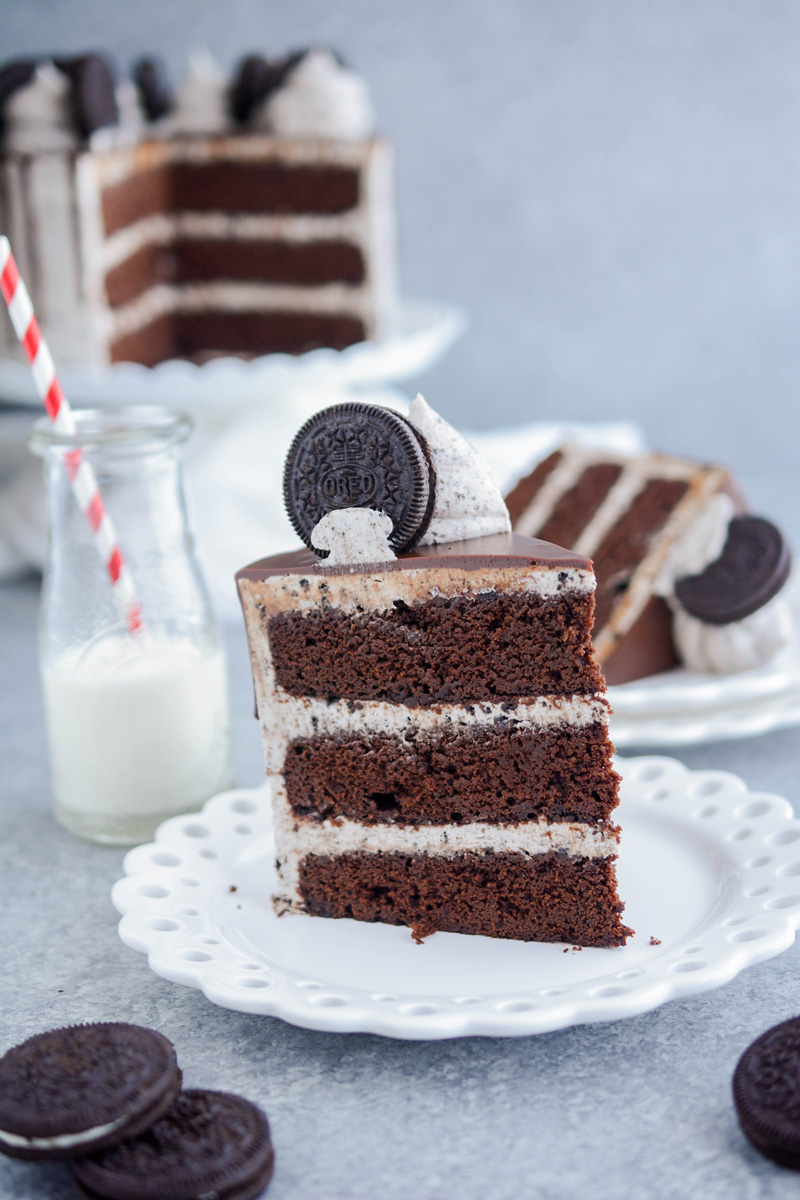
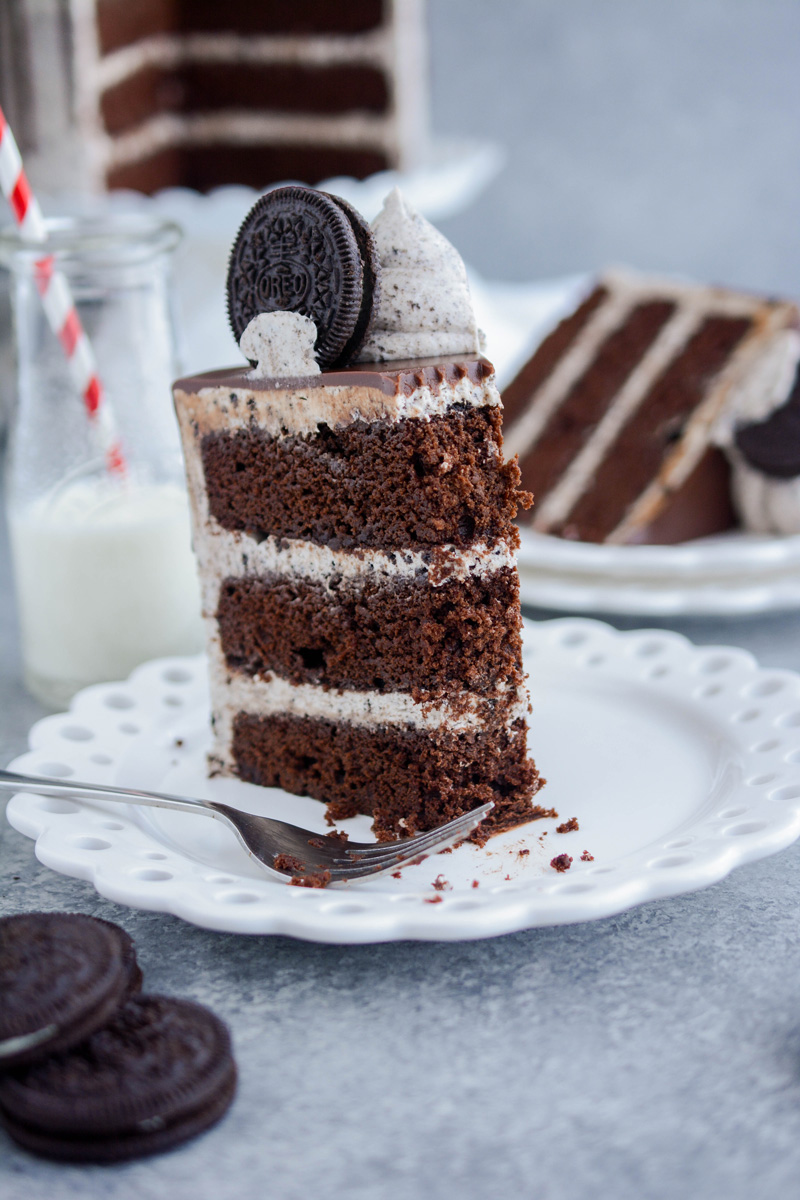
My Ultimate Cookies and Cream Layer Cake is a tantalizing masterpiece that brings together the decadence of velvety chocolate cake and the creaminess of cream cheese frosting, blended with crunchy cookie crumbs and chocolate drips. With each decadent bite, you'll savor the perfect harmony of rich, moist cake and luscious cream, all crowned with a generous pour of chocolate drips and Oreo cookies.
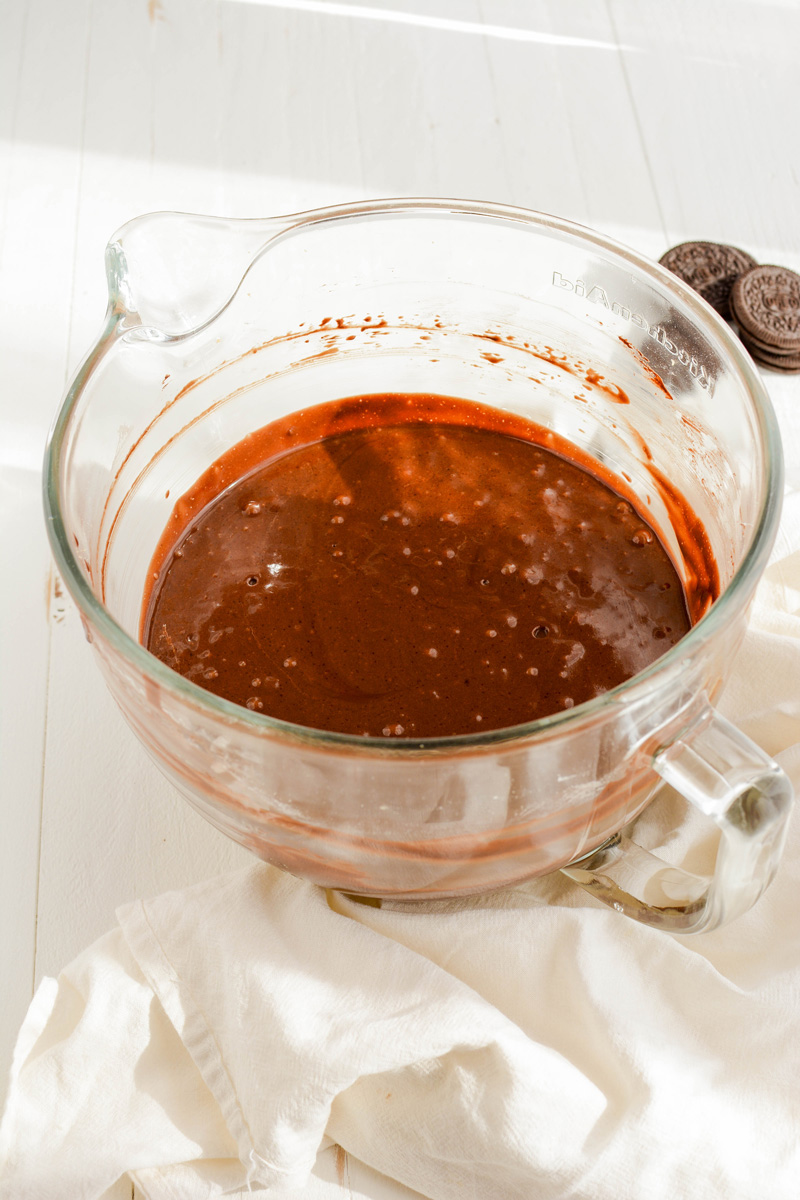
Unsweetened chocolate and Dutch-processed cocoa powder are used to achieve this cake’s rich chocolate flavor. Plus, the Dutch-processed cocoa is less acidic than natural cocoa and helps with browning. Brown sugar and espresso powder also help enhance the chocolate flavor in this rich dark chocolate cake.
The Cake Chica is on the following social media platforms below. Click subscribe, like and follow! We would love to have you over!
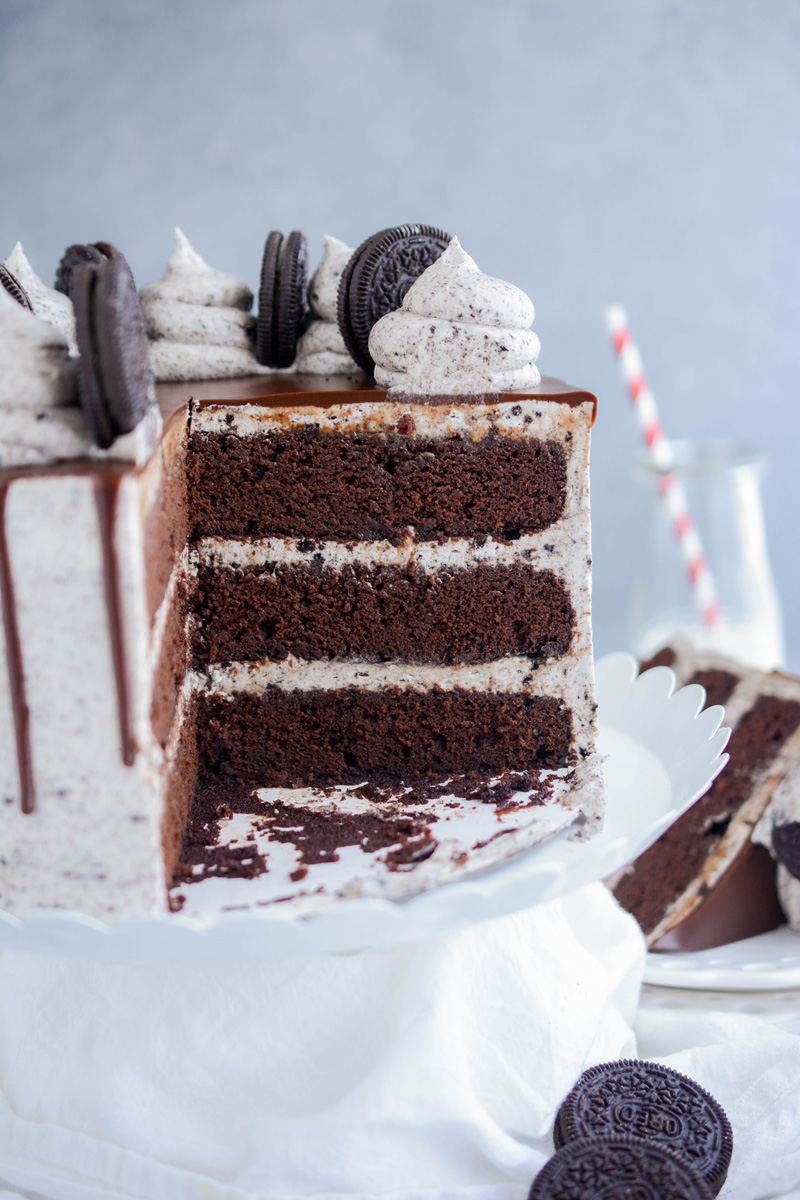

The Ultimate Cookies and Cream Cake is made with 3 layers of homemade chocolate cake, filled and frosted with cream cheese frosting and topped with chocolate drip and Oreo cookies!
Make Ahead & Storage
Cake layers can be made up to one month in advance, wrapped in plastic, then in foil, and stored in the freezer. Thaw cake at room temperature.
Cake layers can be stored in the refrigerator, wrapped in plastic for up to 3 days.
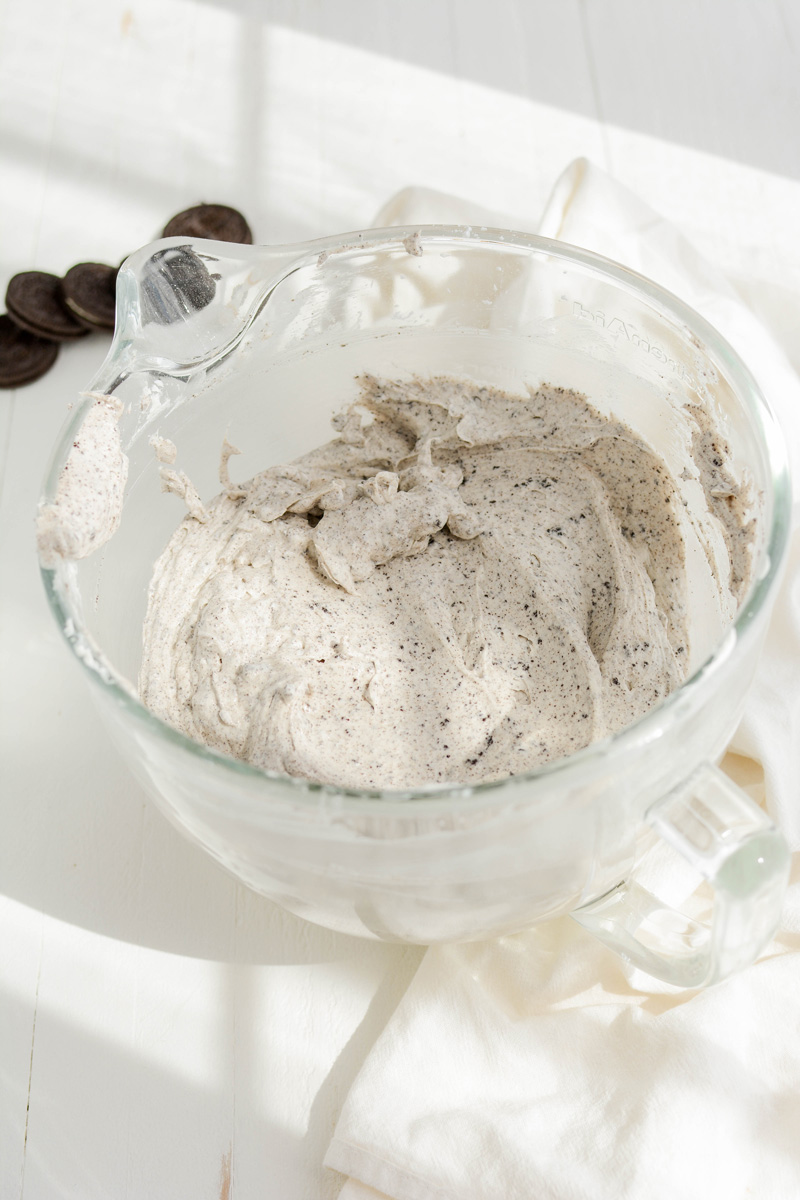
Cream cheese frosting can be made up to 3 days in advance, stored in an airtight container in the refrigerator. Bring to room temperature before whipping and using.
Assembled cake can be stored in an airtight container in the refrigerator for up to 3 days. Bring to room temperature before serving.
*Nutrition information is an estimate and will vary.*
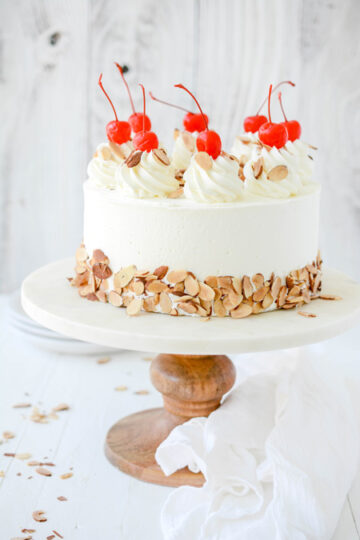
Back in the day when I was making custom cakes White Almond Sour Cream Cake was a popular flavor choice. It was a doctored box cake recipe that was perfect for stacking cakes. But now that I prefer smaller layer cakes, I wanted a homemade version.
So let me introduce you to my version of Homemade White Almond Sour Cream Cake, which has a velvety crumb and a hint of almond flavor.
As an Amazon Associate, I earn from qualifying purchases.
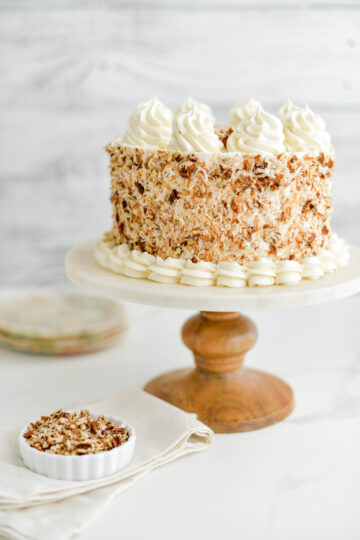
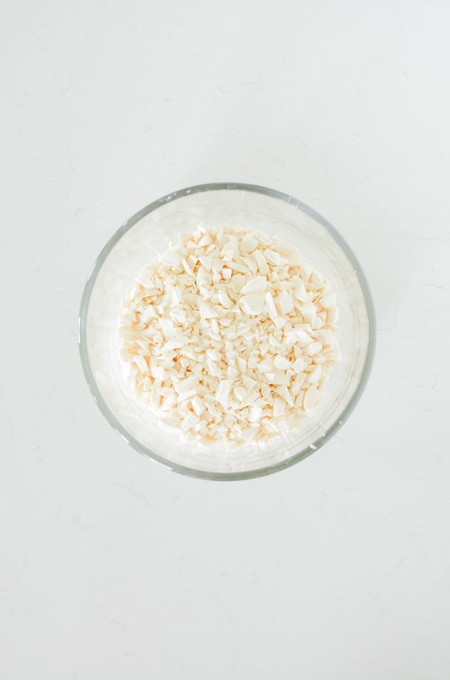
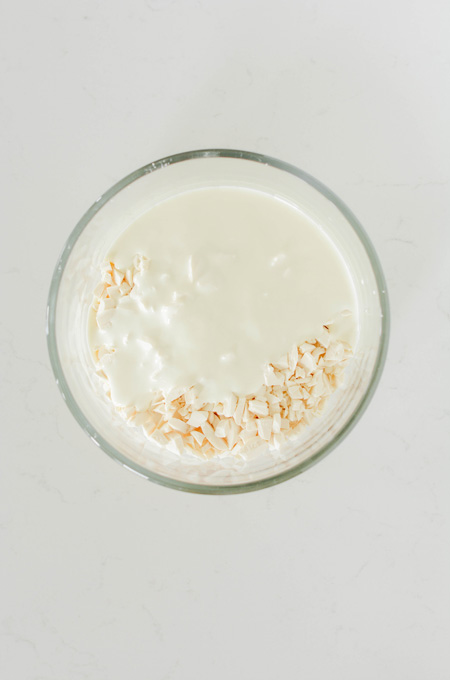
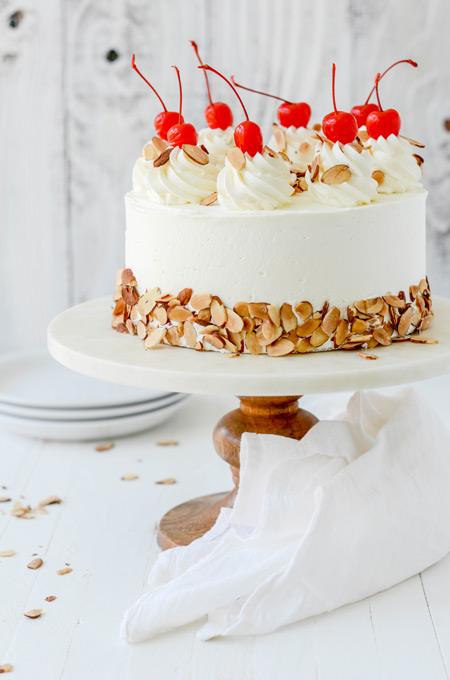
Although there's nothing Italian about it, you can't resist this Italian Cream Cake is a Southern beauty. It's light and fluffy and full of toasted coconut and pecans in every bite! Next, it's filled and frosted with a fluffy Cream Cheese Frosting. Lastly, this beauty is garnished with remaining toasted coconut and pecans!


The Cake Chica is on the following social media platforms below. Click subscribe, like and follow! We would love to have you over!
Adapted from Vintage Cakes by Julie Richardson and The Sweetapolita Bakebook by Rosie Alyea.

Homemade Italian Cream Cake baked with toasted coconut and pecans, filled and frosted with fluffy cream cheese frosting.
Store assembled cake in an airtight container in the refrigerator for up to 3 days. Bring to room temperature before serving.
Cake layers can be stored wrapped in plastic wrap in the refrigerator for up to 3 days.
Cream cheese frosting is best made the day of assembly.
*Nutrition information is an estimate and will vary.*
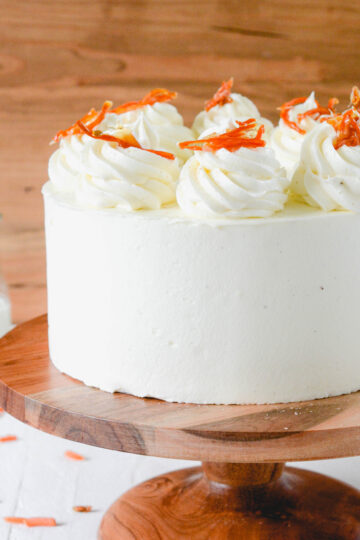
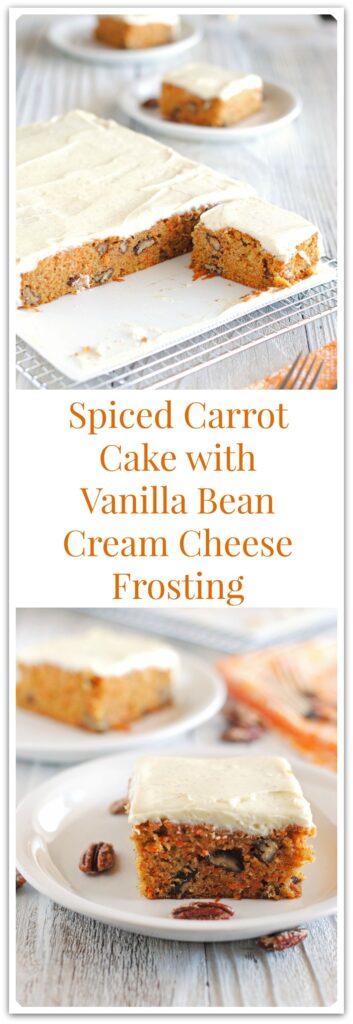
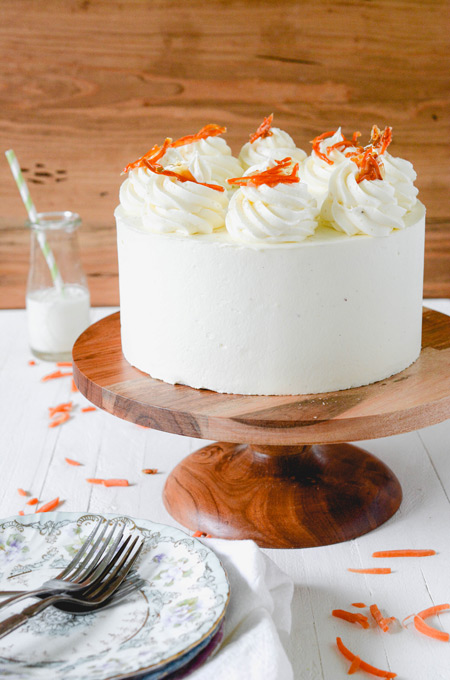
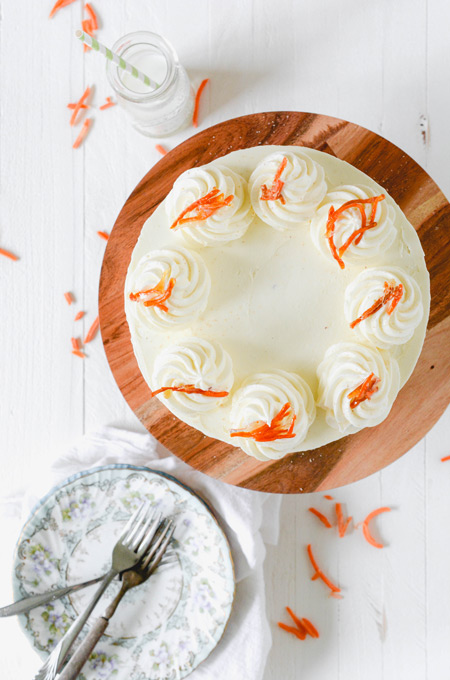
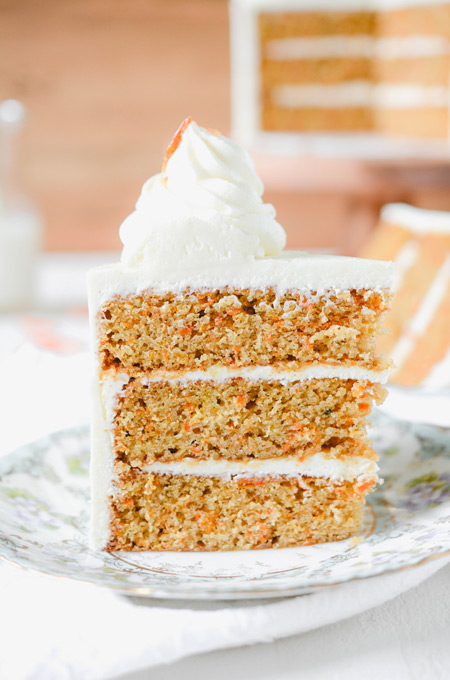
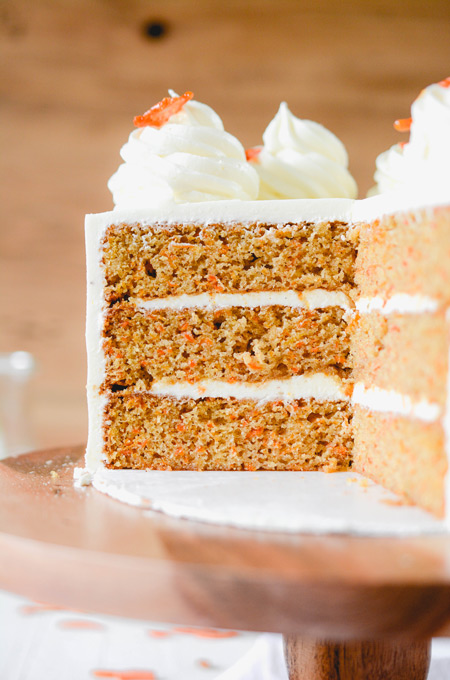
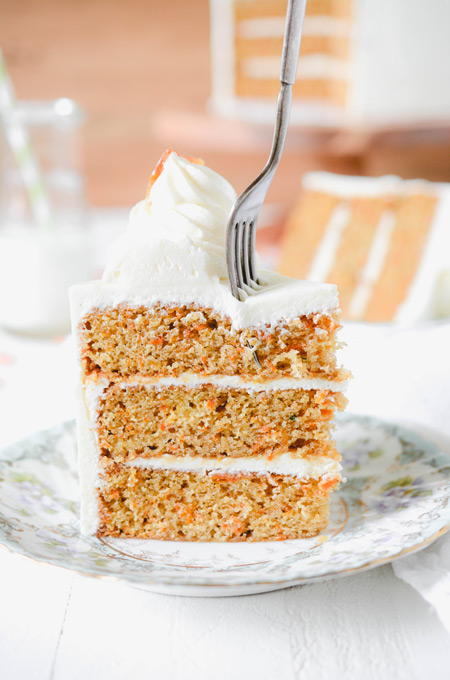
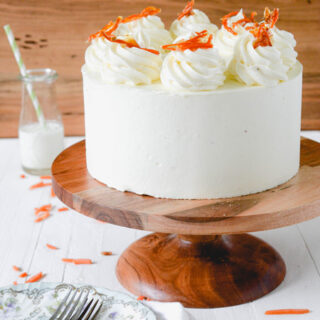
Spiced Carrot Cake with Vanilla Bean Cream Cheese Frosting is the perfect way to spice up the traditional carrot cake. It's 3 layers of homemade Spiced Carrot Cake, frosted and filled with fluffy Vanilla Bean Cream Cheese Frosting.
I'd like to introduce the star spices that take this Spiced Carrot Cake to the next level!

Baker's Note: If you add nuts and raisins increase baking time by about 10 minutes.

For the full recipe check out my favorite YouTuber Ann Reardon from How To Cook That!
Store assembled cake in an airtight cake container in the refrigerator for up to 3 days. Bring to room temperature before serving.
You can find The Cake Chica on Facebook sharing sneak peeks of recipes to come, Instagram for your food porn desires and Pinterest for your board pinning needs.
Homemade Spiced Carrot Cake flavored with ground cinnamon, nutmeg, cloves and carrots. Topped with fluffy Vanilla Bean Cream Cheese Frosting. CAKE STORAGE: Cake can be stored in the refrigerator in an air tight container for up to 3 days. Bring to room temperature before serving. FROSTING STORAGE: The frosting will keep covered at room temperature for up to 6 hours, and then refrigerated in an airtight container for 3 days. Bring chilled frosting to room temperature and beat on low speed to soften. *Nutrition information is an estimate and will vary.*
Spiced Carrot Cake with Vanilla Bean Cream Cheese Frosting
Yield:
8
Prep Time:
30 minutes
Cook Time:
20 minutes
Additional Time:
2 hours
Total Time:
2 hours 50 minutes
Ingredients
SPECIAL TOOLS
CAKE
FROSTING
Instructions
CARROT CAKE
VANILLA BEAN CREAM CHEESE FROSTING
ASSEMBLE
Notes
Nutrition Information:
Yield: 8
Serving Size: 1
Amount Per Serving:
Calories: 1339Total Fat: 113gSaturated Fat: 43gTrans Fat: 1gUnsaturated Fat: 62gCholesterol: 289mgSodium: 816mgCarbohydrates: 71gFiber: 3gSugar: 30gProtein: 14g
Welcome to The Cake Chica's Central Texas Home Renovation post! We've officially closed on our central Texas home in Kyle and will be moving back to the Houston area very soon. I meant to update my blog as soon as we updated each room but I just never got around to doing it, because there was just so much to do and I honestly just got overwhelmed.
But before my husband and I leave this charming home I wanted to write a blog post of all the work we put into this house. It's truly been a labor of love.
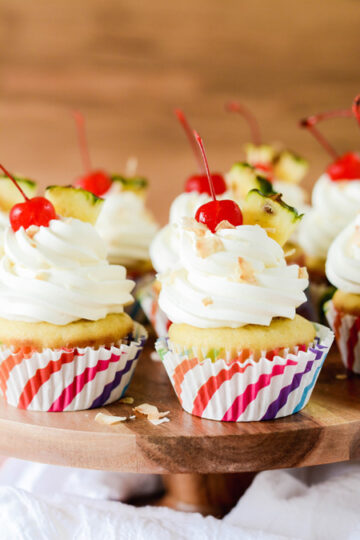
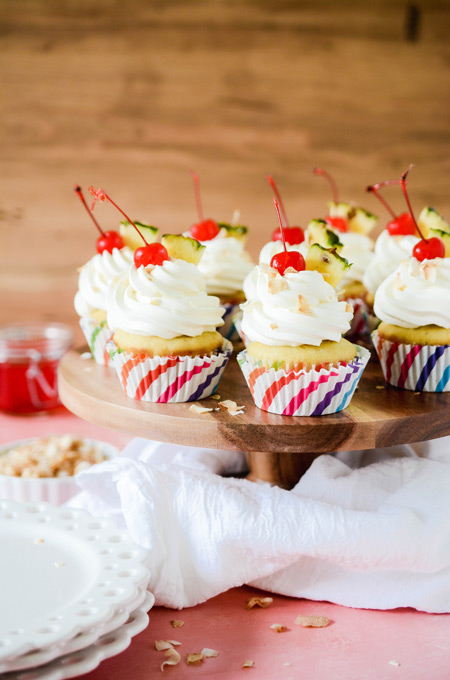
...Get ready for summertime by baking these Pina Colada Cupcakes for your next pool party or cook out. To give the cupcakes a Pina Colada flavor, I used coconut rum and cream of coconut in the batter.
Note: Cream of coconut and coconut cream are not the same thing and can't be used interchangeably.
Next, I added tropical fruit filling and topped each cupcake with coconut Swiss meringue buttercream that's flavored with coconut extract and sweetened cream of coconut. For the finishing touch I garnished each cupcake with toasted coconut flakes, a maraschino cherry and a fresh pineapple wedge. If these Pina Colada Cupcakes don't have you ready for summer, I don't know what will?
...
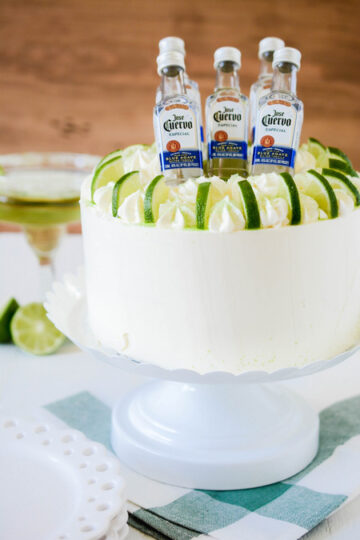
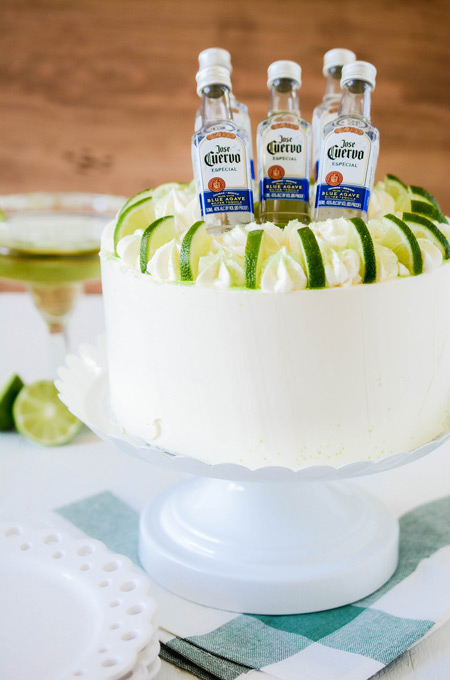
I've got a real treat for you this week! With Cinco de Mayo right around the corner I was inspired by one of the most popular cocktails here in Texas, the margarita! Of course my favorite margarita is in cake form. Bring something different to your Cinco de Mayo celebration this year like this Margarita Layer Cake!
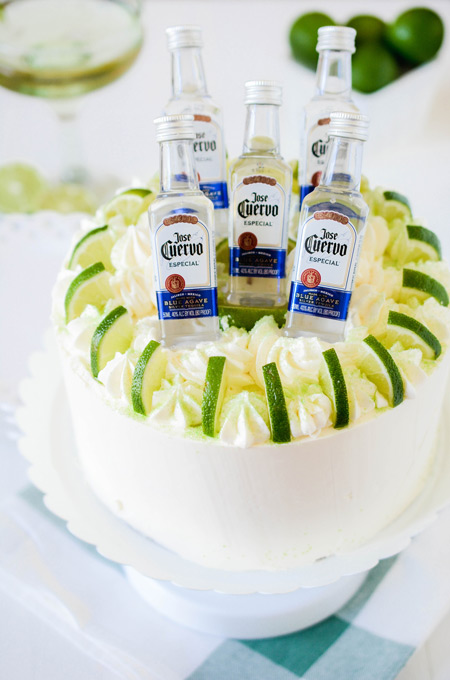
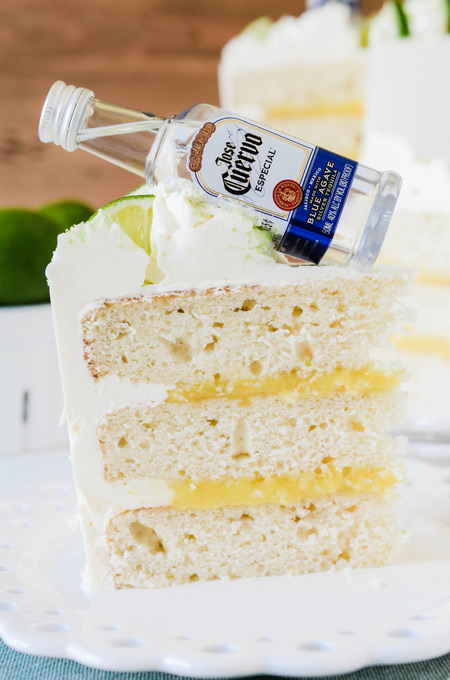
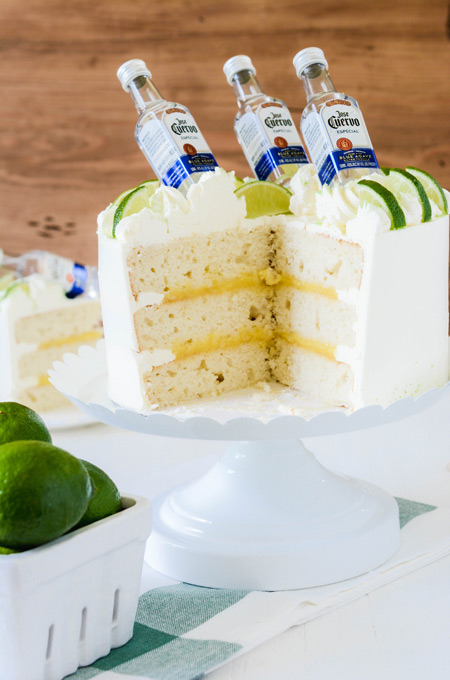
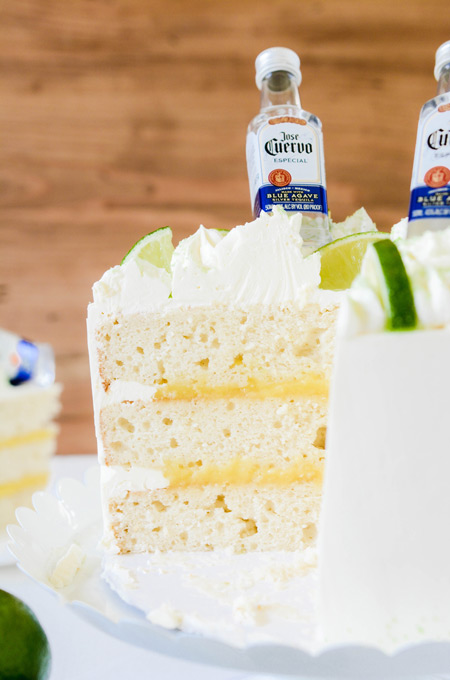
This homemade Margarita Layer Cake is flavored with freshly squeezed lime juice, lime zest and of course a little bit of tequila! To help bring out the lime flavor of the cake even more, I chose a homemade lime curd for the filling in this cake. Lastly, I topped the cake with an orange Swiss meringue buttercream flavored with Cointreau. All the flavors of your favorite margarita in cake form!
My lime curd is super simple to make, and best of all it can be made up to a week in advance!
Swiss meringue buttercream is my ultimate favorite frosting. Why? Because it's light and airy without being overly sweet. And it's easy to incorporate different flavors to fit your cake flavor. For my Margarita Layer Cake I simply added Cointreau to the frosting for a hint of orange flavor.
Here are a few tips to making sure your Swiss meringue buttercream comes out perfectly every time!

Here is what my schedule looked like for making this cake. Be sure to check out the "Make Ahead" section to plan your schedule.
The cake layers can be made up to 3 days in advance, wrapped in plastic, stored in an airtight container in the refrigerator.
The lime curd can be made up to 1 week ahead, stored in an airtight container.
The orange Swiss meringue buttercream can be made up to 10 days in advance, stored in an airtight container. Bring buttercream to room temperature before remixing.
The Cake Chica is on Facebook sharing sneak peeks of recipes to come, Instagram for your food porn desires and Pinterest for your board pinning needs.
Adapted from Simply Beautiful Homemade Cakes by Lindsay Conchar
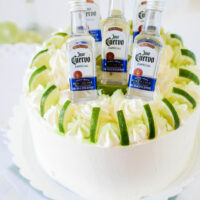
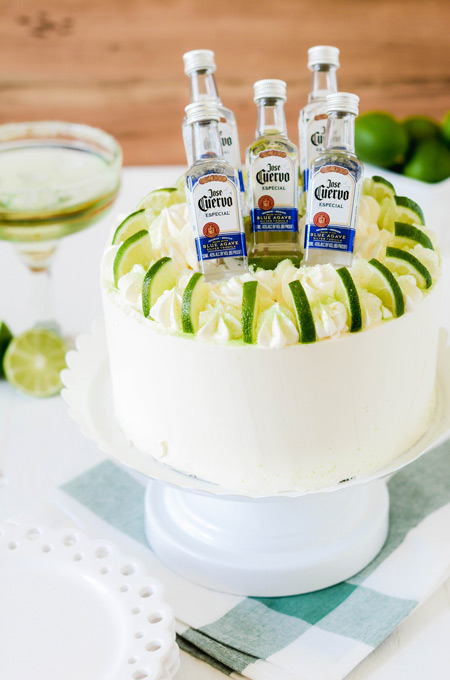
Homemade Margarita Layer Cake baked with fresh lime juice, lime zest and tequila, filled with lime curd filling and topped with orange Swiss meringue buttercream flavored with Cointreau.
The cake layers can be made up to 3 days in advance, wrapped in plastic, stored in an airtight container in the refrigerator.
The lime curd can be made up to 1 week, stored in an airtight container.
The orange Swiss meringue buttercream can be made up to 10 days in advance, stored in an airtight container. Bring buttercream to room temperature before remixing.
Assembled cake can be stored in an airtight container in the refrigerator for up to 2 days. Bring to room temperature before serving.
*Nutrition information is an estimate and will vary.*
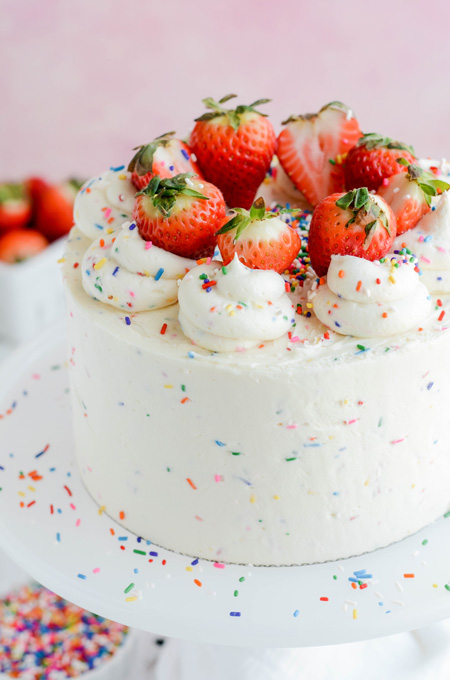
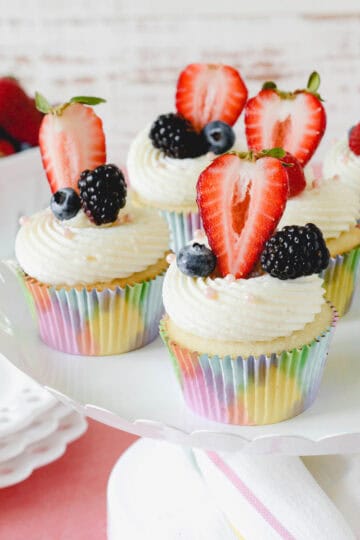
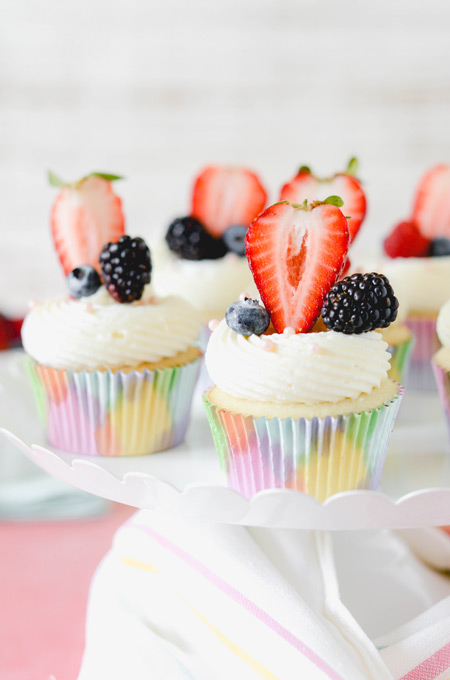
With the weather warming up outside, it's nice to have a lighter option for dessert in the hot summer months. My White Cupcakes with Mixed Berry Filling are the perfect 'something sweet' that's not too heavy. Plus, the fresh berries on top give them a refreshing twist.
...