
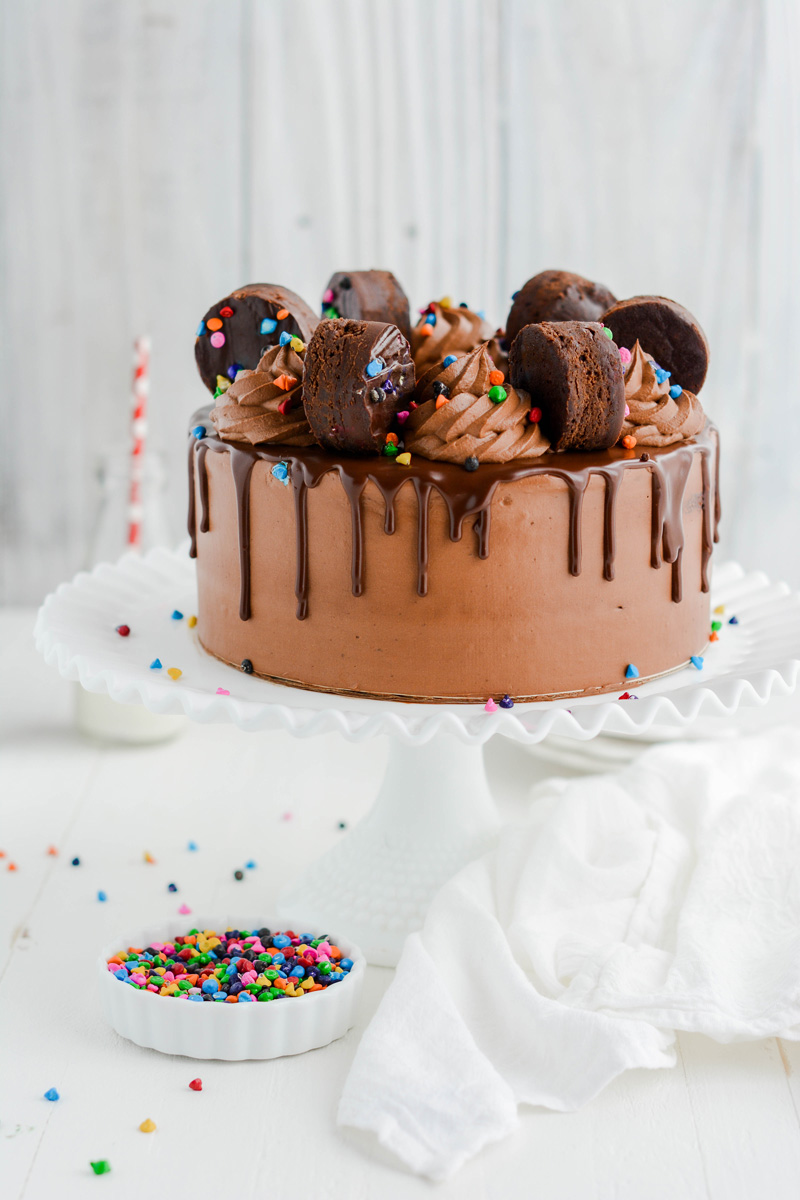
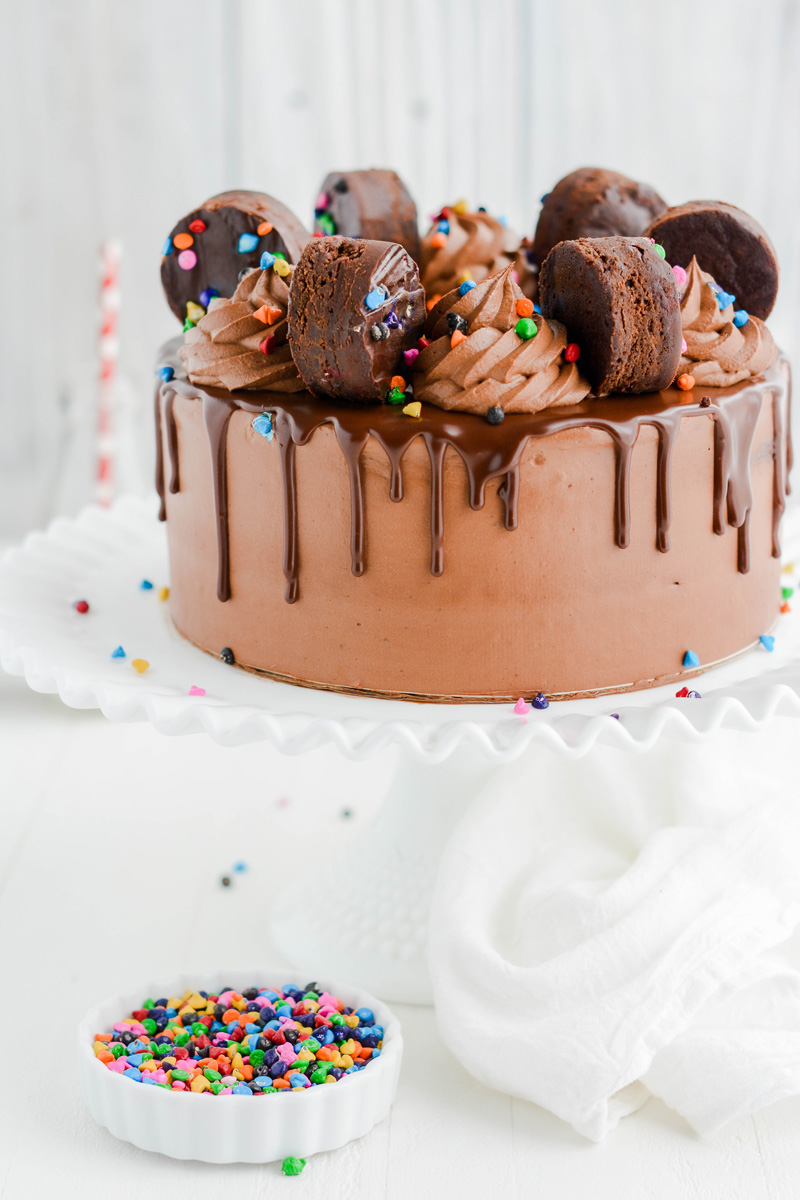
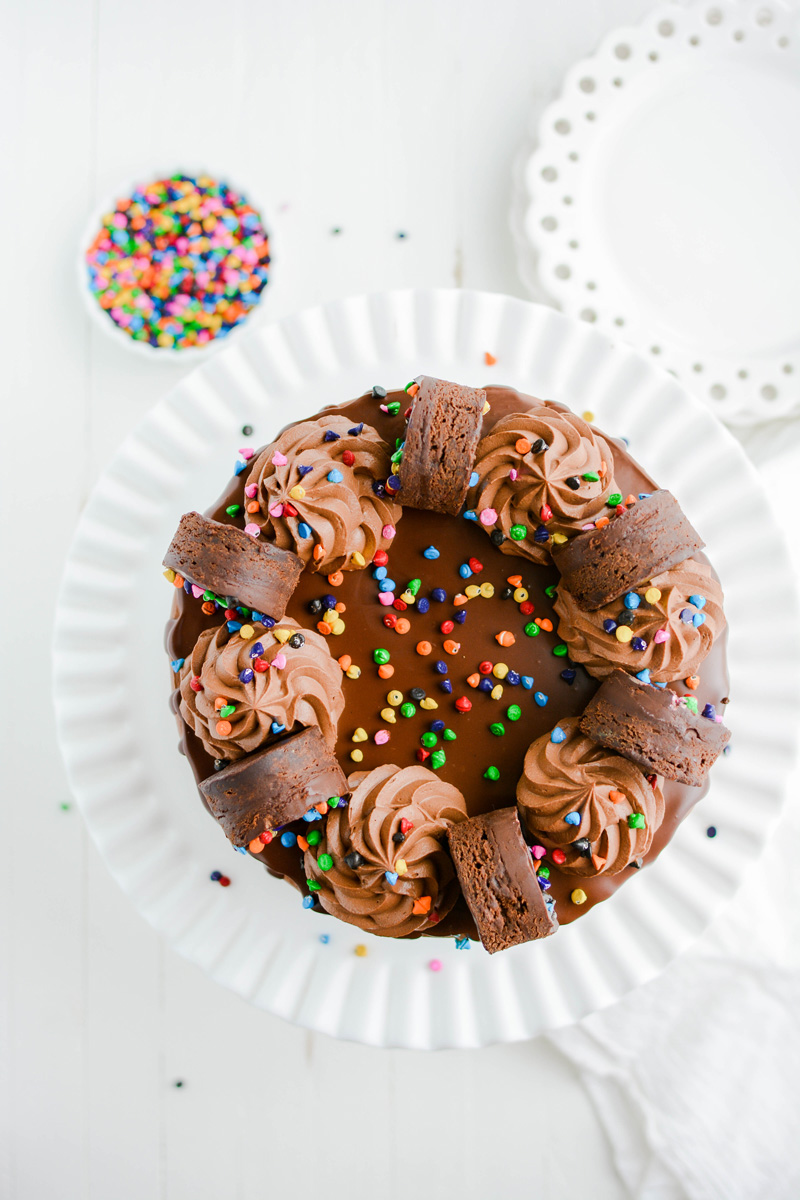
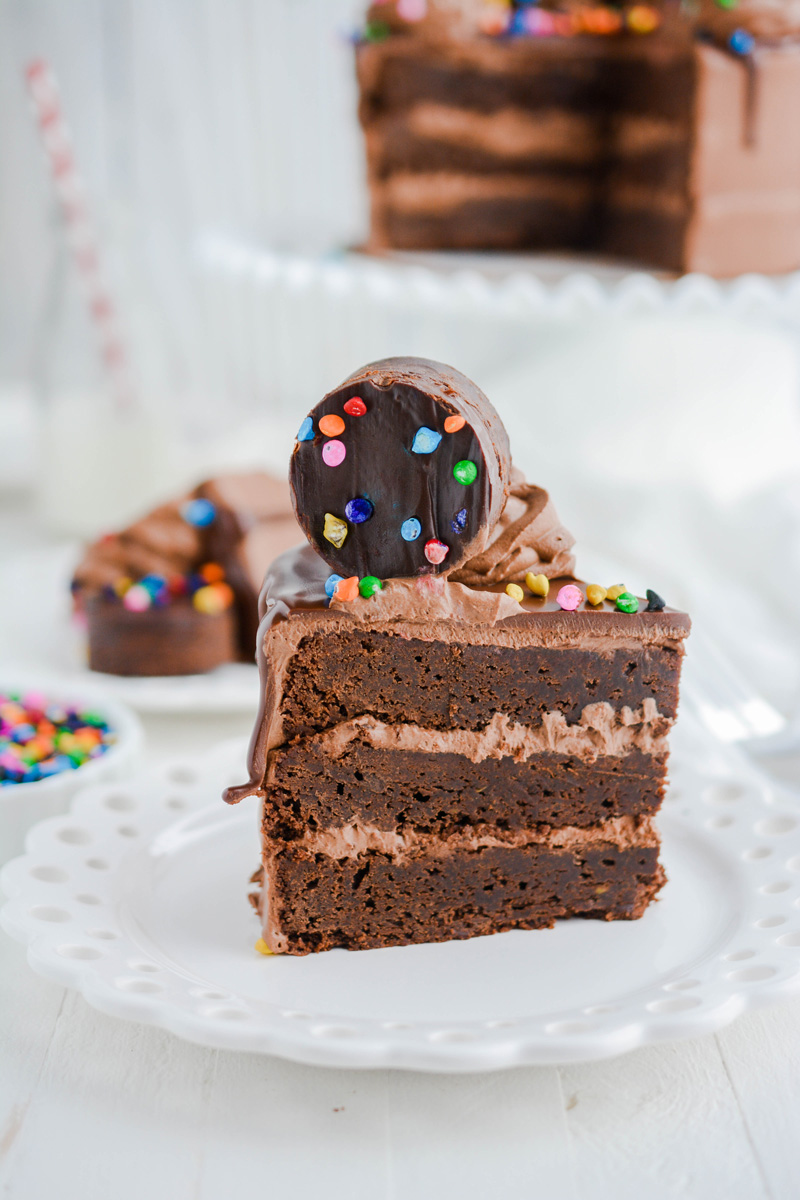
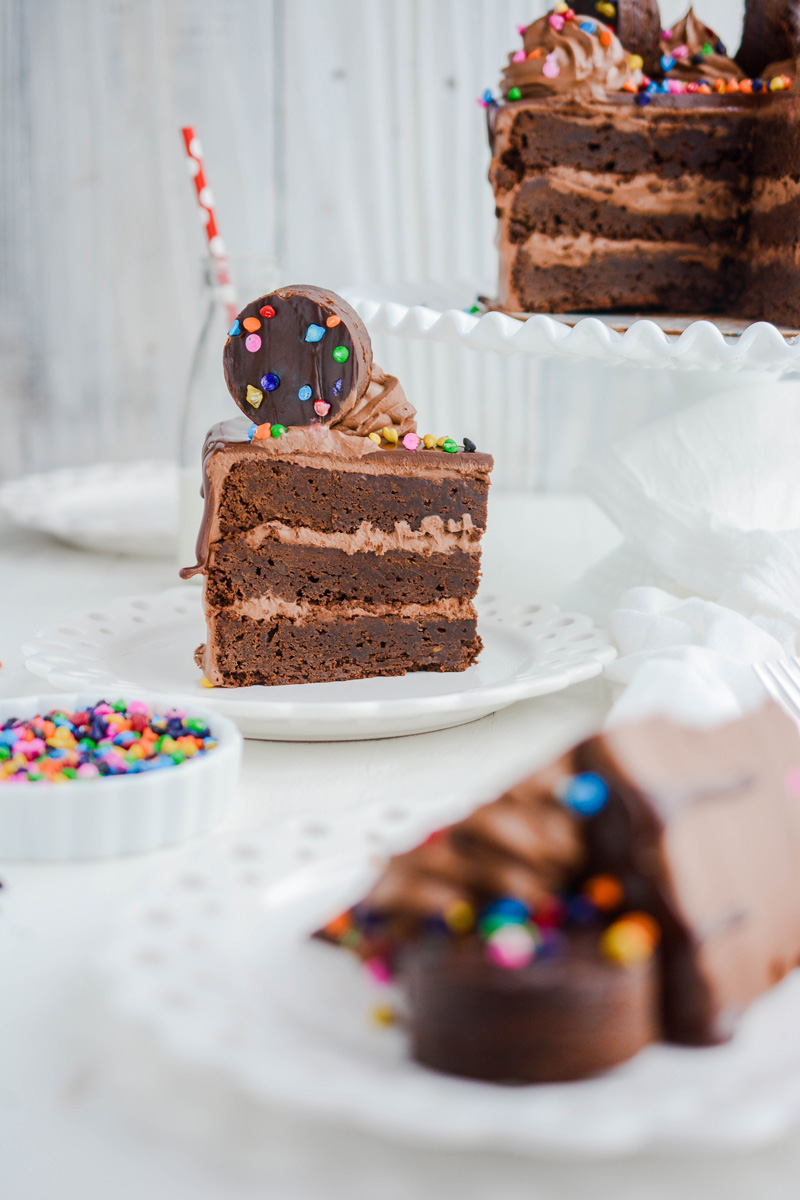
You'll want to bring your sweet tooth along for this one! My Cosmic Brownie Layer Cake includes 3 layers of decadently sweet and chocolaty brownie layers, filled with a whipped chocolate ganache frosting. Next, I topped it off with a rich chocolate drip and Homemade Cosmic Brownies!
You can take a cheat here and use store bought brownies, however I encourage you to make them yourself if you have some time. They are easy to make and come together fairly quickly.
Brownie Cake Layers
These brownie cake layers are rich and decadent and bake up just like typical brownies. The only difference is they are baked in round cake pans. A little will go a long way so be sure to slice accordingly.

Whipped Chocolate Ganache
Because the brownie layers in this cake are pretty decadent, I decided to pair it with a rich but light whipped ganache. Tip: Be sure to plan accordingly. The ganache has to chill for at least 6 hours before whipping.
What Is Ganache
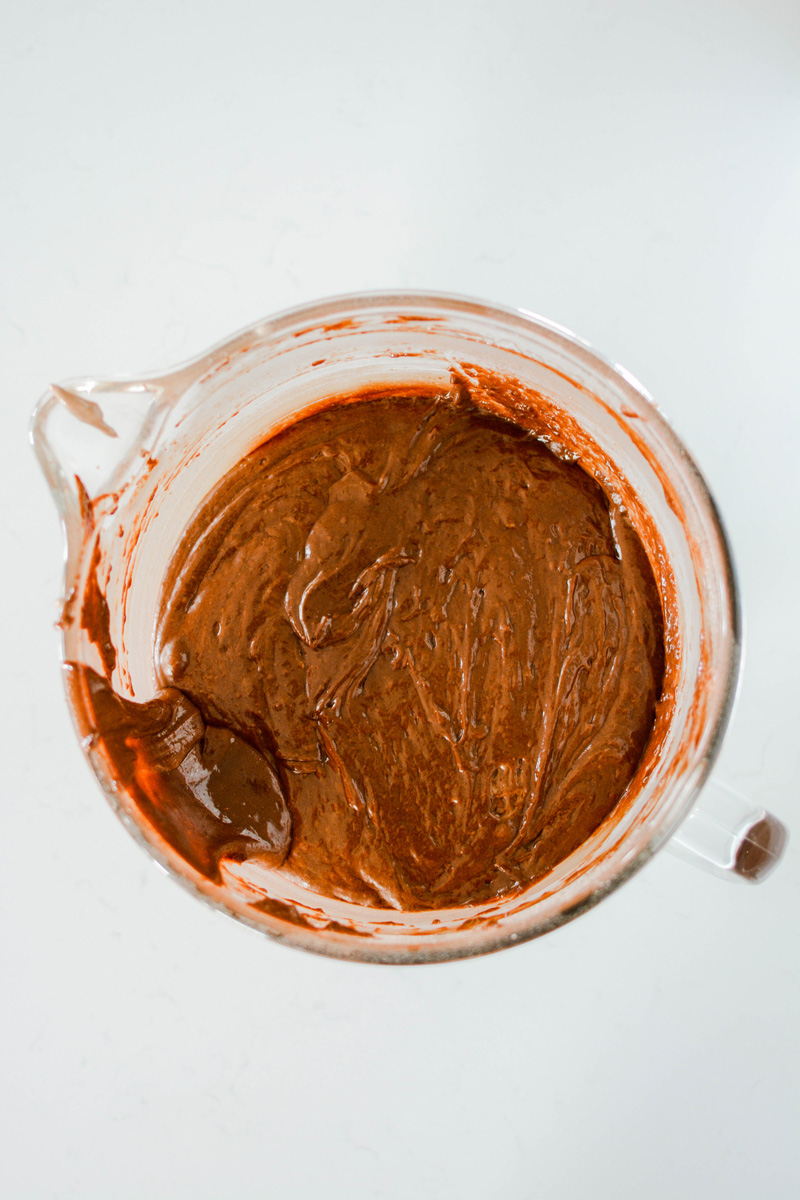
Ganache is chocolate and cream mixed together, usually in equal parts. Tip: Be careful not to over-mix or the ganache will become grainy.


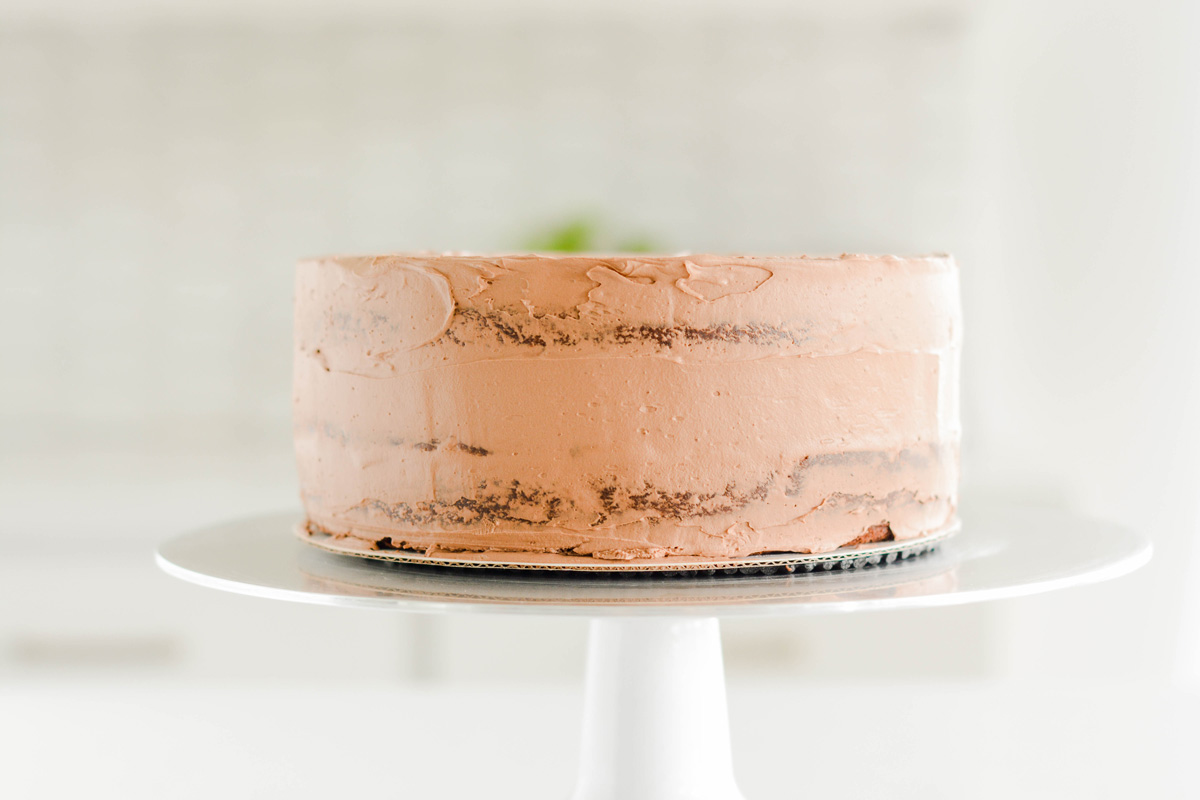
How To Apply A Crumb Coat
- Place a medium dollop of whipped ganache on top of the cake.
- Using a small offset spatula, start spreading the ganache out.
- Continue to spread ganache on the sides of the cake. The ganache does not have to be perfectly smooth.
- Refrigerate the cake uncovered for at least 15 minutes to set before adding the final coat of ganache.
Chocolate Drip Tips
- Chill your cake before adding the drips. The chilled cake will help slow down the drips, giving you more control.
- Make sure the chocolate is the right temperature. It should be fluid but not warm.
- Find the spot on your cake that will be the back and run a test drip on it. If the drip slips off the cake it's too hot. If the drips clump, it's too cold.
- For more controlled drips, use a spoon or a squeeze bottle and add the drips to the sides of the cake first. I prefer using a spoon for my drips.
- Once you have your side drips done, gently pour the remaining chocolate on the top and spread out until it meets the edges. Reheat the chocolate if needed.
Cake Decorating Tools
For links to my favorite tools be sure to click the button below!
- Cake turntable
- Nonslip mat
- 8-inch cake round
- Small offset cake spatula
- 8-inch acrylic disc or cake board
- Parchment paper
- Cake scraper
Cosmic Brownie Layer Cake Baking Schedule
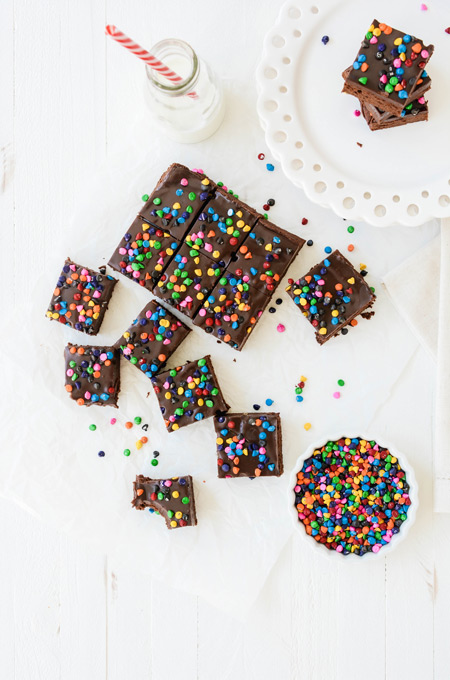
- Day 1: Prepare Homemade Cosmic Brownies.
- Day 2: Bake brownie cake layers and prepare ganache.
- Day 3: Whip ganache, assemble, decorate and serve cake.
Make Ahead
- Homemade Cosmic Brownies can be made up to a week in advance.
- Brownie cake layers can be made up to 3 days in advance.
- Whipped ganache is best used the day it is whipped.
- Chocolate drip is best made the day of assembly.
Let's Connect
The Cake Chica is on the following social media platforms below. Click subscribe, like and follow! We would love to have you over!
Suggested Recipes
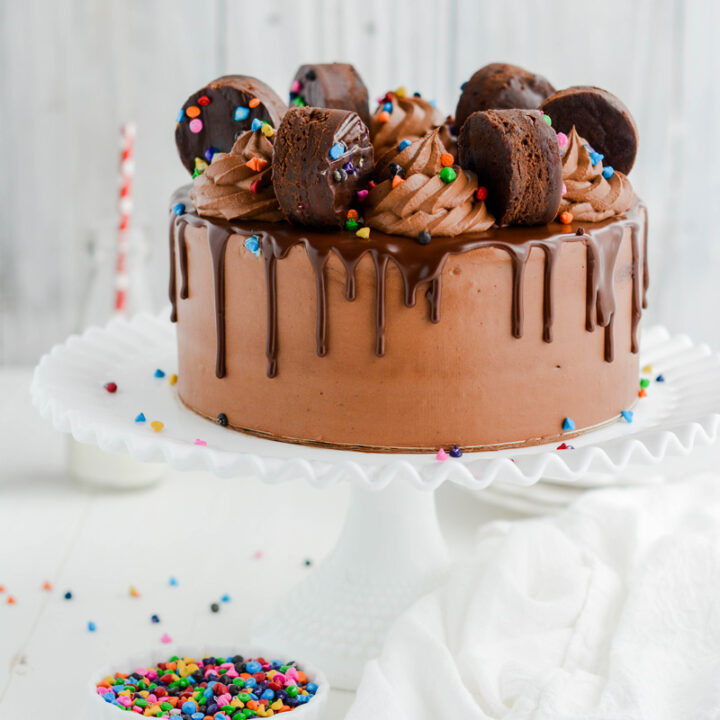
Cosmic Brownie Layer Cake
Three brownie layers filled and frosted with whipped ganache frosting, covered in chocolate drip, rainbow chips and homemade cosmic brownies.
Ingredients
SPECIAL TOOLS
- 3 8-inch round cake pans
- Nonstick baking spray
- Stand mixer
- Nonslip mat
- Cake turntable
- 8-inch cake round
- Small offset cake spatula
- 8-inch acrylic disc or cake board
- Parchment paper
- Cake scraper
BROWNIE CAKE
- 1 cup, plus 6 tablespoons unsalted butter, diced
- 10 ounces bittersweet chocolate, chopped
- 2 1/3 cups (11.5 ounces) all-purpose flour
- 1/3 cup (1.2 ounces) unsweetened cocoa powder
- 1 1/2 teaspoons baking powder
- 1 teaspoons salt
- 2 2/3 cups (18.7 ounces) granulated sugar
- 5 large eggs
- 1 large egg yolk
- 1 teaspoon vanilla extract
WHIPPED GANACHE
- 14 ounces bittersweet chocolate, finely chopped
- 4 cups (32 ounces) heavy cream
CHOCOLATE DRIP
- 6 ounces semi sweet chocolate, chopped
- 3/4 cup (6 ounces) heavy cream
- 1/4 cup unsalted butter, cut into cubes
GARNISH
- Rainbow chips
- Homemade Cosmic Brownies
Instructions
BROWNIE CAKE
- Adjust and oven rack in the center position and heat oven to 350 degrees. Spray 3 8-inch round cake pans with nonstick baking spray and set aside.
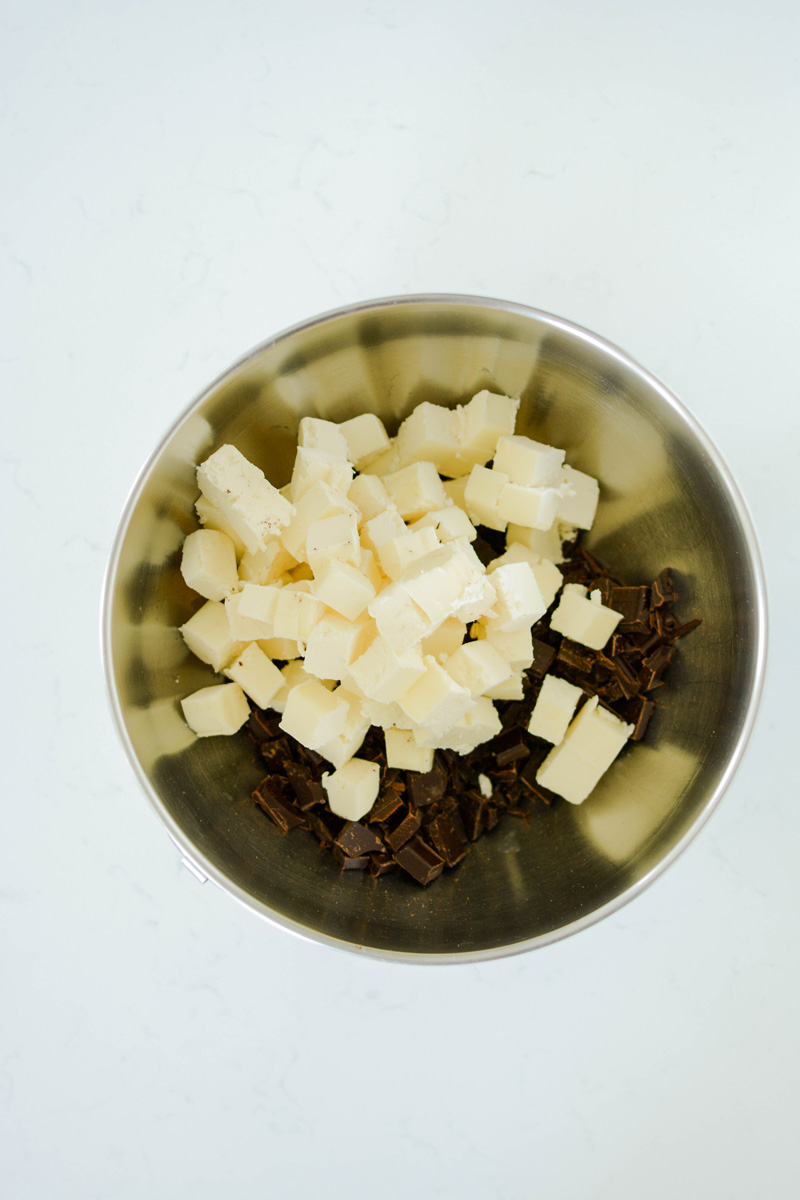
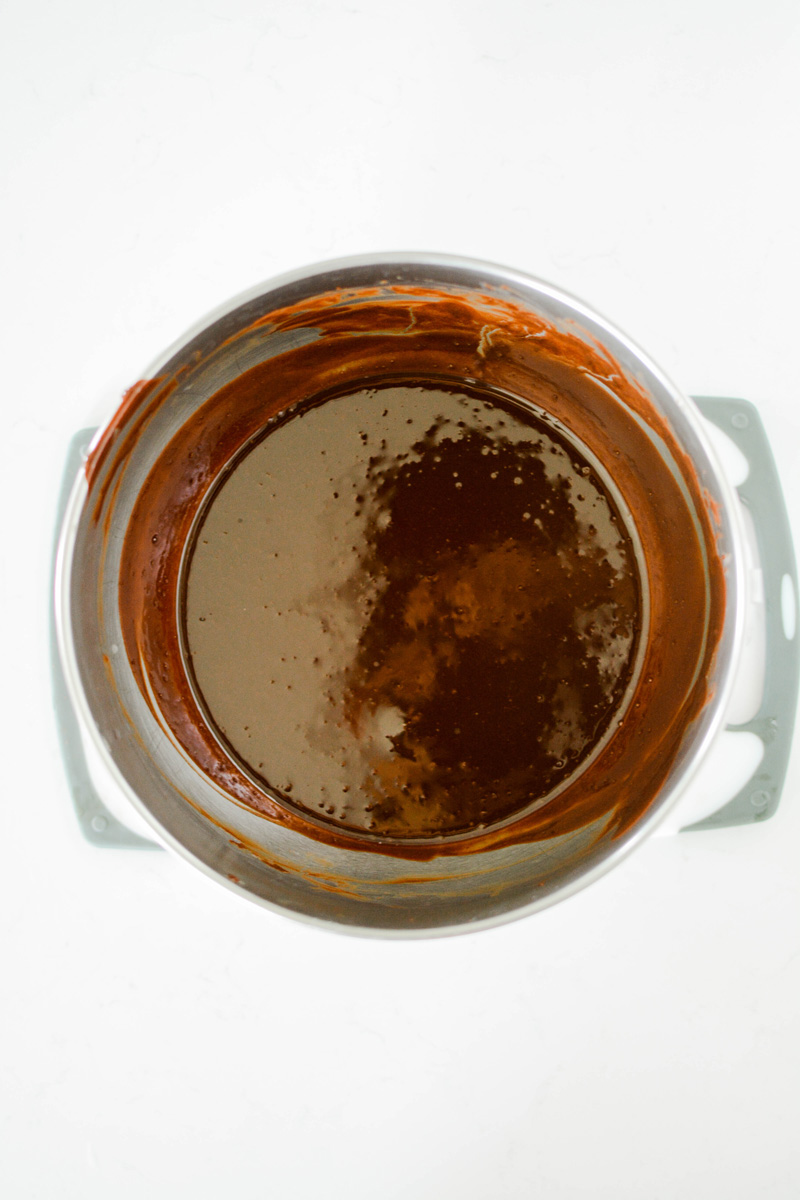
- Fill a medium-sized saucepan with 2 inches of water and bring to a simmer over medium-low heat. Place butter and chocolate in a heatproof bowl and place on top of the saucepan, making sure the bottom of the bowl does not touch the water. Heat the butter and chocolate until it begins to melt, stirring until smooth. Once the butter and chocolate have melted and is smooth, remove from the heat and set aside to cool.
- In a large bowl, whisk together the flour, cocoa powder, baking powder and salt.
- In the bowl of a stand mixer fitted with the whisk attachment, beat the sugar, eggs and egg yolk on medium-high speed until foamy, about 5 minutes. Add the vanilla extract and mix to combine.
- Reduce the mixer speed to low, and slowly add the flour mixture to the egg mixture in two batches, scraping down the sides of the mixer bowl as needed between additions.
- With the mixer off, add the melted butter-chocolate mixture and fold the batter together with a rubber spatula until combined.
- Divide the cake batter between prepared cake pans and bake for 20 to 24 minutes, or until a toothpick inserted in the center comes out with a few moist crumbs attached. Do not over bake.
- Let the cakes cool in their pans on wire racks for 15 minutes and then invert on to cooling racks to cool completely.
WHIPPED GANACHE
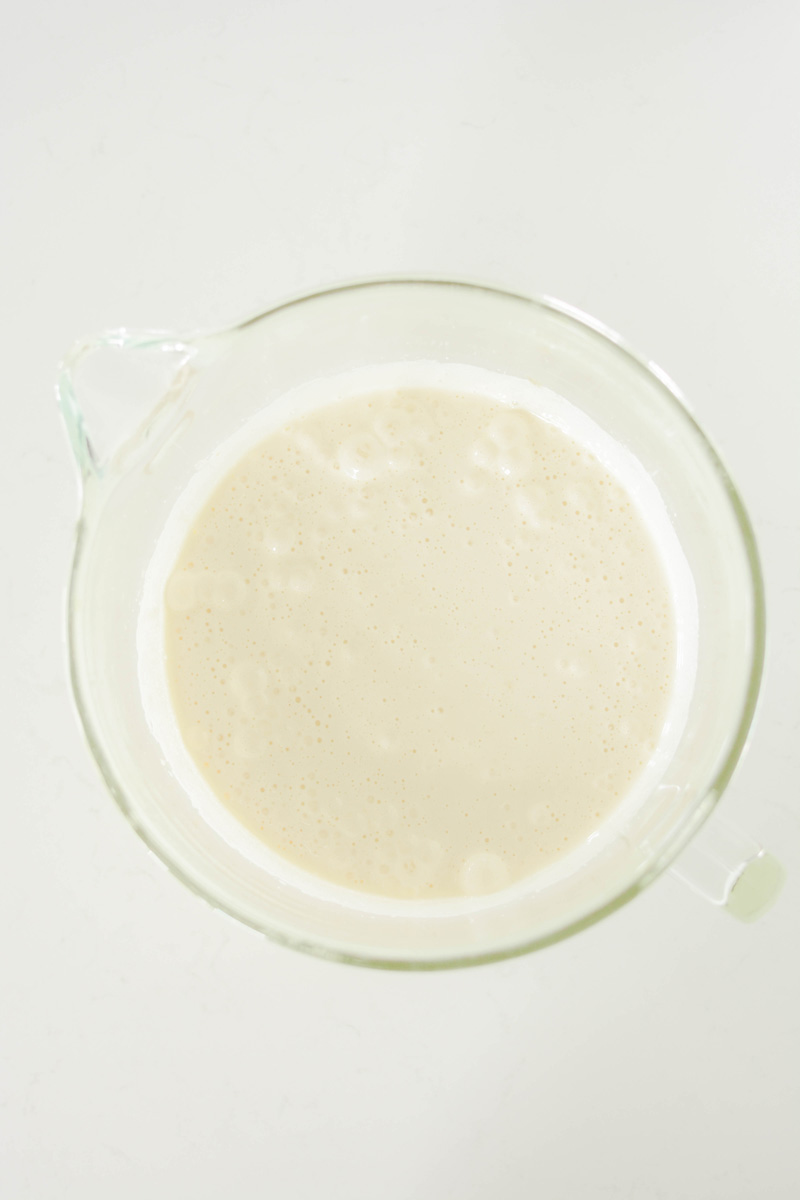
- Place chocolate in the bowl of a stand mixer.
- In a medium saucepan, bring the heavy cream to a gentle boil over medium-high heat. Pour hot cream over the chocolate and let sit for 1 minute, then whisk until the chocolate is melted and smooth. Cover the surface of the ganache with plastic wrap and refrigerate until firm enough to whip, at least 6 hours
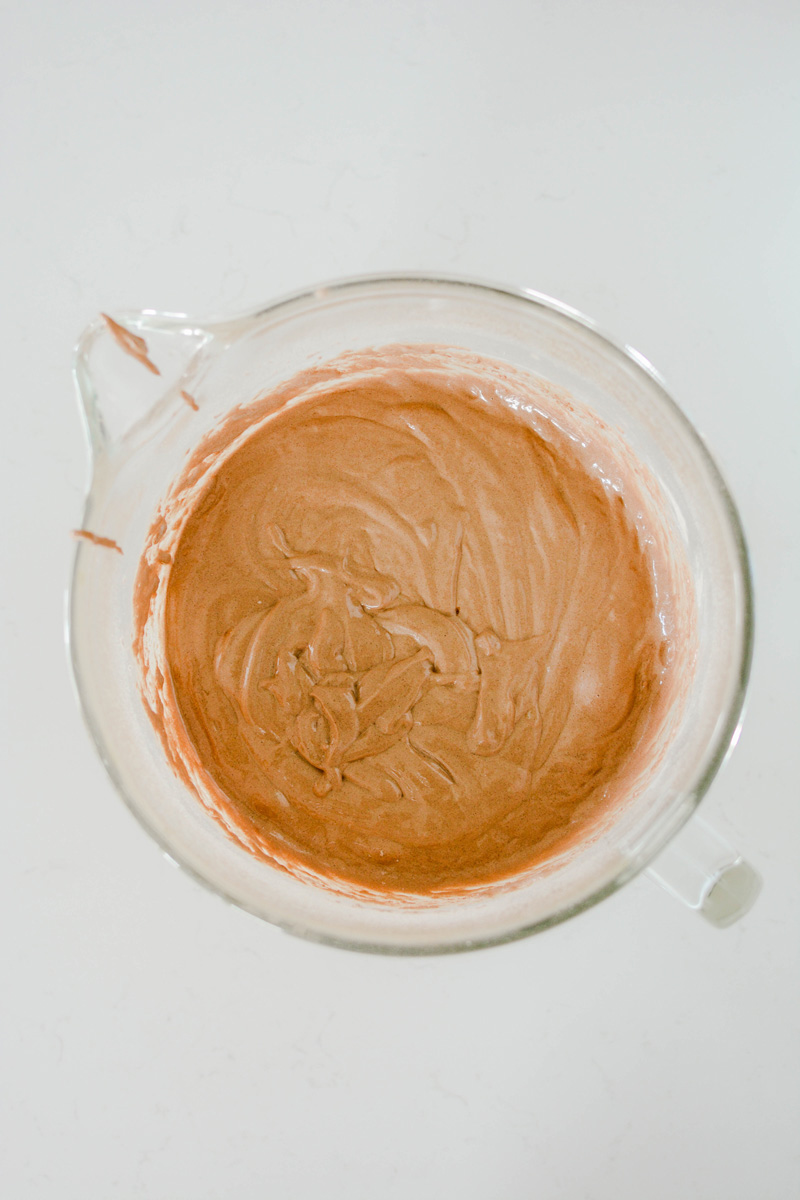
- With the whisk attachment attached to a stand mixer, beat the ganache on medium-high speed, until medium peaks form and is firm enough to spread, about 1 minute.
ASSEMBLE
- Place a non slip mat on top of a cake turntable. Place an 8-inch cake round on top. Spread a small amount of ganache on the cake board. Center a cake layer on top of the cake board, making sure there is even spacing around the edge of the cake board. With an offset cake spatula, spread 2/3 cup of the ganache over the top in an even layer, spreading all the way to the edge. Place the second layer cake on top and apply another 2/3 cup ganache over the top spreading in an even layer all the way to the edge. Place the last cake layer on top (bottom side up) and gently press to adhere. Apply a thin layer of whipped ganache over the top and sides of the cake creating a crumb coat and chill in the freezer or refrigerator for 15 to 30 minutes.
- Spread a generous amount of whipped ganache on top of the chilled cake, spreading all the way out to the edge. You should have excess ganache hanging off the sides.
- Line an 8-inch acrylic disc with parchment paper by attaching it with a little ganache. Place the acrylic disc, parchment paper side down on the cake, making sure the disk lines up with the bottom cake board.
- Apply ganache on to the sides of the cake, covering the bottom cake board completely. Once the sides are covered in ganache, apply a cake scraper to the bottom cake board and top acrylic disc, and rotate the turntable to smooth out the ganache. Apply more ganache to areas that have gaps and continue to rotate until the sides are smooth. Place the cake in the refrigerator or freezer for another 15 to 30 minutes to chill before removing the acrylic disc.
- Remove the acrylic disc by carefully inserting a small offset cake spatula under the disc (but not under the parchment paper) and slowly rotate the turntable until the disc releases. Carefully peel back the parchment paper and apply more ganache to any gaps if needed and smooth out. Place the cake back in the freezer or refrigerator while you prepare the Chocolate Drip.
CHOCOLATE DRIP
- Place chocolate and butter in a medium heat proof bowl.
- In a small saucepan, bring cream to a simmer over medium heat. Pour hot cream mixture over the chocolate and stir until melted. Let cool for 20 minutes before using.
- With a spoon or squeeze bottle, strategically place a layer of Chocolate Drips on the side of the cake. Pour some of the Chocolate Drip in the center of the cake and spread out until it meets the chocolate drips.
- Chill the cake in the refrigerator for 15 minutes so the Chocolate Drip can set before adding additional decoration to the top of the cake.
DECORATING
- Place the cake on a cake pedestal and fit a piping bag with Ateco piping tip #828 and pipe swirls around the top edge of the cake. Decorate with homemade Cosmic Brownies, rainbow chips and serve.
Notes
Homemade Cosmic Brownies can be made up to a week in advance.
Brownie cake layers can be made up to 3 days in advance.
Whipped ganache is best used the day it is whipped.
Chocolate drip is best made the day of assembly.
Nutrition Information:
Yield: 12 Serving Size: 1Amount Per Serving: Calories: 901Total Fat: 61gSaturated Fat: 32gTrans Fat: 0gUnsaturated Fat: 25gCholesterol: 182mgSodium: 436mgCarbohydrates: 75gFiber: 11gSugar: 31gProtein: 17g
*Nutrition information is an estimate and will vary.*


Leave a Reply