
Disclaimer: This post is sponsored by CreateMyCookbook; however, all thoughts and opinions are my own.
Why Create A Family Cookbook?
As a food blogger I have tons of recipes typed up on my computer over the years. I started blogging in 2010 as a way for my friends and family to access my recipes. Before blogging, I used to use a computer program that I had to type my recipes into and then email the recipe to anyone that wanted one. But, my how times have changed!
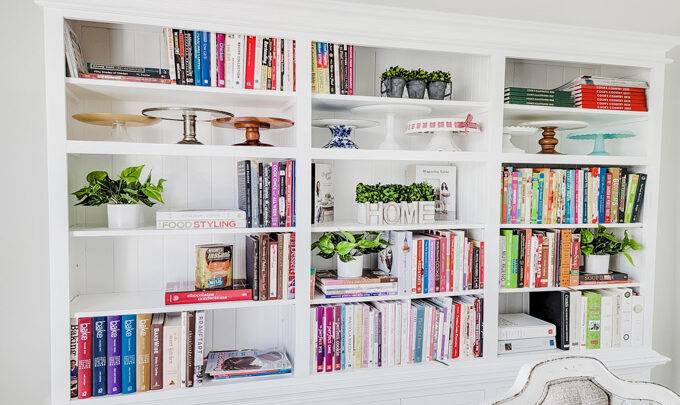
Over the years while blogging I collected a library of cookbooks that have inspired me to create new recipes and piqued my interest into food photography. And surprisingly, I think I love food photography just a smidge more than baking, just a smidge though. ☺️
With all that said, I think it was about time to create my very own cookbook that showcases some of my families favorite baking recipes that I’ve made, as well as a few of theirs.
I hope that my family cookbook will inspire you to create a family cookbook of your own to give as gifts, or to pass down through generations.
How To Gather Recipes For Your Family Cookbook
- Gather recipes from within your household.
- Request recipes from your extended family.
- Don’t forget your friends. They also make appearances at family functions as well.
- For me it made sense to also include my most popular recipes from my blog.
Once you have all the recipes together, it’s time to let the fun begin.

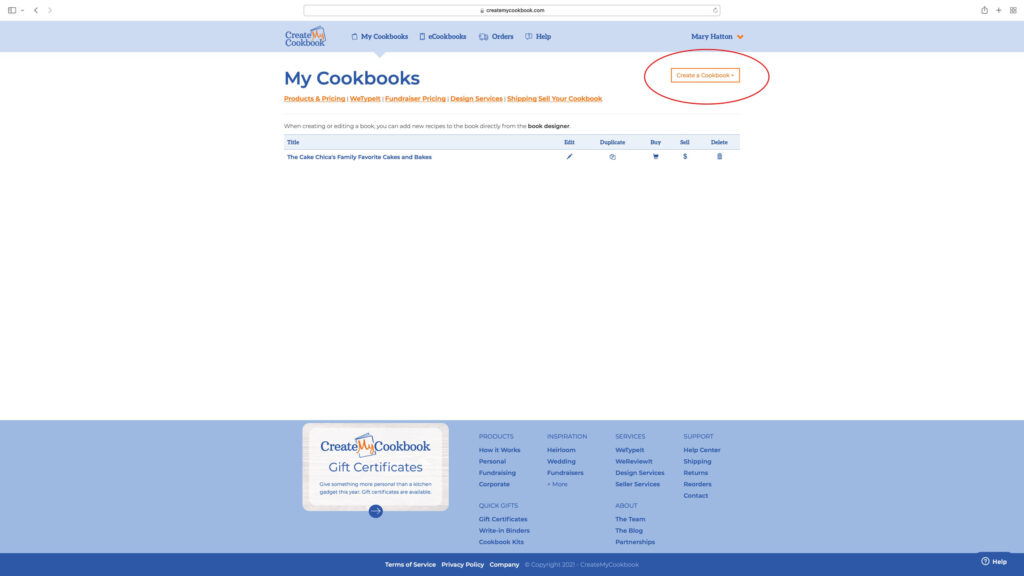
Create An Account with Create My Cookbook
- Create an account with CreateMyCookbook by either registering with your email or by connecting with Facebook.
- Click on the “Create a Cookbook” button.
Get Started Making Your Own Cookbook
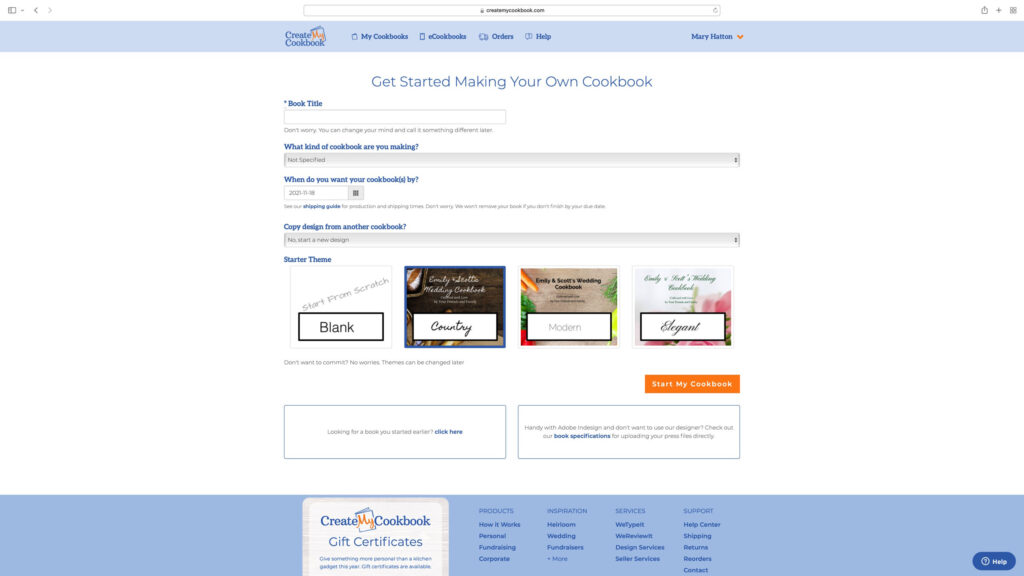
Here are a few things to think about when getting started with your cookbook.
- Choose a book title.
- Decide what type of cookbook you’re making: Personal or family, Fundraiser, Corporate, For sale in stores, Ebook, Other
- Select your theme. (Themes can be changed later.)
I chose to use the “Blank” theme. I prefer to have as much control as possible when I’m creating something but CreateMyCookbook has a few options to select from if you want a theme already set for you.
- Blank
- Country
- Modern
- Elegant
- Kid friendly
- Heirloom
Add Recipes
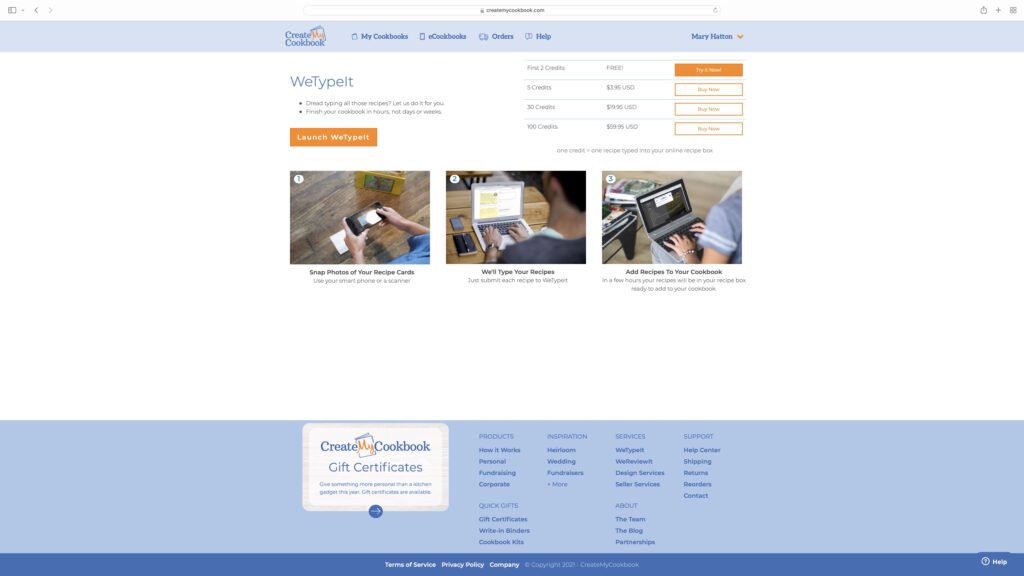
As a blogger I have most of my recipes all typed up so it was easy to copy and paste into the cookbook designer. However, you may have some recipes that are handwritten. Luckily, CreateMyCookbook has a cool function called WeTypeIt, where you just snap a picture of the handwritten recipe and they will type it into the cookbook designer for you.
As I mentioned above I have all my recipes all typed up, but I wanted to try out the WeTypeIt feature. So I wrote a recipe by hand and snapped a picture of each page of my recipe and uploaded the pictures using the WeTypeIt feature.
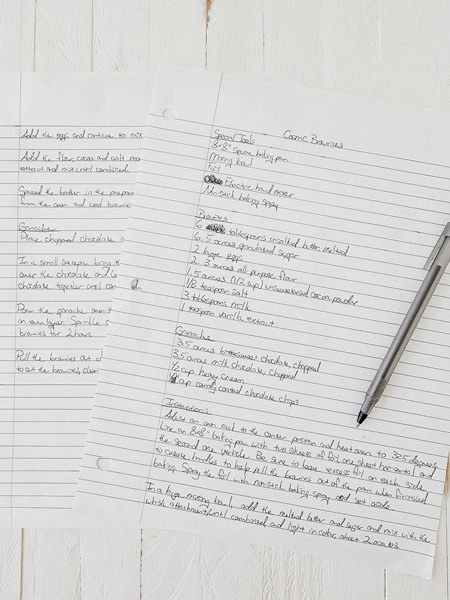
After a day or so, you’ll receive an email confirmation that your recipe has been added to your Recipe Box and it’s ready for you to place into your cookbook.
You can upload all your recipes at once or add them in one by one as you create your cookbook. I chose to load them up one by one.
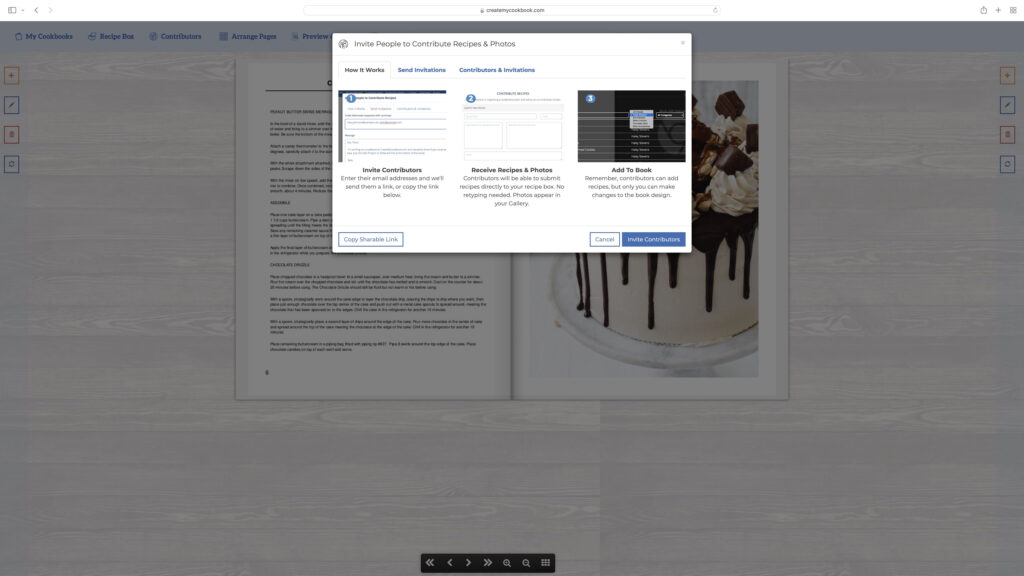
Create My Cookbook also has the option to set up Contributors to your cookbook. I personally reached out to my family members for their recipes so I didn’t get the chance to use this feature but it is there to use if you would like.
How To Format Longer Recipes With Spacing Between Paragraphs
You can skip this section entirely if most of your recipes are short and only about 2 pages long. Mine on the other hand involve a lot of from-scratch-baking so my recipes run about 3 to 4 pages on average.
To make my recipes easier on the eyes I like to space out the steps as much as possible. Here is a quick run down of what I did.
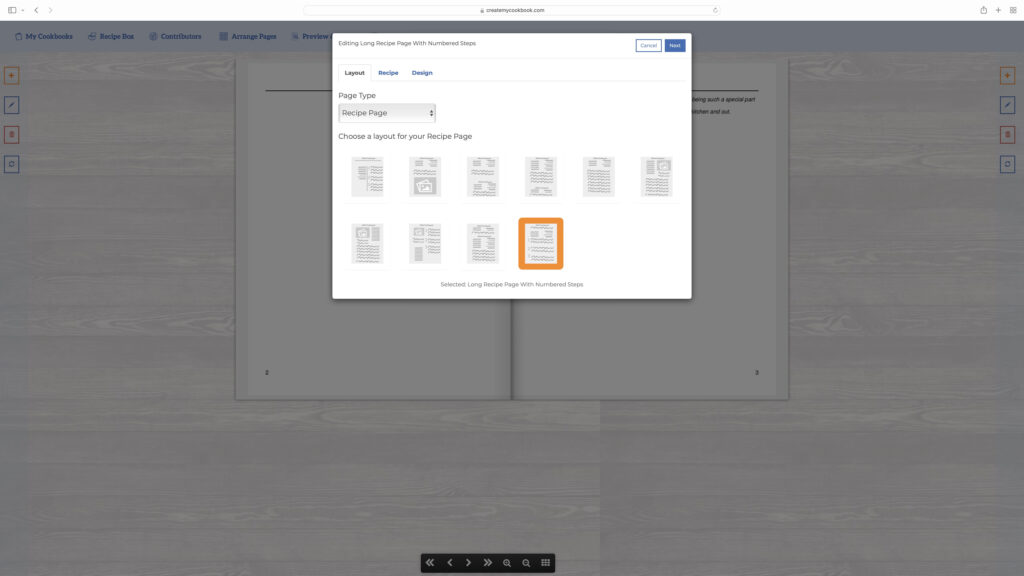
When choosing the layout, select Long Recipe Page With Numbered Steps
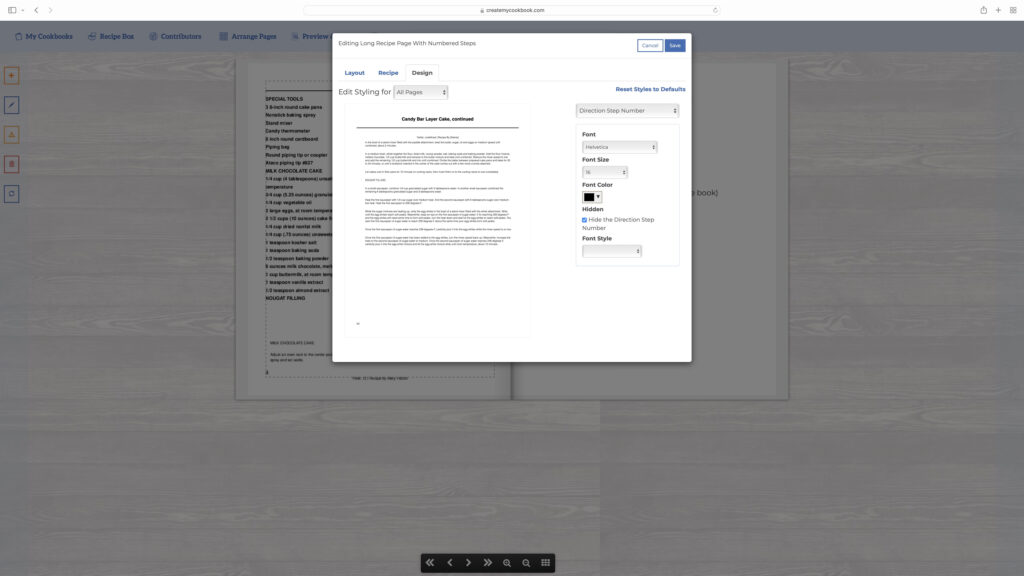
Once you have your recipe entered, you’ll want to select Hide the Direction Step Number. This will get rid of the numbers but will keep the paragraph spacing. If you want numbers you can manually add them afterwards.
I wanted this format on all my recipe pages so I chose All Pages on the Edit Styling selector. If you want this format on only certain pages, then be sure to select This Page Only in the drop down menu.
Add Pictures
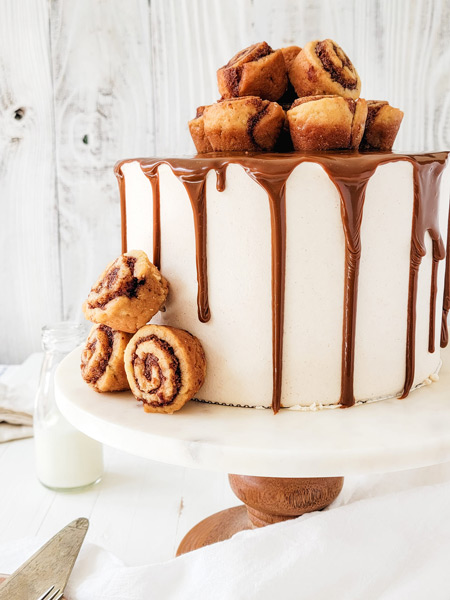
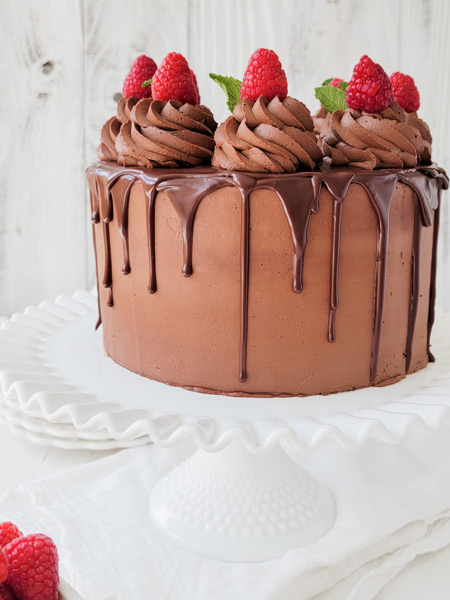
The cookbook designer has some stock images you’re free to use for your cookbook; however, I love the personal touch that an original photo brings, so I made sure to use all of my images for my cookbook.

It was’t until I started cooking and baking that I found my passion for food photography. I typically shoot with a DSLR (Digital Single-Lens Reflex) camera, but you don’t have to have a big or fancy camera to take mouthwatering food photographs.
Tips And Tools For Taking Food Photos With Your Smart Phone or DSLR
I think everyone has access to a smart phone so with a few tips and tools I can show you how to use your smart phone (or DSLR) to take some great pictures of your recipes.
Lighting
TIP 1: My number one tip I can give to someone who doesn’t have a lot of photography equipment is to pick a window in your home that gives great natural lighting. Keep in mind that the location of the window (North, South, East, West) will have an effect on the type of natural lighting you’ll get.
TIP 2: Remember the time of day you take your pictures. This will also effect the lighting in your pictures. I try to take my food photos at the same time everyday to get the most similar lighting as possible. This also sometimes means if it’s a stormy day, I might hold off on taking photos until the next day.

TIP 3: Once you’ve picked your window and the best time of day to shoot, next is choosing the direction of your natural lighting. There are a few types you can choose from: side lighting, back lighting or corner lighting. Side lighting is the easiest and most forgiving in my opinion and that’s what I use.
Food Photography Props And Tools
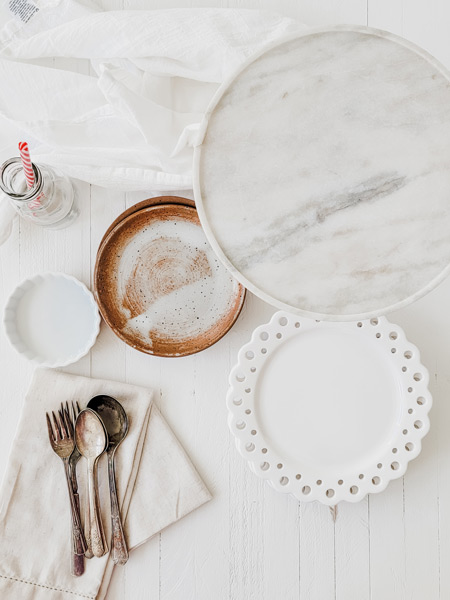
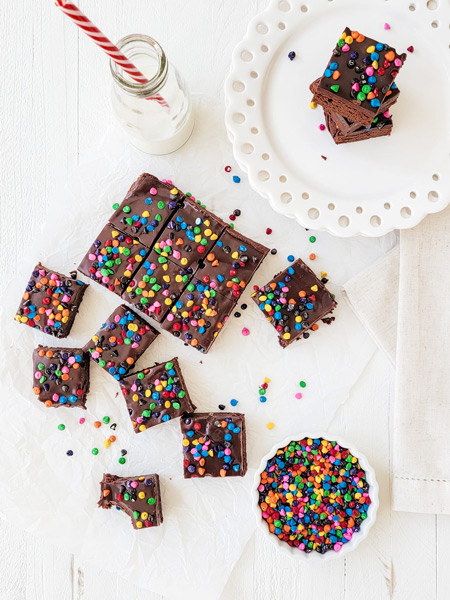
I have a few favorite food props that consistently make it in my food photos:
- Antique marble cake stand
- White cake/salad plates (Tip: smaller dishes are easier to photograph.)
- Small handmade pottery plates
- Small milk glass
- Small white dish for showing off sprinkles or any garnish used in the recipe
- Antique silverware (the tarnished silverware not only gives the pictures some character but it helps with keeping reflections away.
- A few cotton and linen napkins.
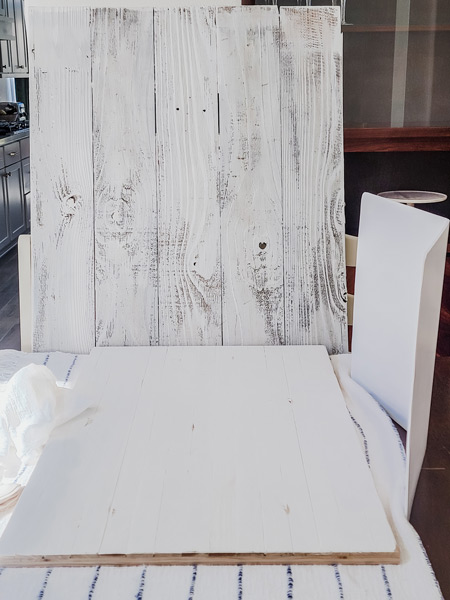
The Set Up
My set up is pretty simple. Just a couple of wood photography boards and a reflector set up on my dinning table. That’s where I get the best natural light. If you don’t have photography boards you can check out your local hardware store for some wood boards and paint to create your own.
If your don’t have a reflector you can use a white poster board instead. I use the reflector to bounce light back into the scene to soften some of the shadows.
Food Styling
I like to use some of the garnish of whatever recipe I’m shooting and sprinkle some over the photography board. Whatever makes sense for your subject. Examples can include:
- Sprinkles
- Cocoa powder
- Candy
- Marshmallows
- Fresh parsley
- Fresh veggies
- Fresh fruit
Cotton and linen napkins are also a great way to add texture to your subject. I prefer to keep my scene pretty simple so the food is the star.
Editing Smart Phone Images
I use a photo app on my smart phone to edit my phone pics. This way I can adjust lighting and white balance, which also helps keep my photos looking similar. You can use whichever photo app you like but I suggest using one to make improvements on white balance and lighting. The goal is to have your image look like it does in real life.
A Short List of Do’s And Don'ts Of Food Photography
- Do take your time looking for lighting.
- Do analyze the lighting in your photos.
- Do practice.
- Don’t shoot with your kitchen lights on.❗️
- Don’t shoot in direct sunlight. ❗️
Arrange Your Cookbook Pages
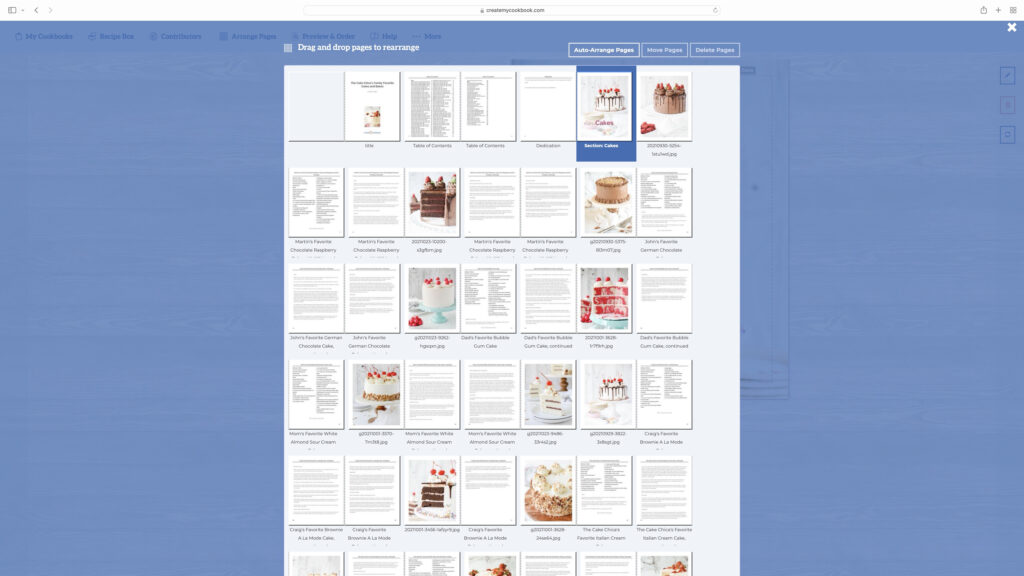
Once I uploaded all of my recipes and photos I wanted to include in my cookbook I went to the Arrange Pages screen and arranged the recipes and pictures exactly how I wanted them. Since I didn’t upload the recipes in the exact order I wanted them to appear in the book, this page is very helpful.
The cookbook designer also automatically updates the Table of Contents page as you arrange the pages which is a huge time saver! After you have triple checked your cookbook for errors and formatting, it’s now time to Preview and Order.
Preview and Order
- Choose Binding Style: Wire-O Soft Cover, Hardback Casebound, eCookbook, Ringed Binder, Hardback Wire-O. I chose the Hardback Wire-O.
- Choose Paper Type: Matte Finish (standard), Gloss (premium), Matte Rite in the Rain (water resistant.)I chose Rite in the Rain paper option.
- Choose Options for Your Book: eCookbook, Remove CreateMyCookbook Branding
- Review Proofs
- Order Cookbook
Shipping Information
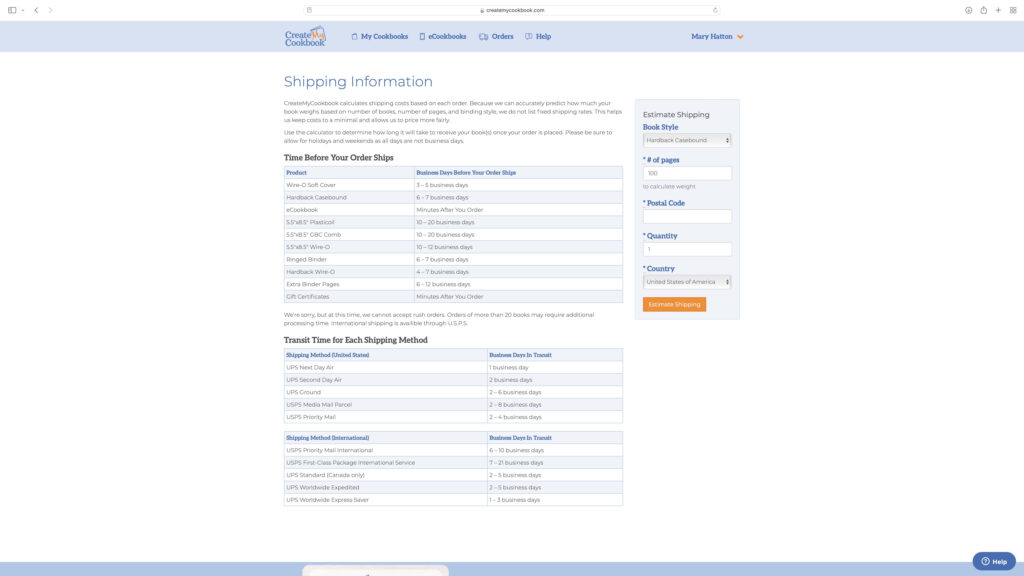
CreateMyCookbook has a detailed list of shipping estimates according to the style of cookbook selected as well as transit times and a shipping estimate calculator. I’m looking forward to receiving my cookbook very soon!
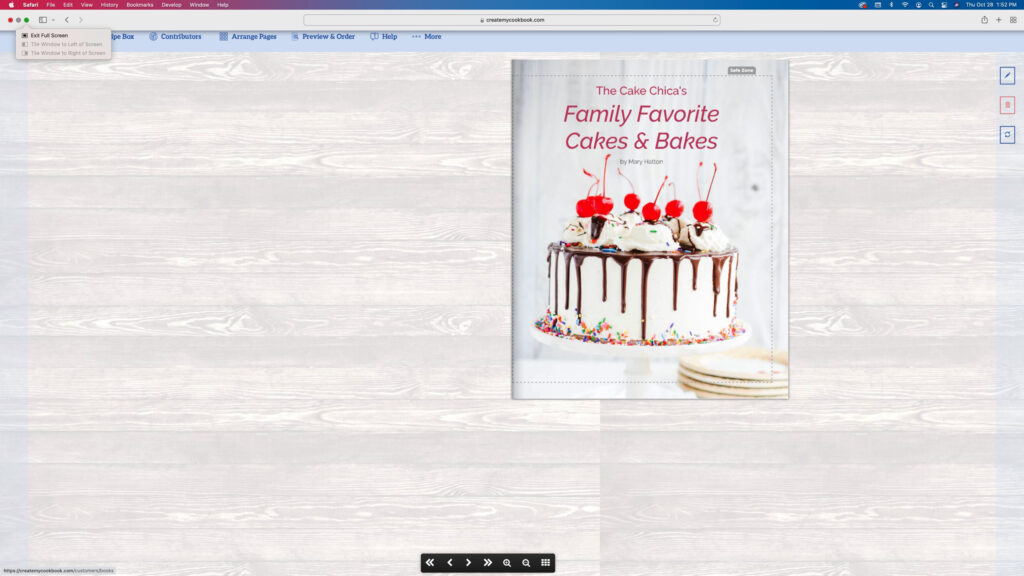
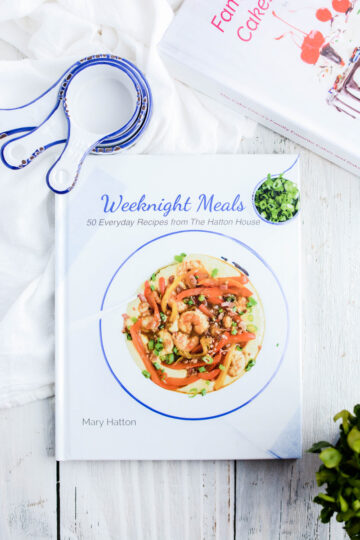
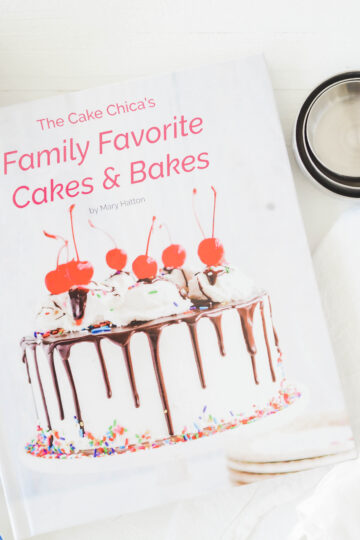
The Cookbook Tour!
Update! My cookbook has arrived! Check out the preview of my cookbook and don't forget to enter the giveaway while you're there for an $80.00 gift certificate from CreateMyCookbook!
Leave a Reply