As an Amazon Associate, I earn from qualifying purchases.
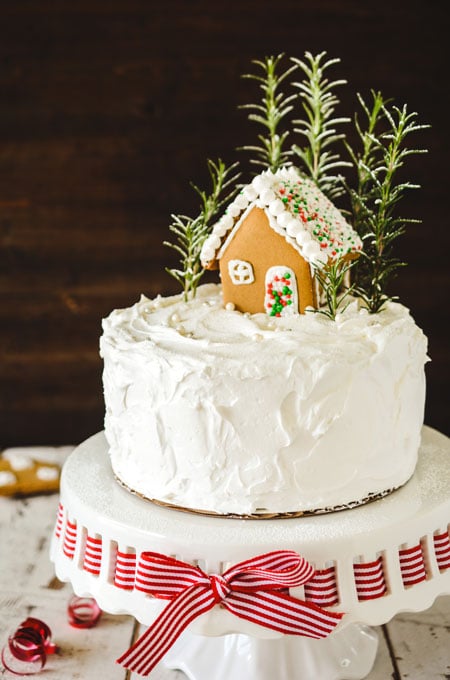
UPDATE: 3/15/2023 - Toasted Coconut Caramel Layer Cake recipe remains the same, however; I've changed the cake decoration, added a few updated pictures and added a few more helpful tips in the post!
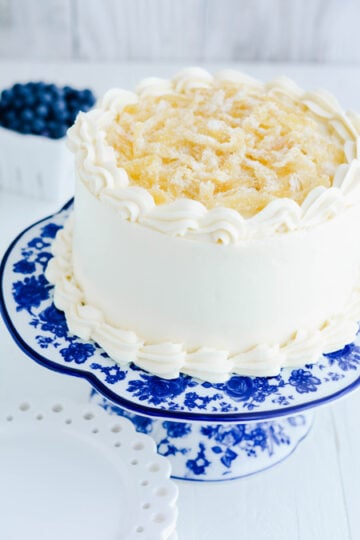
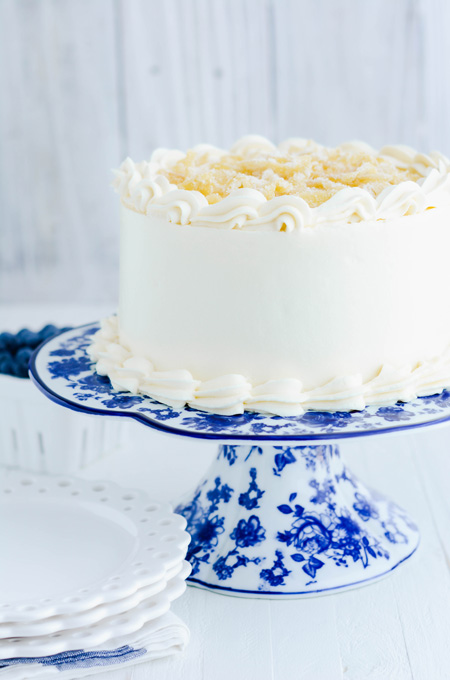
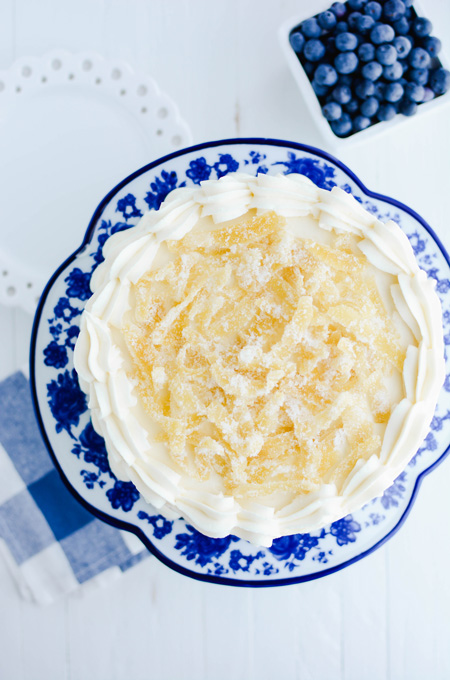
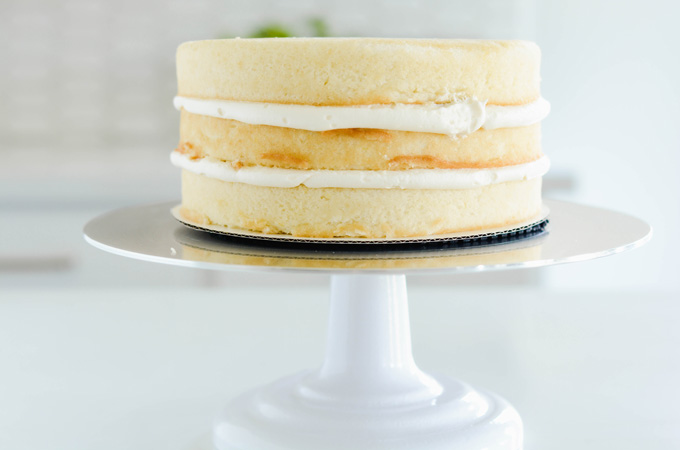
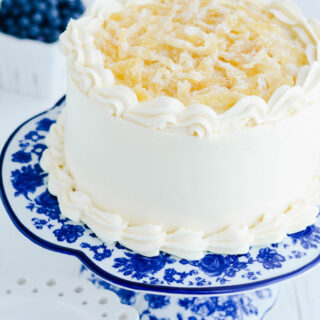
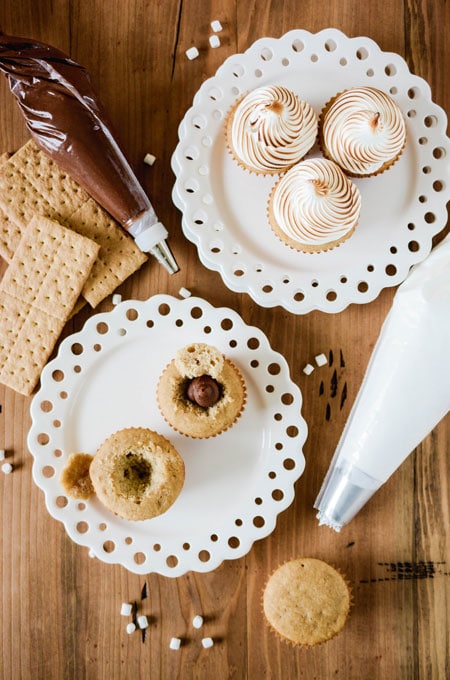
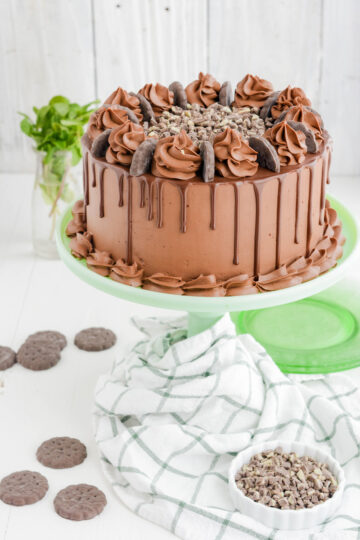
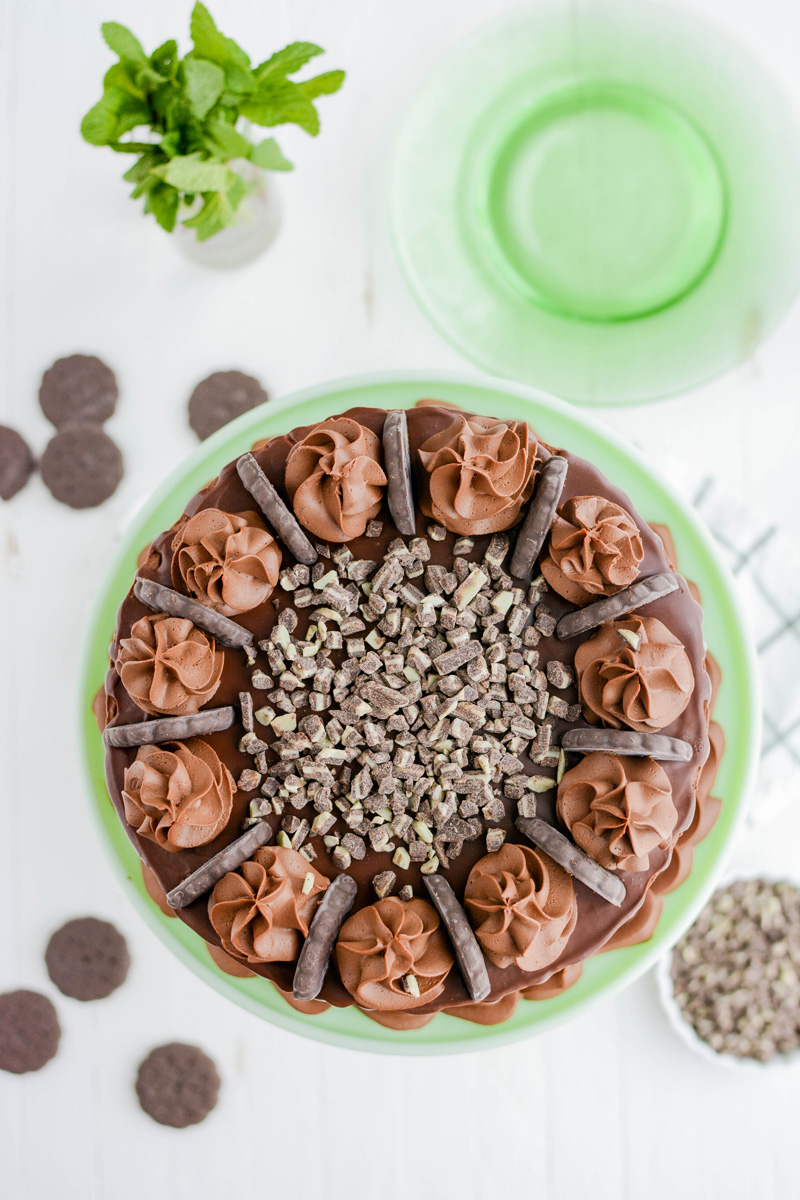
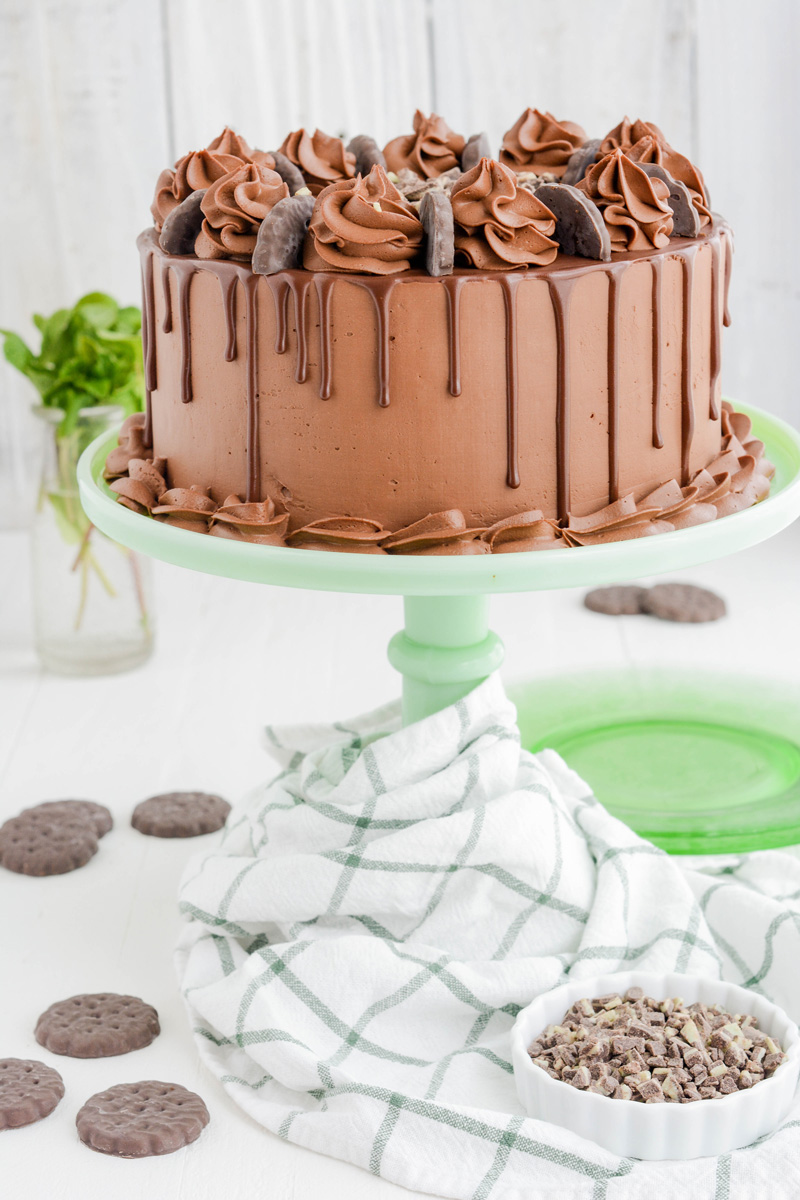
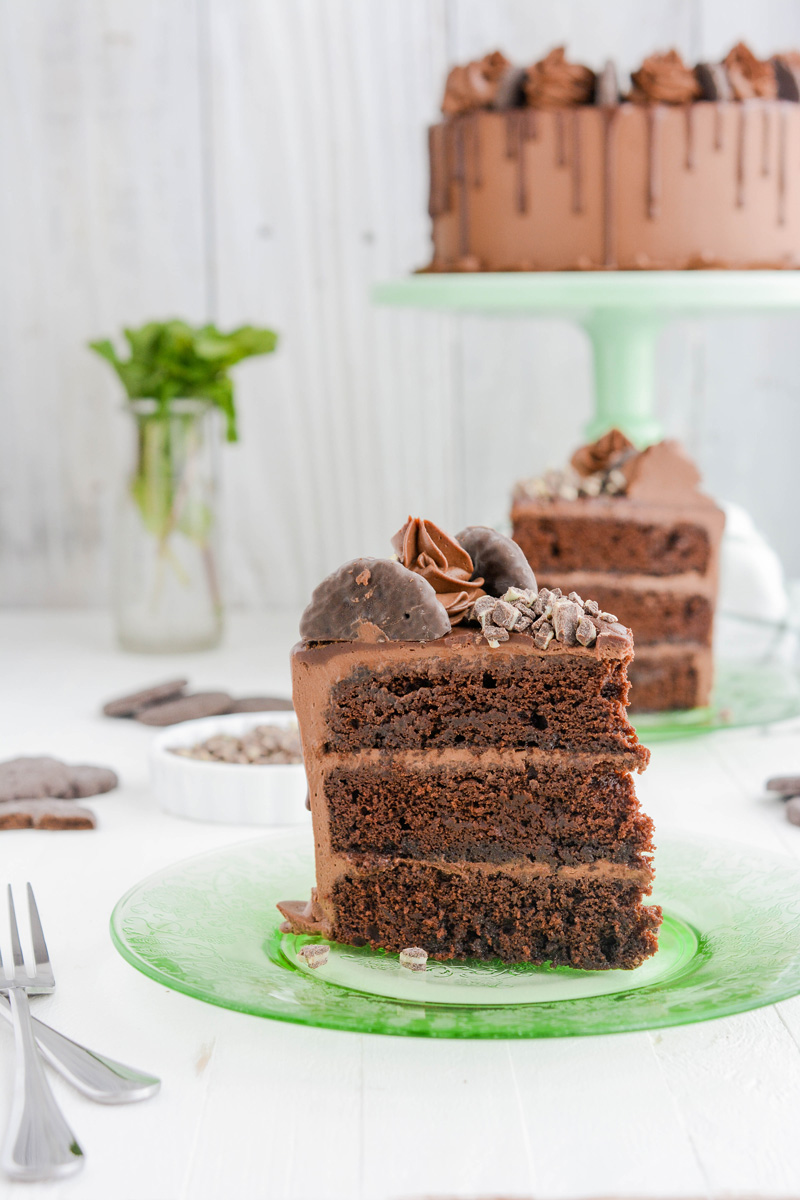
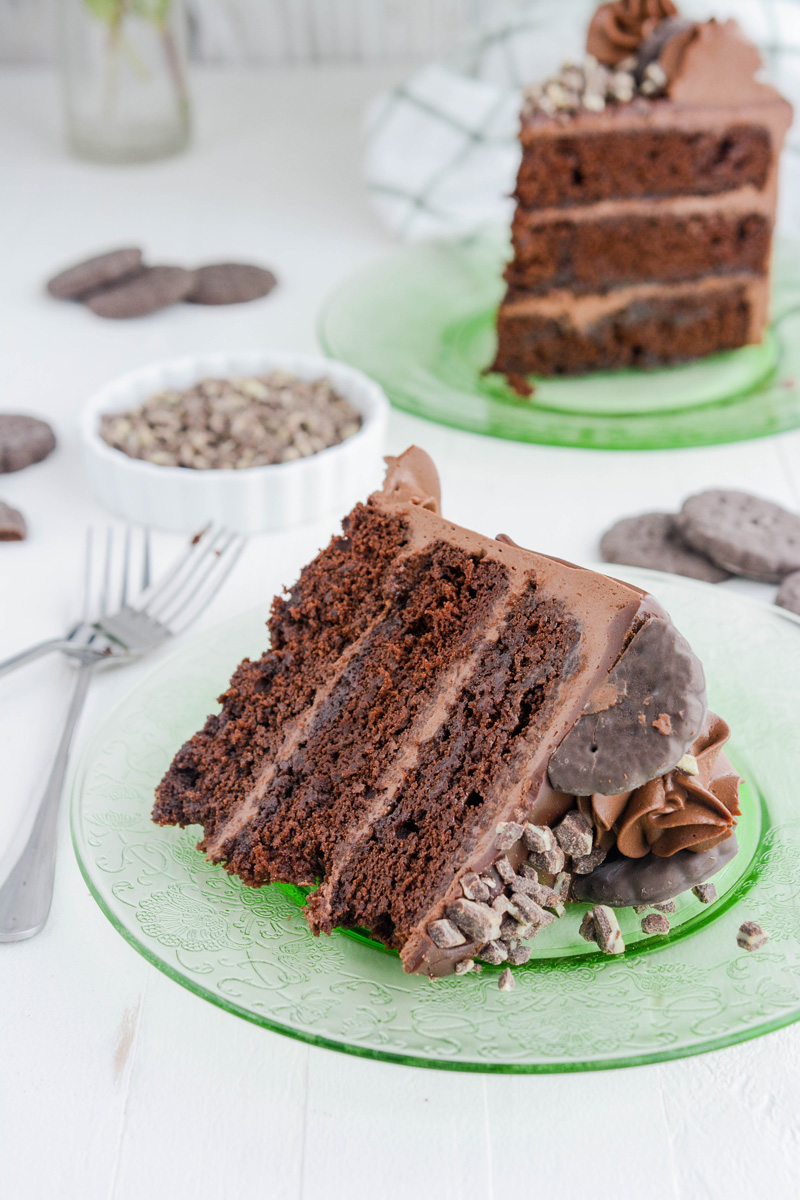
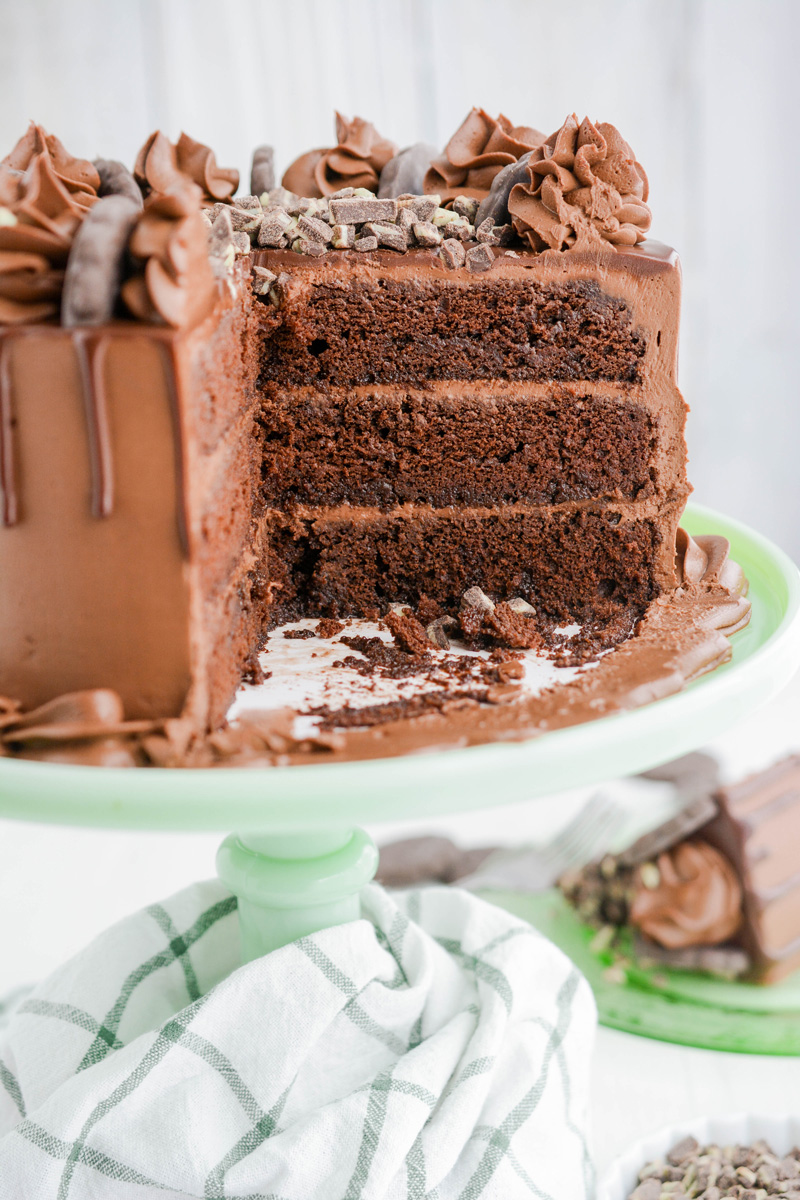
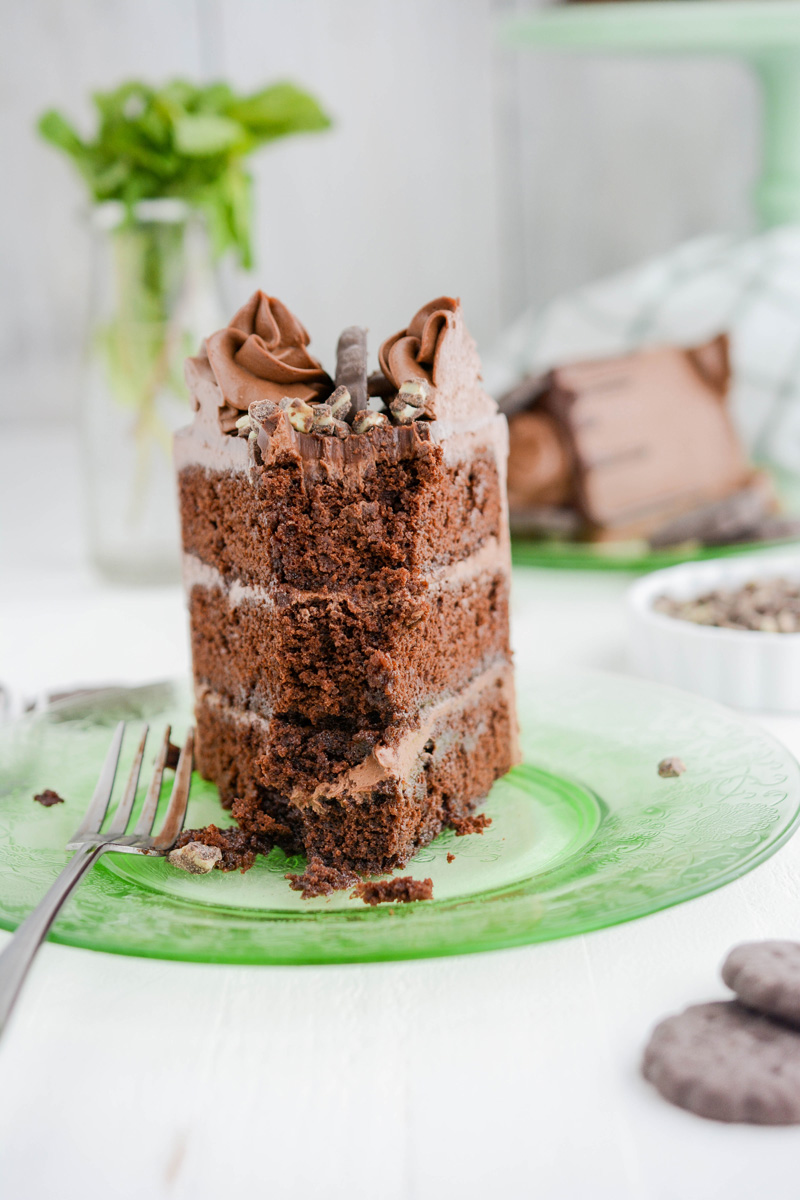
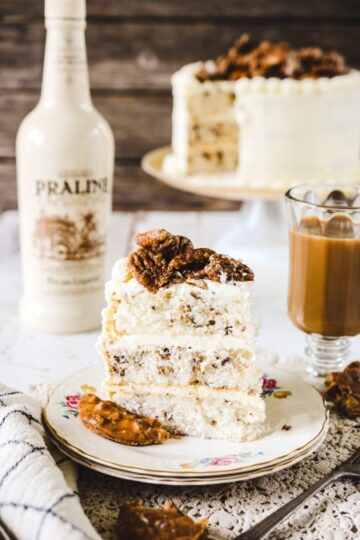
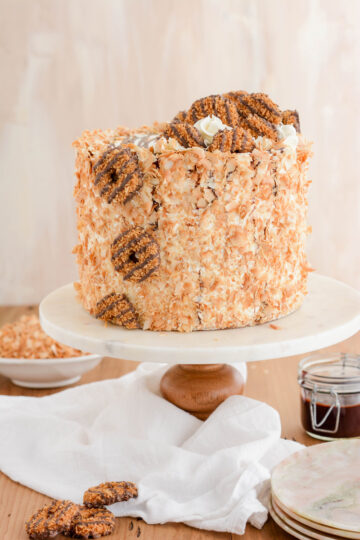
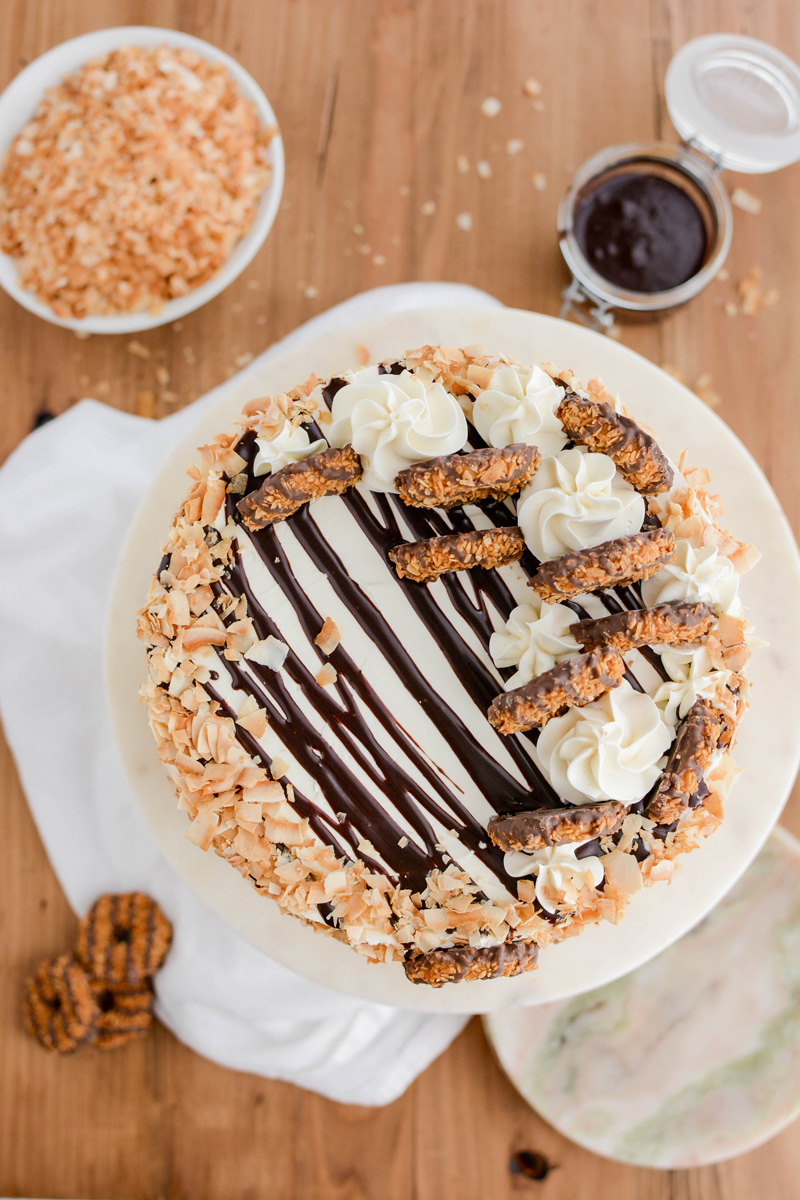
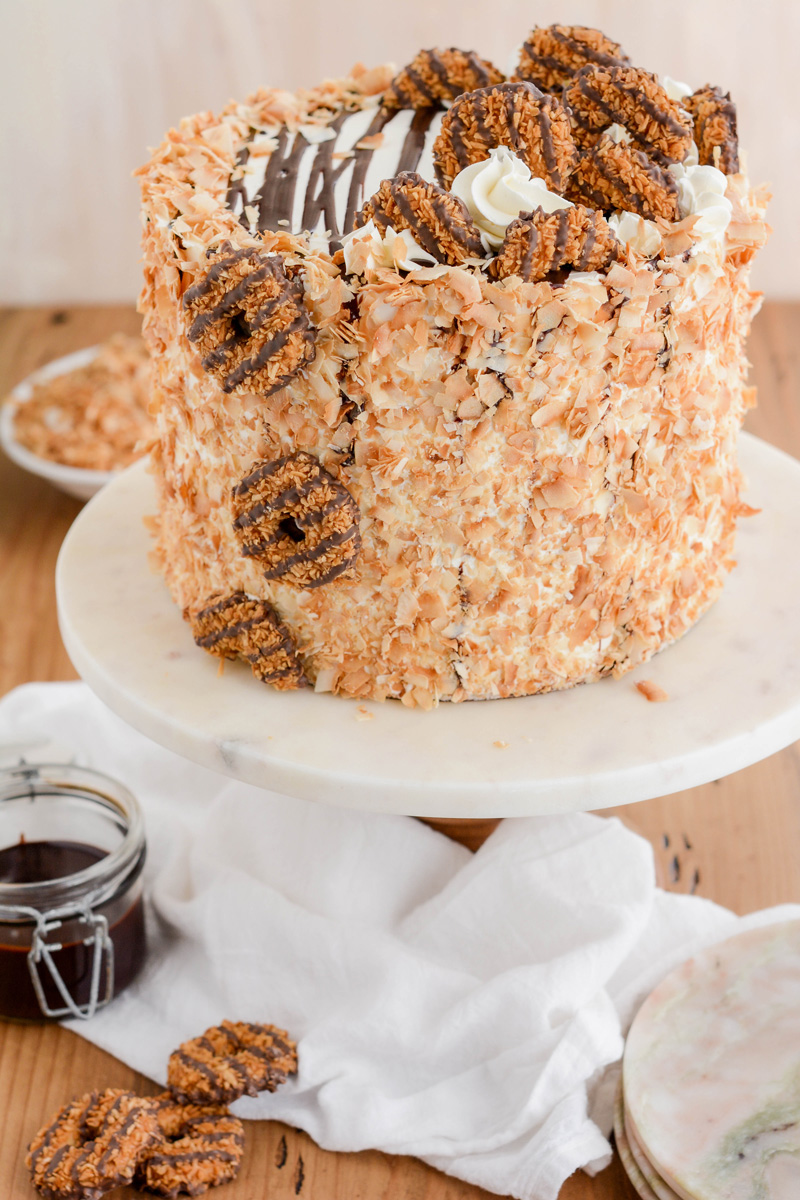
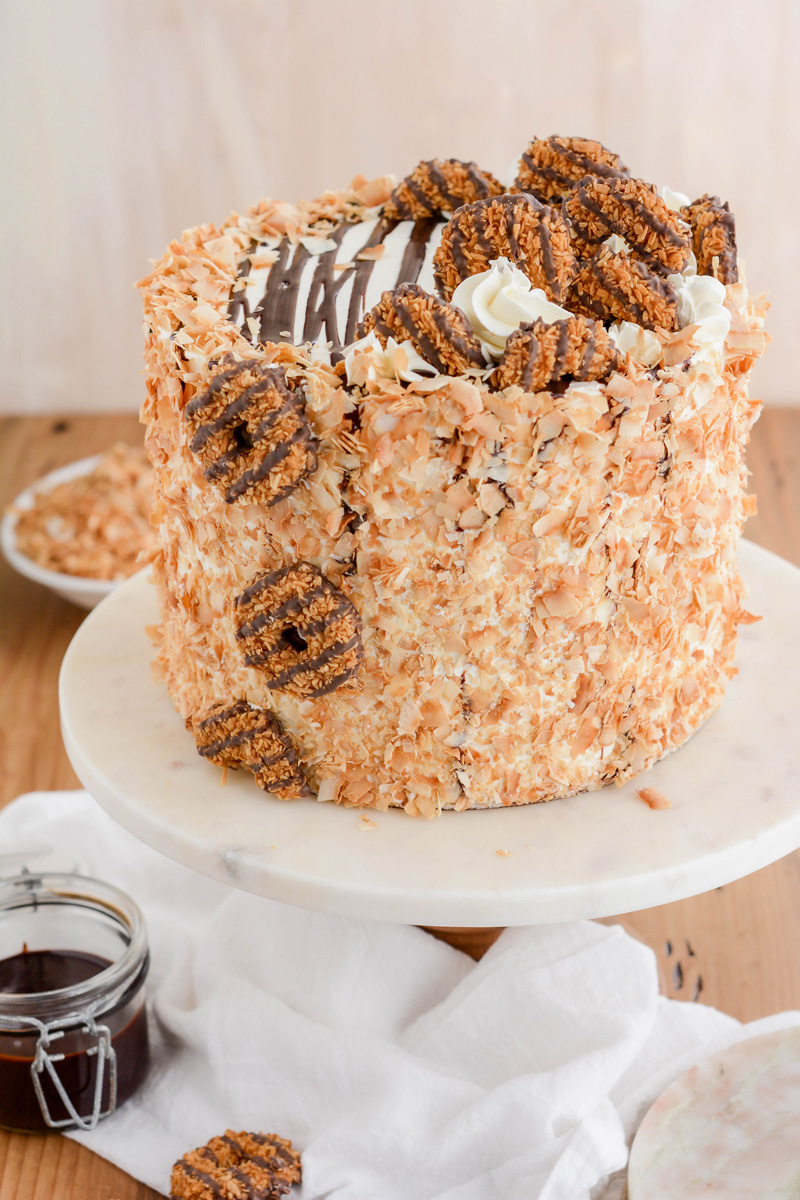
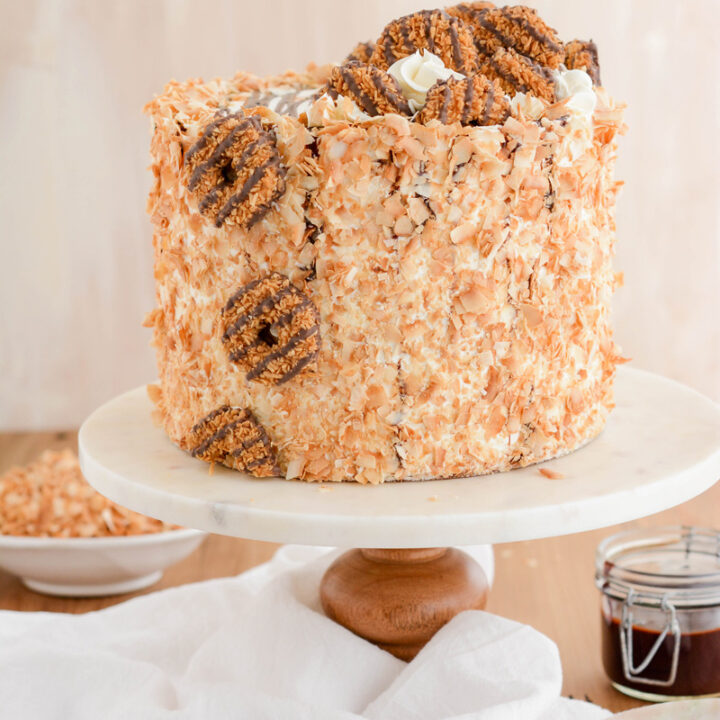
You're in for a real treat with this recipe. This Toasted Coconut Caramel Layer Cake is inspired by one of my favorite Girl Scout cookies, Caramel deLites, also known as Samoa's depending on your location.
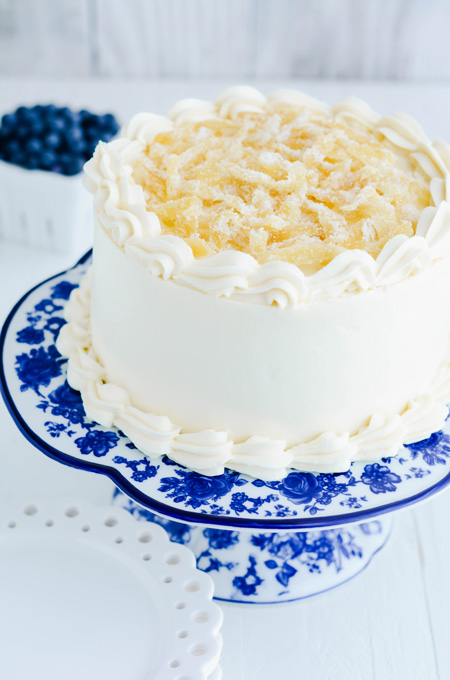
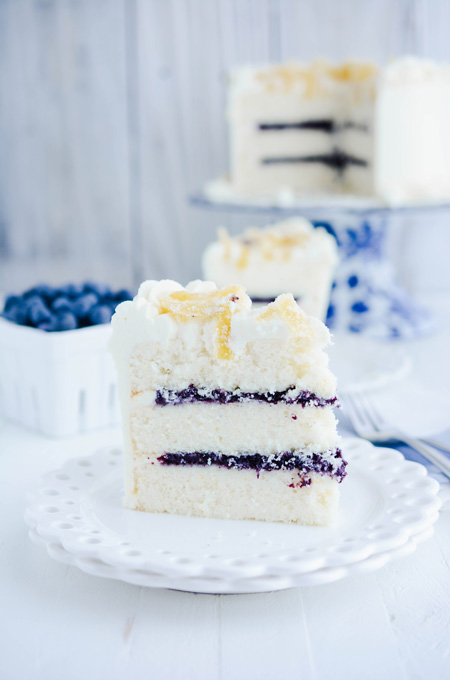
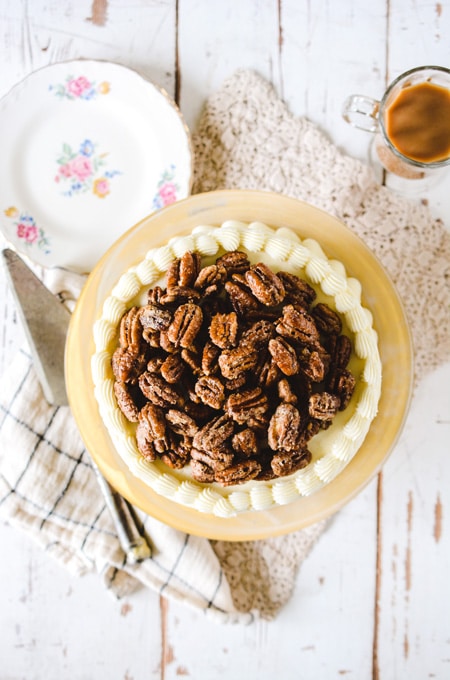
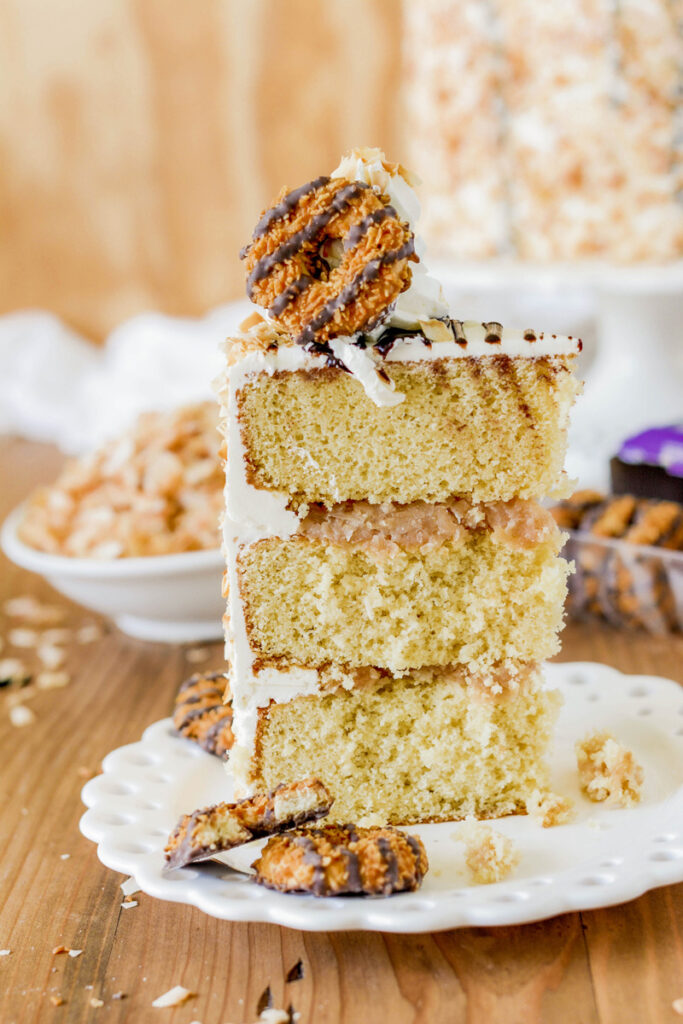
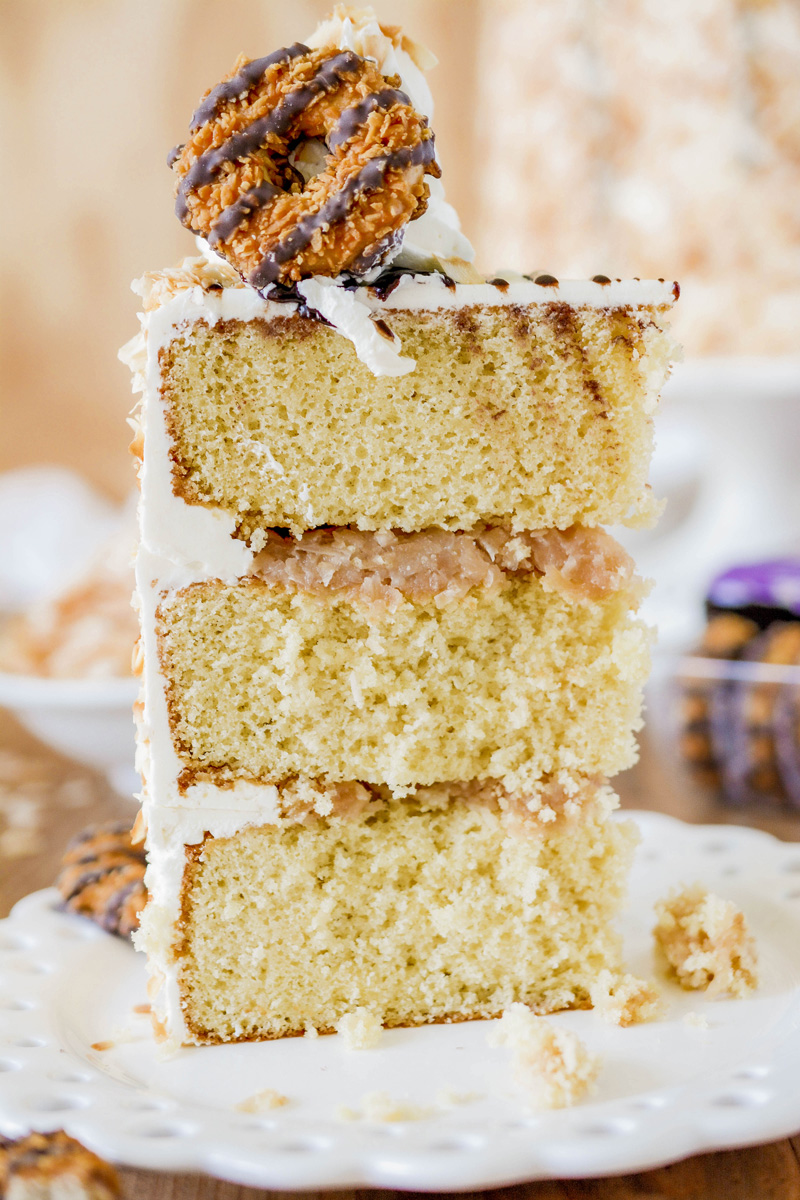
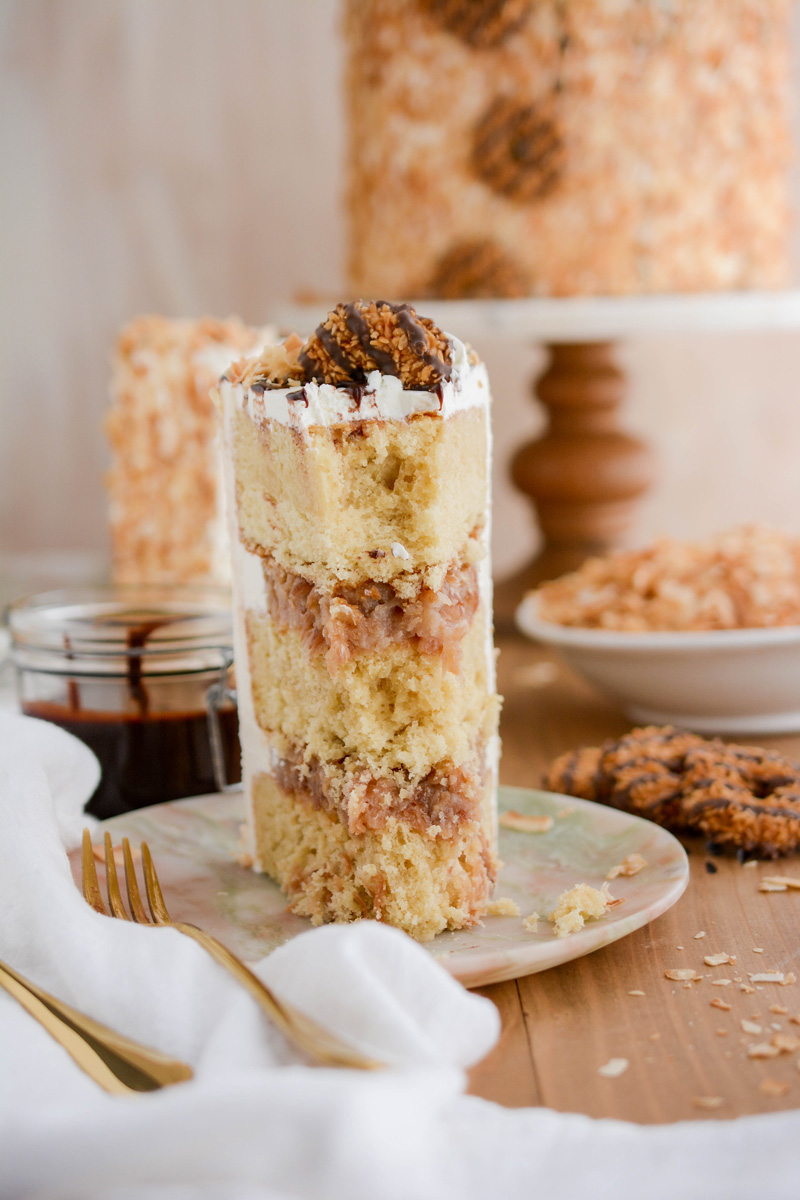
It's three layers of light and slightly sweet caramel cake layers. In between the layers is a thick and sweet toasted coconut filling. For the buttercream I chose a lightly sweetened coconut Swiss meringue buttercream. And for all the fun garnishes I scooped up some toasted coconut flakes on the sides of the cake and topped it with some fudge drizzle and Caramel deLite cookies!

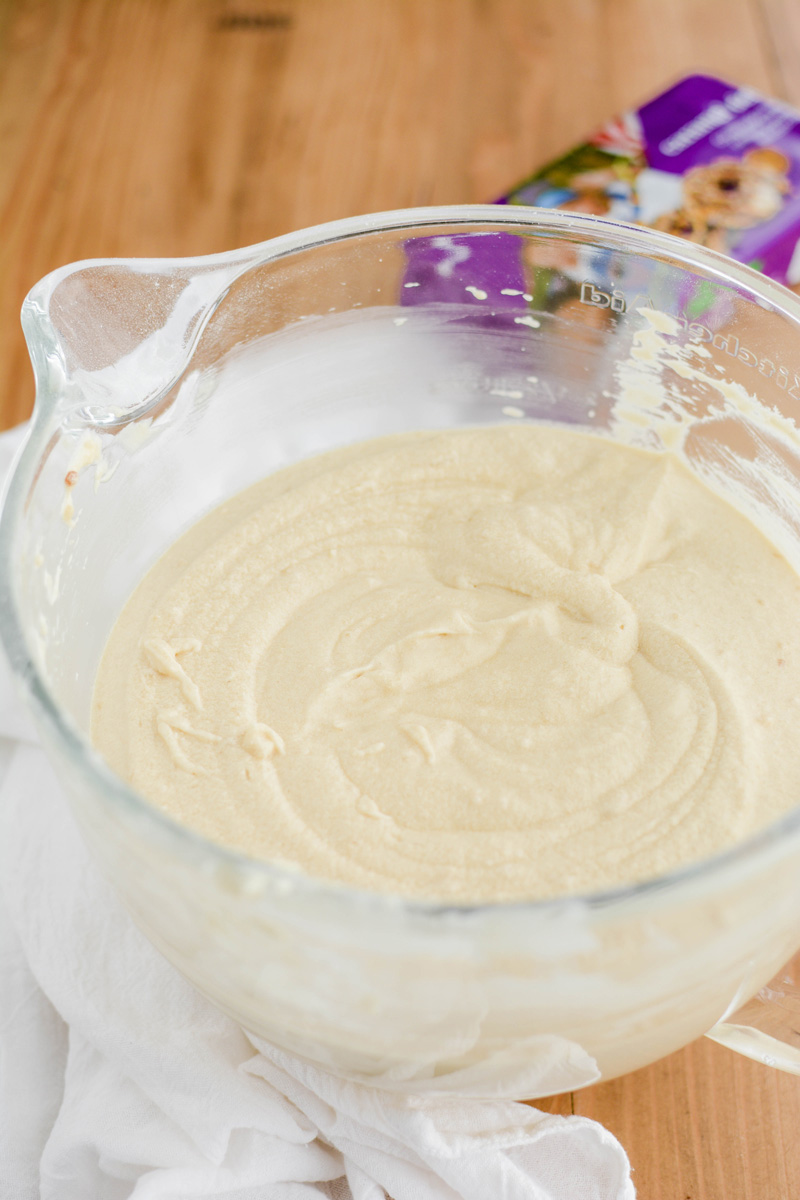
Caramel Cake
This Caramel Cake recipe uses the reverse creaming method, which is my favorite method for making layer cakes that are tender but sturdy with an ultra fine crumb.
What Is Reverse Creaming?
Reverse creaming is when you combine the dry ingredients with the butter, instead if creaming together the butter and sugar which is the traditional way. During the reverse creaming process, the butter coats the flour which helps to develope a cake that is tender with a fine crumb.
Plus, using the reverse creaming method doesn't create a cake dome that most cakes get when baked using the traditional creaming method.
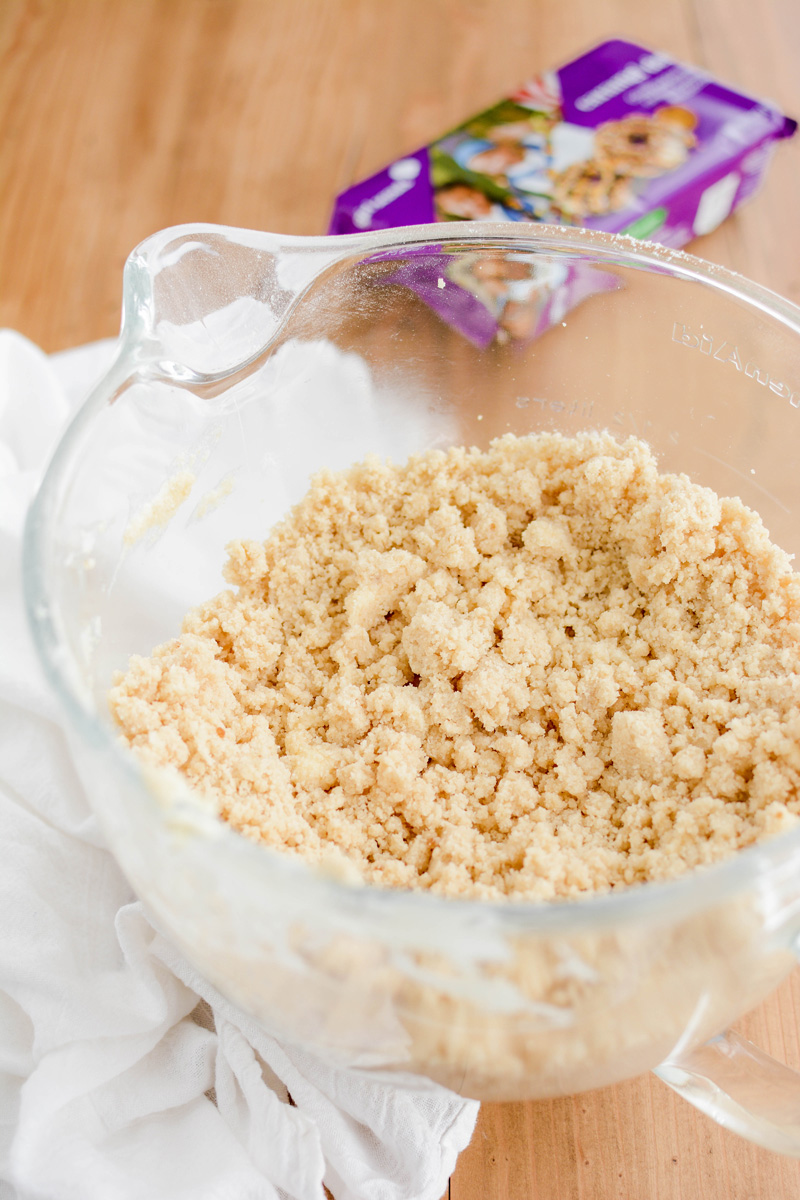
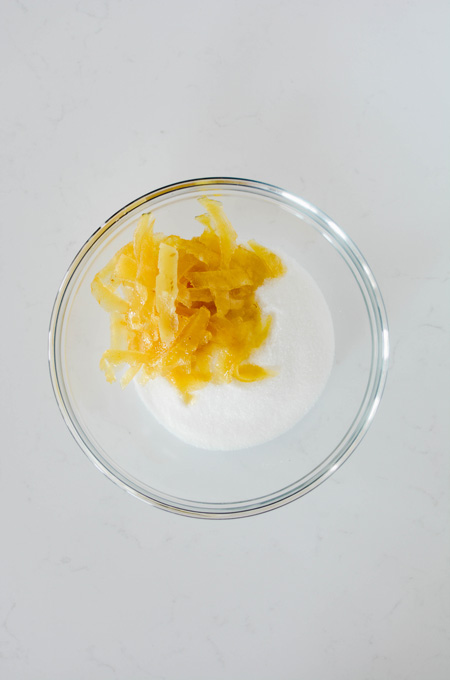
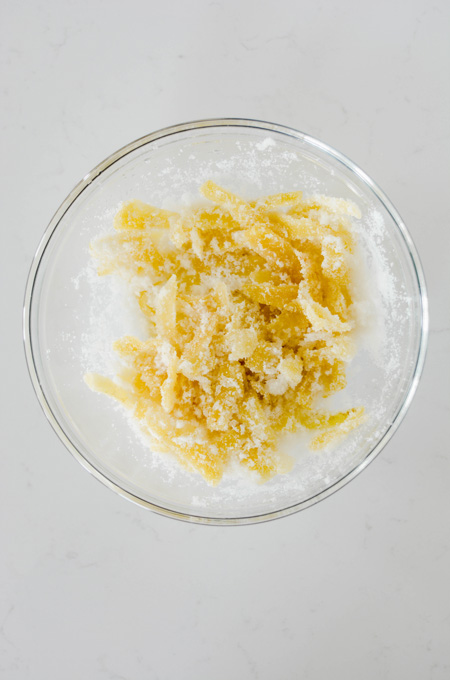
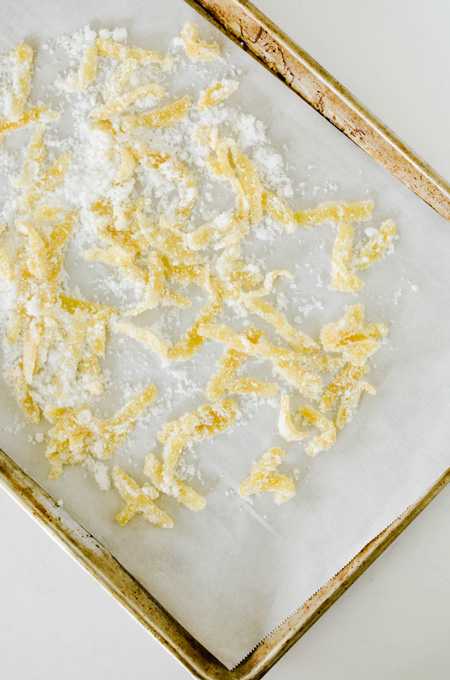
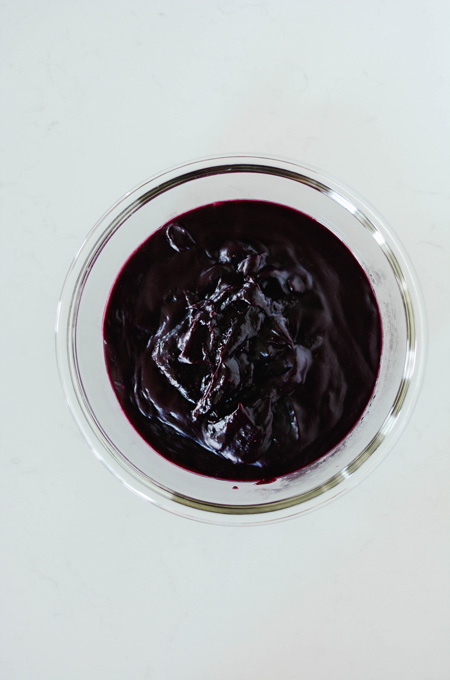
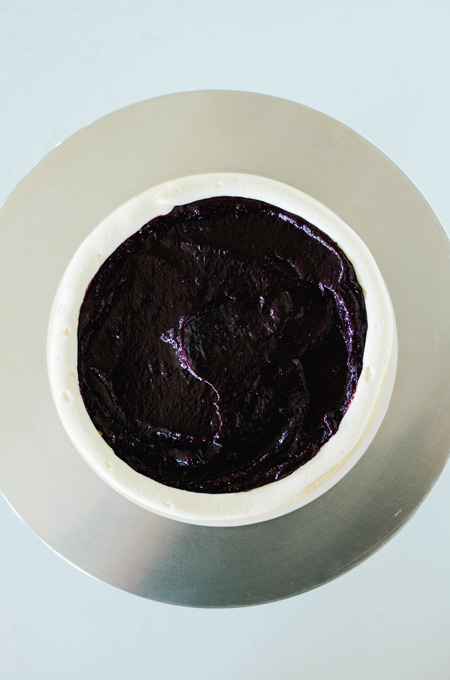
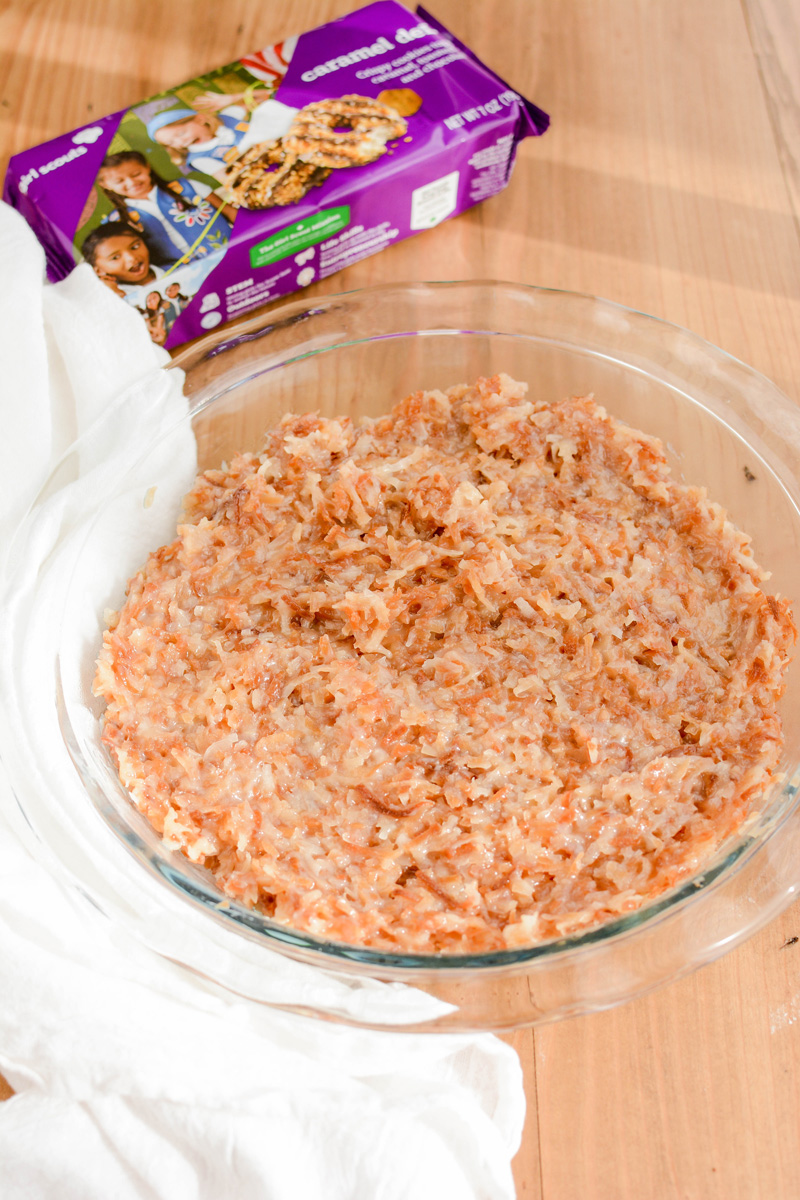
Toasted Coconut Filling
This Toasted Coconut Filling could be my favorite part of the cake with the exception of the Caramel deLite cookies. It's a thick and sweet filling that compliments the lightly sweetened cake layers. And the toasted coconut is reminiscent of those Caramel deLite cookies.
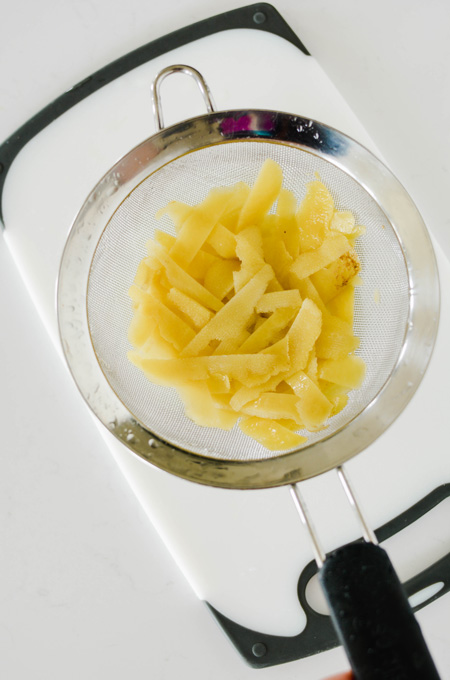
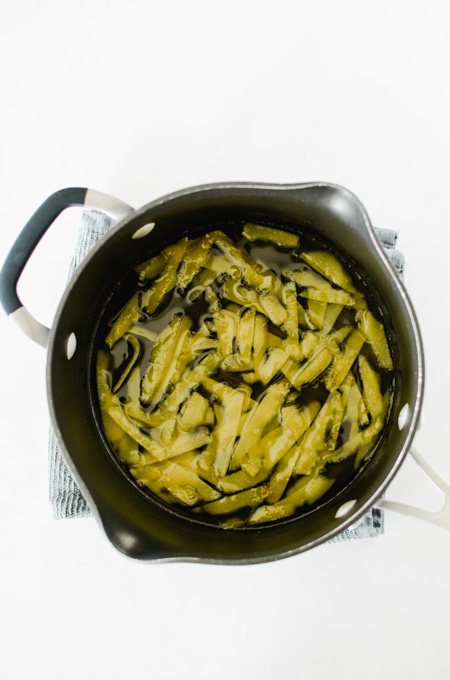
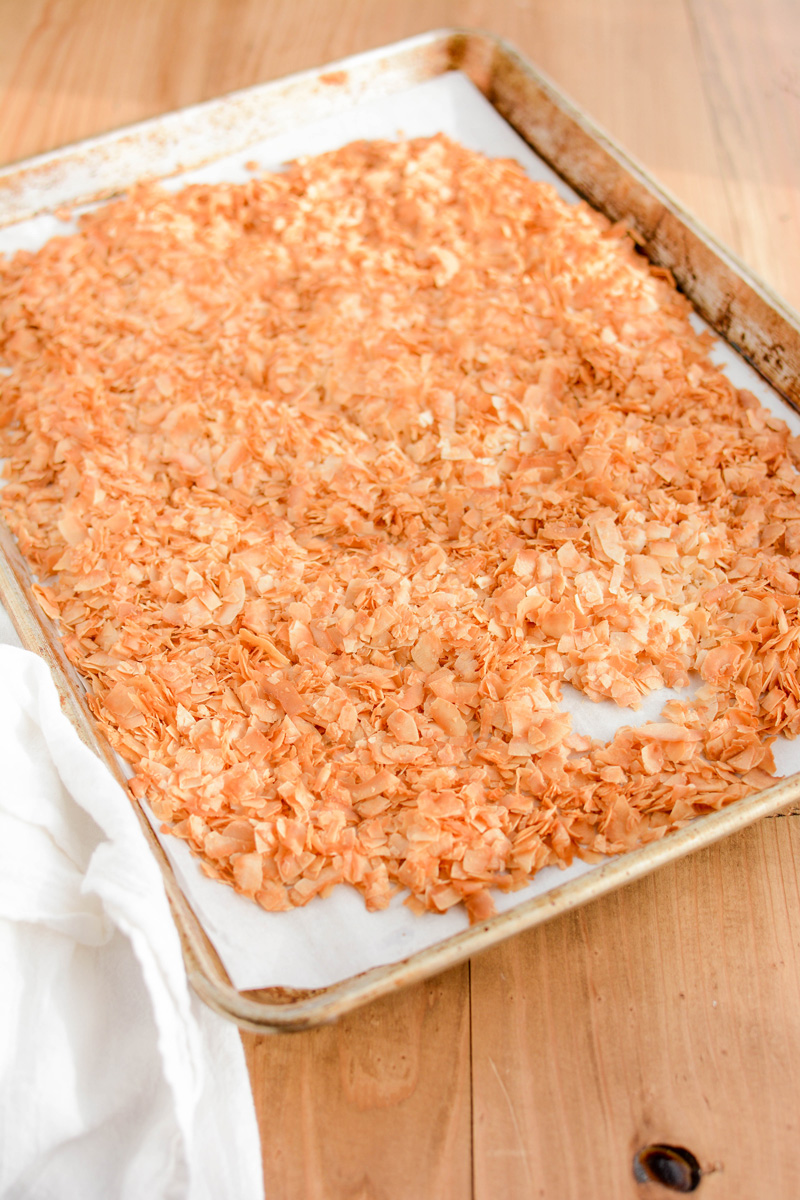
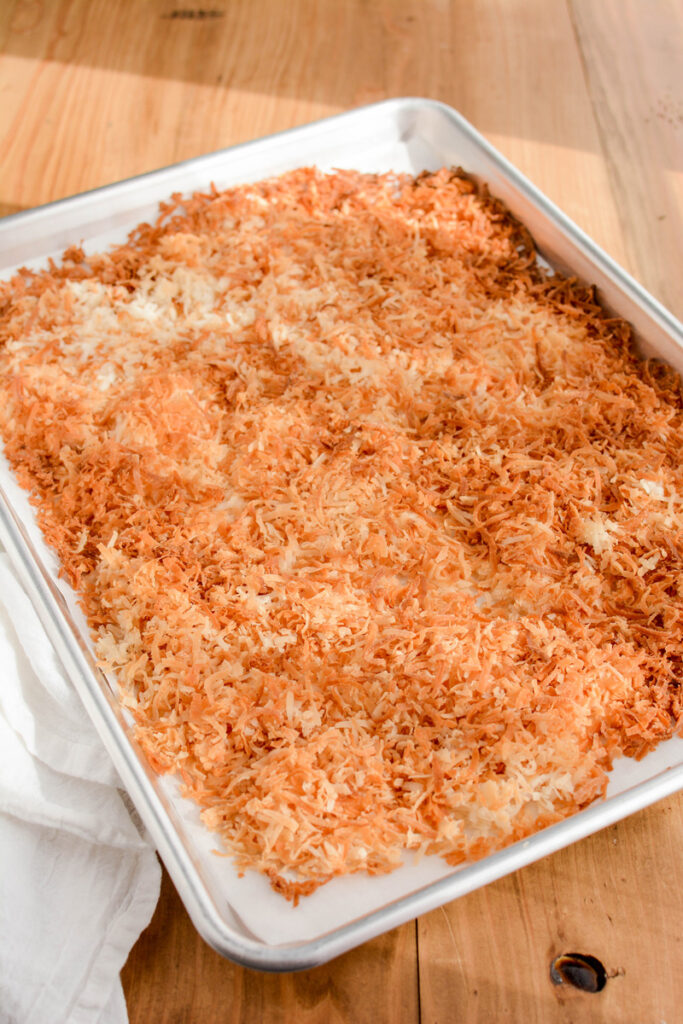
How To Toast Coconut
- Adjust an oven rack to the center position and heat oven to 325 degrees.
- Line a rimmed baking sheet with parchment paper.
- Spread out coconut evenly on baking sheet.
- Bake anywhere from 15 to 25 minutes, stirring coconut every 5 minutes. Depending on the kind of coconut flakes you have the time will vary. I like to use unsweetened coconut flakes for the outside garnish and sweetened shredded coconut for the filling.
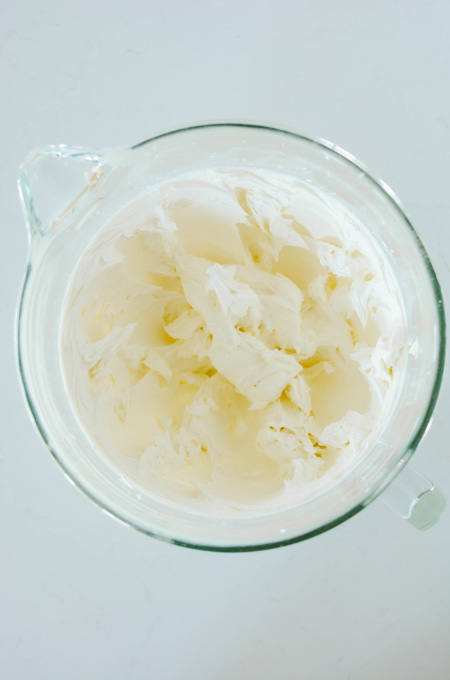
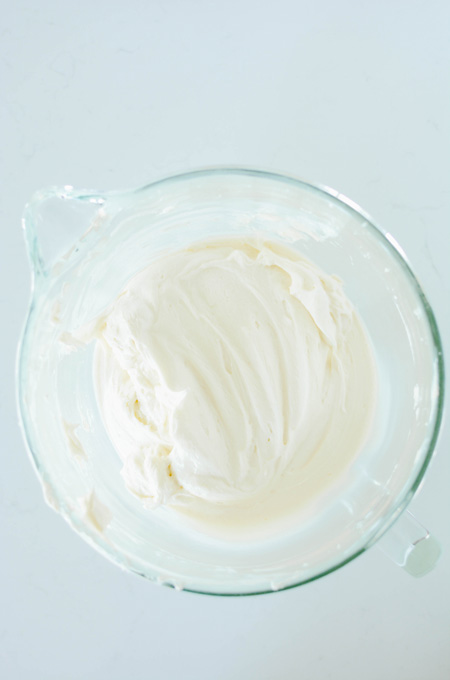
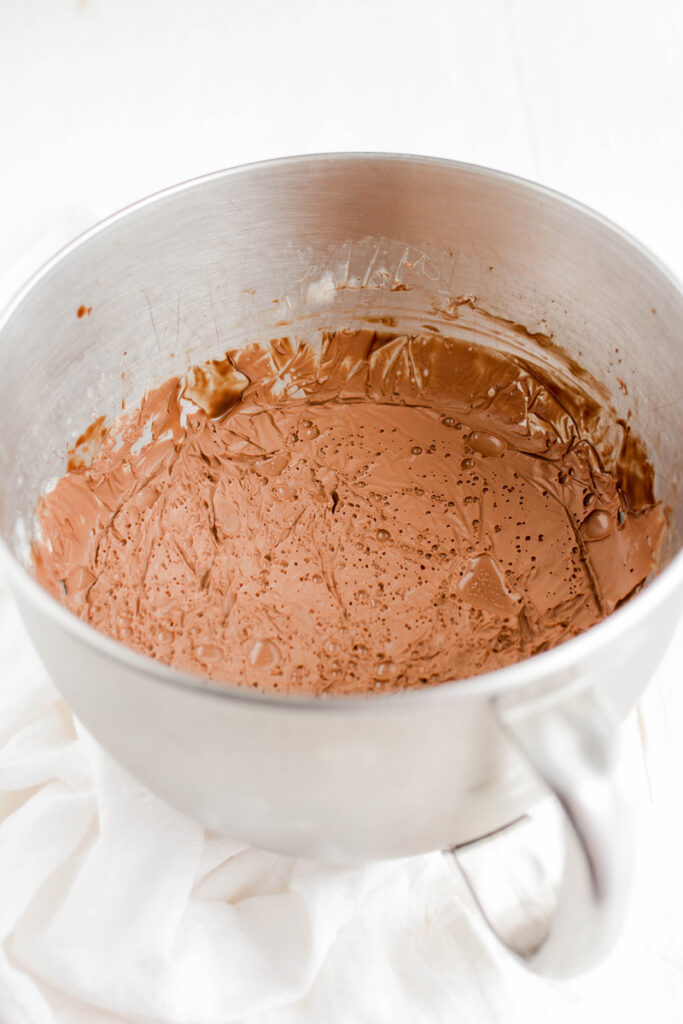
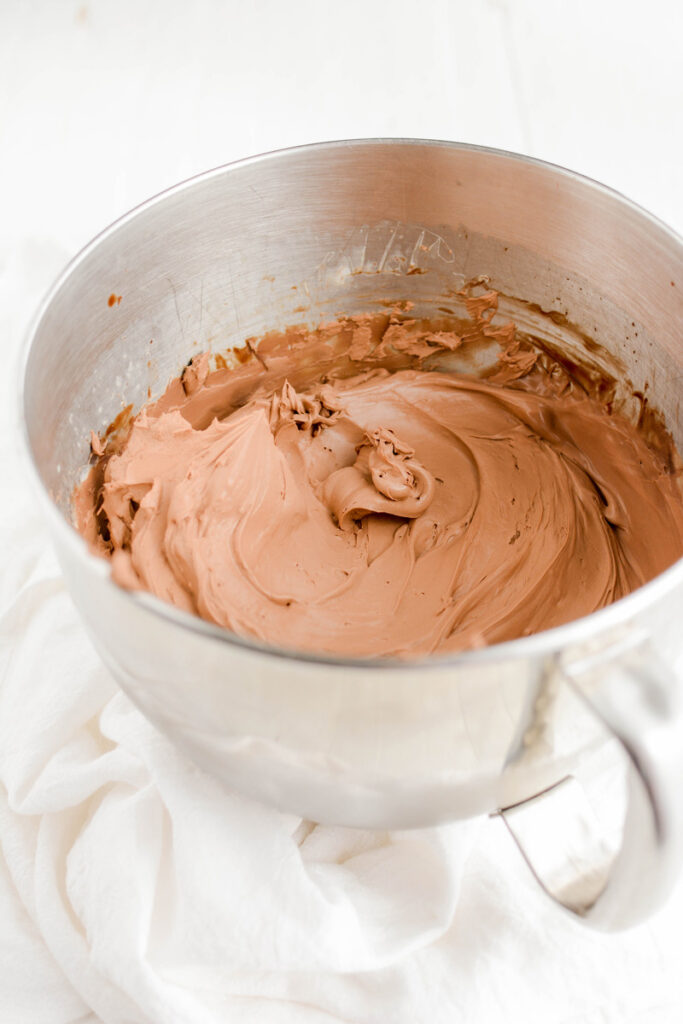
Coconut Swiss Meringue Buttercream
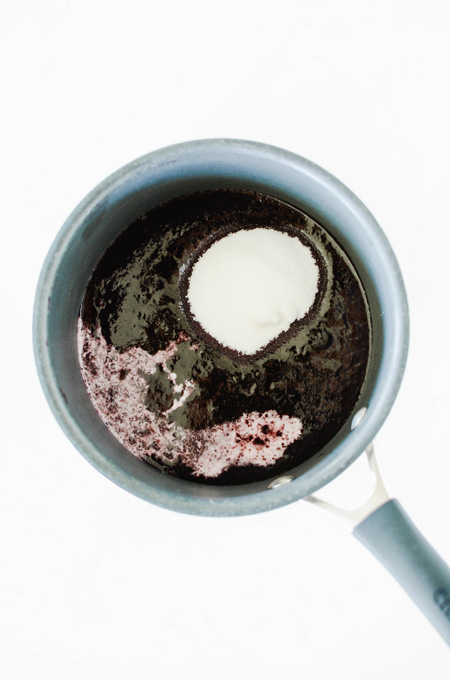
To add some coconut flavor to the traditional Swiss meringue buttercream, I added some coconut extract and cream of coconut. IMPORTANT NOTE: Cream of coconut and coconut cream are not the same and can't be used interchangeably. The cream of coconut is very sweet so add sparingly. Start with 1/4 cup and add up to 1/2 cup according to your taste.
Coconut Swiss Meringue Buttercream Tips
- Make sure your mixer bowl and whisk are super clean. There should be no grease on your tools or your egg whites might not beat up properly.
- Your butter should be cut into tablespoon sized pieces and at room temperature before using. (I take my butter out the night before I plan to make the buttercream.)
- Whisk together the egg whites and sugar well, or your egg whites could start to cook on their own.
- The bottom of your mixer bowl should not touch the water in the double boiler or your egg whites could start to cook on their own.
- To help achieve smooth and silky buttercream, turn your mixer speed to low during the last minute of beating to get out any air bubbles.
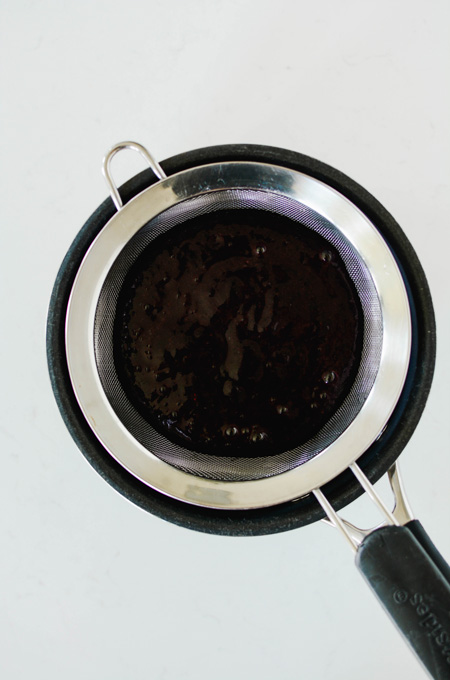
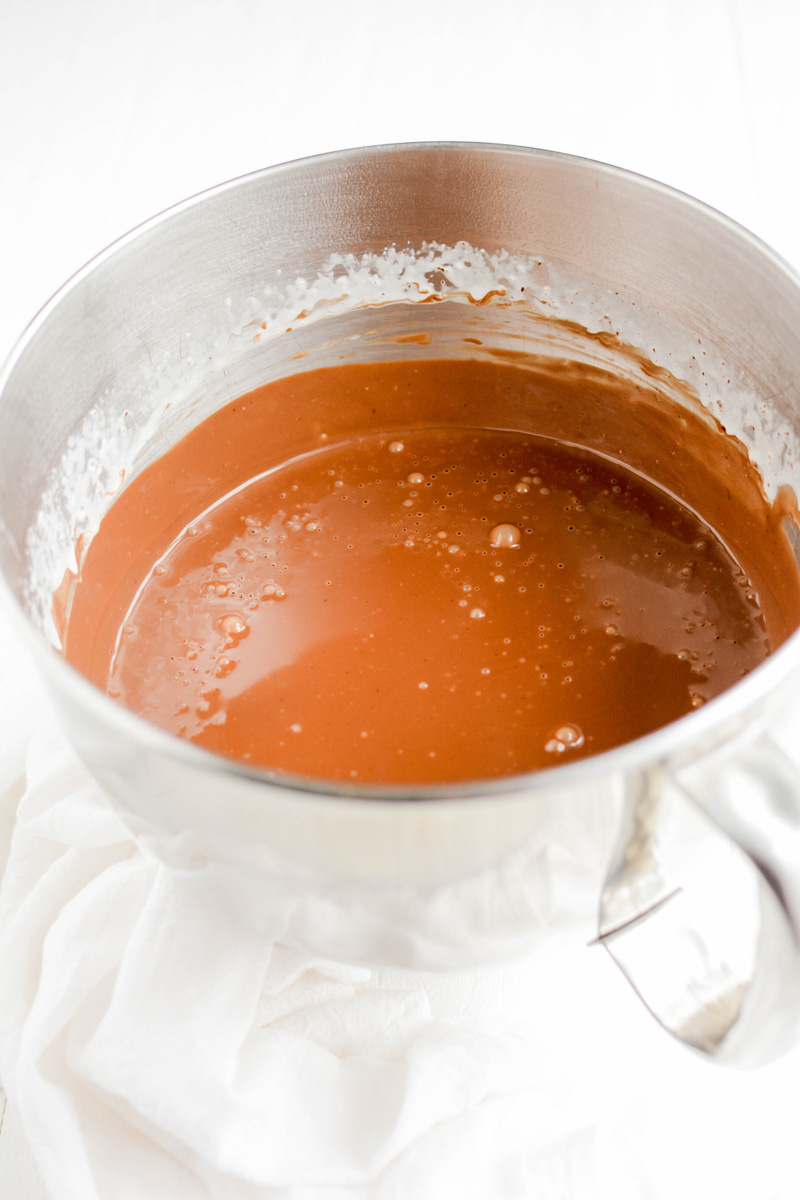
Fudge Sauce
Add as much or as little as you like of the fudge sauce. You'll have plenty to work with. You could also serve the fudge sauce on the side. The great thing about this fudge sauce is you can make it up to 2 weeks in advance! Just store it in the refrigerator and microwave it until it's a pourable consistency.
Make Ahead Options
- Caramel Cake Layers can be made up to 3 days in advance, wrapped in plastic wrap and stored an airtight container at room temperature or in the refrigerator.
- Coconut Filling can be made up to 1 week in advance, stored in an airtight container in the refrigerator.
- Swiss Meringue Buttercream can be made up to 10 days in advance, stored in an airtight container in the refrigerator. Bring to room temperature before remixing.
- Fudge Sauce can be made up to 2 weeks in advance stored in an airtight container in the refrigerator. Heat up before using.
Baking Schedule
- Day 1: Toast the coconuts for filling and garnish. Store in a zip top bag at room temperature.
- Day 2: Bake cake layers and prepare the fudge sauce.
- Day 3: Prepare filling, buttercream, assemble, decorate and serve.
Cake Decorating Tools
- 8-inch round acrylic disc
- Parchment paper
- 8-inch round cake board
- Cake turntable
- Coupler
- Piping bag(s)
- Small offset spatula
- Cake scraper
- Rimmed baking sheet
- Wilton piping tip #1M
- 10 ounces unsweetened coconut flakes, toasted, for decorating
- Caramel deLites or Samoa’s cookies, for decorating
Let's Connect
The Cake Chica is on the following social media platforms below. Click subscribe, like and follow! We would love to have you over!
Suggested Recipes

Adapted from The Magnolia Bakery Handbook by Bobbie Lloyd
Toasted Coconut Caramel Layer Cake
Toasted Coconut Caramel Layer Cake is inspired by Caramel deLites or Samoa's. It's three layers of caramel cake filled with toasted coconut and frosted with coconut Swiss meringue buttercream. For the finishing touch it's drizzled with fudge sauce and garnished with toasted coconut flakes and Caramel deLite cookies!
Ingredients
SPECIAL TOOLS
- 3 8-inch round cake pans
- Nonstick baking spray
- Stand mixer
- Candy thermometer
- 8-inch round acrylic disc
- Parchment paper
- 8-inch round cake board
- Cake turntable
- Coupler
- Piping bag(s)
- Small offset spatula
- Cake scraper
- Rimmed baking sheet
- Wilton piping tip #1M
- 10 ounces unsweetened coconut flakes, toasted, for decorating
- Caramel deLites or Samoa’s cookies, for decorating
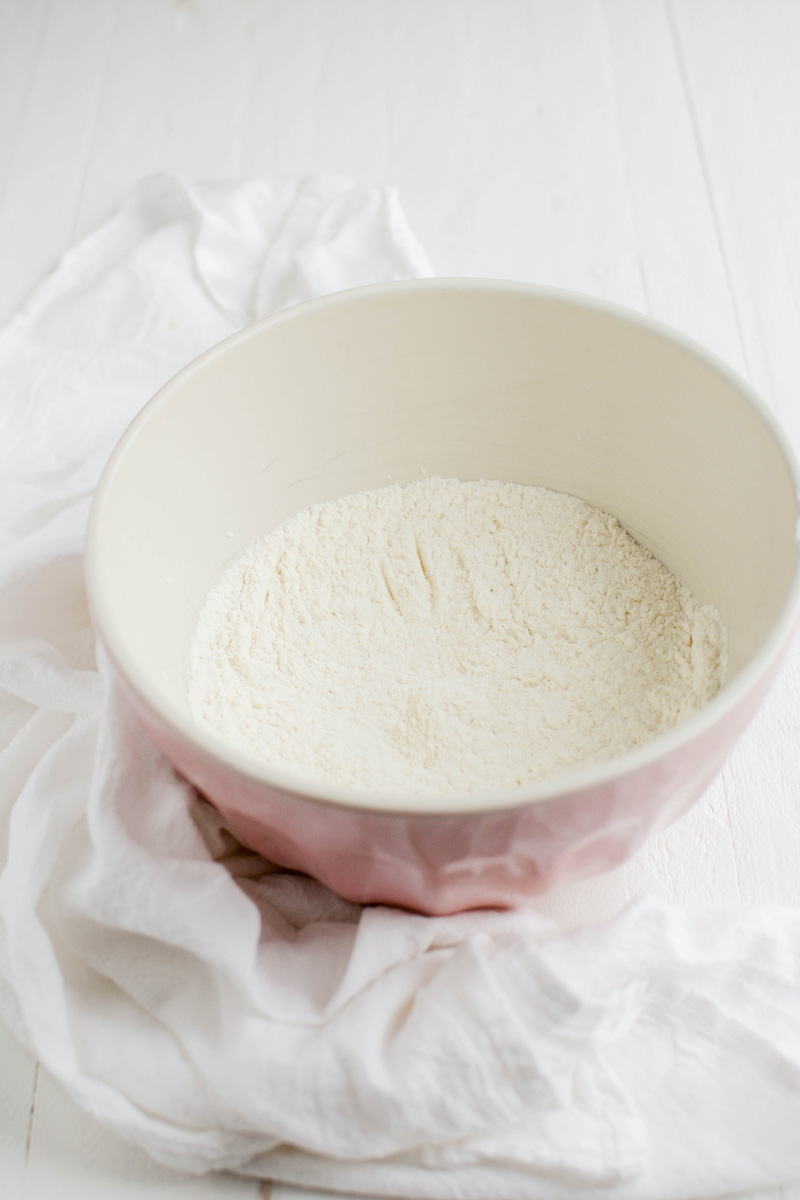
CARAMEL CAKE
- 4 1/2 cups (18 ounces) cake flour
- 1 tablespoon plus1 1/2 teaspoons baking powder
- 1 1/2 teaspoons salt
- 2 1/2 cups (10.5 ounces) light brown sugar
- 1 cup (7 ounces) granulated sugar
- 1 1/2 cups (3 sticks/24 tablespoons) unsalted butter, cut into tablespoon sized pieces, at room temperature
- 7 large eggs
- 1 tablespoon vanilla extract
- 1 1/2 cups whole milk, at room temperature
TOASTED COCONUT FILLING
- 1 1/2 cups (12 ounces) whole milk
- 3/4 cup (5.3 ounces) granulated sugar
- 1/4 cup (1.2 ounces) all-purpose flour
- 14 ounces toasted sweetened shredded coconut
- 2 teaspoons vanilla extract
COCONUT SWISS MERINGUE BUTTERCREAM
- 1/2 cup plus 2 tablespoons egg whites
- 1 1/4 cups (8.75 ounces) granulated sugar
- 2 cups (4 sticks/32 tablespoons) unsalted butter, cut into tablespoon sized pieces, at room temperature
- 1 teaspoons vanilla extract
- 1 teaspoon coconut extract
- 1/4 - 1/2 cup cream of coconut, such as Coco Lopez
FUDGE SAUCE
- 10 ounces semi sweet chocolate, chopped
- 1/3 cup (1 ounce) Dutch processed cocoa powder, sifted
- 3/4 cup light corn syrup
- 1/3 cup (2 1/3 ounces) granulated sugar
- 1/3 cup heavy cream
- 1/3 cup water
- Pinch salt
- 3 tablespoons unsalted butter, cut into tablespoon sized pieces
- 1 teaspoon vanilla extract
Instructions
CARAMEL CAKE
- Adjust an oven rack to the center position and heat oven to 325 degrees. Spray 3 8-inch round cake pans with baking spray and set aside.
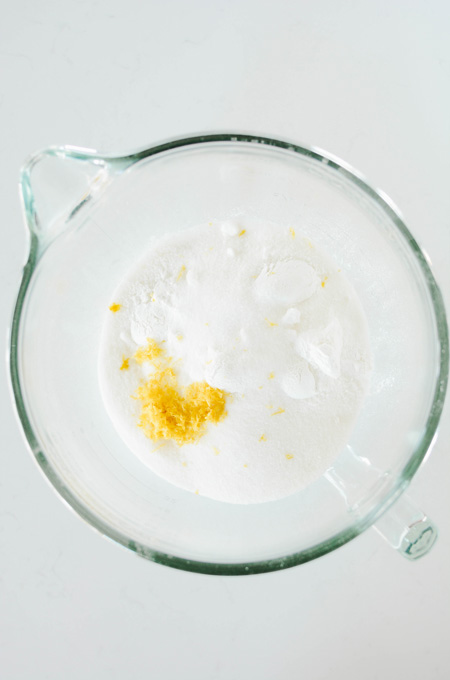
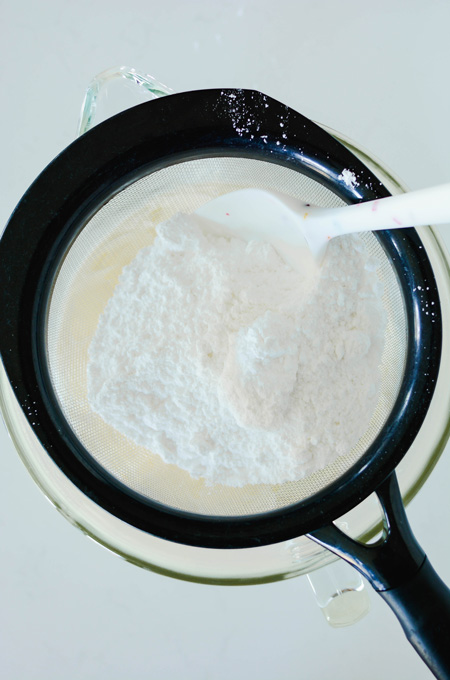
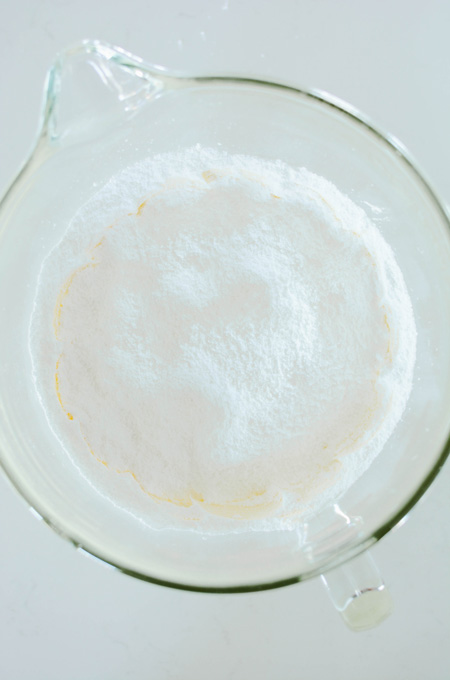
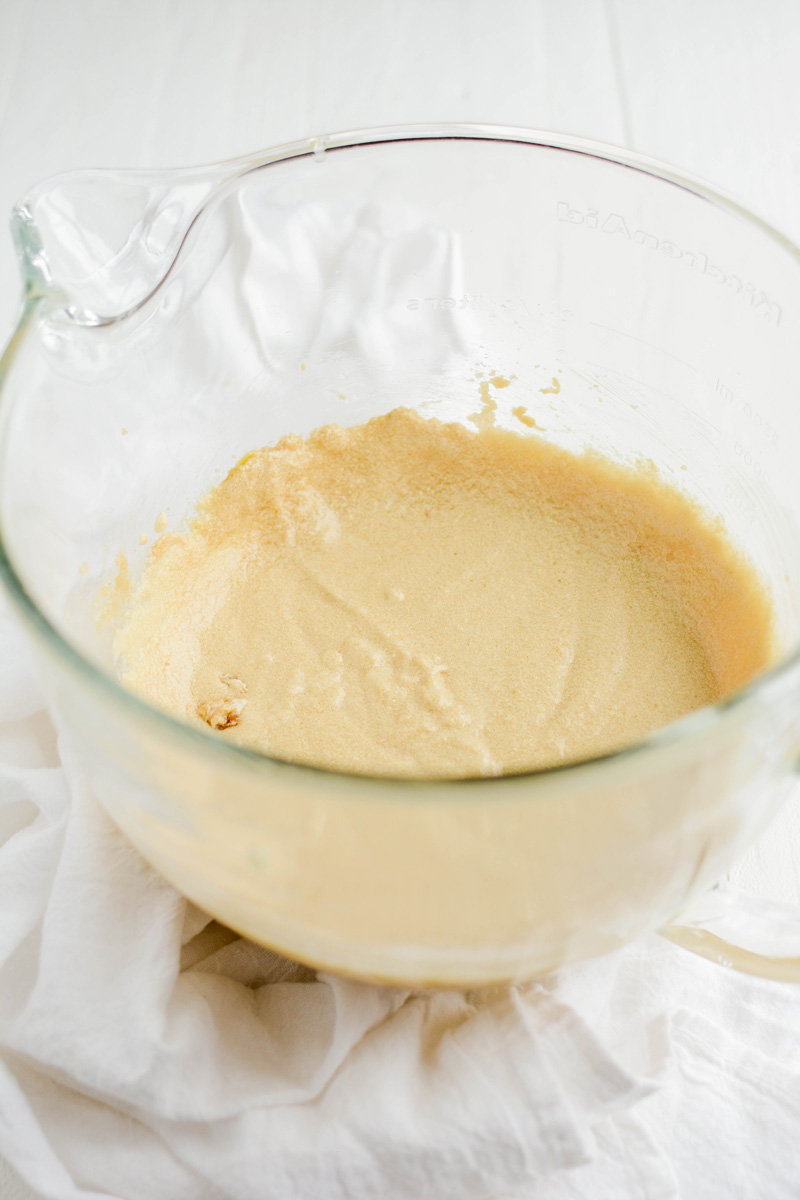
- In the bowl of a stand mixer with the paddle attachment attached, combine the flour, baking powder, salt, brown sugar and granulated sugar. Mix on low speed for 1 minute until combined.
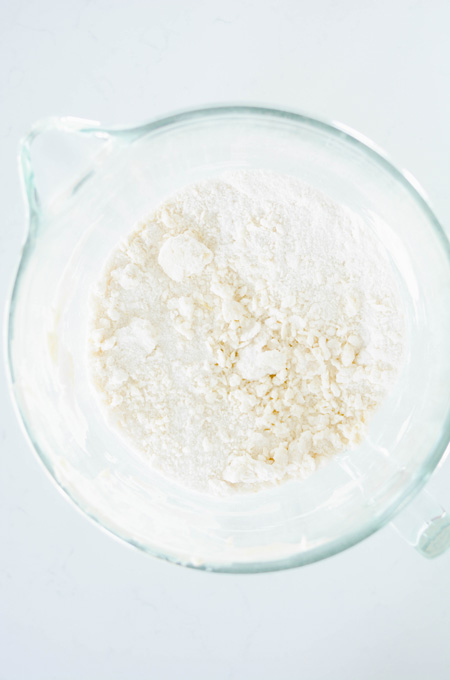
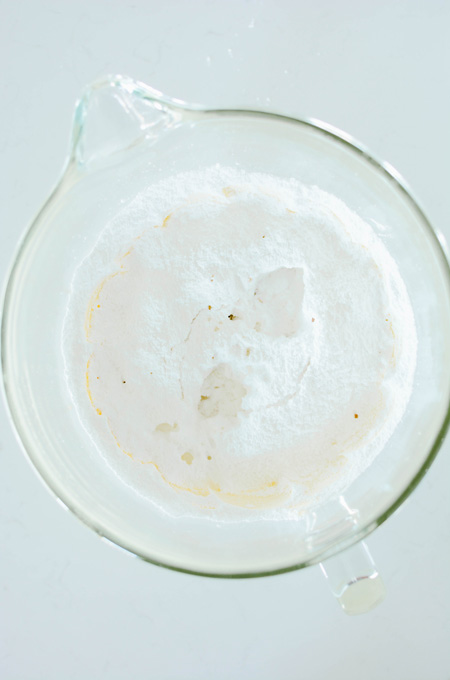
- Add the butter one tablespoon at a time and mix on low speed for about 2-3 minutes.
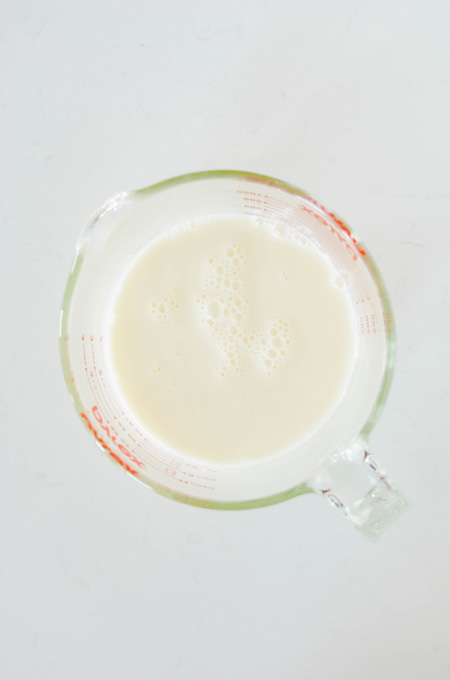
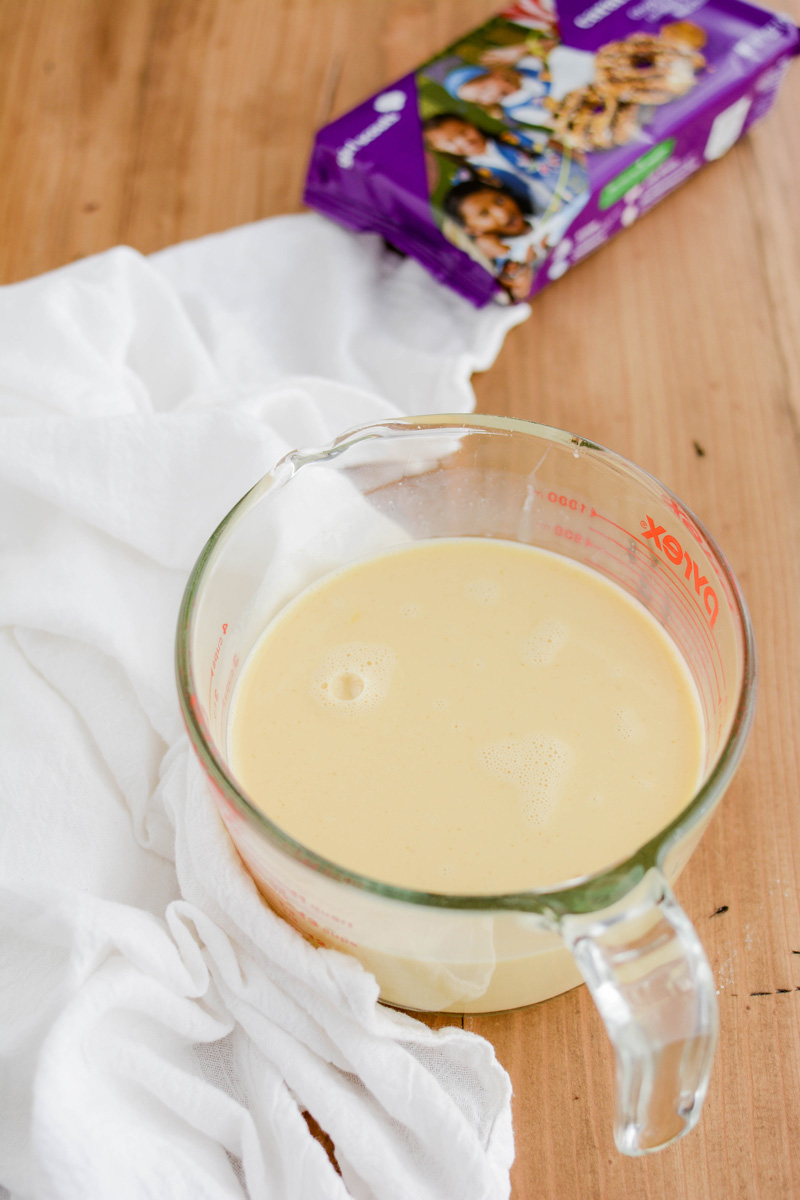
- In a 4 cup liquid measuring cup, whisk together the eggs, vanilla and milk.
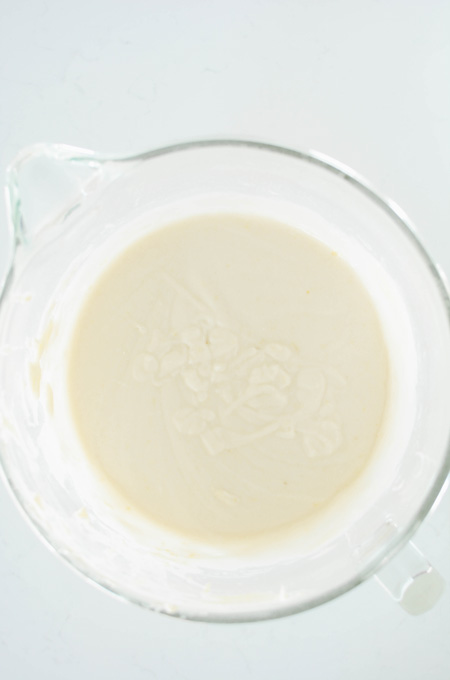
- With the mixer on low speed, slowly pour in the egg mixture. Mix for 1 minute or until just combined. Do not overmix. Scrape down the sides of the mixer bowl and increase the mixer speed to medium and beat for 1 minute. Give the batter a final stir by hand.
- Evenly divide the batter between the prepared cake pans and bake on the center rack fo 40 to 45 minutes, or until a toothpick inserted in the center comes out with a few moist crumbs attached.
- Let cakes cool in their pans for 30 minutes, then invert them onto cooling racks to cool completely.
TOASTED COCONUT FILLING
- In a medium saucepan, whisk together the milk, sugar and flour. Over medium heat, cook stirring constantly with a whisk for about 8 minutes minutes.
- Turn off the heat and add in the toasted coconut and vanilla extract and stir to combine. Pour the mixture onto a pie plate to cool quickly, then cover with plastic wrap and refrigerate until needed.
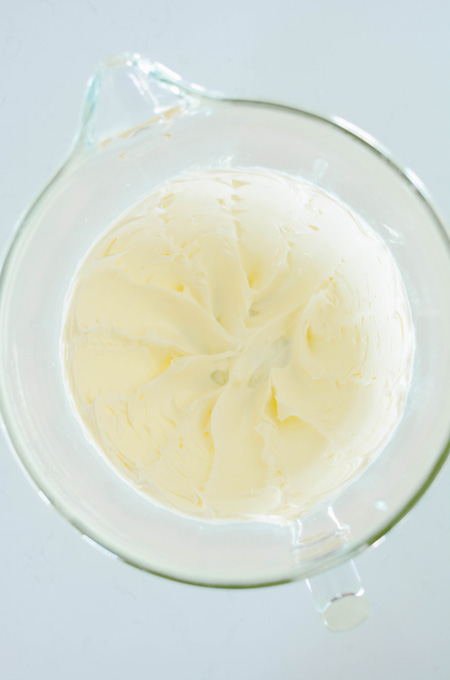
COCONUT SWISS MERINGUE BUTTERCREAM
- In the bowl of a stand mixer fitted with the whisk attachment, pour in the egg whites and sugar and whisk by hand until combined. Fill a medium saucepan with about 2 inches of water and bring to a simmer. Place mixer bowl on top, being sure the bottom of the bowl does not touch the water and attach a candy thermometer.
- Whisking occasionally, heat the egg mixture until the temperature reaches 160 degrees. Once the mixture reaches 160 degrees, transfer to a stand mixer and beat the mixture on high speed for 10 minutes or until medium-stiff peaks form. At this point the outside of the mixer bowl should be room temperature. Switch out the whisk attachment with the paddle attachment and with the mixer on low speed, add the butter one tablespoon at a time. Add the extracts and cream of coconut. Once combined, turn the mixer speed to medium-high and beat until the buttercream is smooth about 5 minutes.
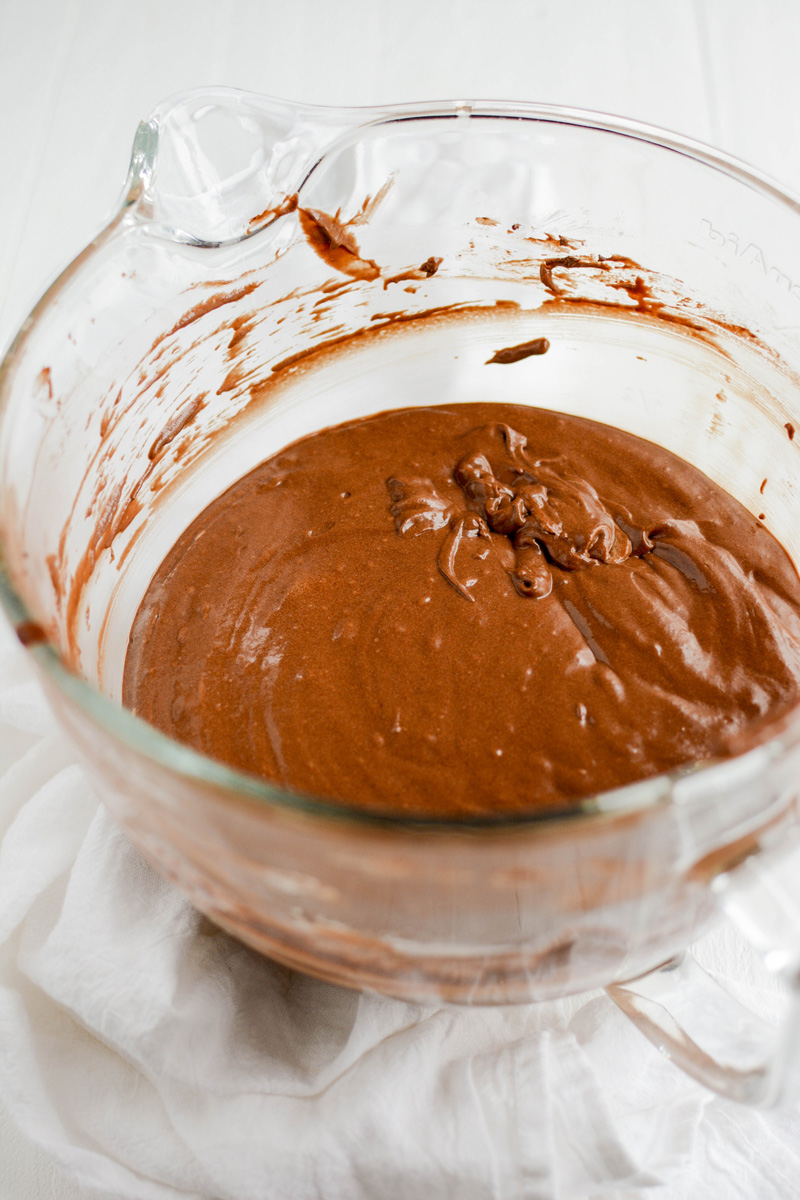
FUDGE SAUCE
- Melt chocolate in a microwave proof bowl in 30 second intervals, stirring chocolate after each interval. This should take about 3 intervals for a total of 1 1/2 minutes.
- In a medium saucepan, over low heat, combine the corn syrup, cocoa, sugar, cream, water and salt and stir until the sugar has dissolved. Increase the heat to medium-high and bring mixture to a simmer, stirring often, about 4 minutes. Remove from the heat and add in the butter and vanilla and stir to combine. Let mixture cool about 2 minutes then pour in the melted chocolate mixture. Set aside until ready to drizzle on the cake.
ASSEMBLE
- Fit a piping bag with Ateco piping tip #827 And fill with about 2 cups buttercream.
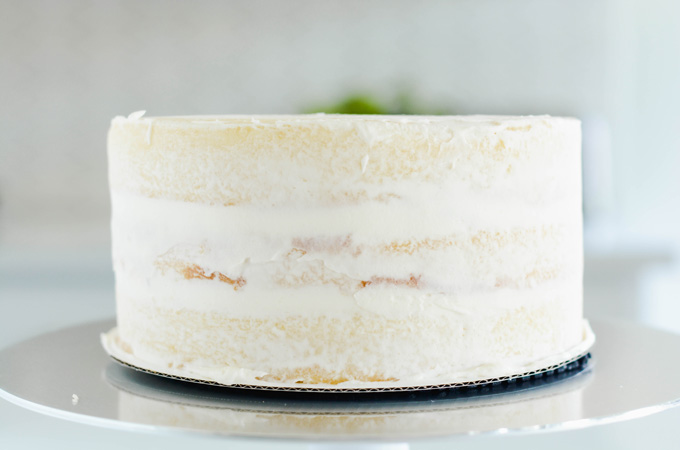
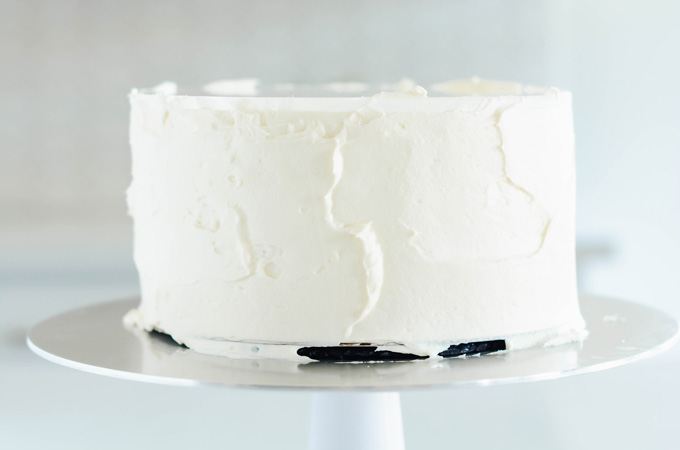
- Place one cake layer on a round cake board and pipe a dam around the edge of the cake. Add about 1/2 cup of coconut filling and spread out to the edges to me the buttercream dam. Place the second cake layer on top and repeat this process. Top with the last layer of cake (bottom side up) and frost cake with a thin crumb coat and chill in the refrigerator for 30 minutes. Frost the cake with the remaining buttercream in the mixer bowl. Add any remaining buttercream to your piping bag for decorating.
- Using a spoon, drizzle fudge sauce over the top of the cake. Refrigerate the cake for 15 minutes. (You will have left over fudge sauce. Store left over sauce in the refrigerator for up to 2 weeks.)
- Set a large rimmed baking sheet on the counter and place the cake in one hand. Carefully use your other hand to scoop on the toasted coconut onto the sides of the cake. Do this over the rimmed baking sheet to keep things neat and clean and to also reuse the coconut flakes that don’t adhere to the cake the first time around.
- With the remaining buttercream in the piping bag, pipe dollops or swirls around the top edge of the cake. Place a cookie between each swirl and serve cake.
Notes
MAKE AHEAD:
Caramel Cake Layers can be made up to 3 days in advance, wrapped in plastic wrap and stored an airtight container at room temperature or in the refrigerator.
Coconut Filling can be made up to 1 week in advance, stored in an airtight container in the refrigerator.
Swiss Meringue Buttercream can be made up to 10 days in advance, stored in an airtight container in the refrigerator. Bring to room temperature before remixing.
Fudge Sauce can be made up to 2 weeks in advance stored in an airtight container in the refrigerator. Heat up before using.
CAKE STORAGE:
Assembled cake can be stored in an airtight cake container in the refrigerator for up to 3 days. Bring to room temperature before serving.
Nutrition Information:
Yield: 16 Serving Size: 1Amount Per Serving: Calories: 742Total Fat: 41gSaturated Fat: 29gTrans Fat: 0gUnsaturated Fat: 10gCholesterol: 121mgSodium: 449mgCarbohydrates: 86gFiber: 8gSugar: 44gProtein: 12g
*Nutrition information is an estimate and will vary.*