As an Amazon Associate, I earn from qualifying purchases.
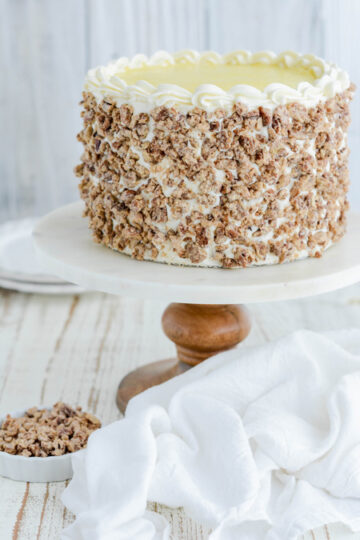
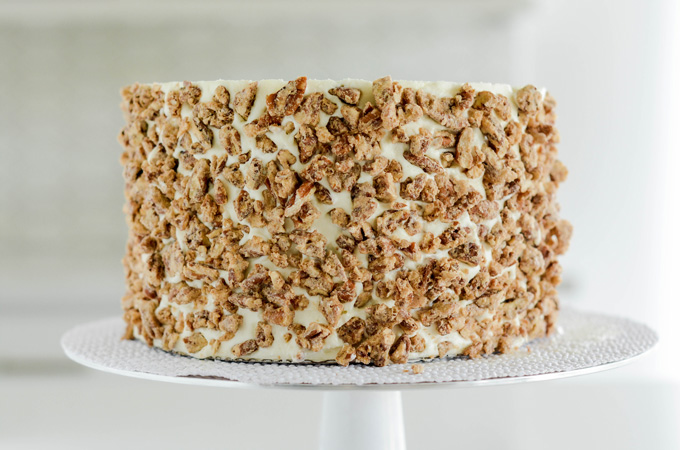
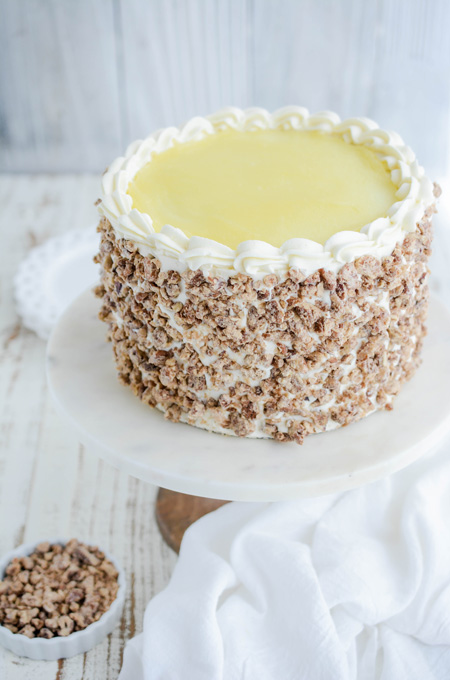
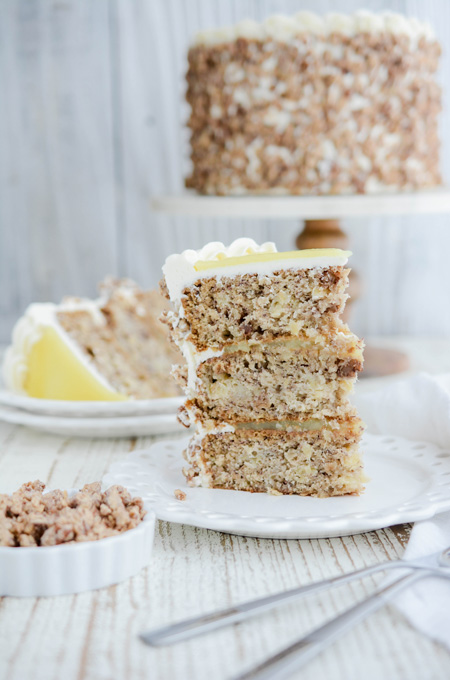
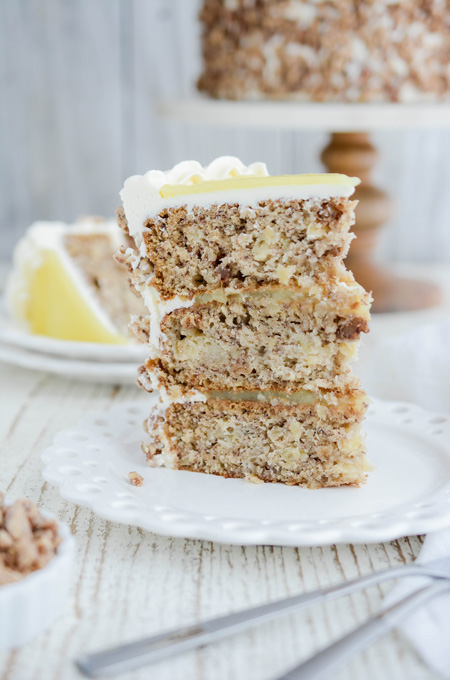
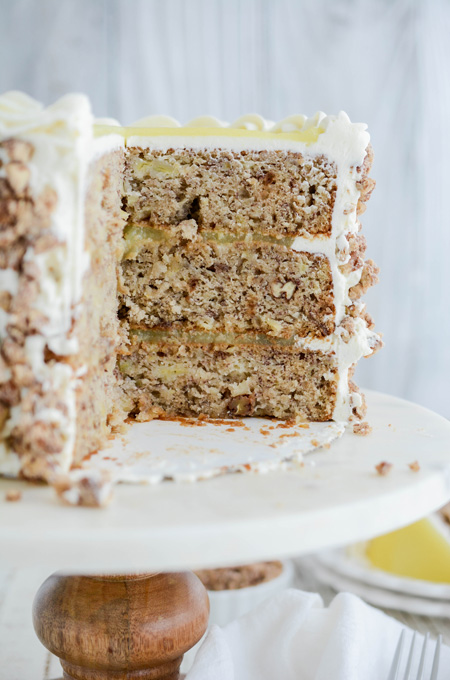
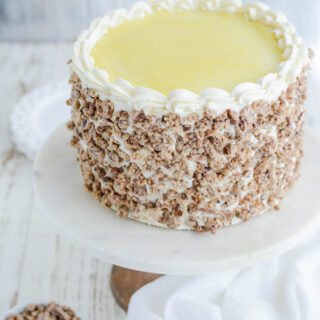
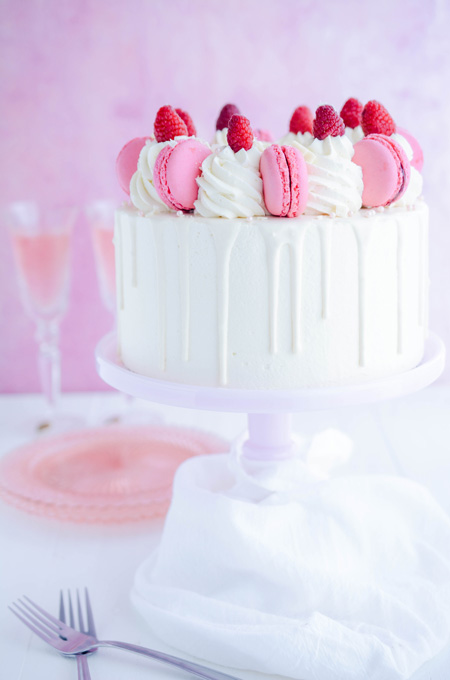
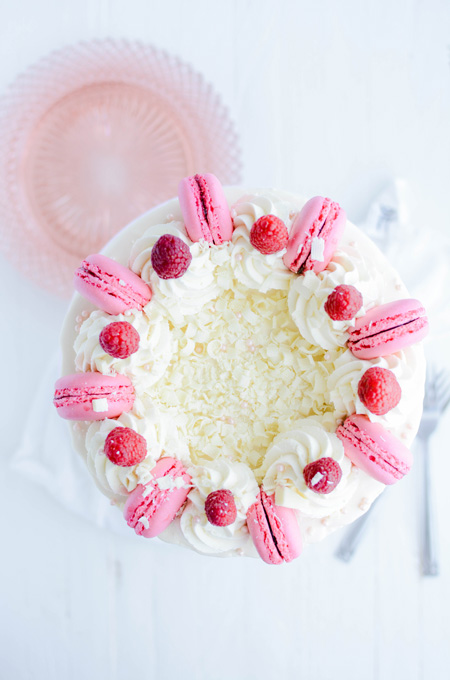
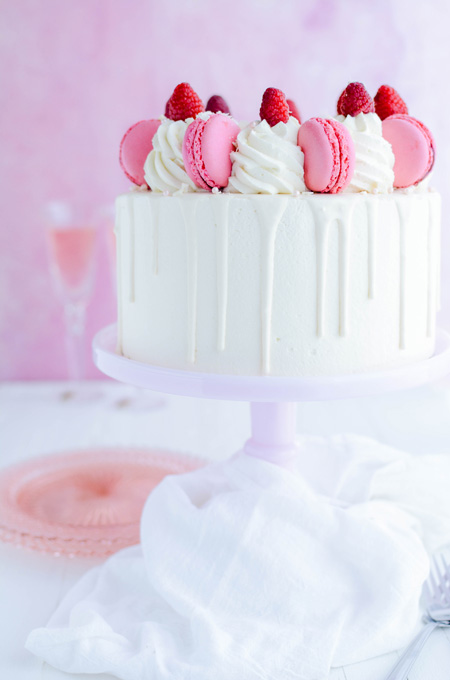
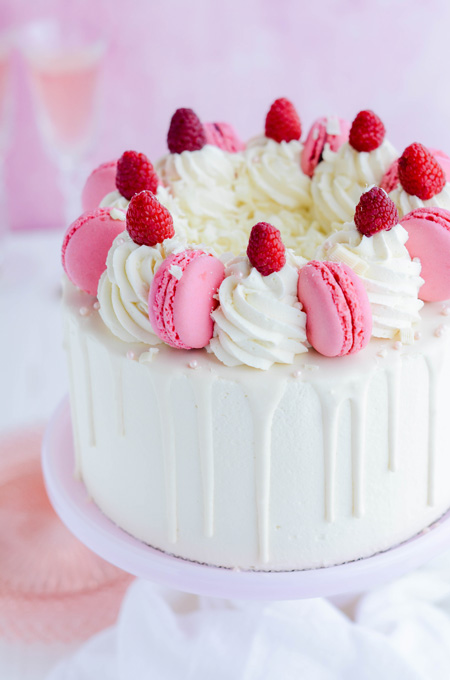
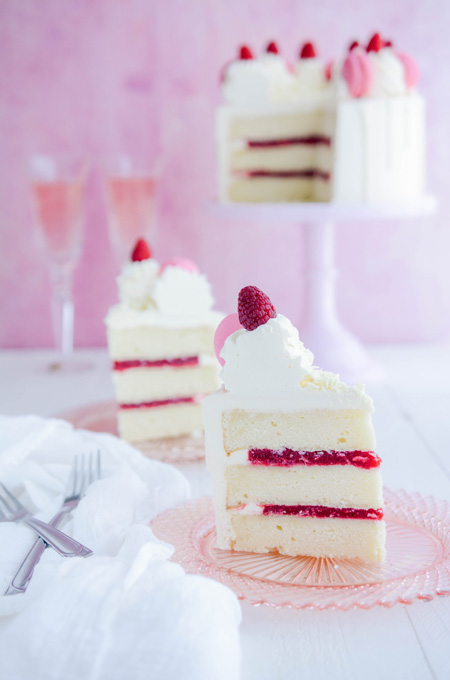
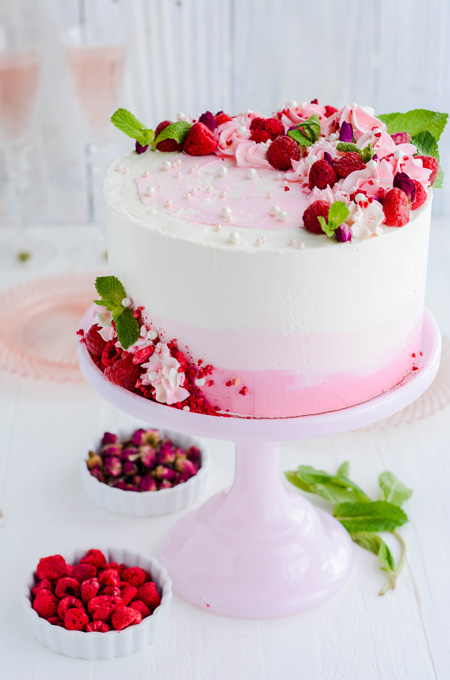
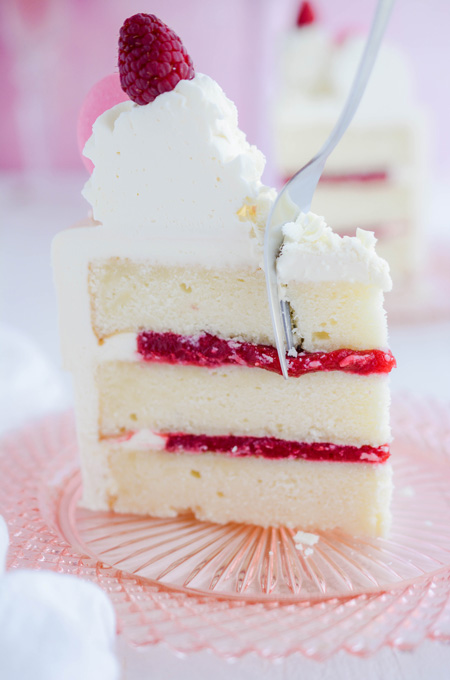
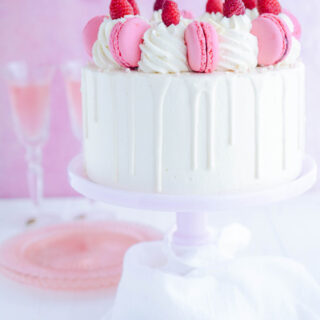
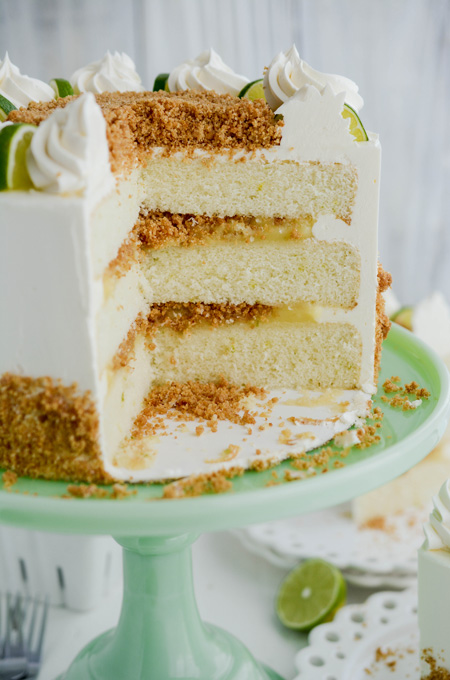
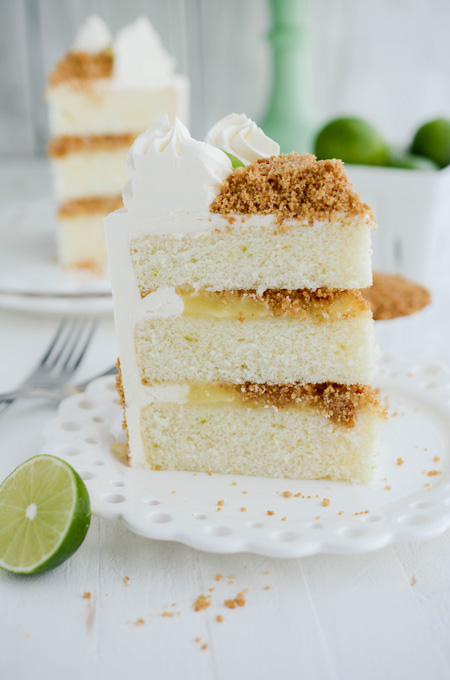
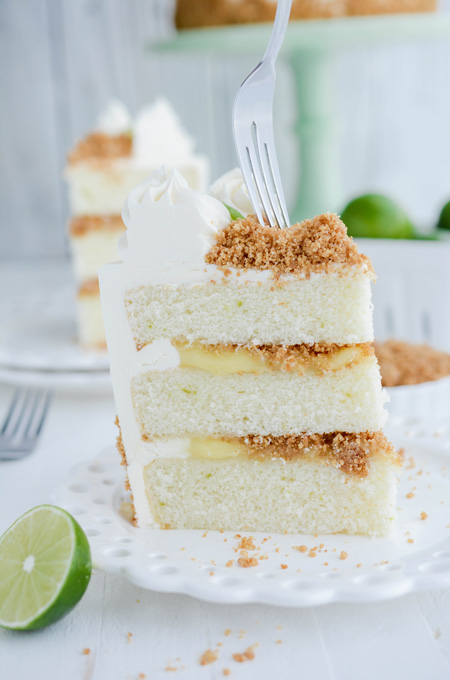
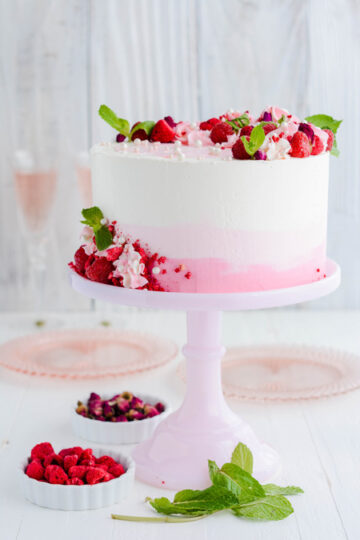
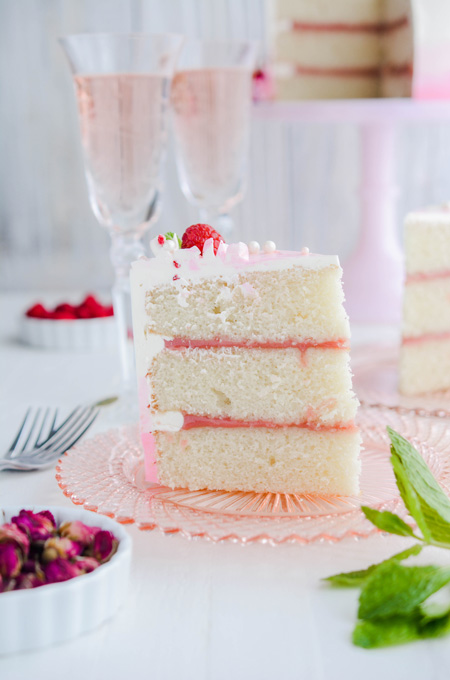
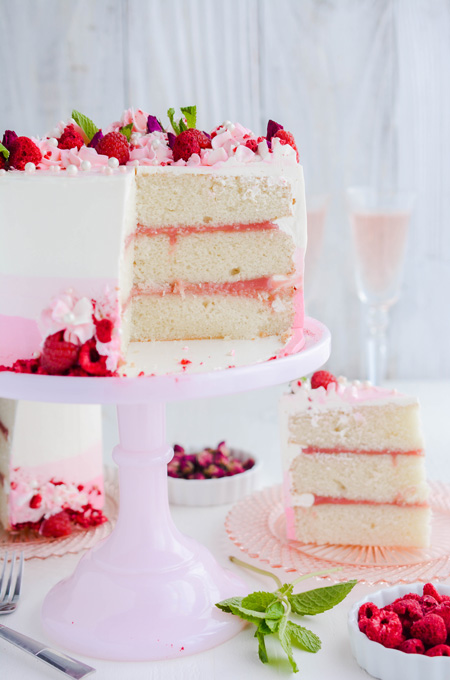
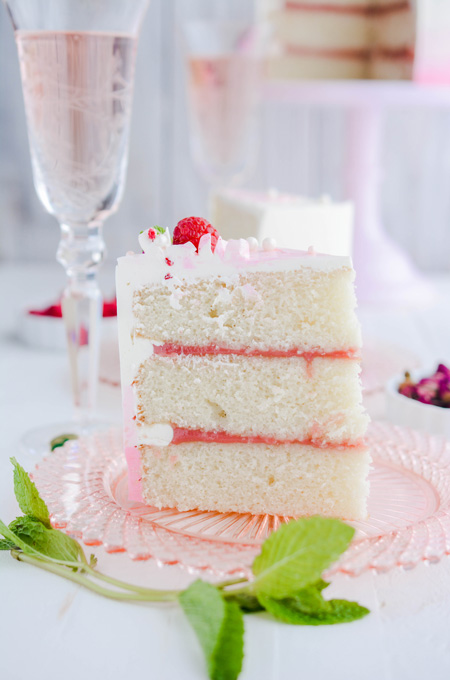
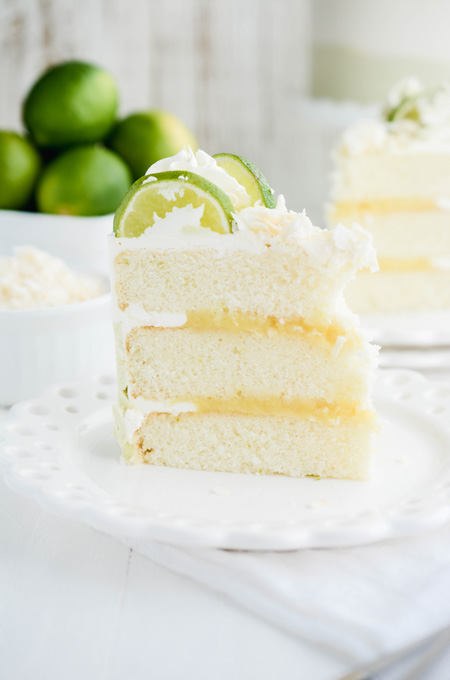
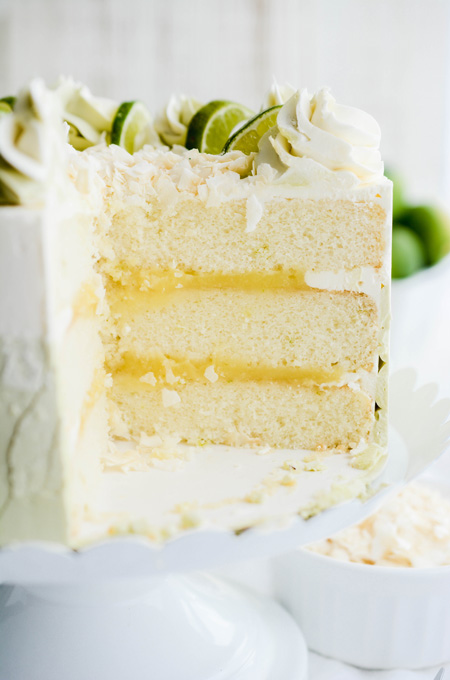
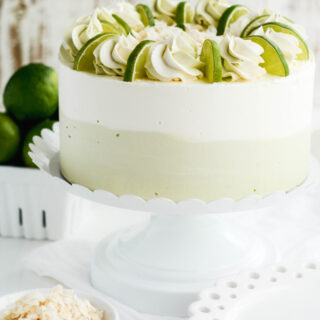
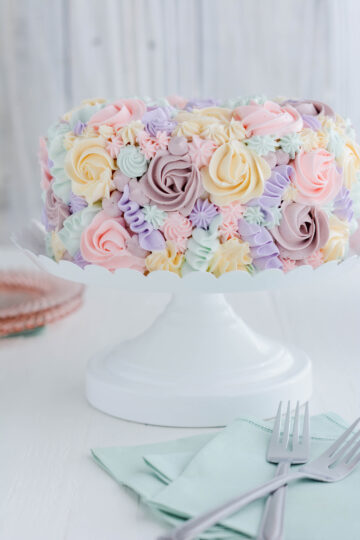
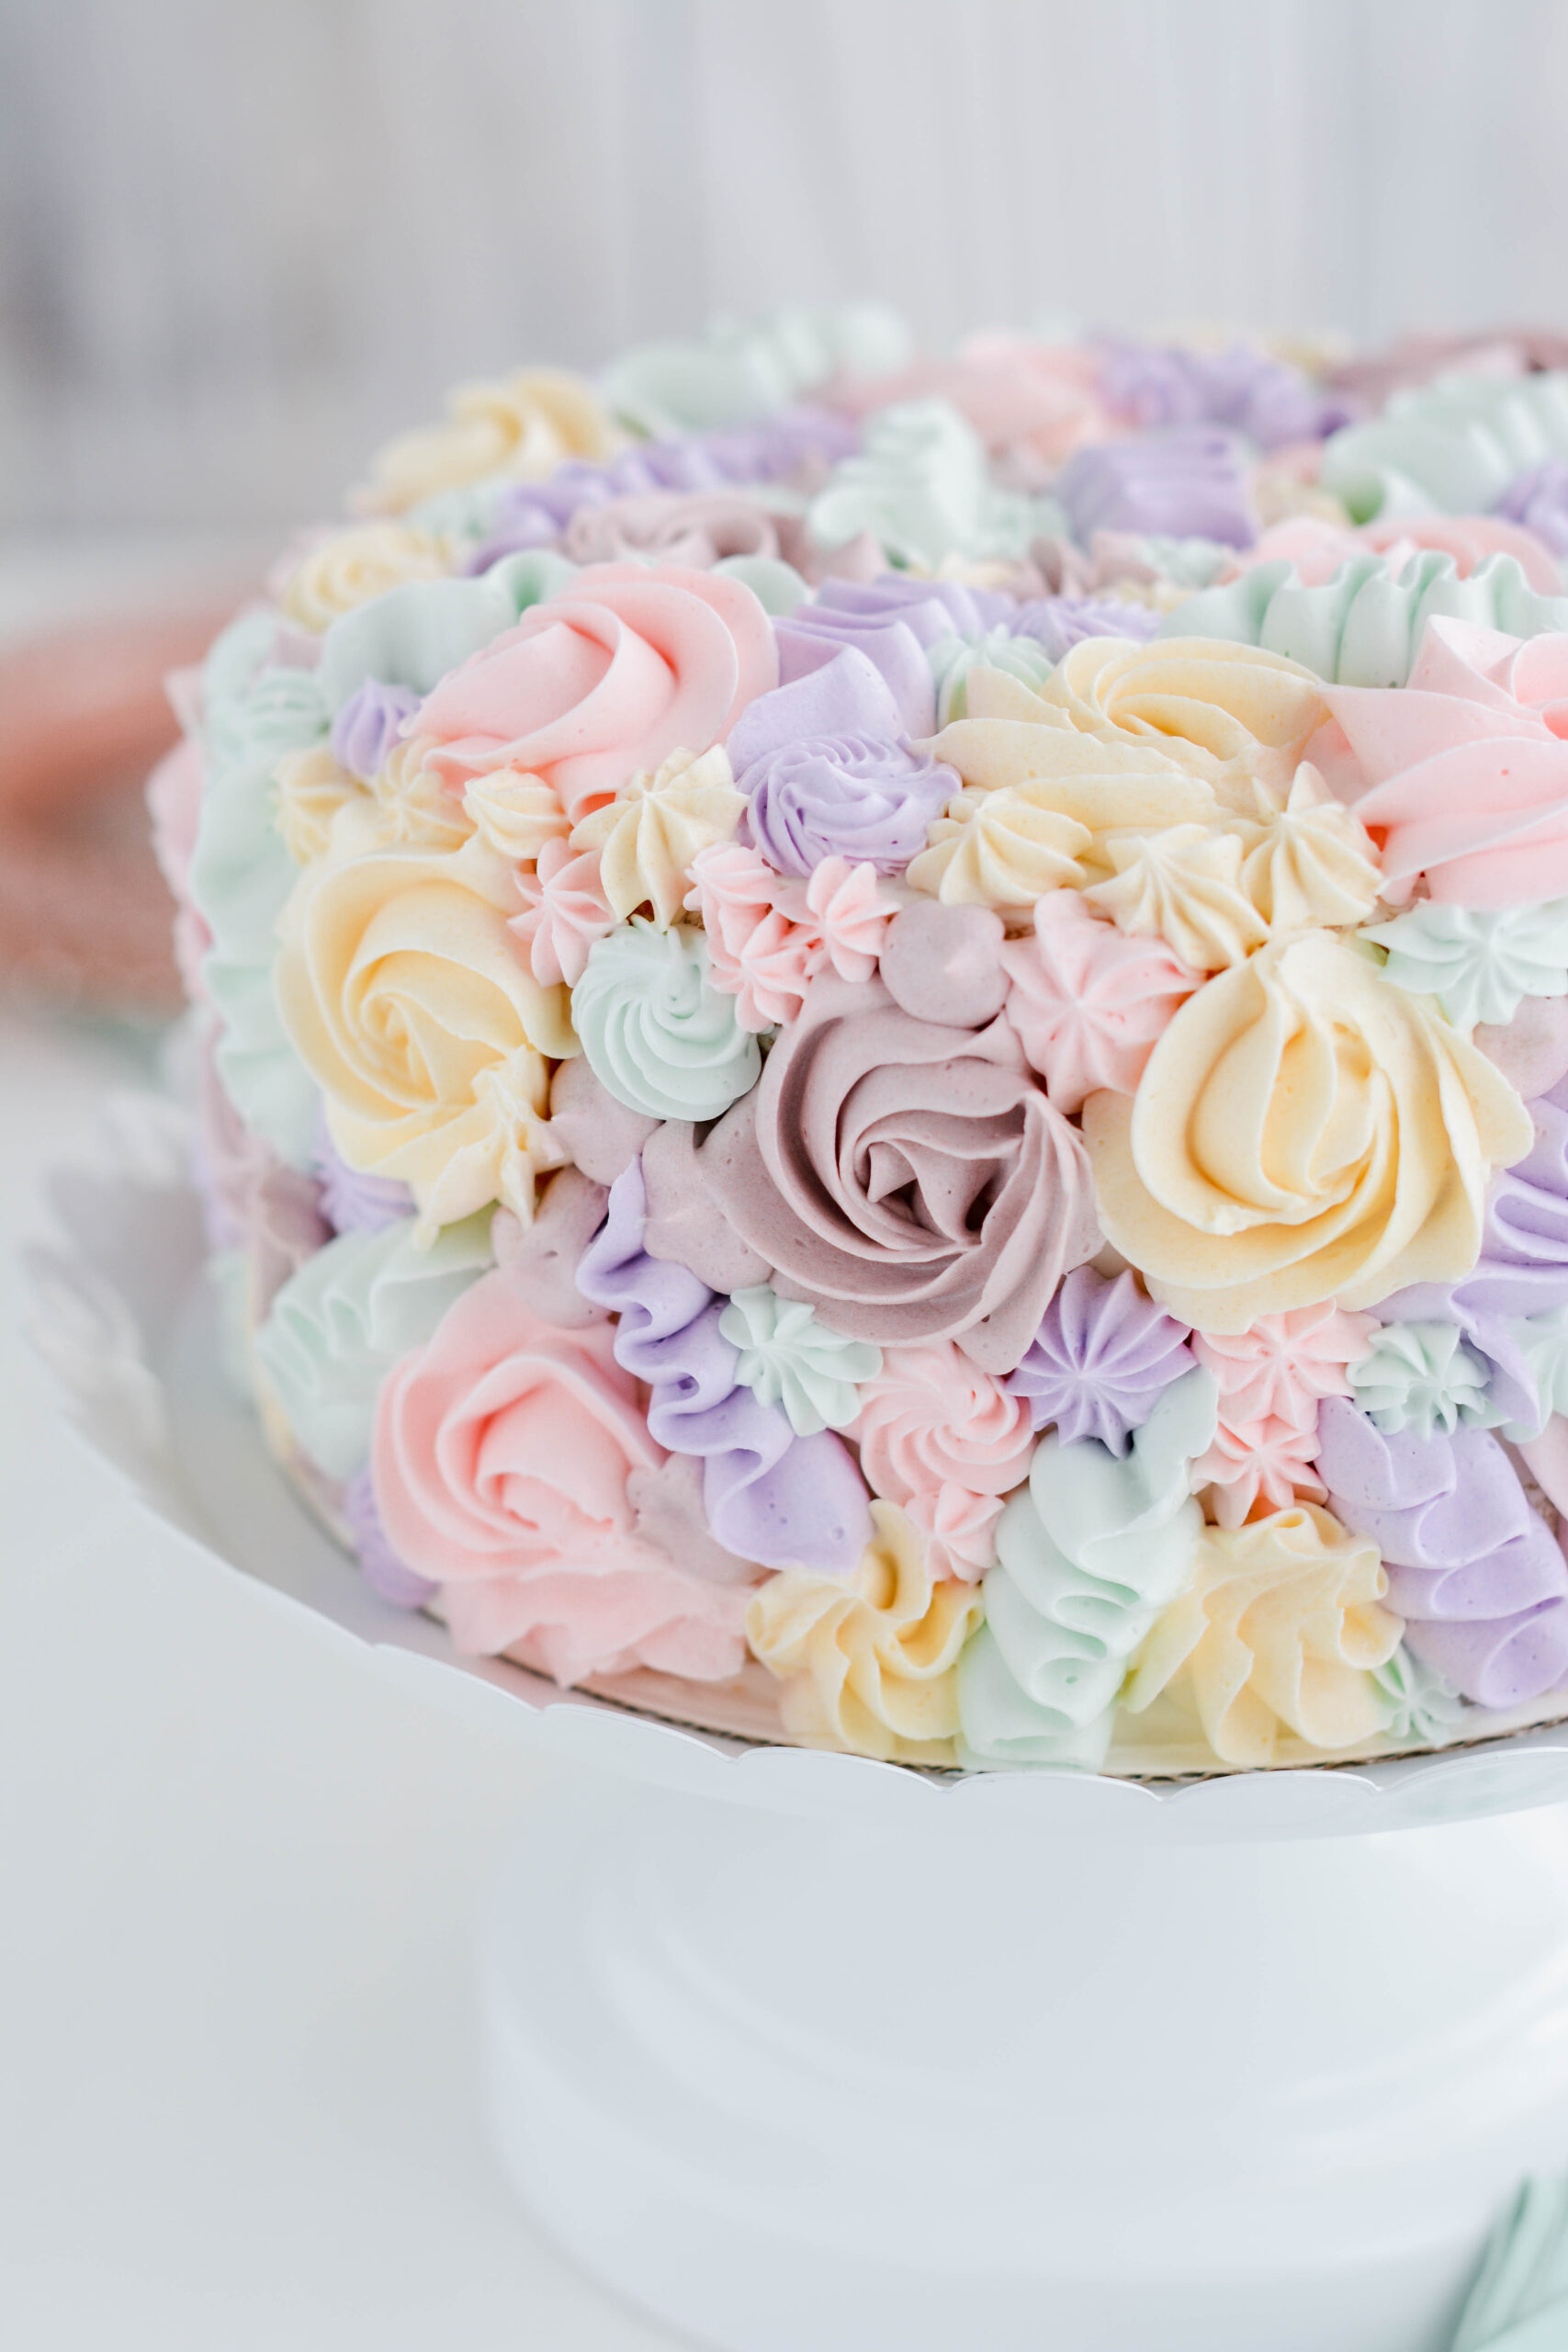
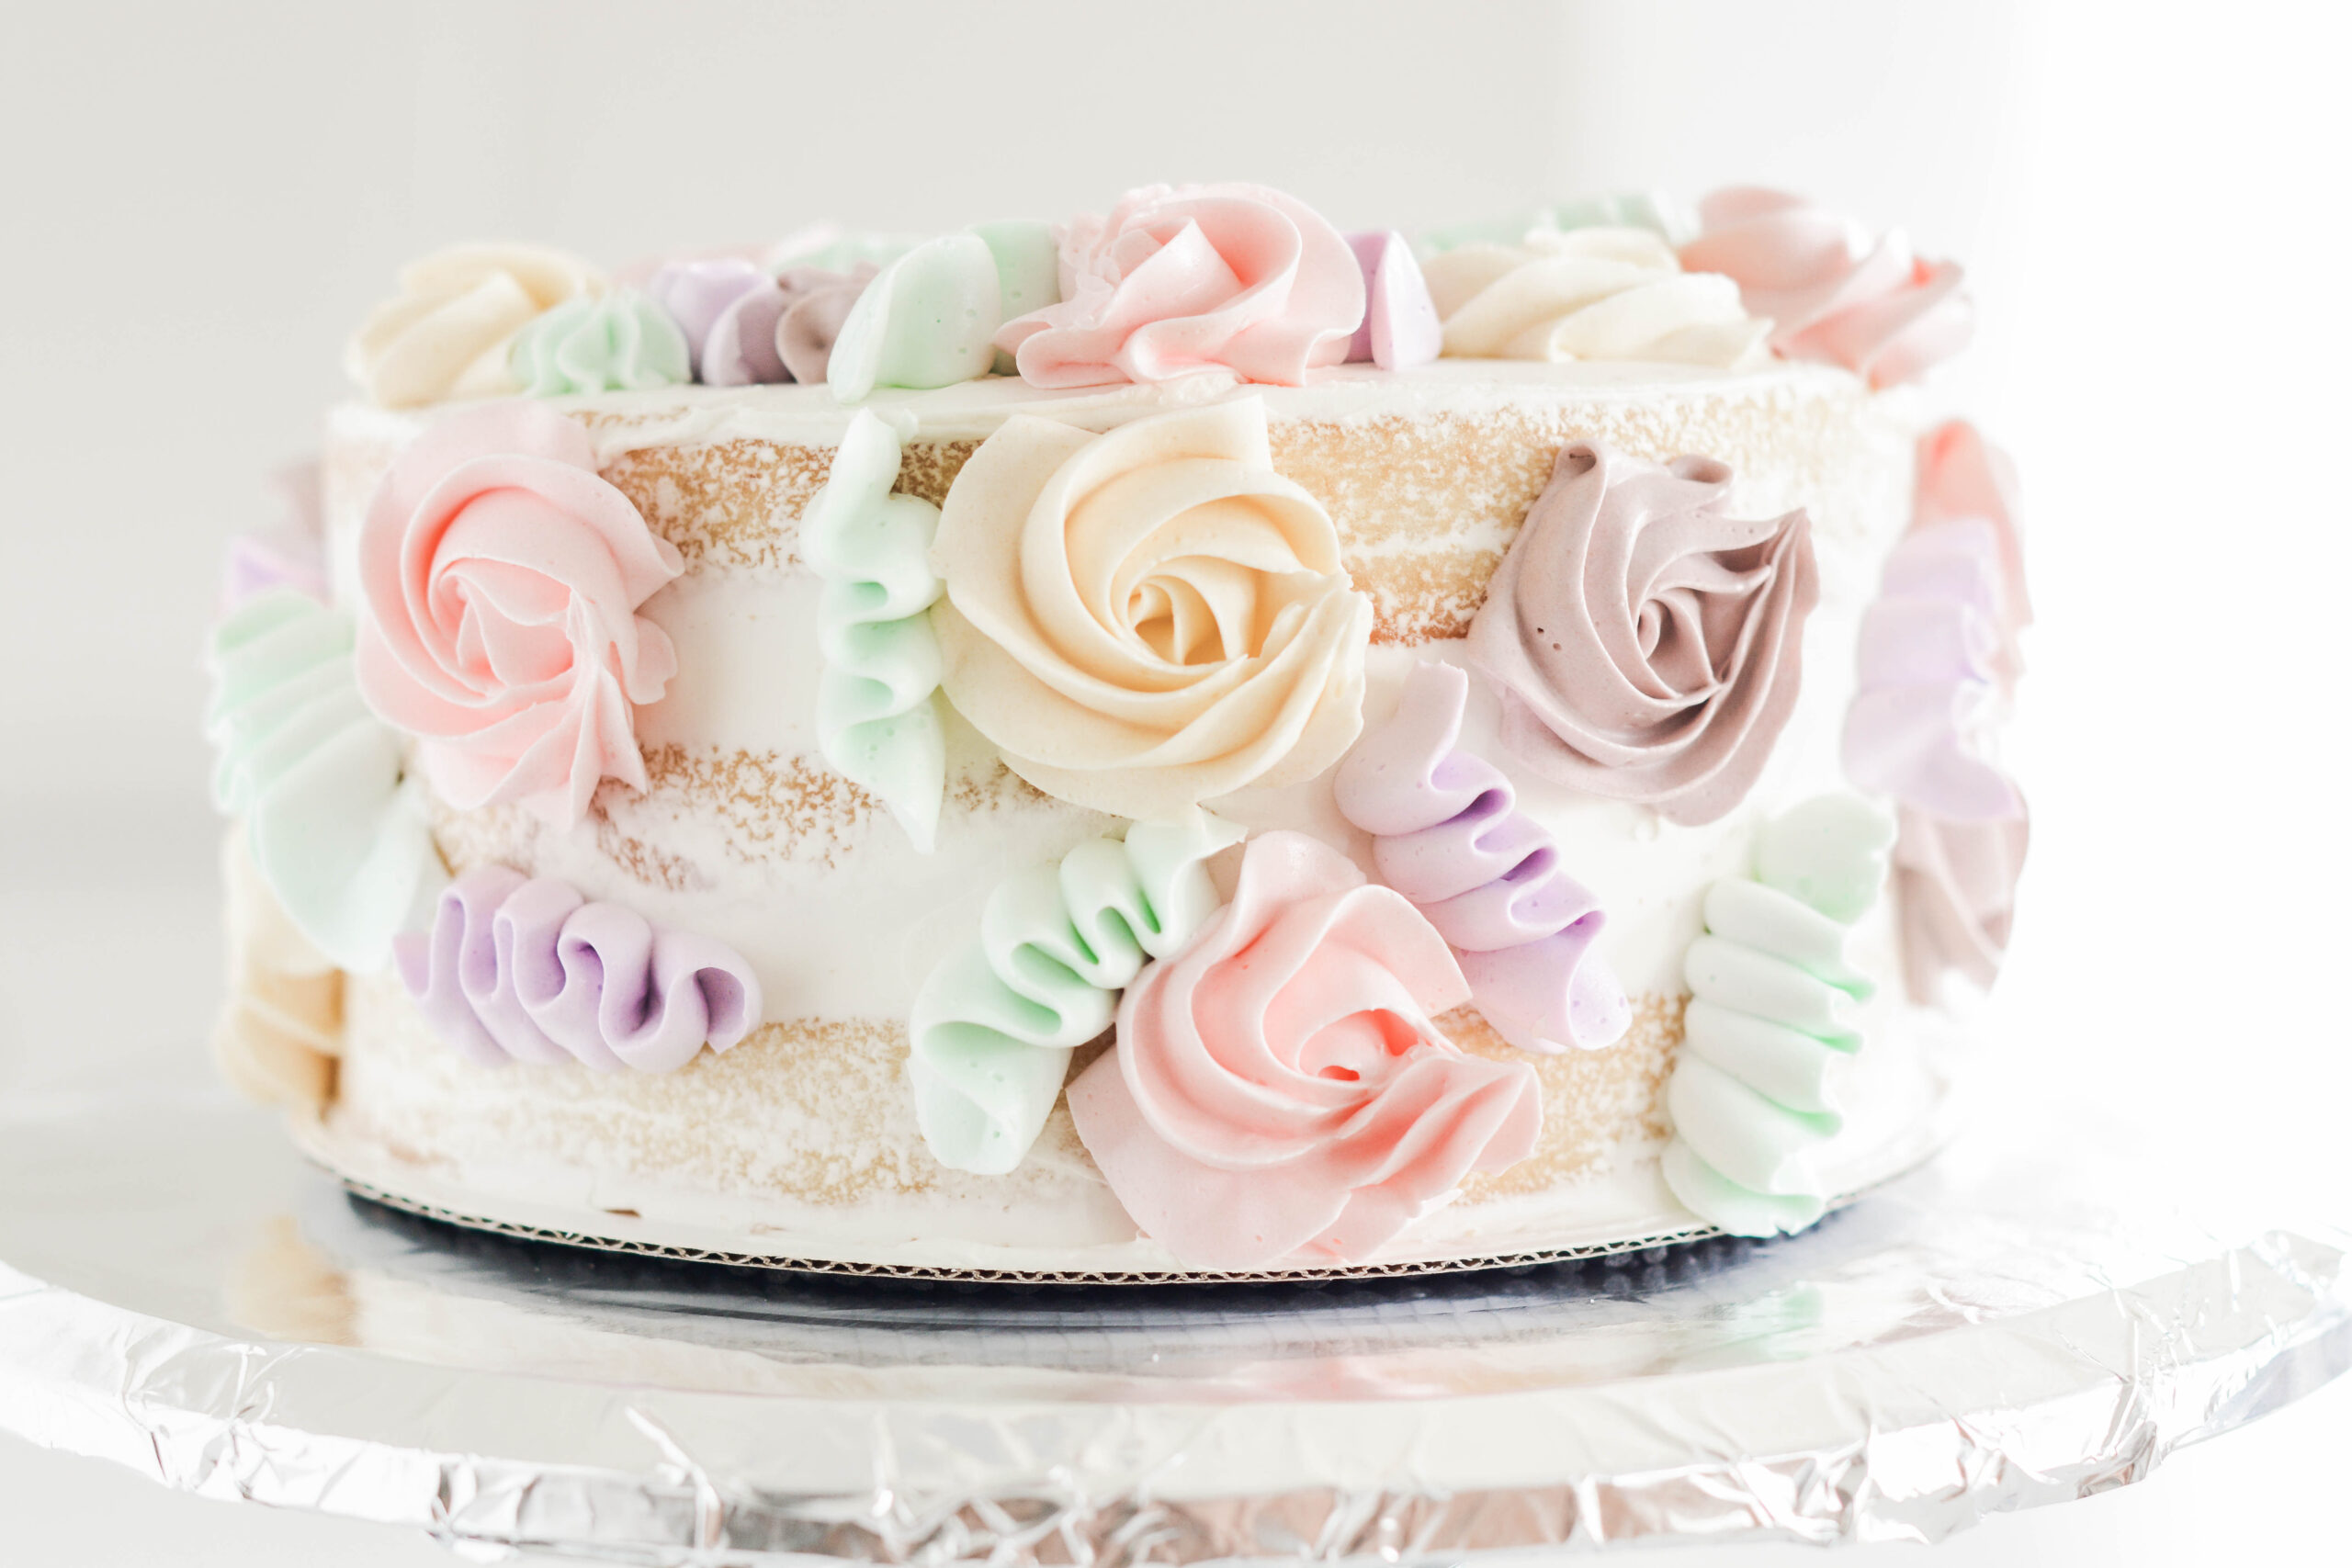
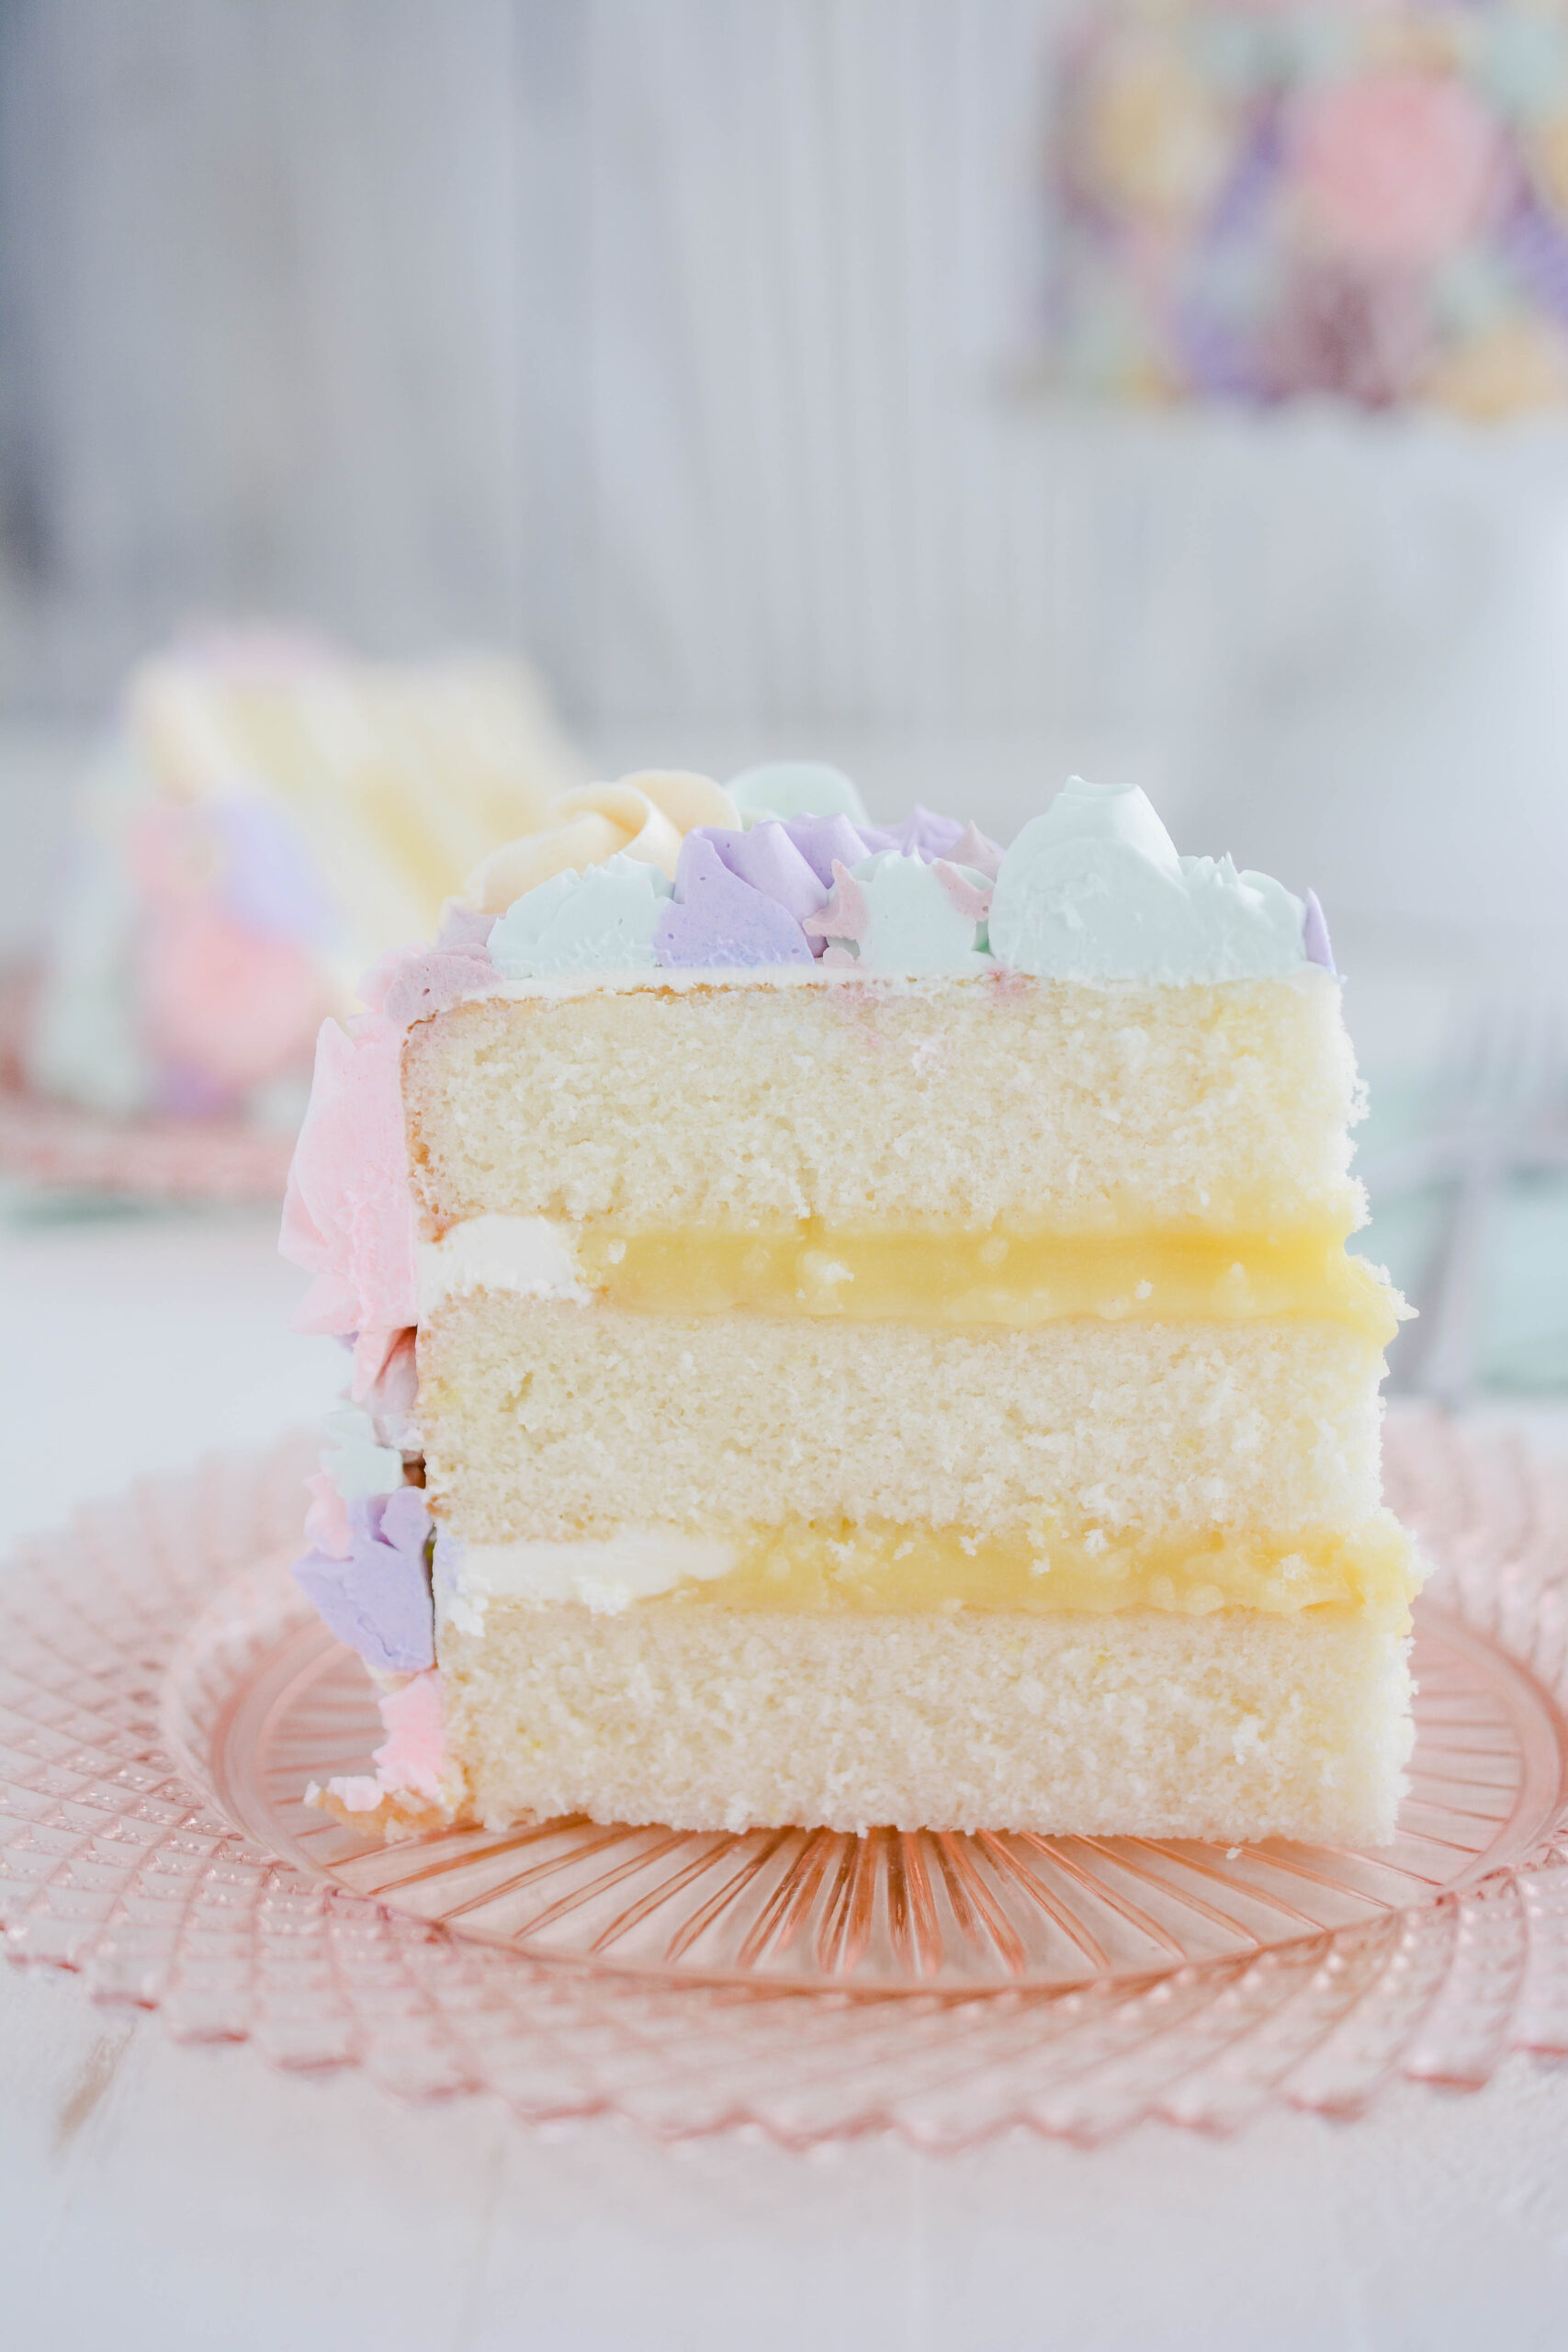
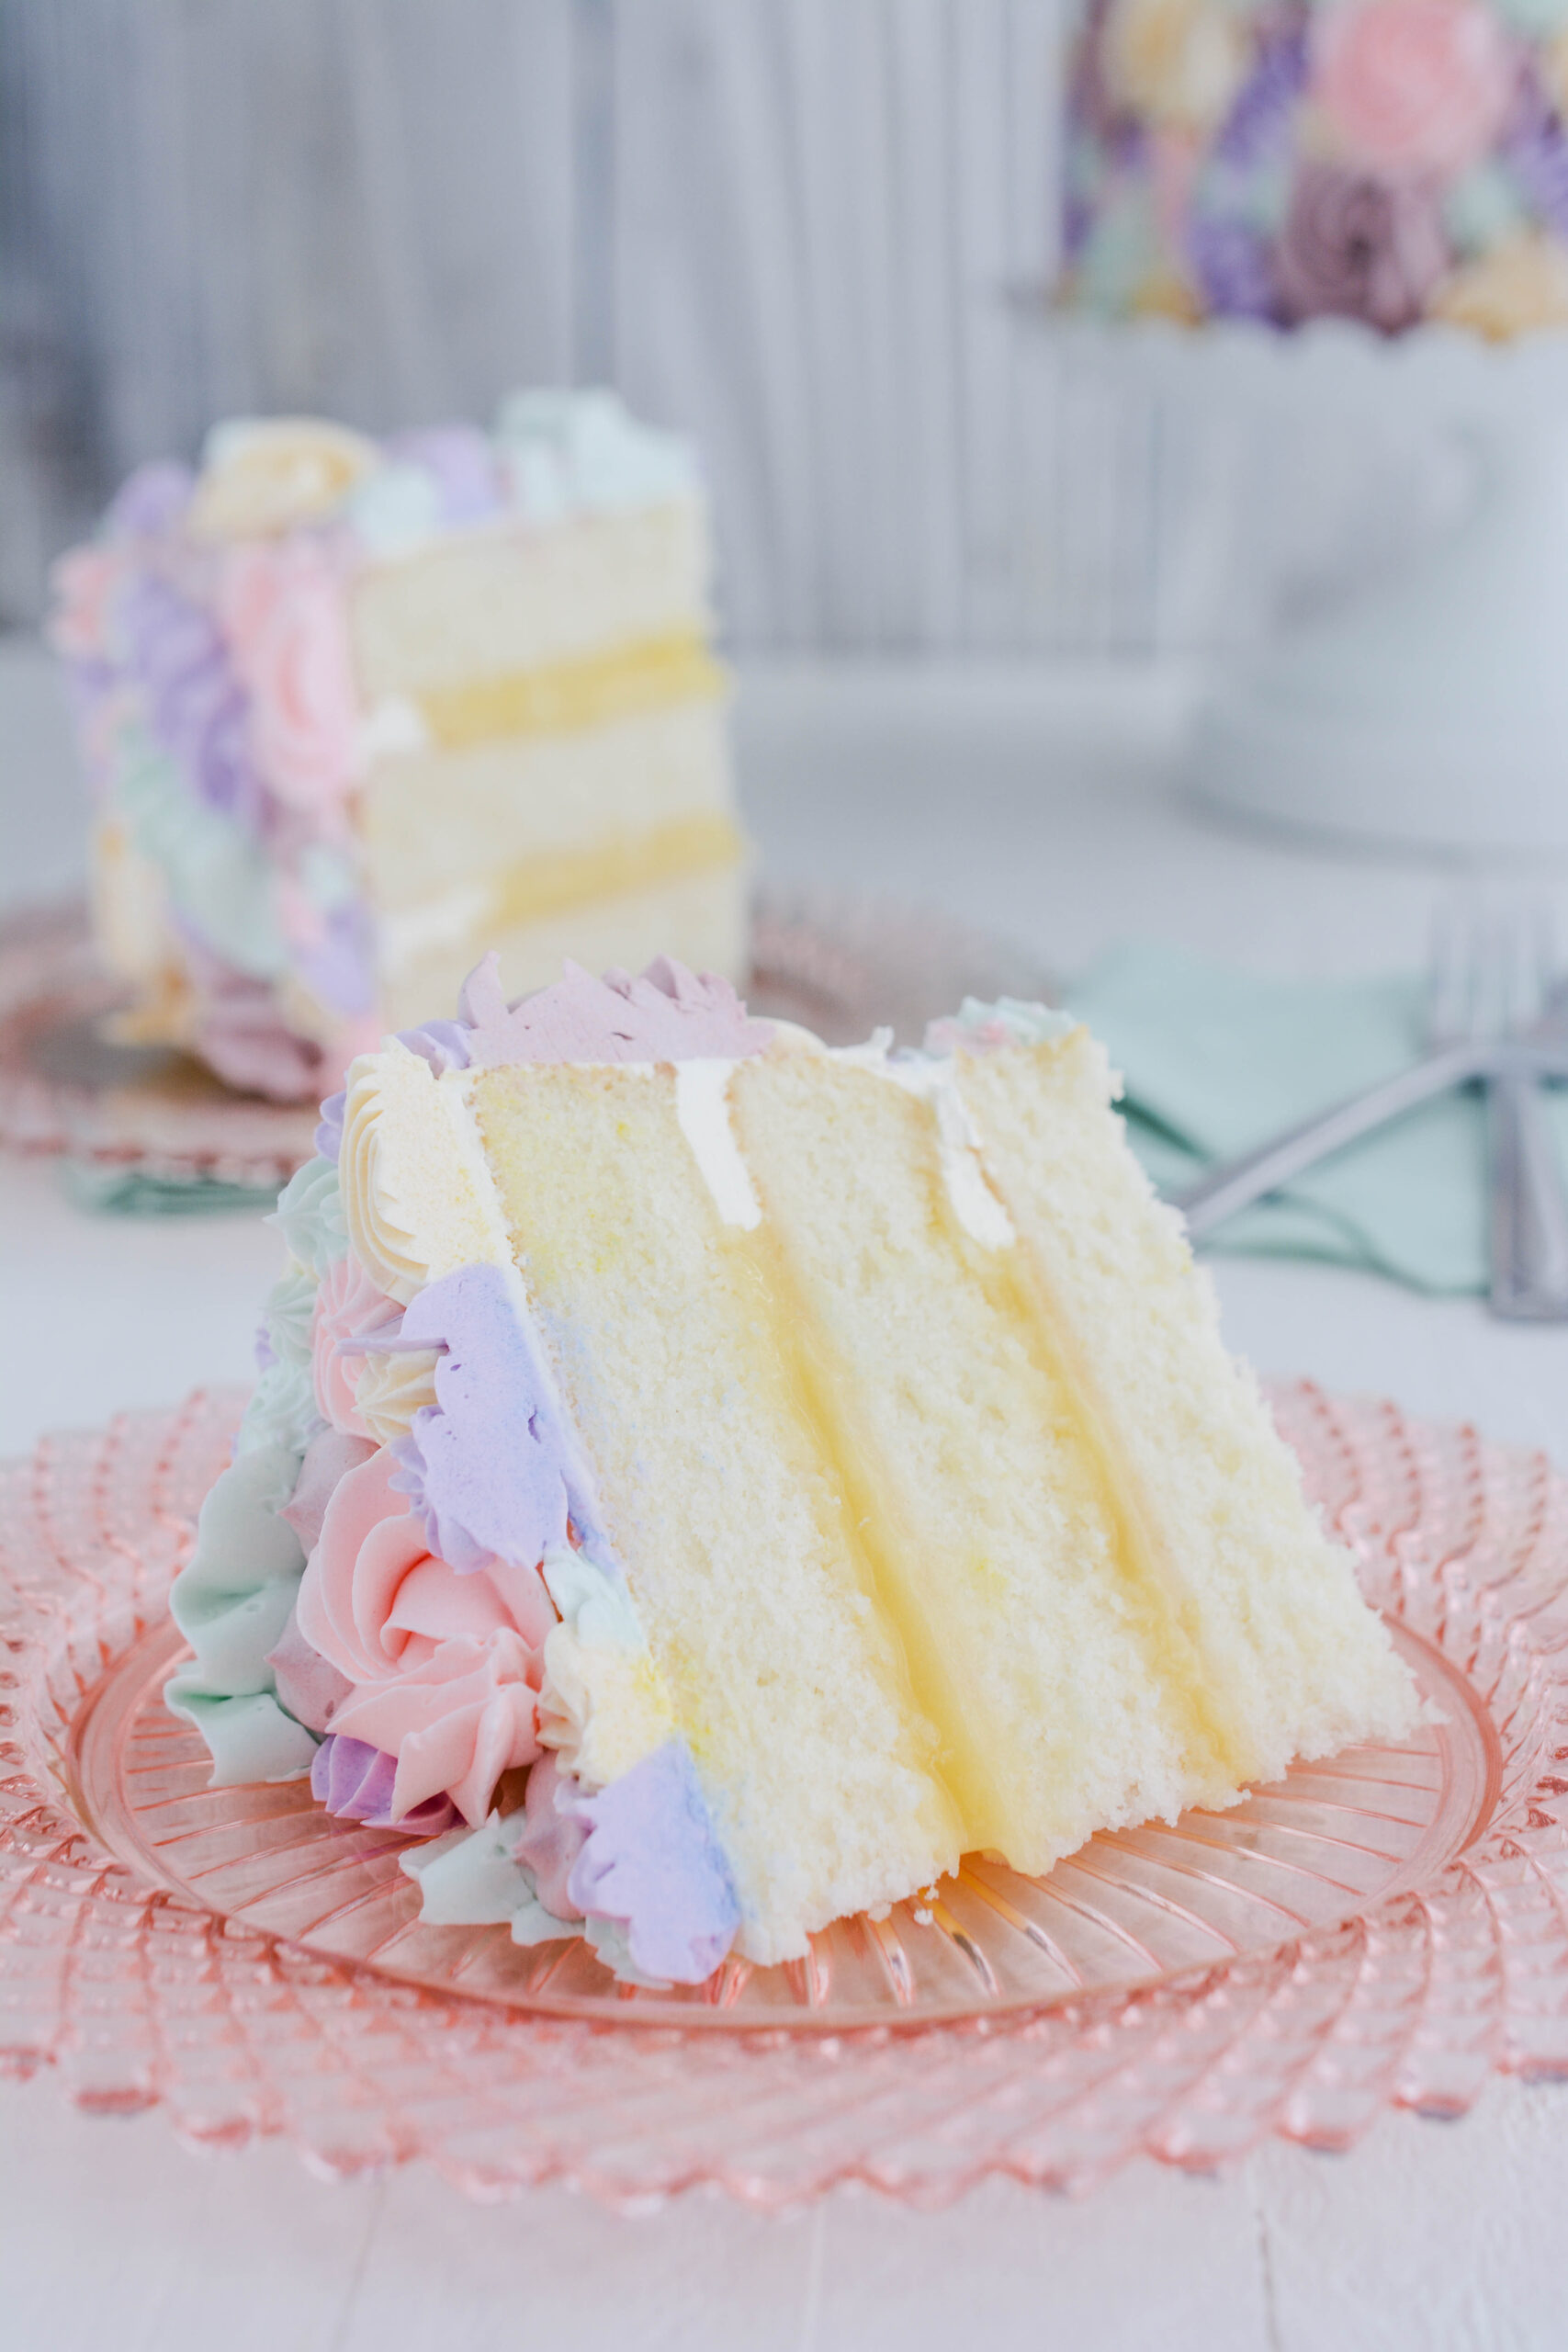
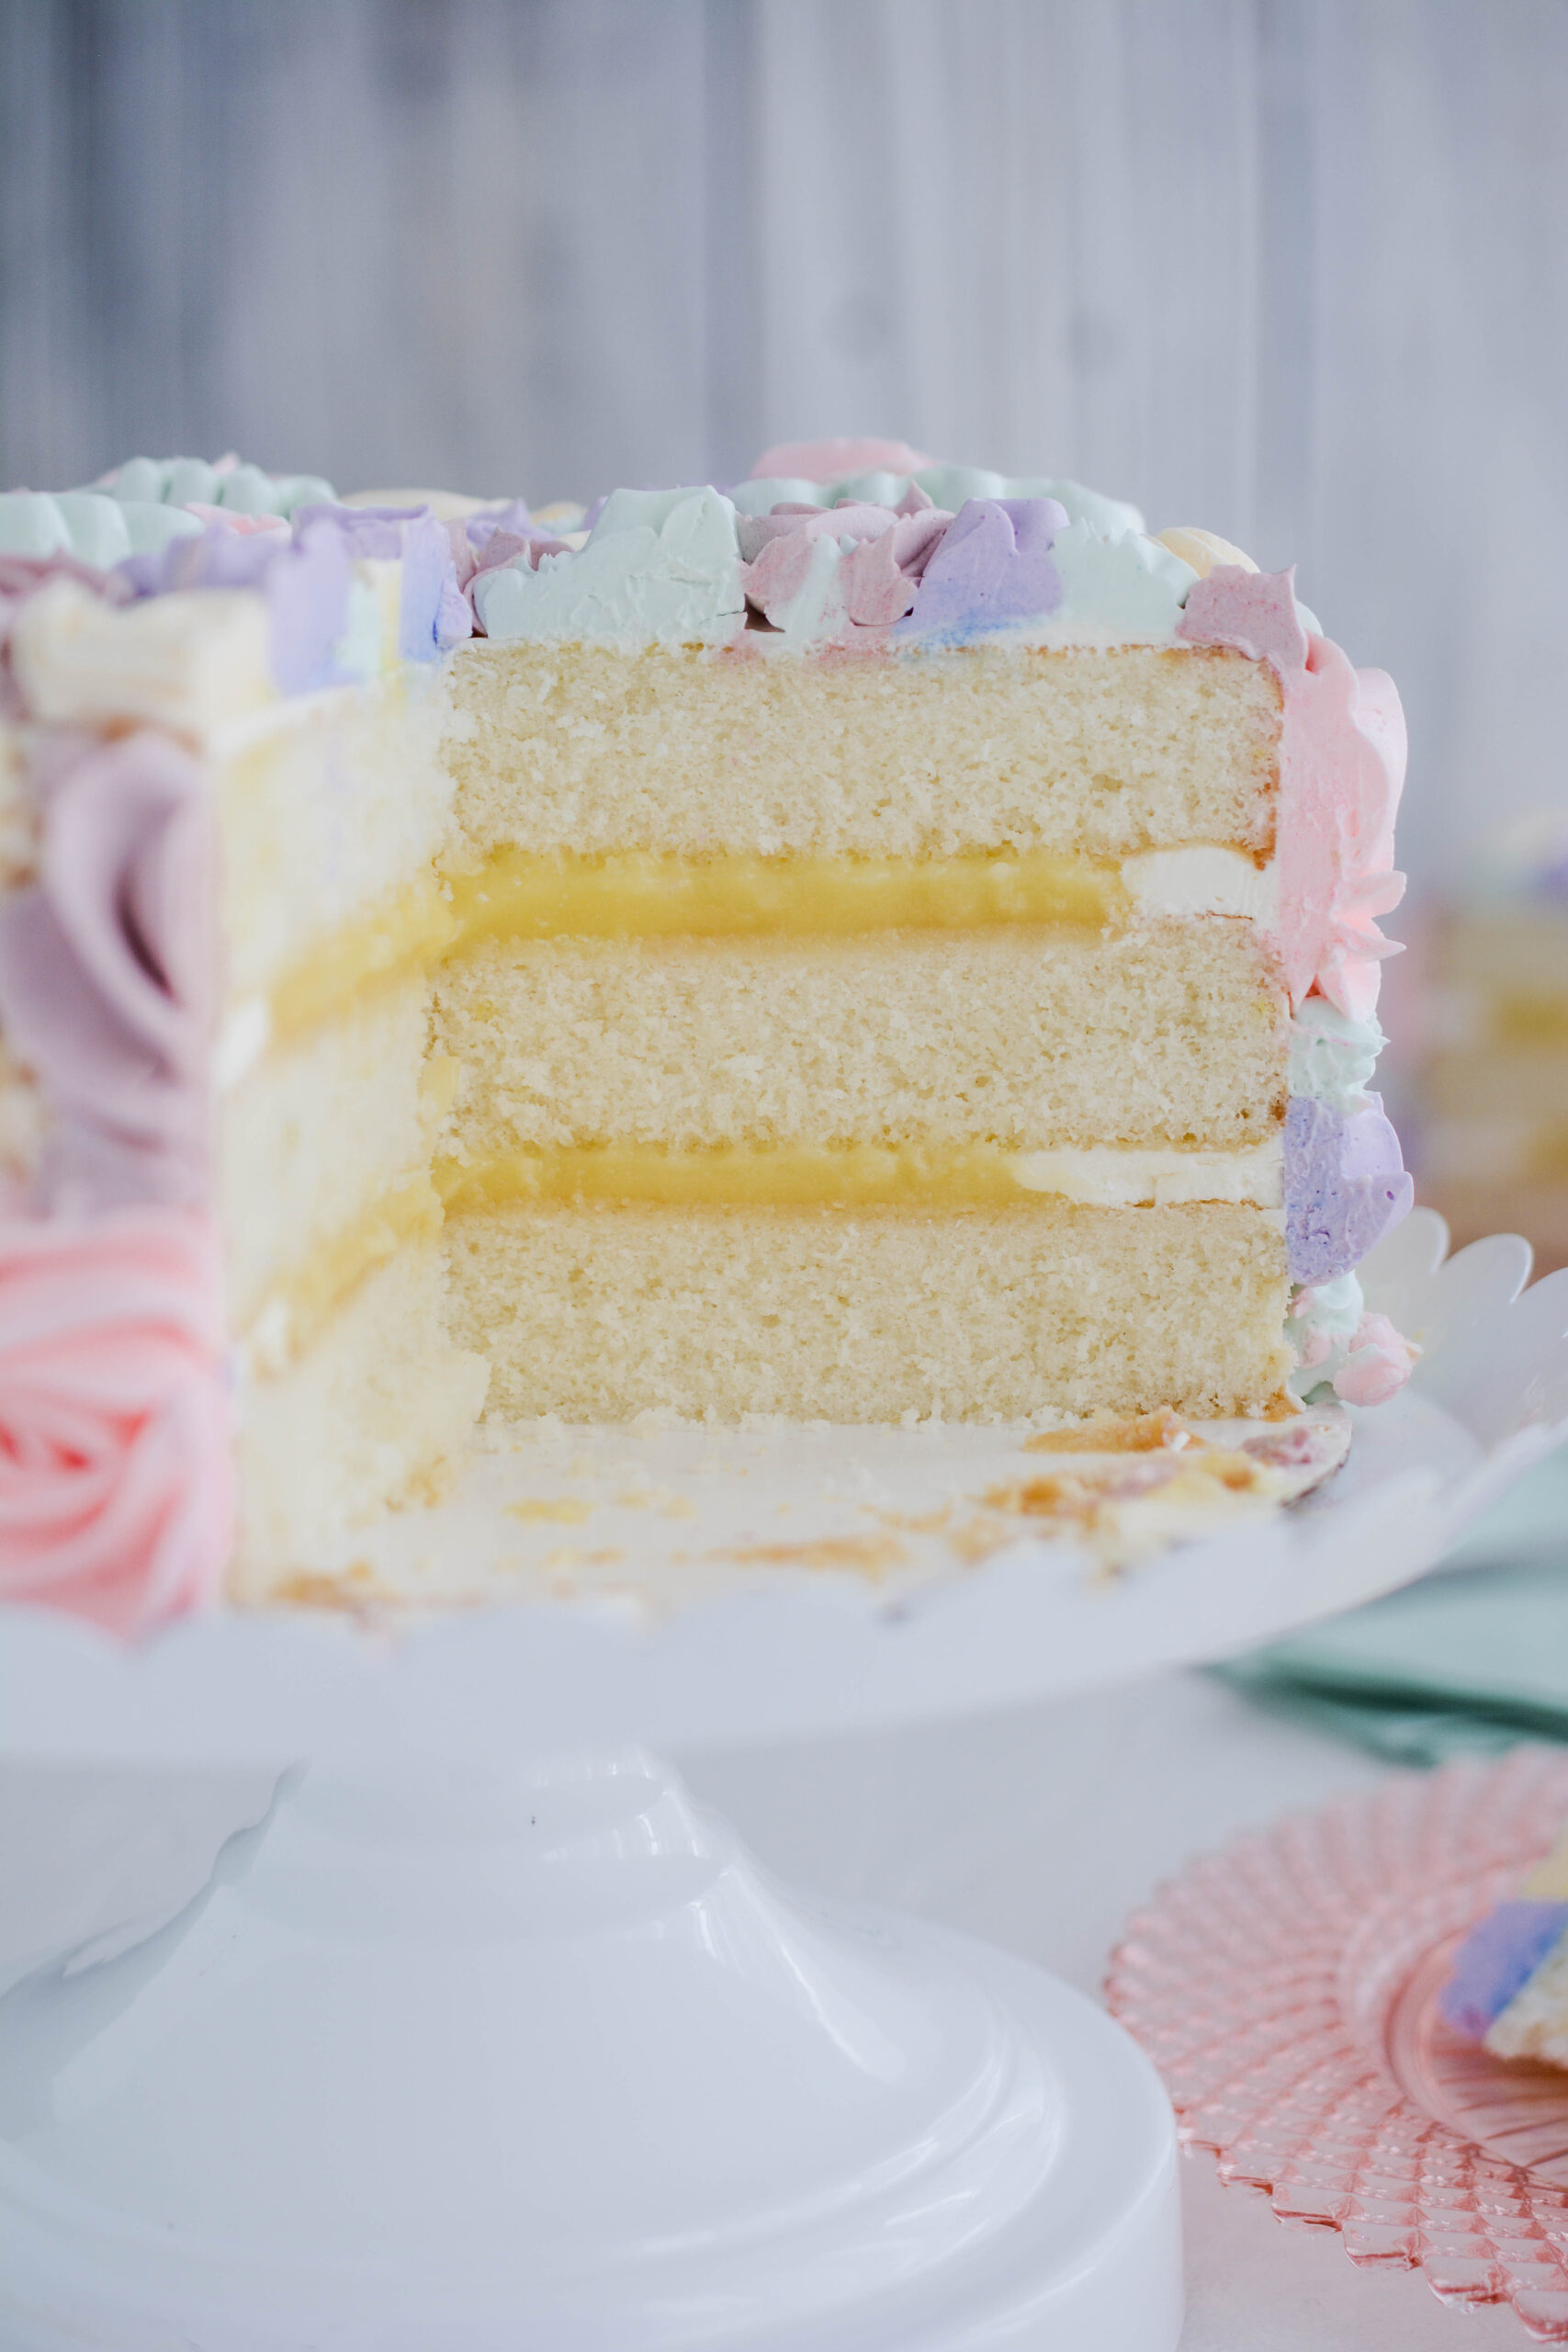
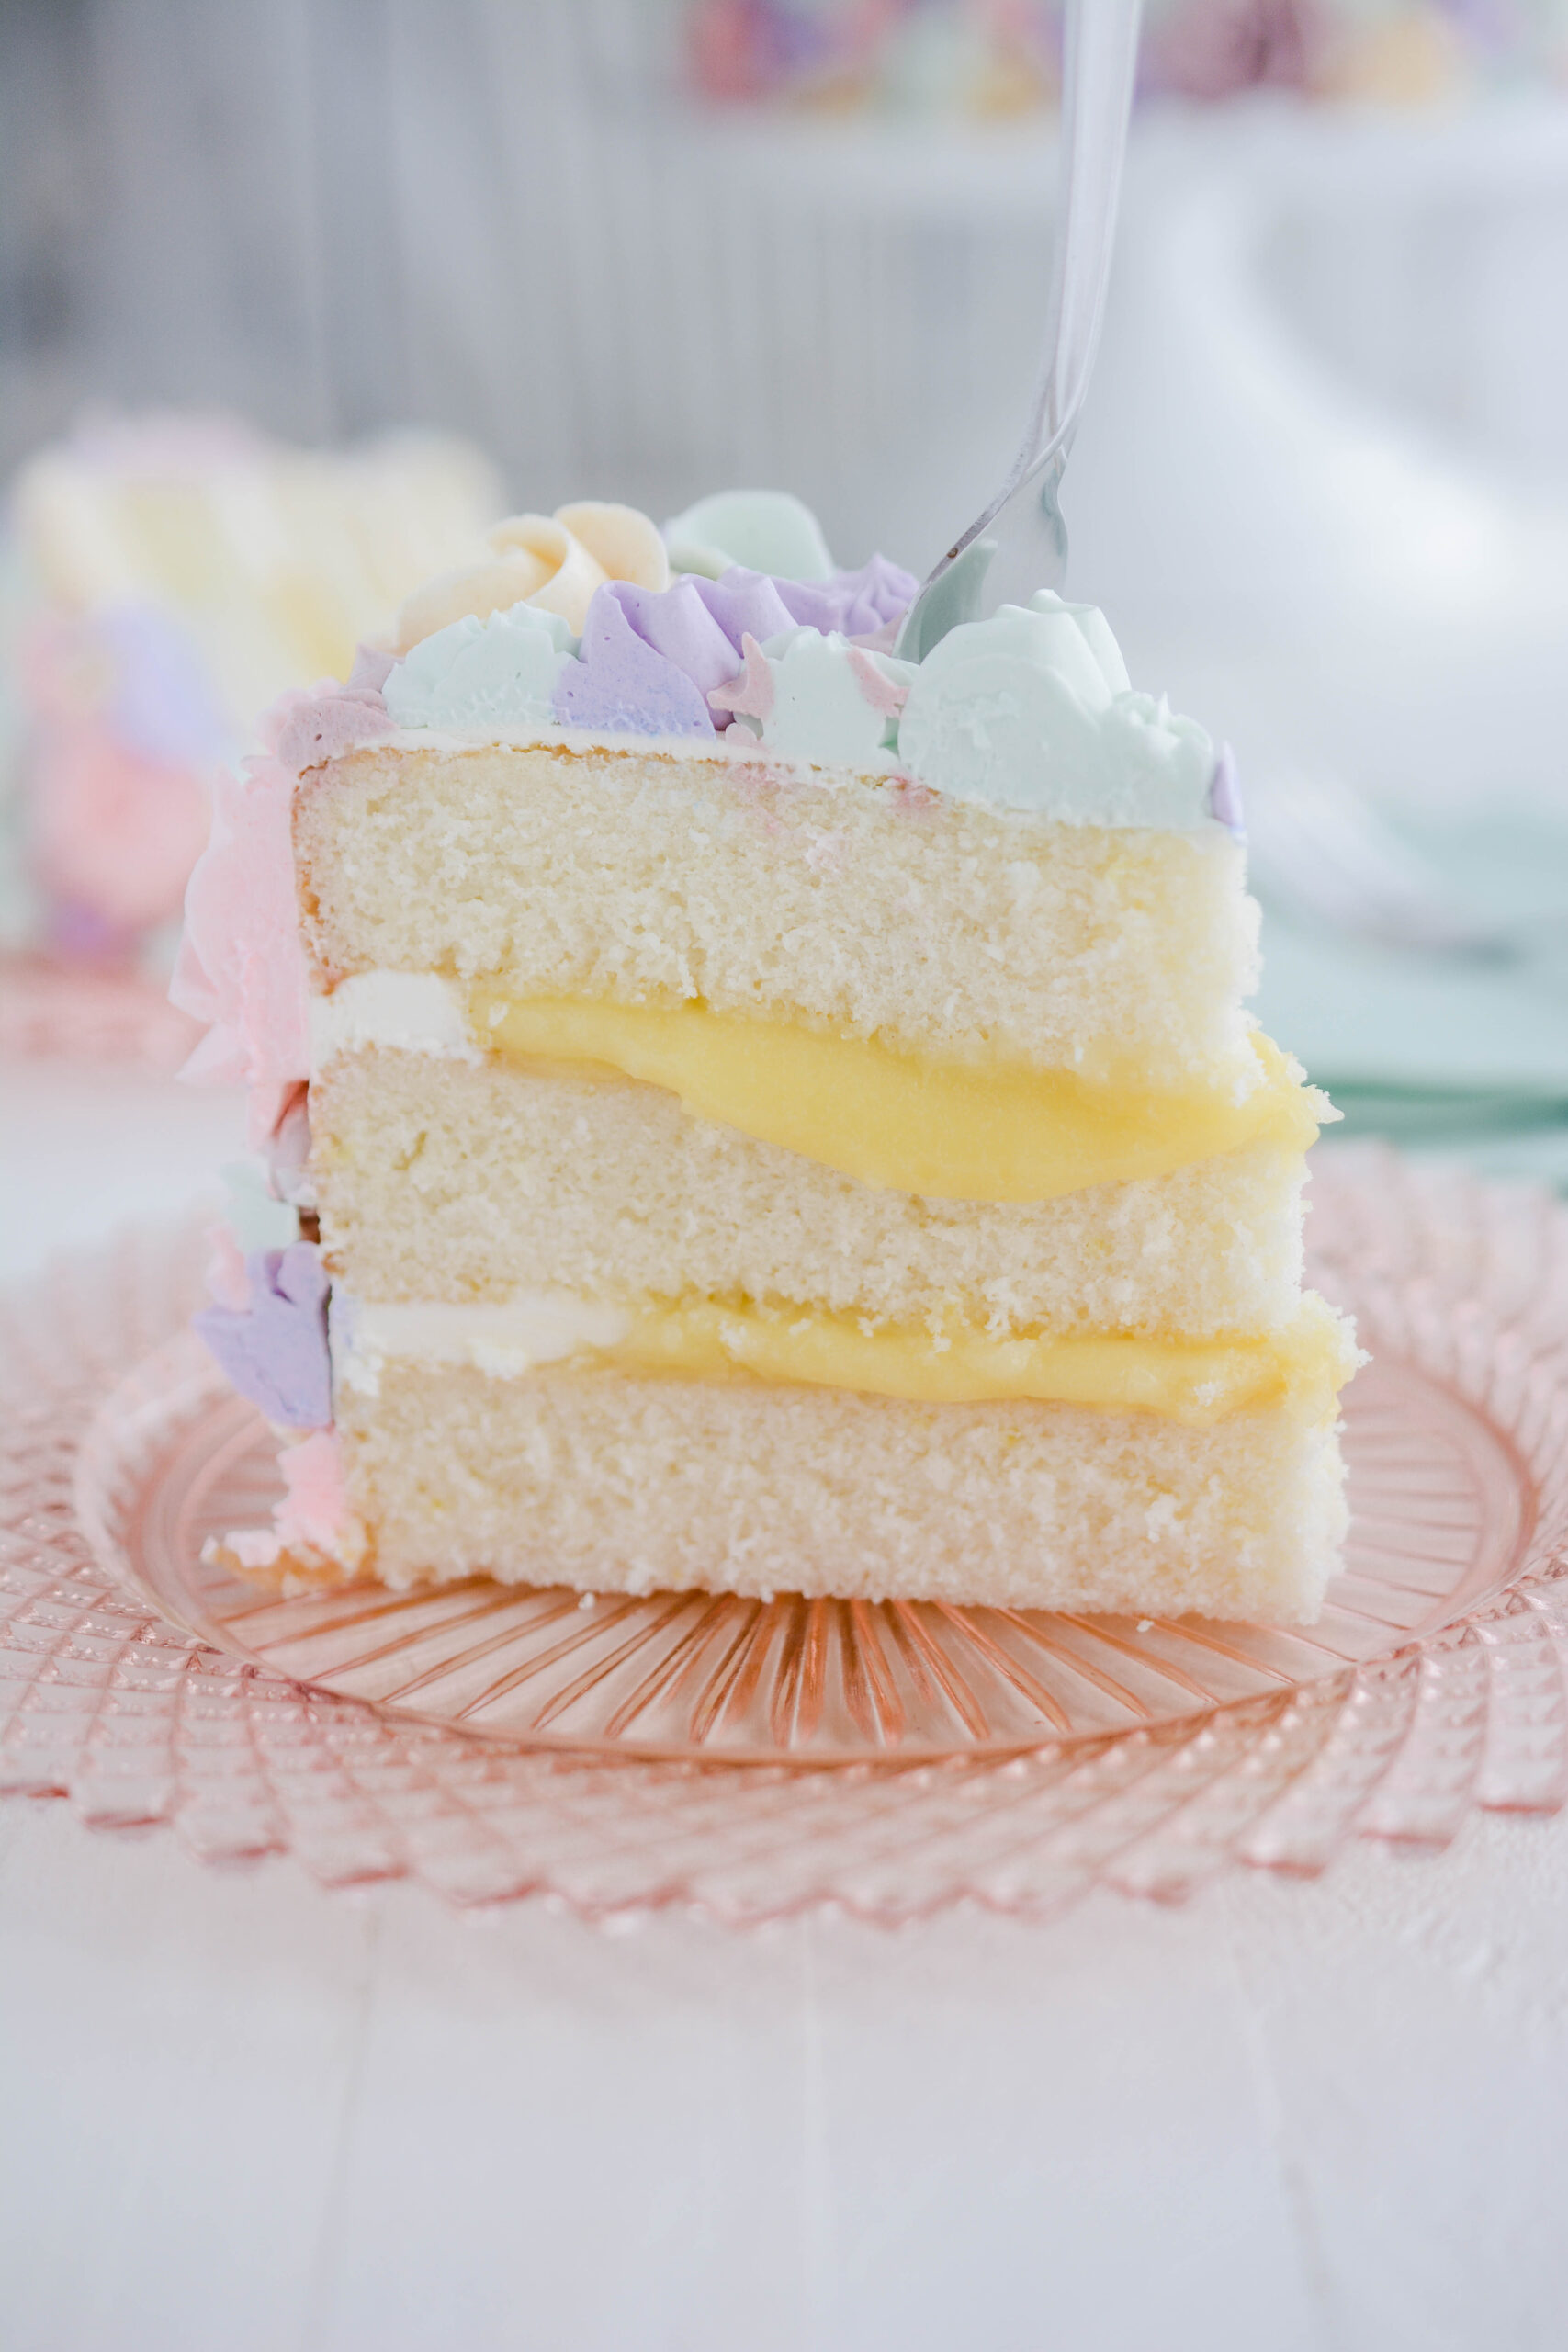
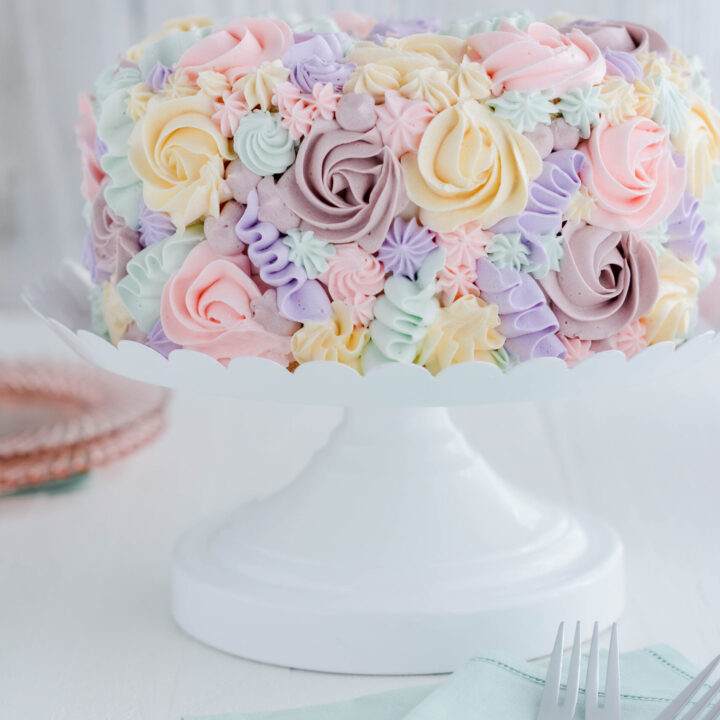
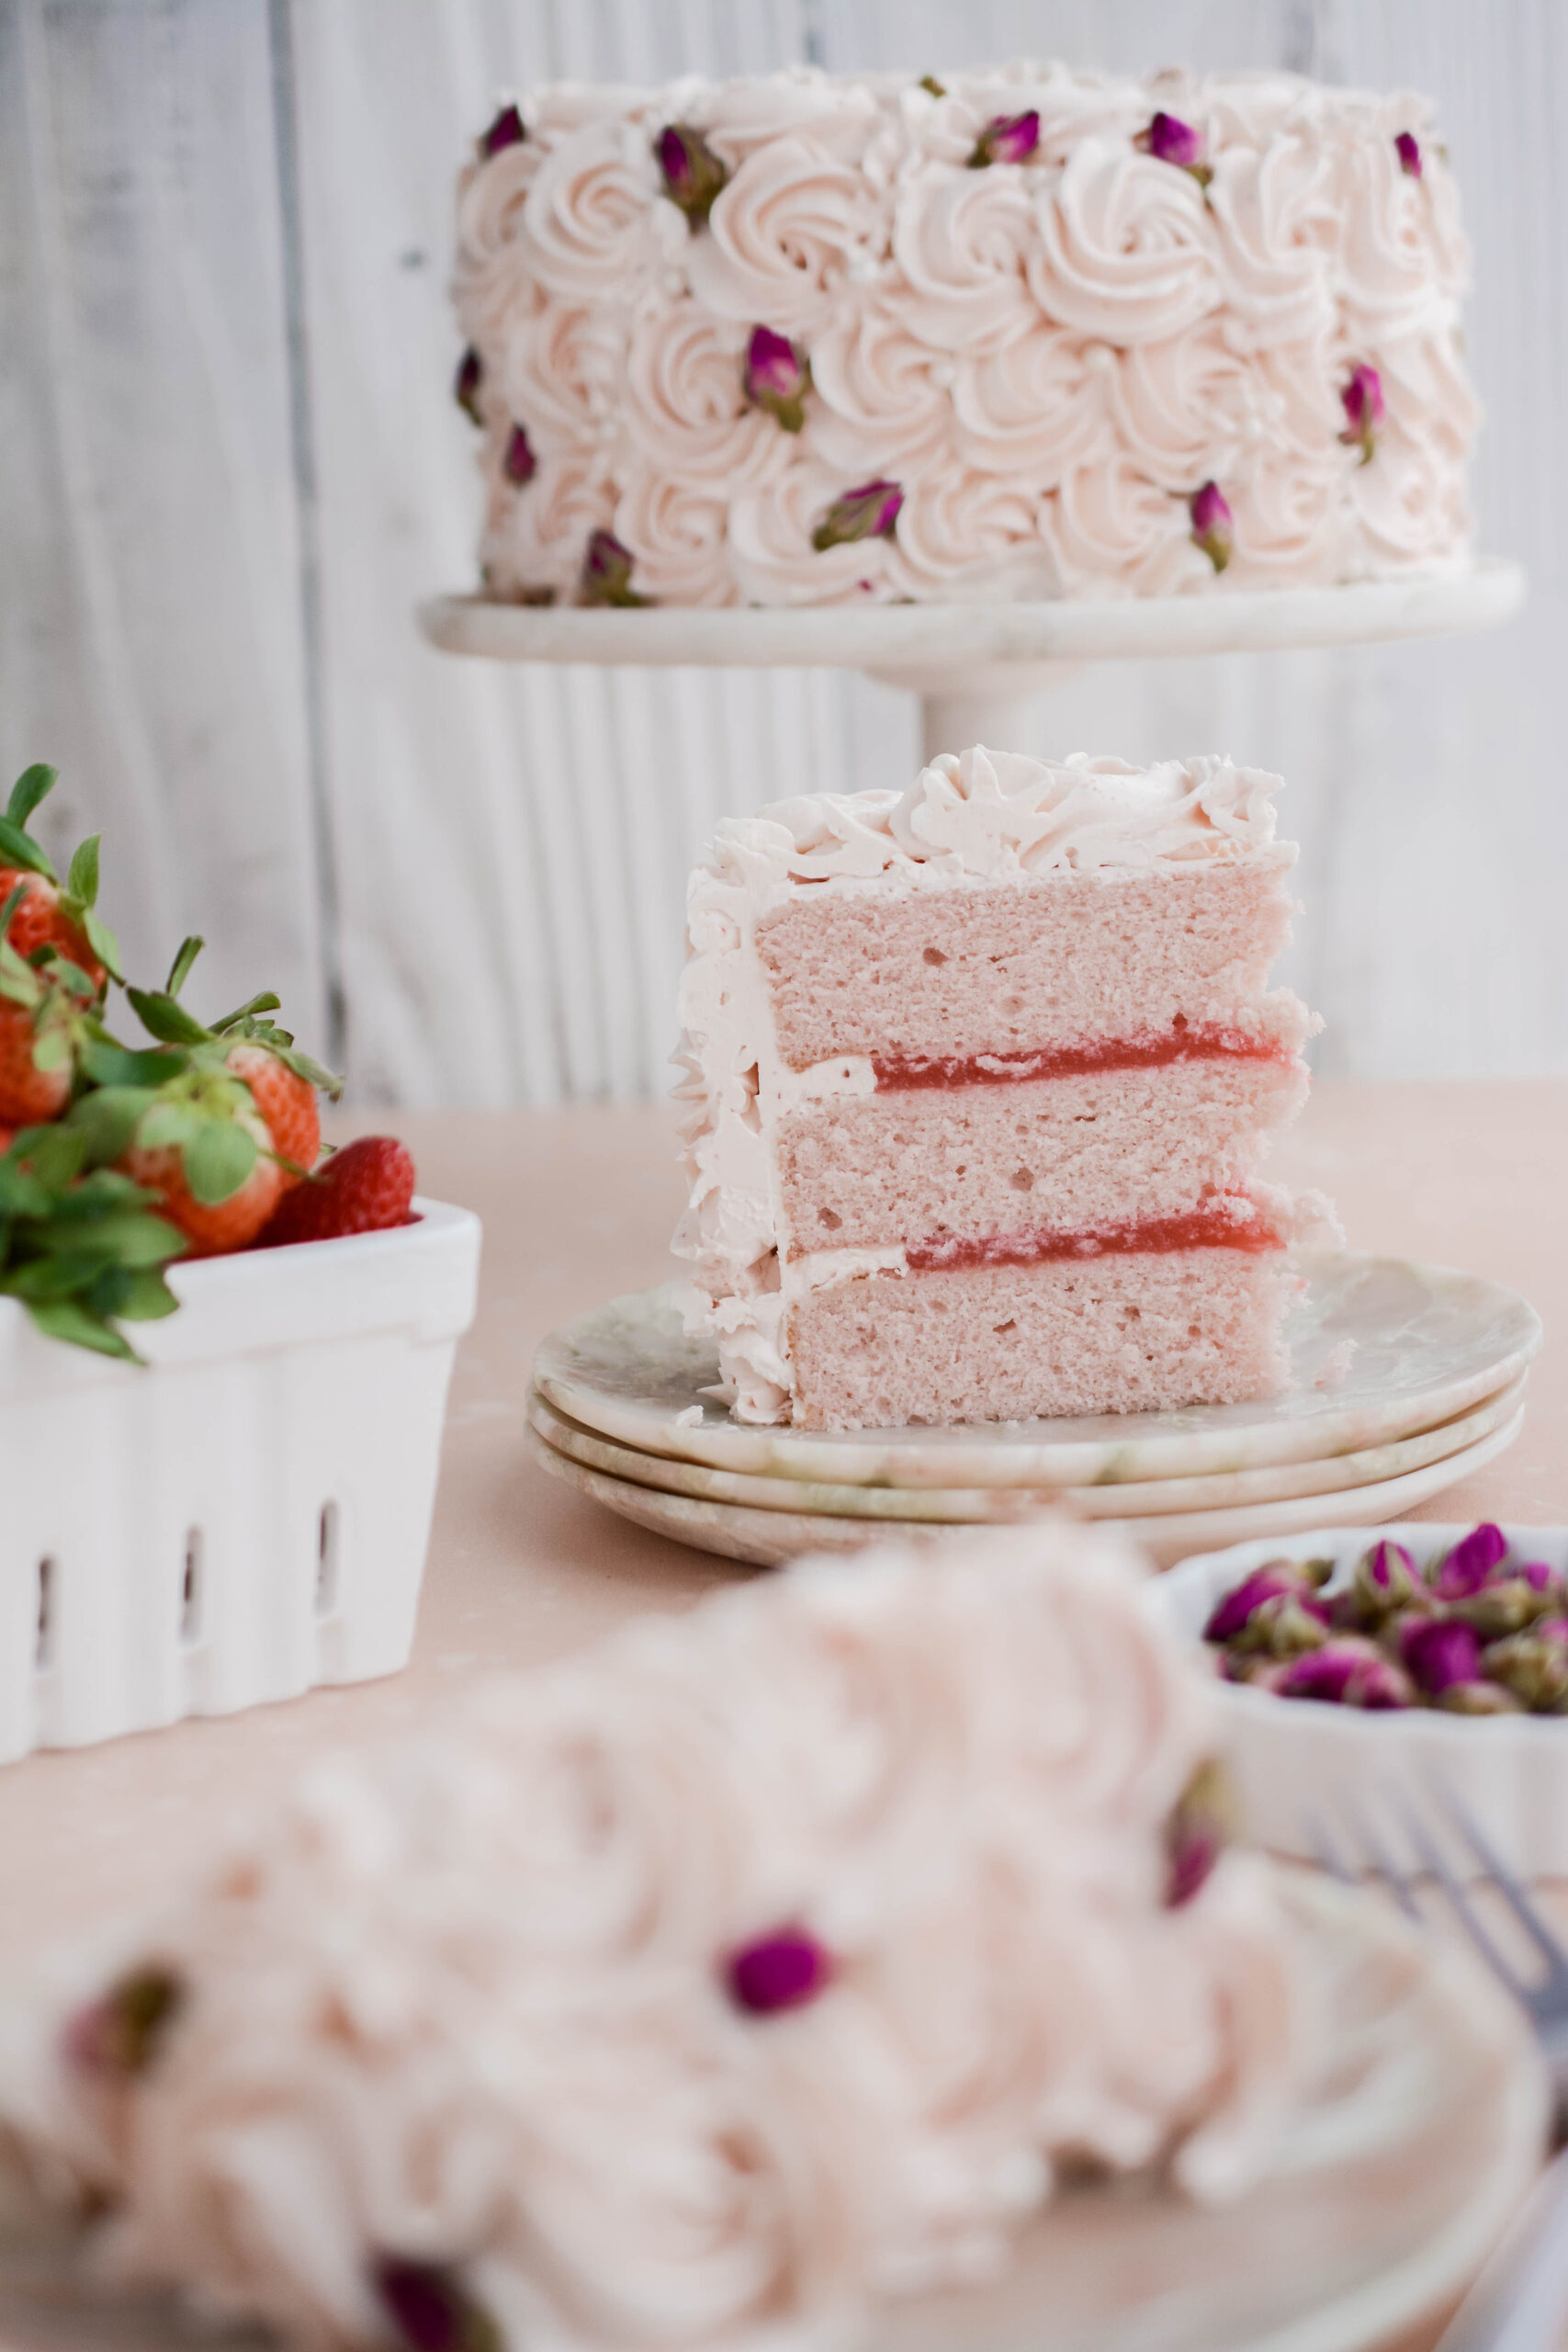
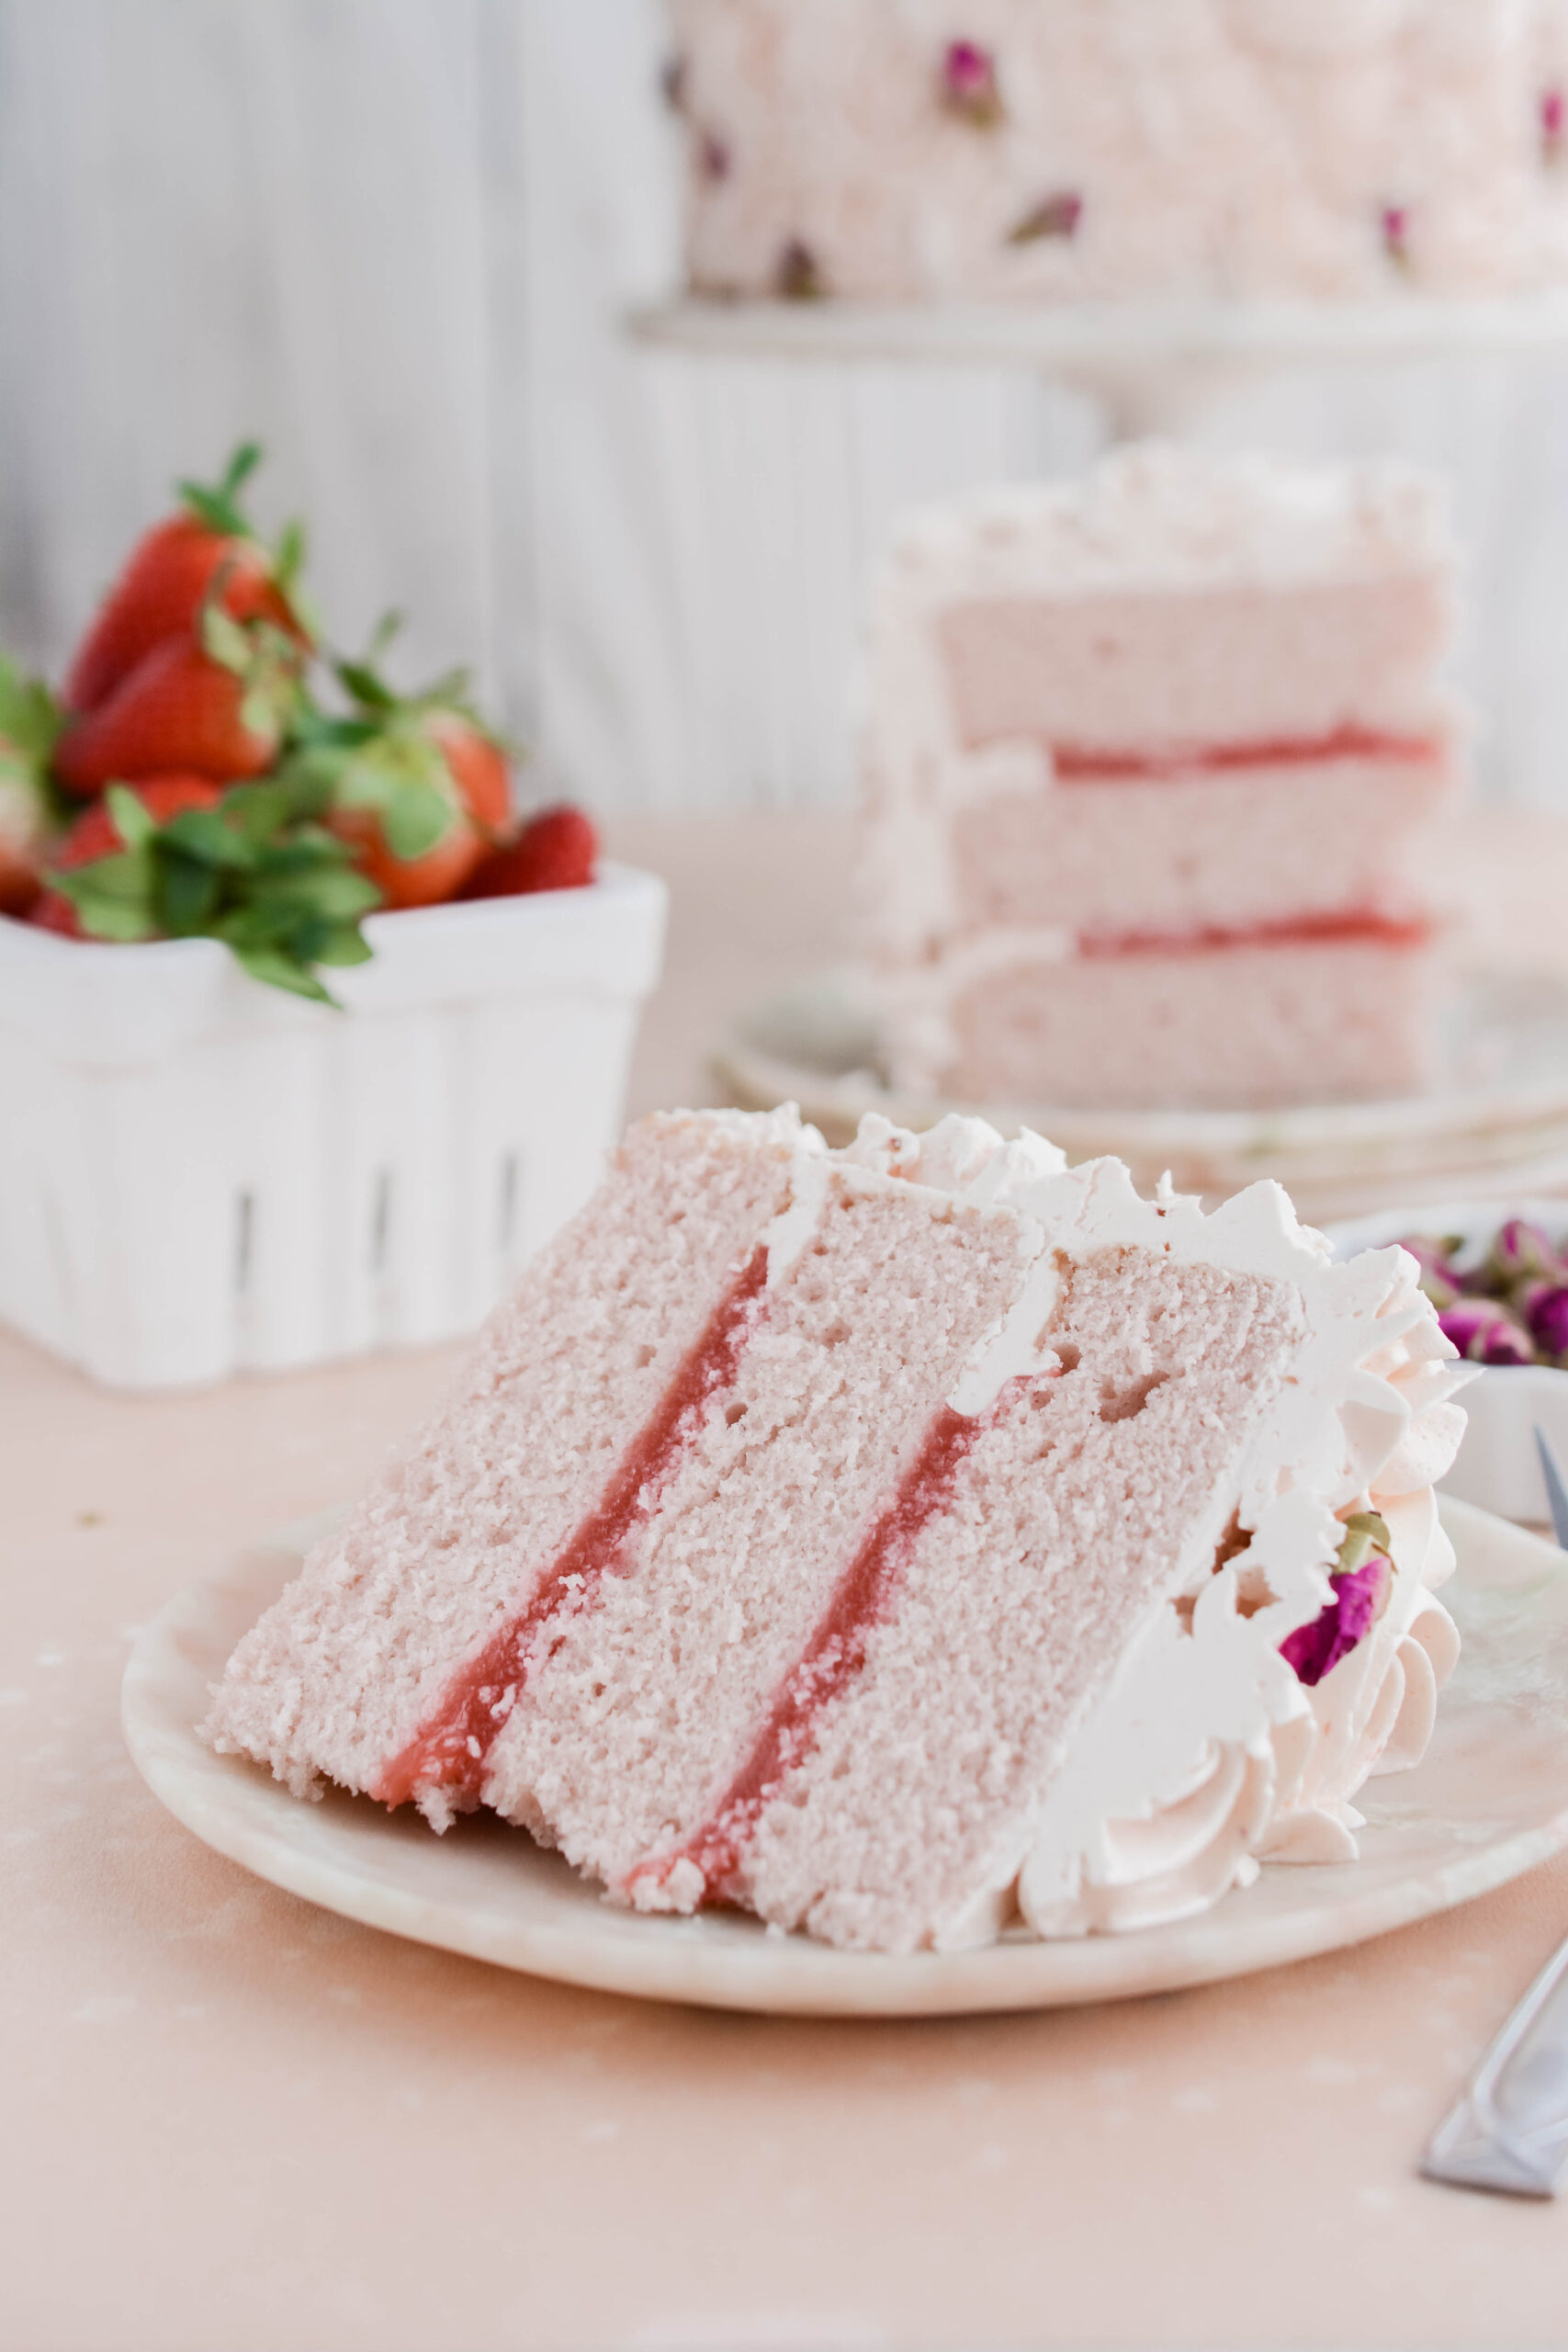
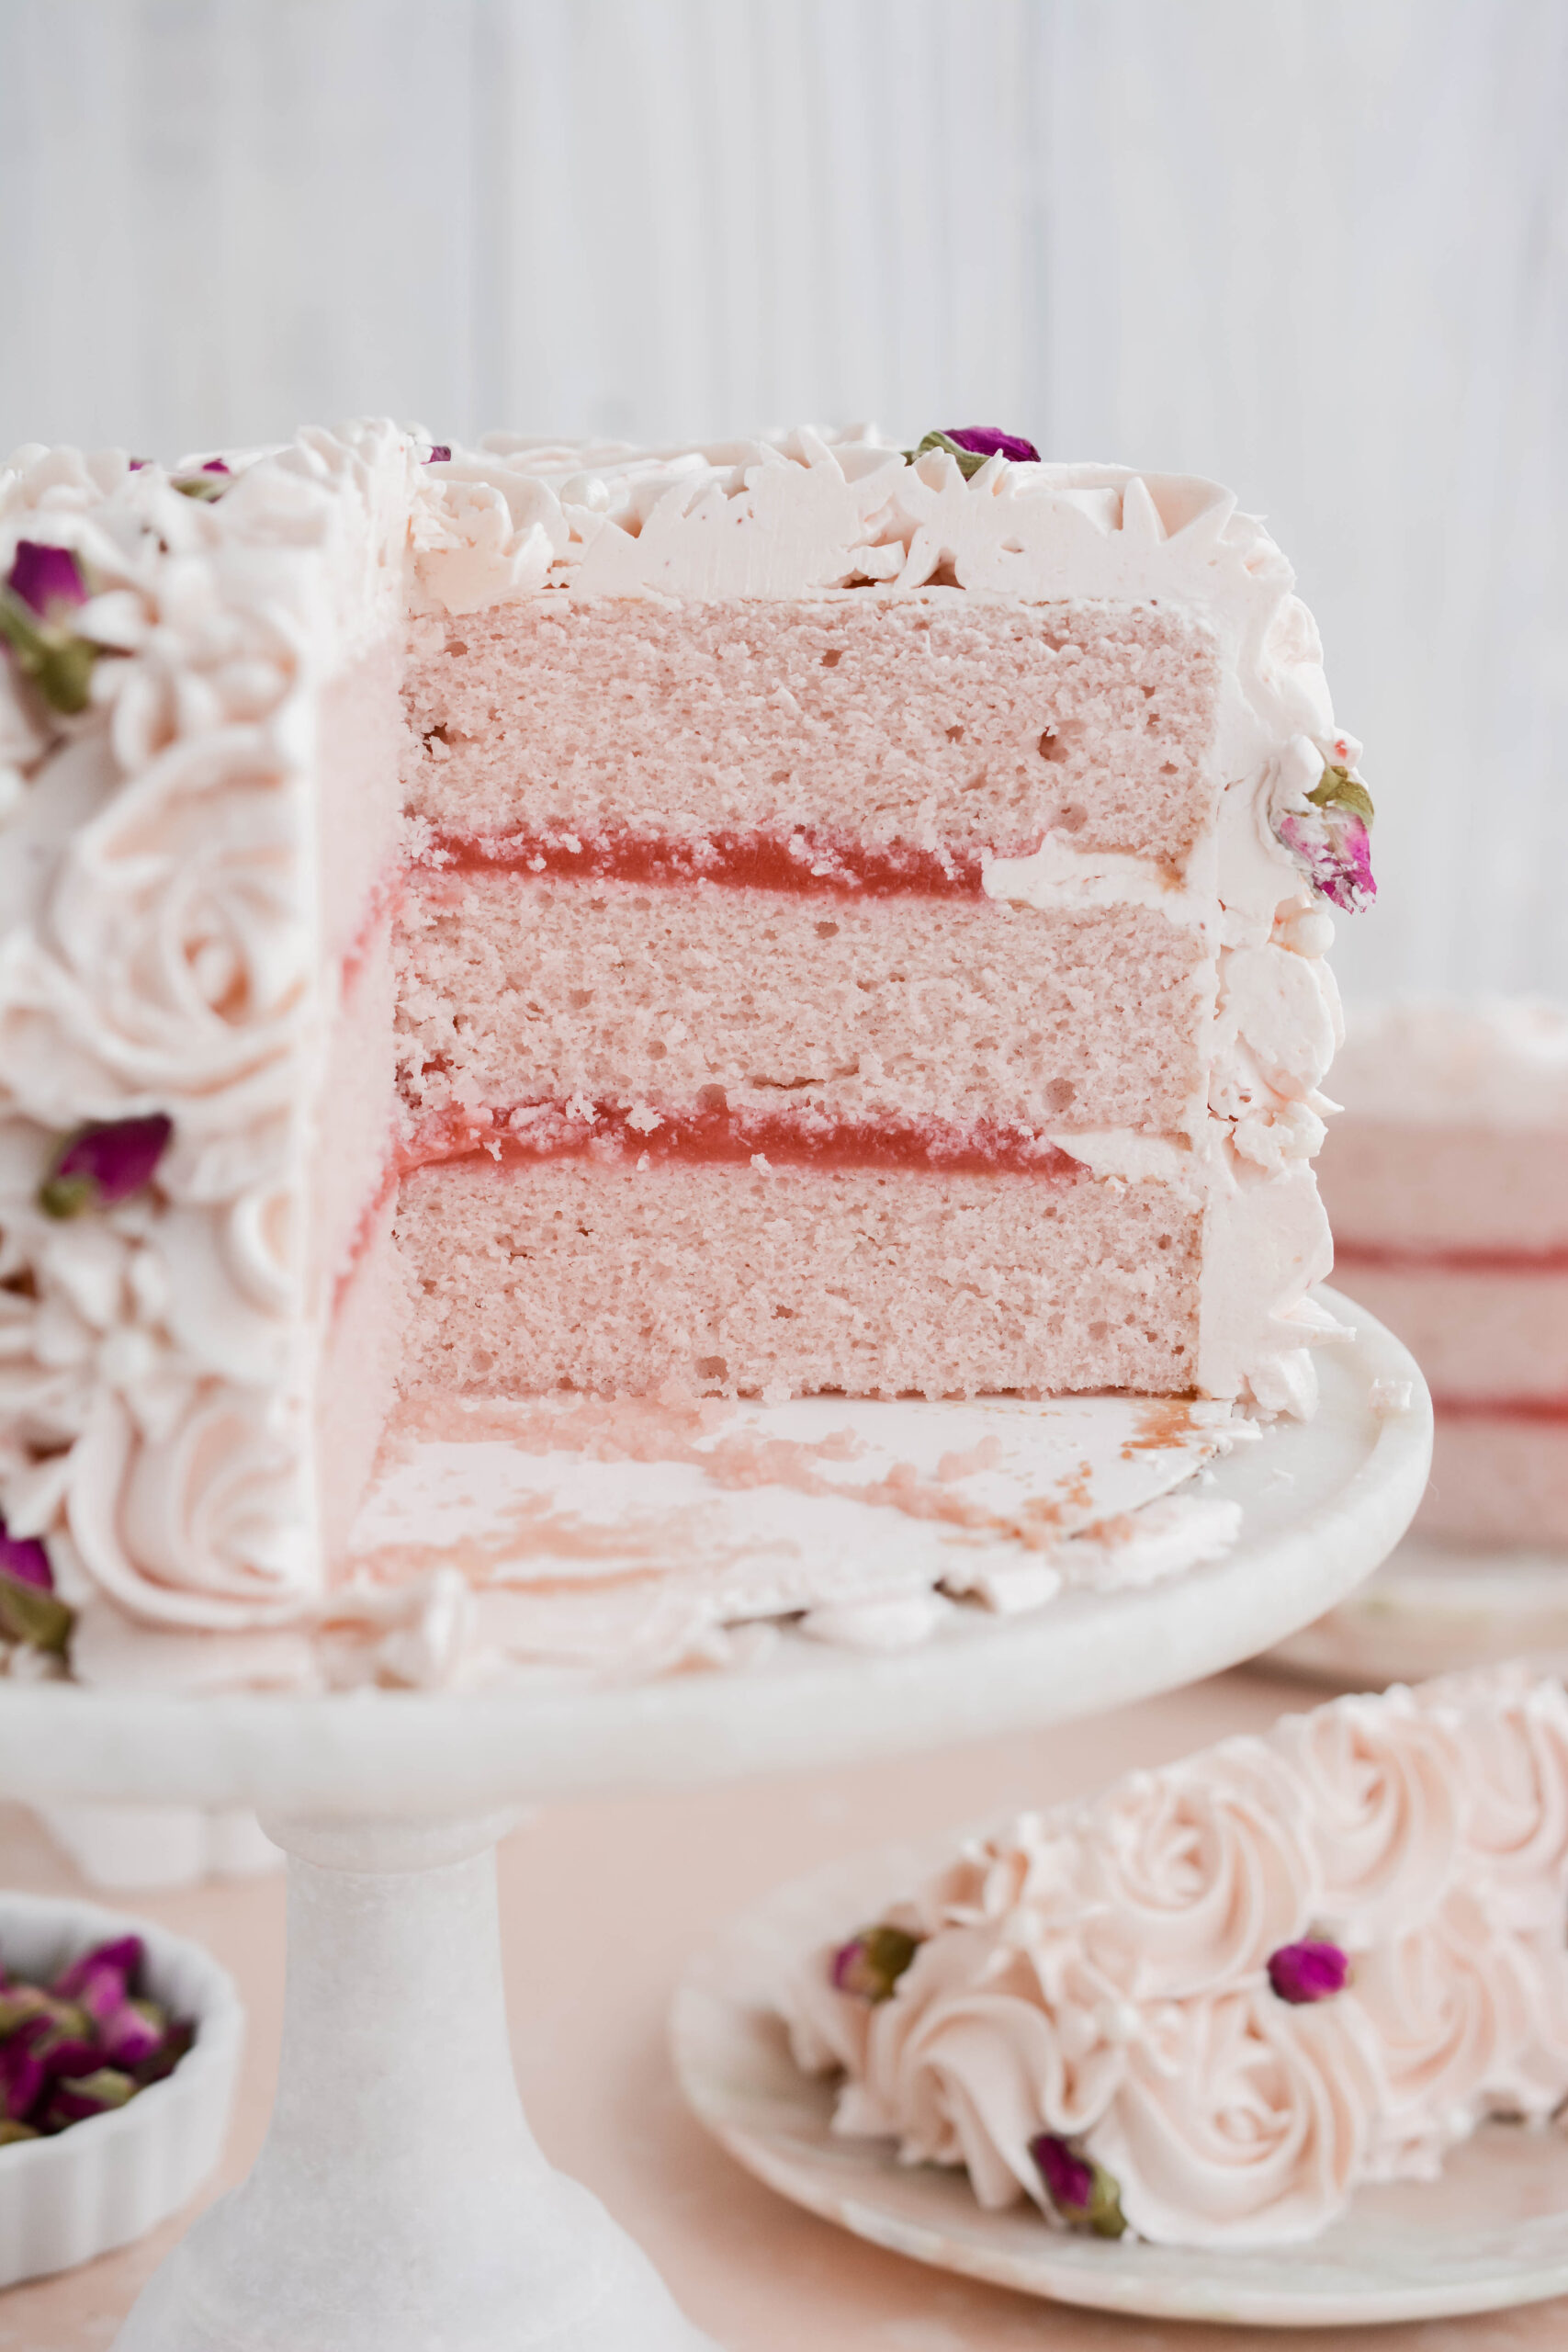
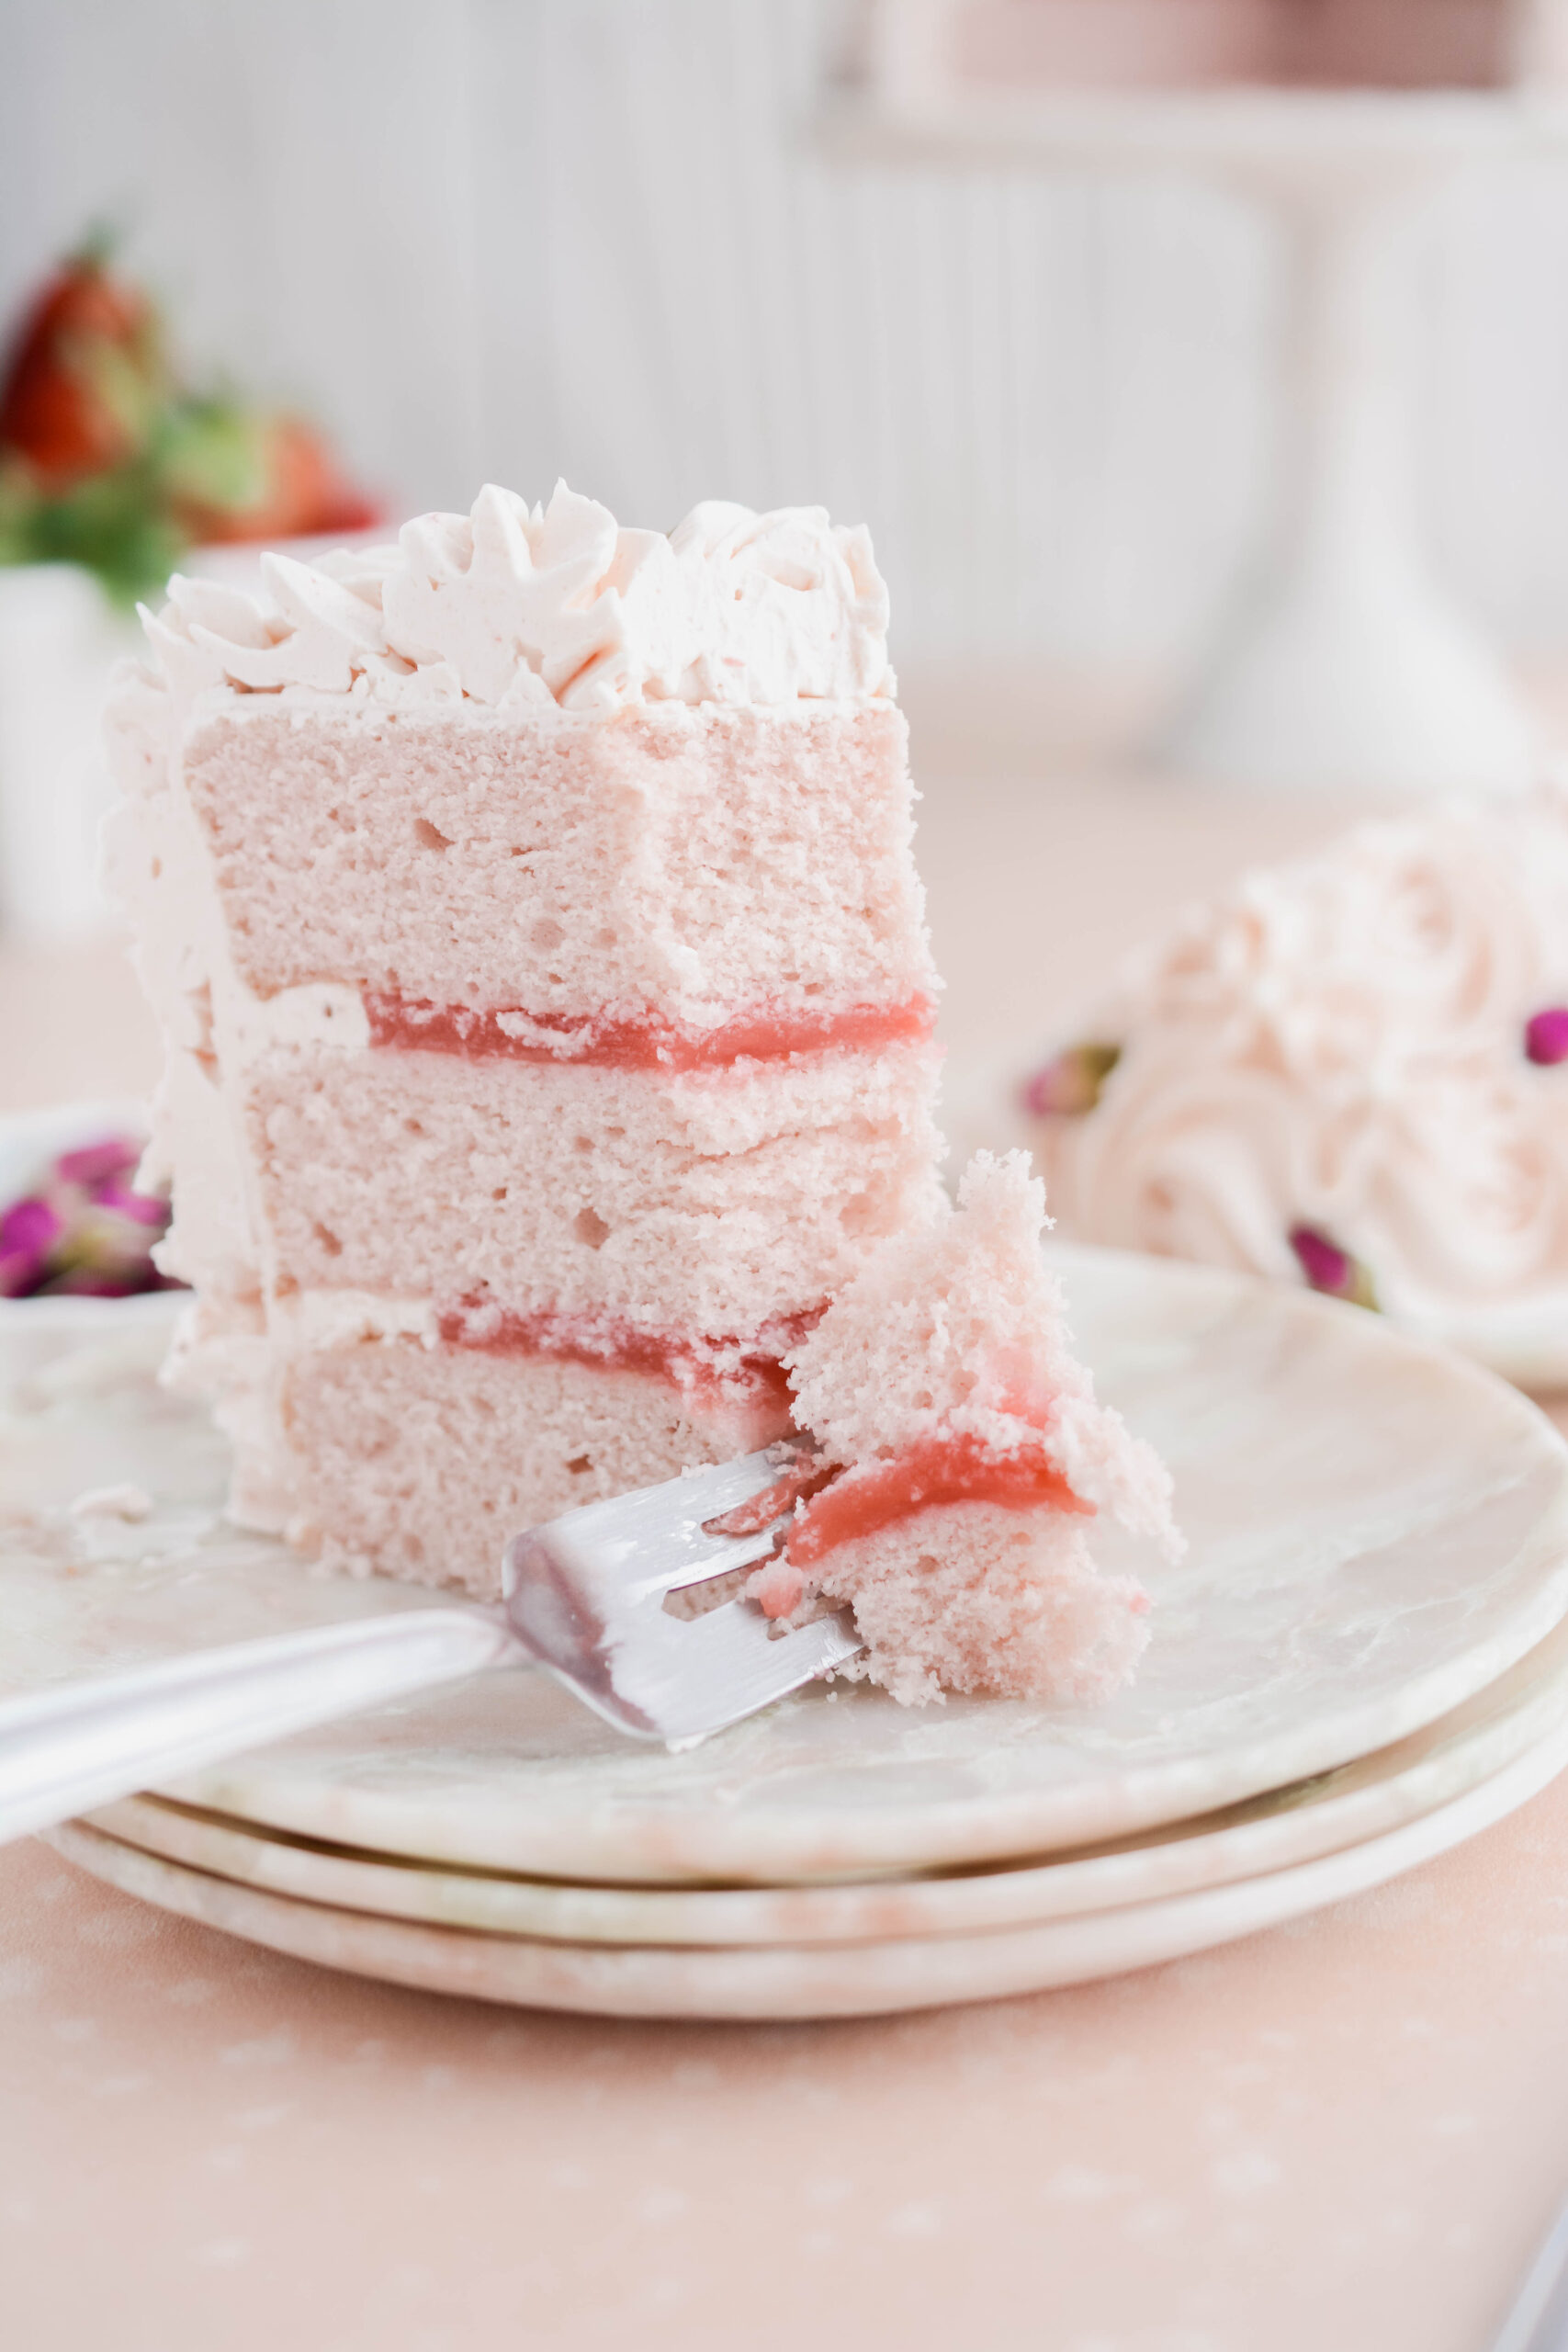
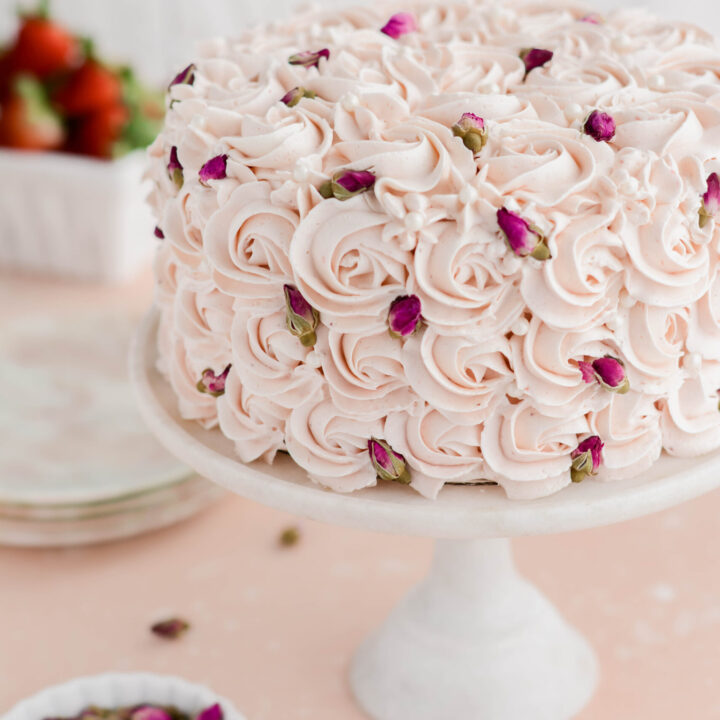
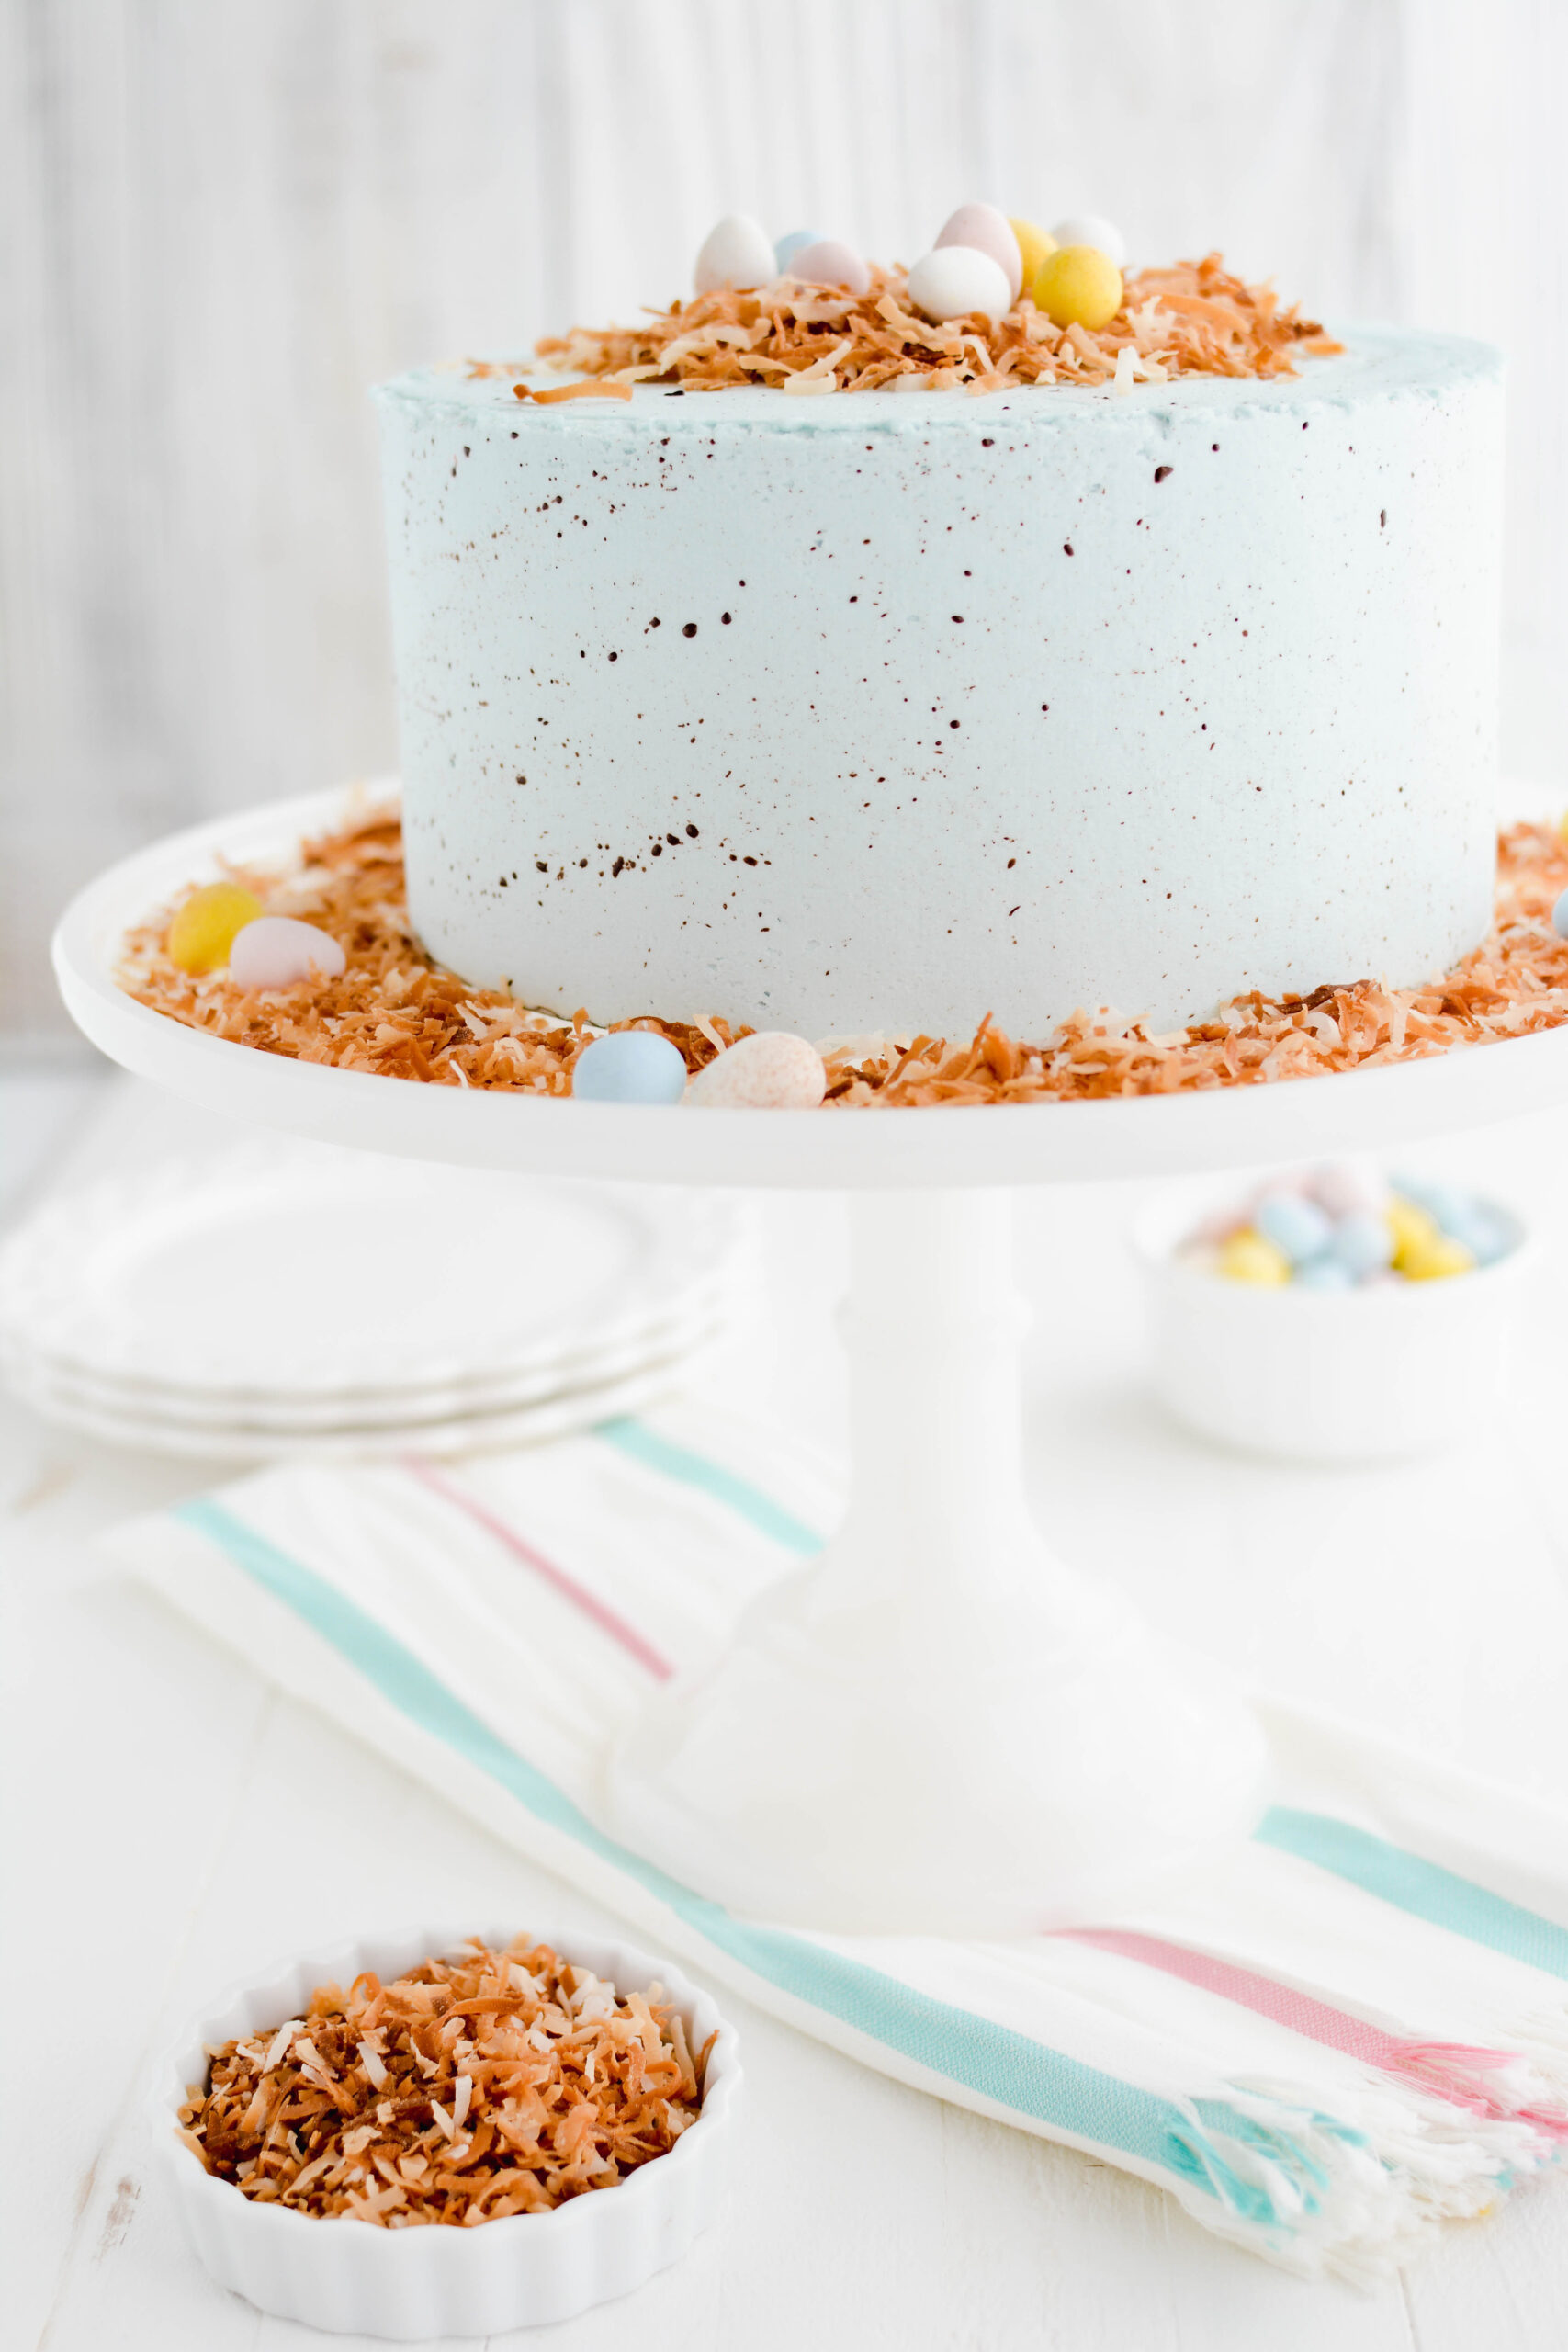
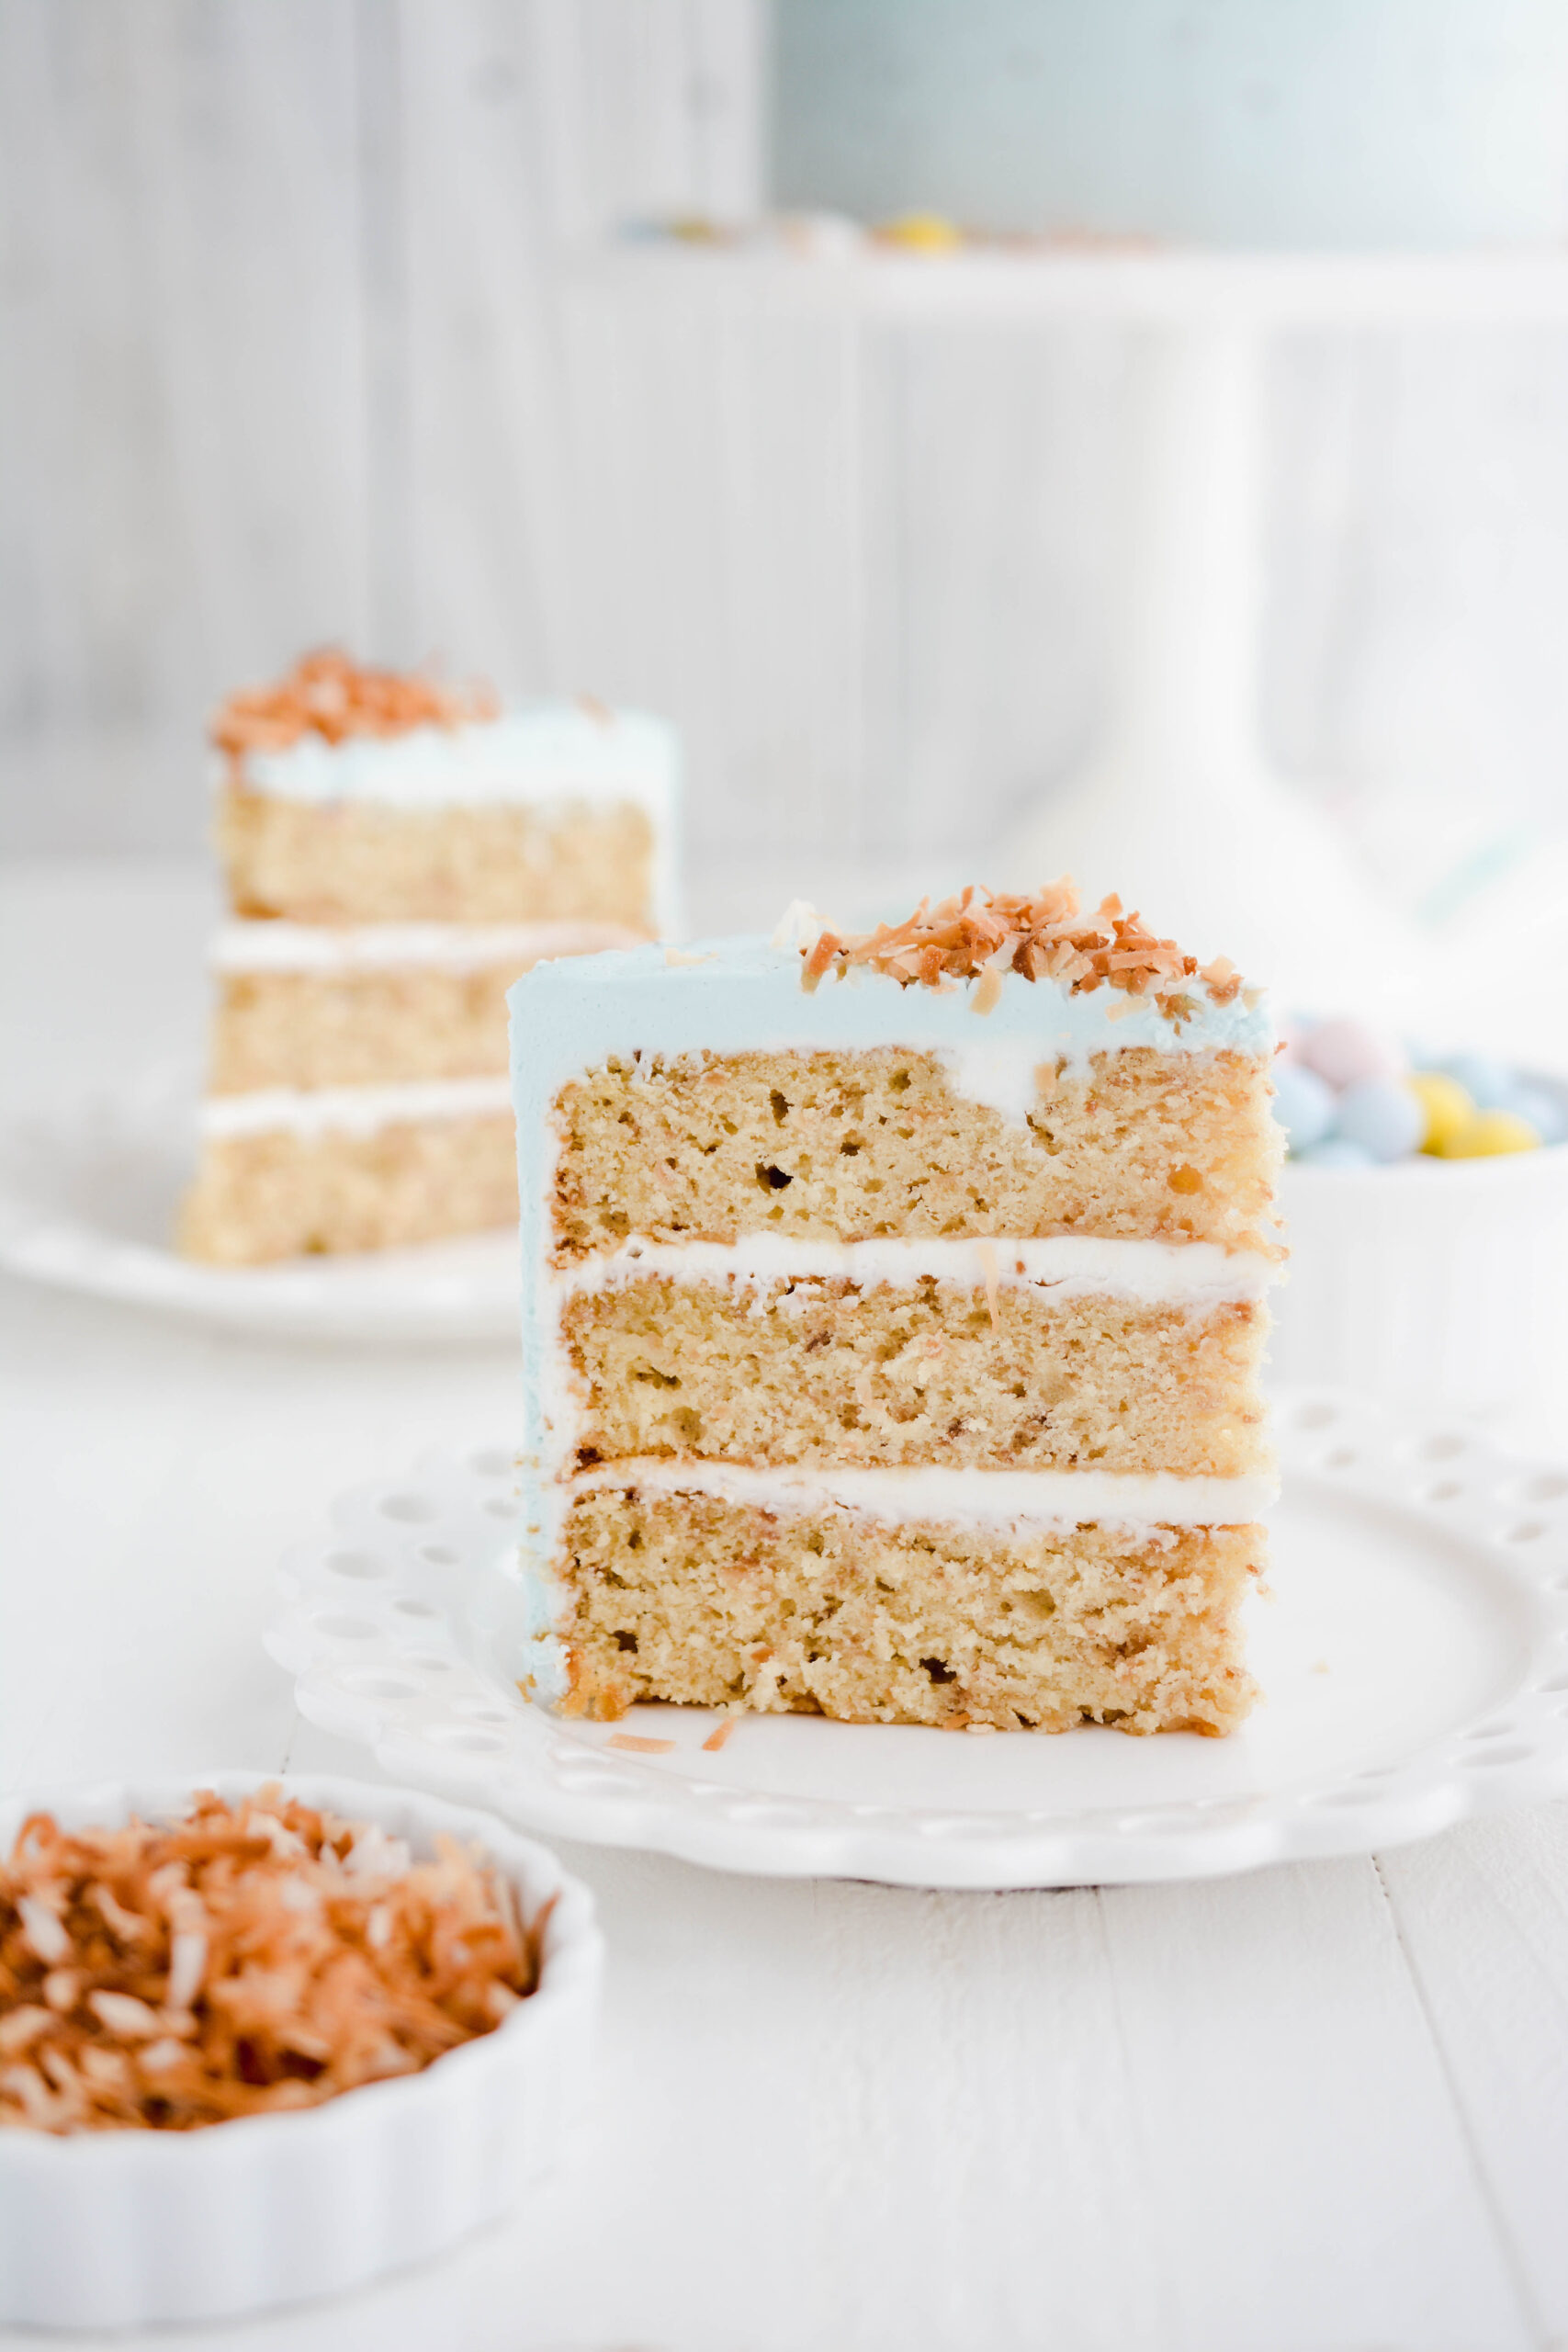
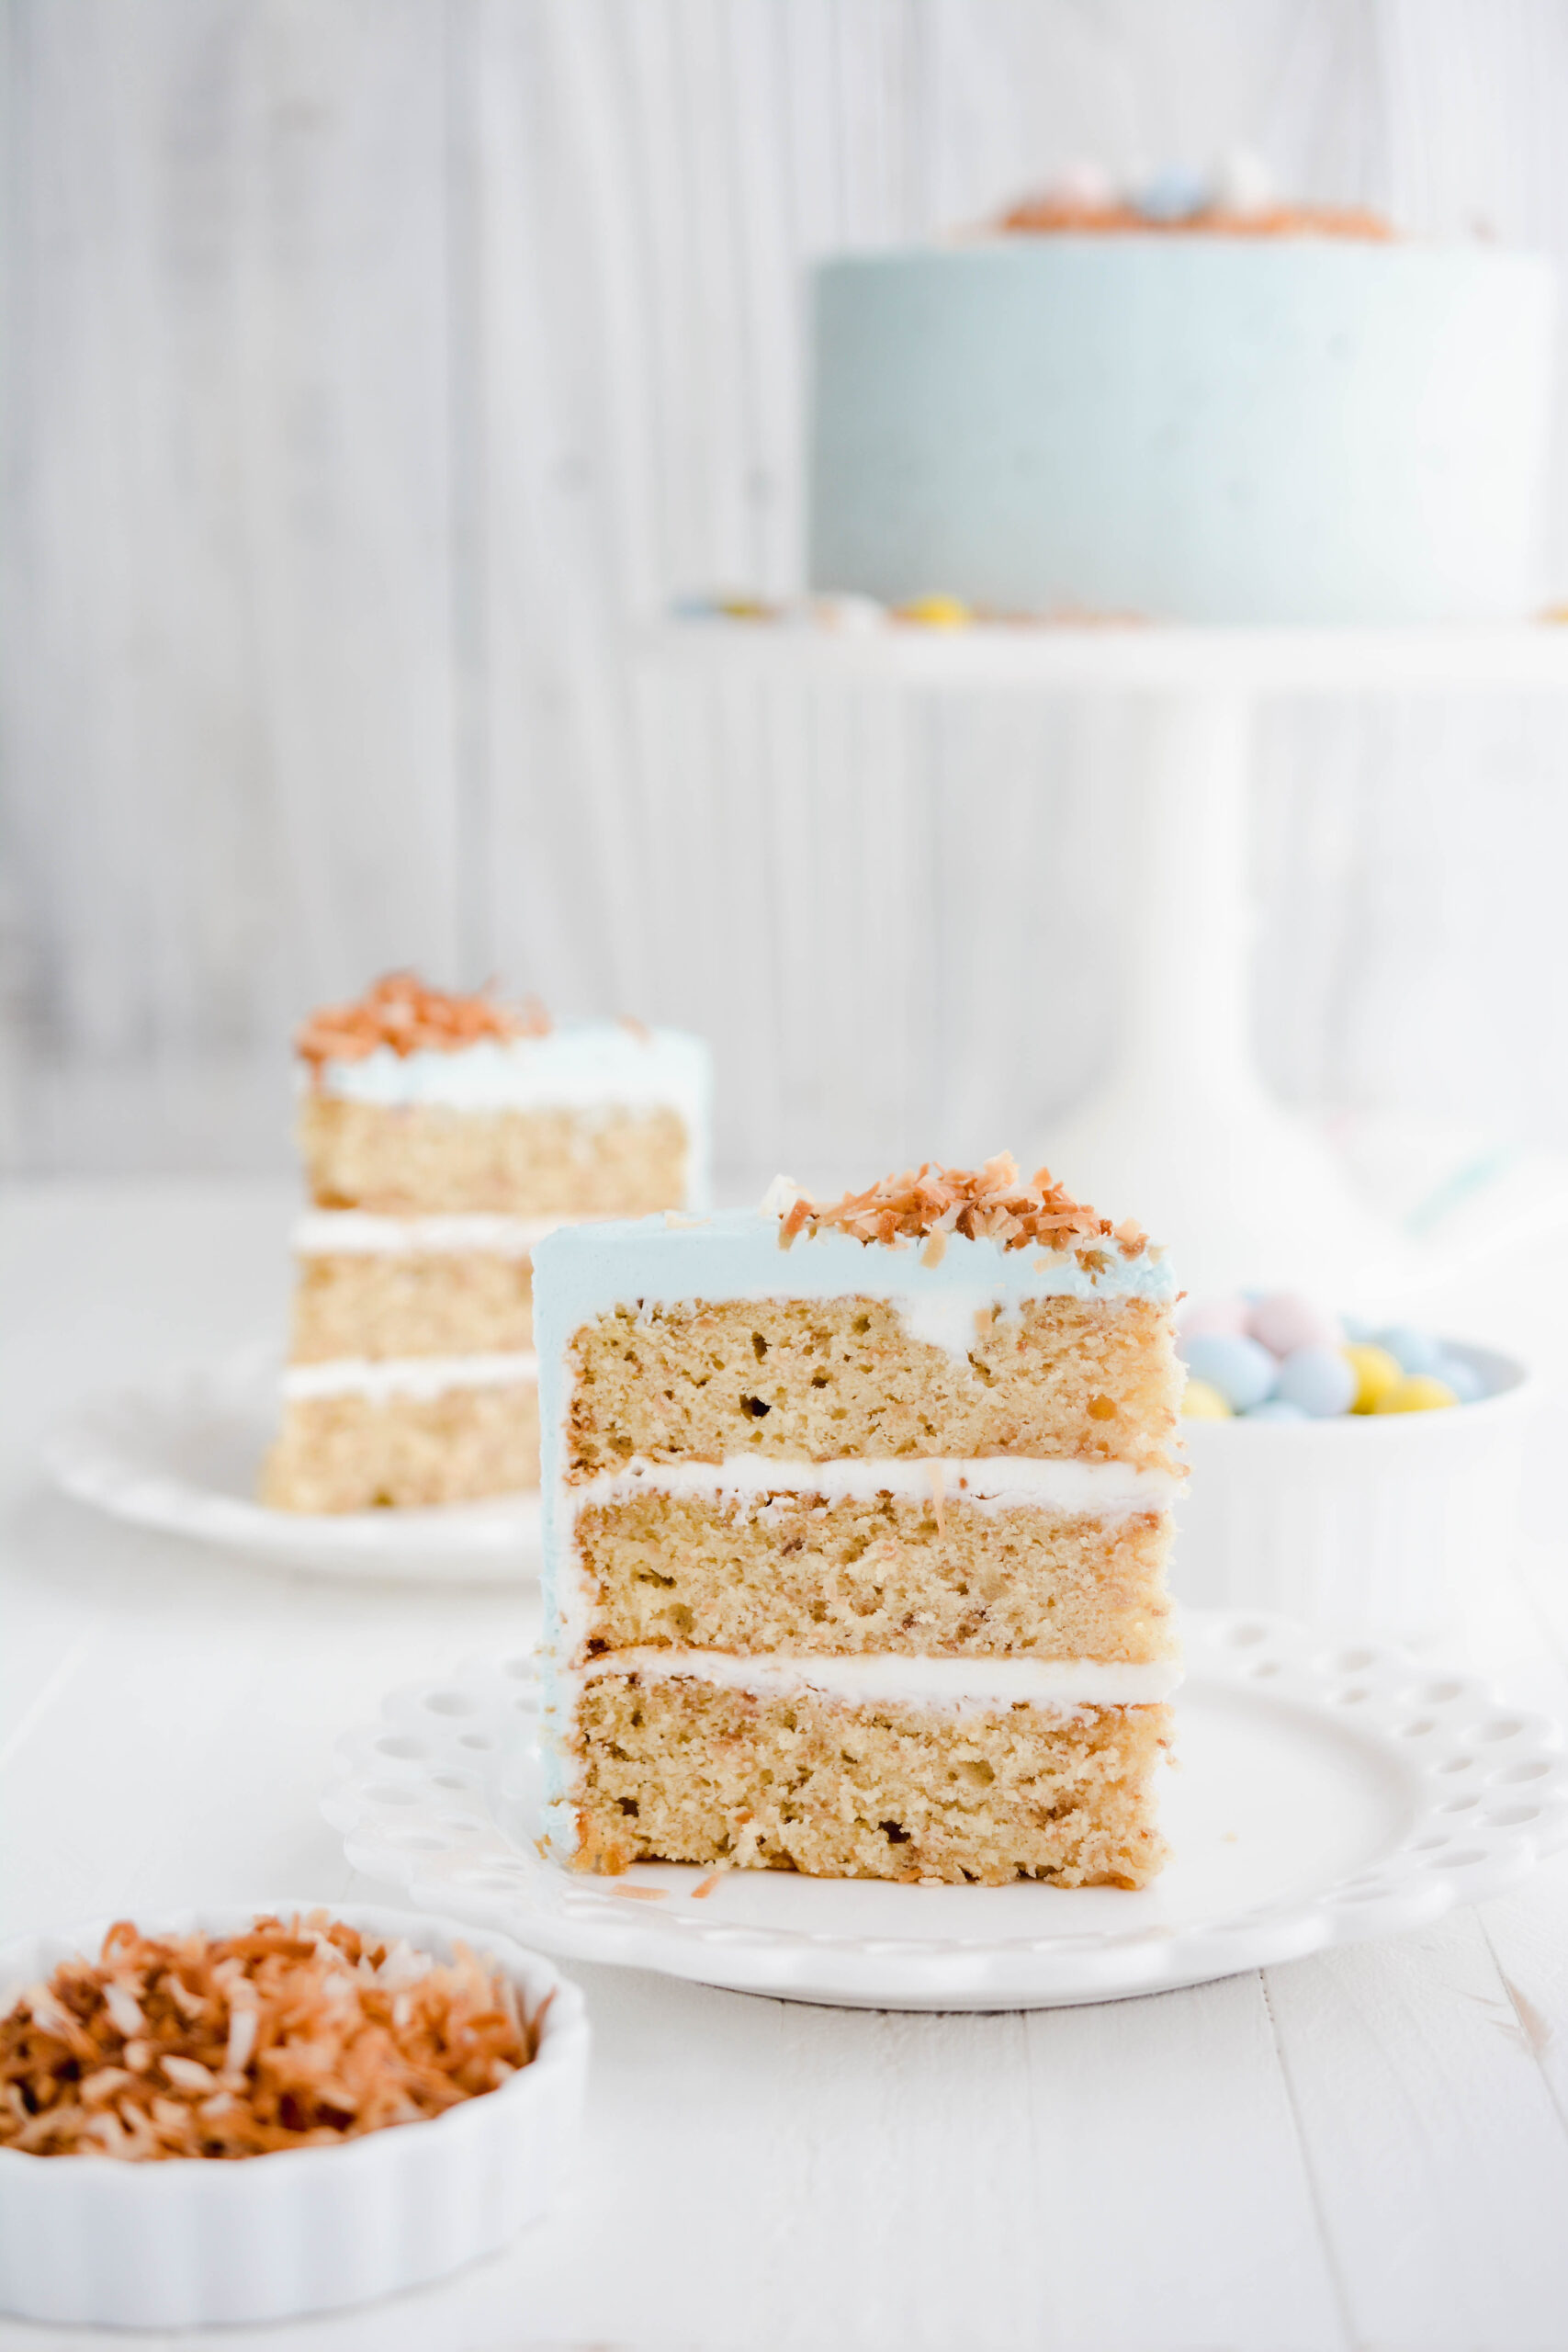
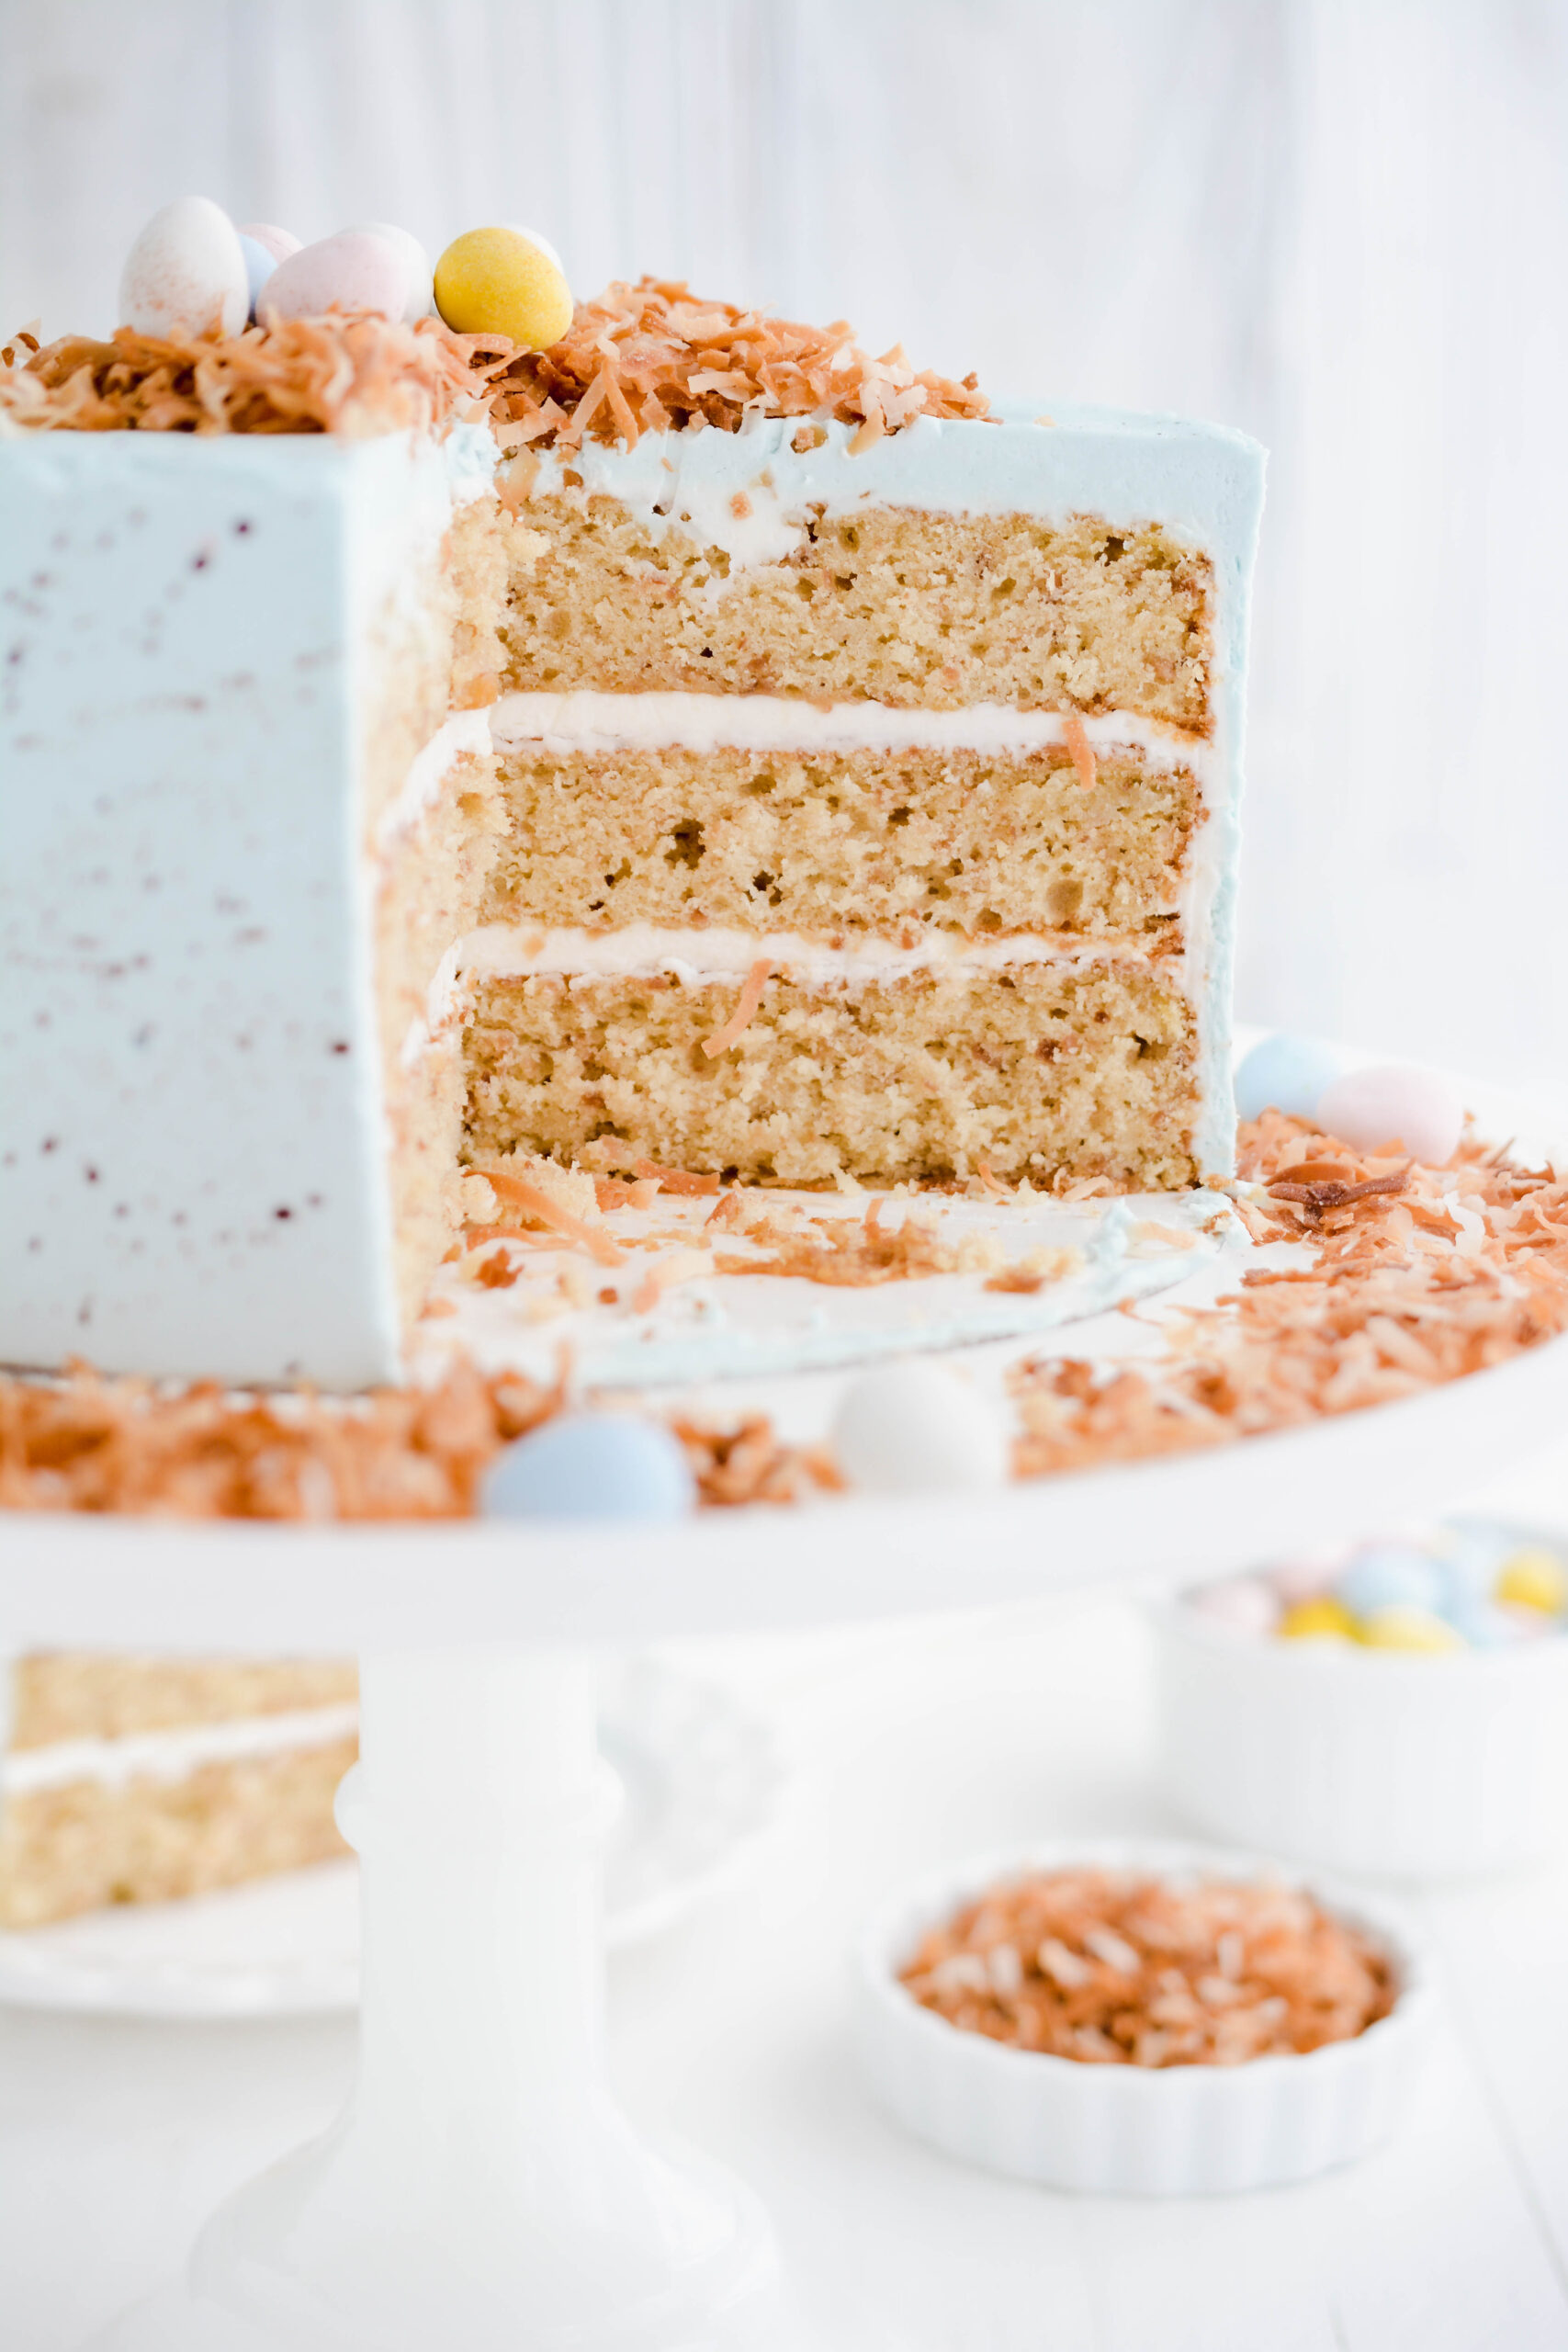
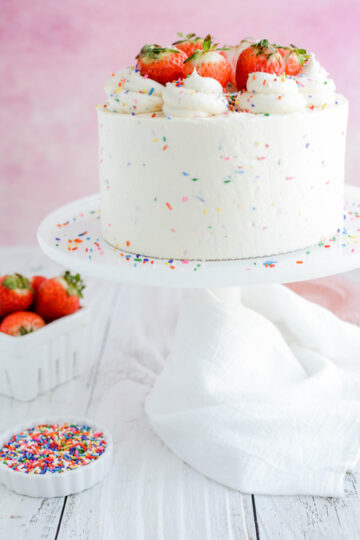
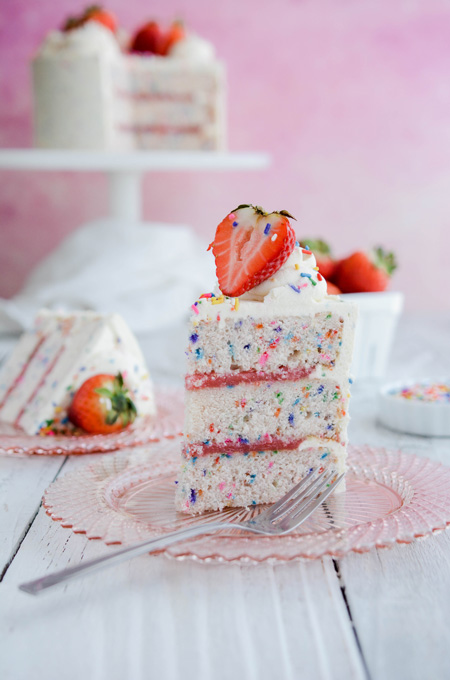
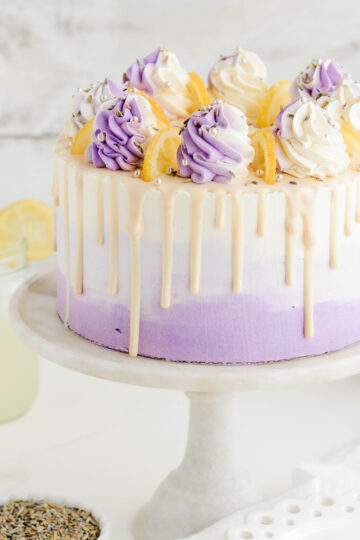
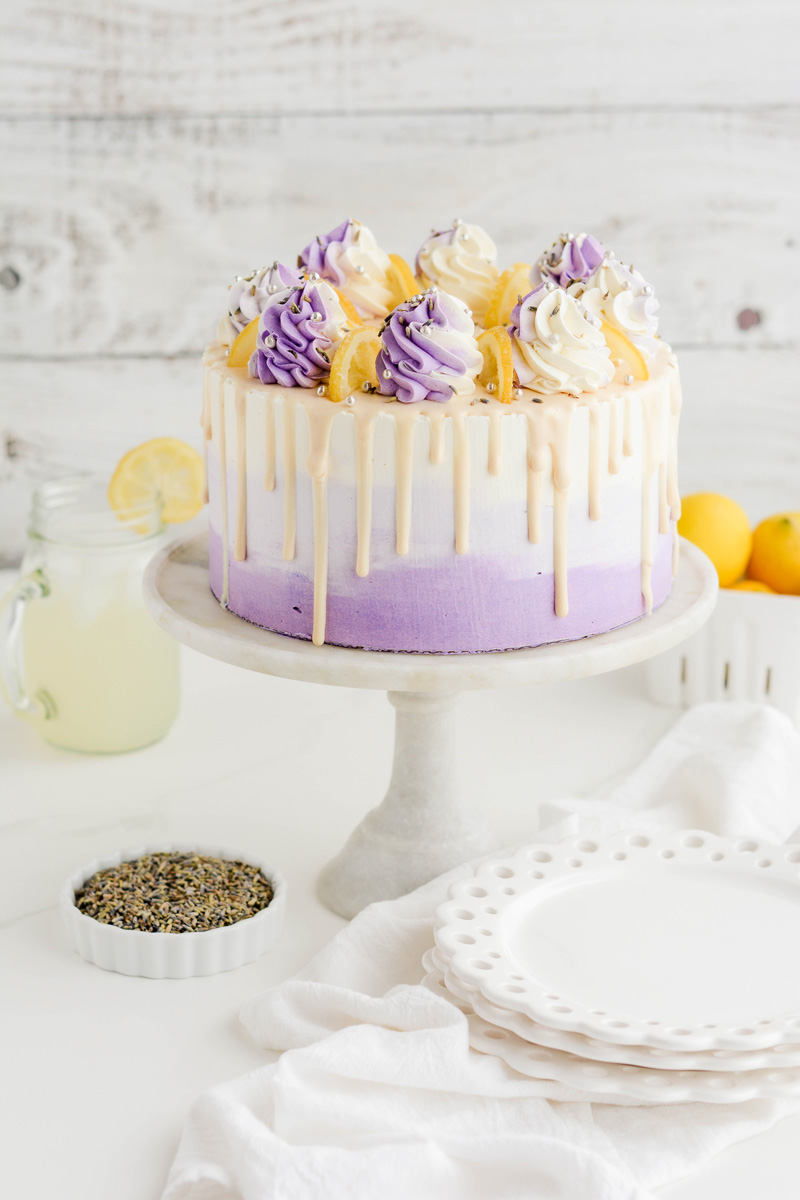
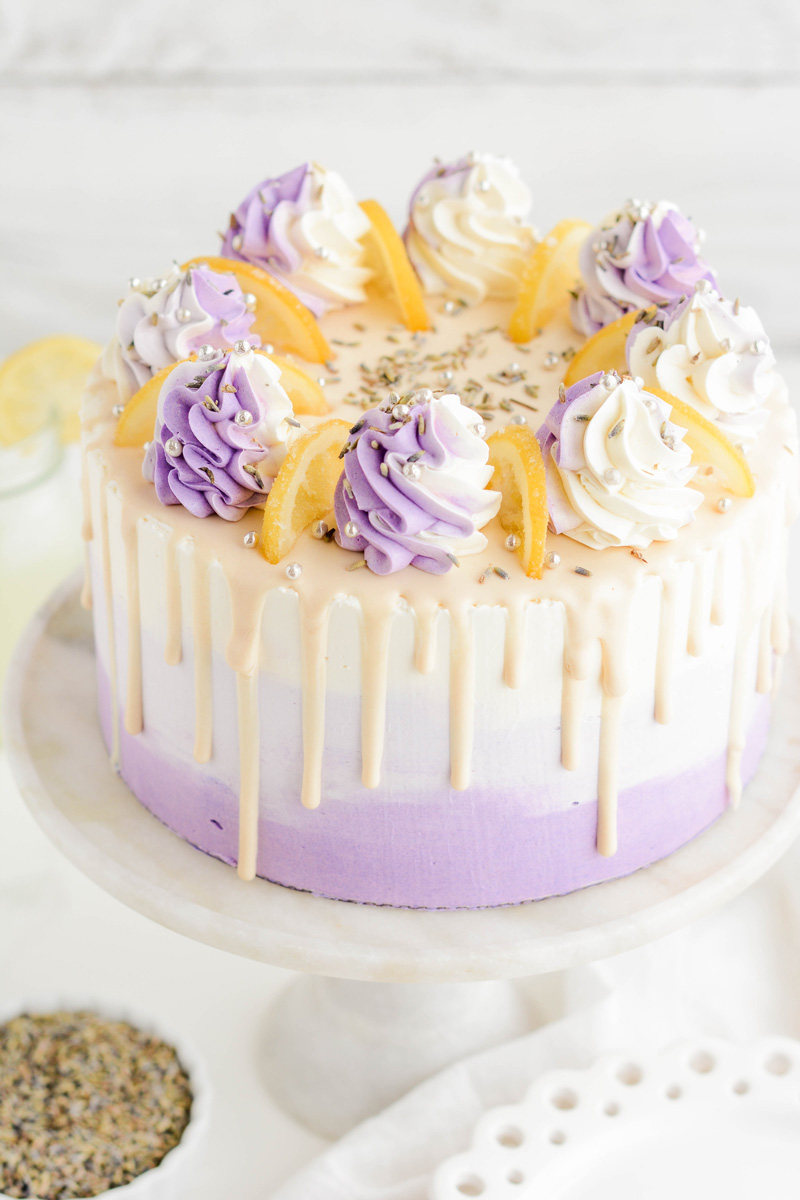
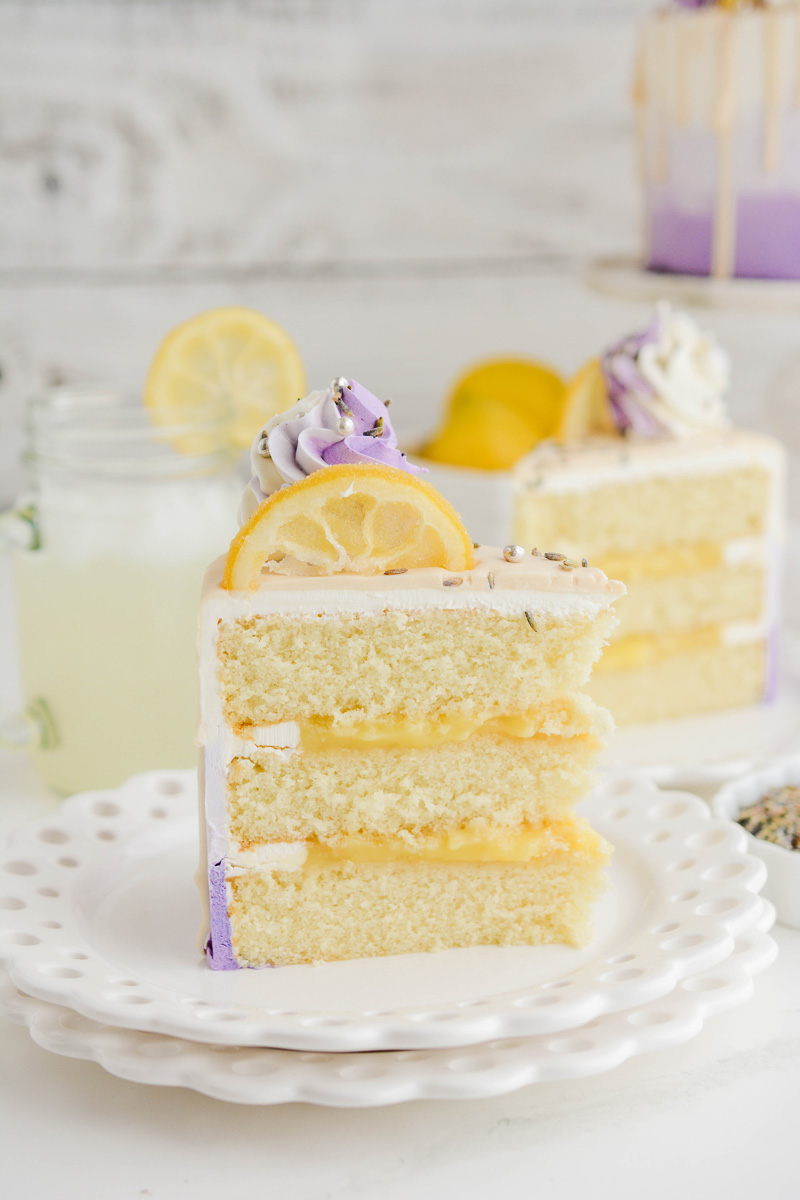
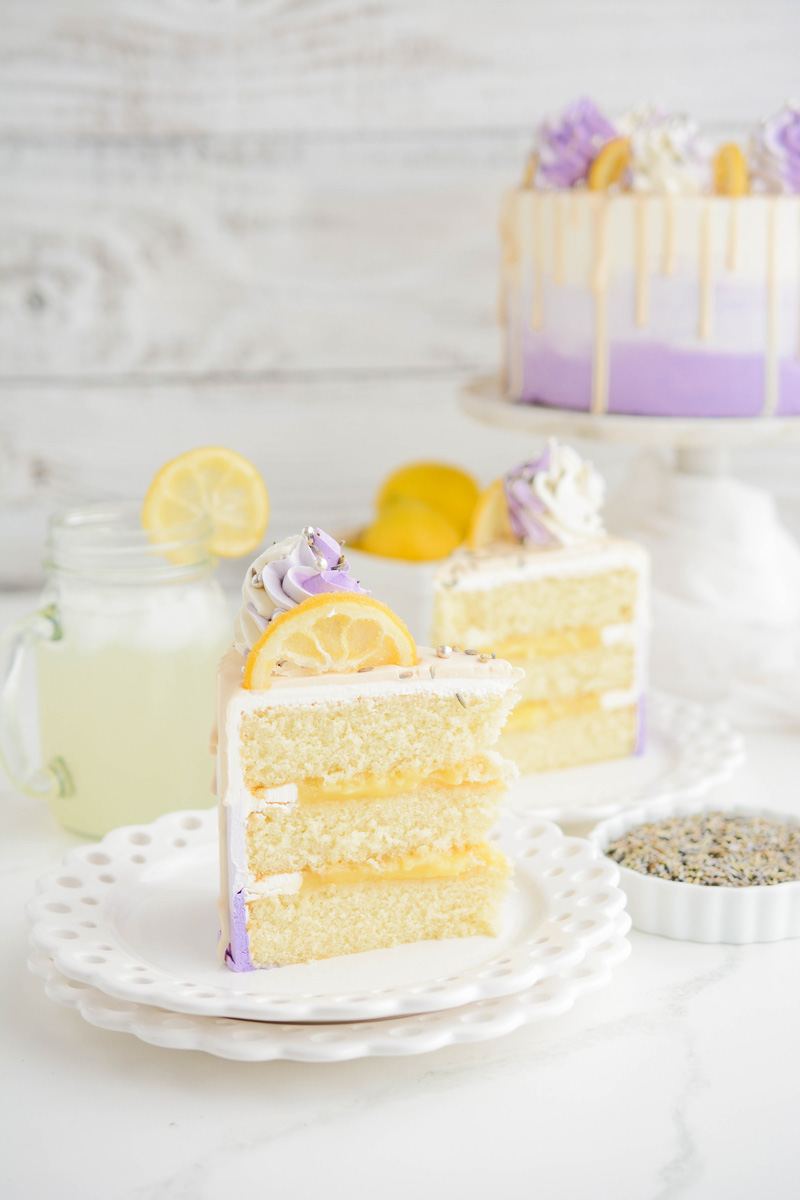
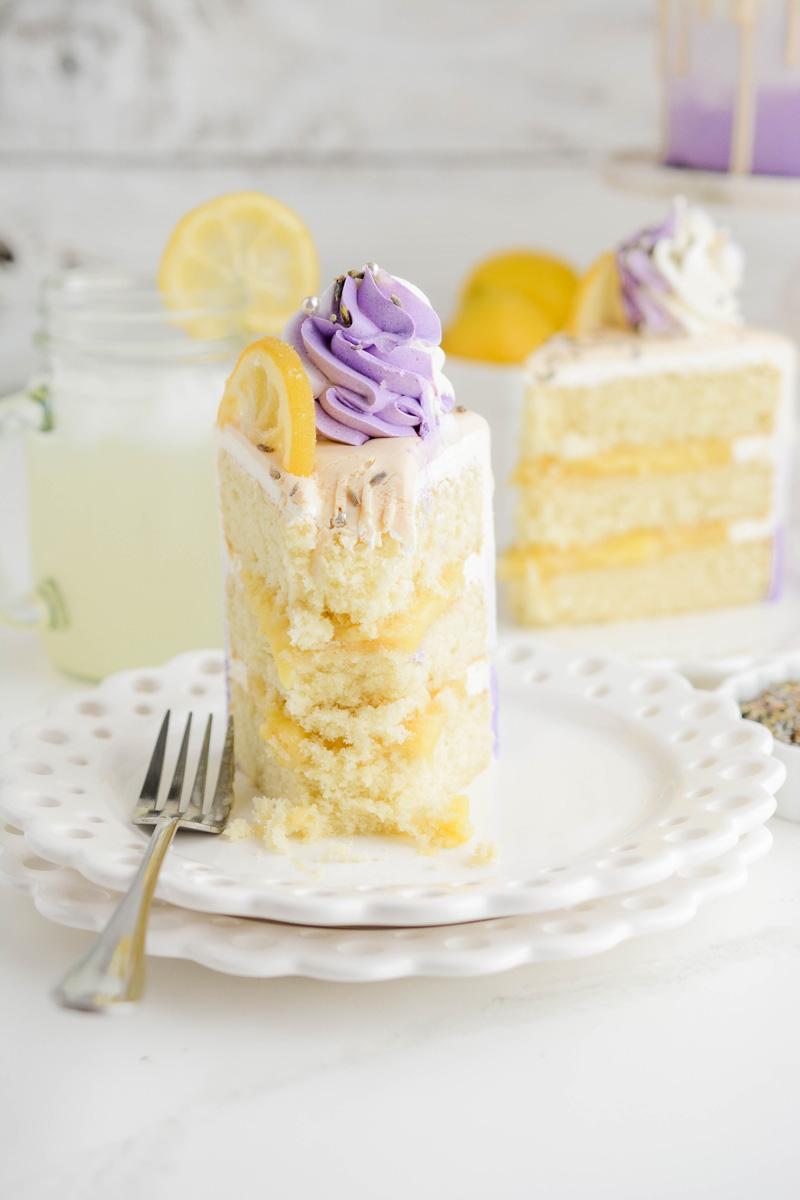
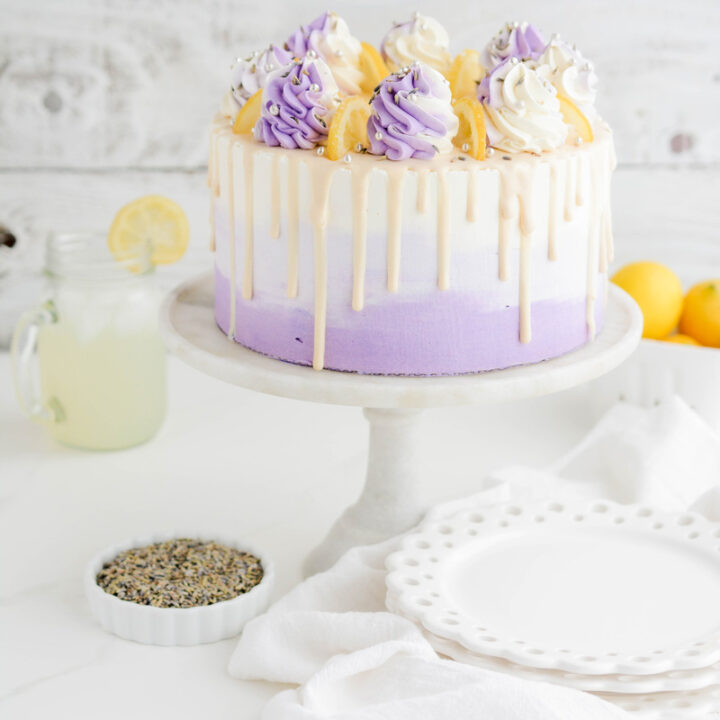
Lavender Lemon Layer Cake has three layers of white cake that's infused with lavender flavor and filled with homemade lemon curd. Next it's frosted with a lavender flavored Swiss meringue buttercream and garnished with candied lemon slices.
In this recipe I show you how to make the candied lemon slices, cake, curd, frosting and show you how to create a water color style ombre.
How To Make Candied Lemon Slices
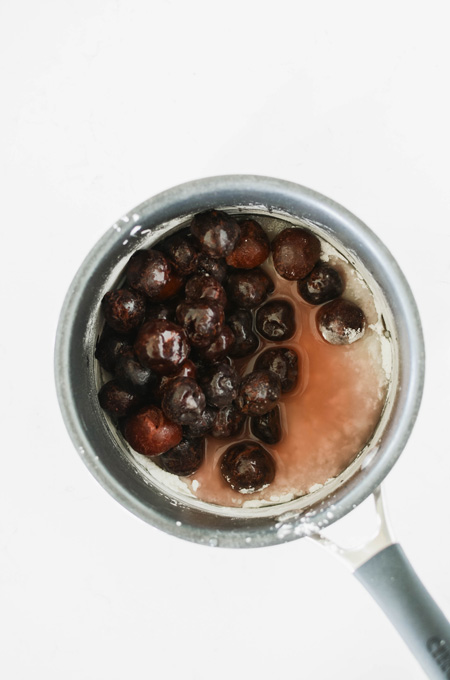
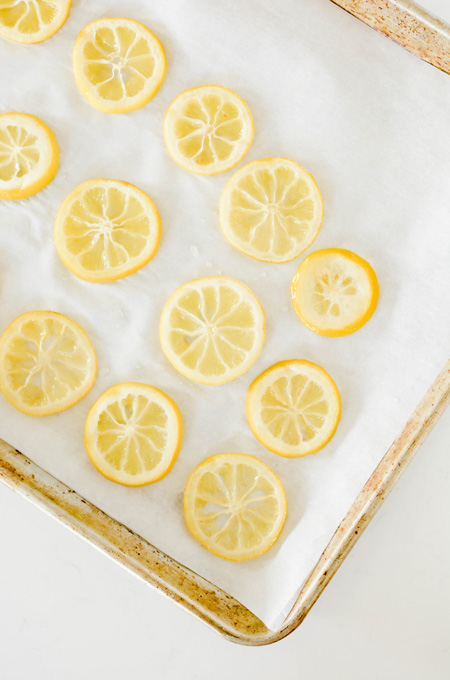
- In a 12 inch skillet, over medium heat, whisk together sugar and water. Bring to a simmer and continue to whisk until sugar has dissolved.
- Once sugar has dissolved lay lemon slices into the skillet in a single layer and simmer for about 15 minutes, flipping halfway through, until rinds appear softened and slightly translucent.
- Carefully remove lemon slices from the skillet and lay on parchment paper and set aside to dry. Cake Chica's Tip: I typically let these dry overnight.
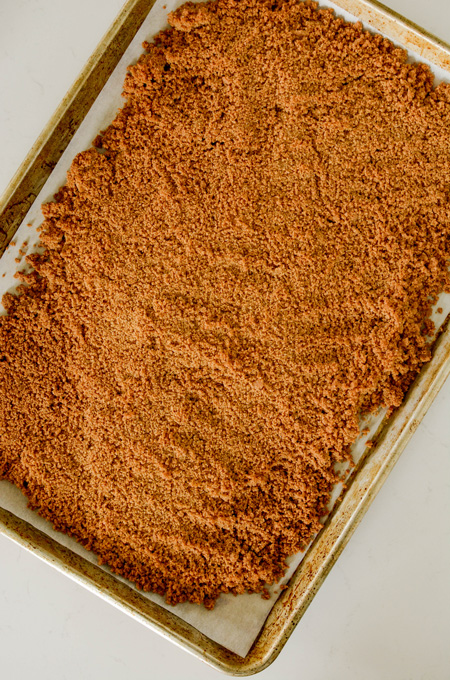
- Place 1/2 cup sugar in a bowl and dip dried lemon slices in the sugar to coat on the back and front. Set aside on parchment paper until ready to use. These can be stored at room temperature for a few days.
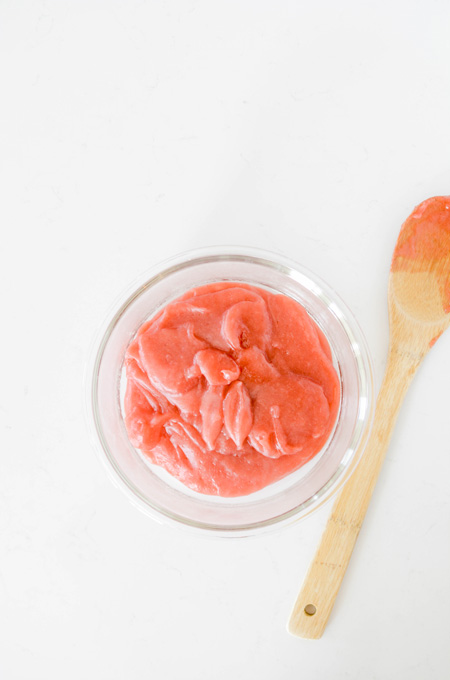
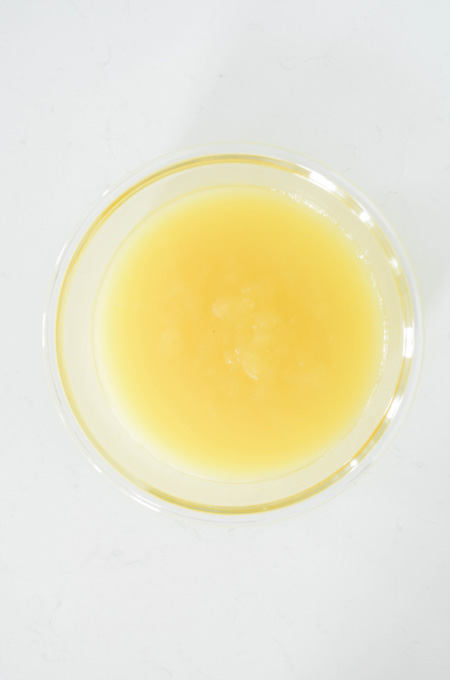
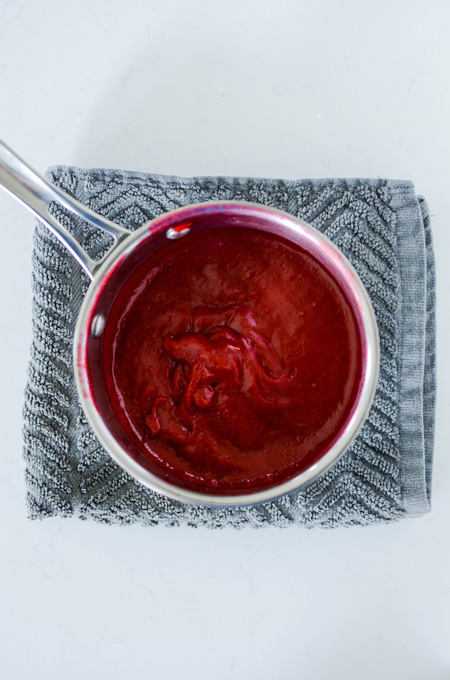
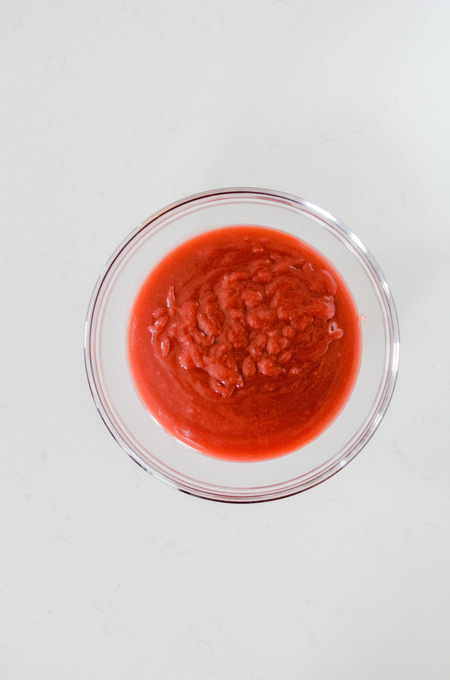
How To Make Lemon Curd
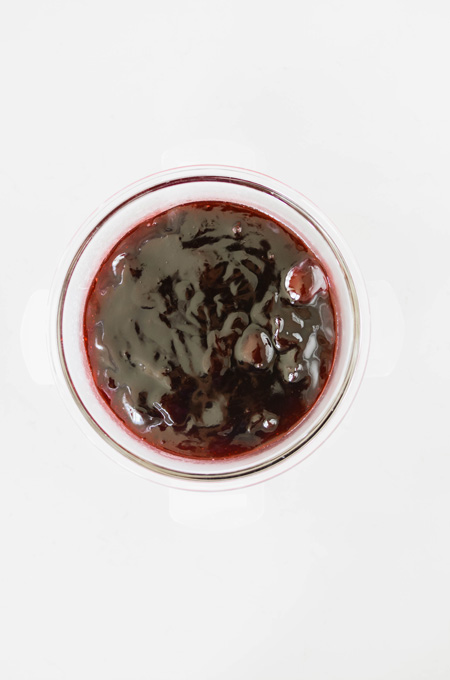
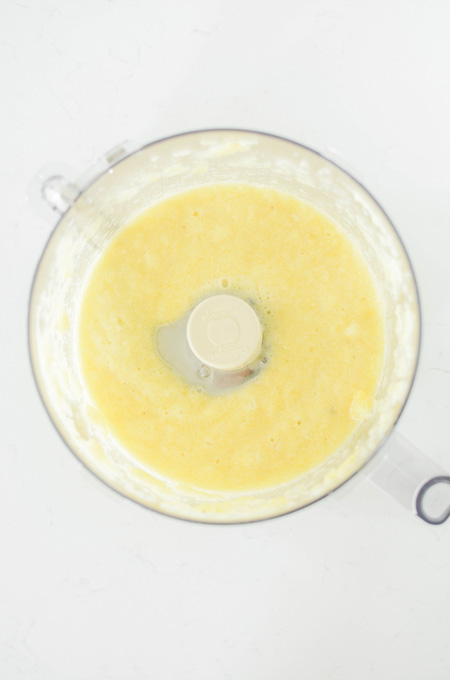
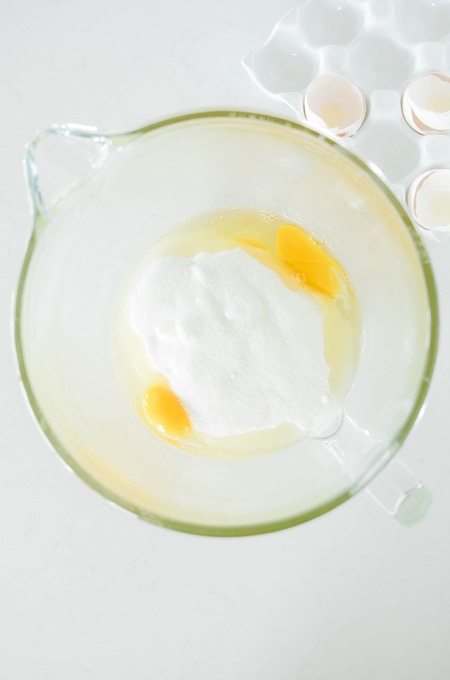
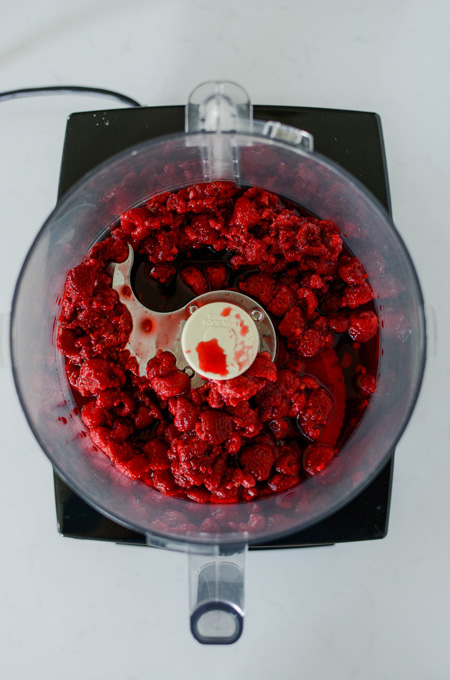
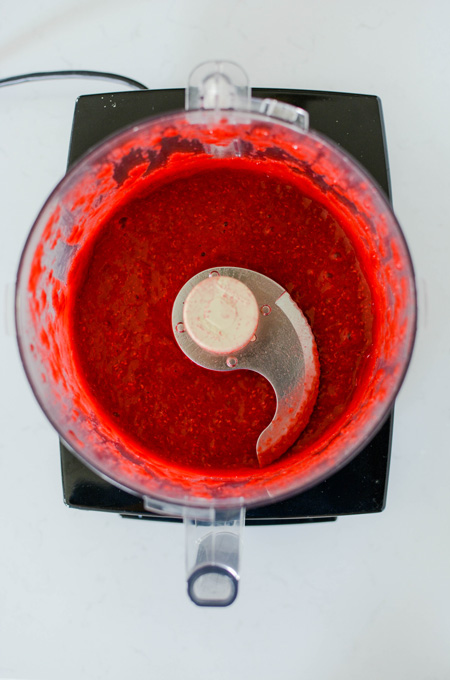
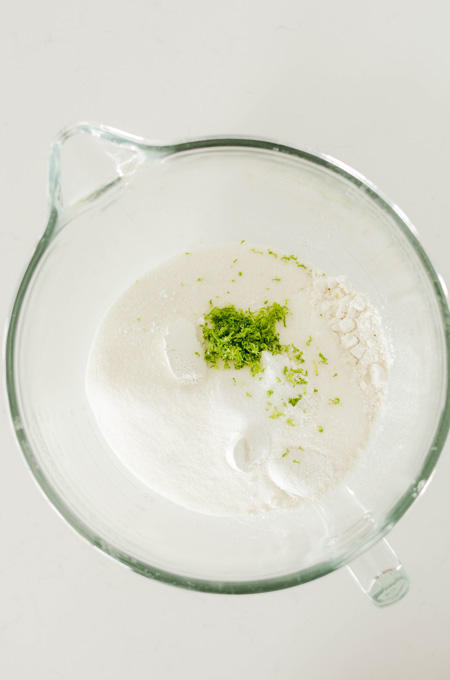
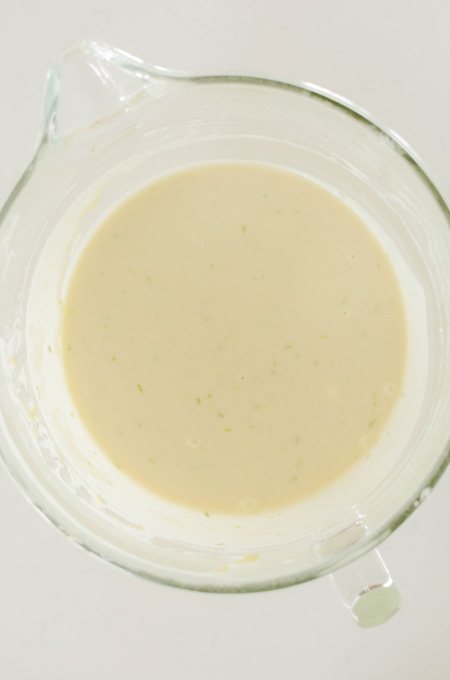
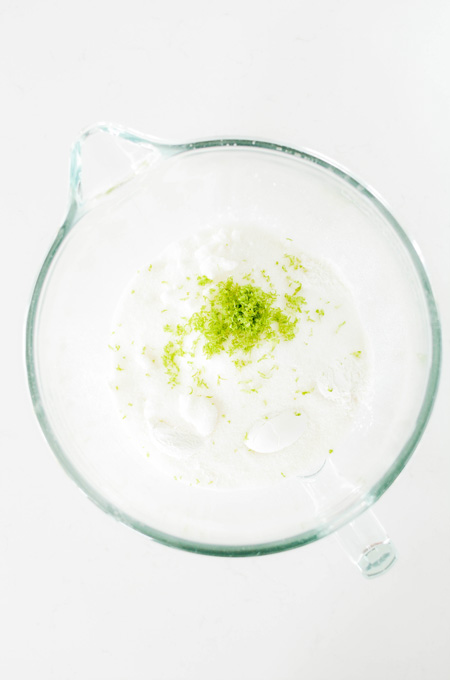
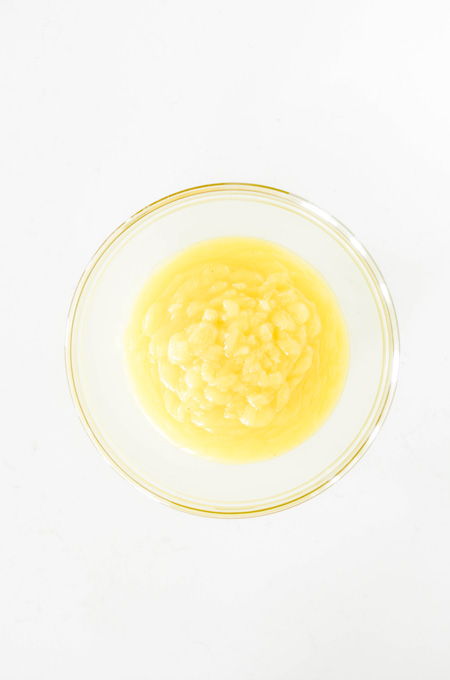
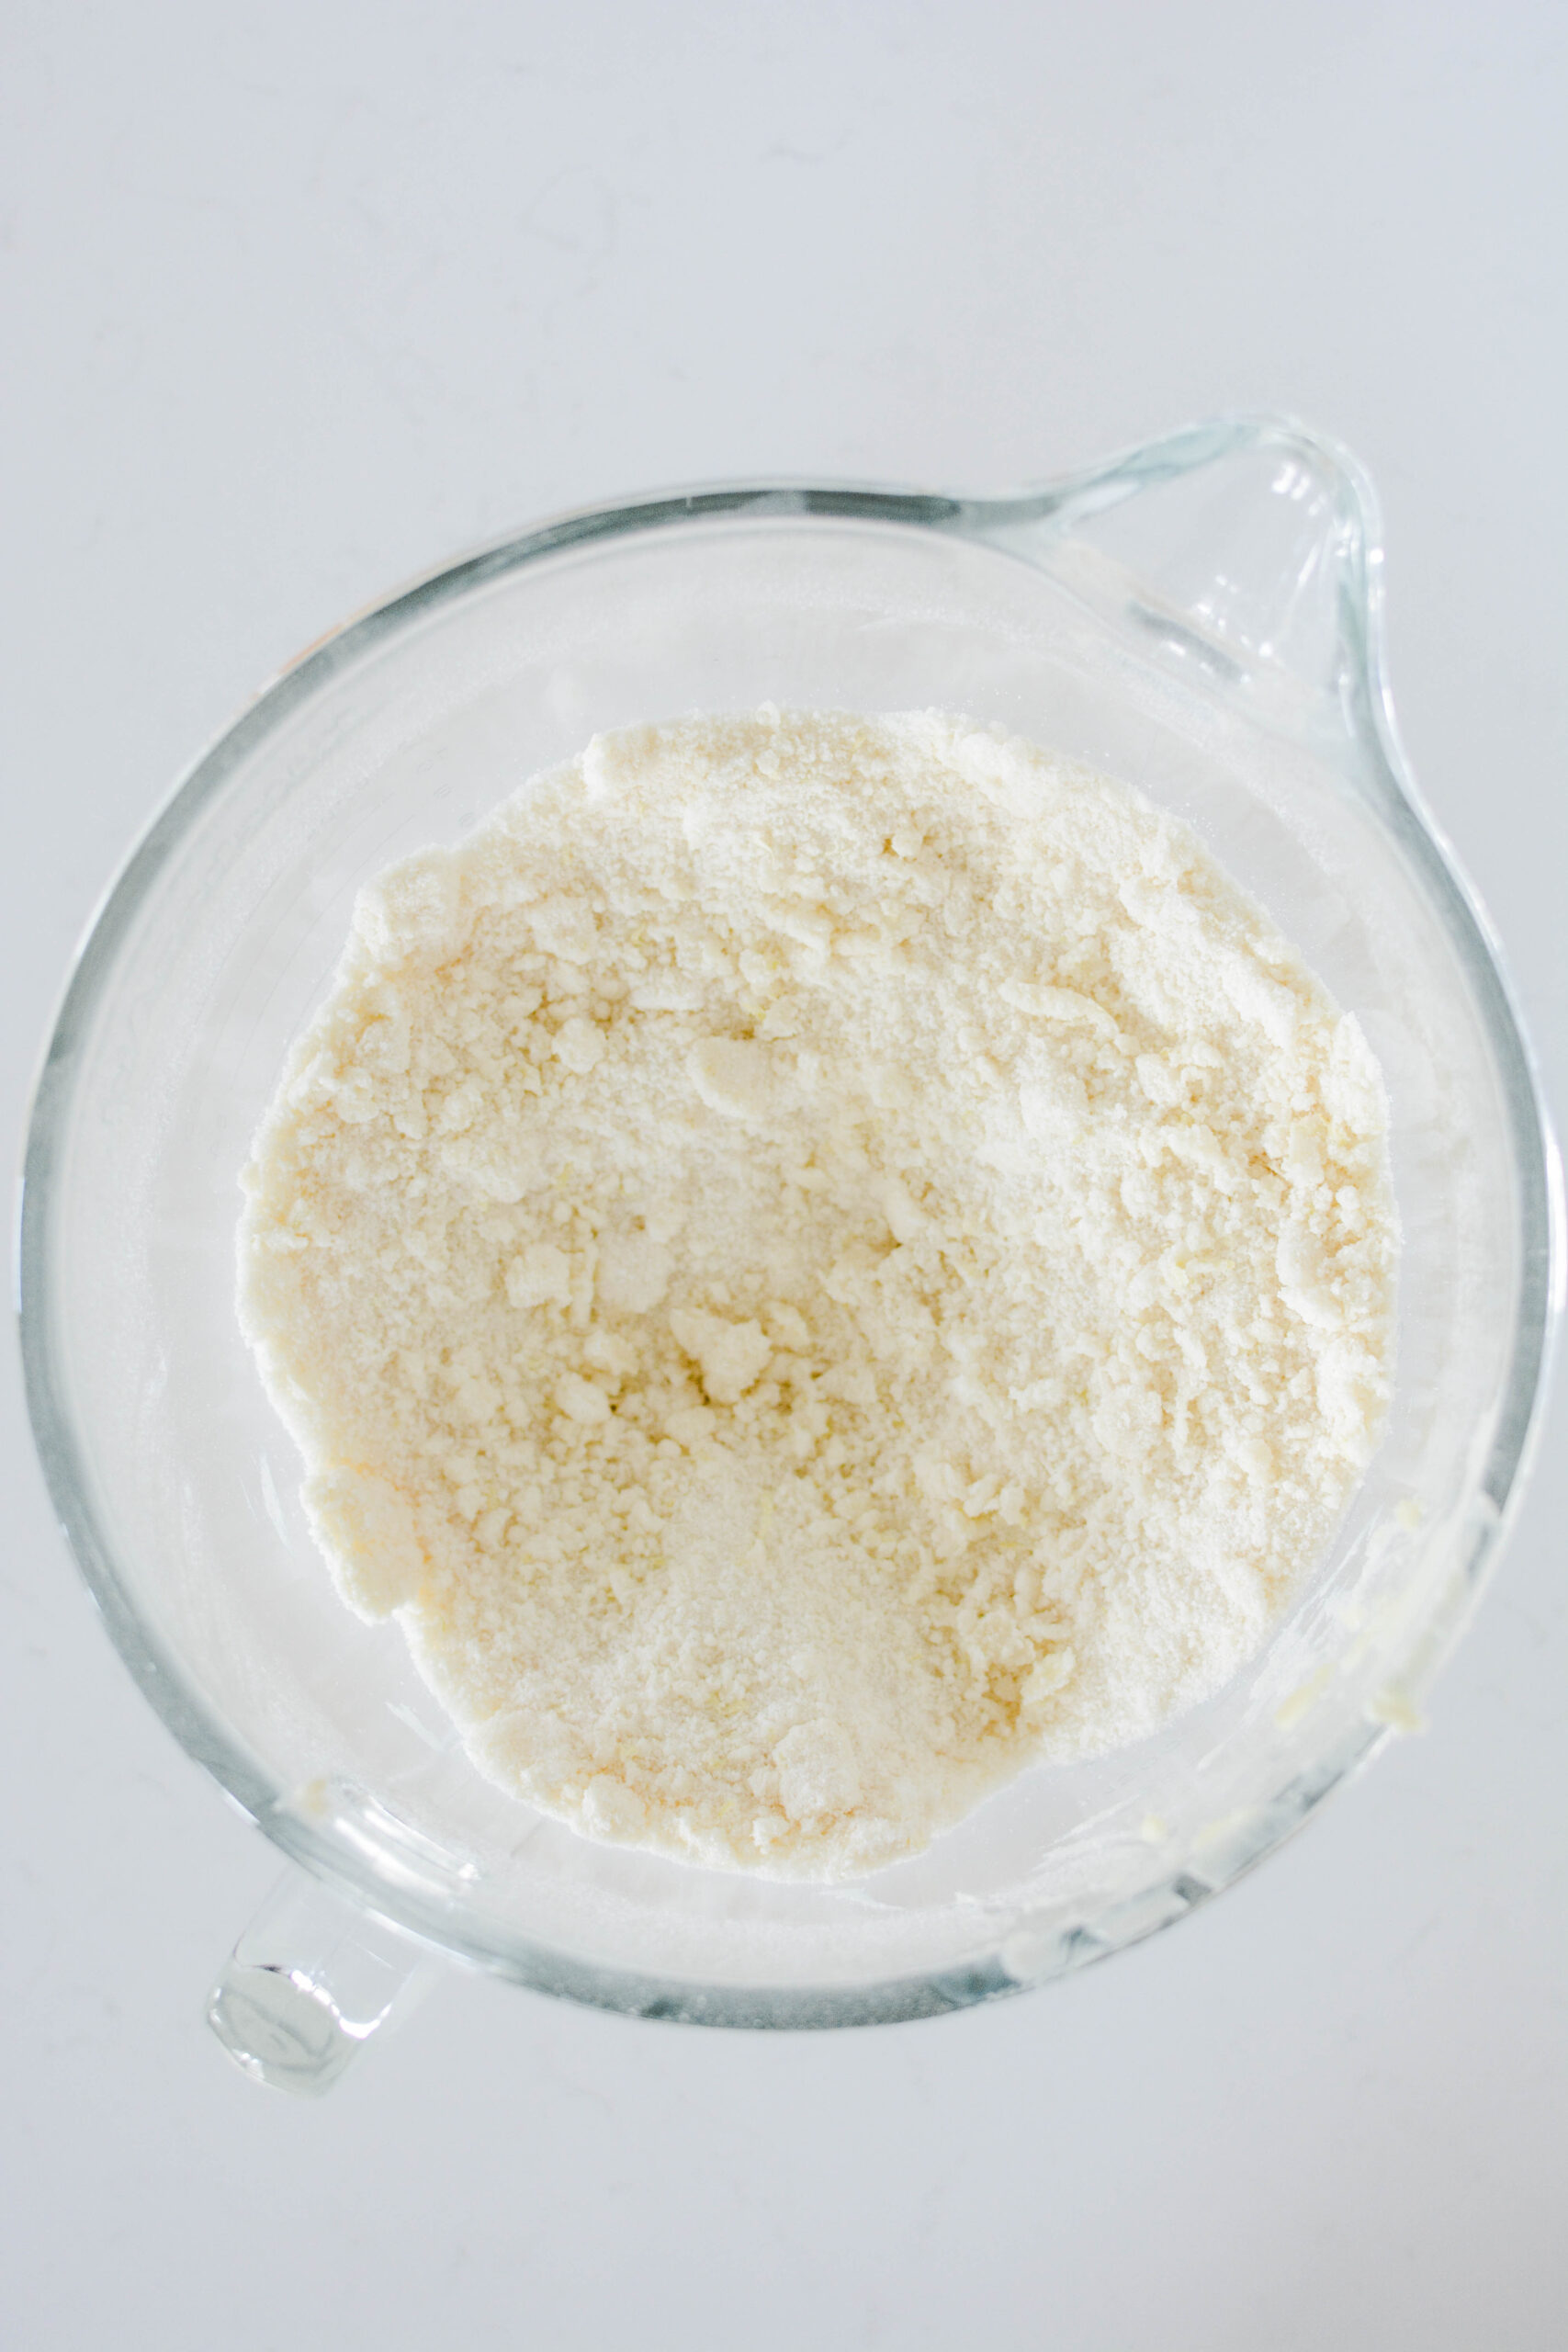
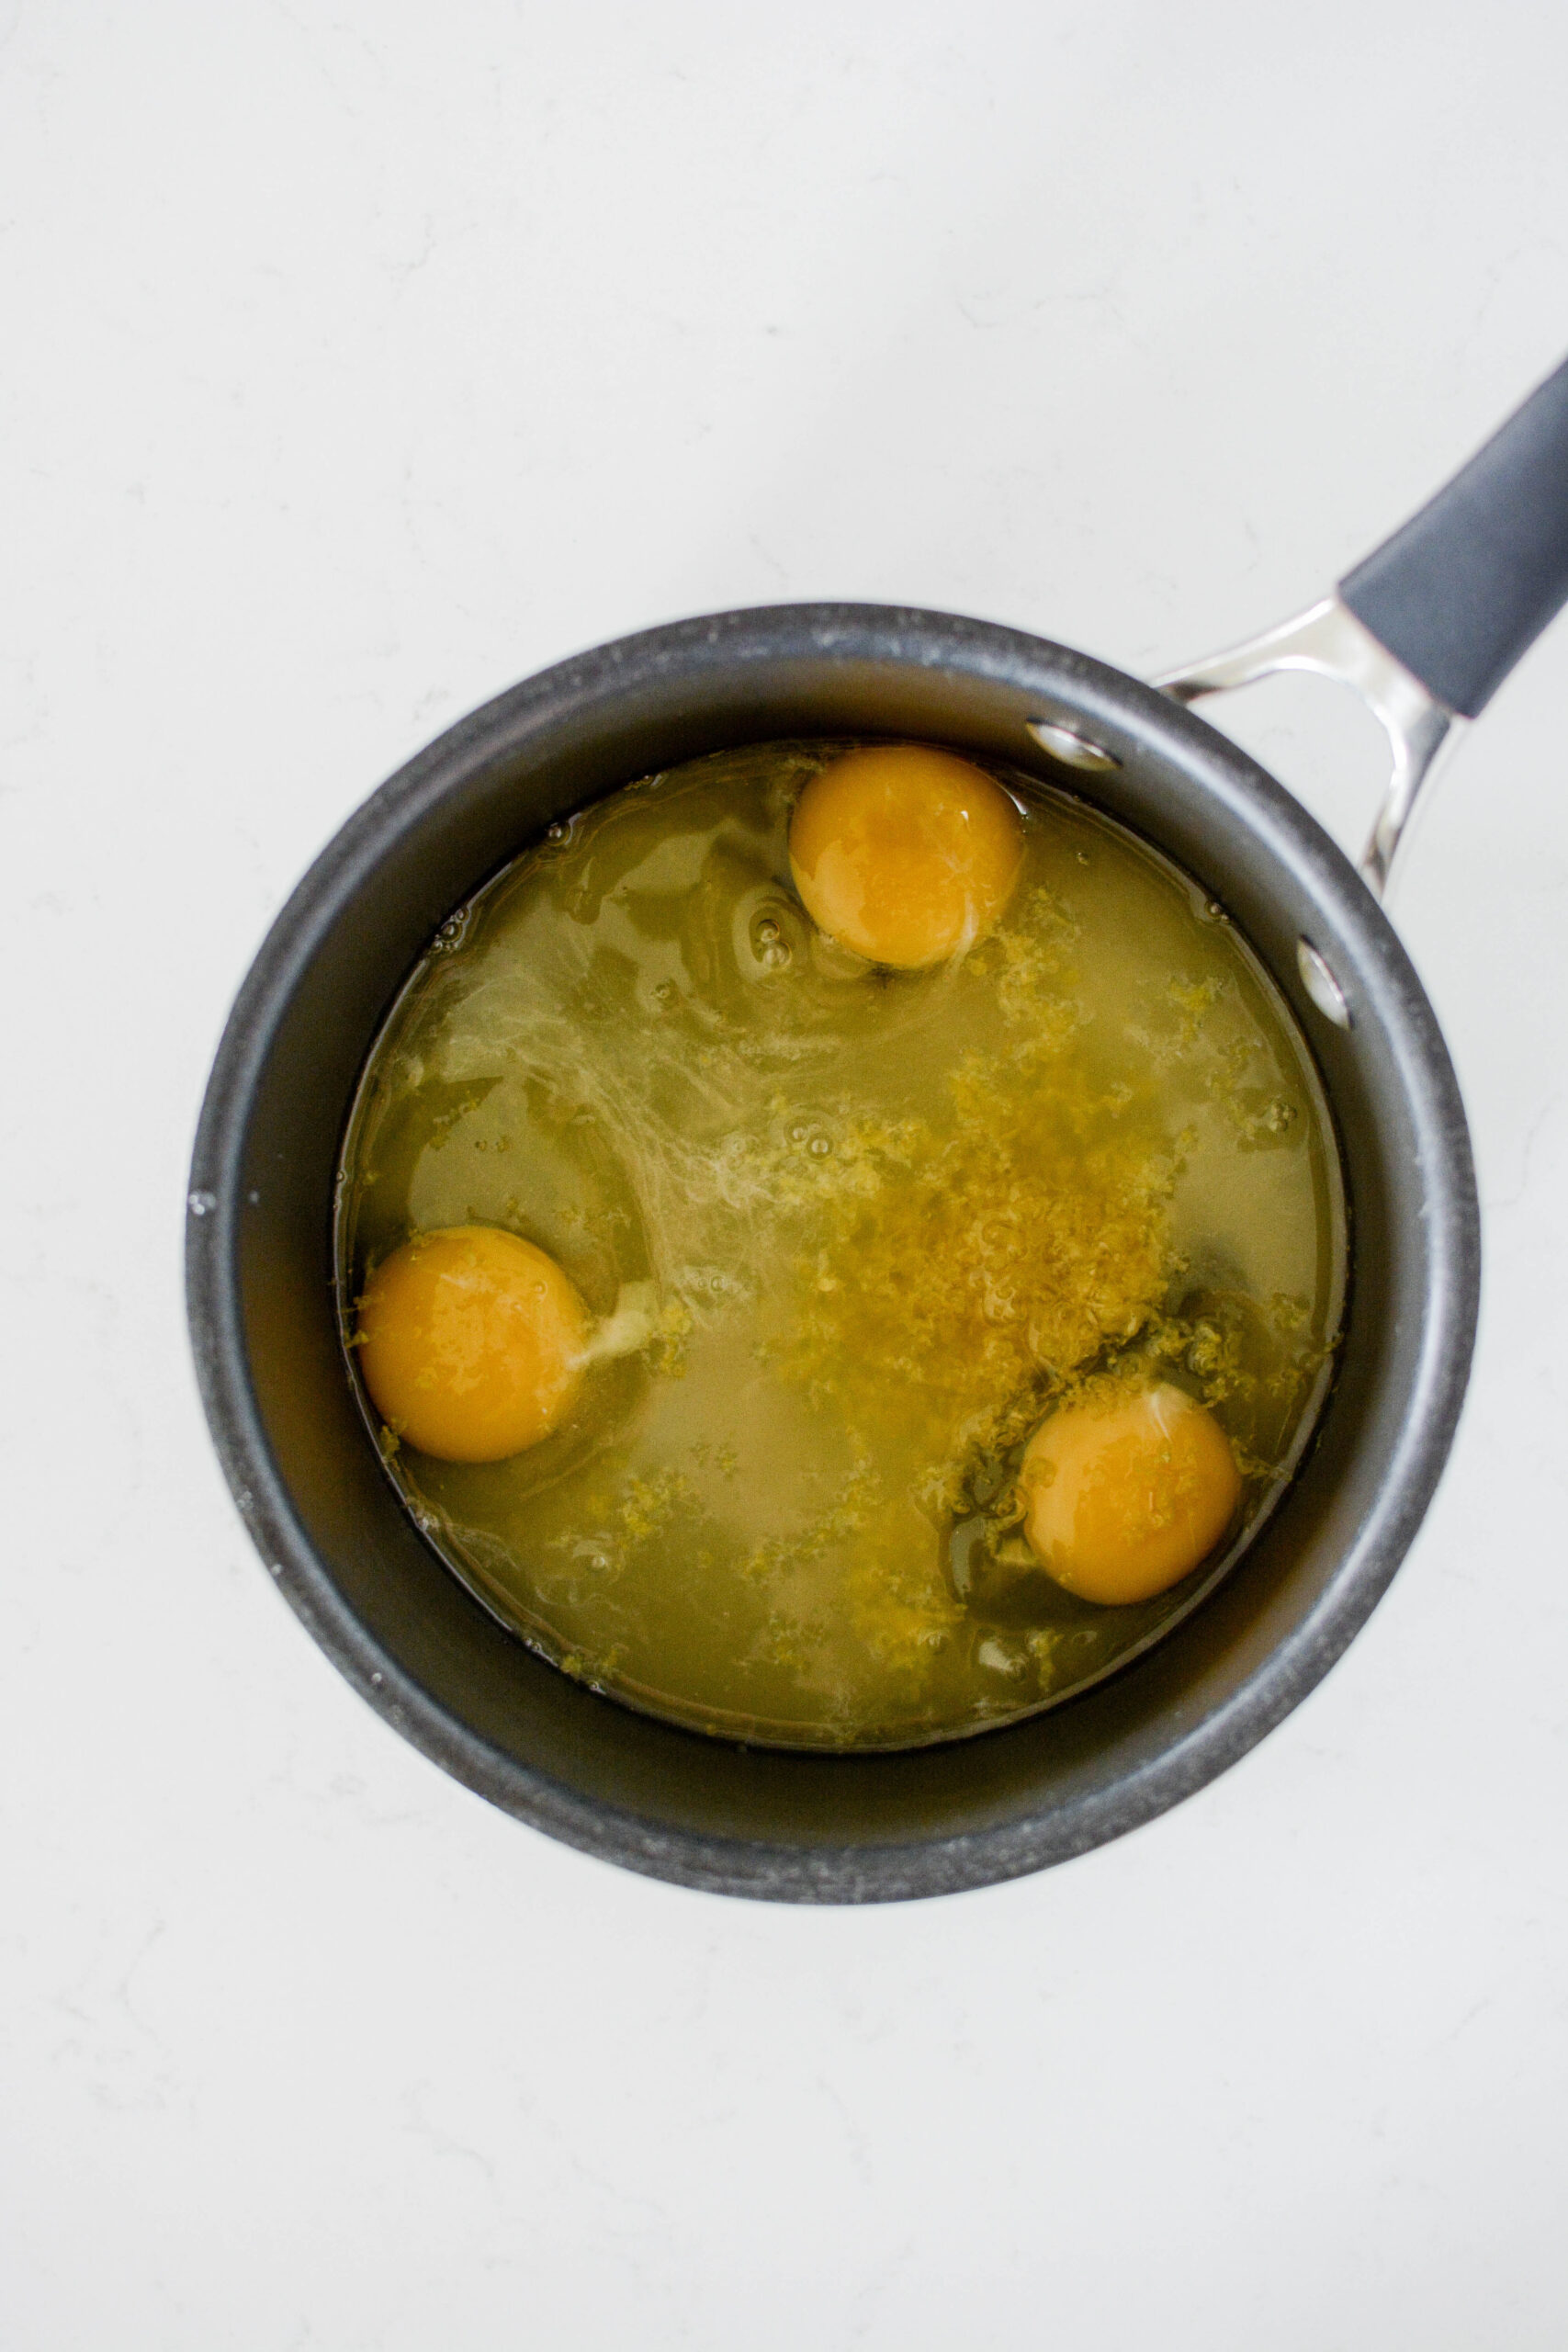
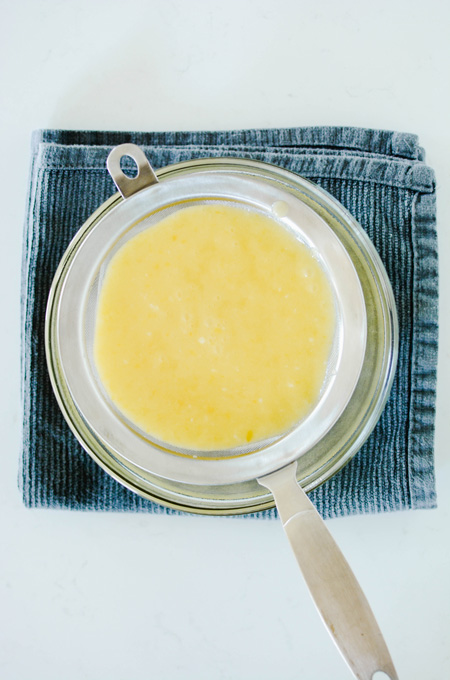
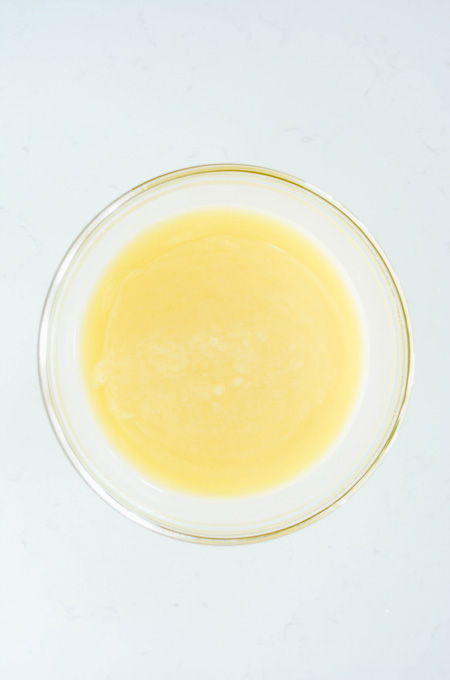
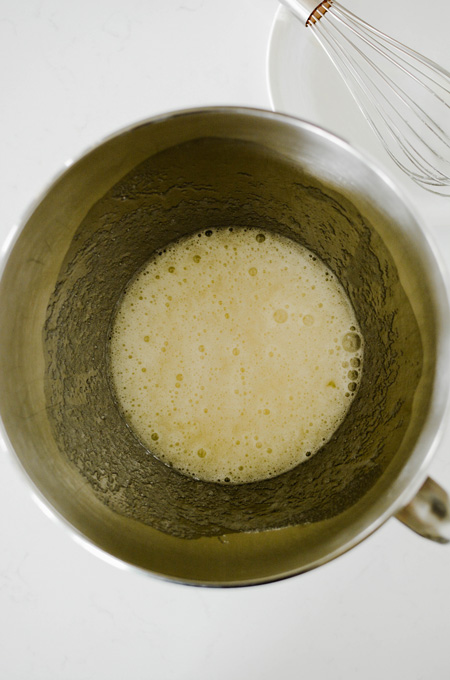
- In a medium sized saucepan, whisk together the eggs, sugar, salt, lemon juice and zest.
- Over low heat, whisk constantly for about 15 to 20 minutes or until the mixture starts to thicken.
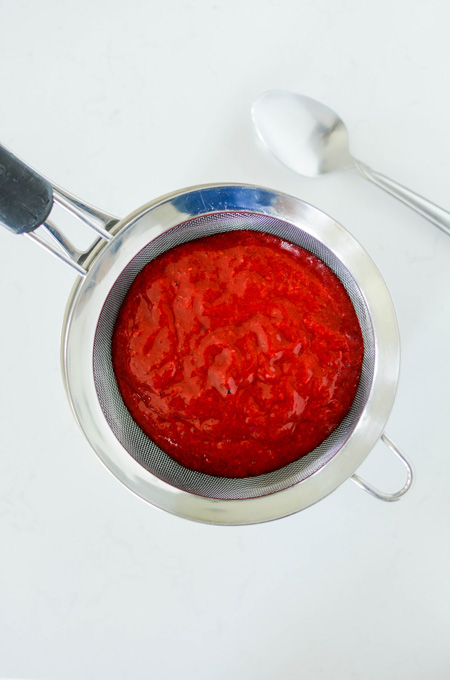
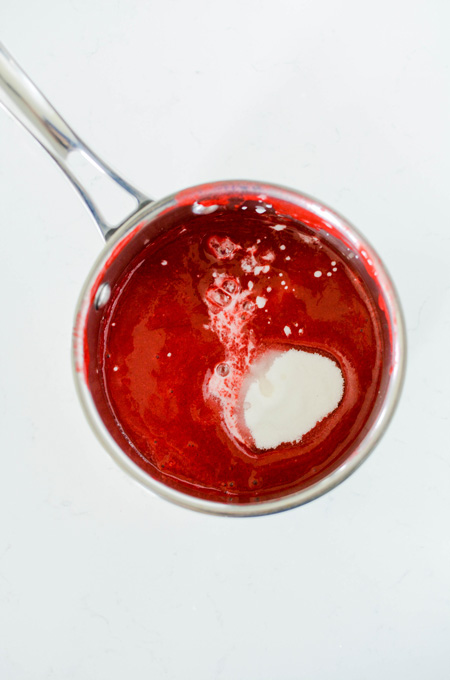
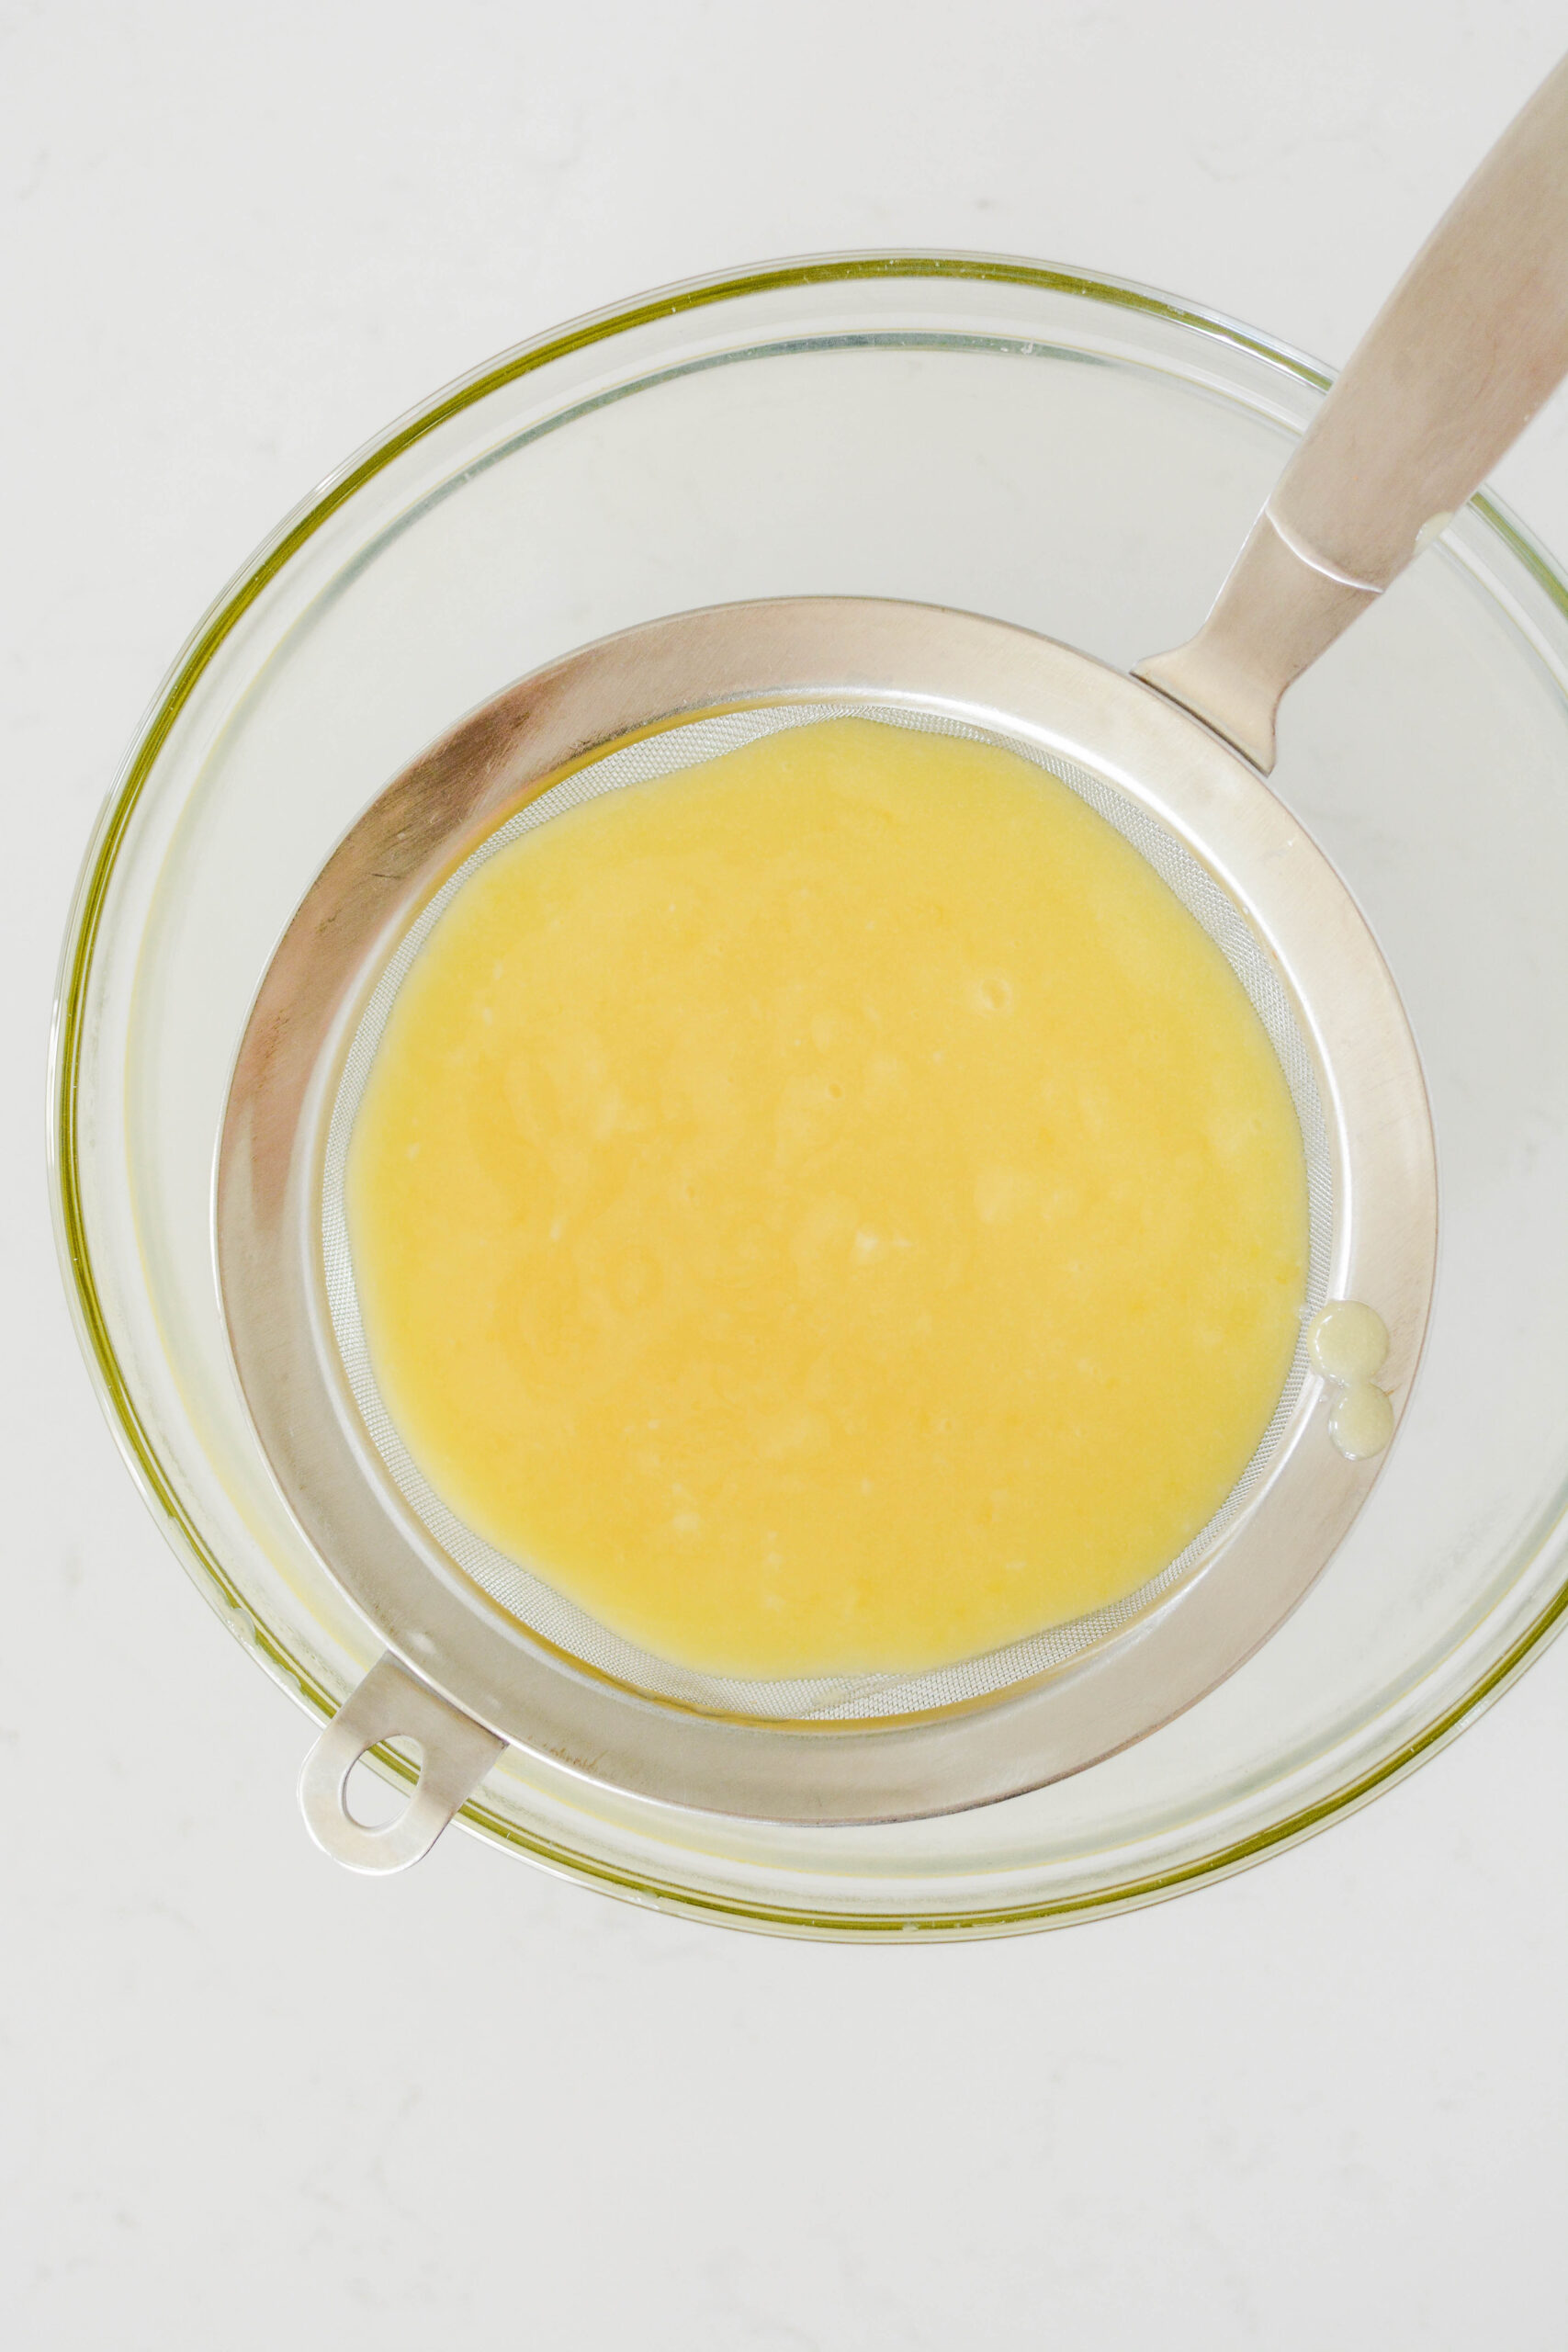
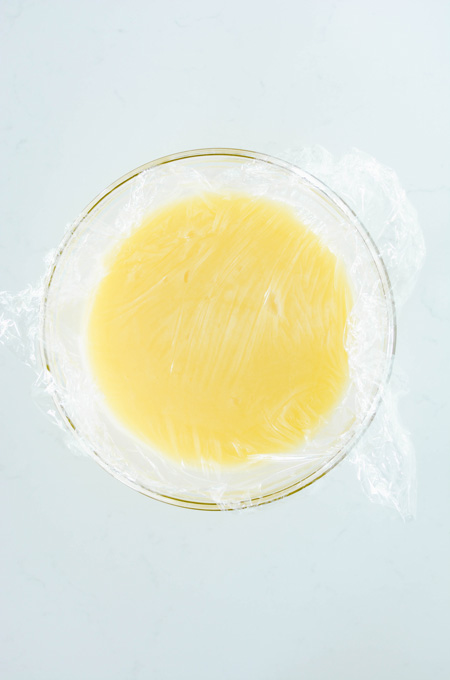
- Remove the curd from the heat and stir in the butter. Strain the curd through a fine-mesh sieve into a bowl to remove any solids that may have formed while cooking. Place a piece of plastic wrap on the surface of the curd and chill in the refrigerator for at least 3 hours or overnight.

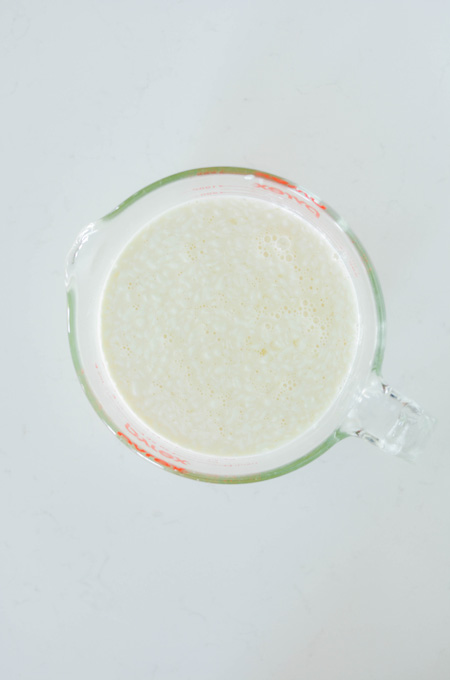
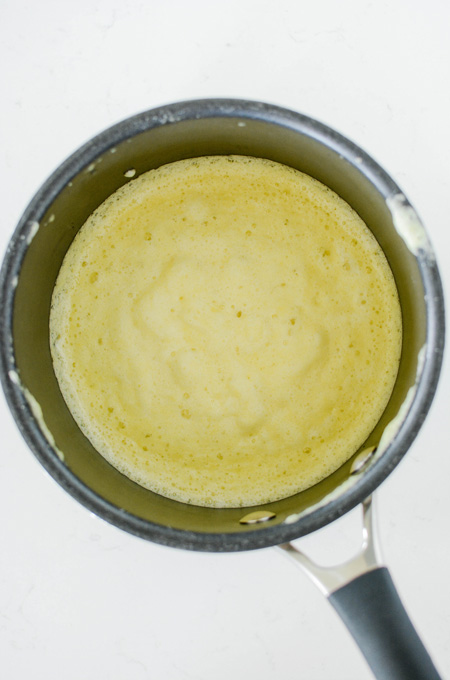
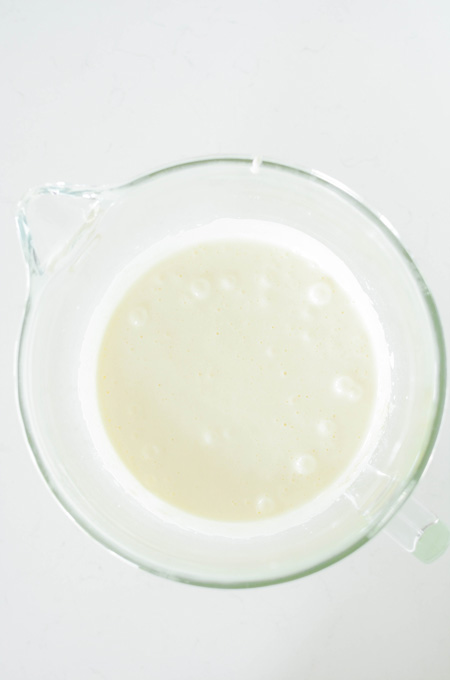
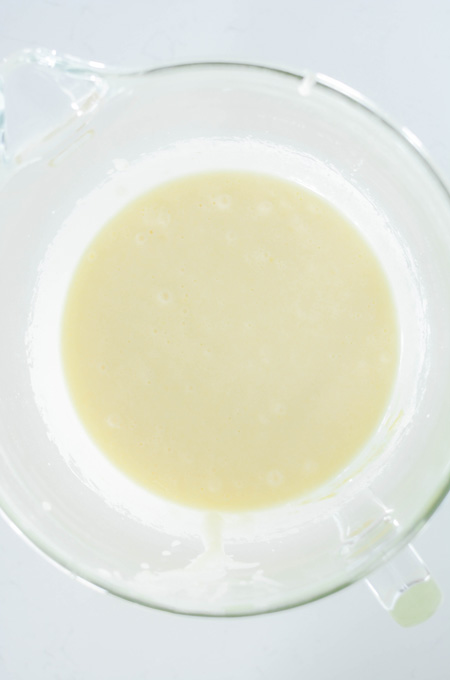
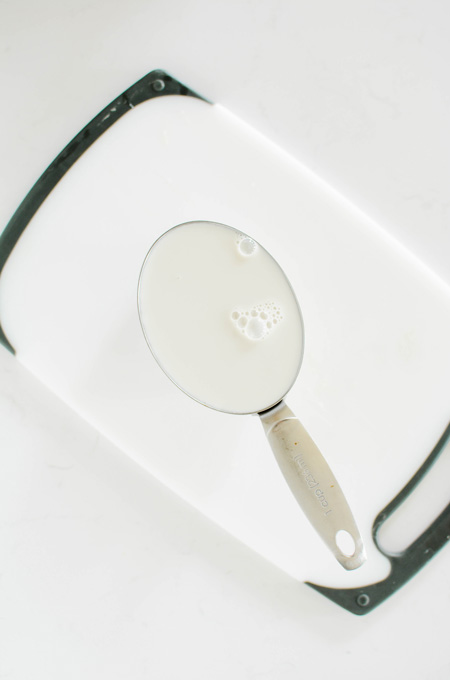
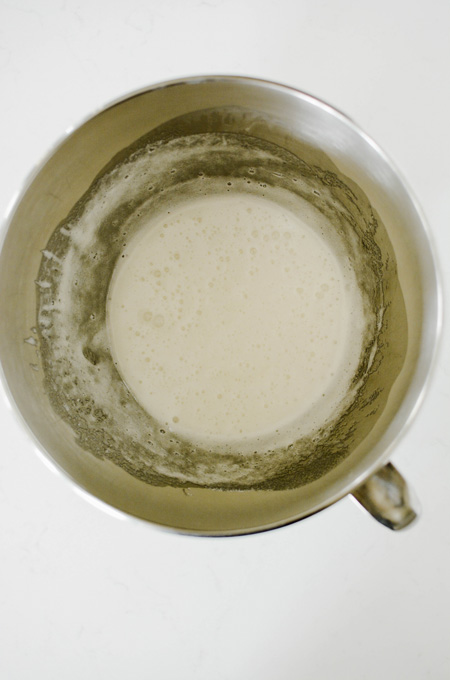
How To Make Lavender Milk
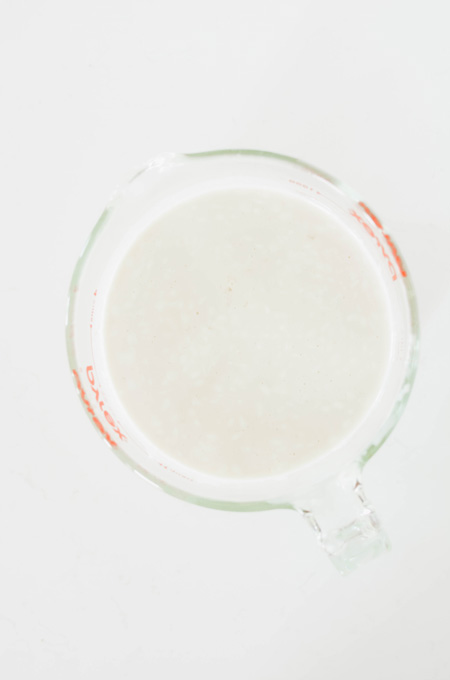
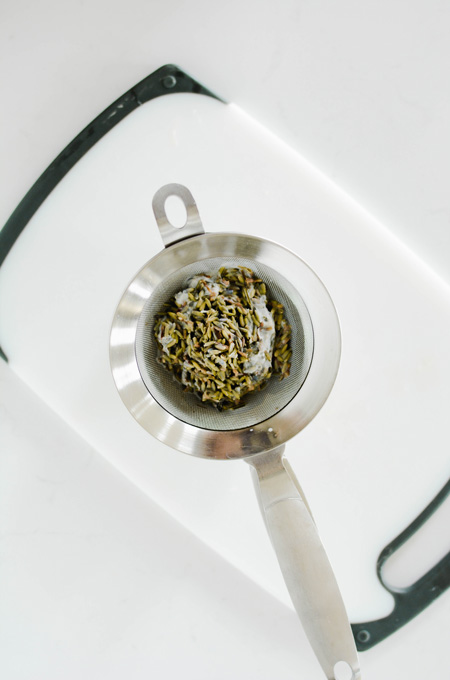
- In a small saucepan, slowly bring the milk to a simmer over low heat. Add the lavender and remove from the heat and let steep for 20 minutes.
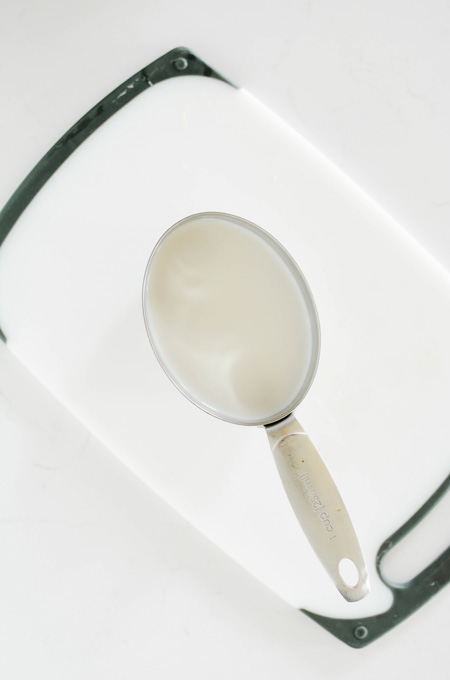
- Strain the milk with a fine mesh strainer over a 1 cup measuring cup to remove the lavender.
- Add more milk to the lavender milk to equal 1 cup.

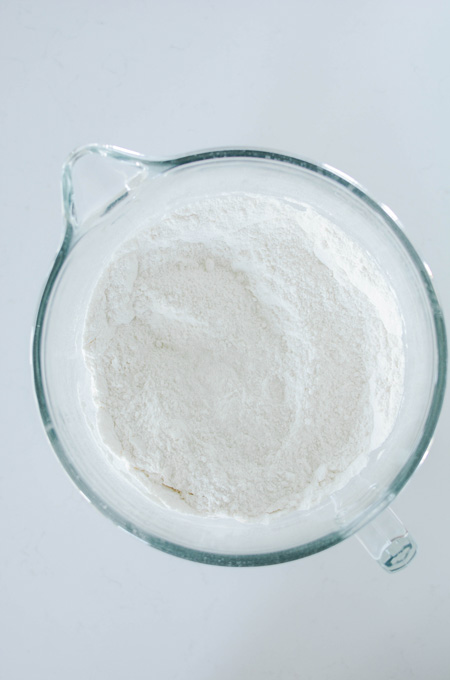
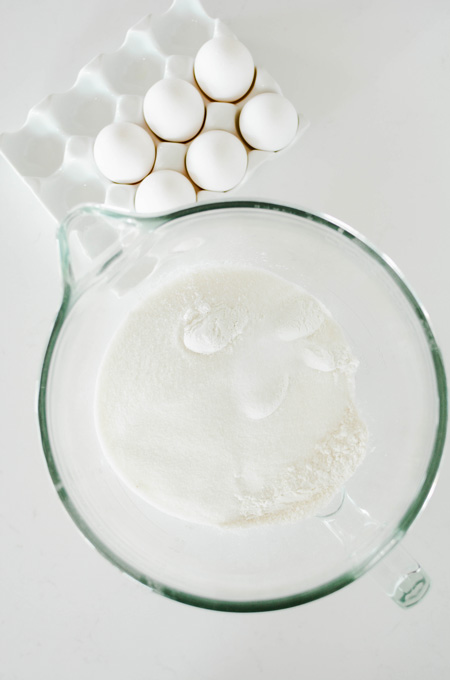
Lavender Lemon Cake Ingredients
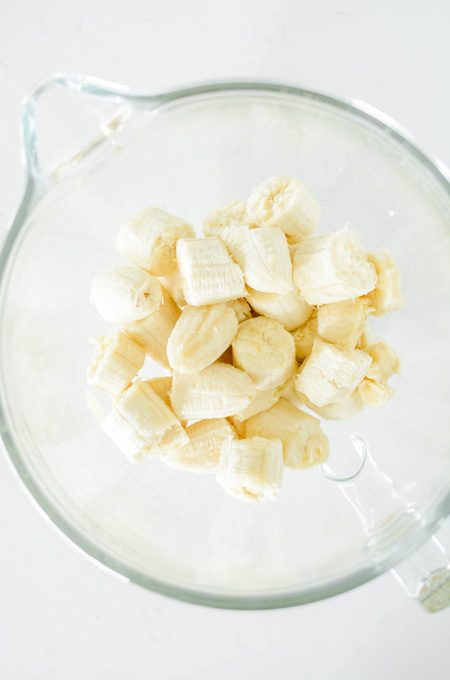
- Lavender Infused Whole milk: The fat in whole milk helps to tenderize the cakes crumb. It also interacts with the flour to create just enough gluten to form the cakes structure. Plus the lavender helps with the flavor of the cake.
- Egg whites: helps create structure.
- Vanilla extract: helps balance the flavors.
- Lavender extract: gives the cake a hint of lavender flavor.
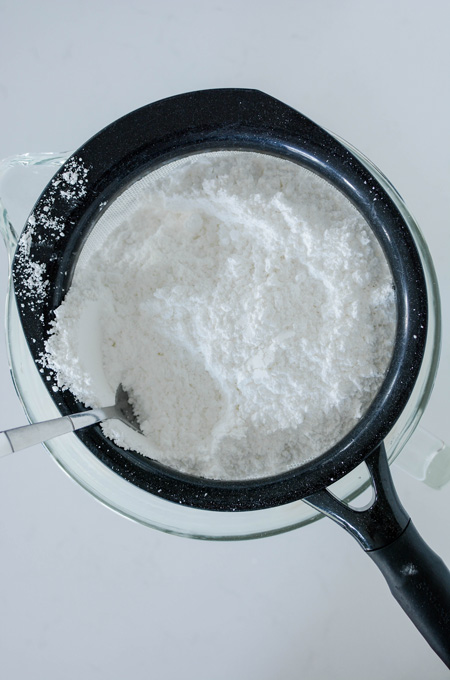
- Cake flour: has a lower protein content than all-purpose flour which helps create a delicate crumb.
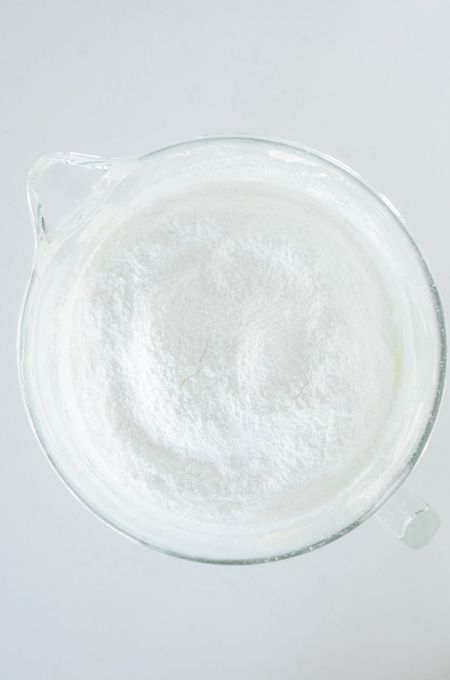
- Granulated sugar: Sugar not only sweetens the cake but it also helps tenderize, leavens and browns.
- Baking powder: is a leavener that contains baking soda and cornstarch. Baking soda reacts twice. The first is when it comes into contact with liquid and then when it is heated. Baking soda can’t be used as a substitute for baking powder.
- Salt: helps bring out the sweetness in the cake.
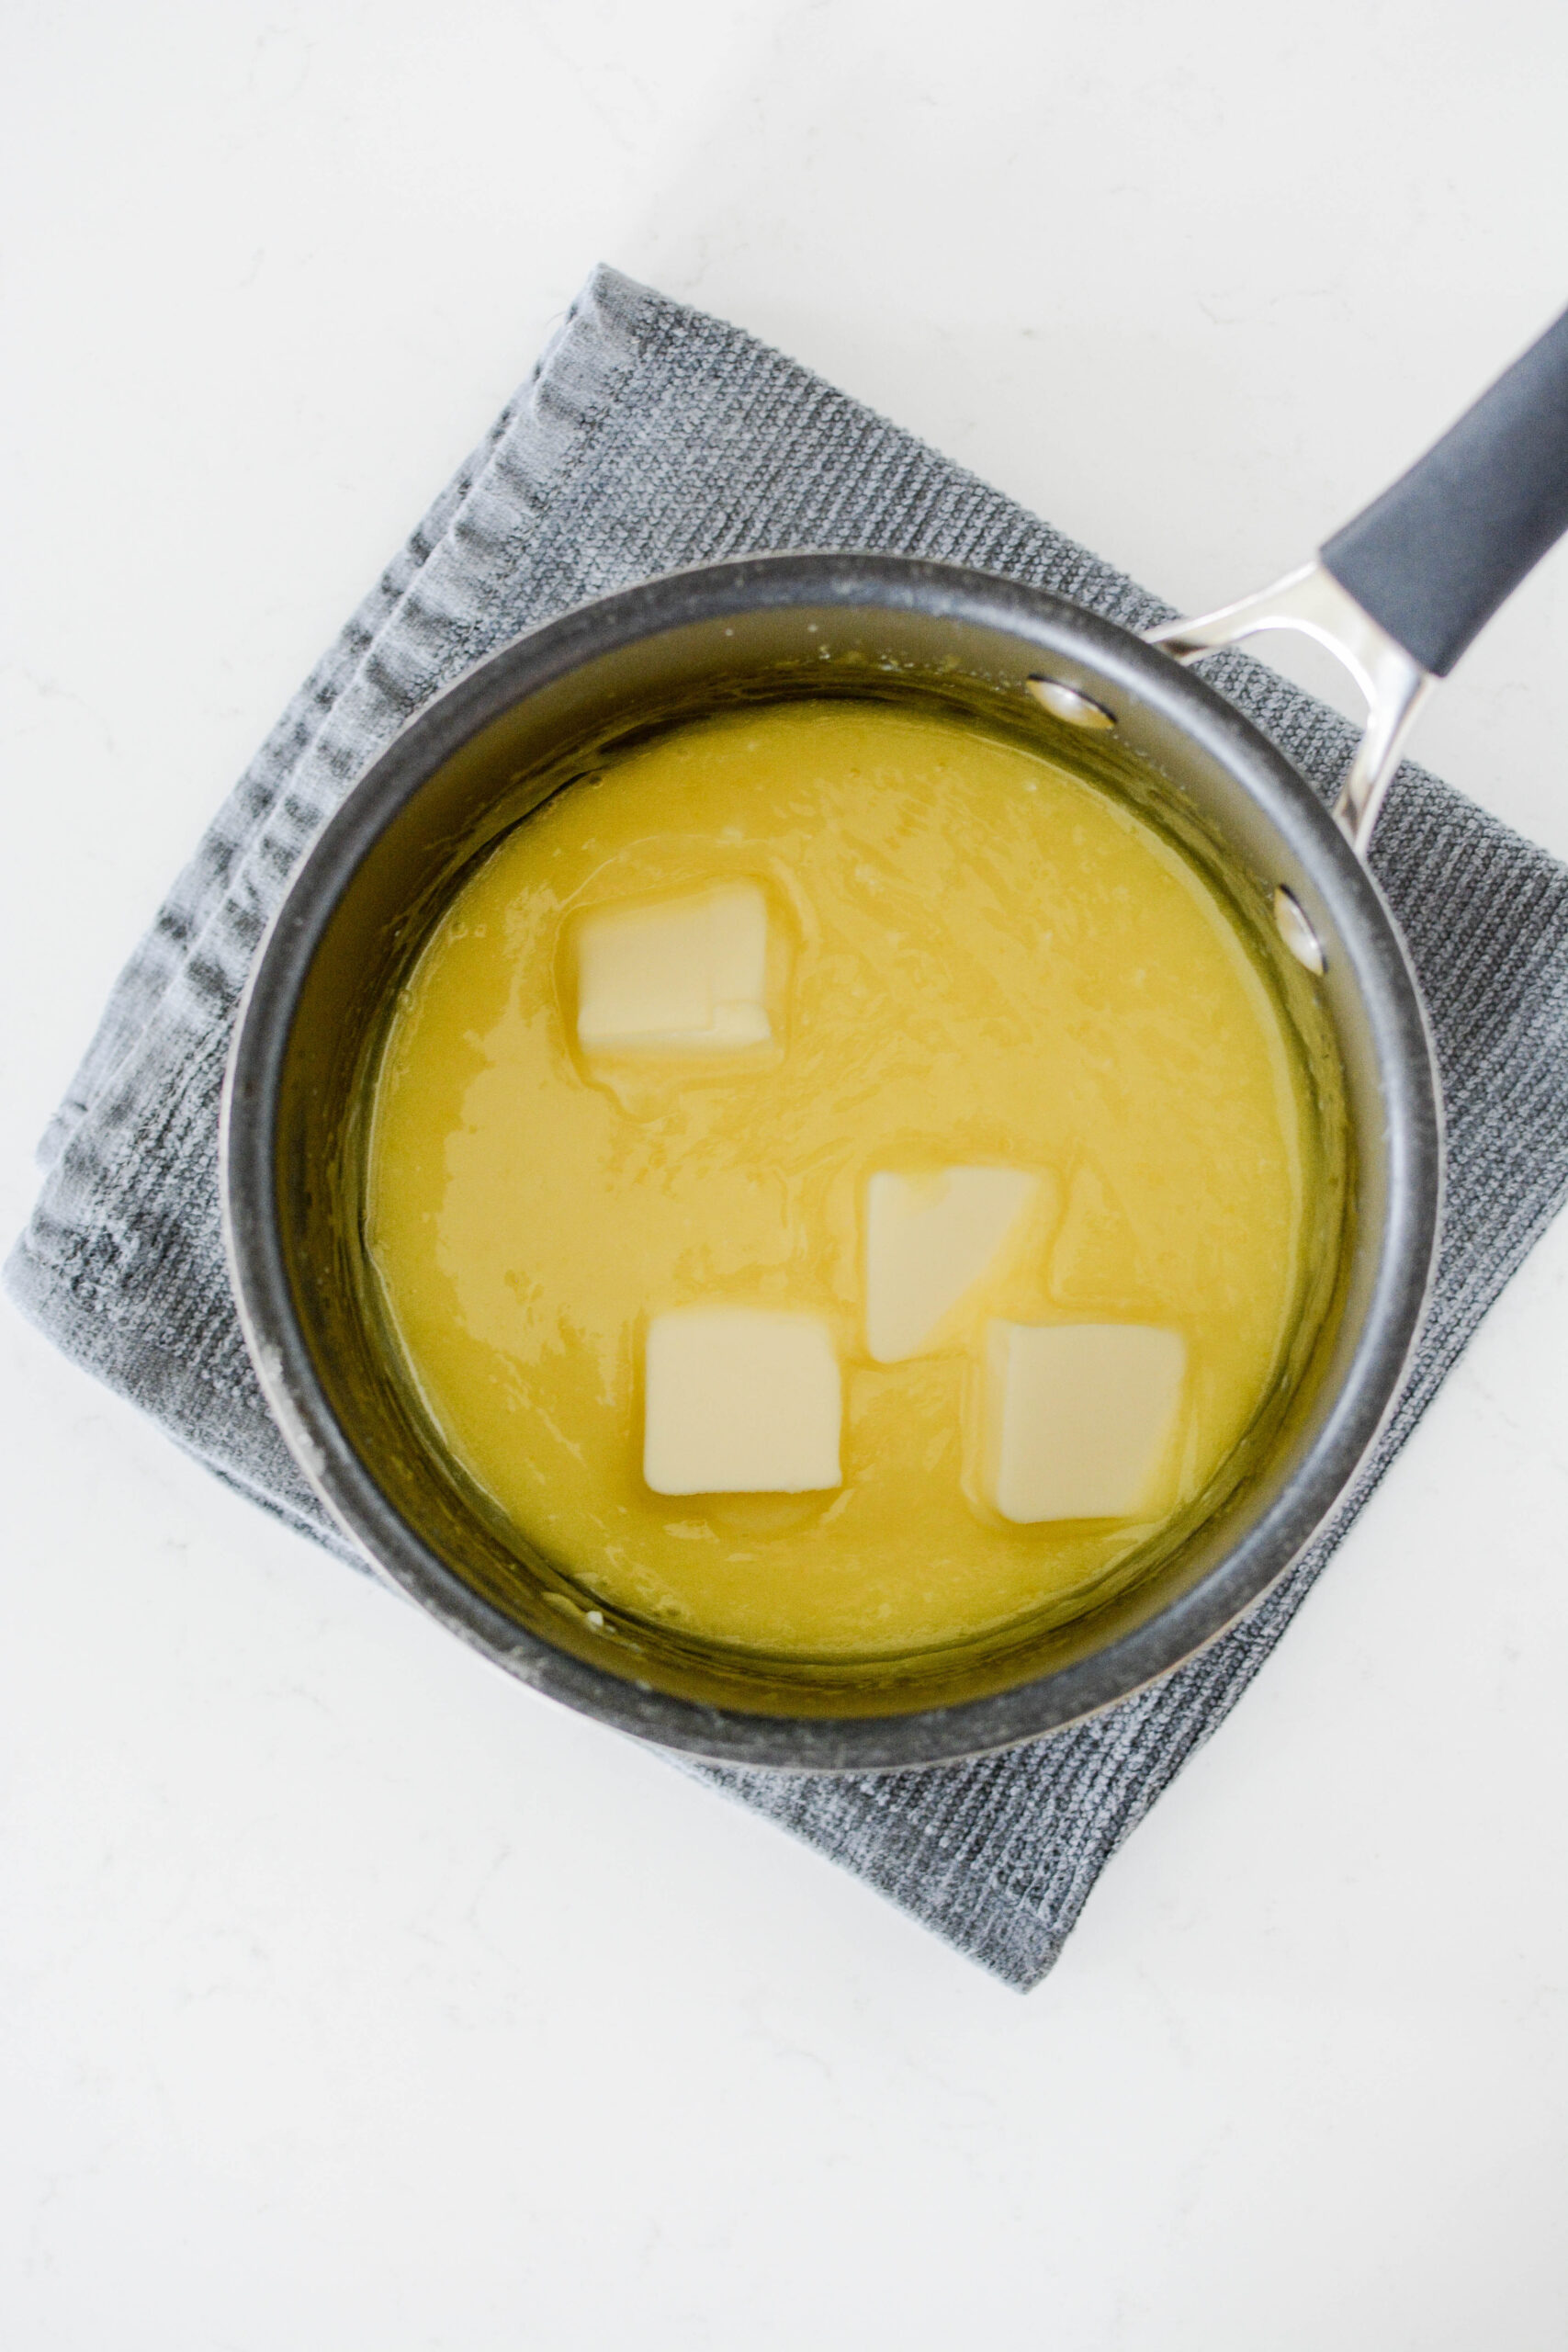
- Unsalted butter: tenderizes, moistens, leavens, browns, and flavors.


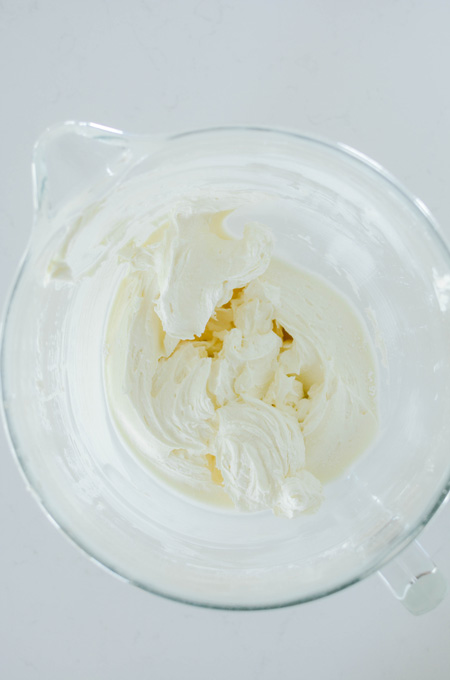
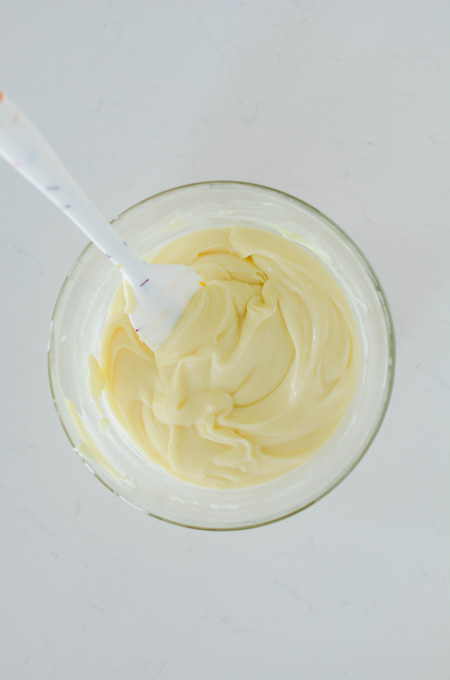
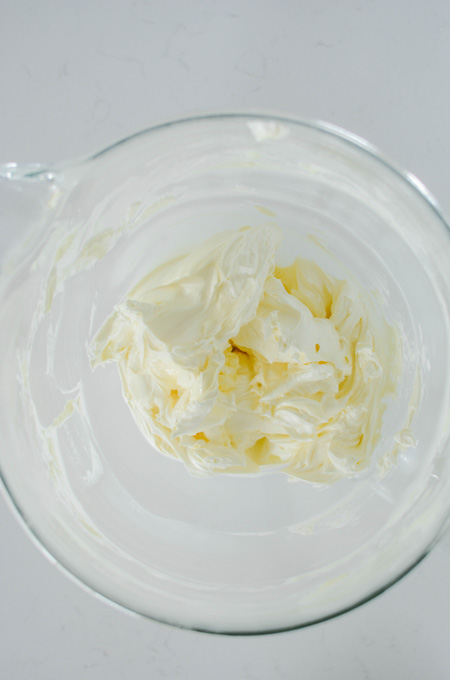
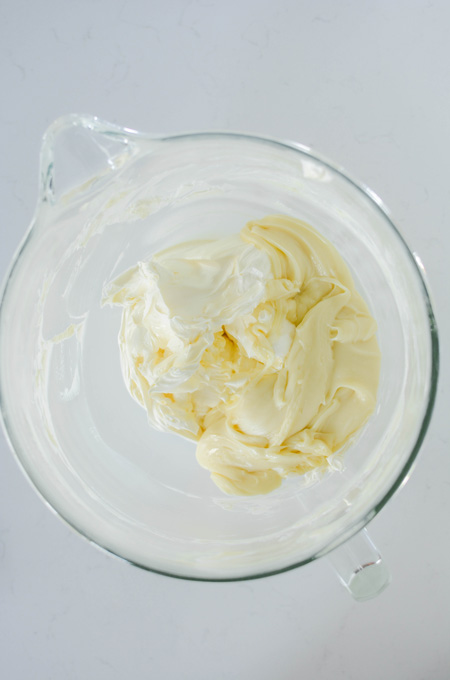
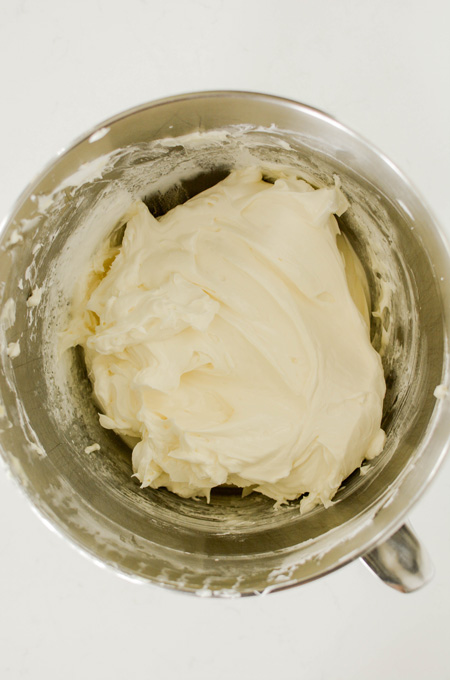
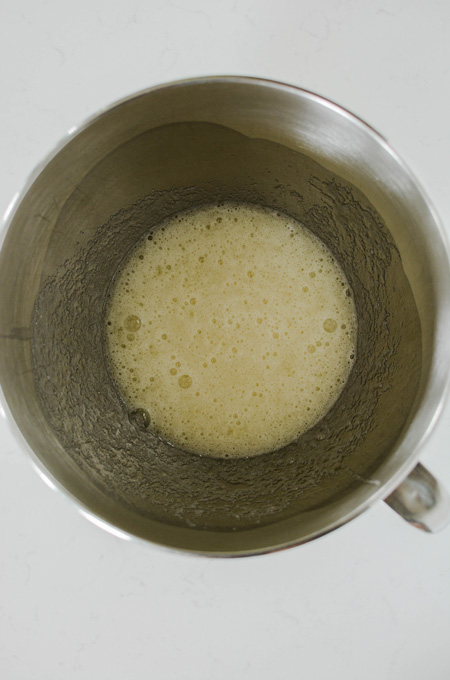
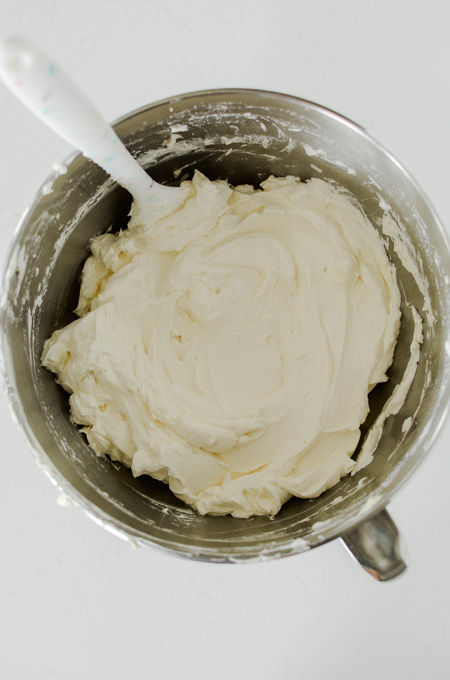
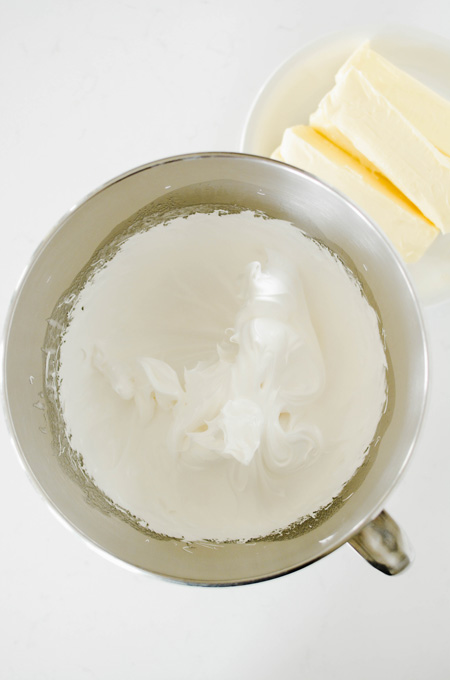
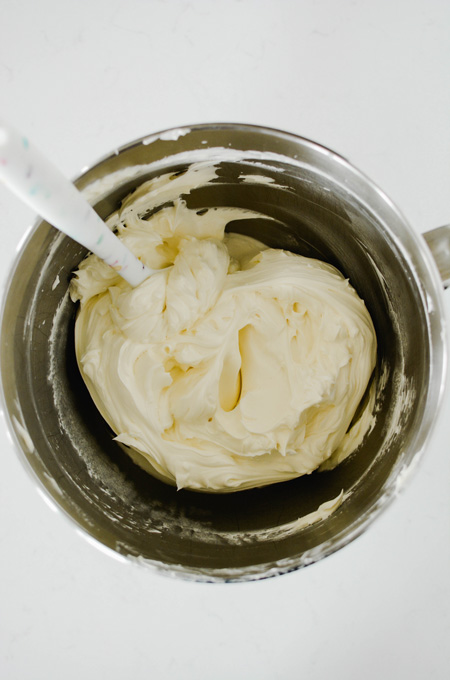
Lavender Swiss Meringue Buttercream
A little goes a long way when using lavender extract. This recipe makes a large batch of buttercream and 2 teaspoons of lavender extract is just right. However feel free to add more or less depending on your taste.
Swiss Meringue Buttercream Tips and Troubleshooting
- Your mixer bowl should be completely dry and clean before use.
- There should be no grease residue on the bowl and your egg whites should be free of egg yolks.
- Whisk together the sugar and egg whites well, or the eggs may start to cook on their own.
- Make sure the double boiler stays at a simmer.
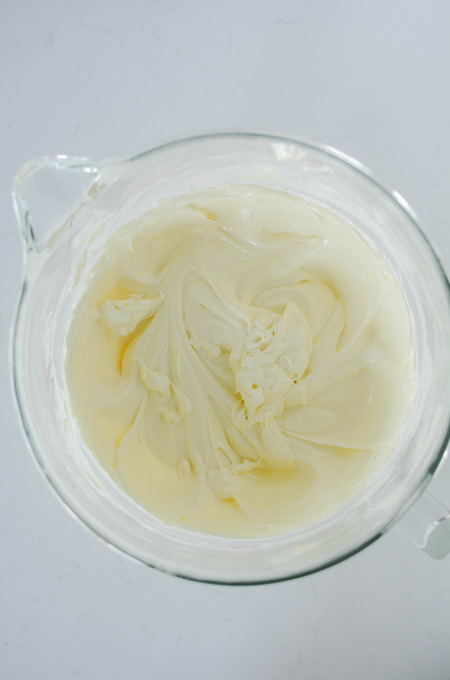
- Your butter should be room temperature before using.
- Add your butter by tablespoon to the meringue.
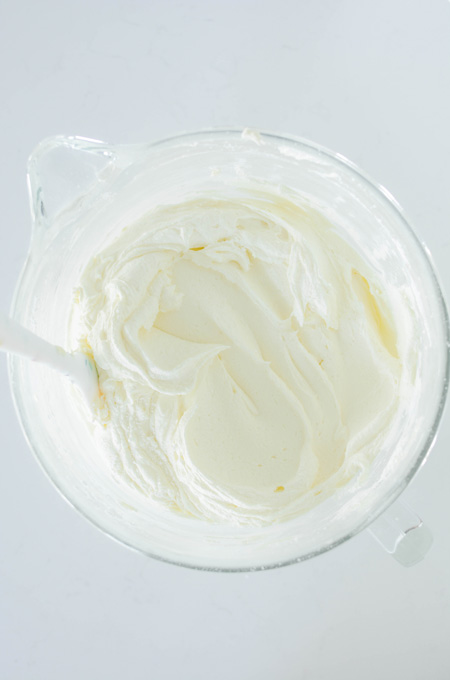
- The buttercream should be as smooth as possible.
- To help remove air bubbles, run the mixer on low speed for one minute.
- If the buttercream looks curdled in the final stages then the butter was probably too cold when added to the meringue. Keep mixing longer until it comes together.
- If the buttercream looks soupy but not separated, then the meringue was probably too warm when the butter was added. Place the mixer bowl in the refrigerator for 15 to 20 minutes and beat until the buttercream comes together.
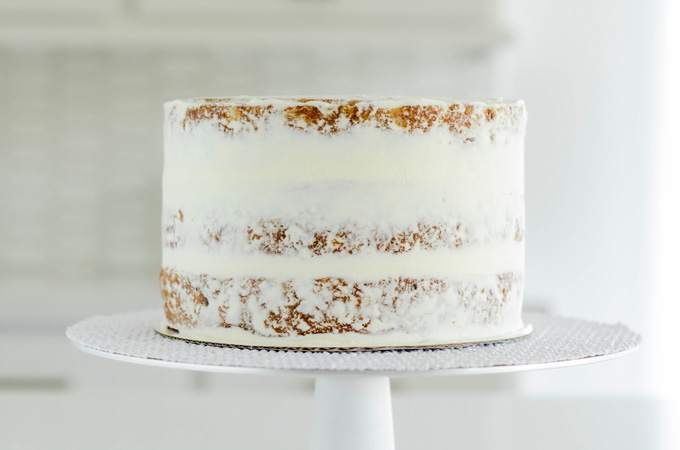
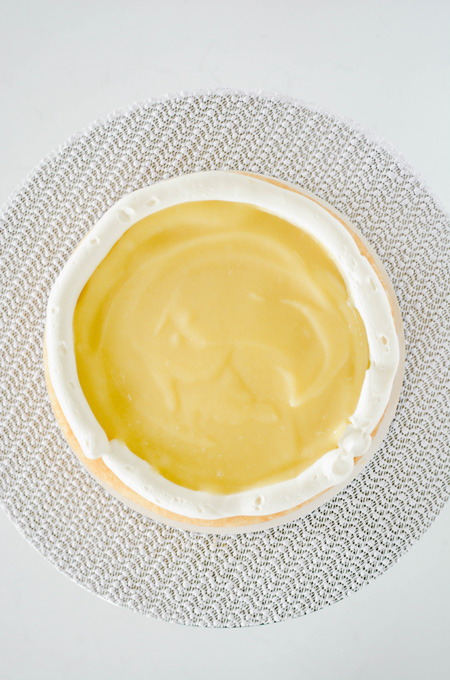
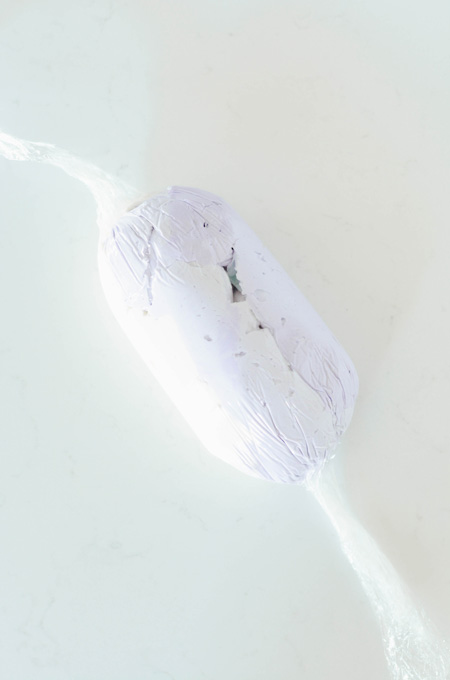
Cake Assembly
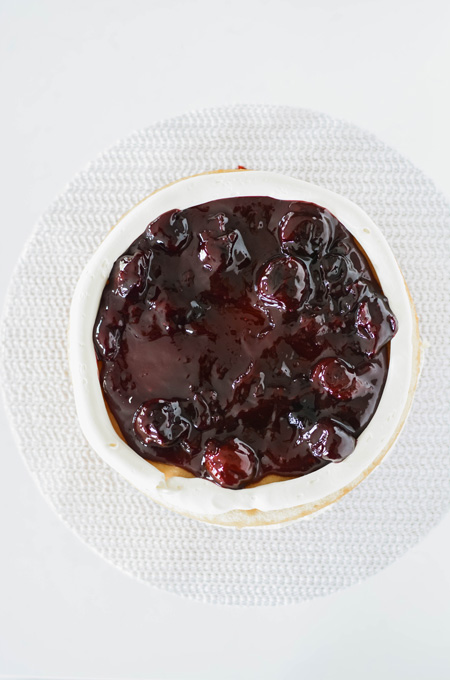
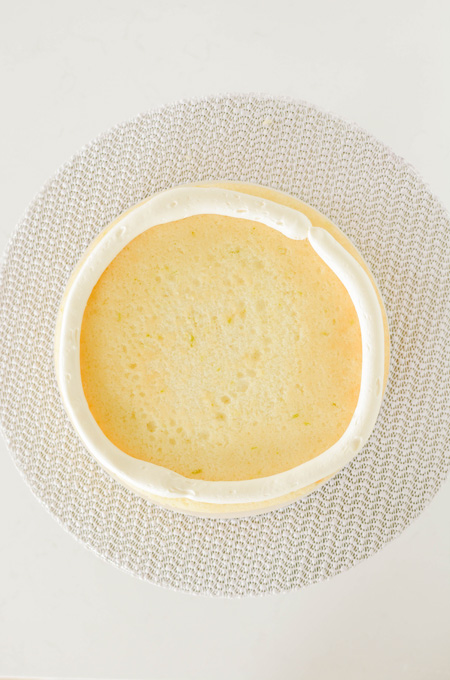
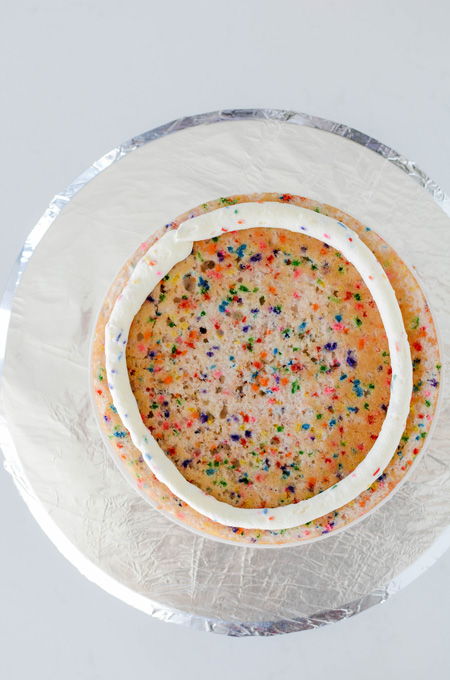
- Center one cake layer on a cake board set on top of a cake turntable. Fit a piping bag with a coupler or plain round tip and fill with about 1 cup buttercream.
- Pipe a ring around the edge to create a cake dam.
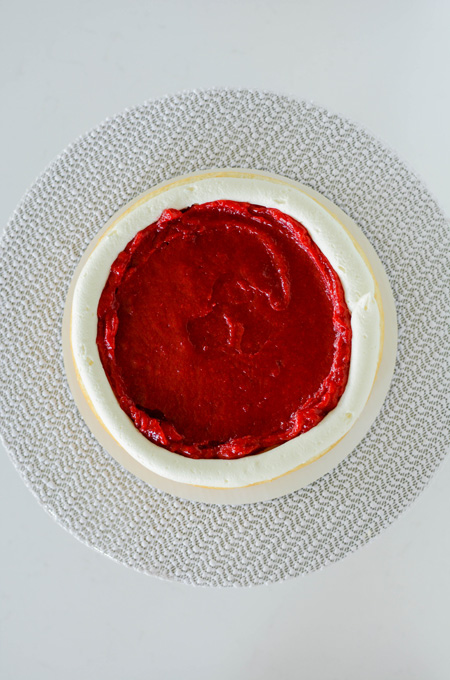
- Fill the dam with half of the lemon curd, spreading evenly with on offset spatula.
- Top with the second layer of cake and repeat. Place the last cake layer on top (bottom side up).
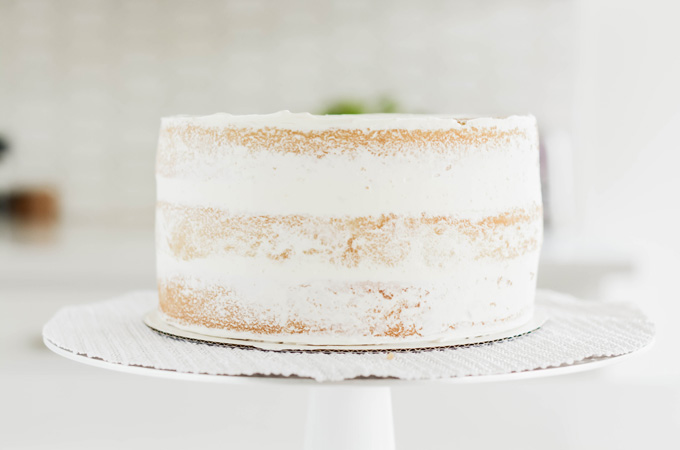
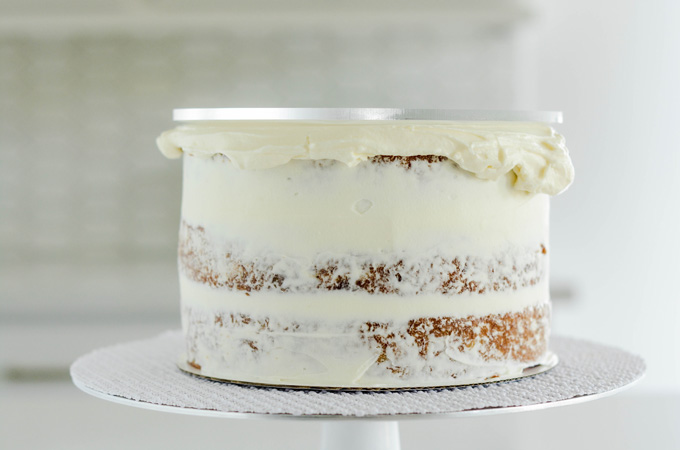
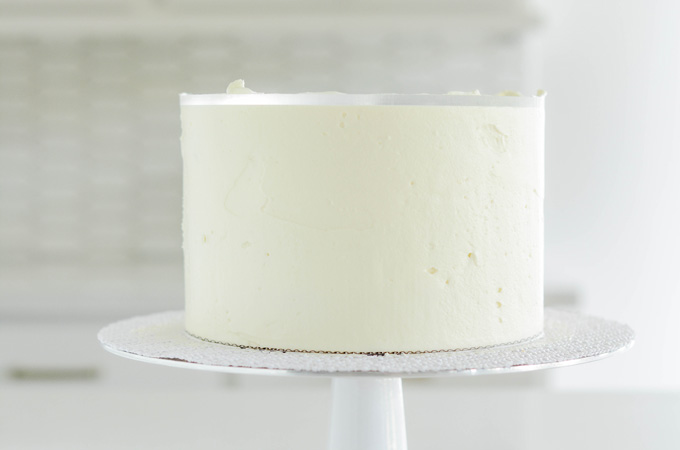
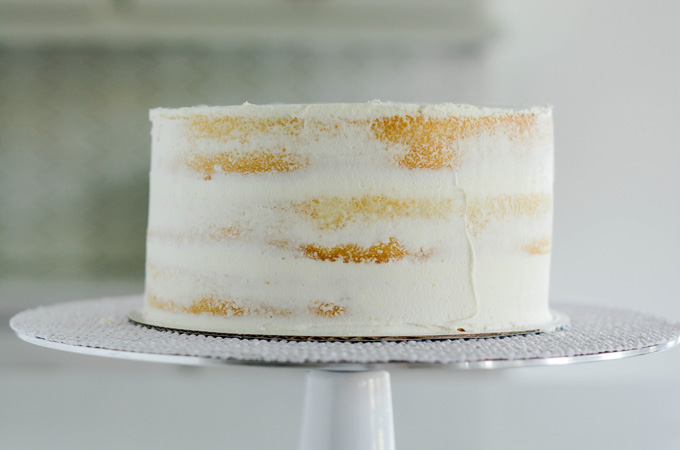
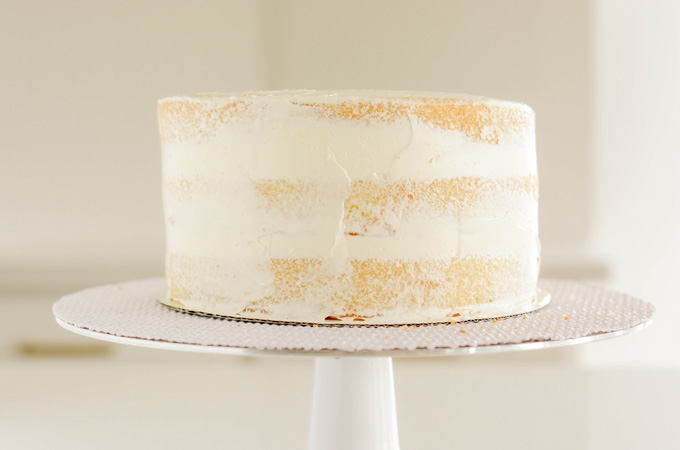
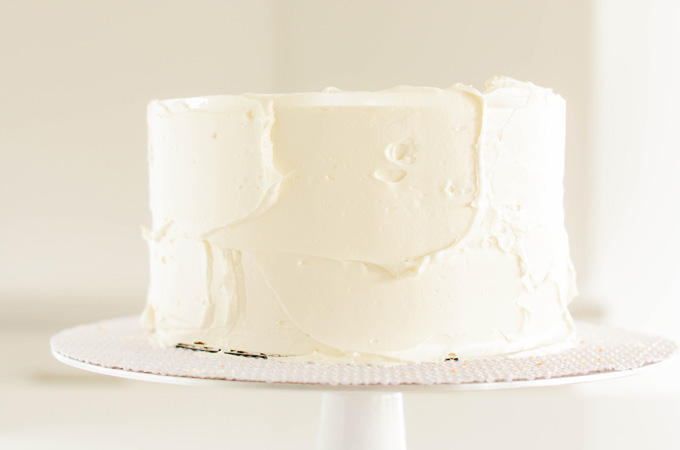
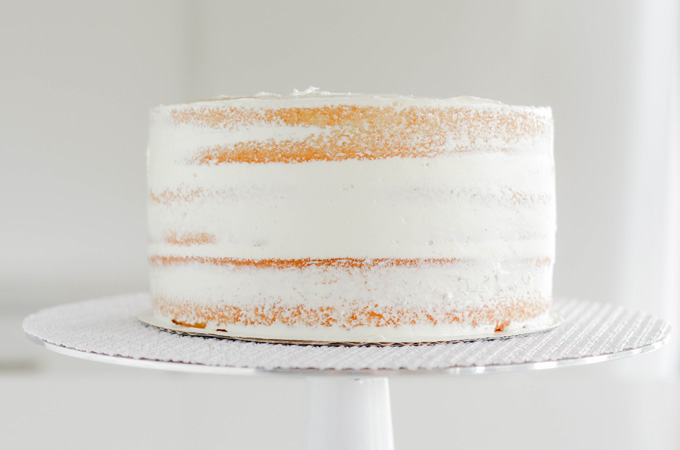
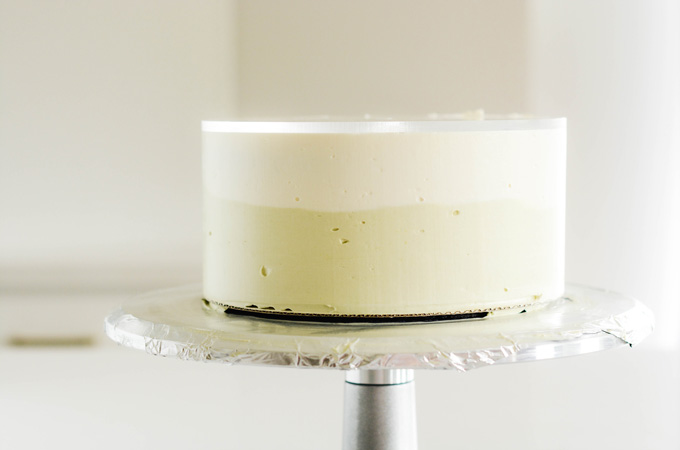
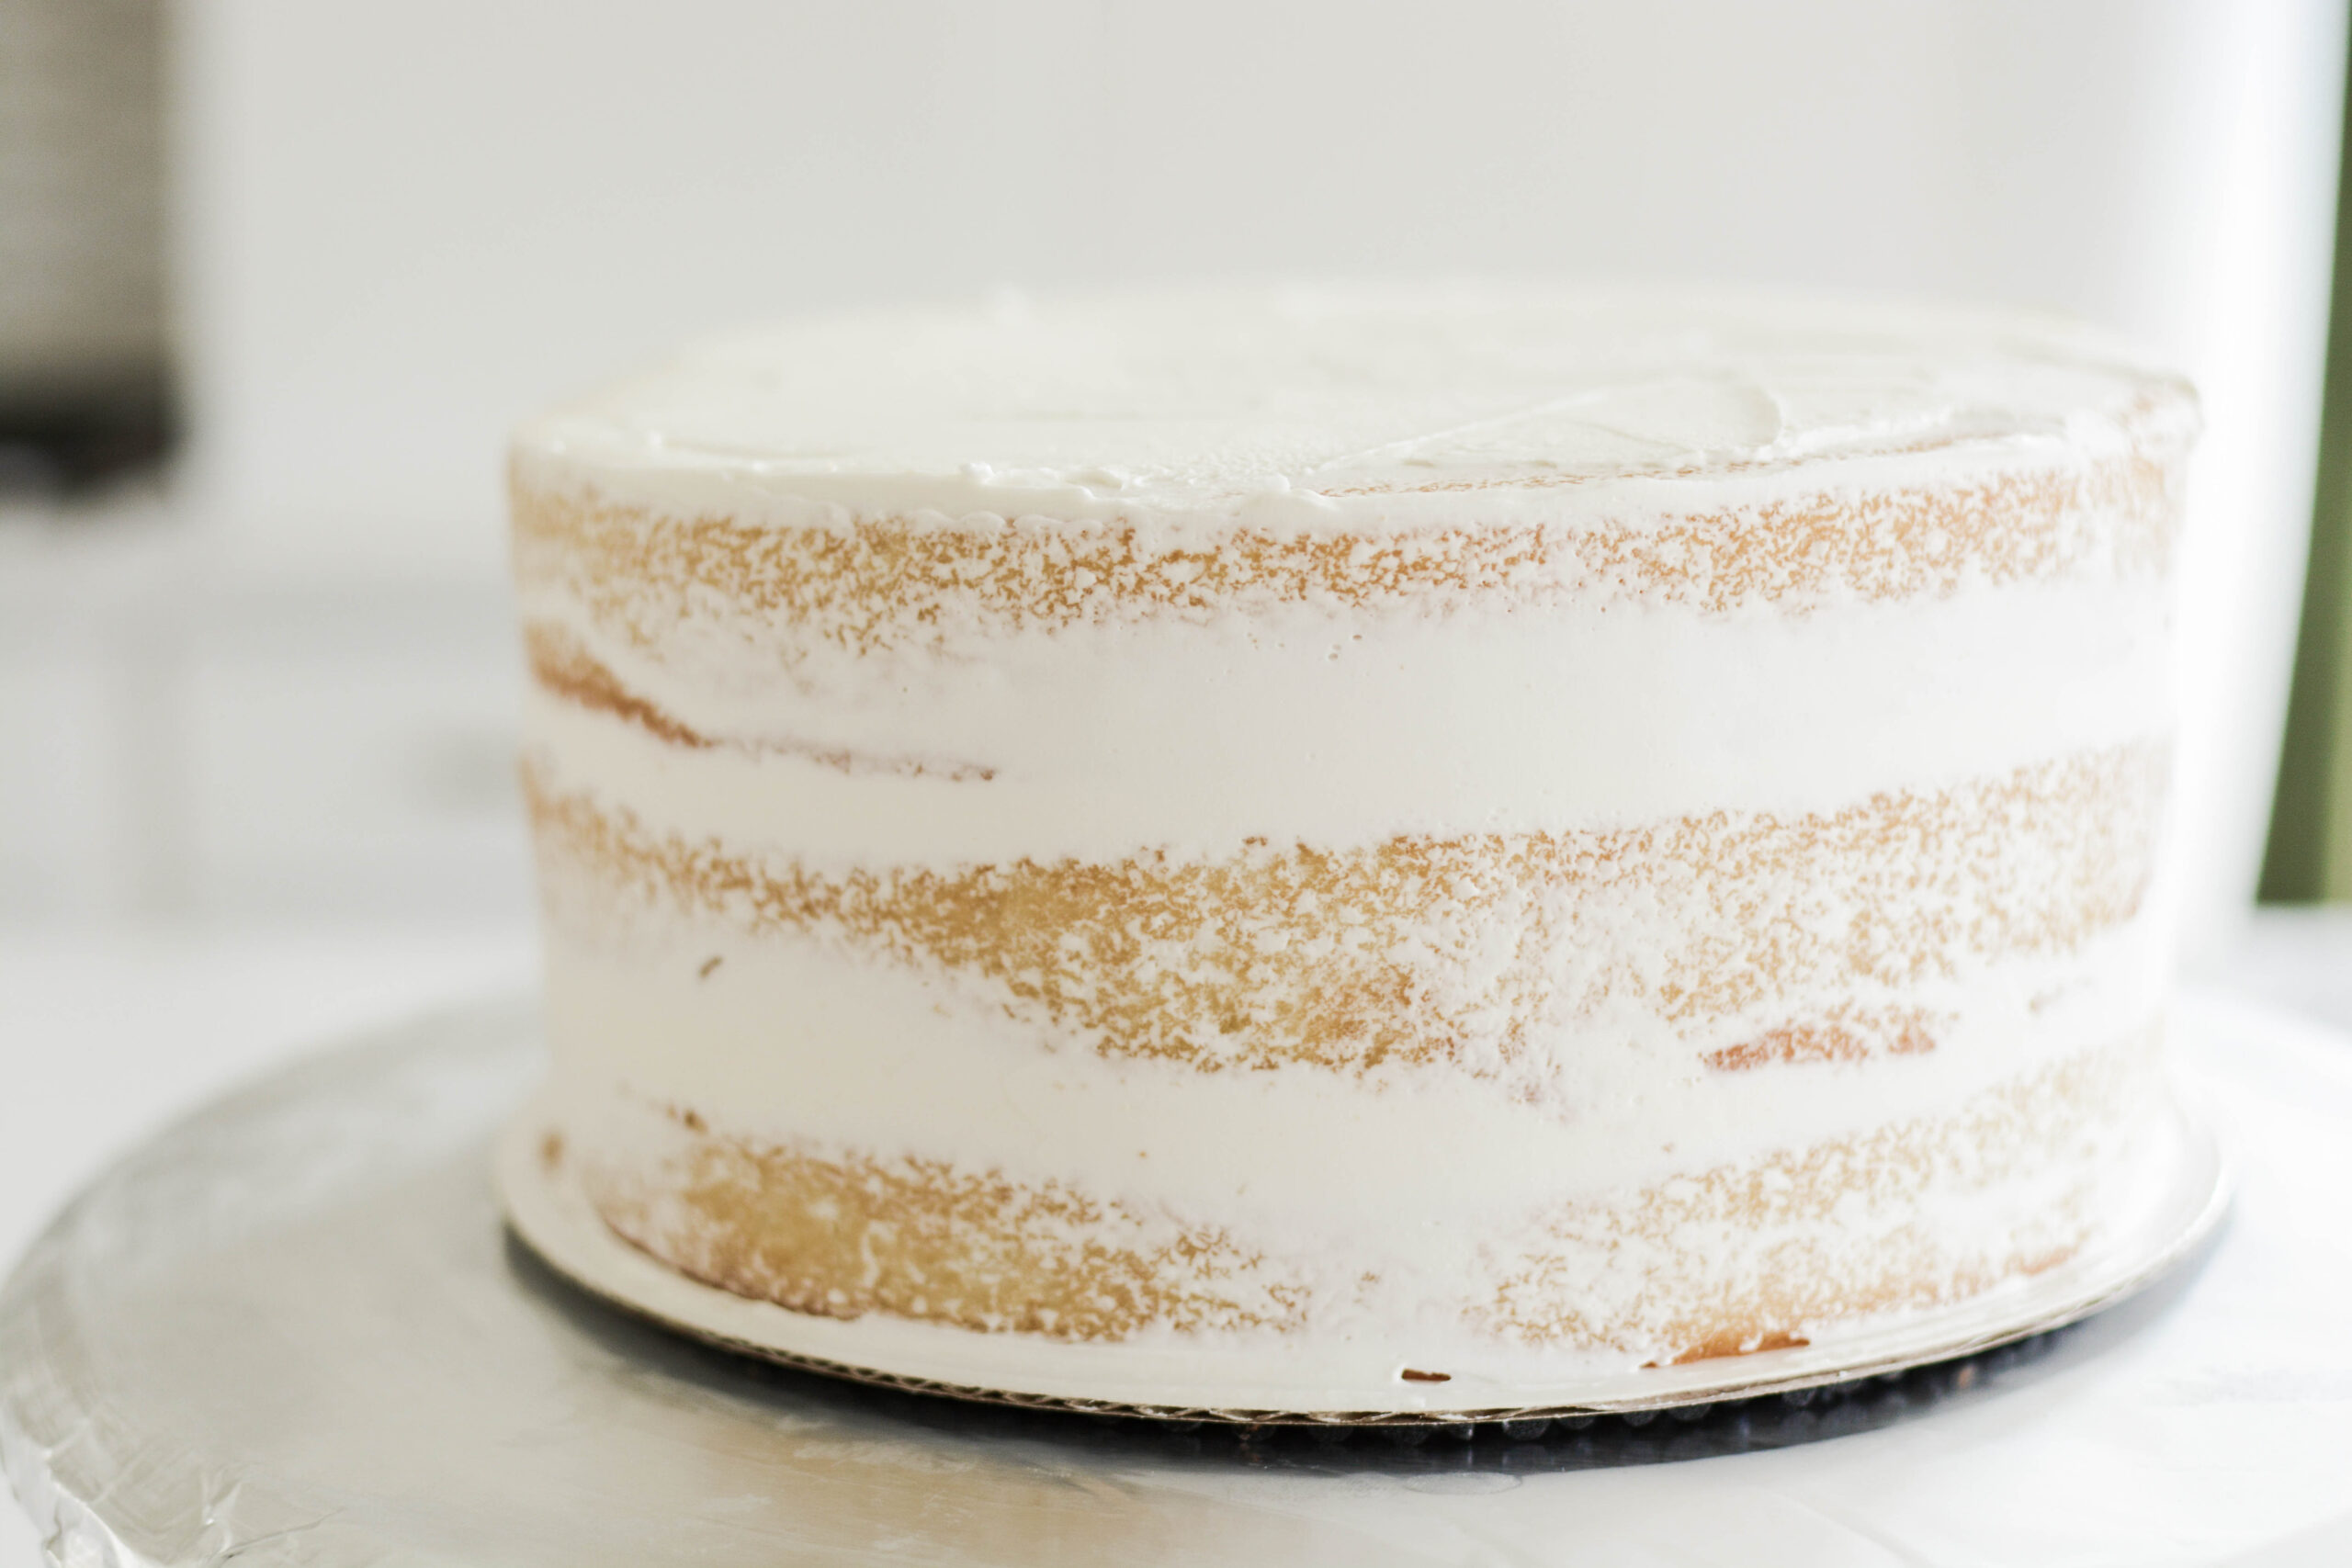
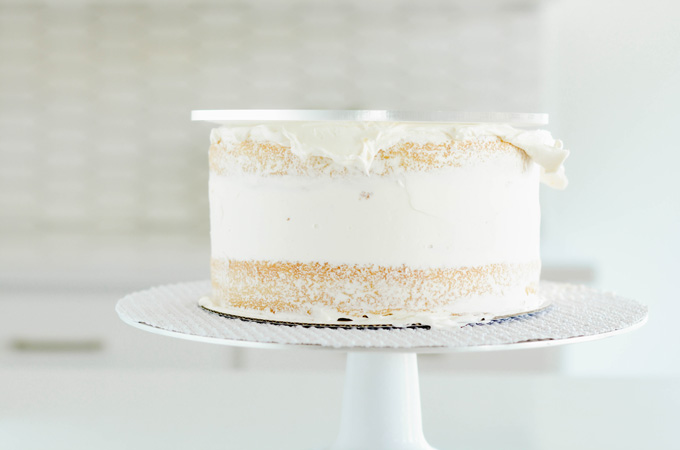
Crumb Coating
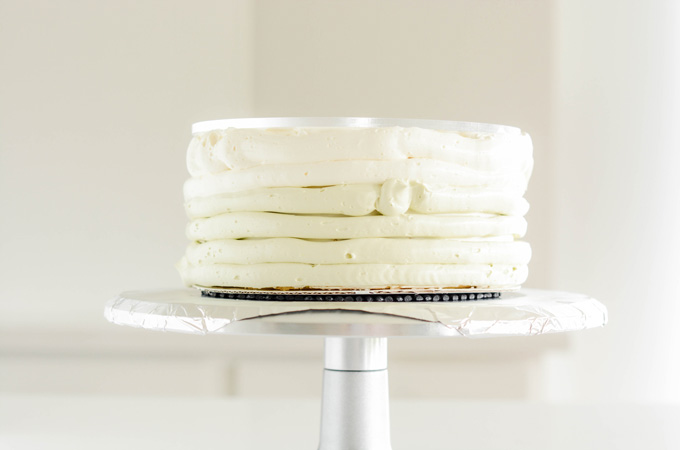
Apply a thin coat of buttercream over the top and sides of the cake and chill in the refrigerator for 15 minutes.

Cake Decorating Tools
- 8-inch round cake board
- Cake turntable
- Piping bags
- Coupler or plain round tip
- Small offset cake spatula
- 8-inch round acrylic disc or 8-inch round cake board
- Americolor Lilac gel food coloring
- Cake scraper
- Ateco piping tip #828

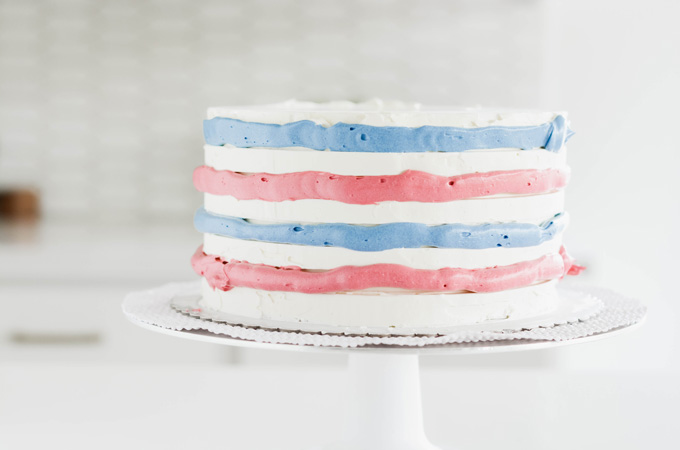
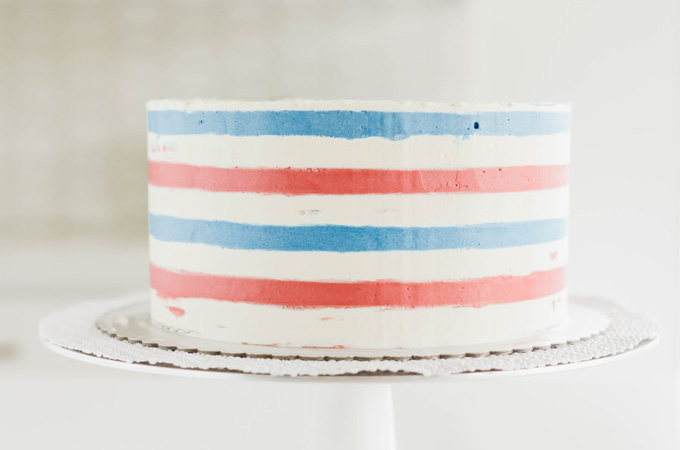
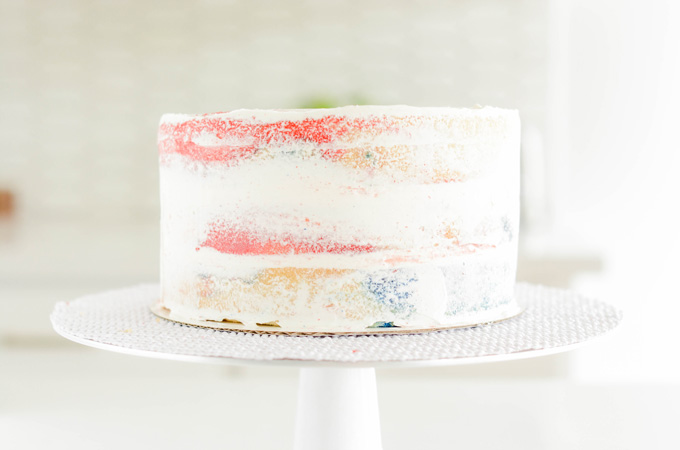
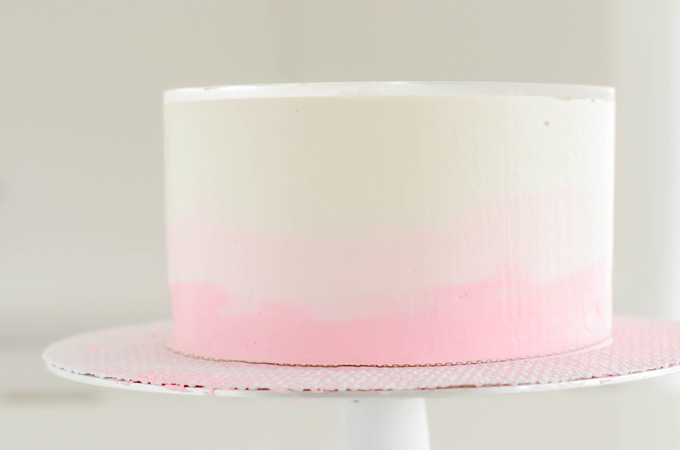
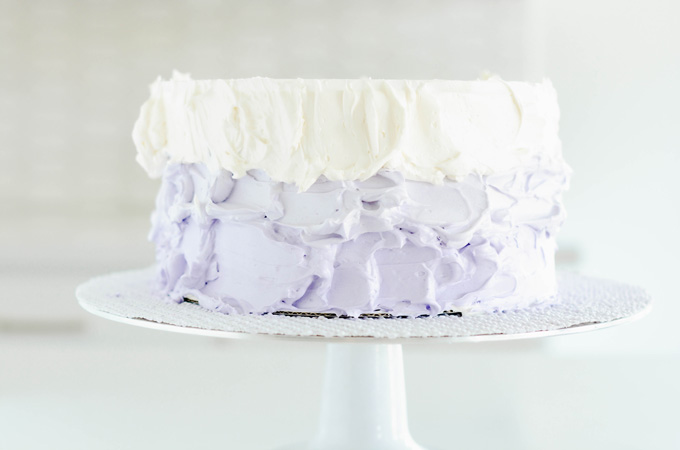
How To Create Watercolor Ombre
I love this effect because it's very organic. If you mess up it's okay because it just adds to the character and beauty of using the watercolor ombre method. Just be sure to have a straight edge cake scraper and a cake turntable to make this process much easier.

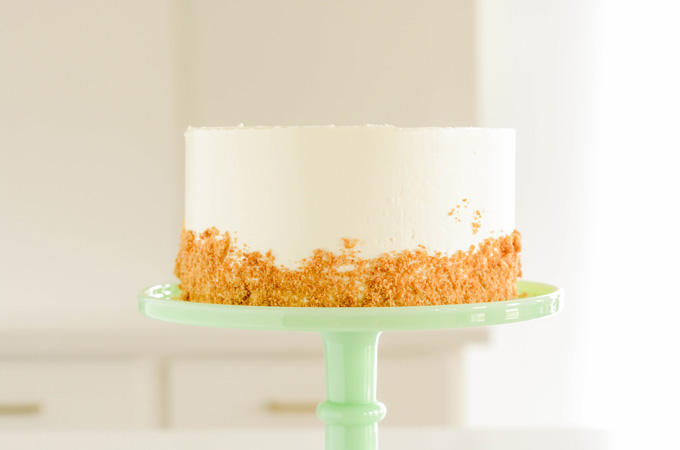
How To Make White Chocolate Drip
I prefer to use white chocolate melts for the color and ease of use. Plus I actually prefer the flavor over real white chocolate but you can easily substitute real white chocolate in this recipe for the white chocolate melts.
- In a microwavable bowl combined candy melts and heavy cream and microwave for 20 second intervals, stirring between each interval until melted.
- Let chocolate cool at room temperature for about 15 to 20 minutes.
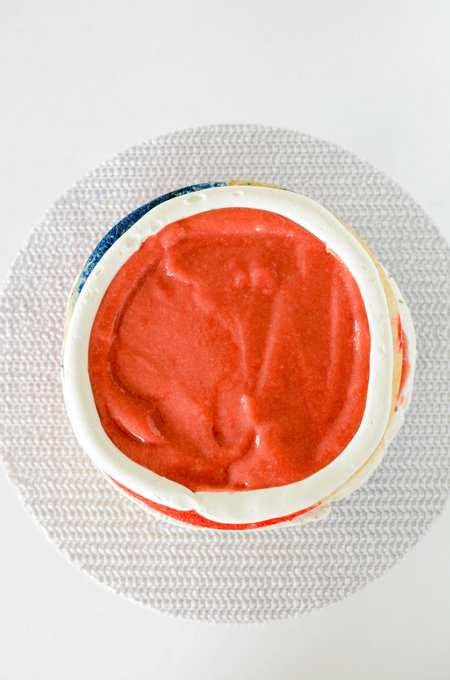
- Add chocolate drip to a squeeze bottle, piping bag or use a spoon to apply to the sides of the cake. Pour remaining white chocolate drip in the center of the cake and spread to meet the edges of the dripped chocolate.
- Chill the cake in the refrigerator for 1 hour so the chocolate drip can set before adding additional decoration.
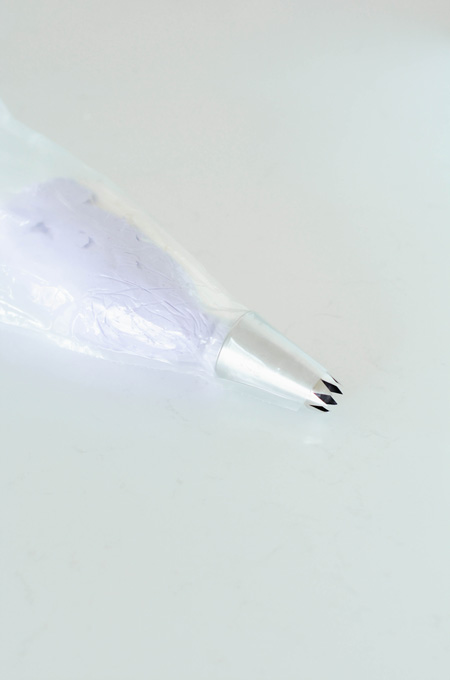
Cake Decorating
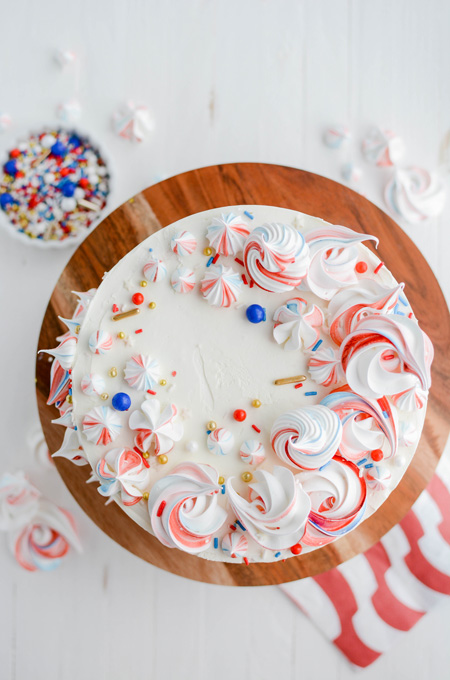
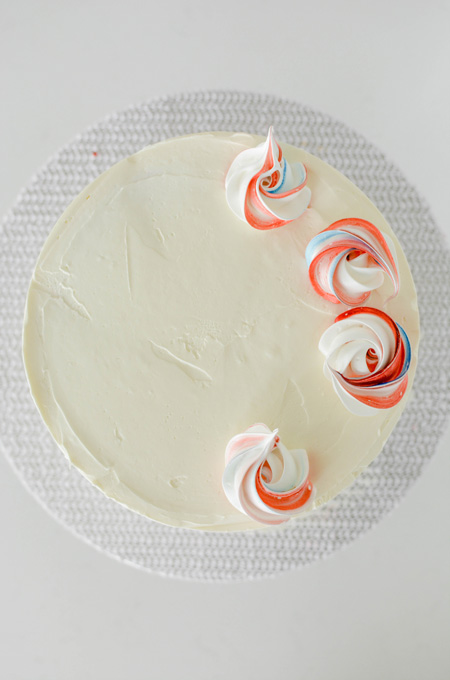
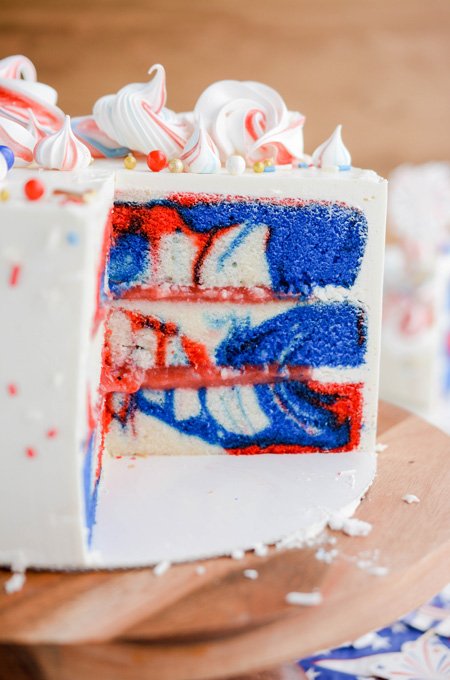
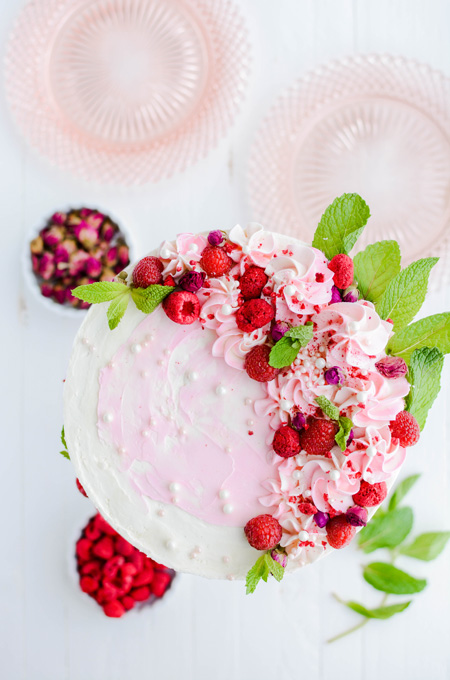
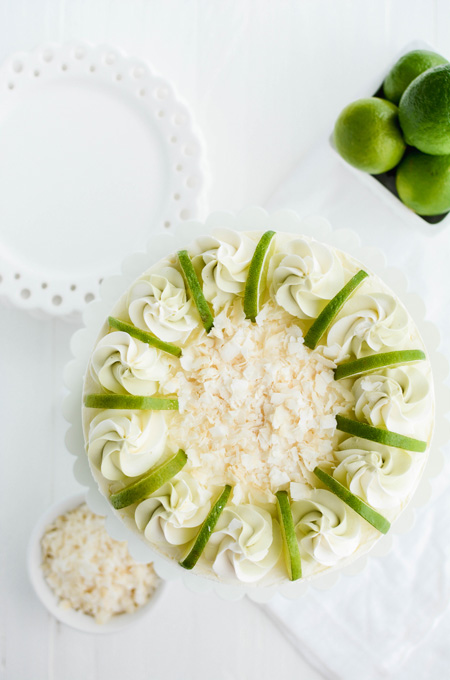
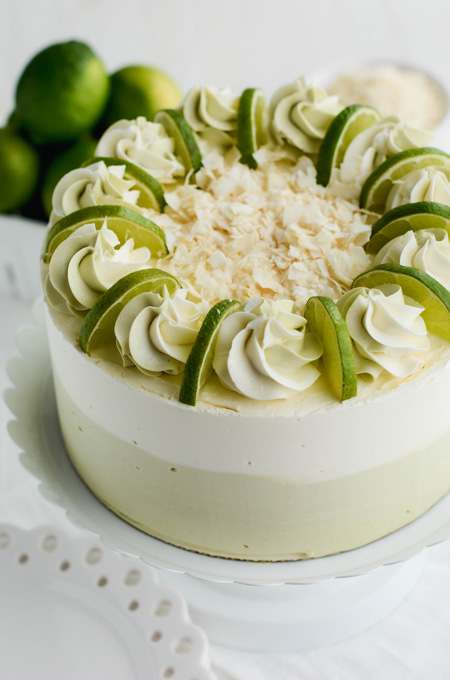
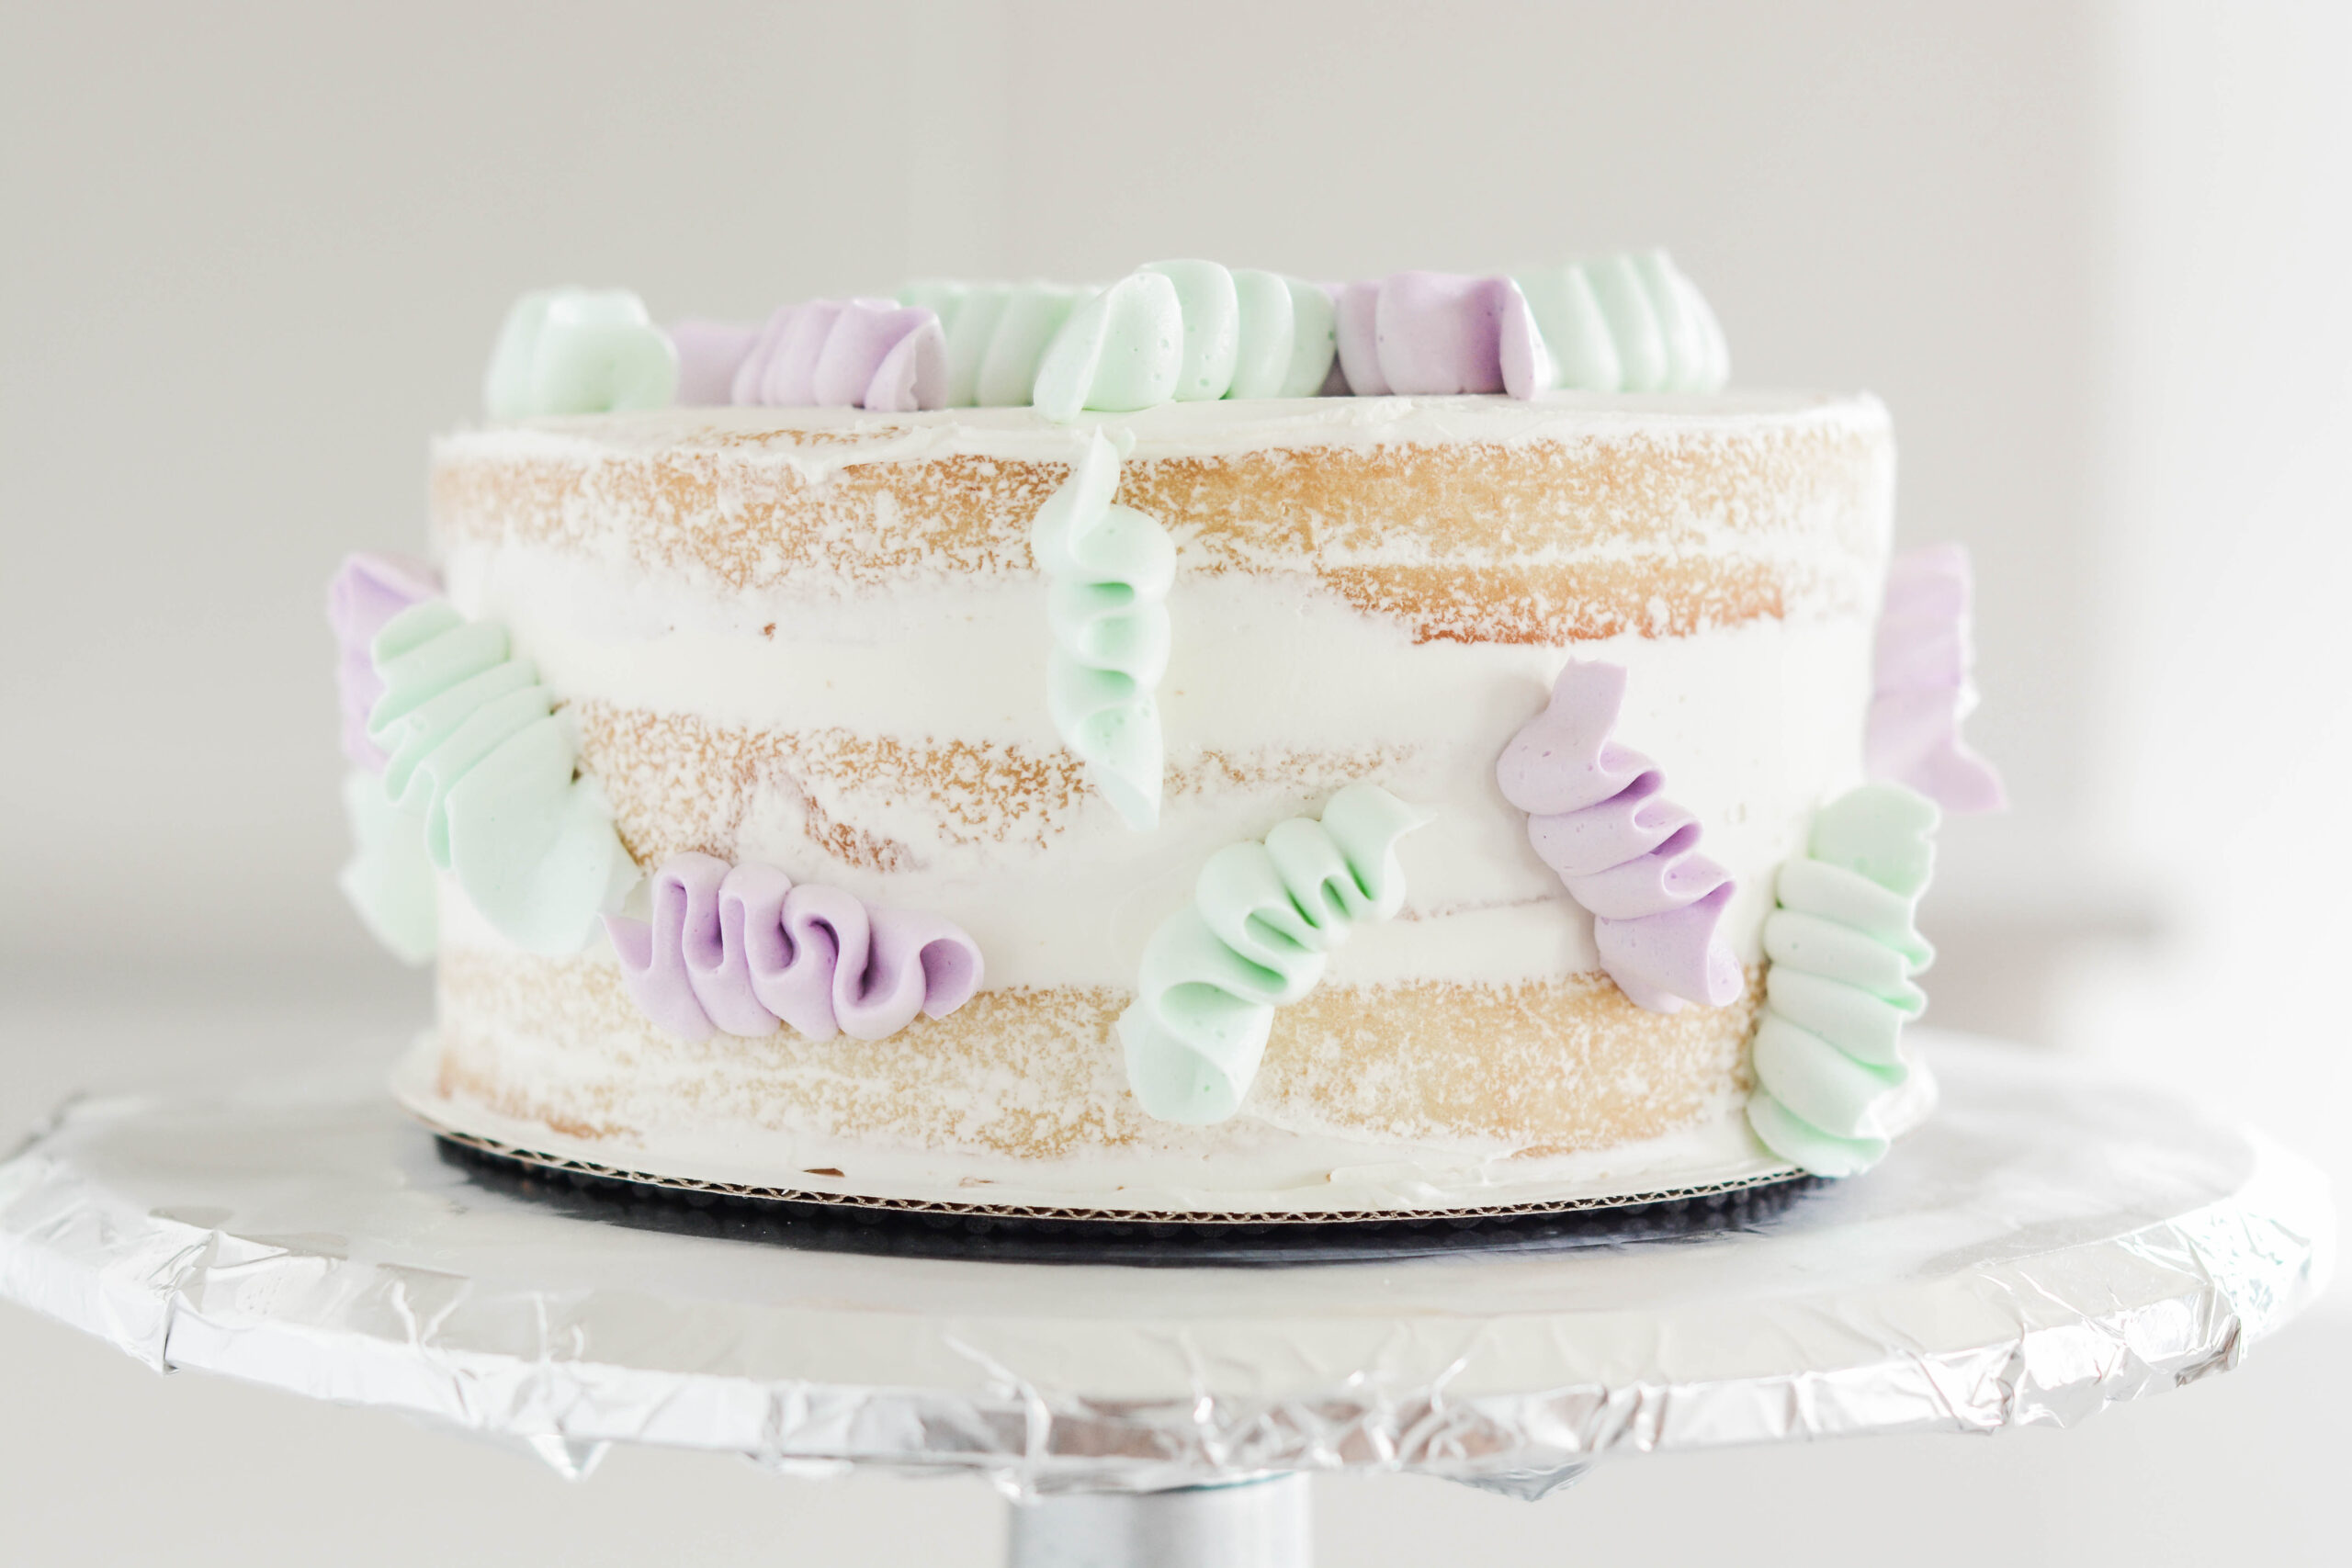
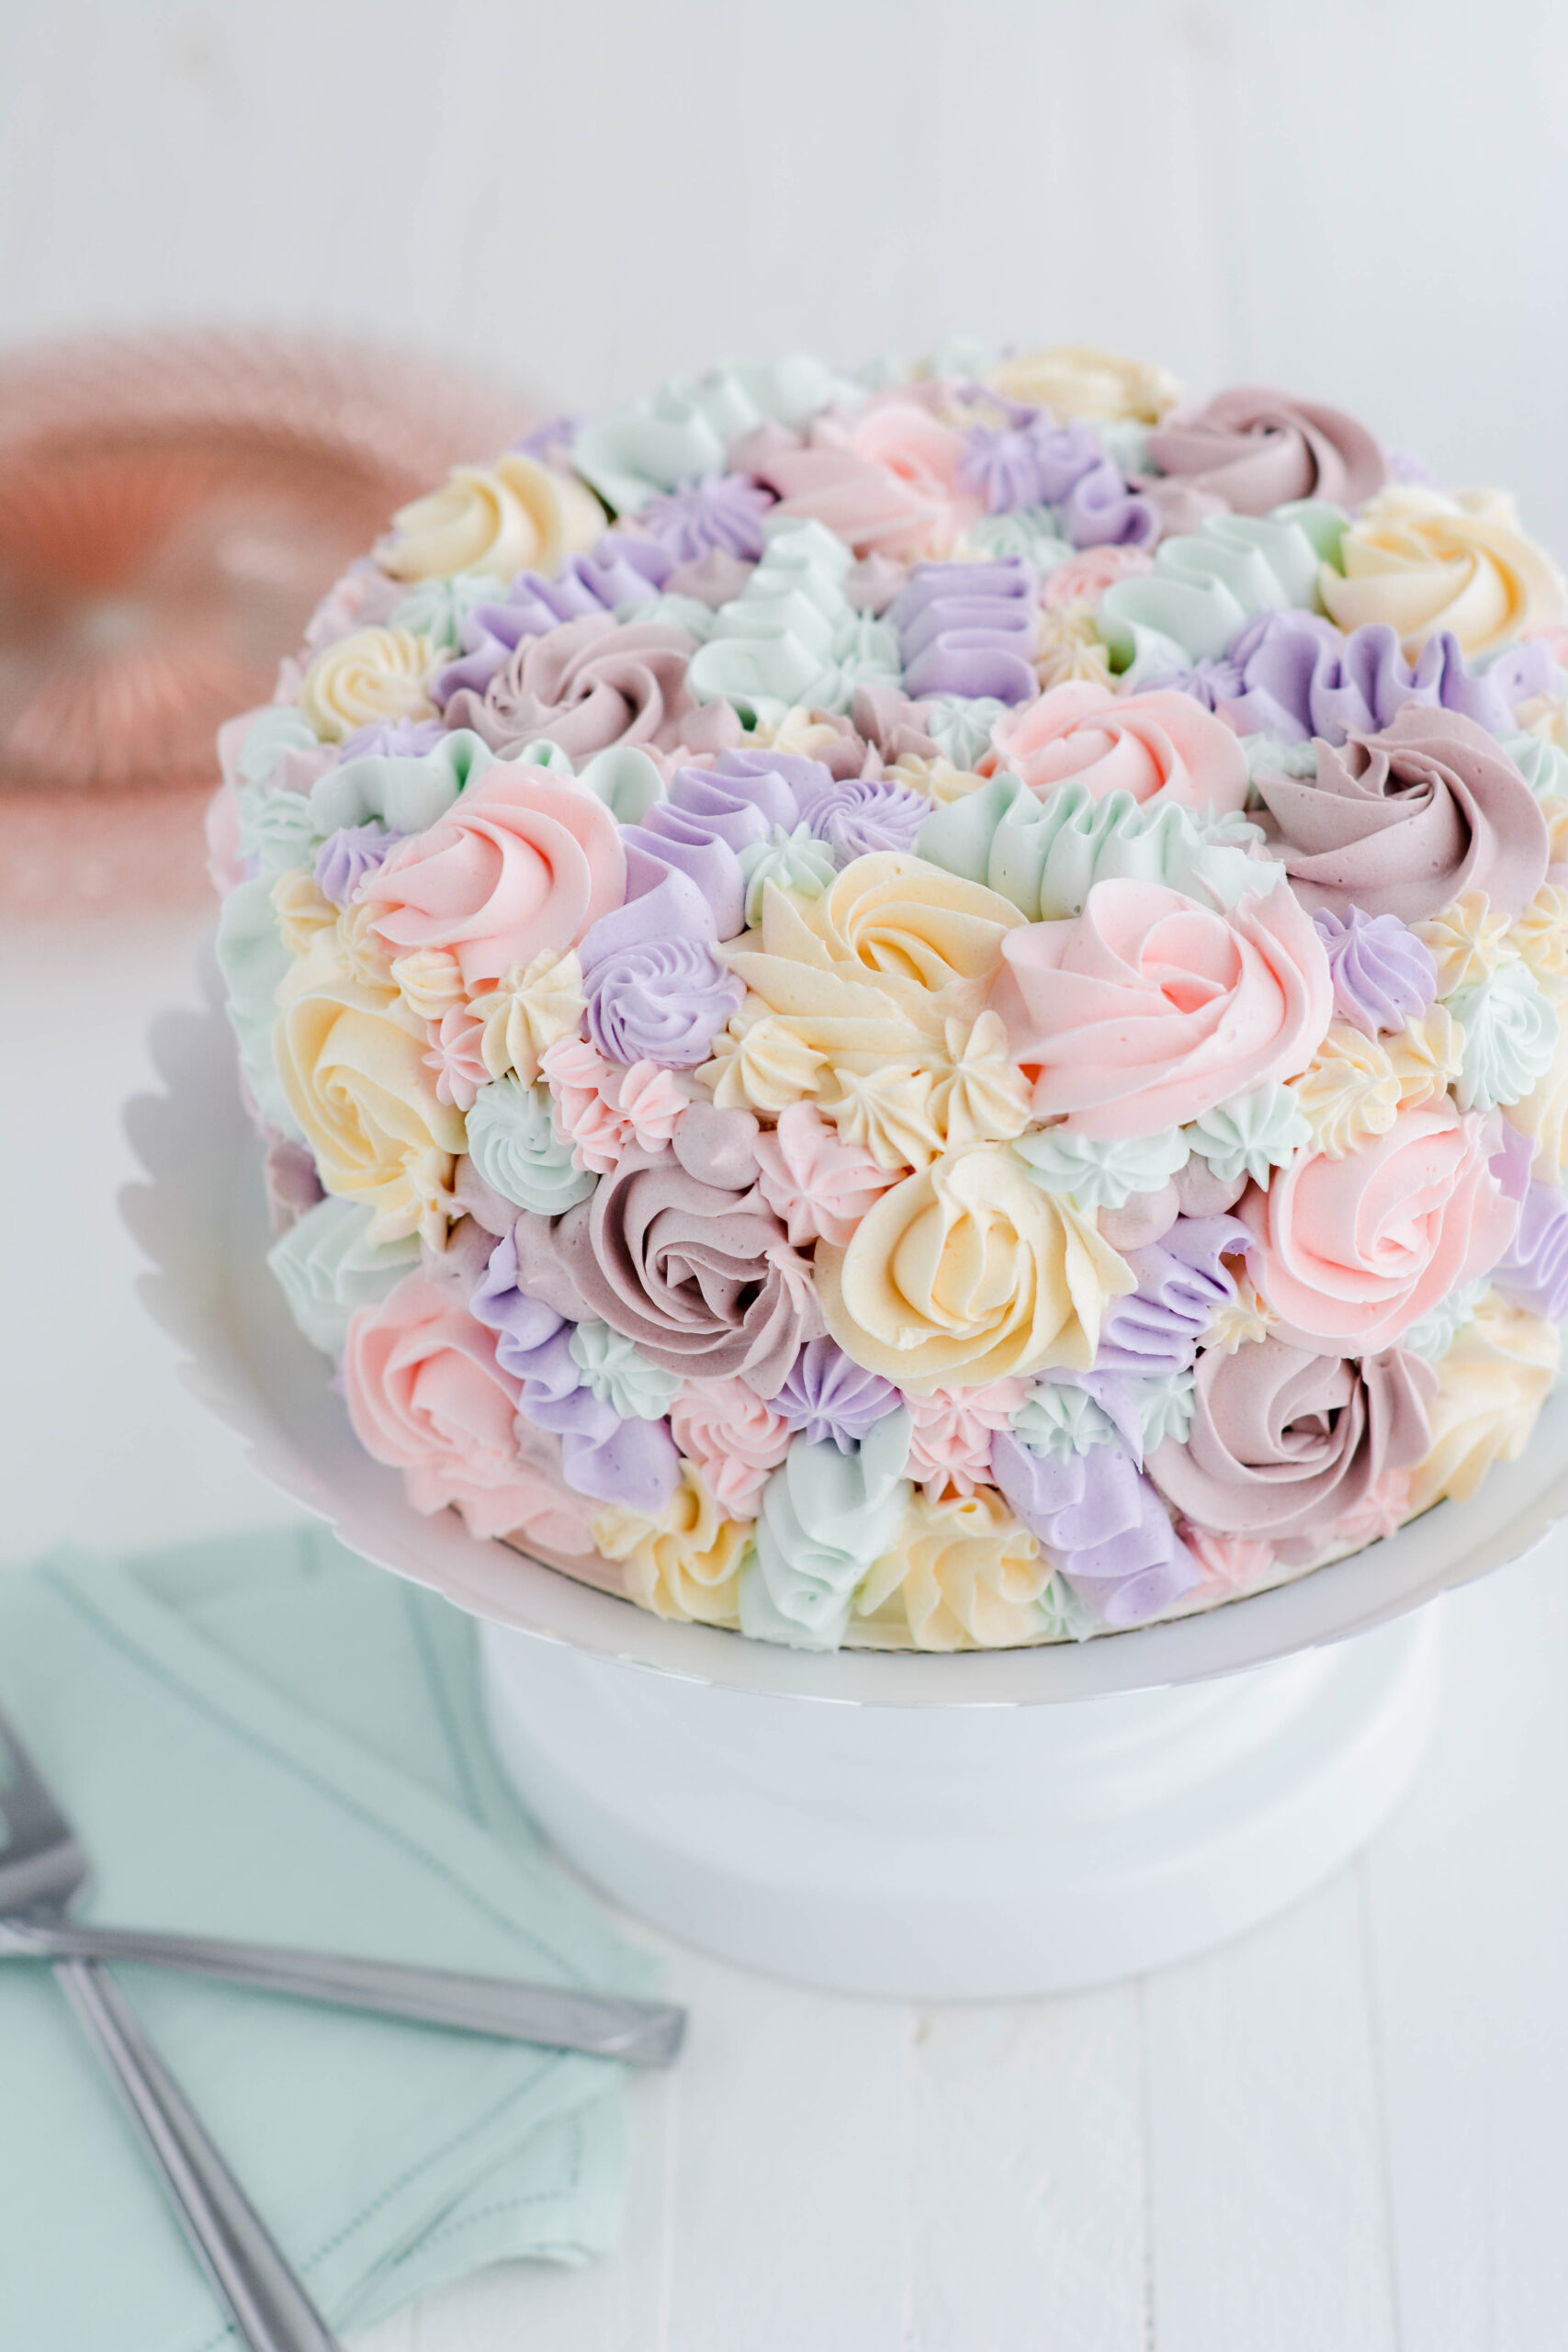
Once the white chocolate drip has dried, the cake decorating is simple. Fit a piping bag with a large piping tip, such as Ateco piping tip #828 and fill with all of the colors of buttercream. Pipe 8 large swirls around the top of the cake. Place a candied lemon slice between each swirl and sprinkle with lavender and purple sprinkles.
Cake Baking Schedule
- Day 1: Prepare Candied Lemon Slices and Lemon Curd
- Day 2: Bake cake layers.
- Day 3: Make Lavender Swiss Meringue Buttercream, assemble, decorate and serve.
Make Ahead
Lemon curd can be made up to 5 days. Cake layers can be made up to 3 days in advance.
Cake Storage
Assembled cake can be stored in an airtight cake container for up to 3 days in the refrigerator. Bring to room temperature before serving.
Let's Connect
The Cake Chica is on the following social media platforms below. Click subscribe, like and follow! We would love to have you over!
Lavender Lemon Layer Cake
Three layers of lavender cake, filled with lemon curd, frosted with lavender flavored Swiss meringue buttercream and garnished with candied lemon slices.
Ingredients
SPECIAL TOOLS
- Parchment paper
- 3 8-inch round cake pans
- Nonstick baking spray
- Stand mixer
- Fine mesh sieve
- Candy thermometer
- 8-inch round cake board
- Cake turntable
- Piping bags
- Coupler or round piping tip
- Offset cake spatula
- 8-inch round acrylic disc
- Americolor Lilac gel food coloring
- Cake scraper
- Ateco piping tip #828
LEMON GARNISH
- 3 lemons, sliced 1/8-inch thick
- 2 cups granulated sugar
- 1 ½ cups water
- Extra sugar for dipping
LAVENDER MILK
- 1 cup whole milk
- 2 tablespoons culinary lavender
LAVENDER CAKE
- 1 cup Lavender Milk, at room temperature
- 6 large egg whites, at room temperature
- 1 teaspoon vanilla extract
- 2 teaspoons lavender extract
- 2 ¼ cups (9 ounces) cake flour
- 1 ¾ cups (12 1/4 ounces) granulated sugar
- 4 teaspoons baking powder
- 1 teaspoon salt
- 12 tablespoons unsalted butter, cut into tablespoon sized pieces, at room temperature
LEMON CURD
- 3 whole eggs
- 3/4 cup (5.25 ounces) granulated sugar
- Pinch of salt
- 1/2 cup freshly squeezed lemon juice
- 1 tablespoon lemon zest
- 4 tablespoons unsalted butter, cut into tablespoon sized pieces
LAVENDER SWISS MERINGUE BUTTERCREAM
- 1 cup egg whites
- 2 cups (14 ounces) granulated sugar
- 3 cups (6 sticks) unsalted butter, cut into tablespoon sized pieces, at room temperature
- 1 teaspoon vanilla extract
- 2 teaspoons lavender extract
WHITE CHOCOLATE DRIP
- 1 cup (8 ounces/180 grams) Wilton Very White chocolate candy melts
- 1/4 cup (2 ounces) heavy cream
Instructions
LEMON GARNISH
- In a 12 inch skillet, over medium heat, whisk together sugar and water. Bring to a simmer and continue to whisk until sugar has dissolved. Once sugar has dissolved lay lemon slices into the skillet in a single layer and simmer for about 15 minutes, until rinds appear softened and slightly translucent. Carefully remove lemon slices from the skillet and lay on parchment paper and set aside to dry. Once dried dip into sugar. Set aside until ready to use. These can be stored in the refrigerator for a few days.
LAVENDER MILK
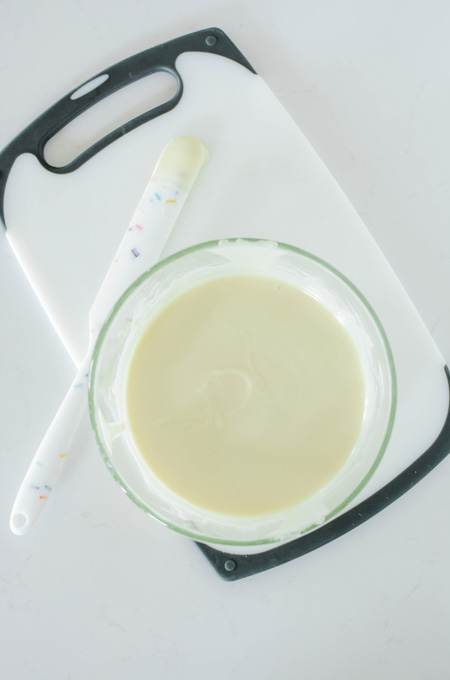
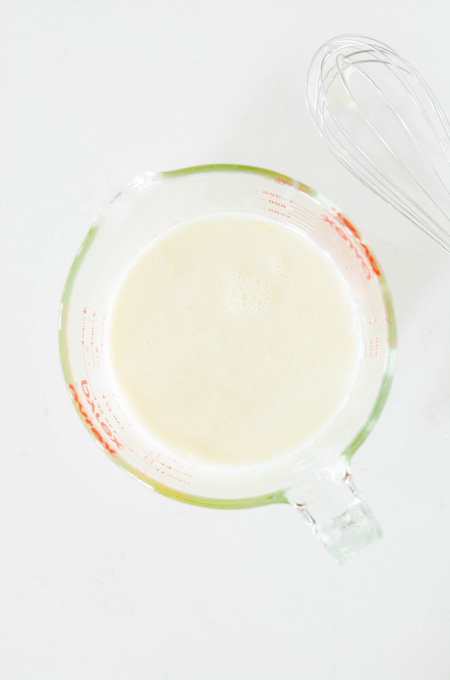
- In a small saucepan, slowly bring the milk to a simmer over low heat. Add the lavender and remove from the heat and let steep for 20 minutes. Strain the milk with a fine mesh strainer over a 1 cup measuring cup to remove the lavender. Add more milk to the lavender milk to equal 1 cup.
LAVENDER CAKE
- Adjust an oven rack to the center position and heat oven to 350 degrees. Spray 3 8-inch round cake pans with nonstick baking spray and set aside.
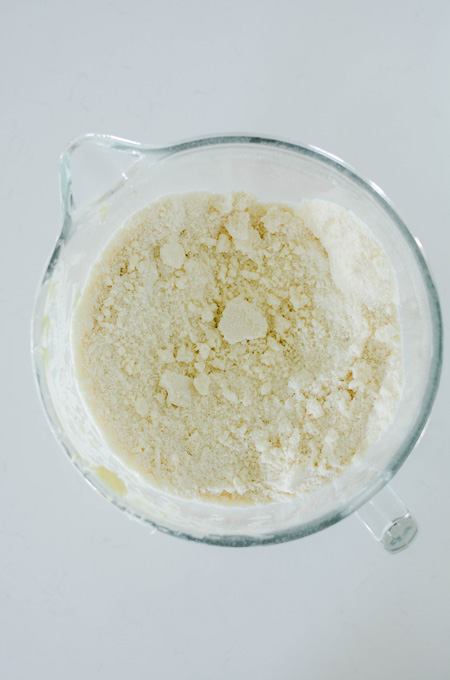
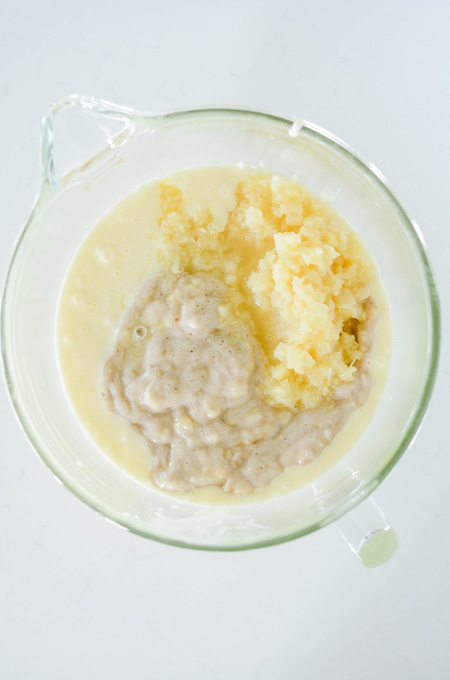
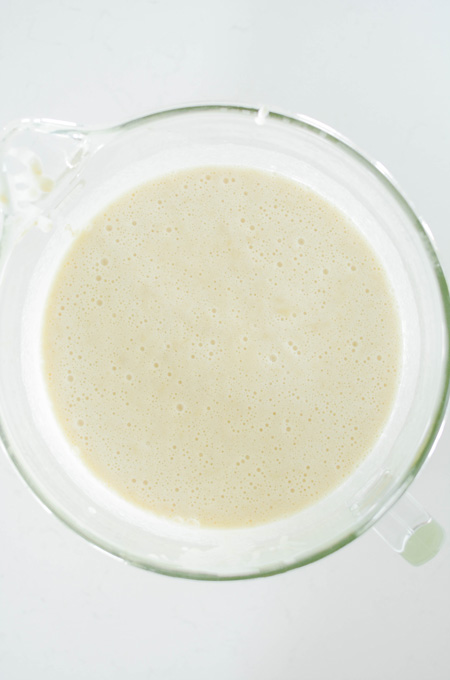
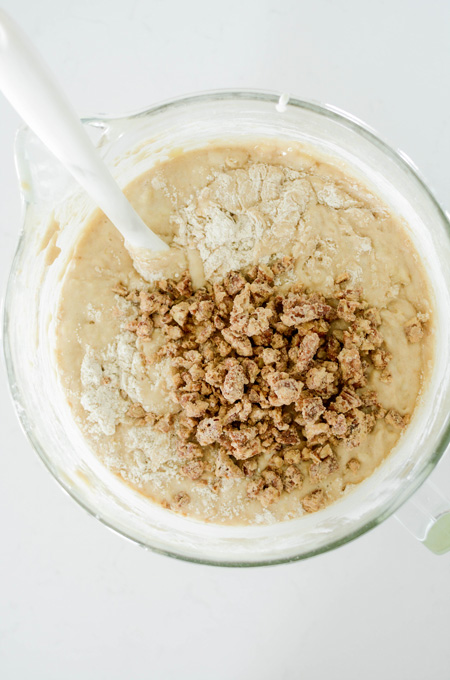
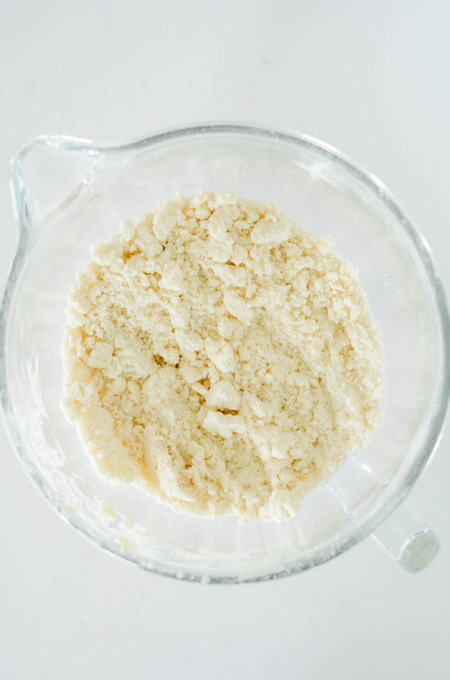
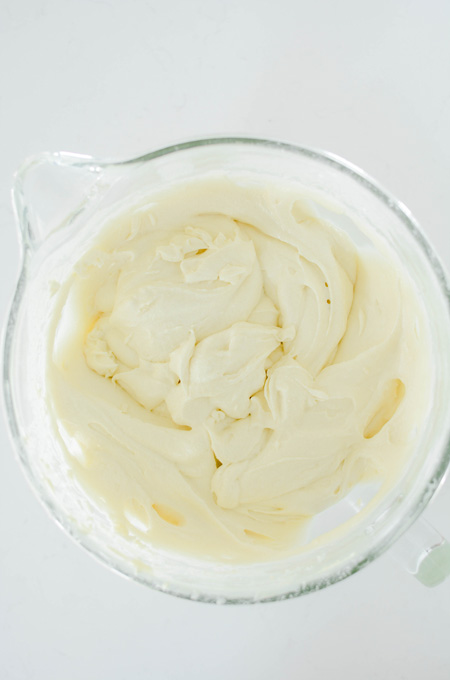
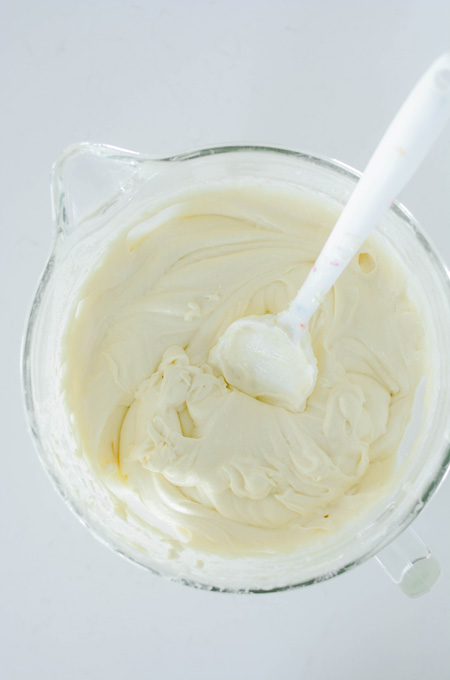
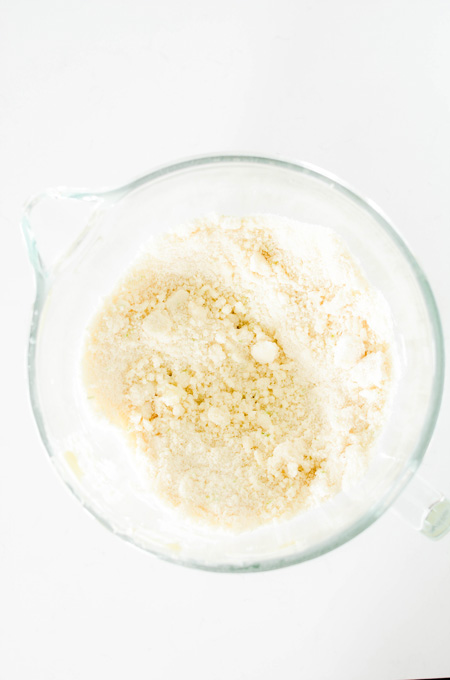
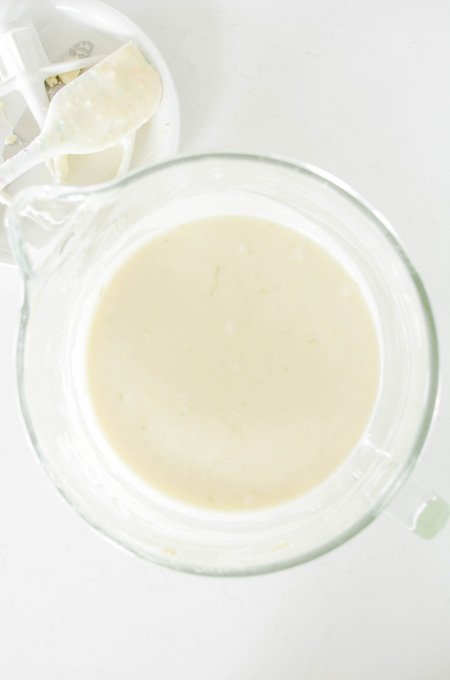
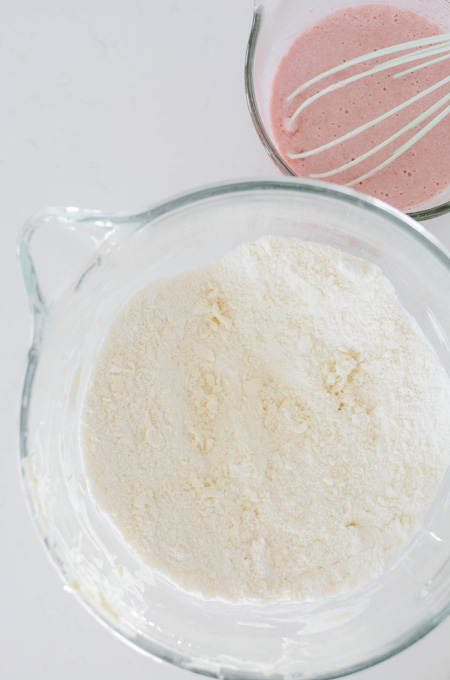
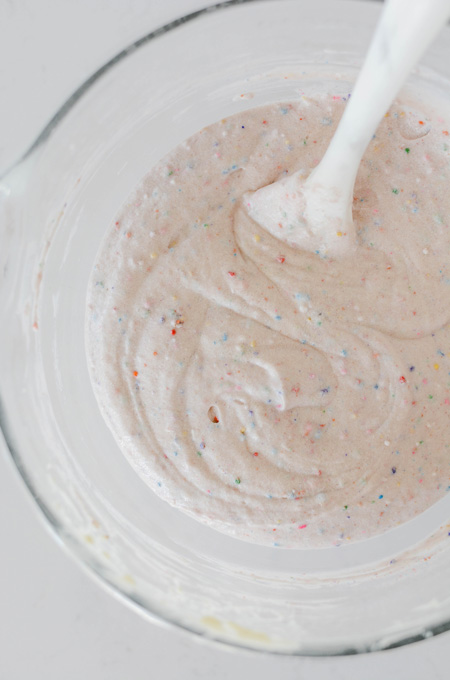
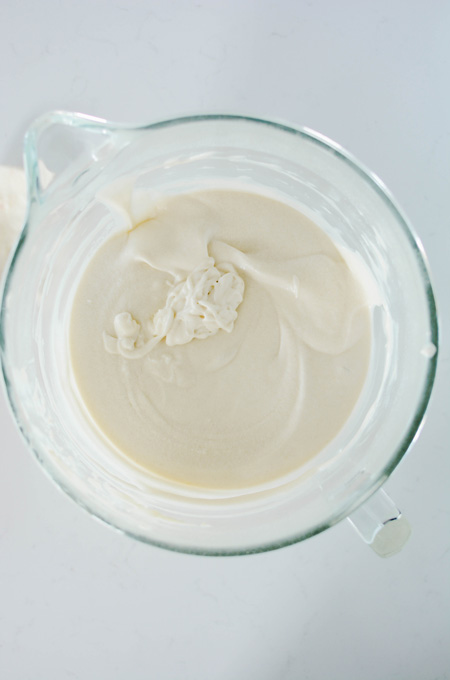
- In a bowl, whisk together lavender milk, egg whites, vanilla and lavender extract. In the bowl of a stand mixer, with the paddle attachment attached, mix the flour, sugar, baking powder and salt on low speed until combined. Add butter one tablespoon at a time until the mixture forms pea-sized pieces, about 1 minute. Reserve ½ cup of the lavender milk mixture and pour the remaining to the flour mixture and mix on medium-high speed until light and fluffy, about 1 minute. Reduce the mixer speed to medium-low and add the reserved ½ cup milk mixture to the batter and mix until combined, about 30 seconds. Do not over mix. The batter may look curdled. Give the batter a final stir by hand with a rubber spatula.
- Divide the batter evenly between the prepared cake pans and smooth tops with a rubber spatula. Gently tap cake pans on the counter to settle the batter and bake until a toothpick inserted in the centers comes out with a few moist crumbs attached, about 20 to 25 minutes, switching and rotating pans halfway through baking.
- Let cakes cook in their pans on wire racks for 10 minutes. Invert cakes on to wire racks to cool completely, about 2 hours.
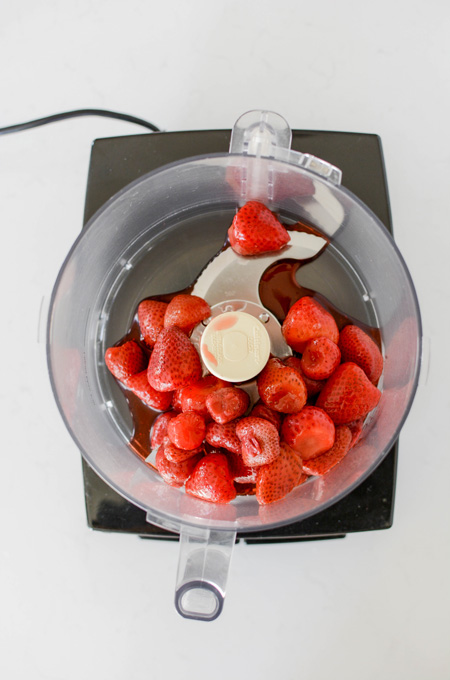
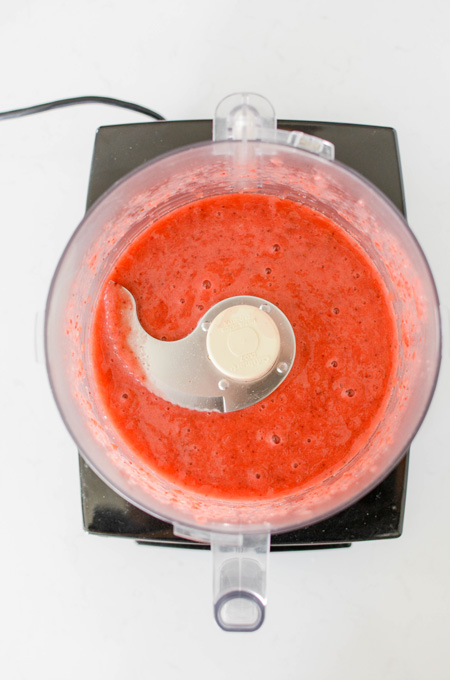
LEMON CURD
- In a medium sized saucepan, whisk together the eggs, sugar, salt, lemon juice and zest.
- Over low heat, whisk constantly for about 15 to 20 minutes or until the mixture starts to thicken. The curd should coat the back of a wooden spoon without being translucent.
- Remove the curd from the heat and stir in the butter. Strain the curd through a fine-mesh sieve into a bowl to remove any solids that may have formed while cooking. Place a piece of plastic wrap on the surface of the curd and chill in the refrigerator for at least 3 hours or overnight.
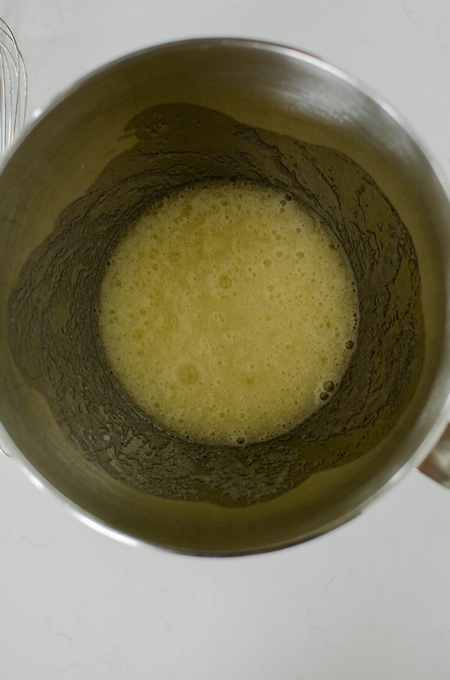
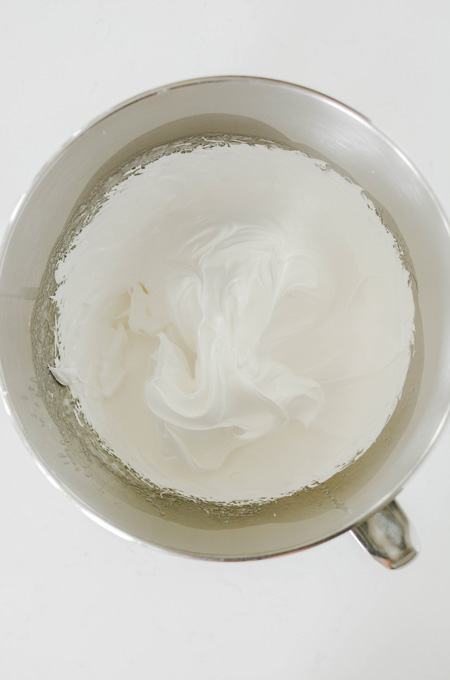
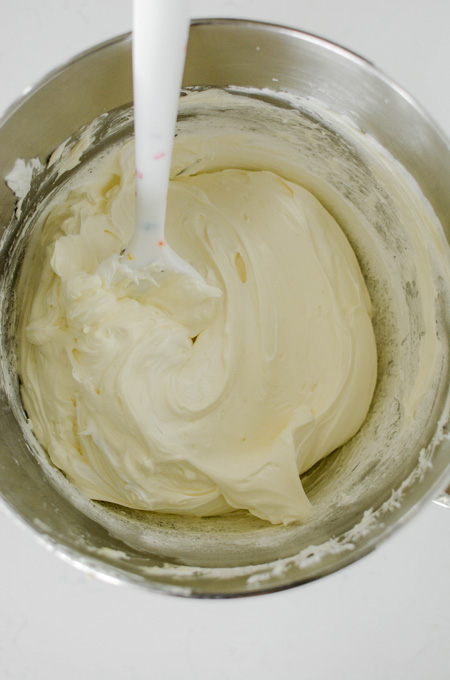
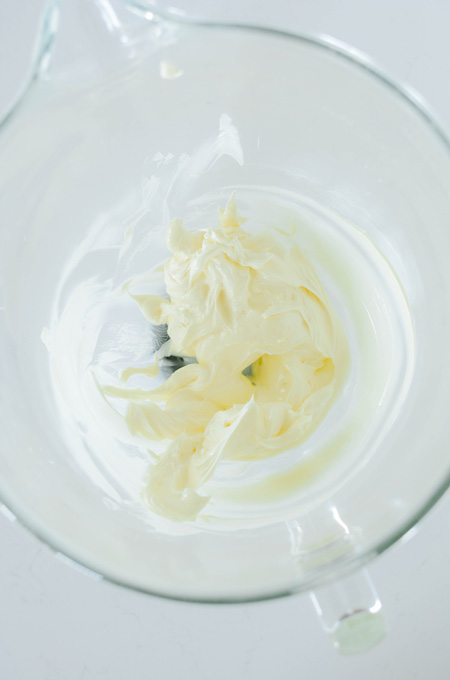
LAVENDER SWISS MERINGUE BUTTERCREAM
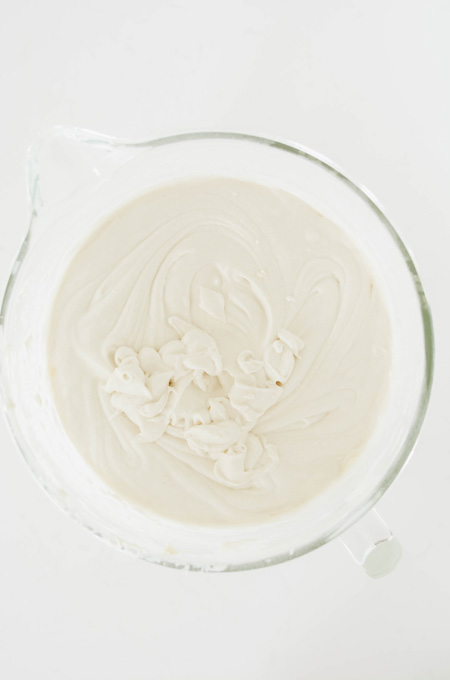
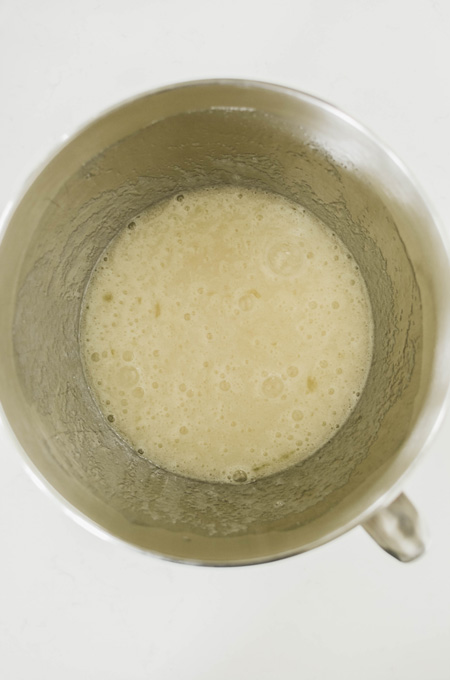
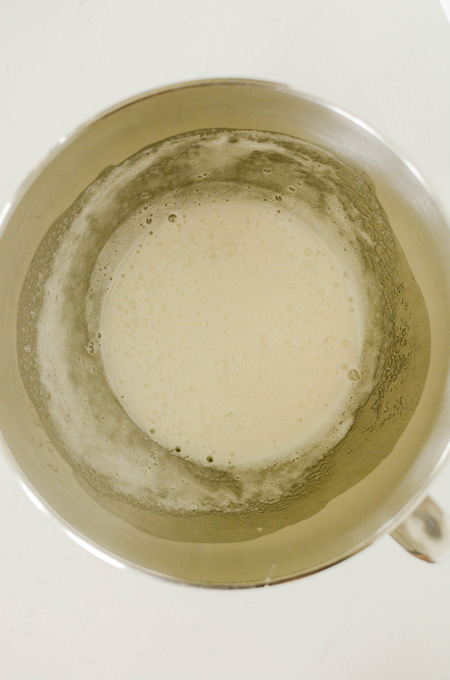
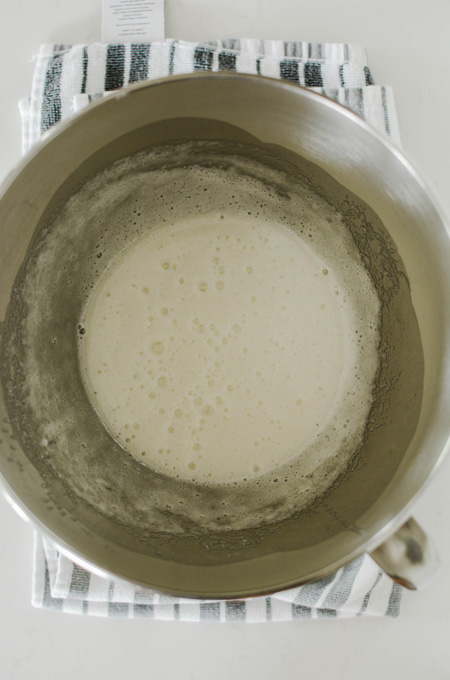
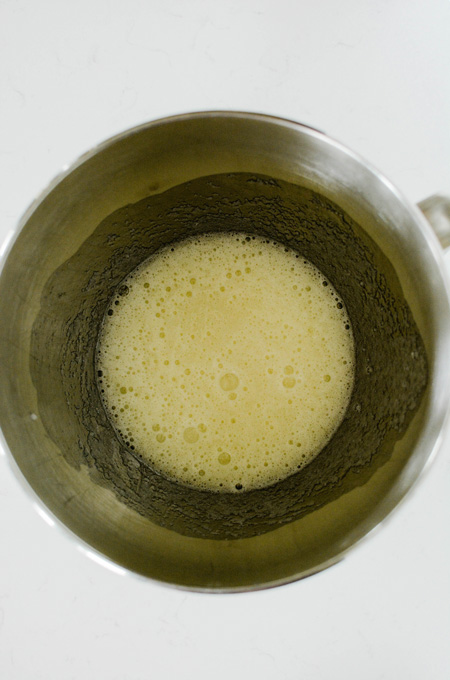
- In the bowl of a stand mixer fitted with the whisk attachment, pour in the egg whites and sugar and whisk by hand until combined. Fill a medium saucepan with about 2 inches of water and bring to a simmer. Place mixer bowl on top, being sure the bottom of the bowl does not touch the water and attach a candy thermometer.
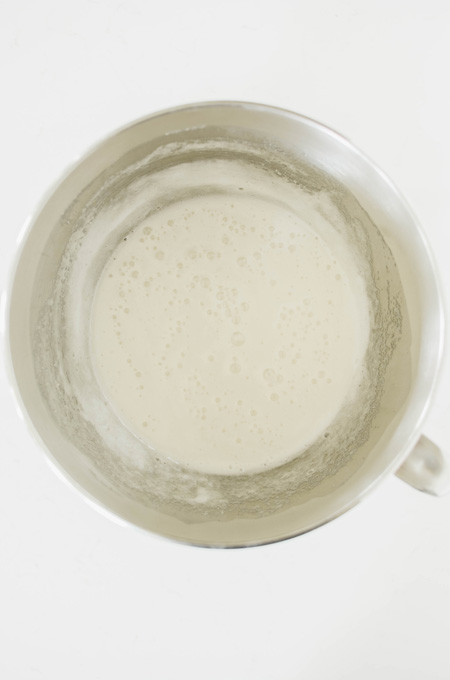
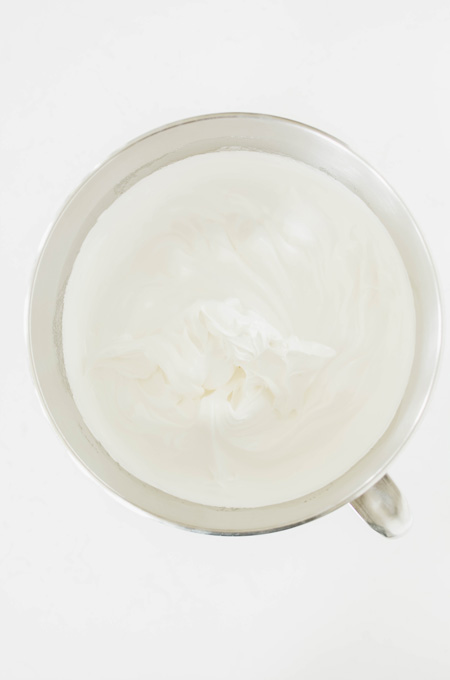
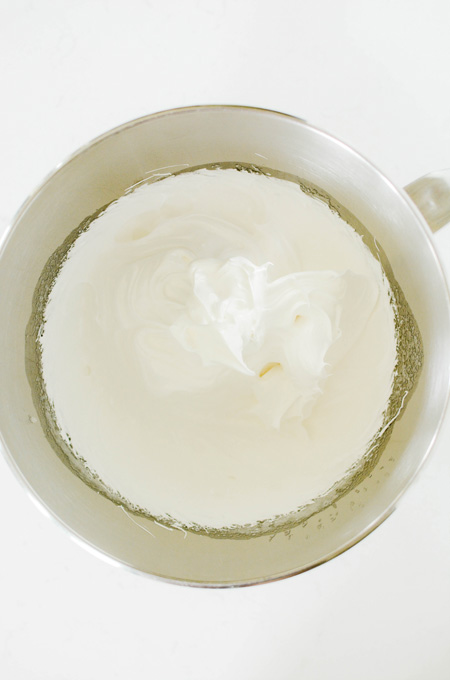
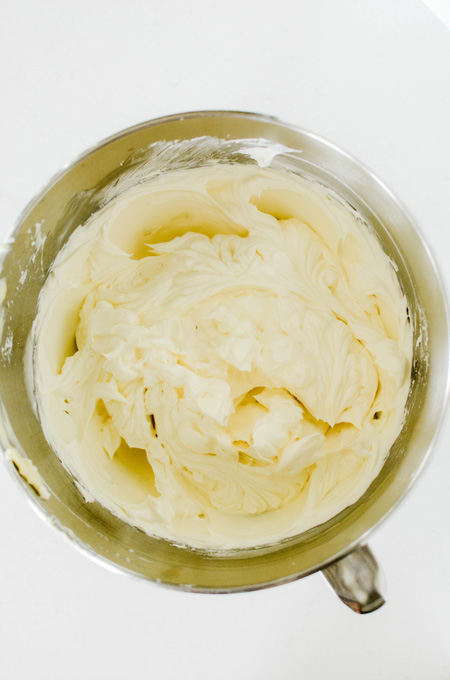
- Whisking occasionally, heat the egg mixture until the temperature reaches 160 degrees. Once the mixture reaches 160 degrees, transfer to a stand mixer and beat the mixture on high speed for 10 minutes or until medium-stiff peaks form. At this point the outside of the mixer bowl should be room temperature. Switch out the whisk attachment with the paddle attachment and with the mixer on low speed, add the butter one tablespoon at a time, and then add the vanilla and lavender extract. Once combined, turn the mixer speed to medium-high and beat until buttercream is smooth, about 4 minutes. Reduce the mixer speed to low and beat for 1 more minute to remove as many air bubbles from the buttercream as possible.
ASSEMBLE
- Center one cake layer on a cake board set on top of a cake turntable. Fit a piping bag with a coupler or plain round tip and fill with about 1 cup buttercream. Pipe a ring around the edge to create a cake dam. Fill the dam with half of the lemon curd, spreading evenly with on offset spatula. Top with the second layer of cake and repeat. Place the last cake layer on top (bottom side up).
CRUMB COAT
- Apply a thin coat of buttercream over the top and sides of the cake and chill in the refrigerator for 15 minutes.
DECORATE
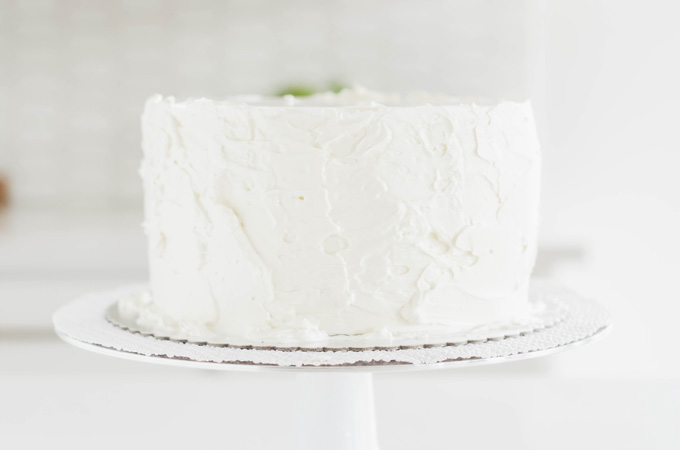
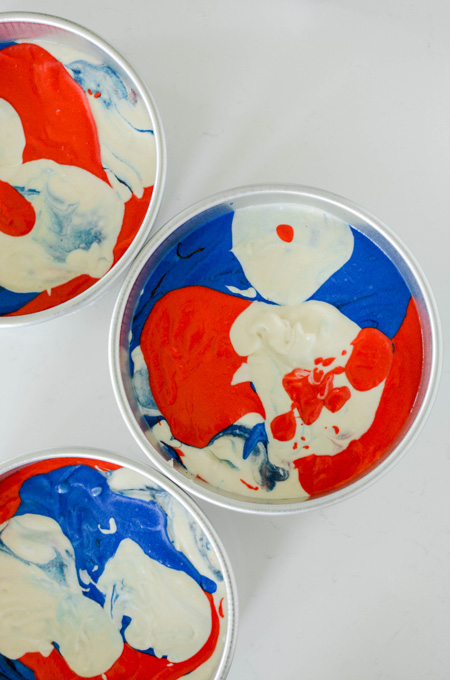
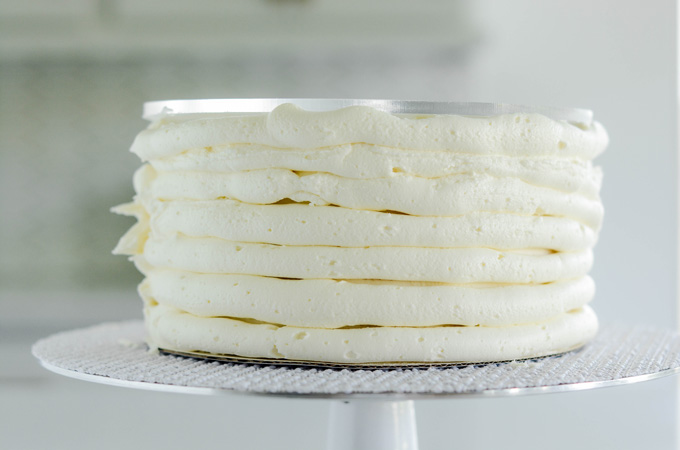
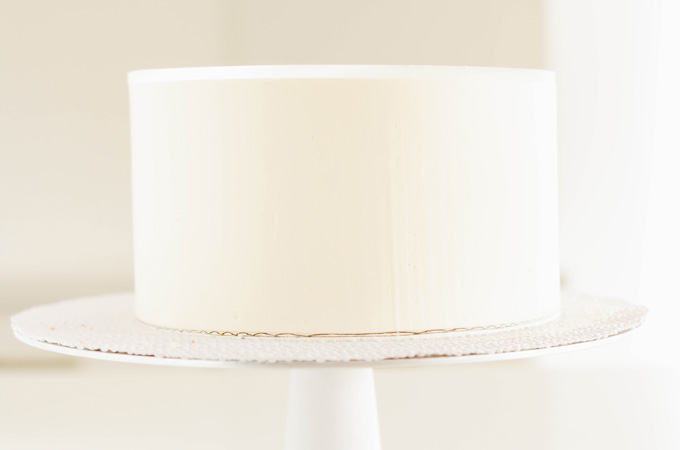
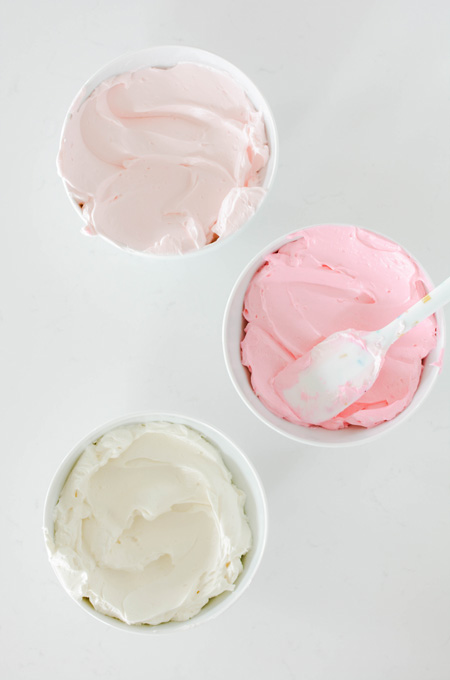
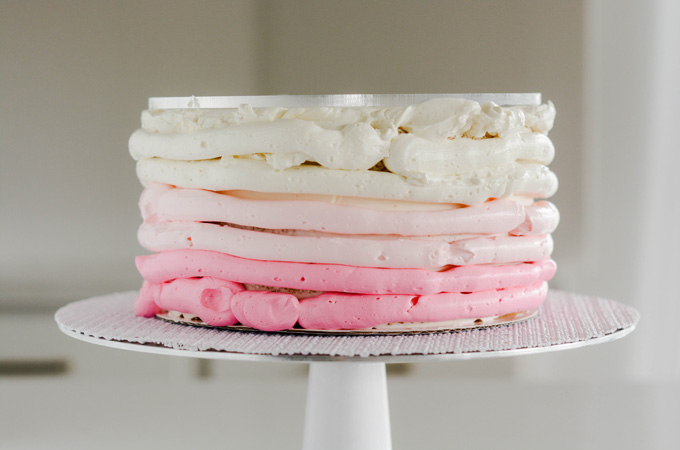
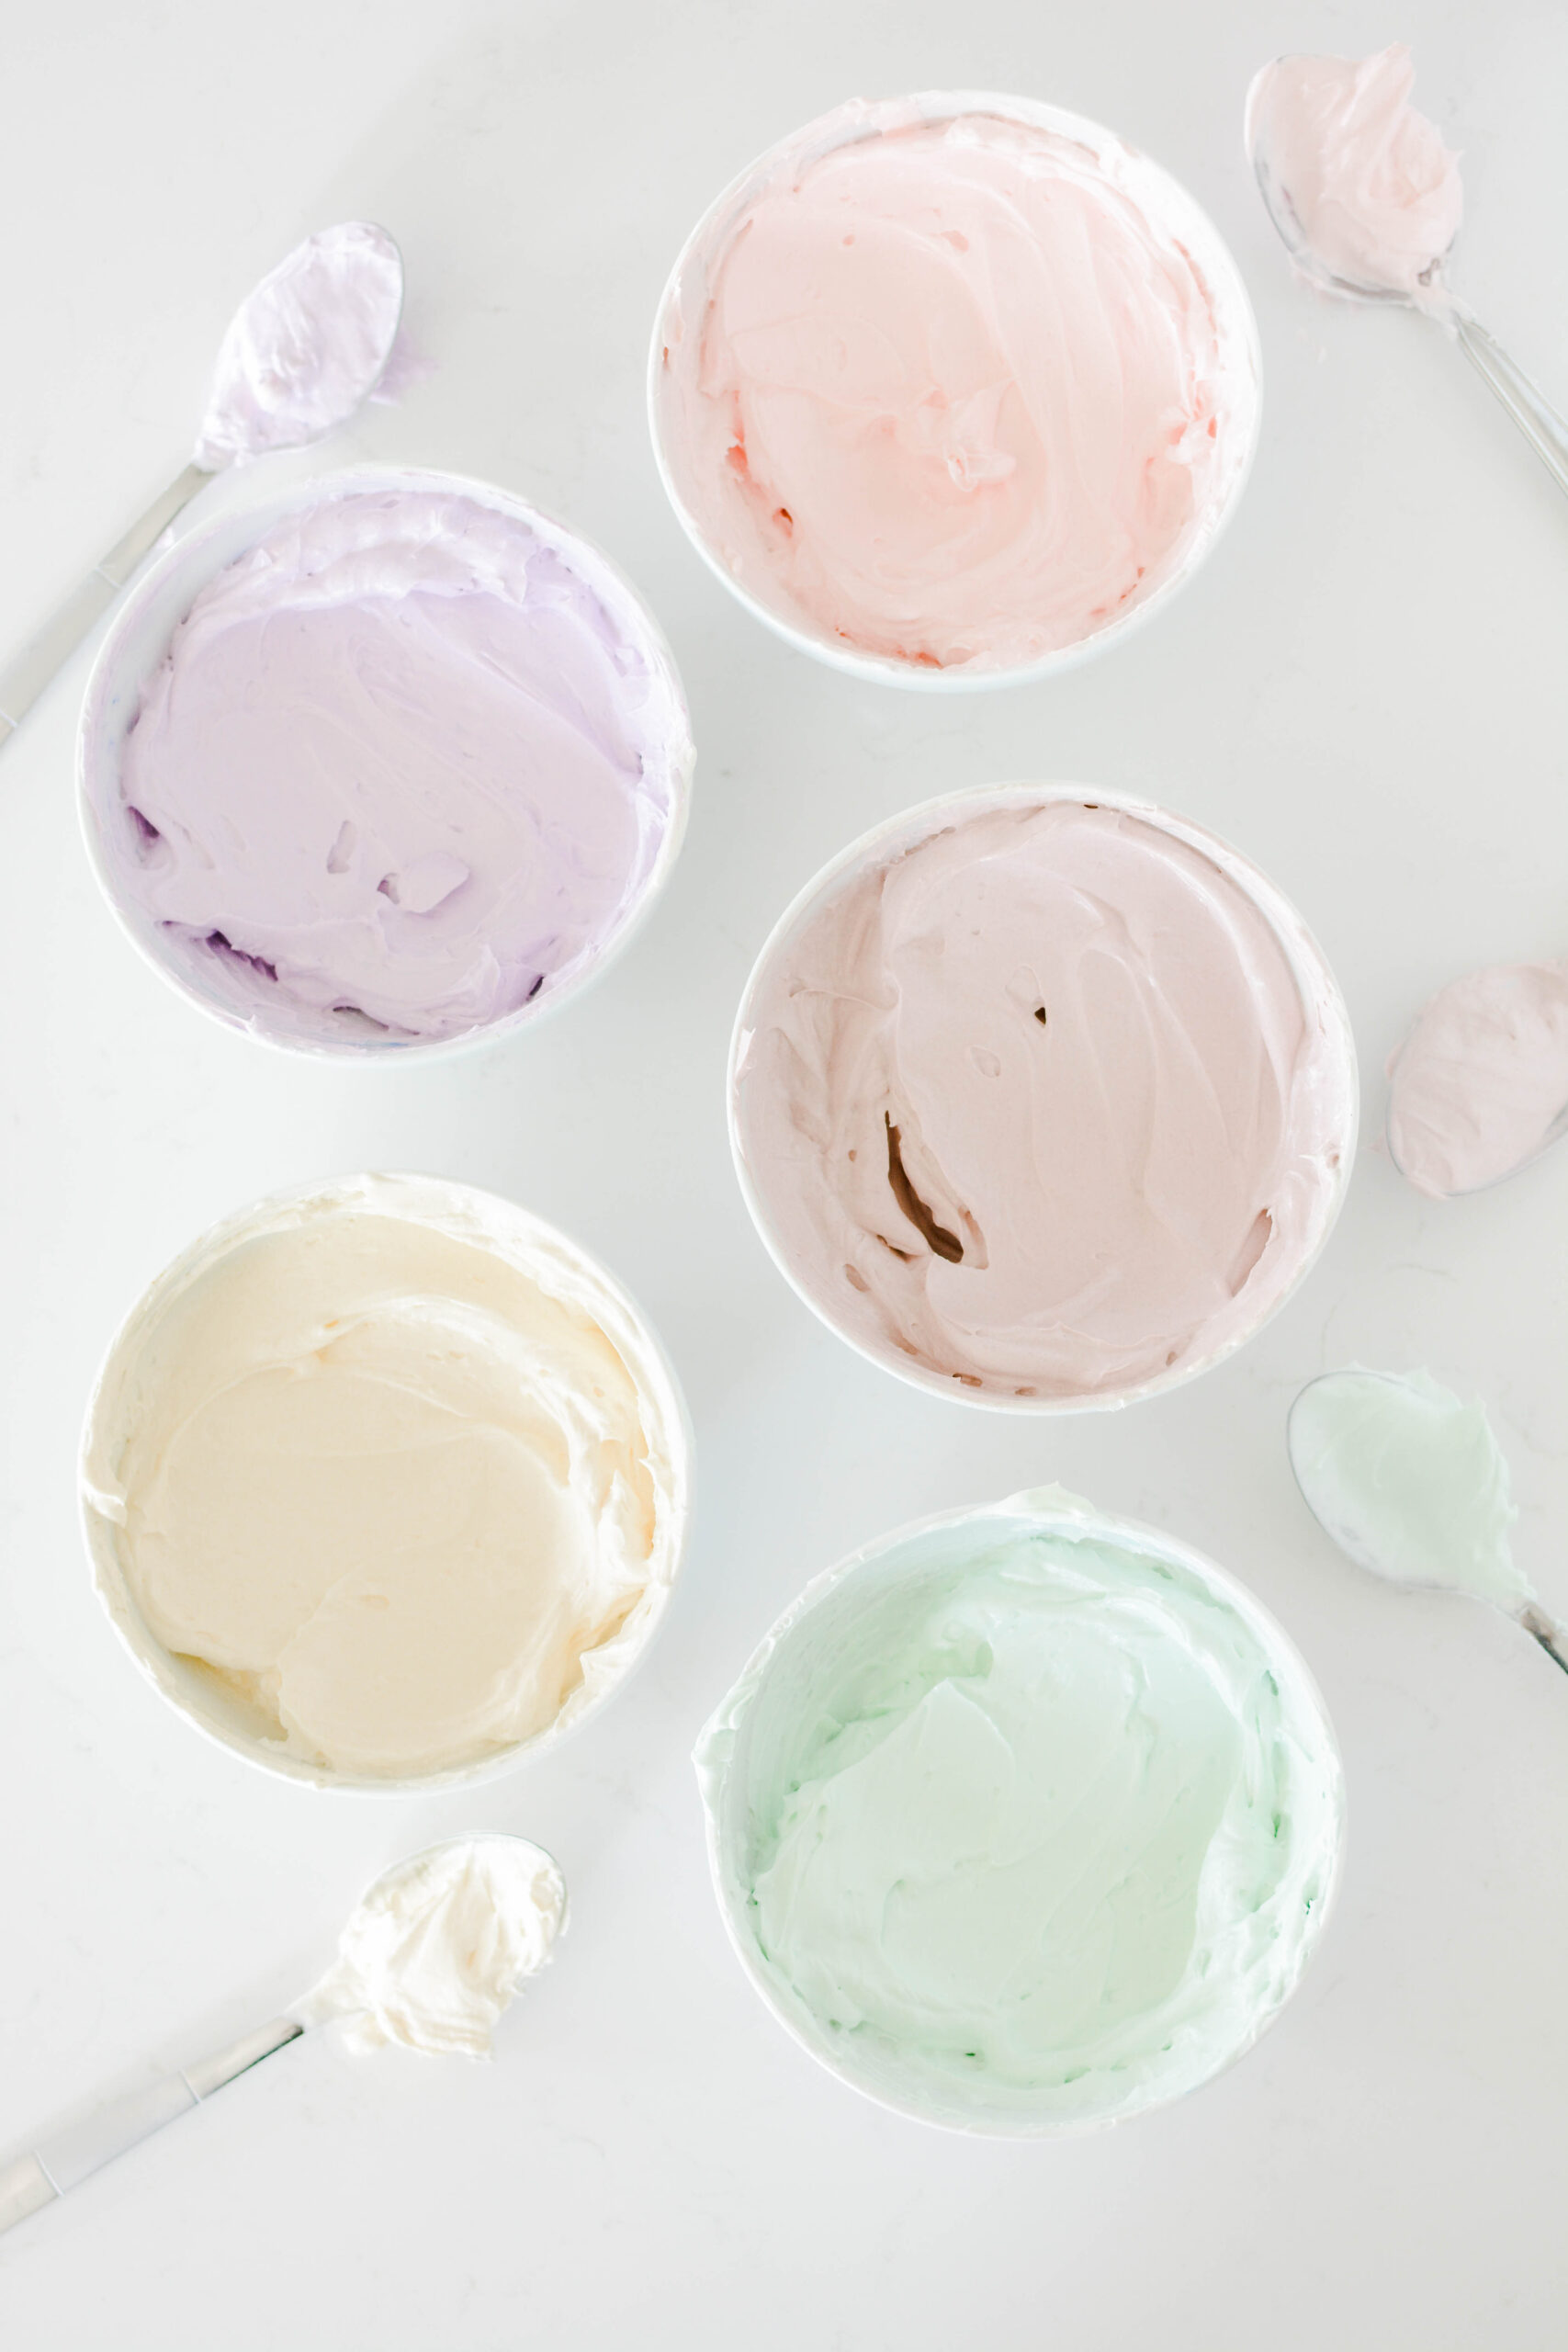
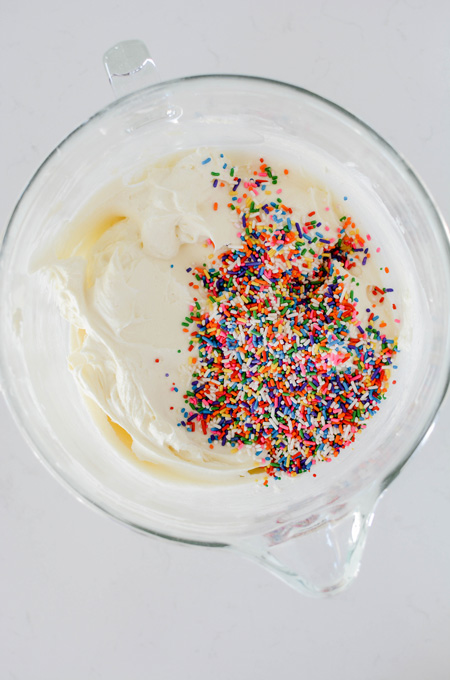
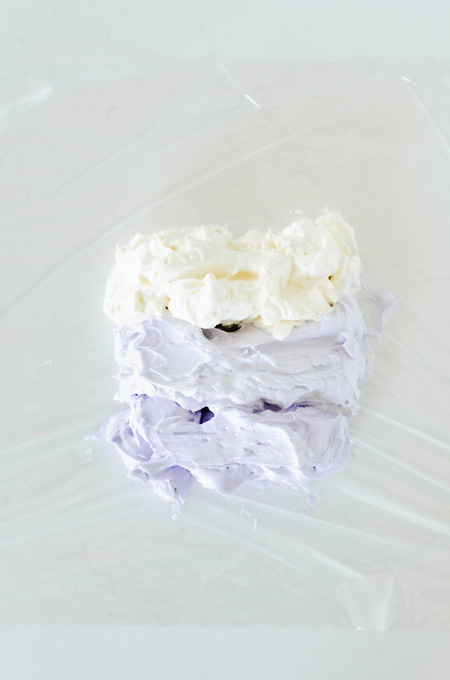
- Add a large dollop of buttercream on top and smooth it out with an offset cake spatula. There should be excess buttercream hanging over the edge. Line an acrylic disc with parchment paper and place disc down on top of the cake, gently pressing to adhere and lining up with the bottom cake board. Divide the remaining buttercream among three bowls. Leave one bowl uncolored. Use Americolor Lilac gel food coloring and color one bowl a rich purple. Lightly color the last bowl until you have a lighter color purple. Starting at the bottom of the cake apply the darkest purple to the cake with a small offset cake spatula, focusing just on the the bottom edge. Apply the lighter purple buttercream to the center side of the cake. Lastly apply the uncolored buttercream to the top side of the cake.
- Gently place the cake scraper on the bottom cake board and the top acrylic disc and rotate the cake turntable to smooth and blend the buttercream. Place excess buttercream back in the bowl to use for decorating. Fill in any gaps with coordinating color and using the cake scraper, smooth out again. Place the cake in the refrigerator to chill for 15 minutes.
- Insert an offset spatula under the acrylic disc and gently rotate the cake turntable to release the disc. Peel off the parchment paper. Smooth out the top of the cake with a cake spatula.
WHITE CHOCOLATE DRIP
- In a microwaveable bowl, combine candy melts and heavy cream and microwave on 20 second intervals, stirring between each interval until melted.
- Let chocolate cool at room temperature for about 15 to 20 minutes. Add chocolate drip to a squeeze bottle, piping bag or use a spoon to apply to the sides of the cake. Pour remaining chocolate drip in the center of the cake and spread to meet the edges of the dripped chocolate.
- Chill the cake in the refrigerator for 1 hour so the chocolate drip can set before adding additional decoration.
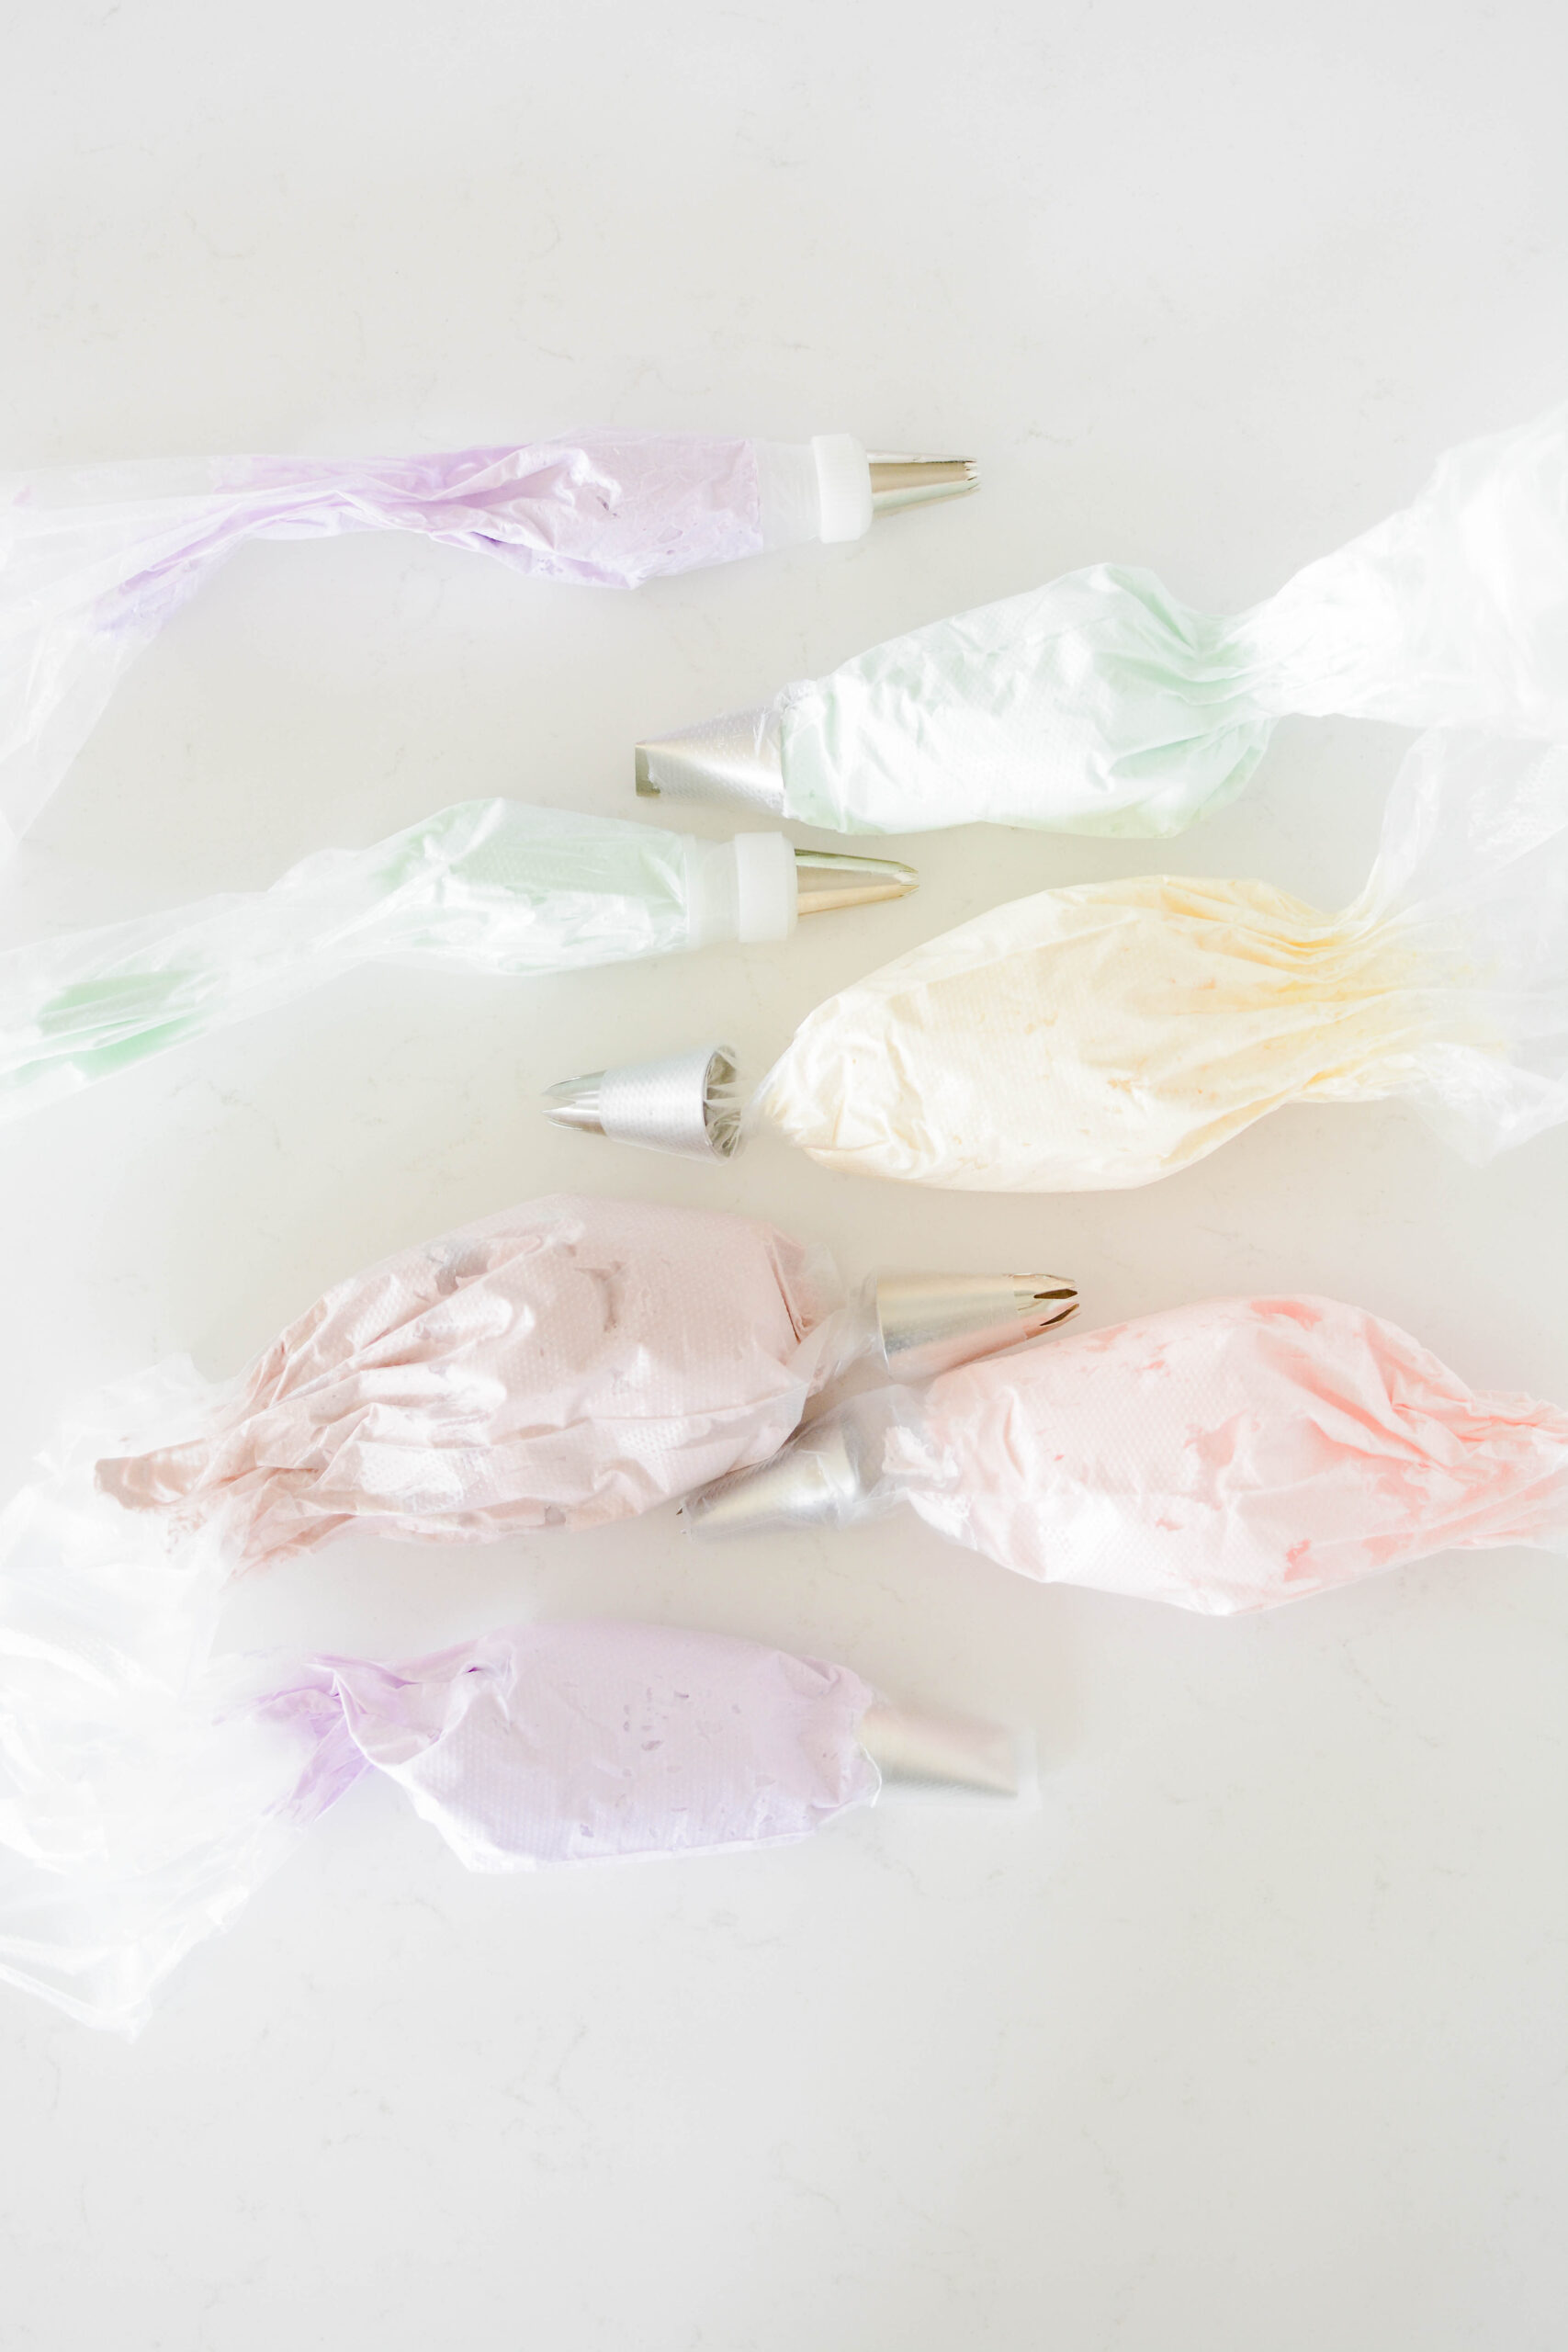
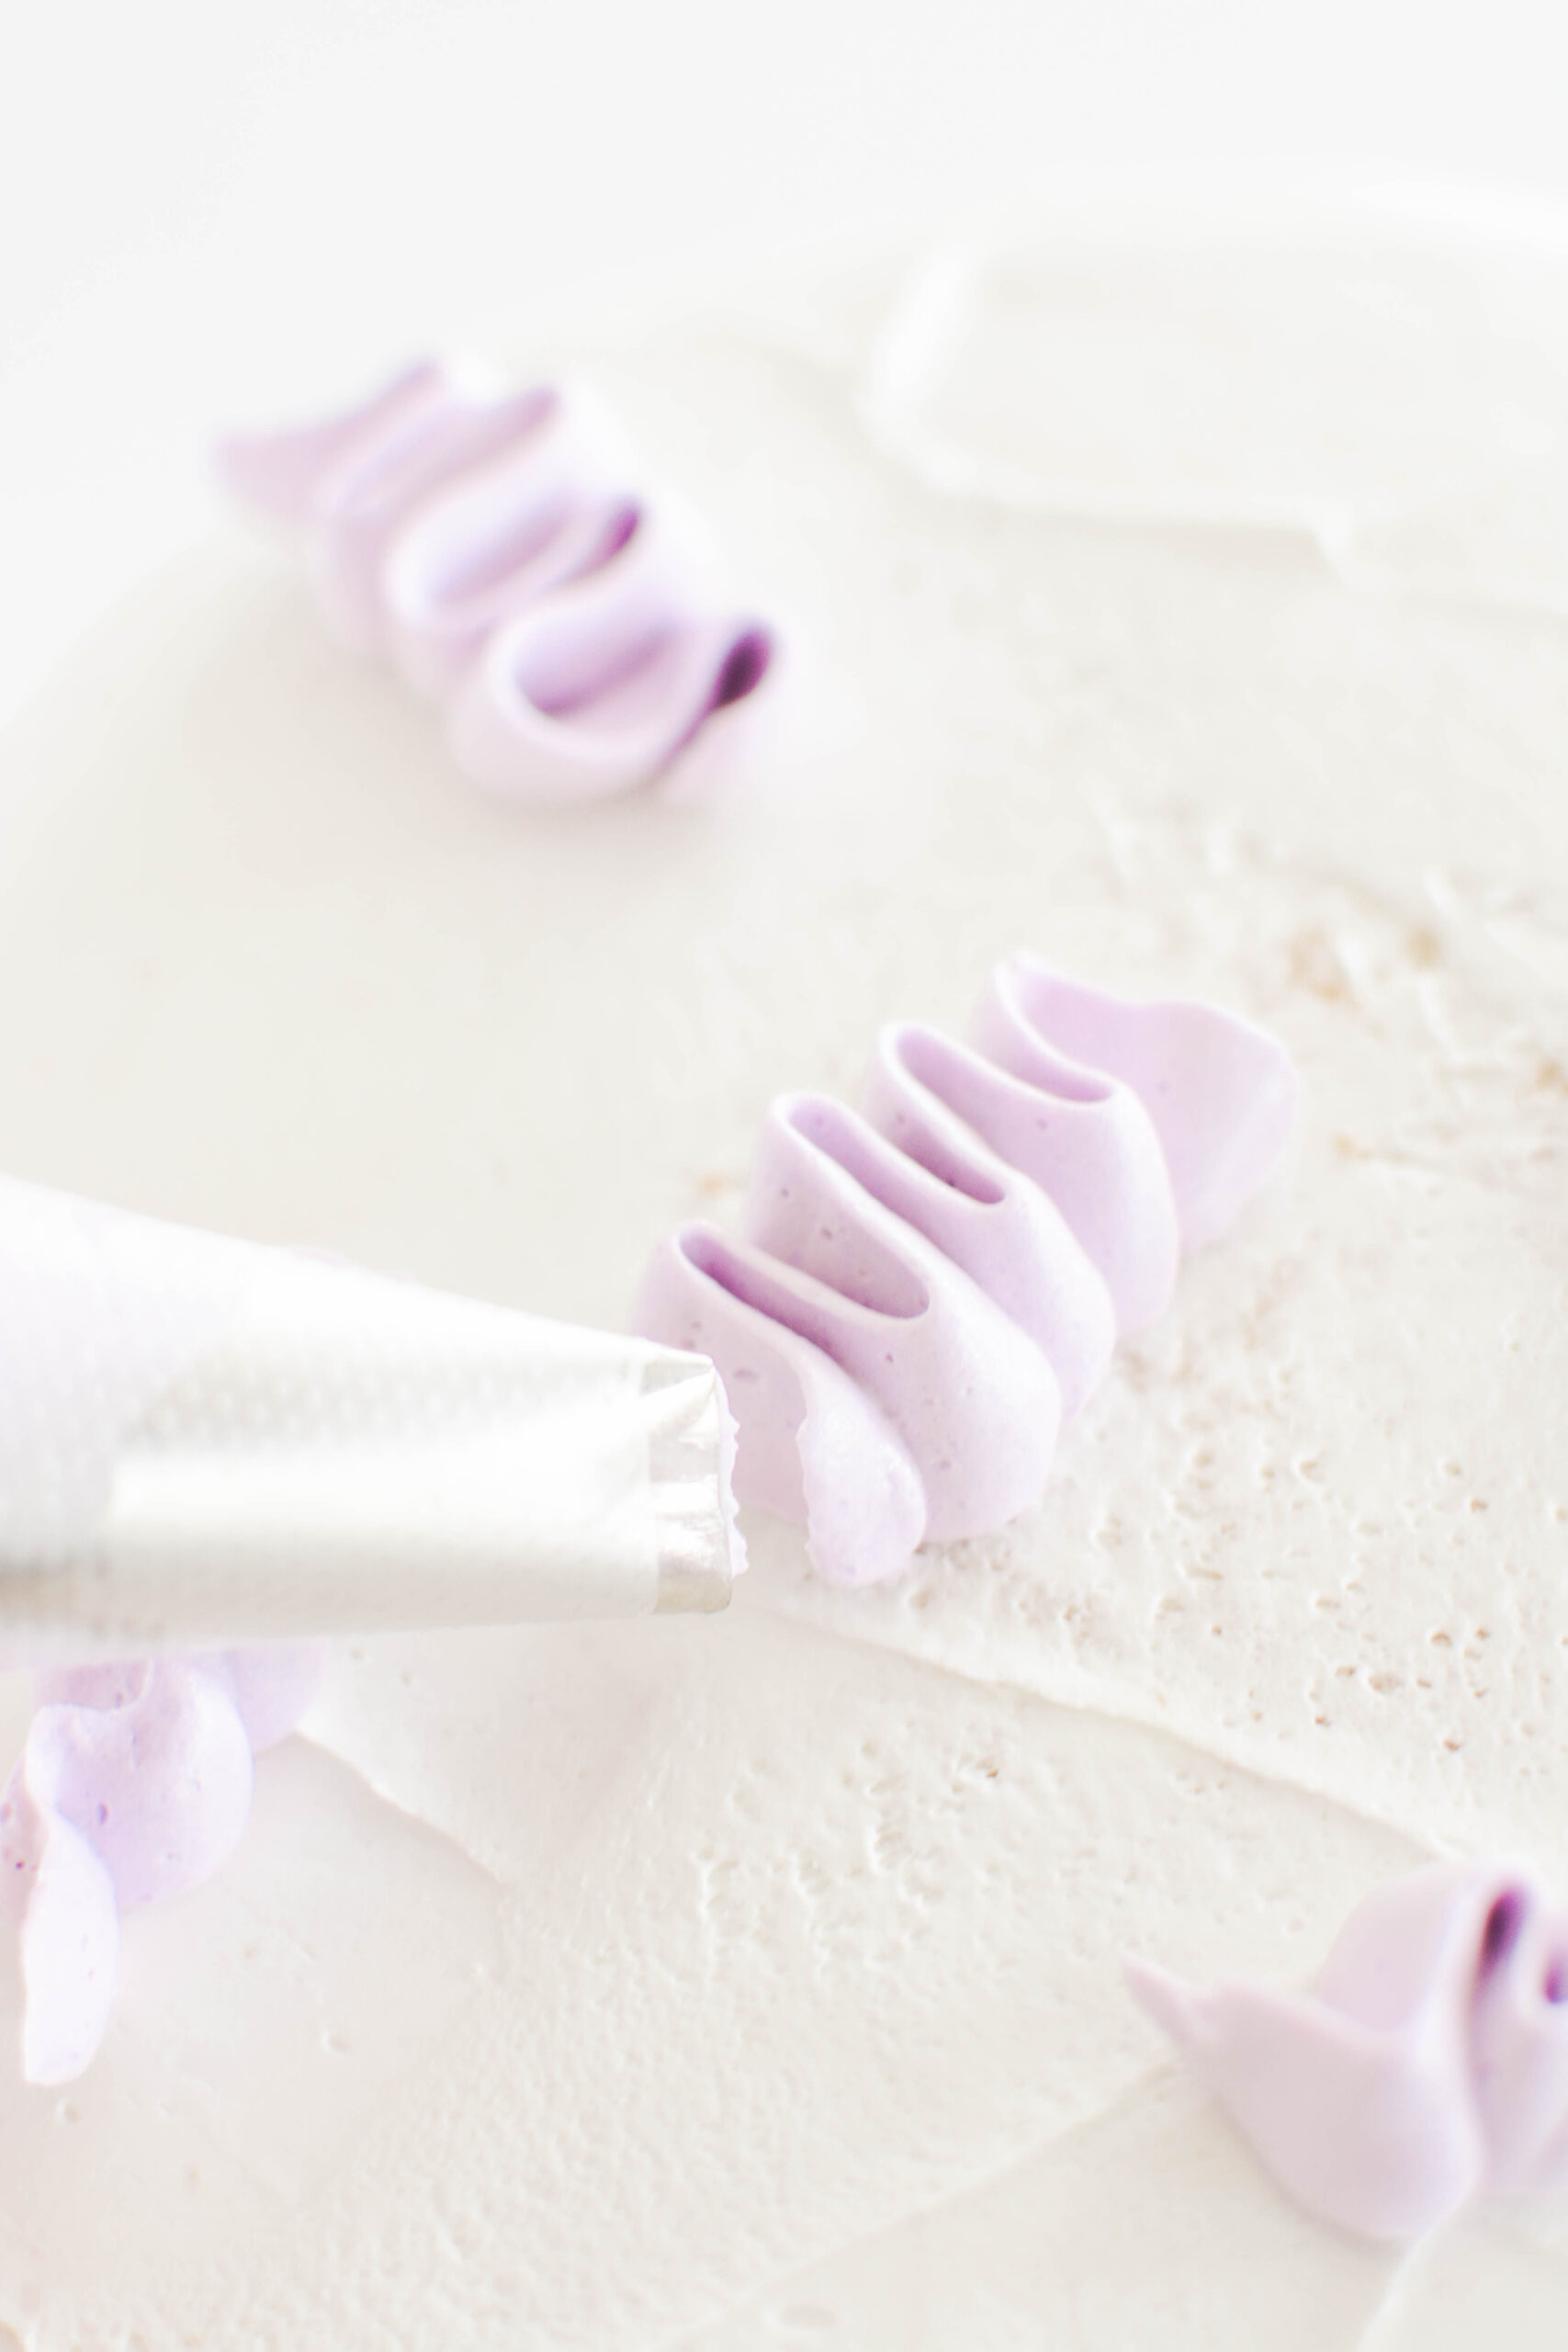
- Fit a piping bag with Ateco piping tip #828 and fill with remaining buttercream. Pipe 8 buttercream swirls on the top edge of the cake.
- Pick out the best looking lemon slices and cut them in half to create moon shaped lemon slices. Place a candied lemon slice between each swirl. Sprinkle the top with some culinary lavender and pearl dragees and serve.
Notes
Cake layers can be stored wrapped in plastic in an airtight cake container in the refrigerator for up to 3 days
Lemon curd can be made up to 7 days in advance, stored in the refrigerator.
Assembled cake can be stored in an airtight cake container in the refrigerator for up to 3 days. Bring to room temperature before serving.
Nutrition Information:
Yield: 12 Serving Size: 1Amount Per Serving: Calories: 597Total Fat: 27gSaturated Fat: 13gTrans Fat: 0gUnsaturated Fat: 12gCholesterol: 125mgSodium: 550mgCarbohydrates: 82gFiber: 2gSugar: 55gProtein: 10g
*Nutrition information is an estimate and will vary.*