As an Amazon Associate, I earn from qualifying purchases.
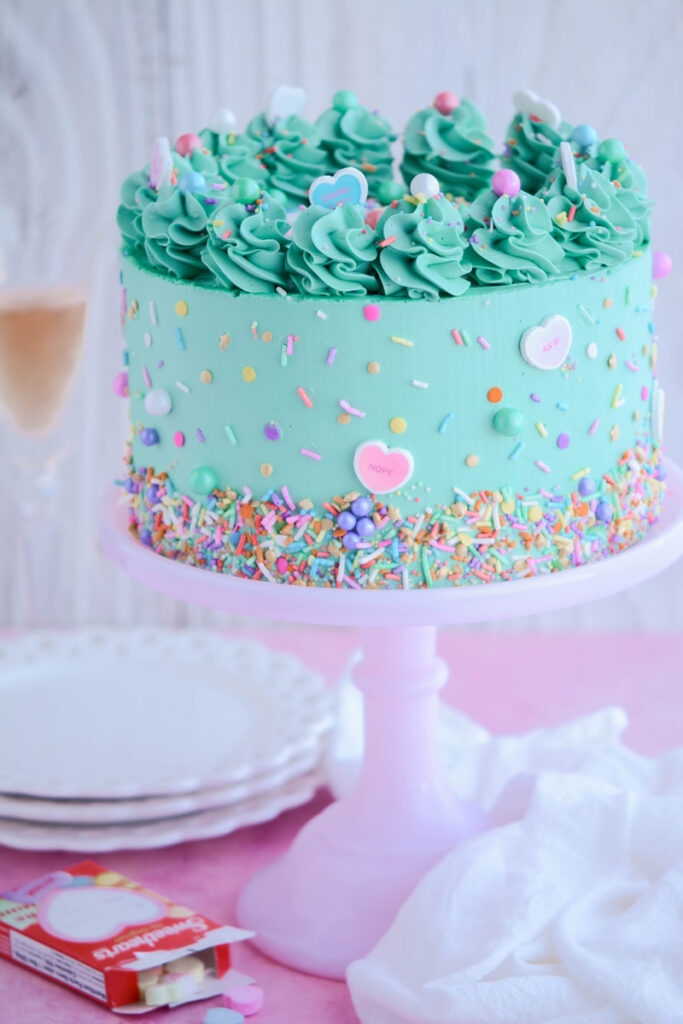
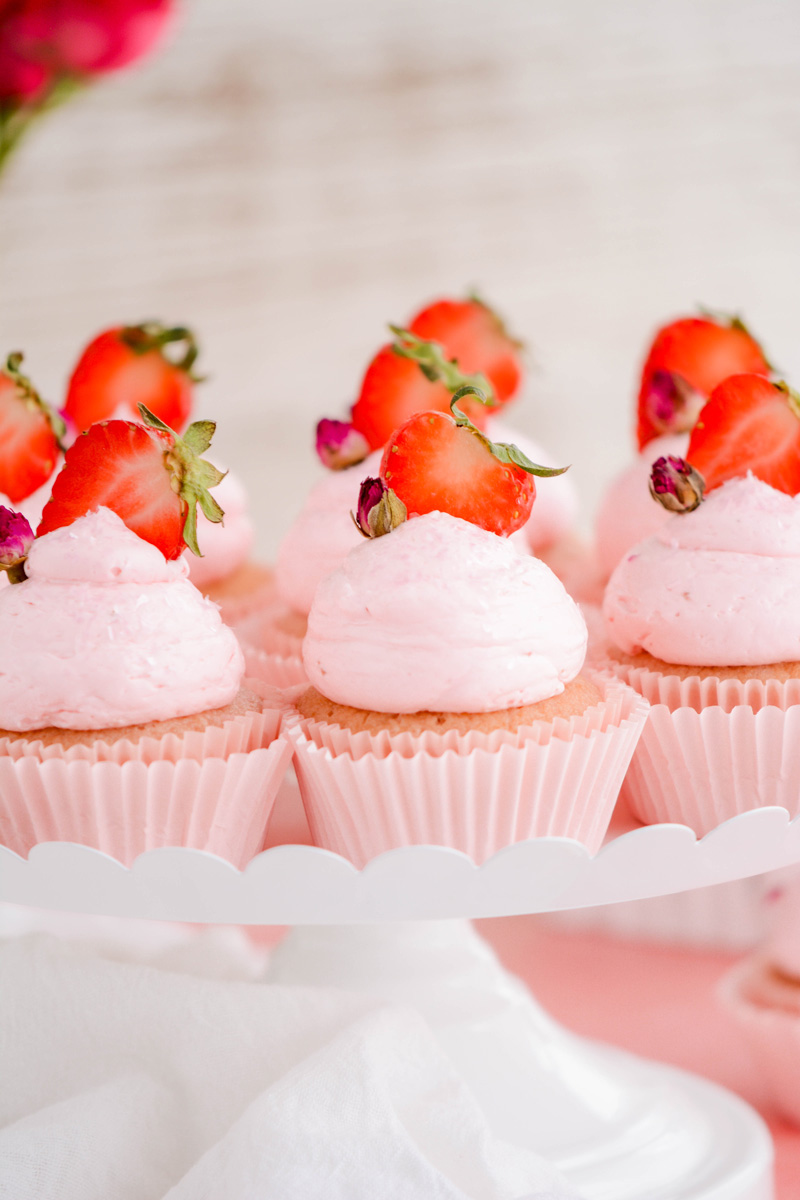
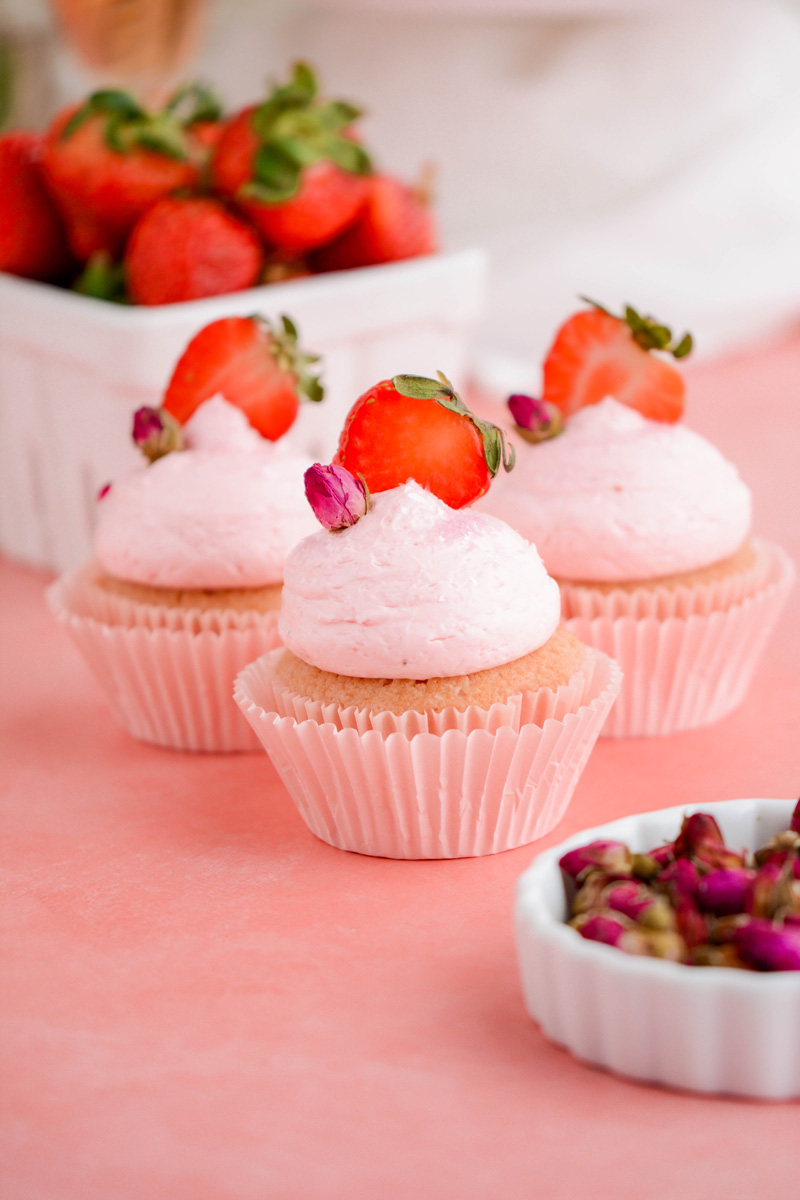
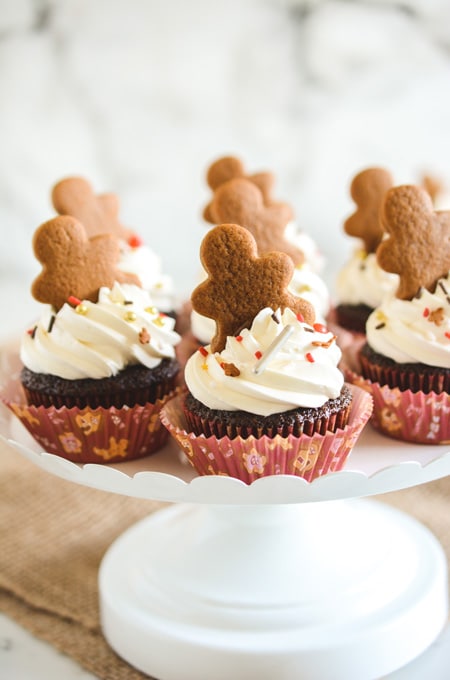
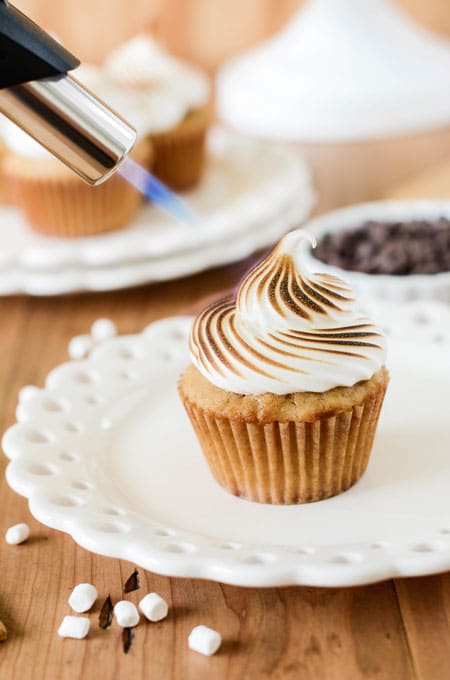
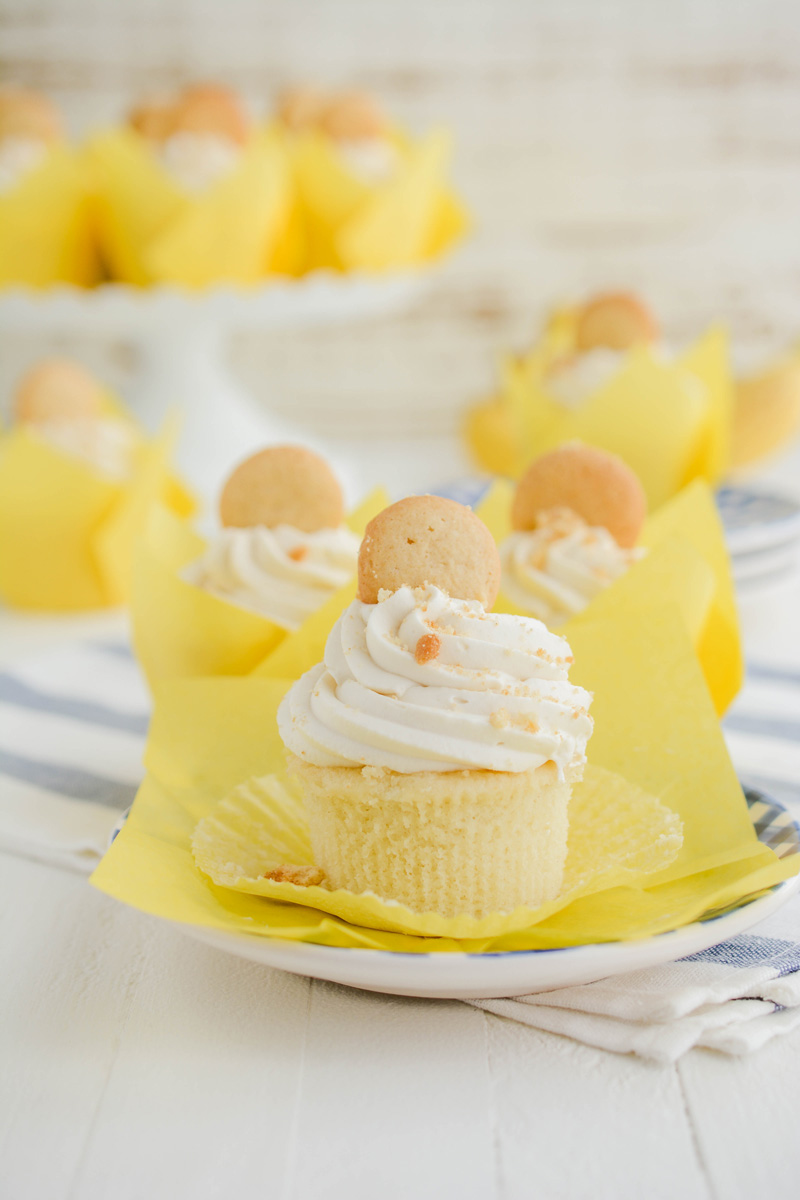
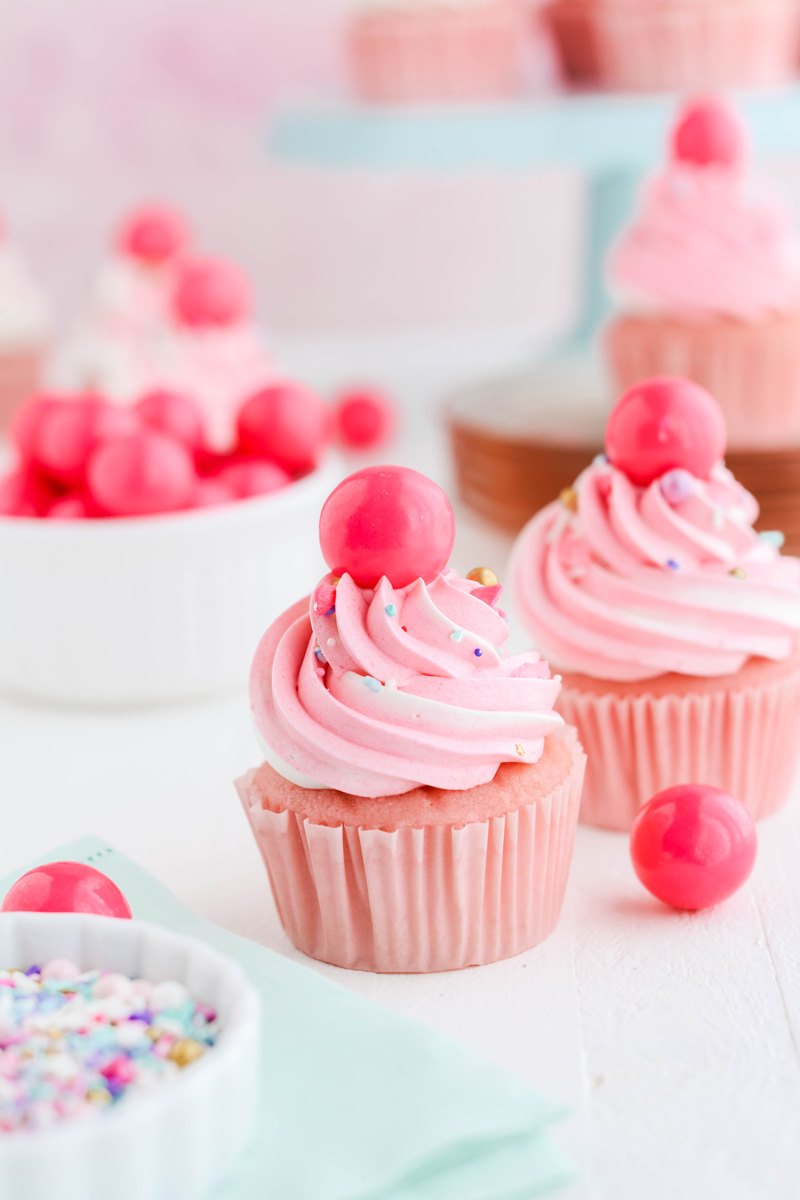
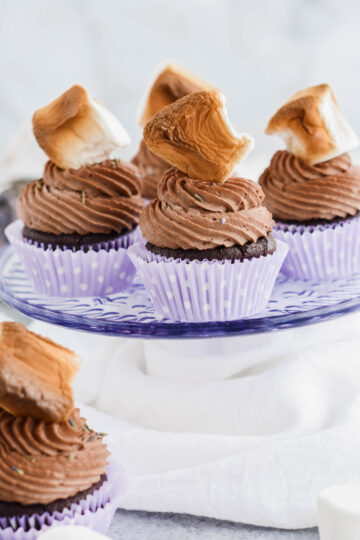
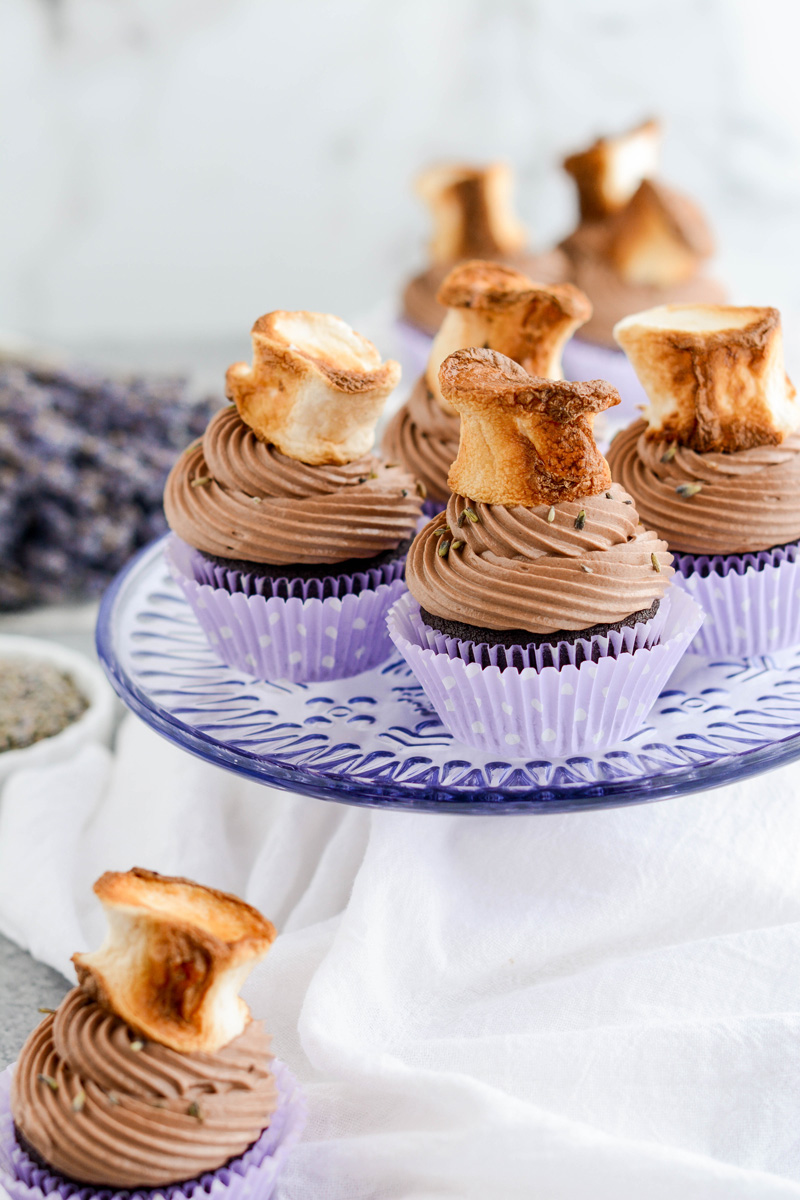
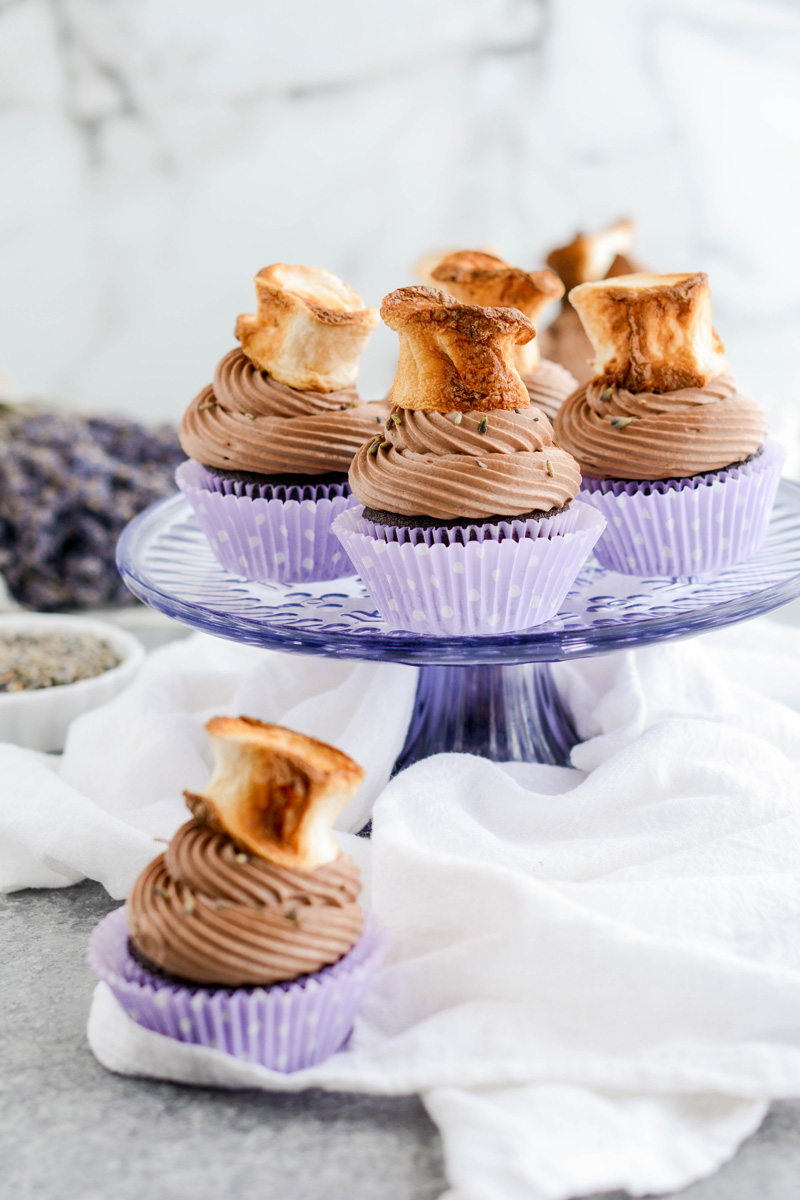
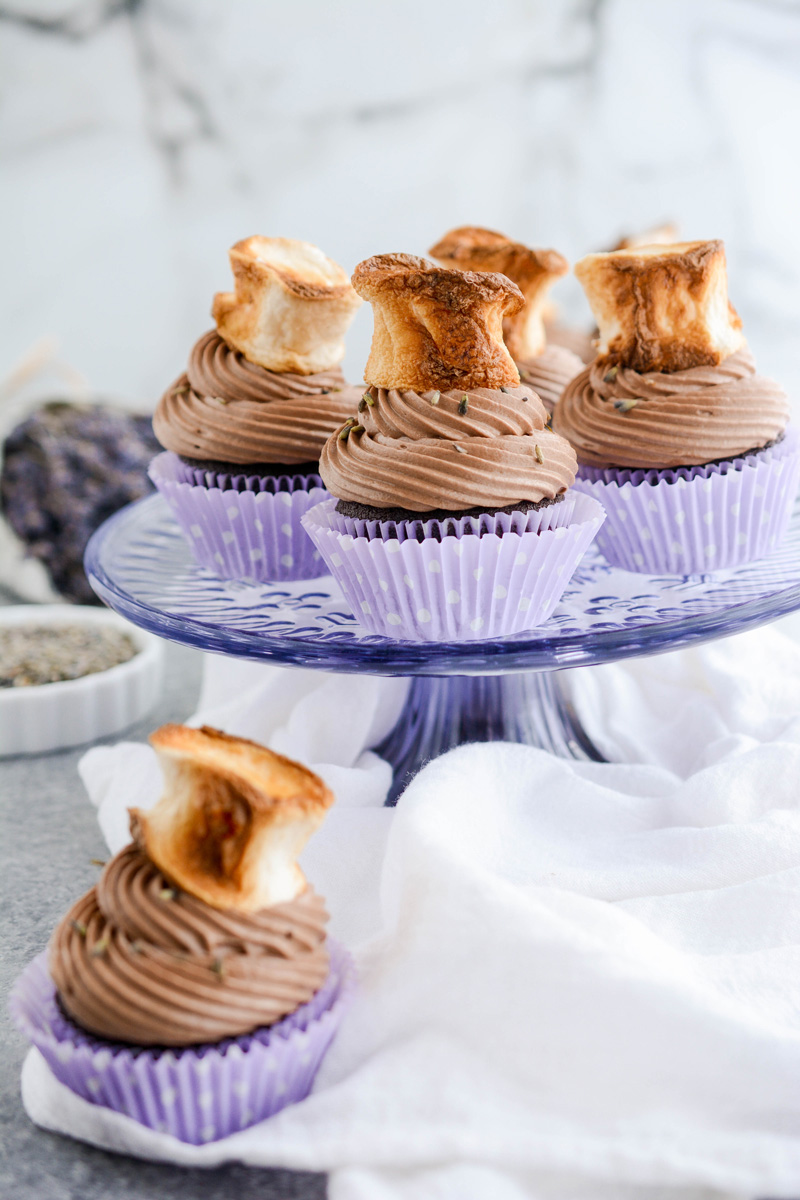
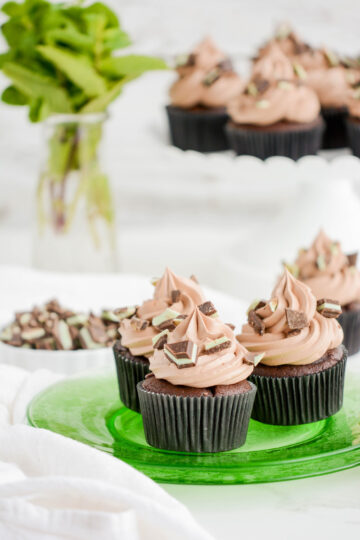
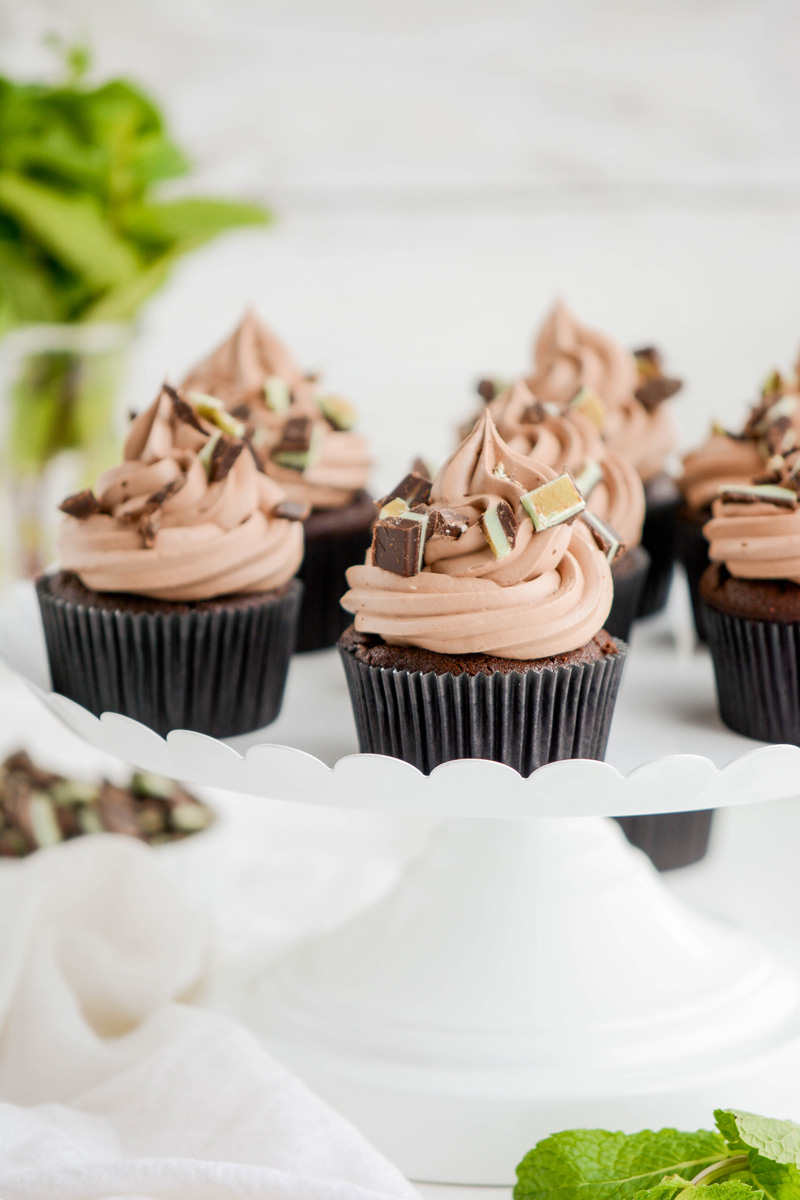
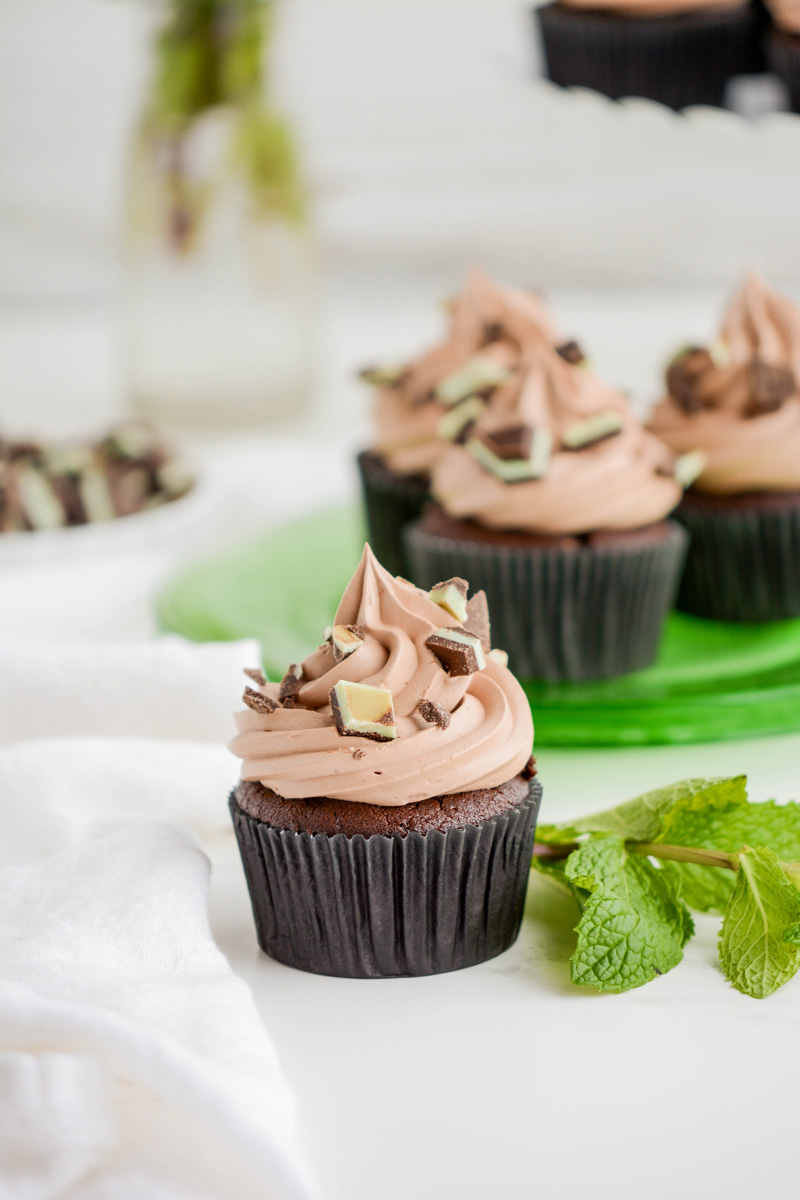
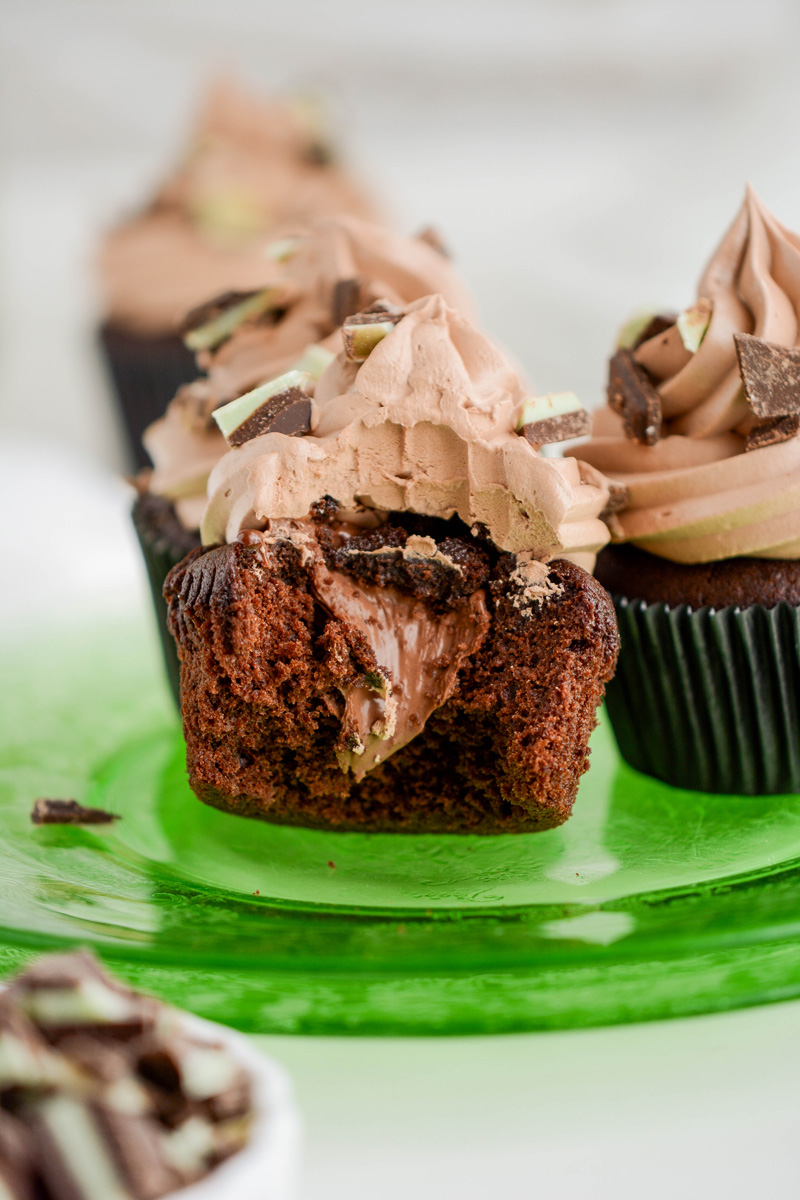
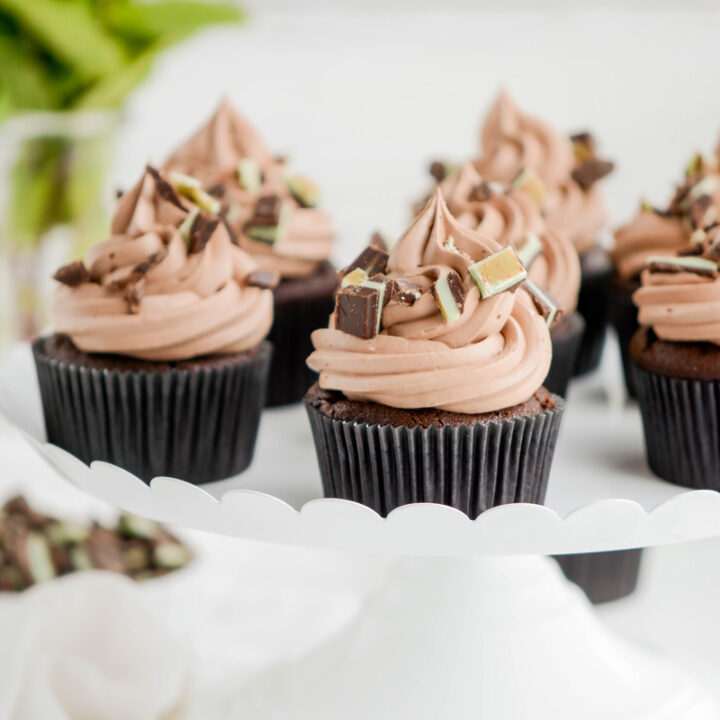
Get ready to sink your teeth into these homemade Chocolate Mint Cupcakes! With each bite you'll get a taste of rich chocolate-mint cake, stuffed with creamy chocolate filling and topped with silky chocolate-mint Swiss meringue buttercream.

Chocolate Mint Cupcake Ingredients
- All-purpose flour: is very versatile for baking and is great for things that require a little extra structure.
- Baking soda: is a leavener and works with acidic ingredients like sour cream to produce carbon dioxide.
- Baking powder: is a mixture of cornstarch and baking soda. Baking powder reacts twice, when it comes into contact with liquid and when it comes into contact with heat, creating bubbles in the batter that help give the cake its structure.
- Salt: helps bring out the flavor.
- Boiling water: is used in this recipe to melt the chocolate. TIP: To accurately measure boiling water, bring the water to a boil, then pour into a heatproof liquid measuring cup.
- Unsweetened chocolate: is the traditional choice for recipes that produce a bold chocolate flavor.
- Dutch-processed cocoa powder: is less acidic than natural cocoa powder and enhances browning.
- Instant espresso powder: intensifies the chocolate flavor.
- Unsalted butter: is a fat that is rich in flavor and helps determine the texture of the cake.
- Light brown sugar: helps bring out the chocolate flavor in the cake.
- Eggs: binds thickens and emulsifies. I always use large eggs for consistency sake.
- Sour cream: is an acidic ingredient that works with the baking soda to leaven the cake. Sour cream also helps produce a tender cake. Buttermilk and yogurt can be substituted for sour cream in most cakes.
- Vanilla extract: helps bring out the flavors of the cake.
- Mint extract: gives the cake a minty flavor. TIP: Mint extract is strong. You'll only need a little.
Chocolate Filling
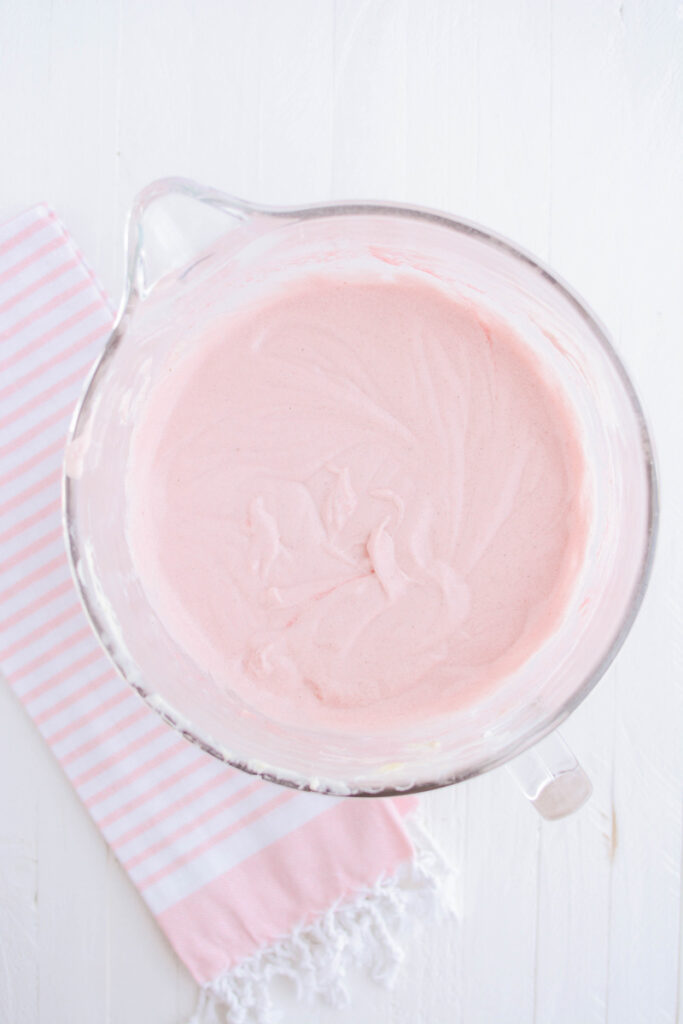
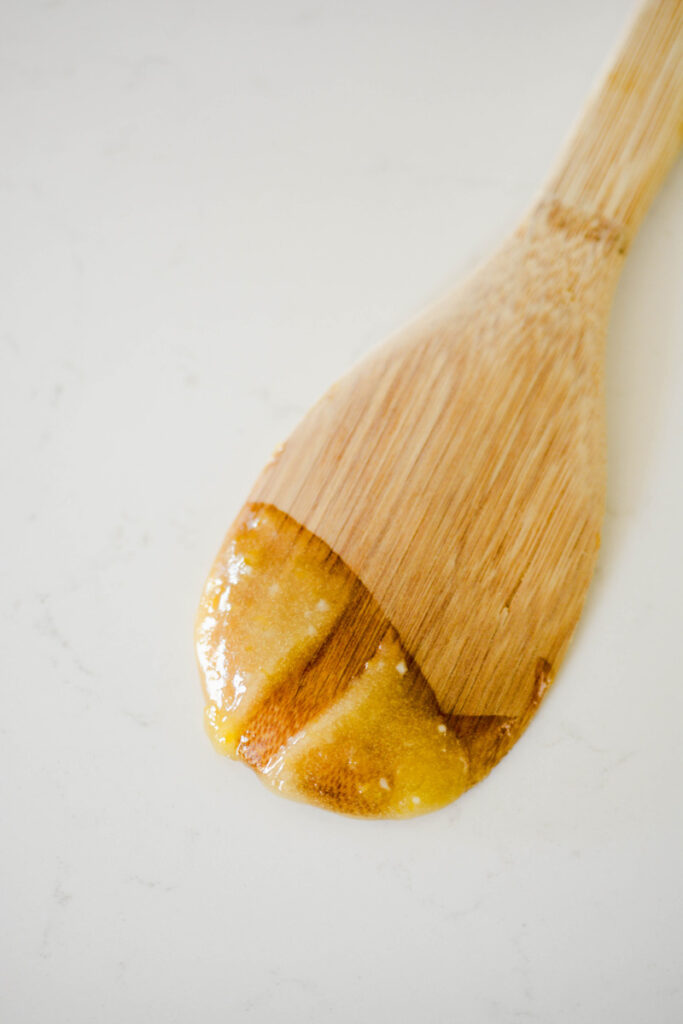
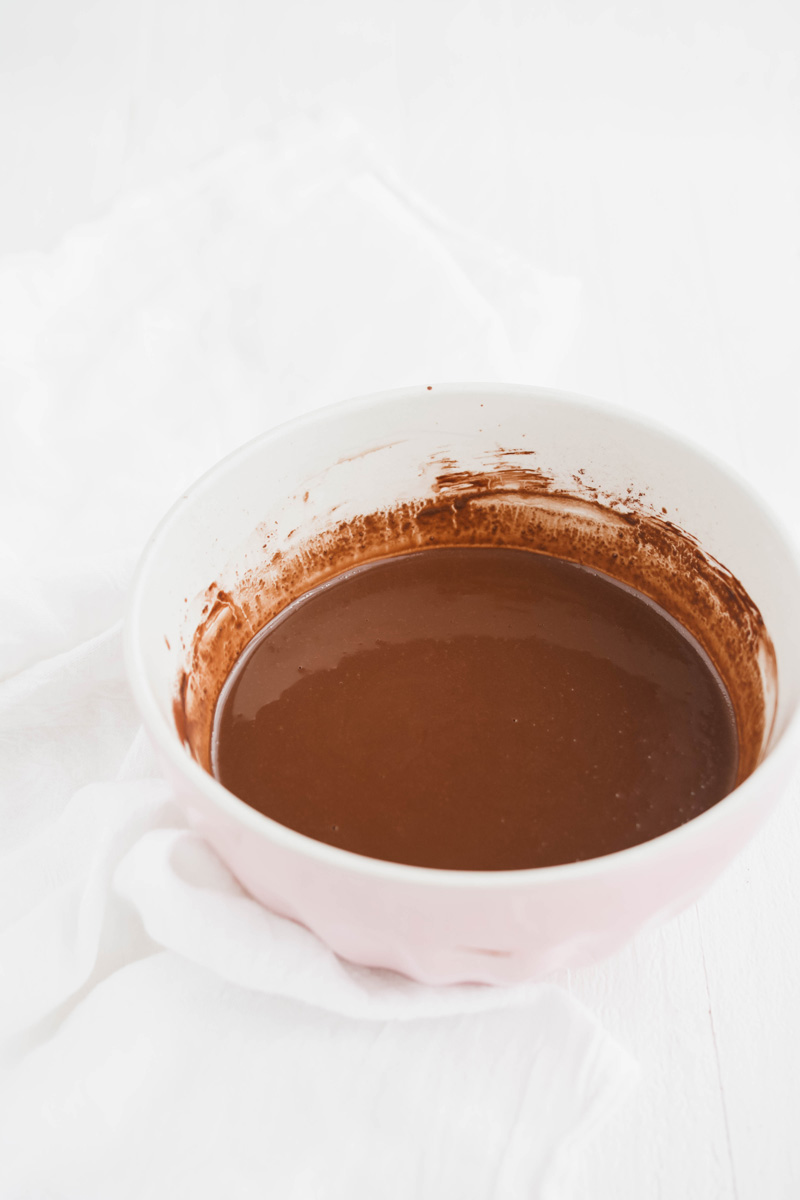
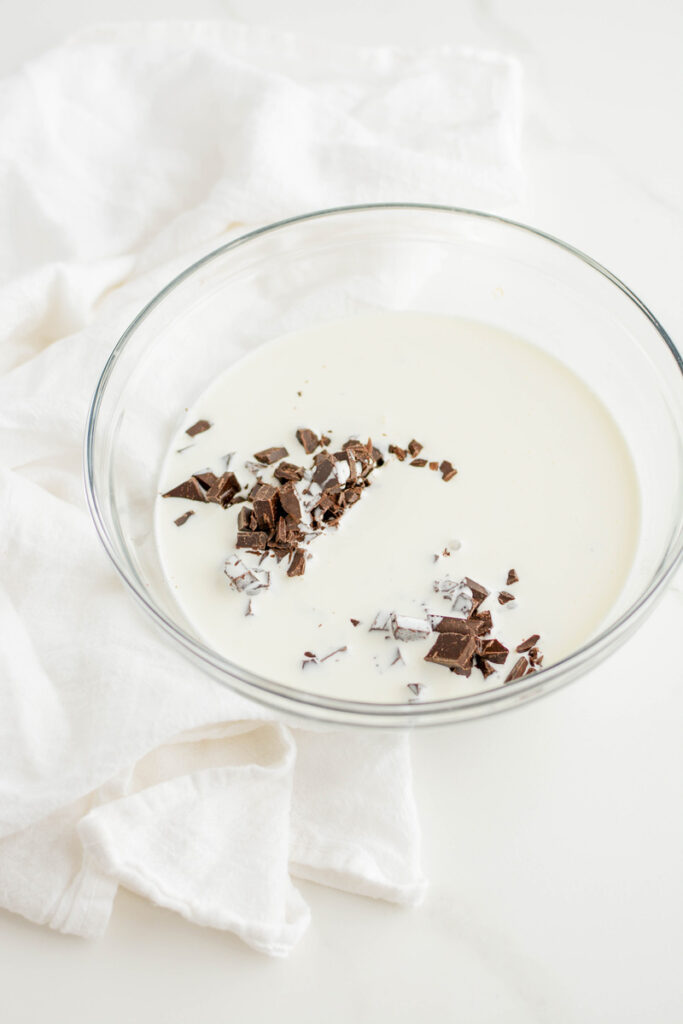
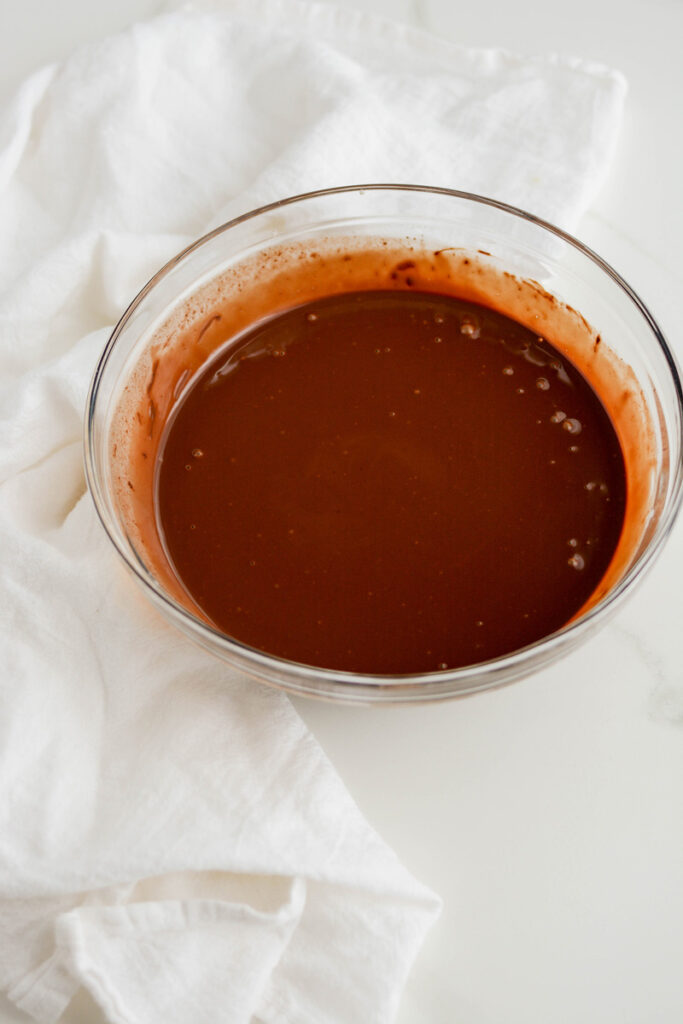
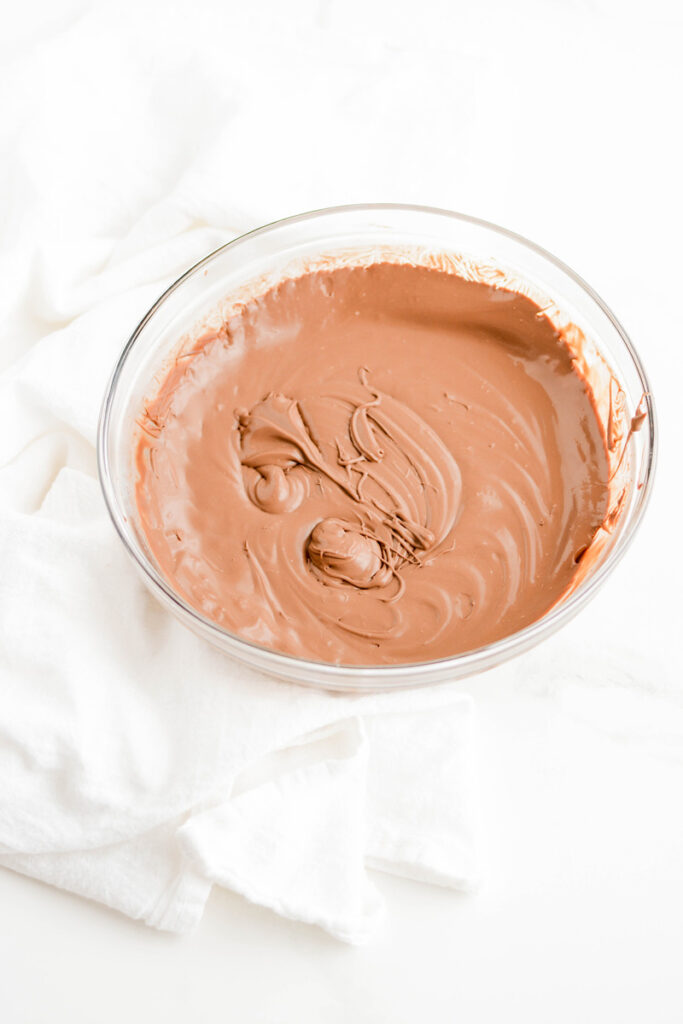
In a microwave safe bowl, combine the heavy cream and chocolate and microwave at 50 percent power until melted, about 2 to 3 minutes, stirring well after each minute. Stir in vanilla extract and salt. Cover the surface of the filling with plastic wrap and refrigerate until chilled and thickened, about 4 hours or overnight.
Before using, fit a stand mixer (or hand mixer) with the paddle attachment and beat on medium-high speed until stiff, about 1 minute.
Chocolate-Mint Swiss Meringue Buttercream Tips
- Your mixer bowl should be completely dry and clean before use.
- There should be no grease residue on the bowl and your egg whites should be free of egg yolks.
- Whisk together the sugar and egg whites well, or the eggs may start to cook on their own.
- Make sure the double boiler stays at a simmer.
- Your butter should be room temperature before using.
- Add your butter by tablespoon to the meringue.
- The buttercream should be as smooth as possible.
- To help remove air bubbles, run the mixer on low speed for one minute.
- Melted chocolate should be slightly cooled before adding into your buttercream.
- Mint extract is strong. Be sure to add just a tiny bit before adding more to suit your taste.
Chocolate-Mint Swiss Meringue Buttercream Trouble Shooting
- If the buttercream looks curdled in the final stages then the butter was probably too cold when added to the meringue. Keep mixing longer until it comes together.
- If the buttercream looks soupy but not separated, then the meringue was probably too warm when the butter was added. Place the mixer bowl in the refrigerator for 15 to 20 minutes and beat until the buttercream comes together.
Baking and Cupcake Decorating Tools
- 2 12-cup cupcake pan
- 24 cupcake liners
- Stand mixer
- Spring loaded ice cream scoop, 3 tablespoon sized
- Candy thermometer
- Round piping tip or coupler
- Piping bag
- Large piping bag
- Piping tip #827
- Chopped chocolate mint candy
Chocolate Mint Cupcakes Baking Schedule
- Day 1: Prepare chocolate filling.
- Day 2: Bake cupcakes.
- Day 3: Make chocolate-mint Swiss meringue buttercream.
Cupcake Storage
Assembled cupcakes can be stored at room temperature for 1 day or stored in the refrigerator for up to 3 days. Bring to room temperature before serving.
Cupcakes can be stored in the refrigerator for up to 3 days.
Chocolate filling can be made up to 1 week in advance, stored covered in the refrigerator.
Chocolate-mint Swiss meringue buttercream is best served the day it is made, but can be stored in an airtight container in the refrigerator for up to 10 days. Before using, let come to room temperature and remix.

Let's Connect
The Cake Chica is on the following social media platforms below. Click subscribe, like and follow! We would love to have you over!
Suggested Recipes
Chocolate Mint Cupcakes
Homemade Chocolate-Mint Cupcakes filled with creamy chocolate filling, topped with silky Mint-Chocolate Swiss Meringue Buttercream and chocolate mint candy.
Ingredients
SPECIAL TOOLS
- 2 12-cup cupcake pan
- 24 cupcake liners
- Stand mixer
- Spring loaded ice cream scoop, 3 tablespoon sized
- Candy thermometer
- Round piping tip or coupler
- Piping bag
- Large piping bag
- Piping tip #827
- Chopped chocolate mint candies
CHOCOLATE MINT CUPCAKES
- 1 ½ cups (7 ½ ounces) all-purpose flour
- 1 teaspoon baking soda
- ½ teaspoon baking powder
- ¼ teaspoon table salt
- 1 ¼ cups boiling water
- 4 ounces unsweetened chocolate, chopped
- ½ cup (1 ½ ounces) cocoa Dutch processed cocoa powder
- 1 teaspoon instant espresso powder or instant coffee powder
- 10 tablespoons unsalted butter, cut into tablespoon sized pieces, at room temperature, about 65-67 degrees)
- 1 ½ cups (10 ½ ounces) packed light brown sugar
- 3 large eggs, at room temperature
- ½ cup sour cream
- ½ teaspoon vanilla extract
- ½ teaspoon mint extract
CHOCOLATE FILLING
- 1/2 cup, plus 2 tablespoons heavy cream
- 4 ounces bittersweet chocolate, chopped fine
- 1/2 teaspoon vanilla extract
- 1/8 teaspoon salt
CHOCOLATE MINT SWISS MERINGUE BUTTERCREAM
- 1/2 cup, plus 2 tablespoons egg whites
- 1 1/4 cups (8.75 ounces/250 grams) granulated sugar
- 2 cups (4 sticks) unsalted butter, at room temperature, cut into tablespoon sized pieces
- 2 teaspoons vanilla extract
- 1/4 teaspoon mint extract
- 5 ounces bittersweet chocolate, melted and cooled
Instructions
CHOCOLATE MINT CUPCAKES
- Adjust an oven rack to the center position and heat oven to 350 degrees. Line 2 12-cup cupcake pans with cupcake liners and set aside.
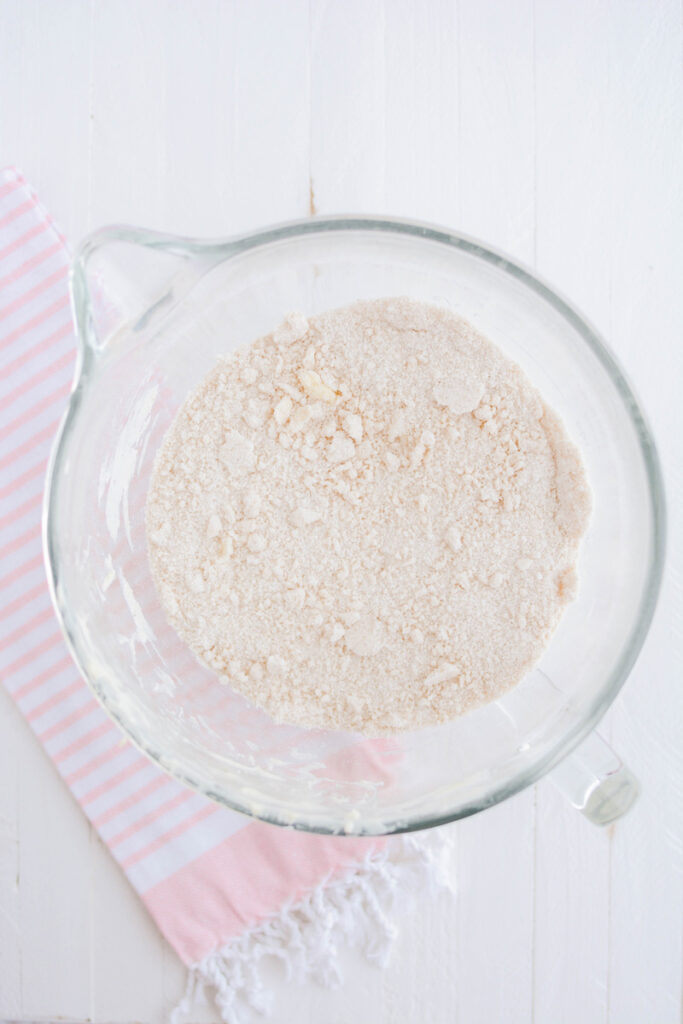
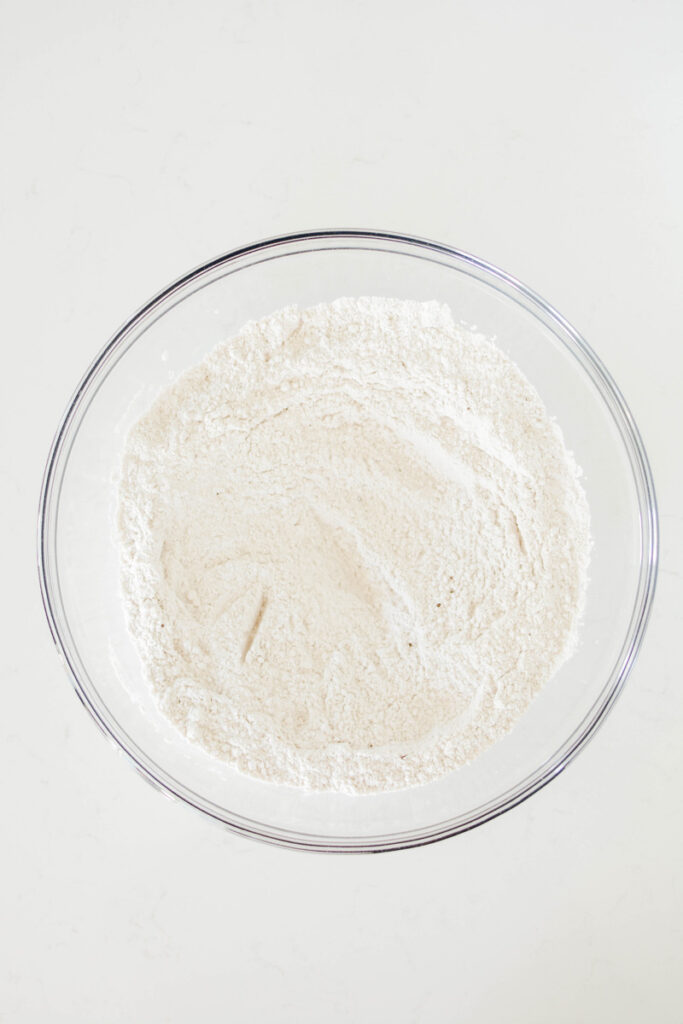
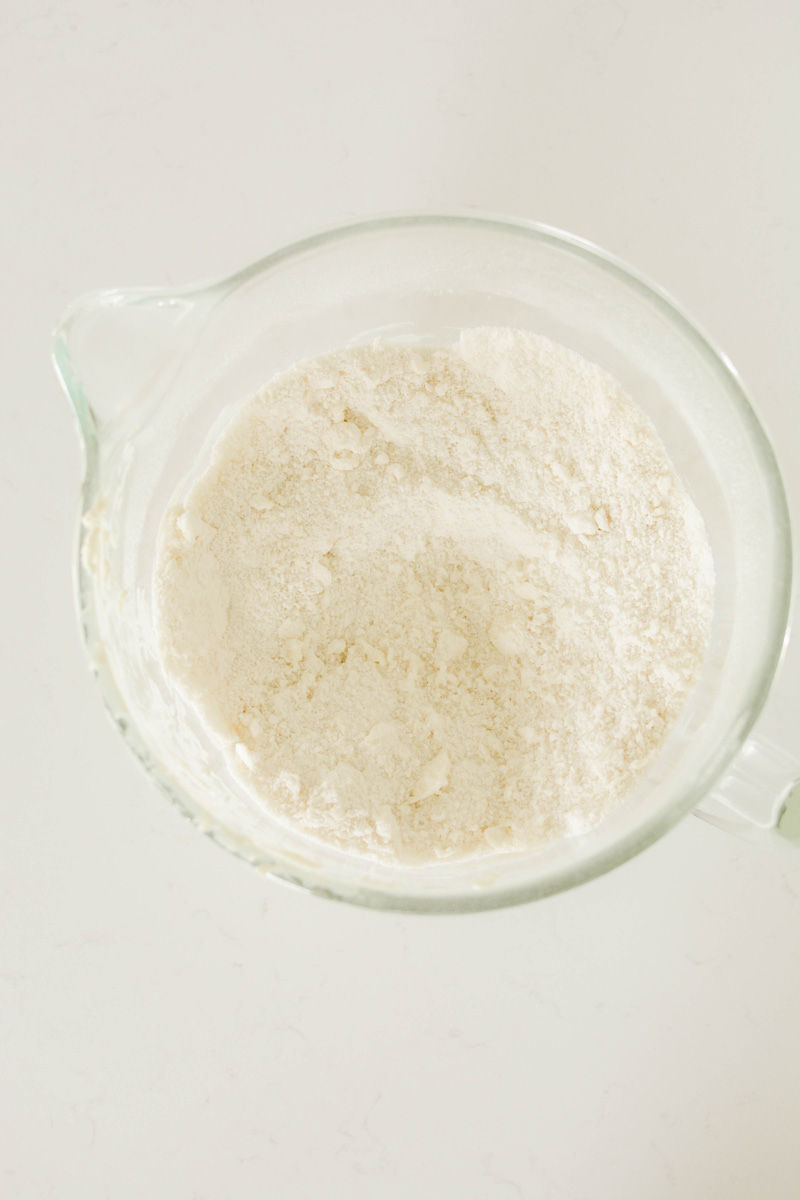
- In a large bowl, whisk together the flour, baking soda, baking powder and salt. In another bowl whisk boiling water, chocolate, cocoa powder, and espresso powder until smooth and combined.
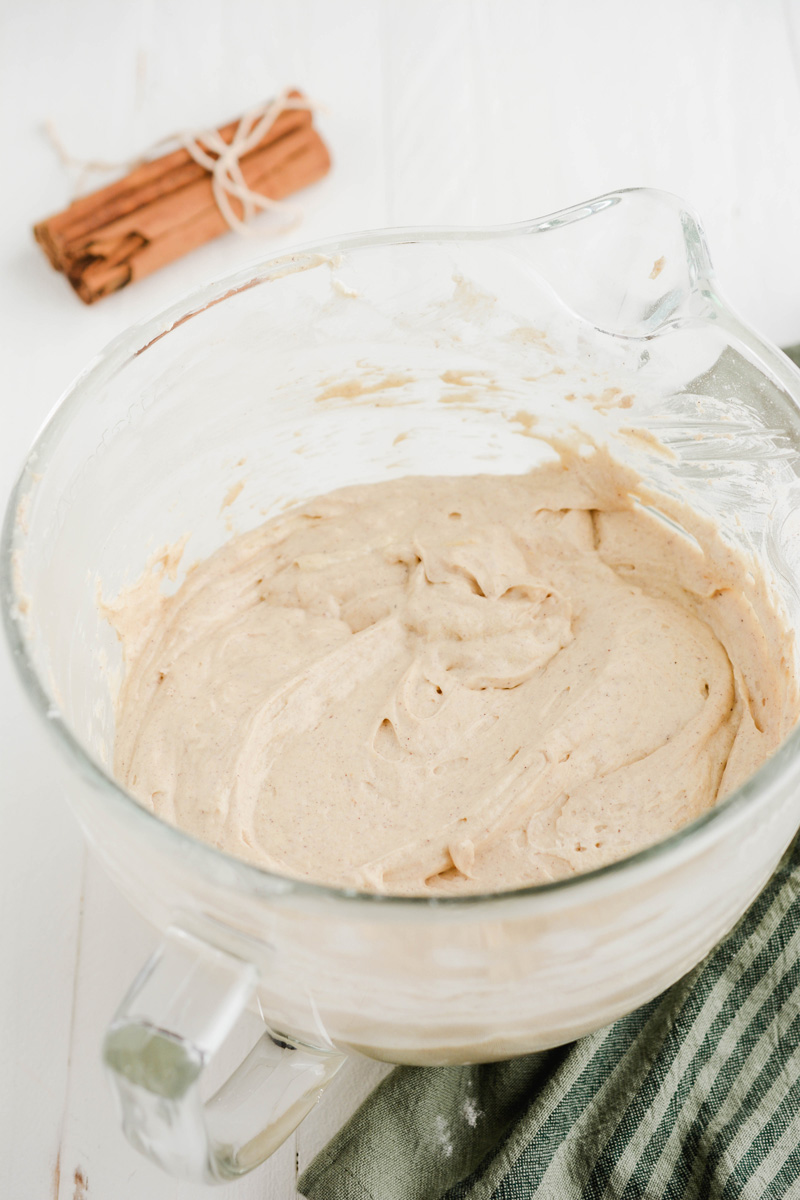
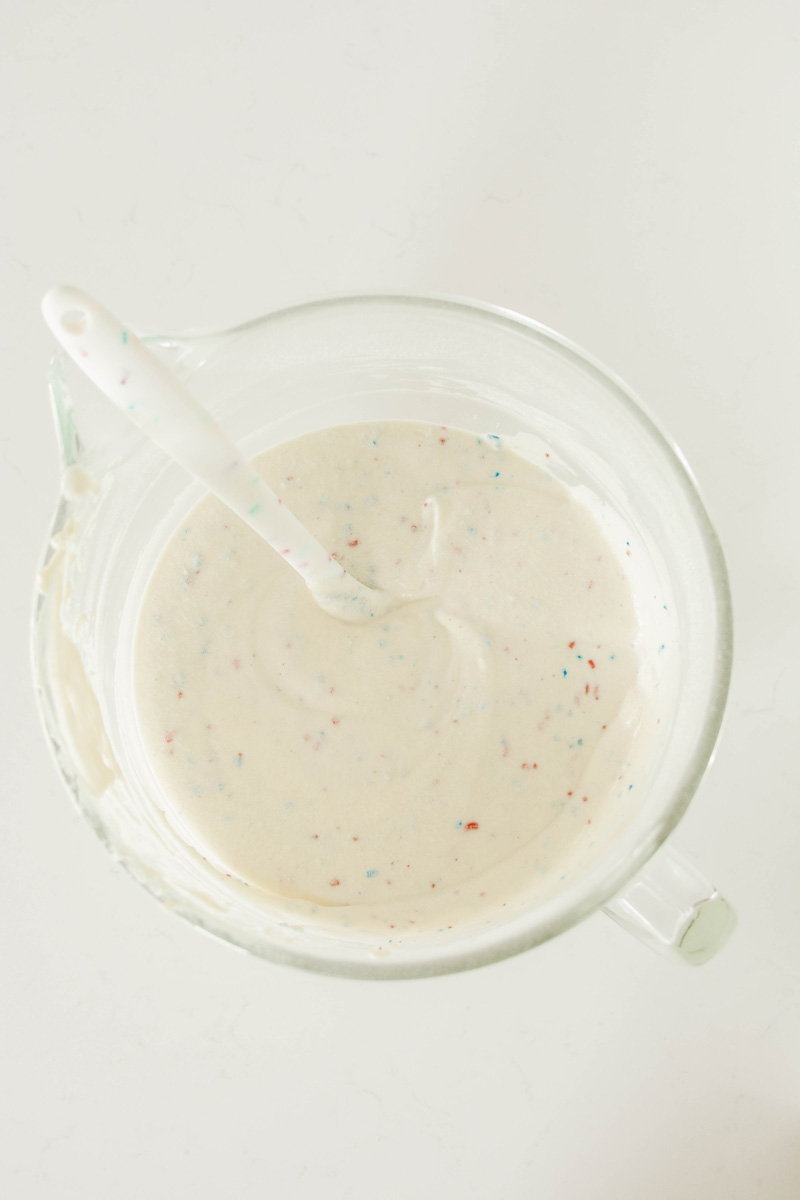
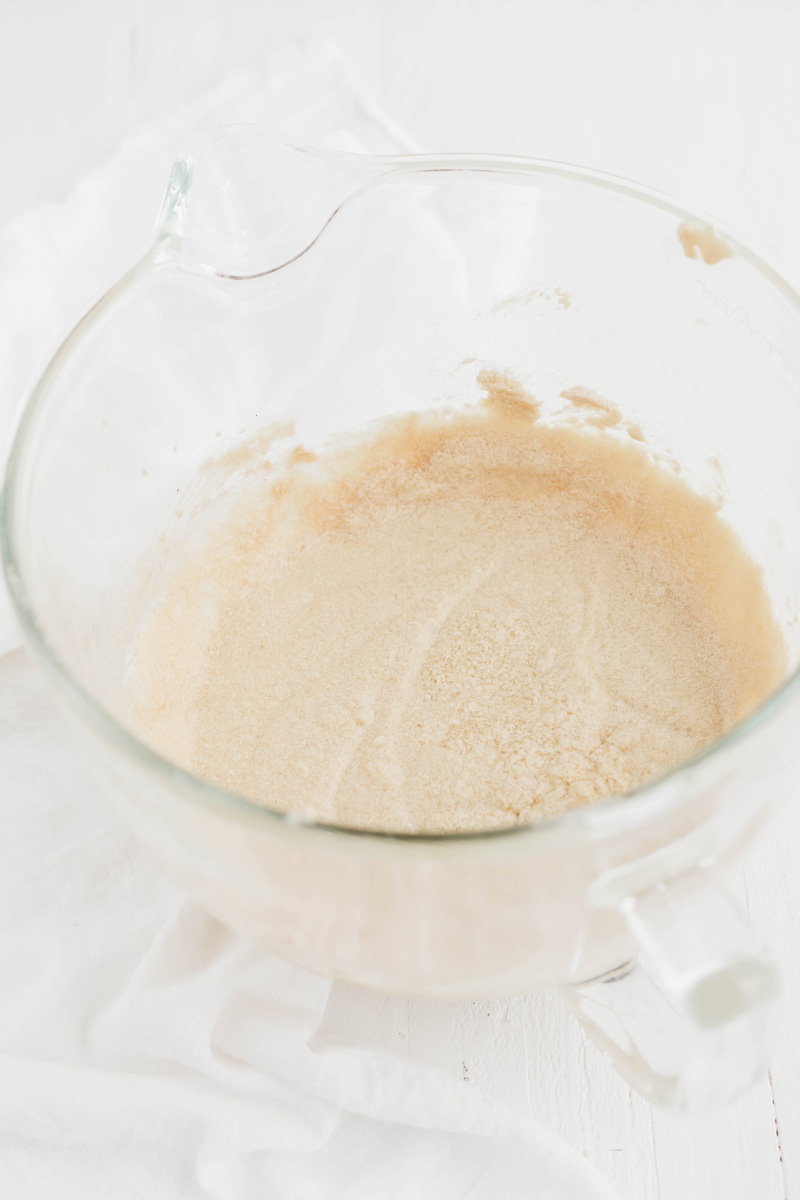
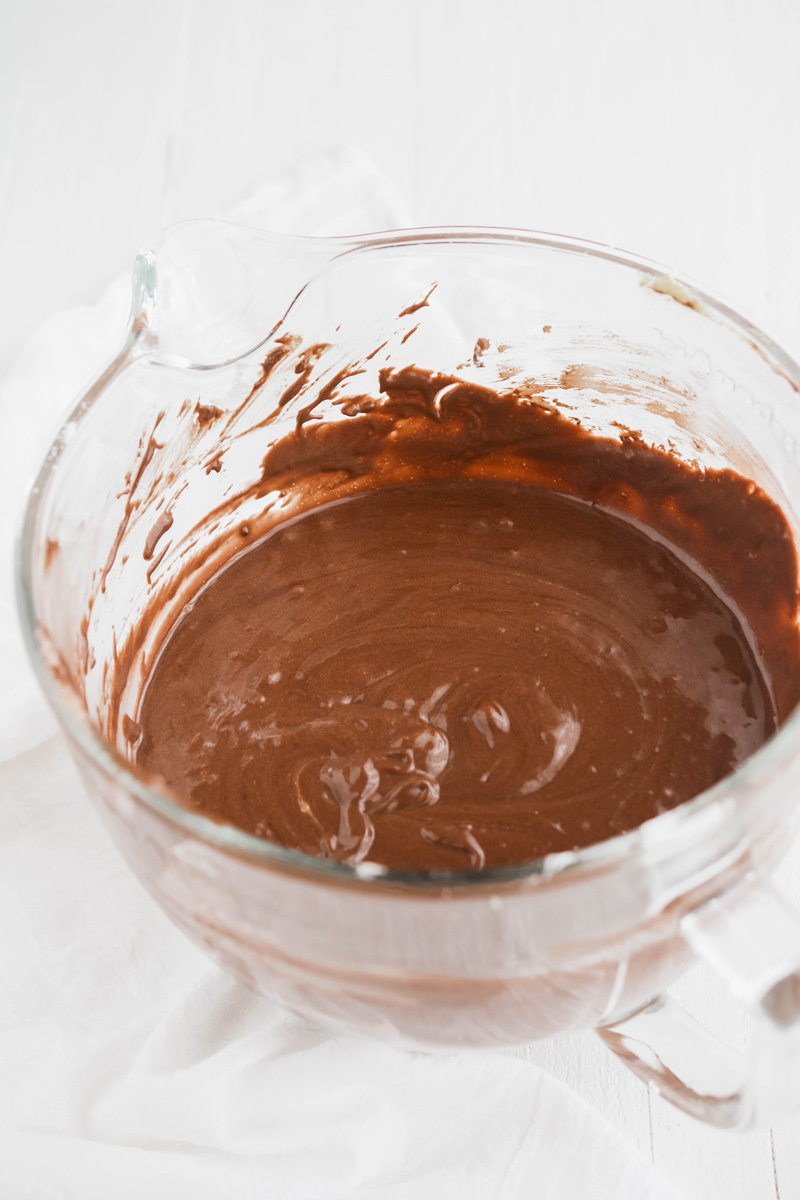
- In the bowl of a stand mixer, fitted with the paddle attachment, beat the butter and sugar on medium-high speed until light and fluffy, about 3 minutes. Reduce the mixer speed to medium-low and add in eggs one at a time, beating until just combined after each addition. Add in the sour cream, vanilla and mint extract until combined. Reduce the speed to low, and add the flour mixture in 3 additions, alternating with the chocolate mixture in 2 additions. Scrape down the sides of the bowl as needed and give the batter a final stir by hand.
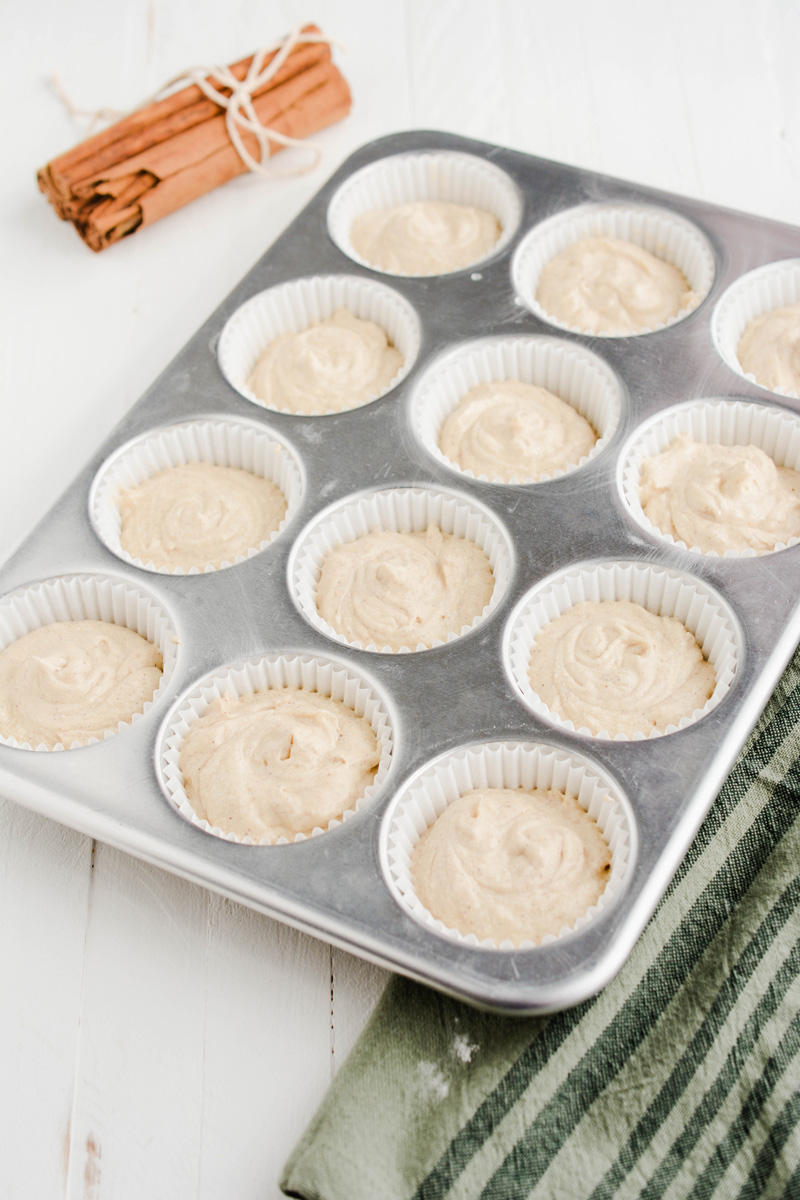
- Using a 3 tablespoons sized spring loaded ice cream scoop, divide the cake batter evenly among the prepared cupcake pans and tap the pans gently on the counter to settle the batter. Bake for 15 to 20 minutes, (rotating pans halfway through baking) or until a toothpick inserted in the centers comes out with a few moist crumbs attached.
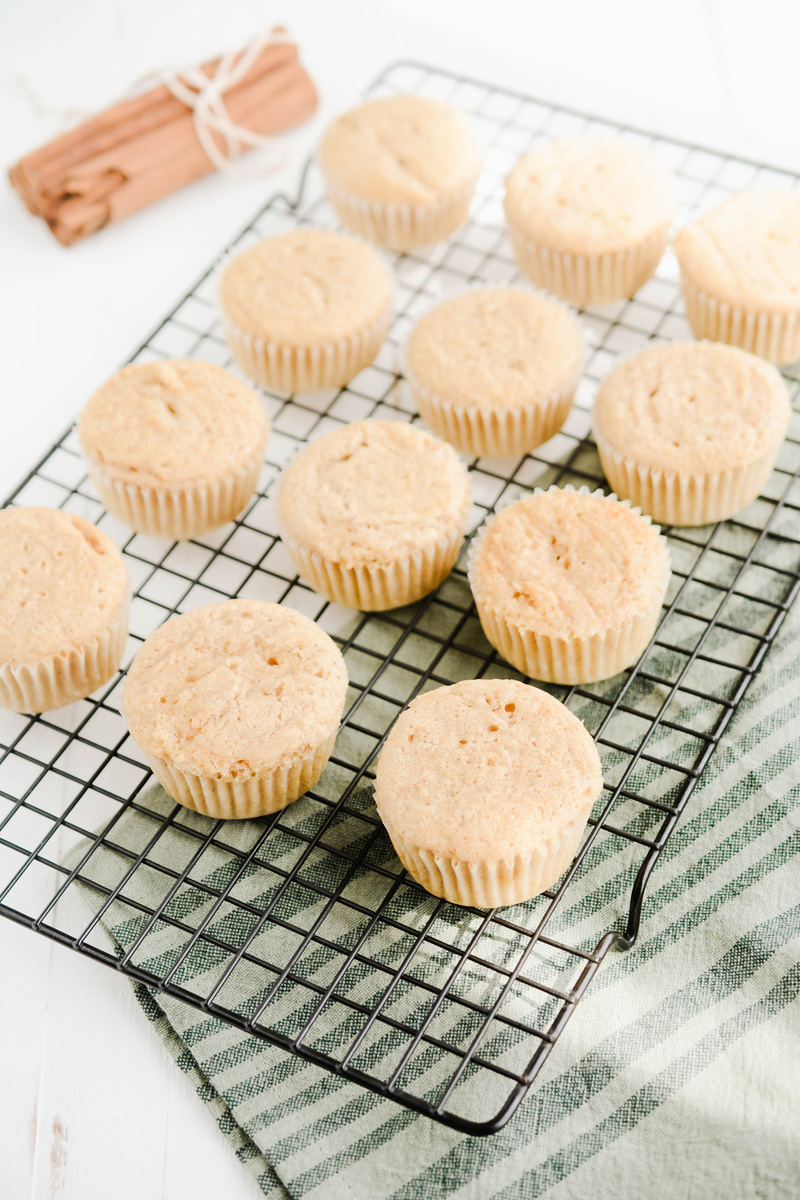
- Let cupcakes cool in their pans for 5 minutes, then invert the cakes from their pans onto a cooling rack to cool completely.
CHOCOLATE FILLING
- In a microwave safe bowl, combine the heavy cream and chocolate and microwave at 50 percent power until melted, about 2 to 3 minutes, stirring well after each minute. Stir in vanilla extract and salt. Cover the surface of the filling with plastic wrap and refrigerate until chilled and thickened, about 4 hours or overnight.
- Before using, fit a stand mixer with the paddle attachment and beat on medium-high speed until stiff, about 1 minute.
CHOCOLATE MINT SWISS MERINGUE BUTTERCREAM
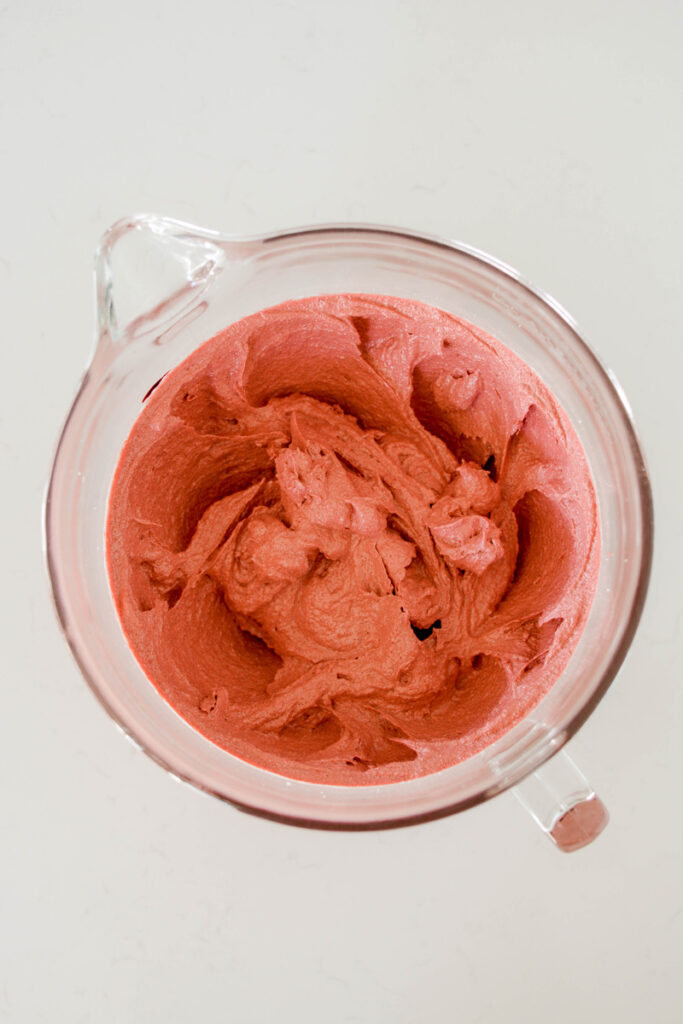
- In the bowl of a stand mixer fitted with the whisk attachment, pour in the egg whites and sugar and whisk by hand until combined. Fill a medium saucepan with about 2 inches of water and bring to a simmer. Place mixer bowl on top, being sure the bottom of the bowl does not touch the water and attach a candy thermometer.
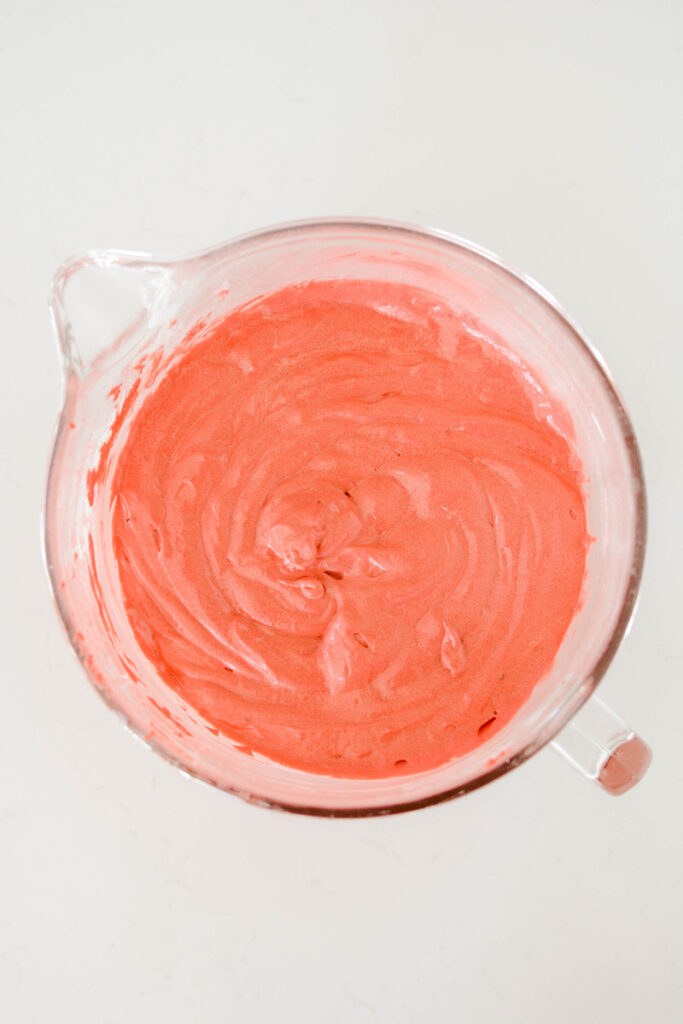
- Whisking occasionally, heat the egg mixture until the temperature reaches 160 degrees. Once the mixture reaches 160 degrees, transfer to a stand mixer and beat the mixture on high speed for 10 minutes or until medium-stiff peaks form. At this point the outside of the mixer bowl should be room temperature. Switch out the whisk attachment with the paddle attachment and with the mixer on low speed, add the butter one tablespoon at a time, and then add the vanilla and mint extract. Once combined, turn up the mixer speed to medium-high and beat until the buttercream is smooth about 5 minutes. Add the melted chocolate and mix until combined.
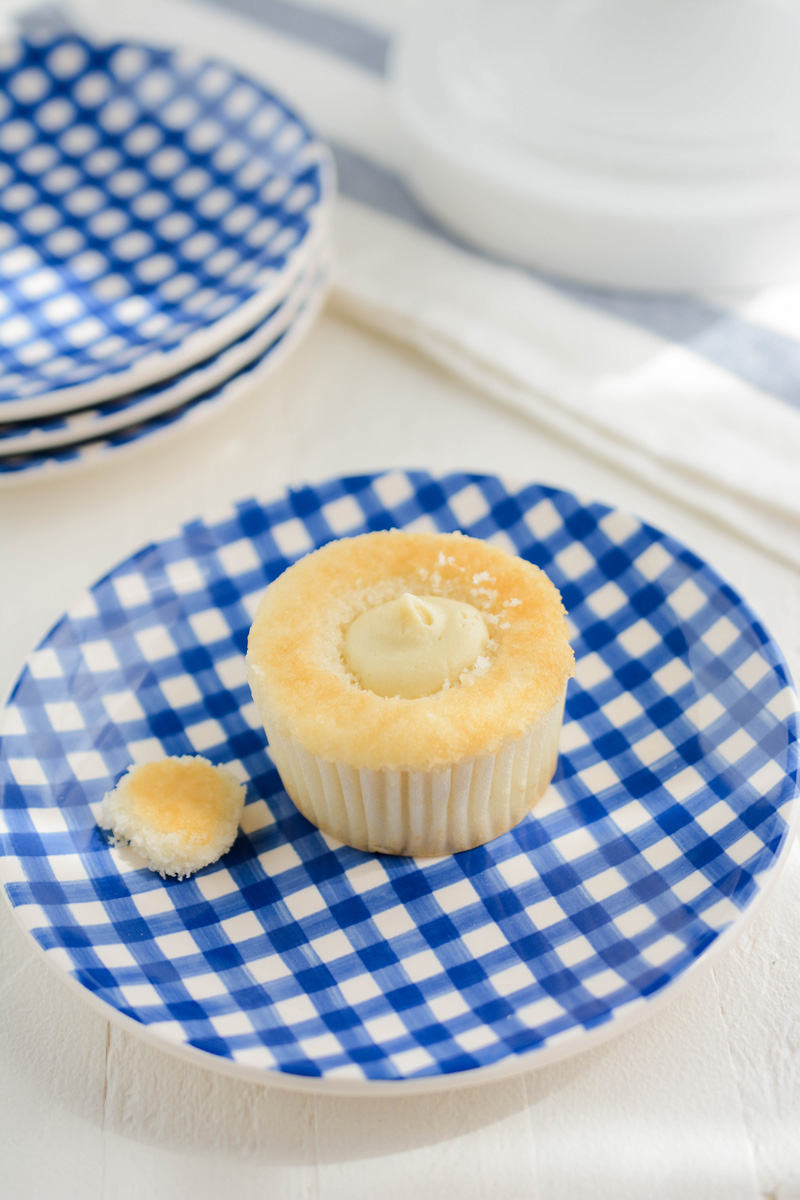
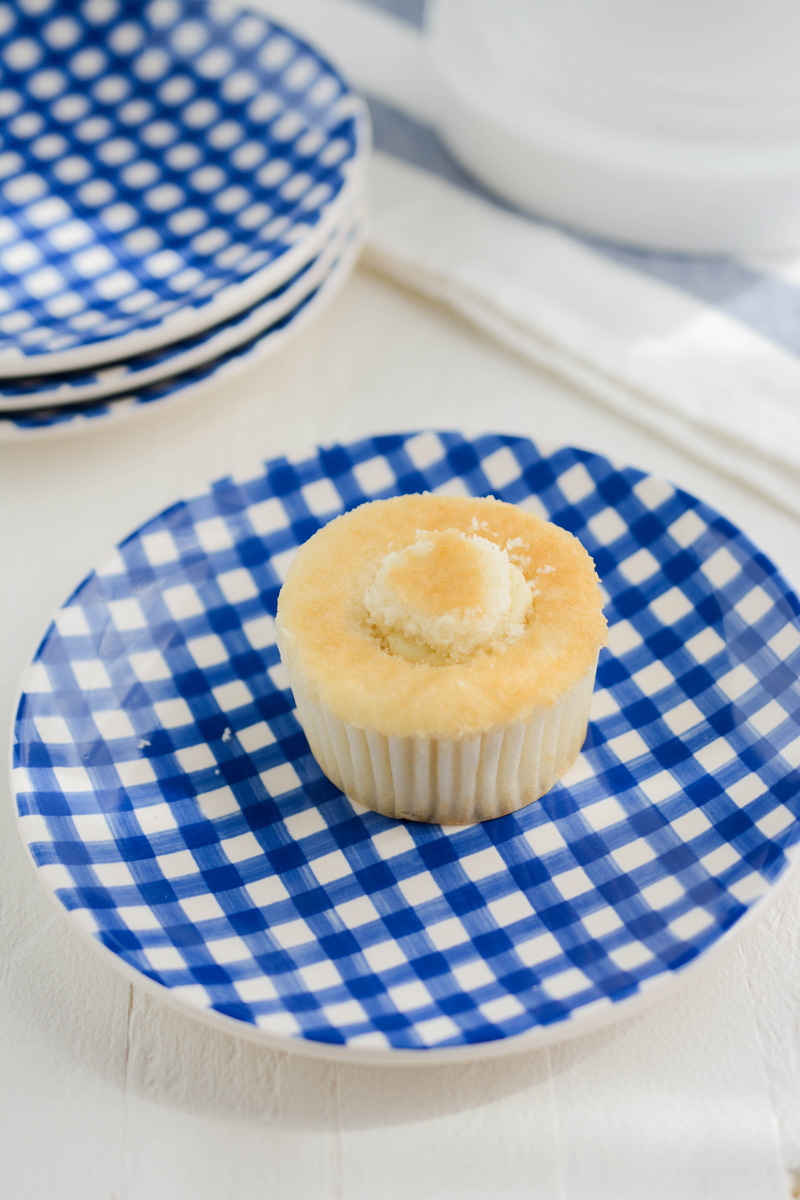
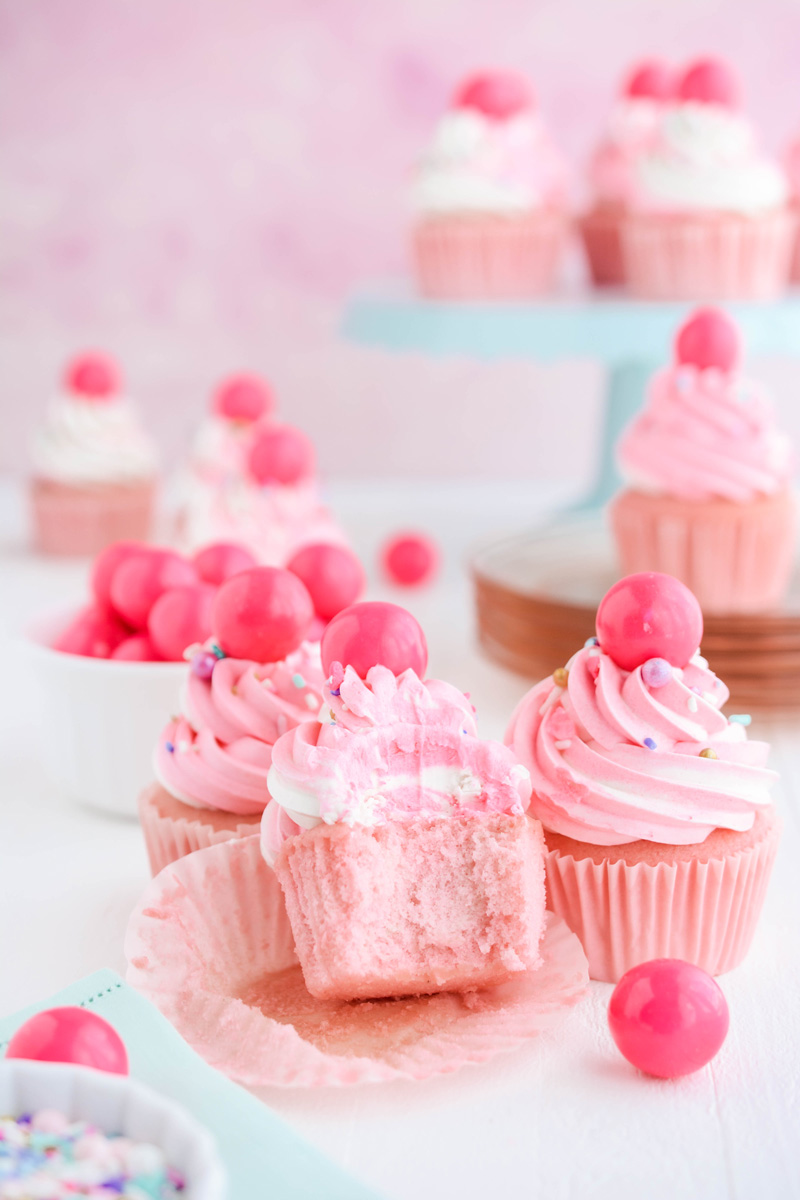
ASSEMBLE
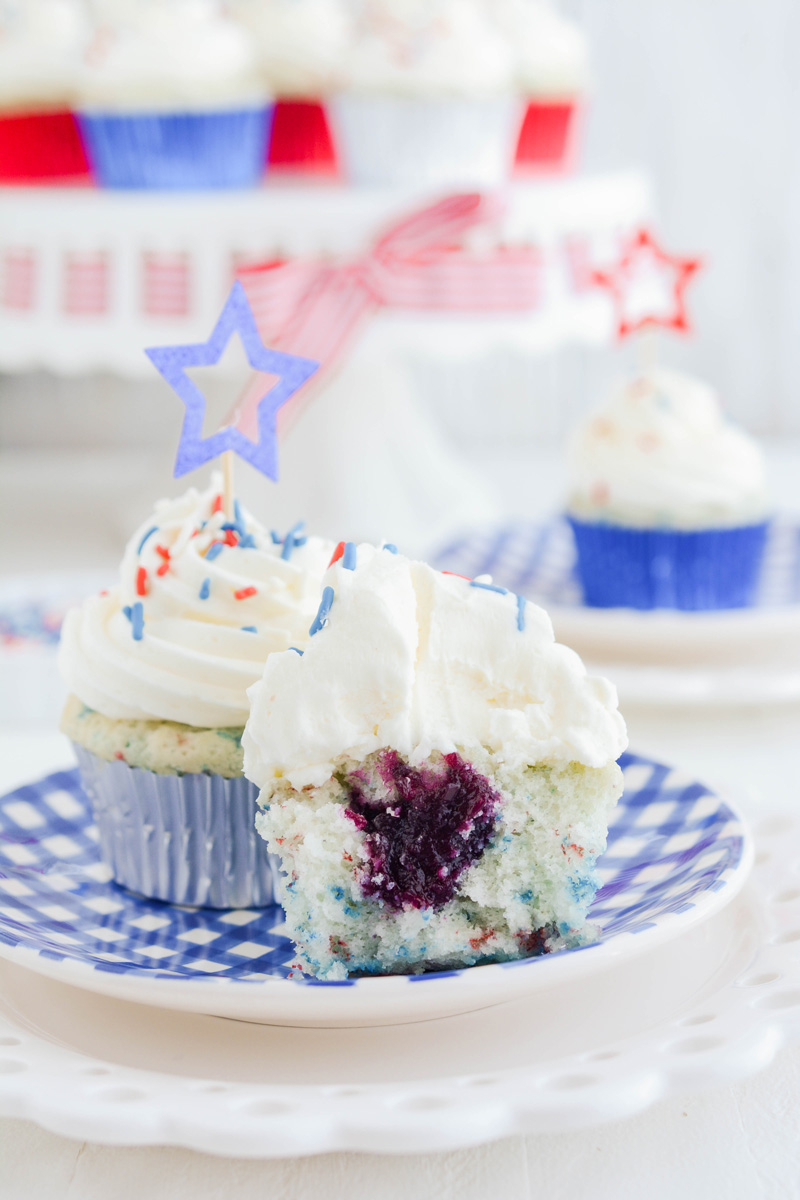
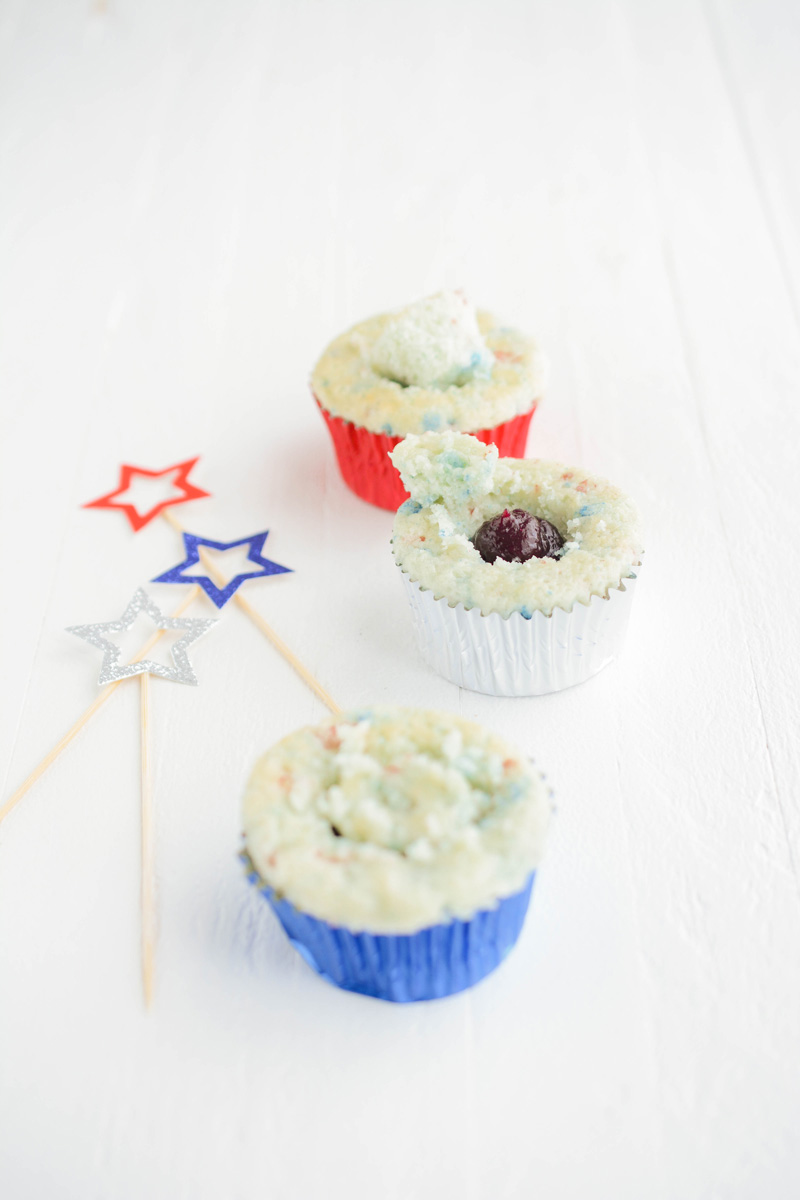
- Once cupcakes have cooled, insert the tip of a paring knife at 45-degree angle and about 1/4 inch from edge of cupcake to create a cone of cake and cut off cone the portion, leaving a circular disk of cake. Attach a round piping tip or coupler to a piping bag and fill with chocolate filling. Pipe about 1 tablespoon chocolate filling in to each cupcake and place the flat piece of cake on top.
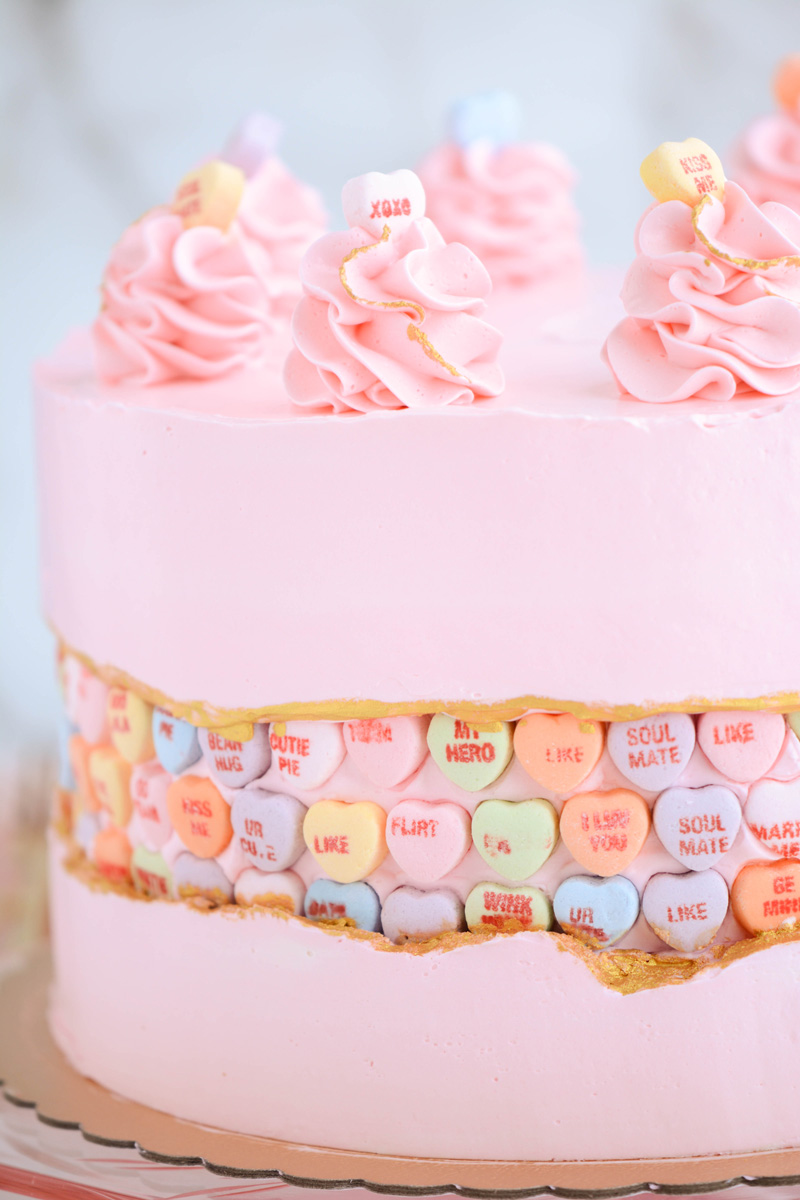
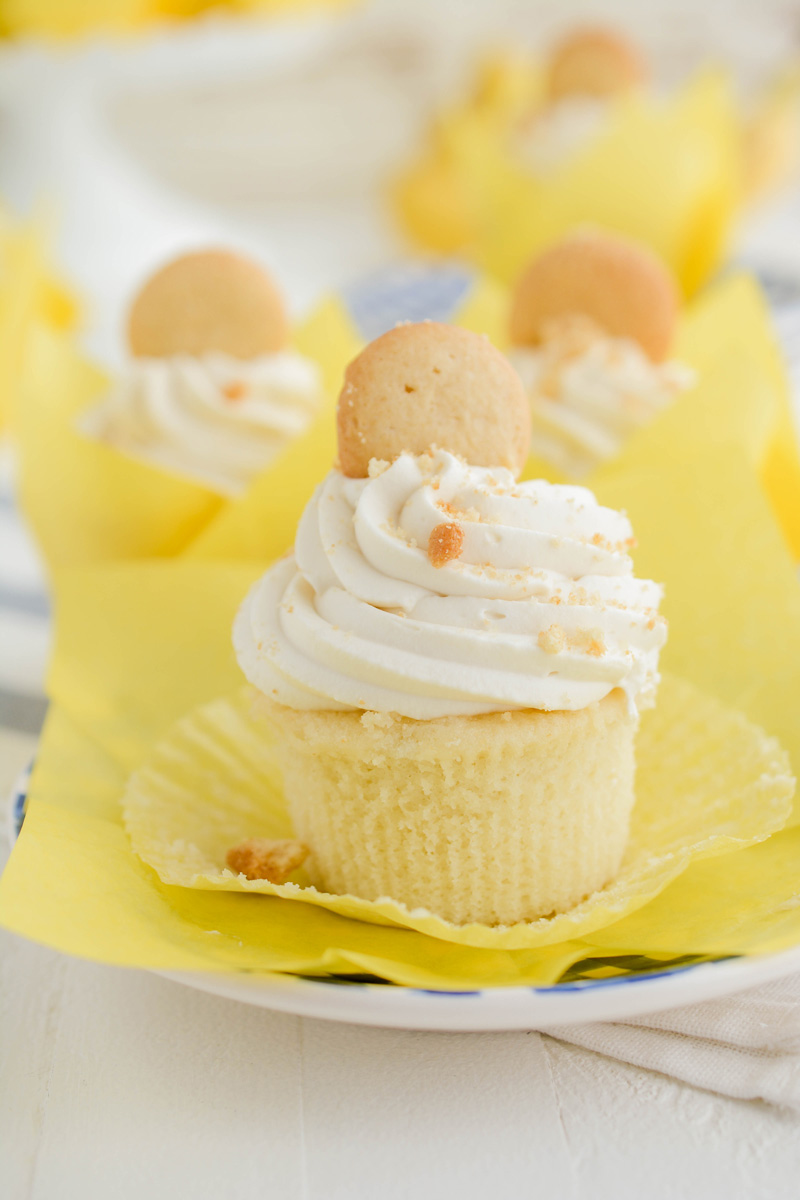
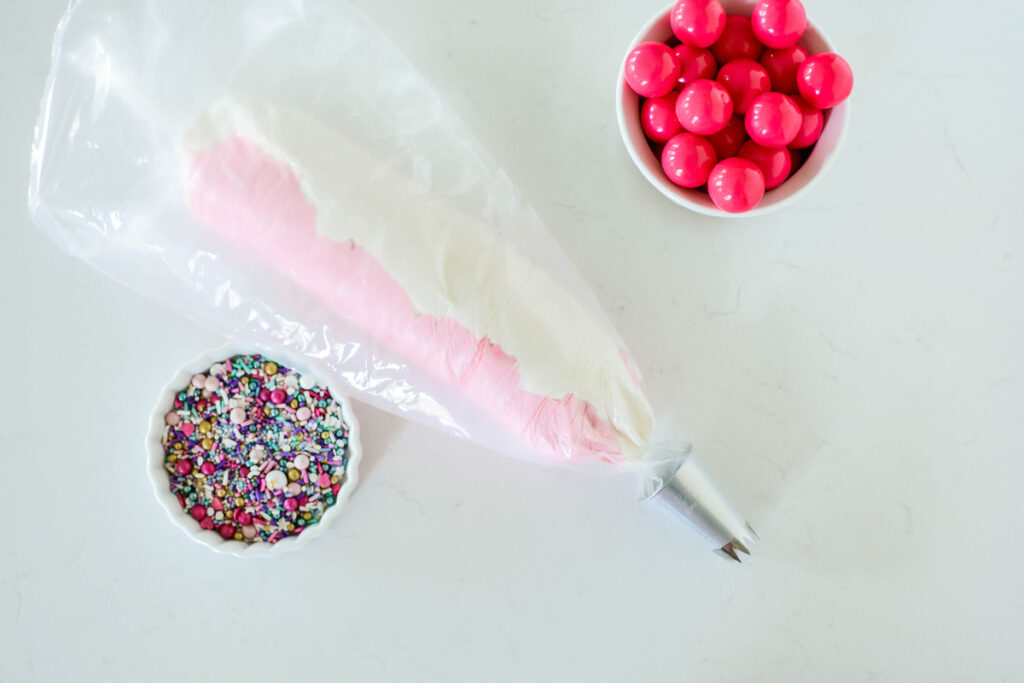
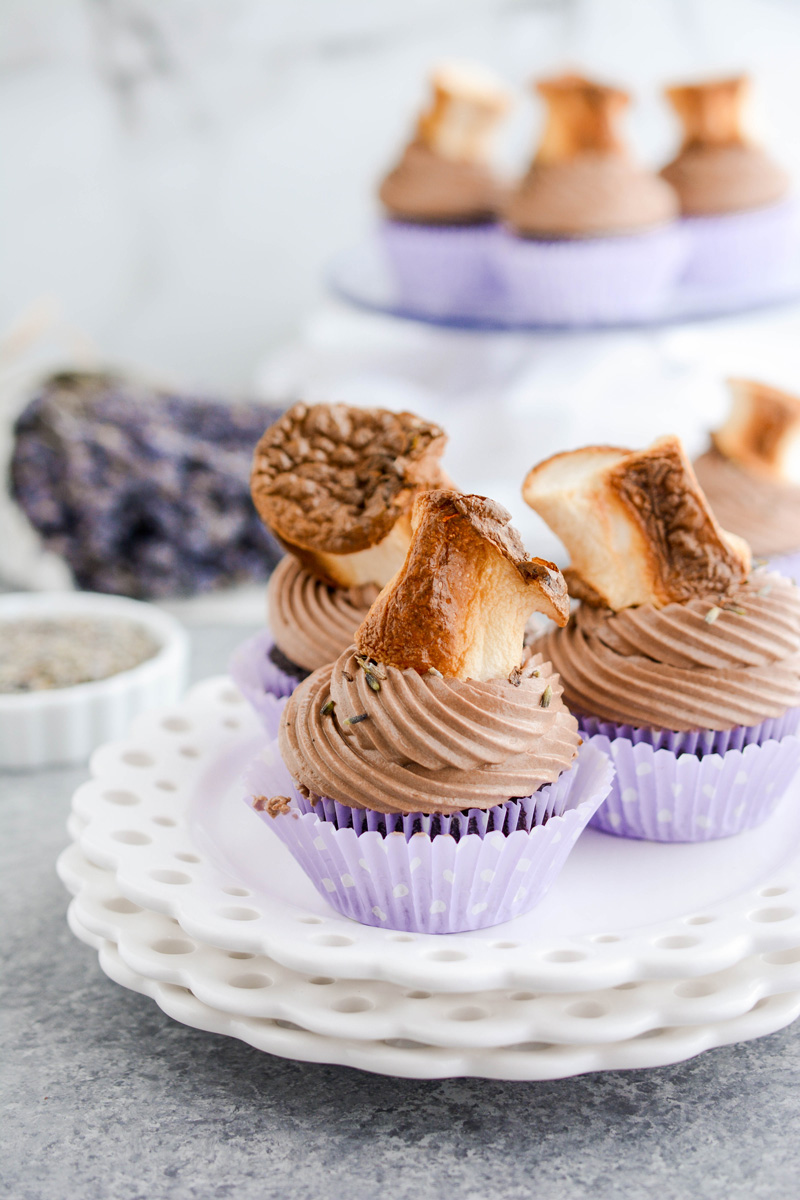
DECORATE
- Fit a large piping bag with piping tip #827 And fill with buttercream. Pipe a buttercream swirl on top of each cupcake. Sprinkle with chopped chocolate candies and serve.
Notes
STORAGE
Assembled cupcakes can be stored at room temperature for 1 day or stored in the refrigerator for up to 3 days. Bring to room temperature before serving.
Cupcakes can be stored in the refrigerator for up to 3 days.
Chocolate filling can be made up to 1 week in advance, stored covered in the refrigerator.
Chocolate Swiss meringue buttercream is best served the day it is made, but can be stored in an airtight container in the refrigerator for up to 10 days. Before using, let come to room temperature and remix.
Nutrition Information:
Yield: 24 Serving Size: 1Amount Per Serving: Calories: 1106Total Fat: 62gSaturated Fat: 24gTrans Fat: 3gUnsaturated Fat: 33gCholesterol: 97mgSodium: 917mgCarbohydrates: 133gFiber: 8gSugar: 93gProtein: 12g
*Nutrition information is an estimate and will vary.*