As an Amazon Associate, I earn from qualifying purchases.
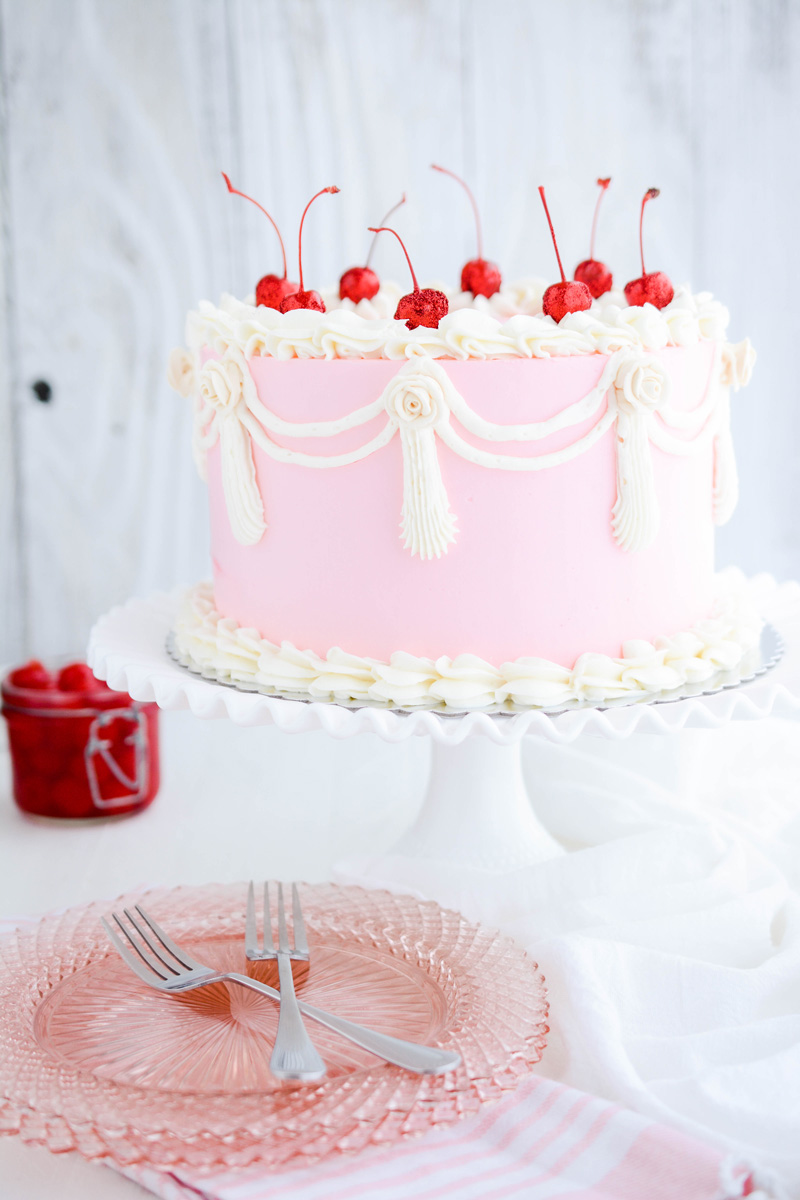
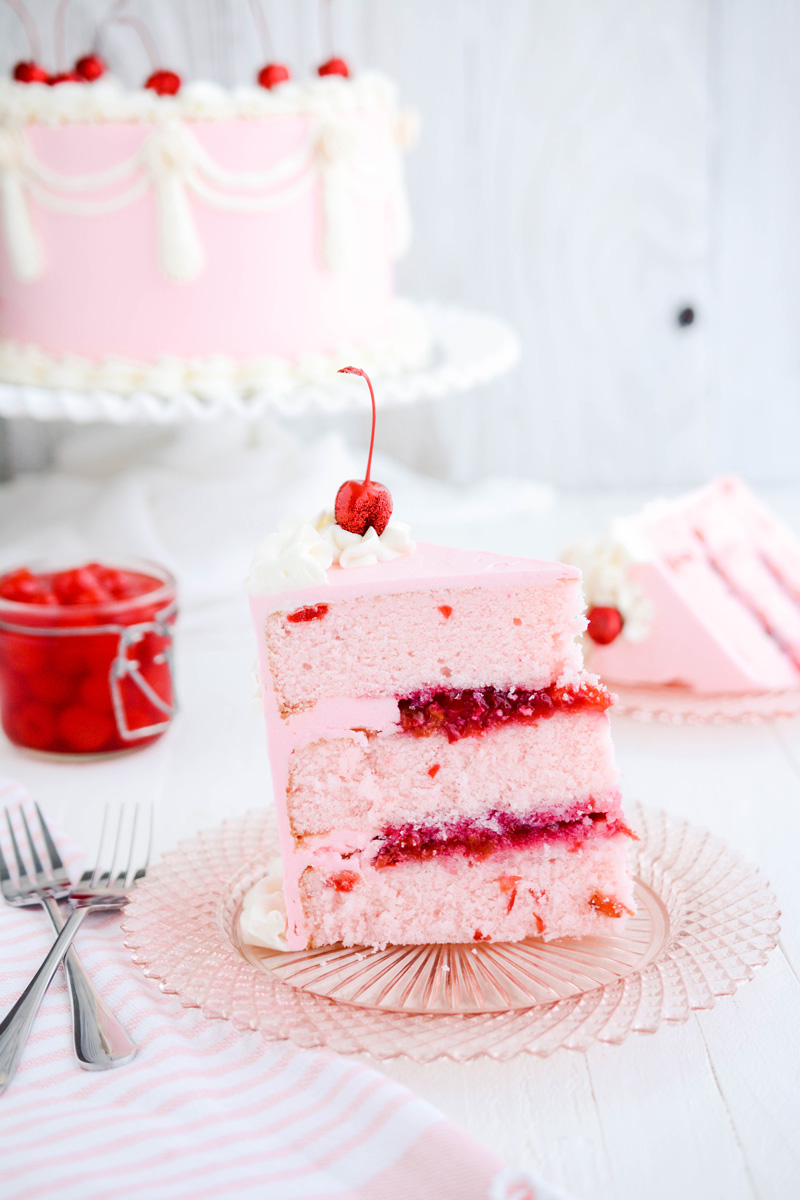
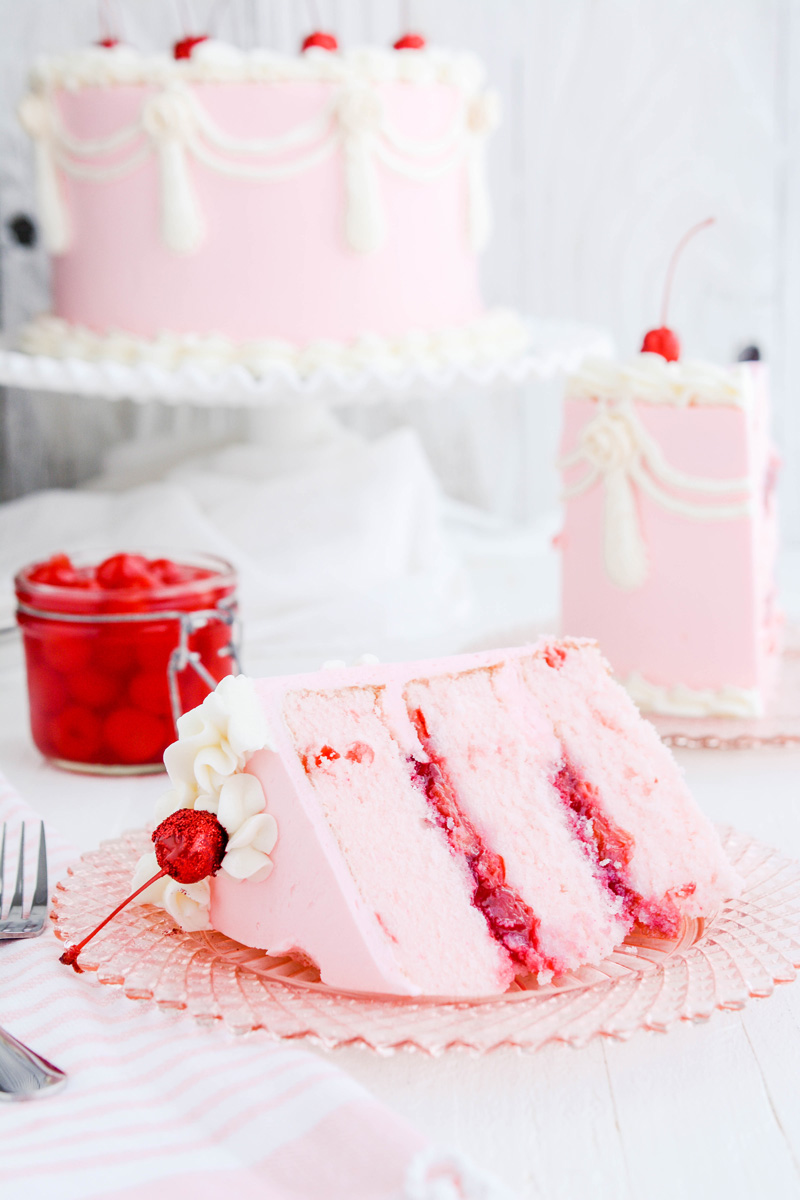
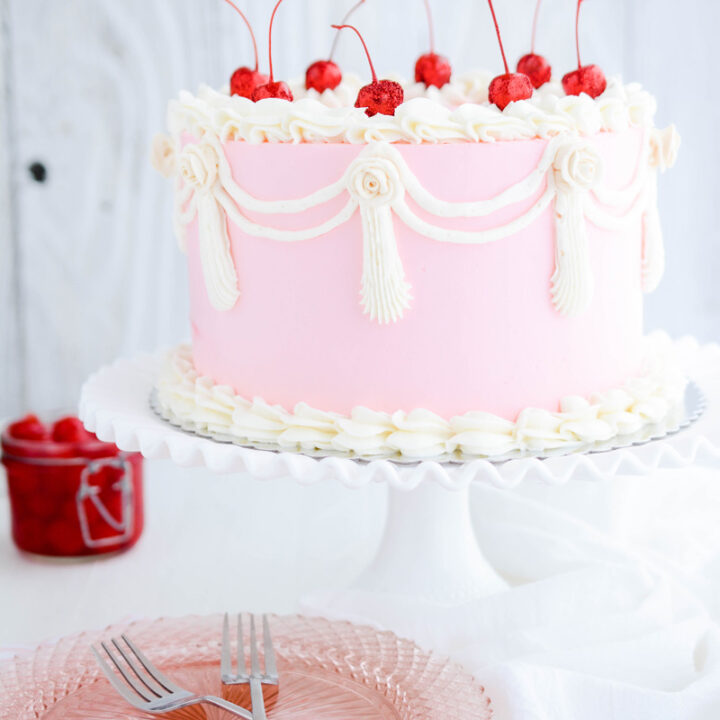
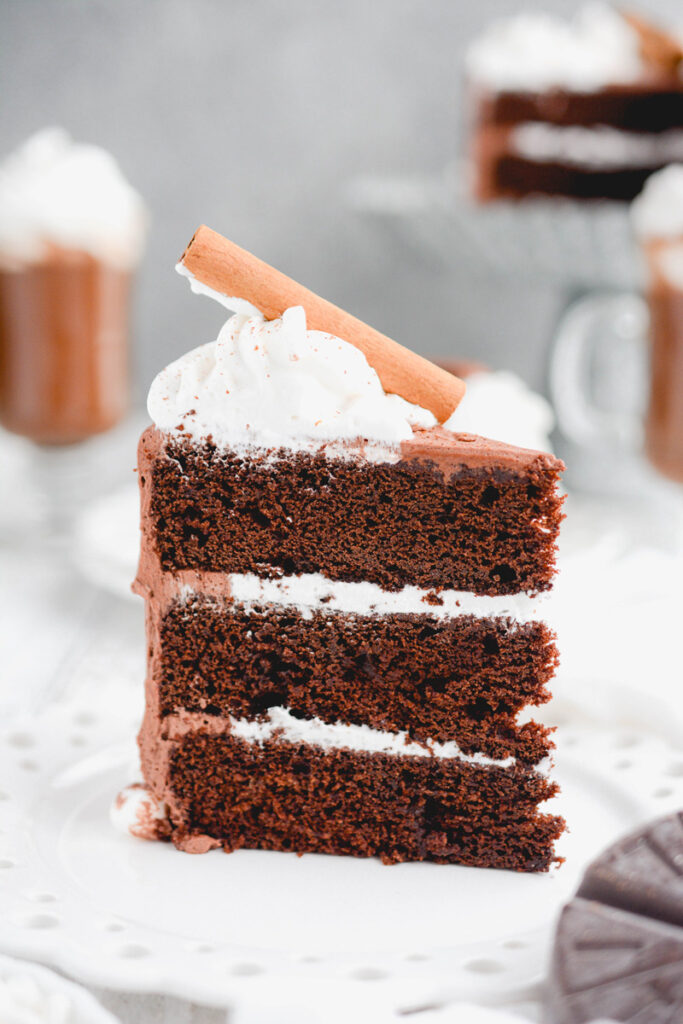
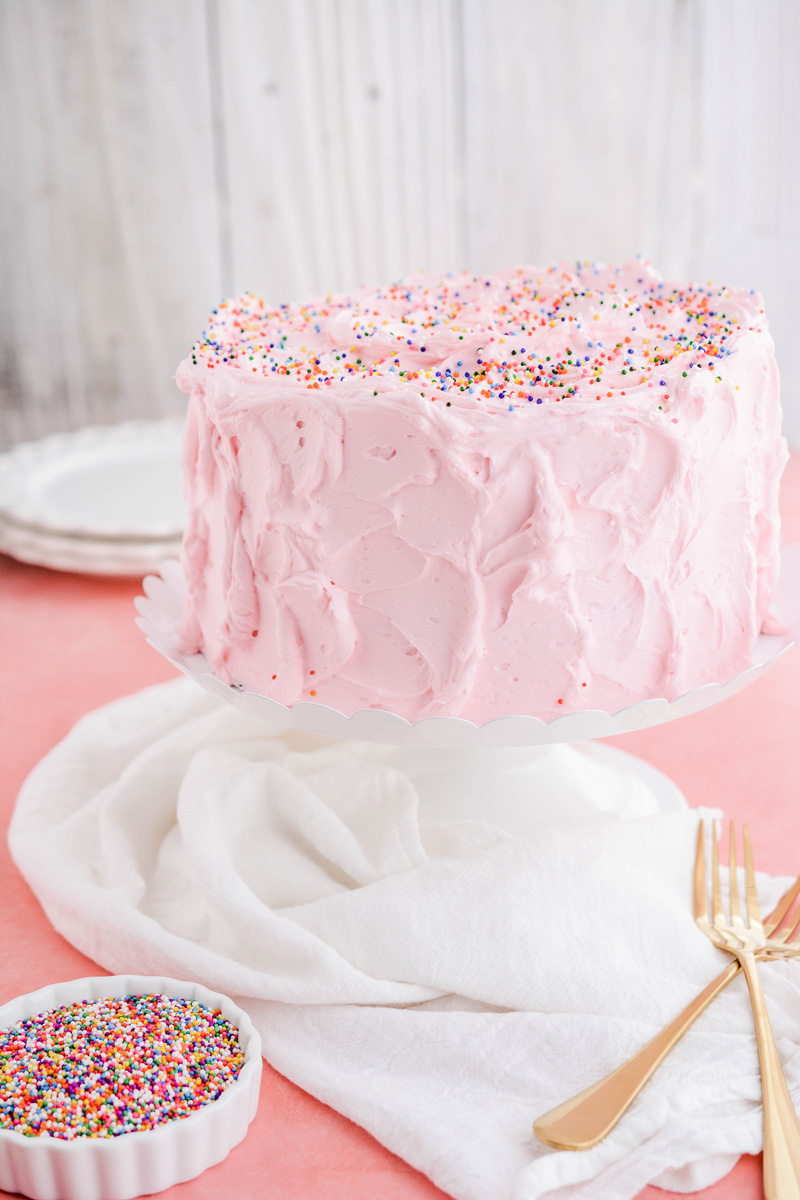
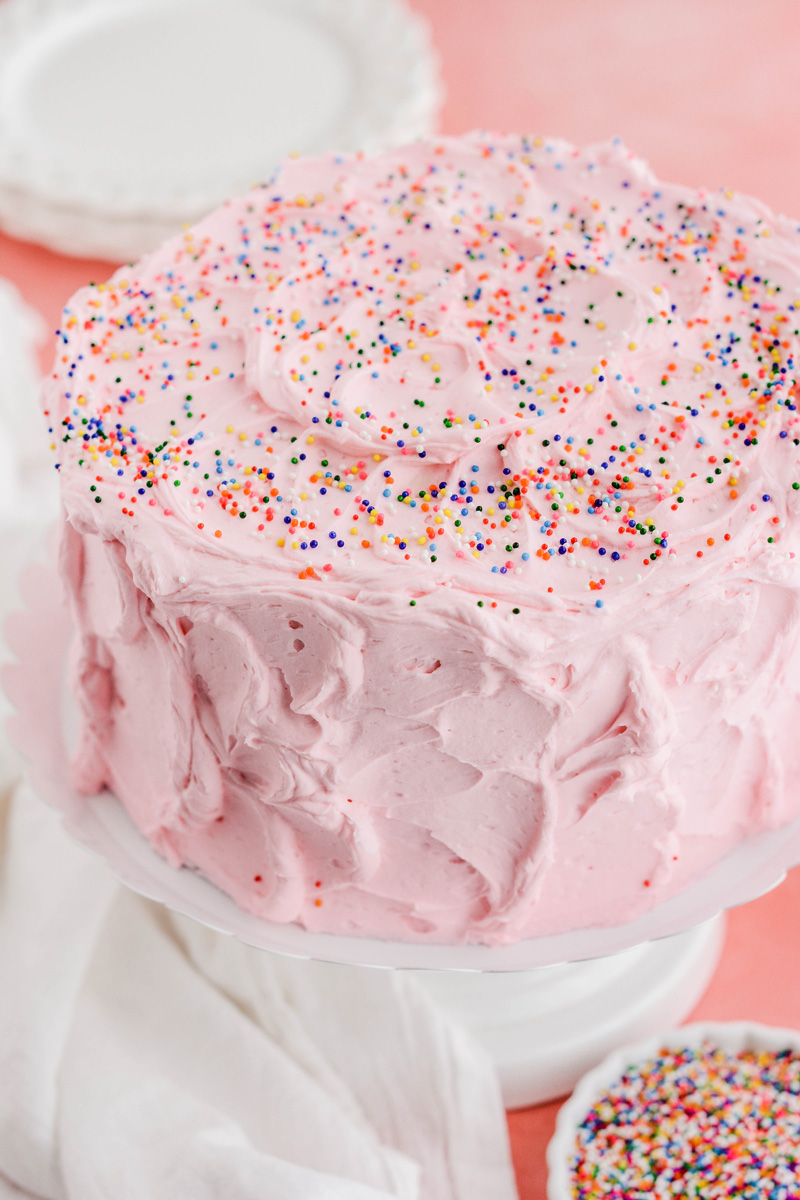
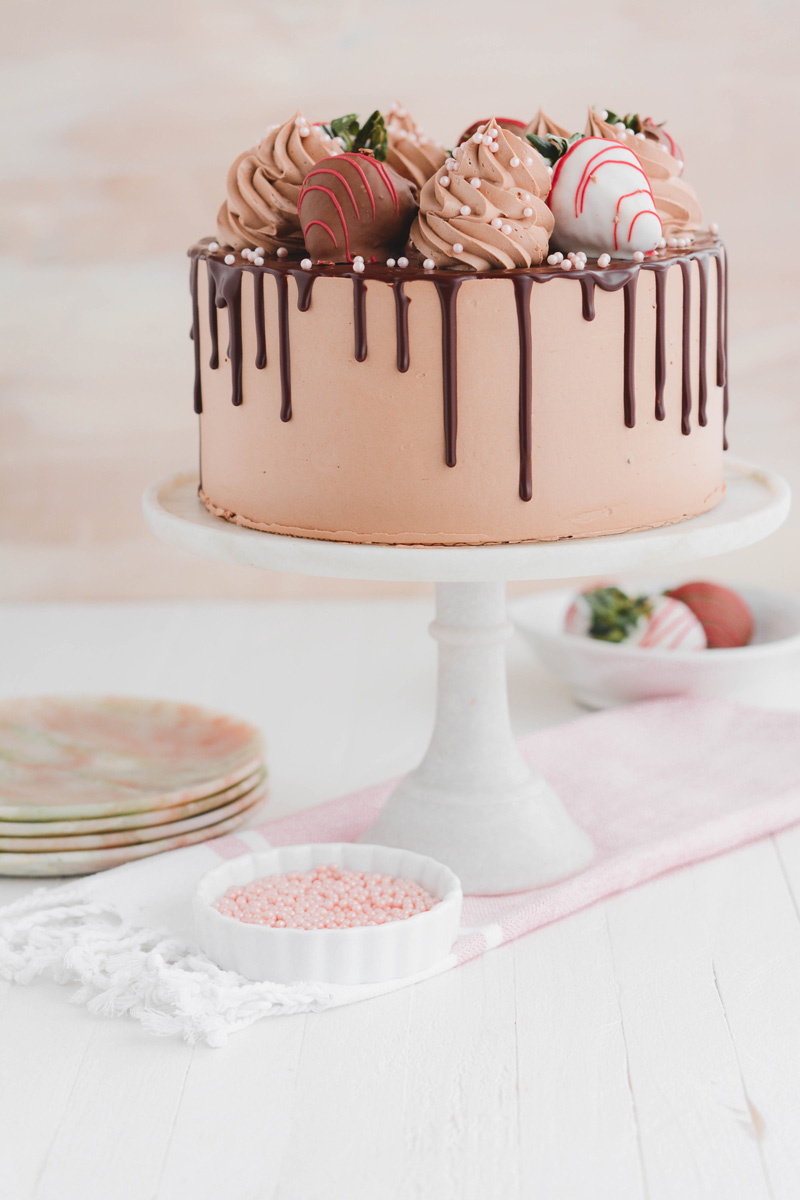
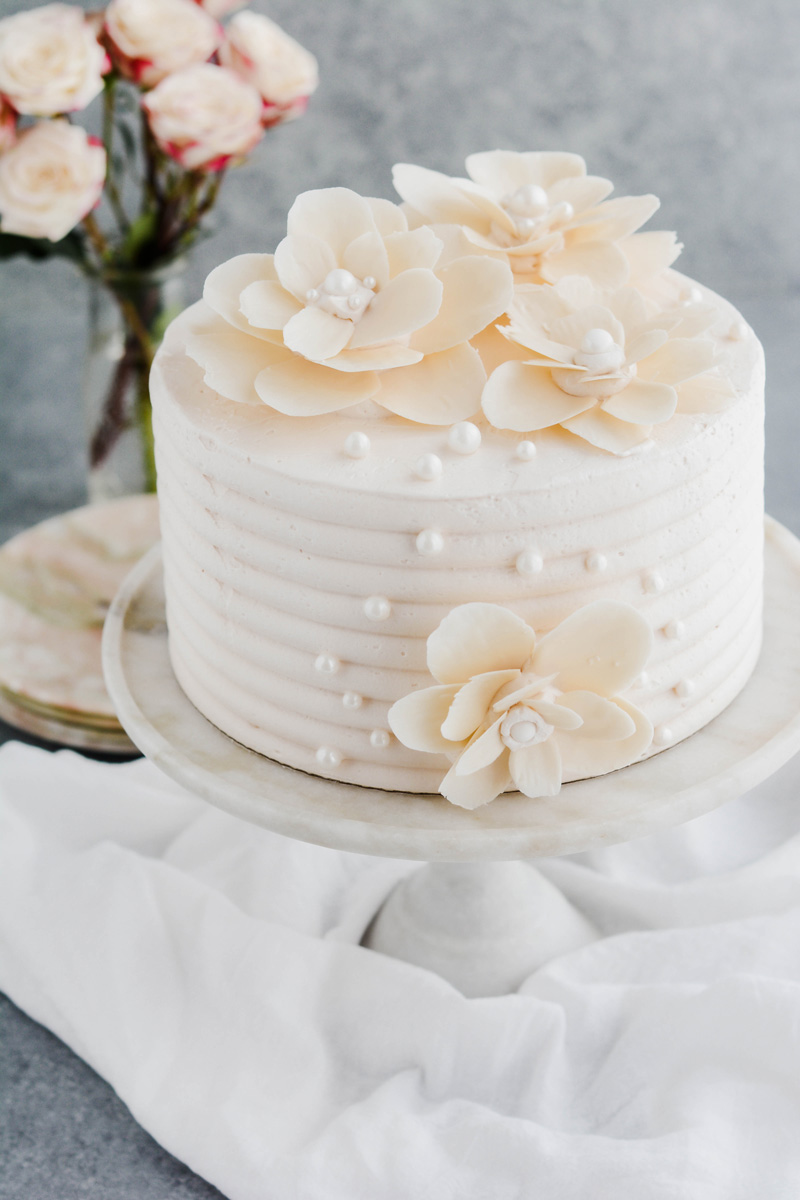
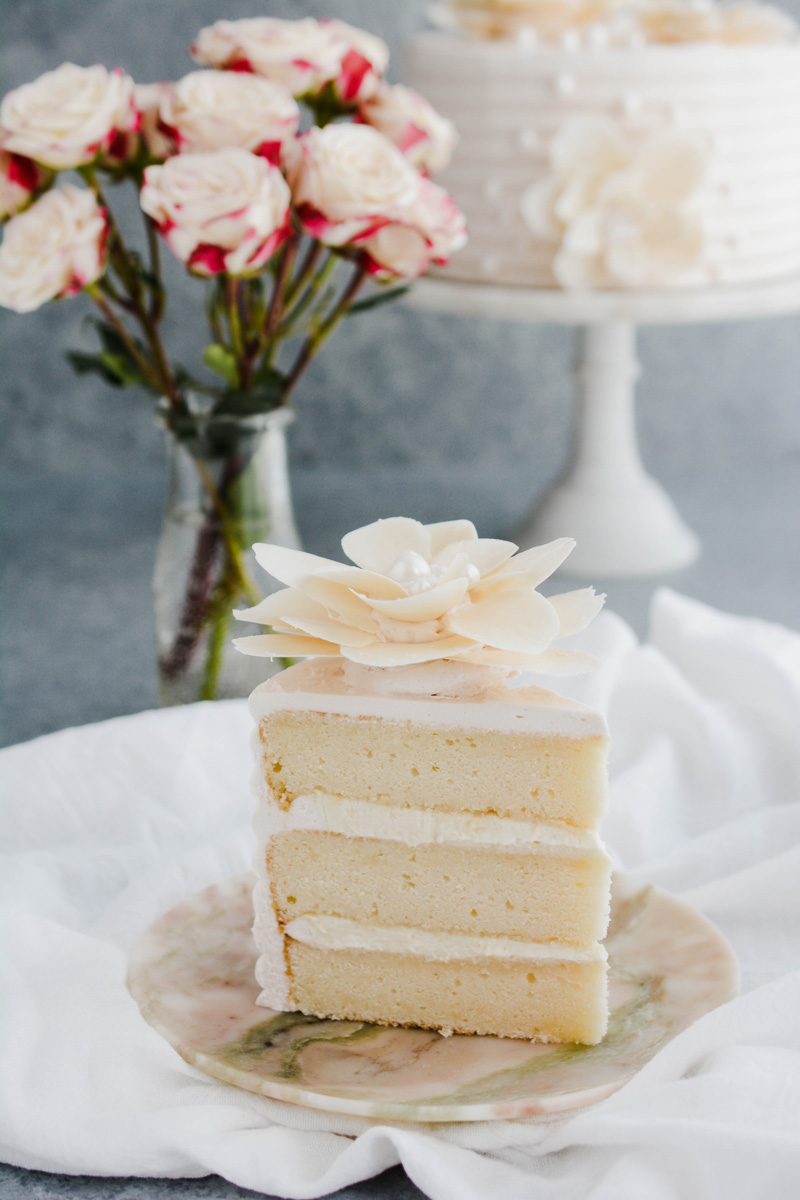
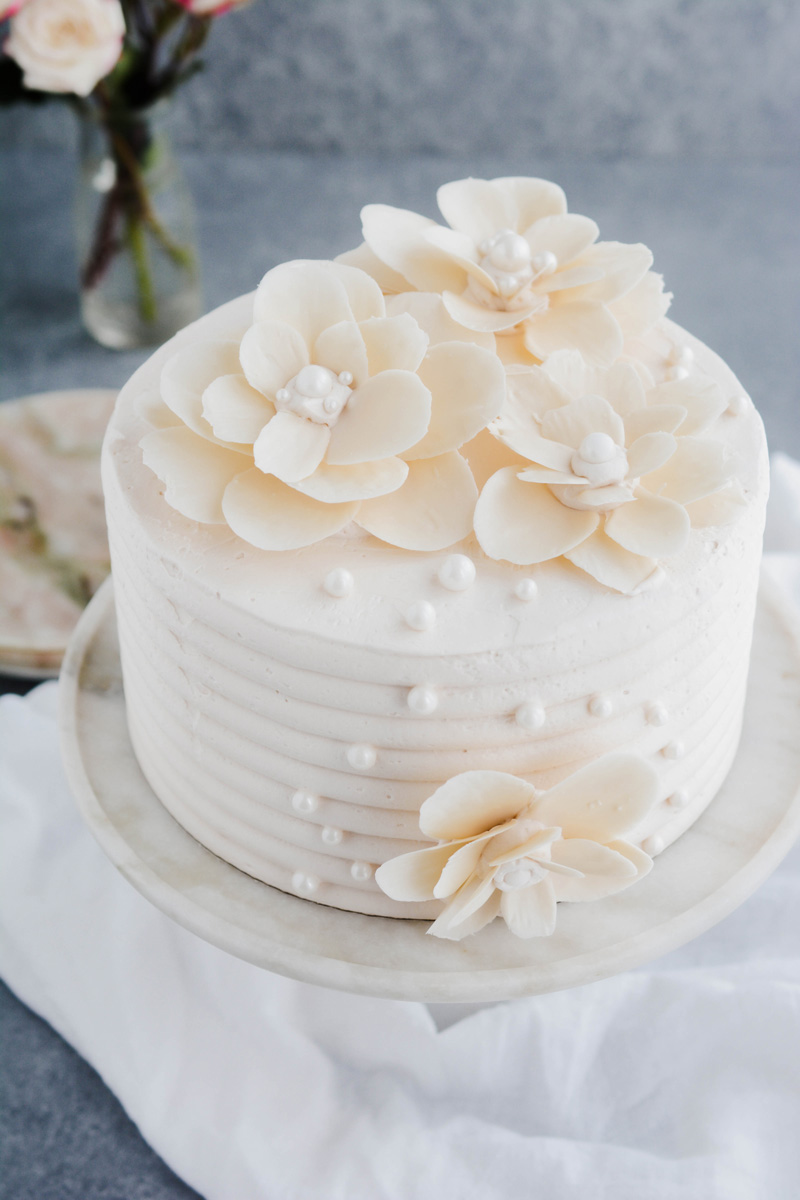
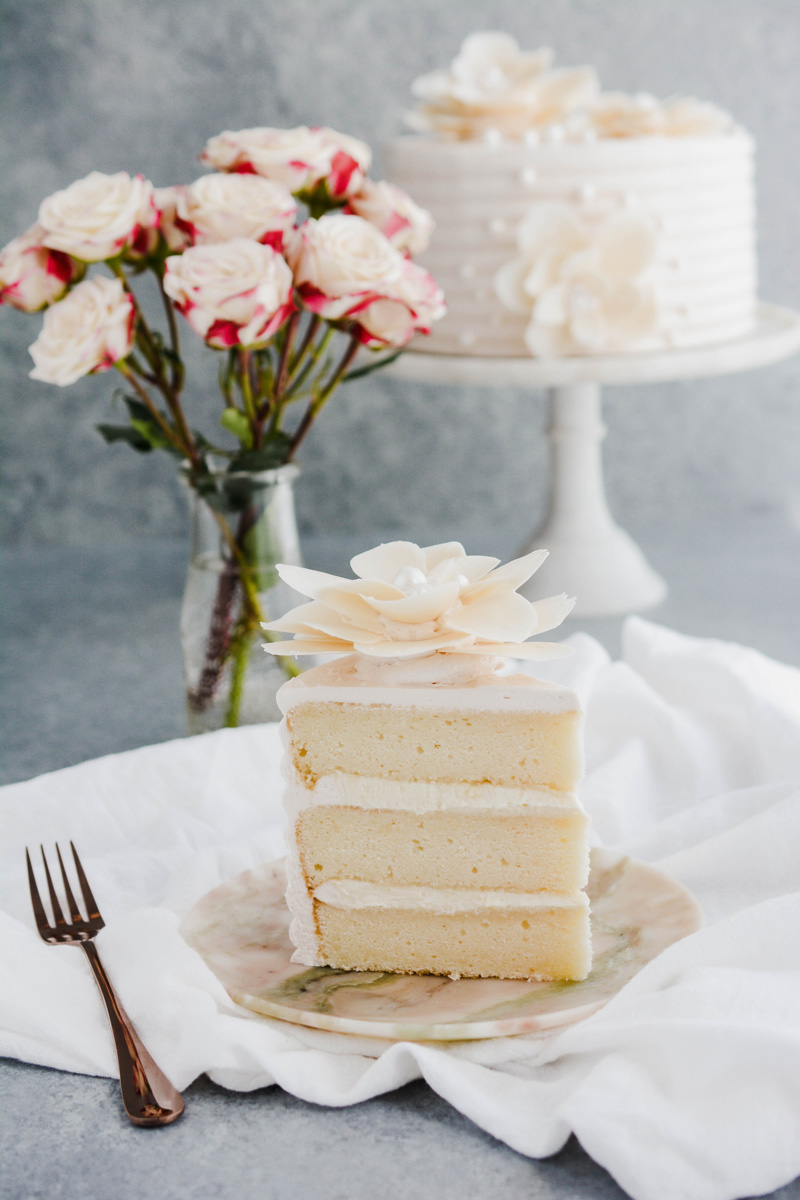
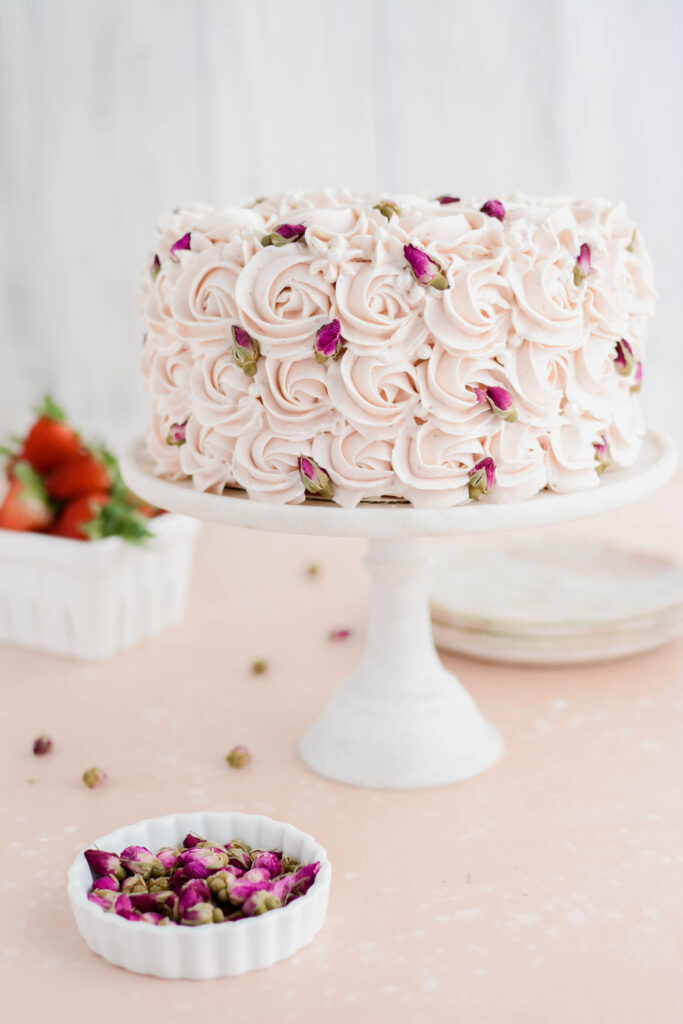
This White Chocolate Rose Cake is rich in white chocolate flavor with a hint of rose in every bite. For the best flavor be sure to use real white chocolate and not white chocolate chips for this cake. I prefer Lindt white chocolate and its readily available at your local grocery store.

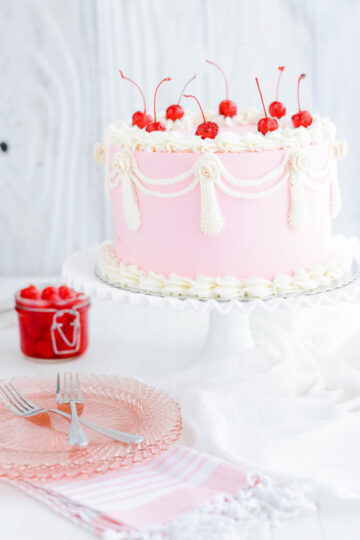
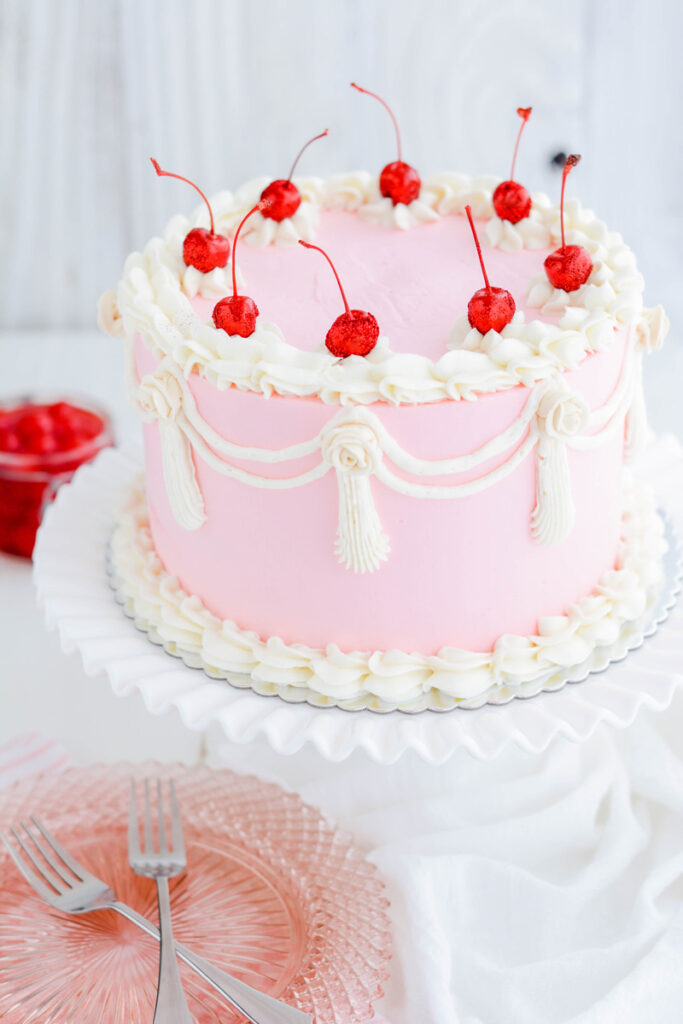
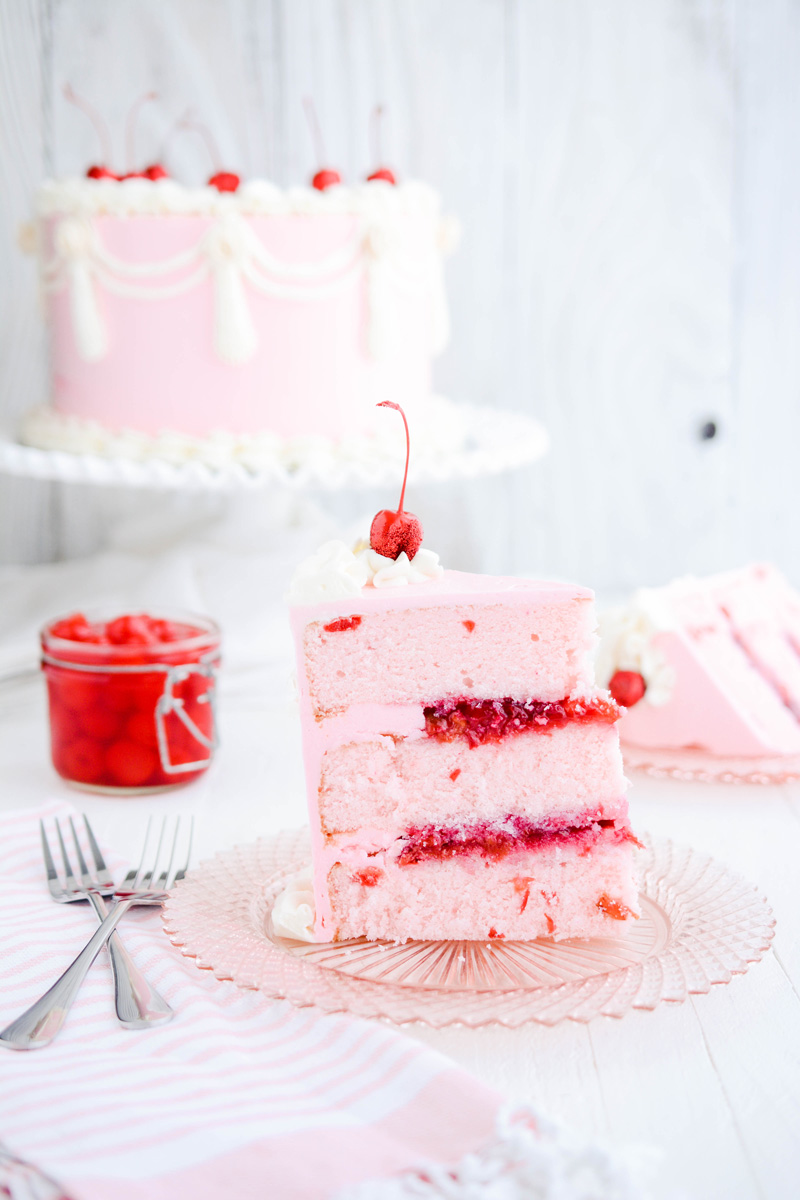
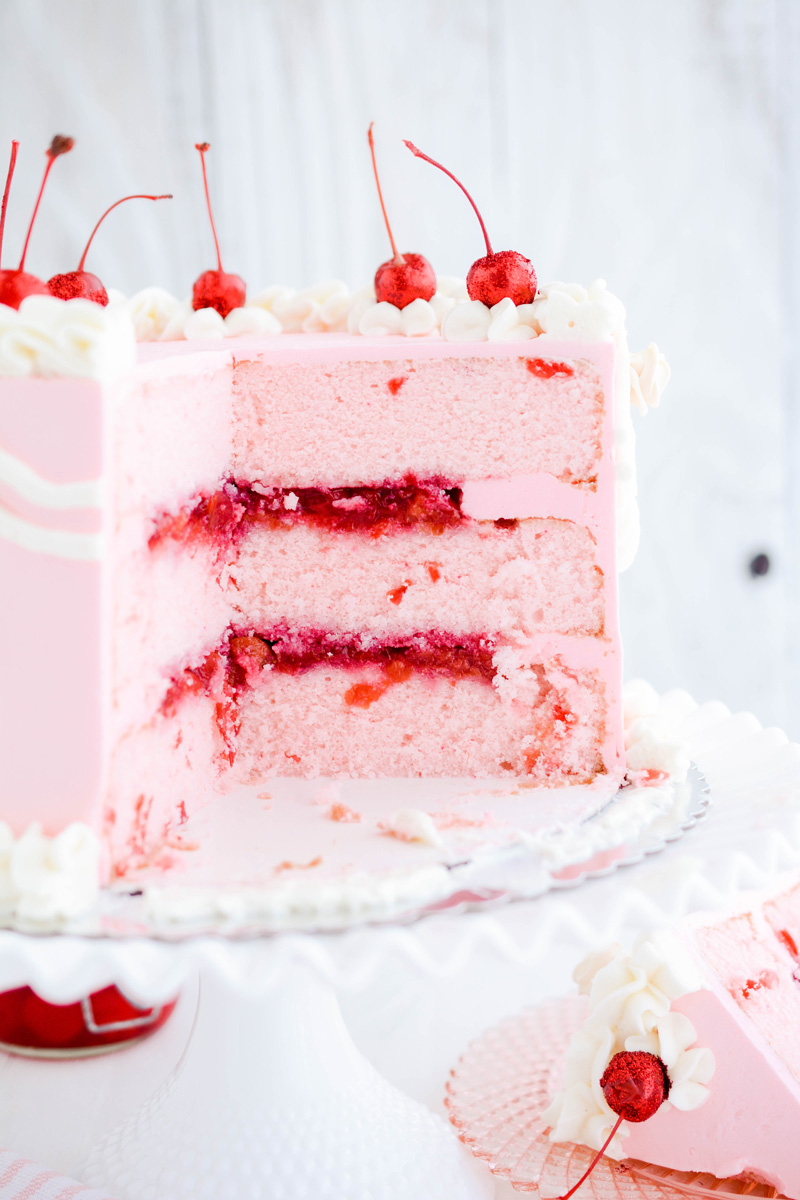
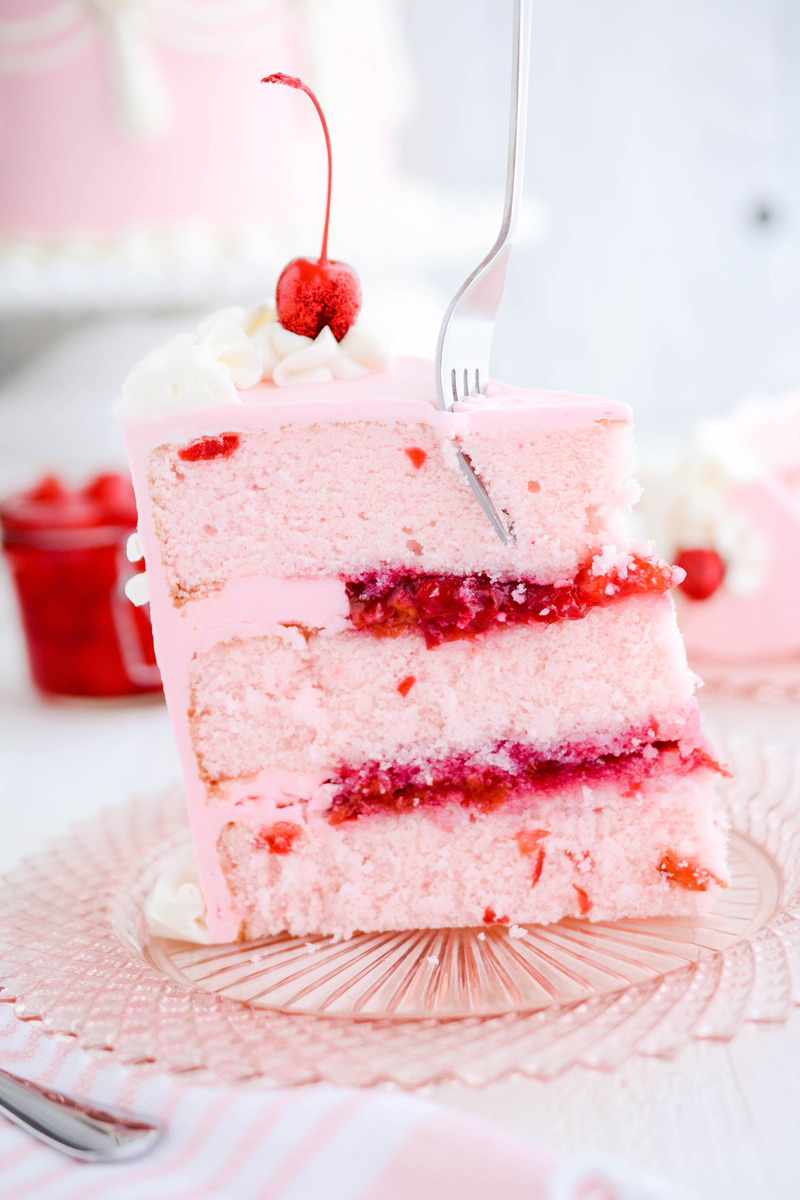
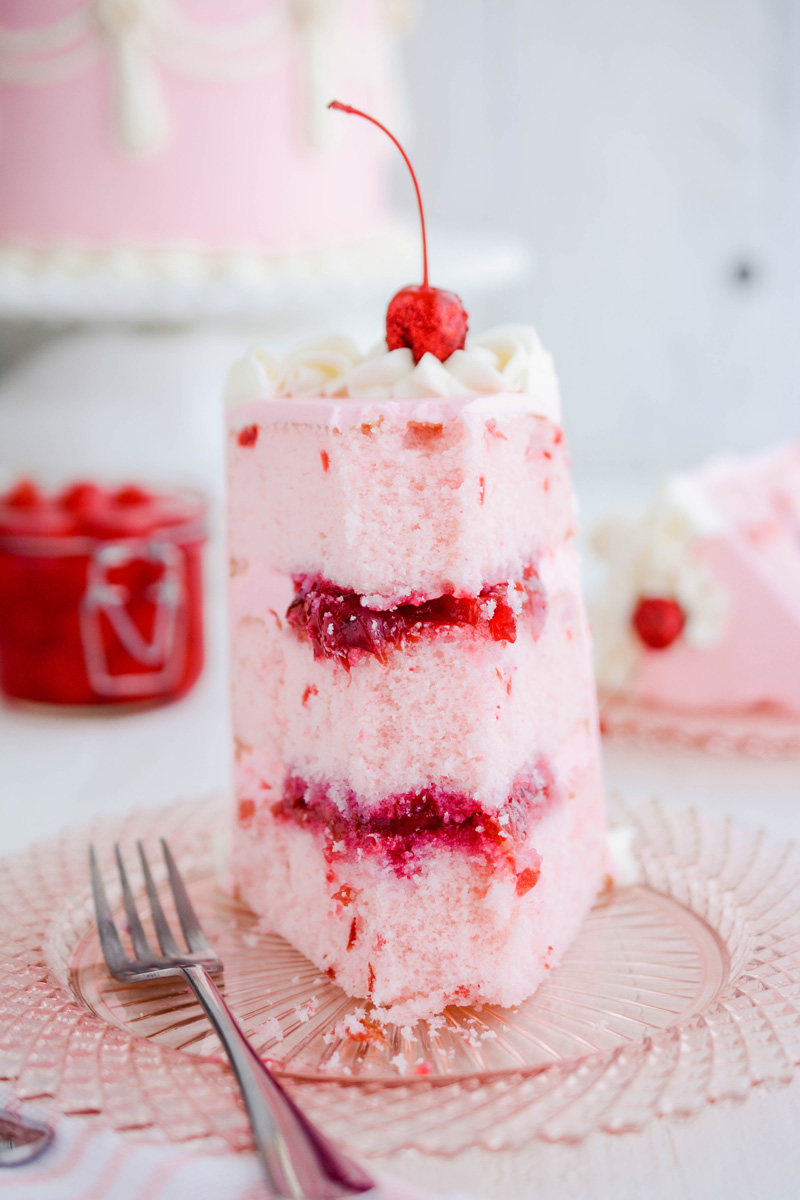
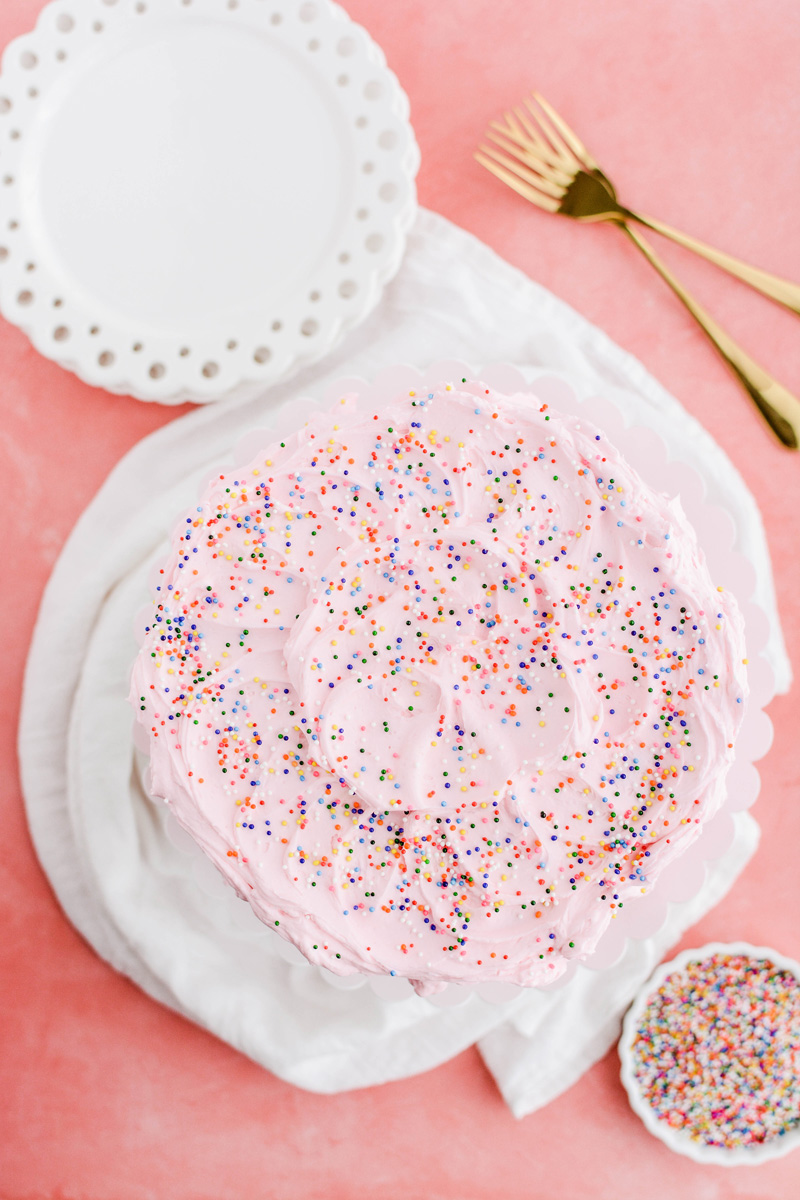
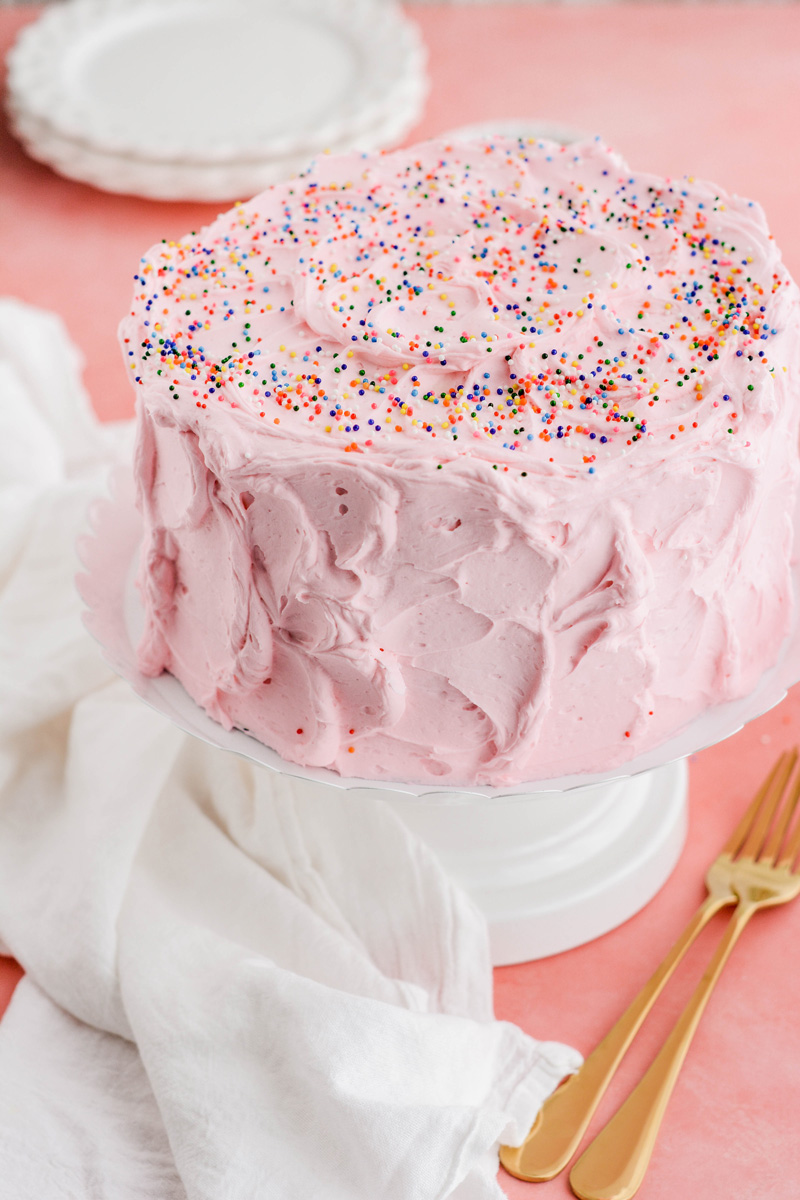
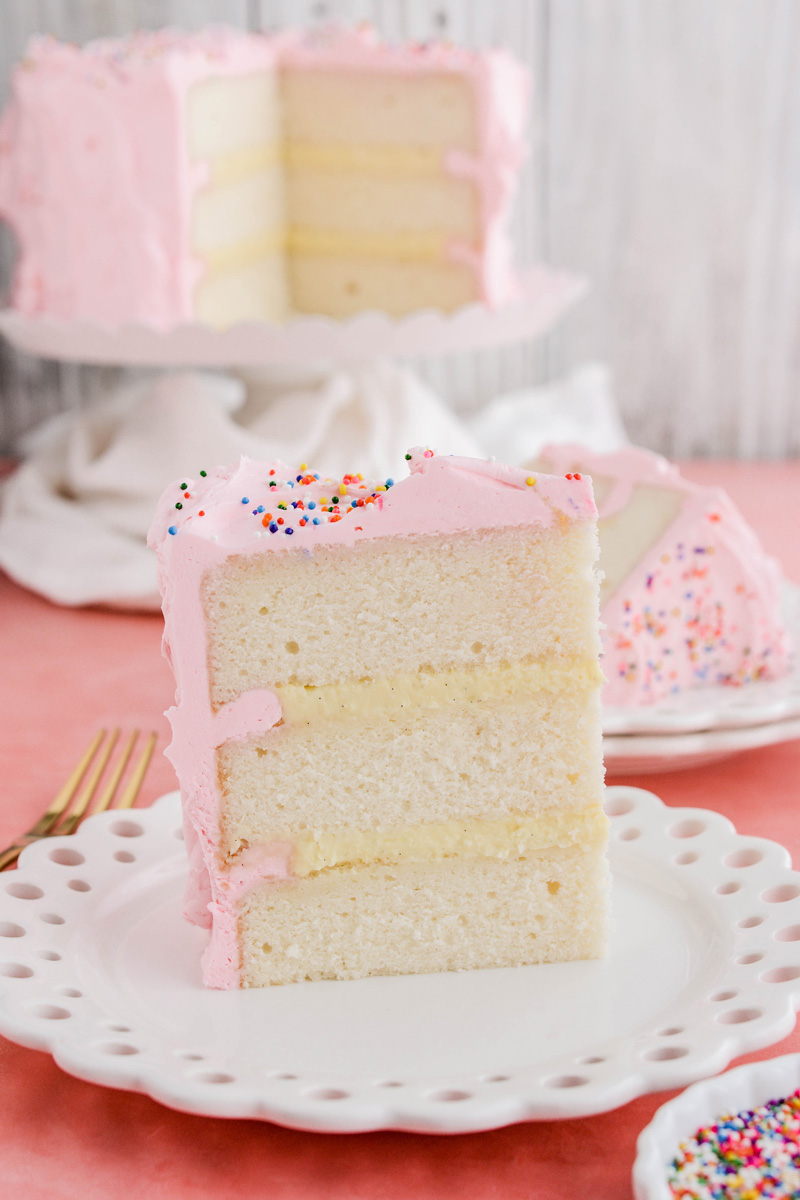
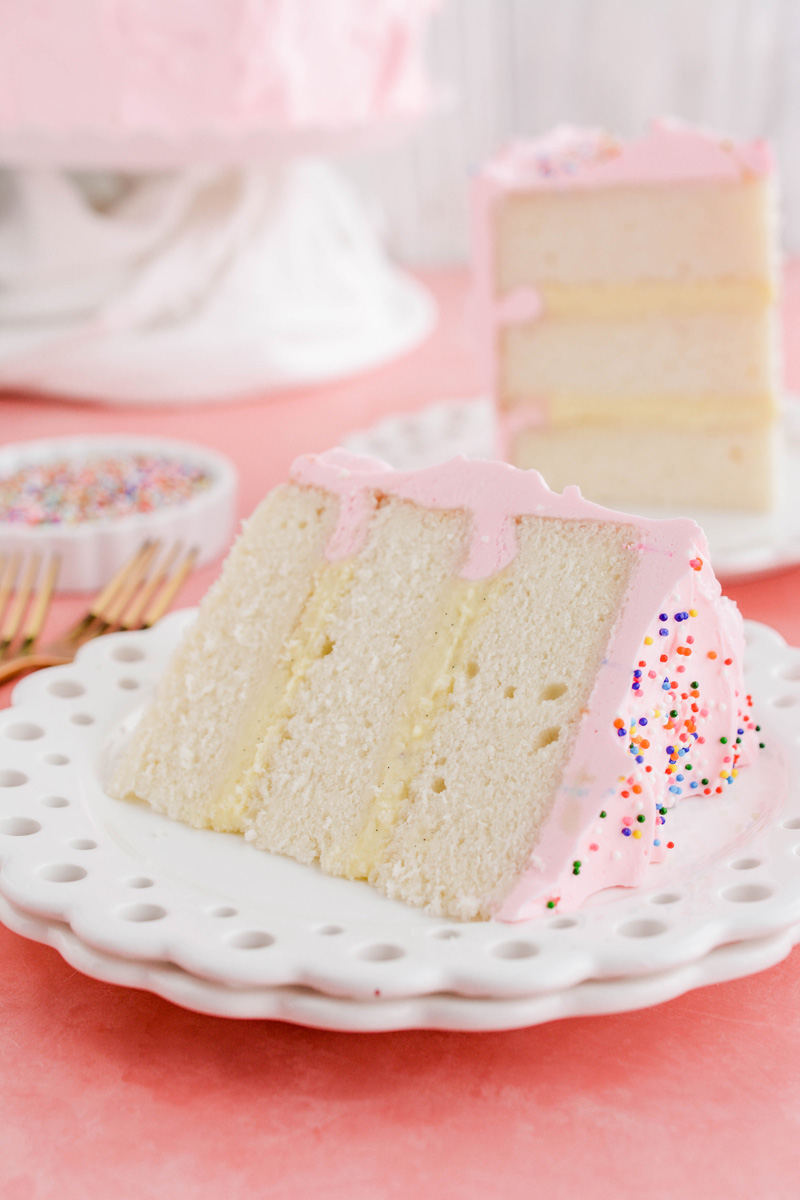
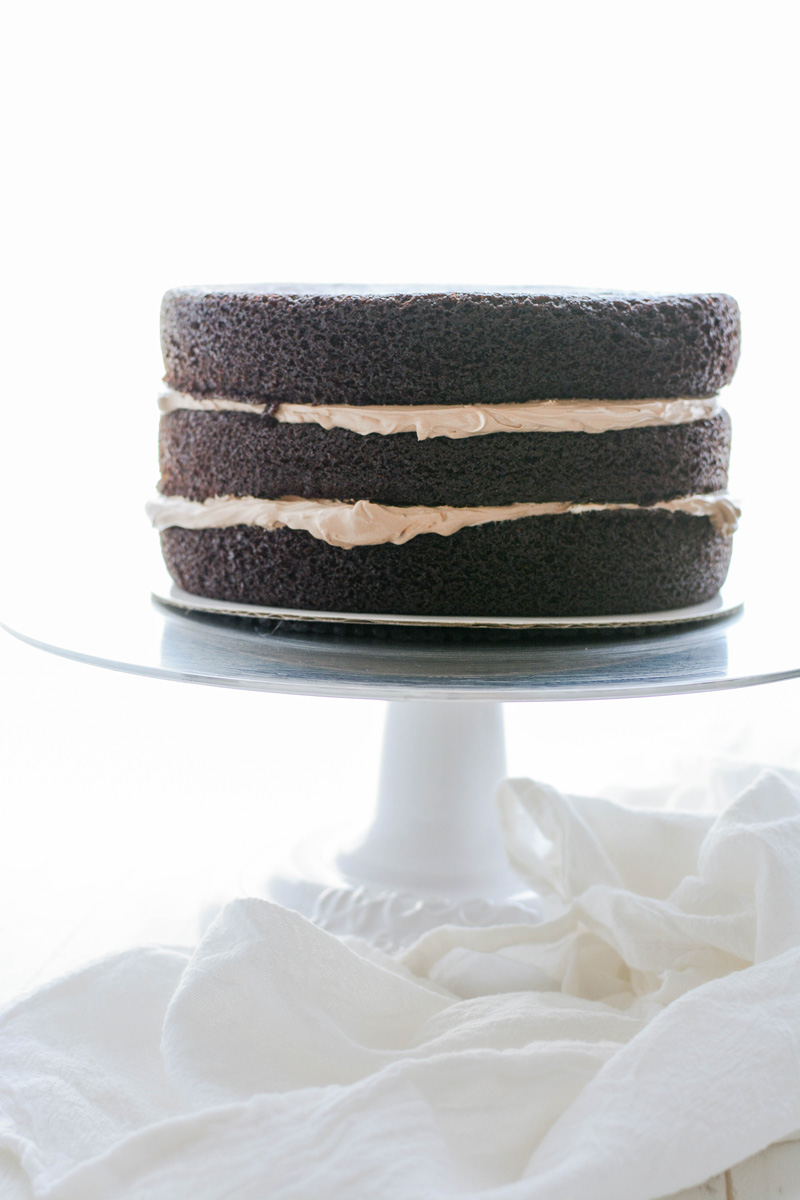
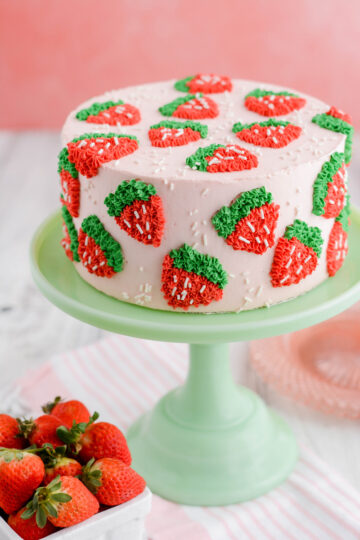
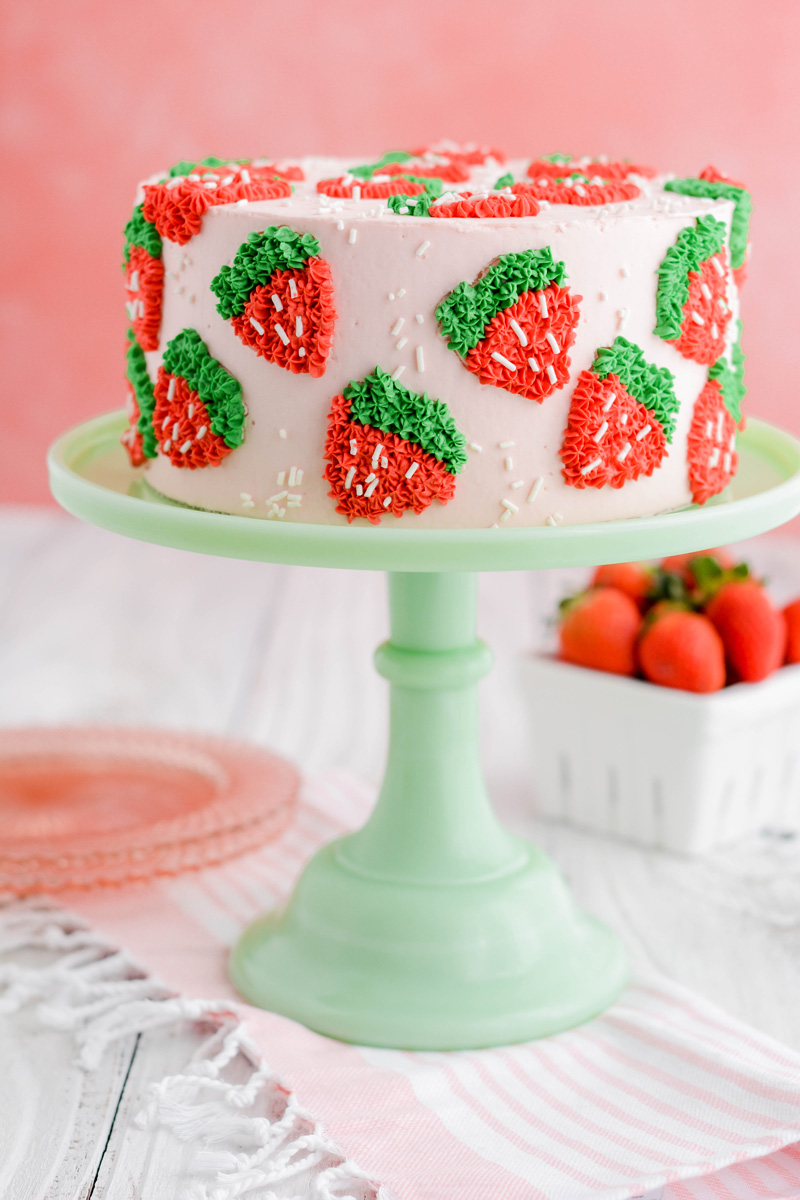
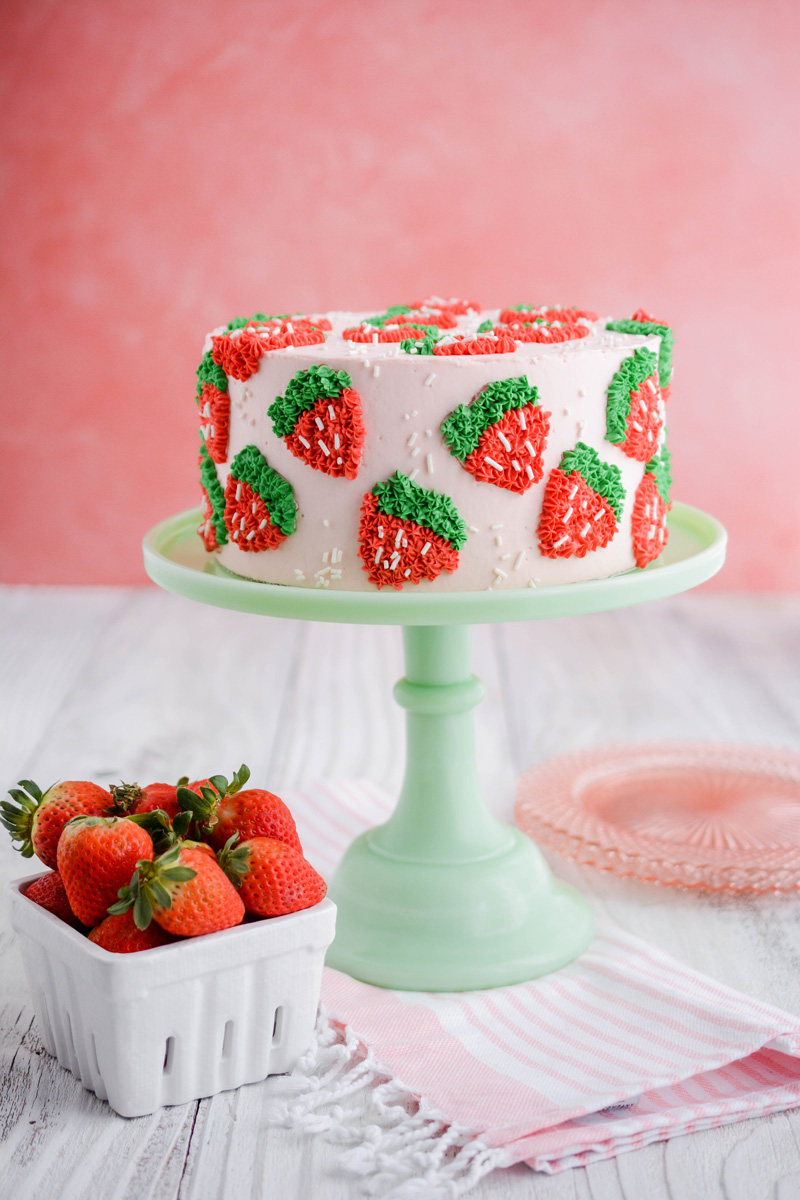
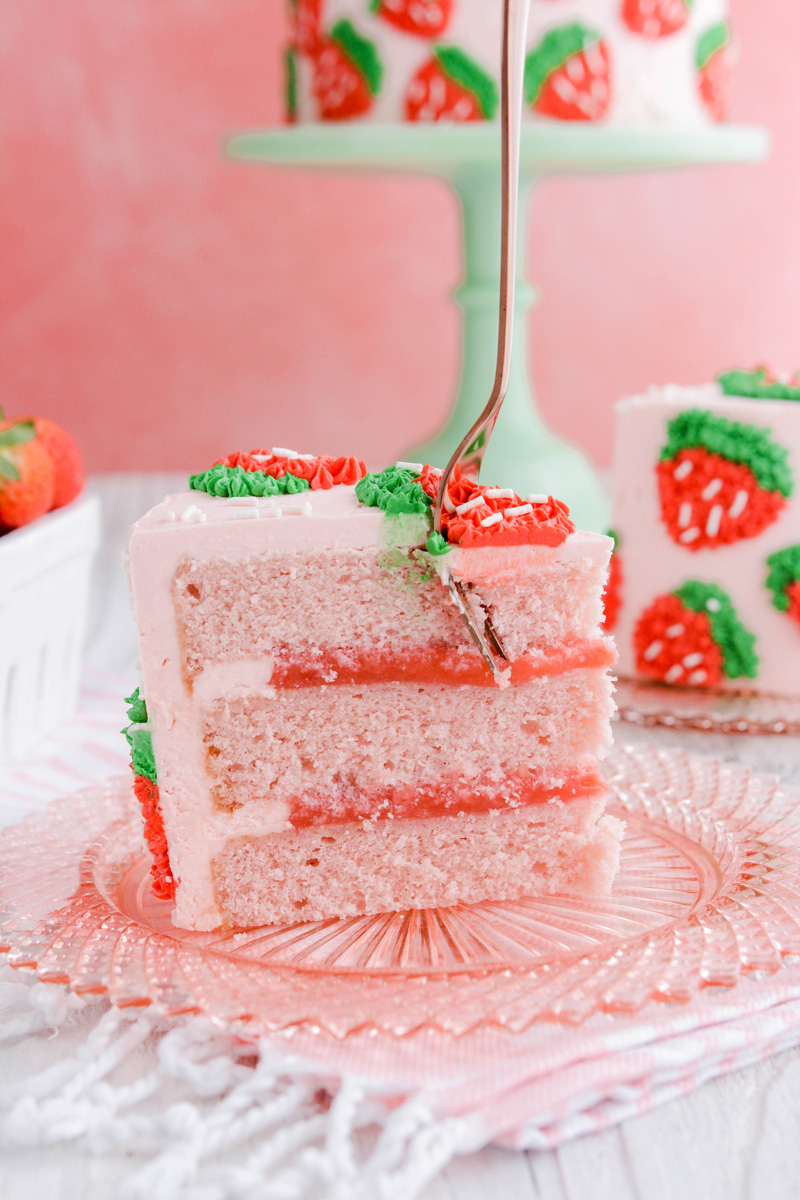
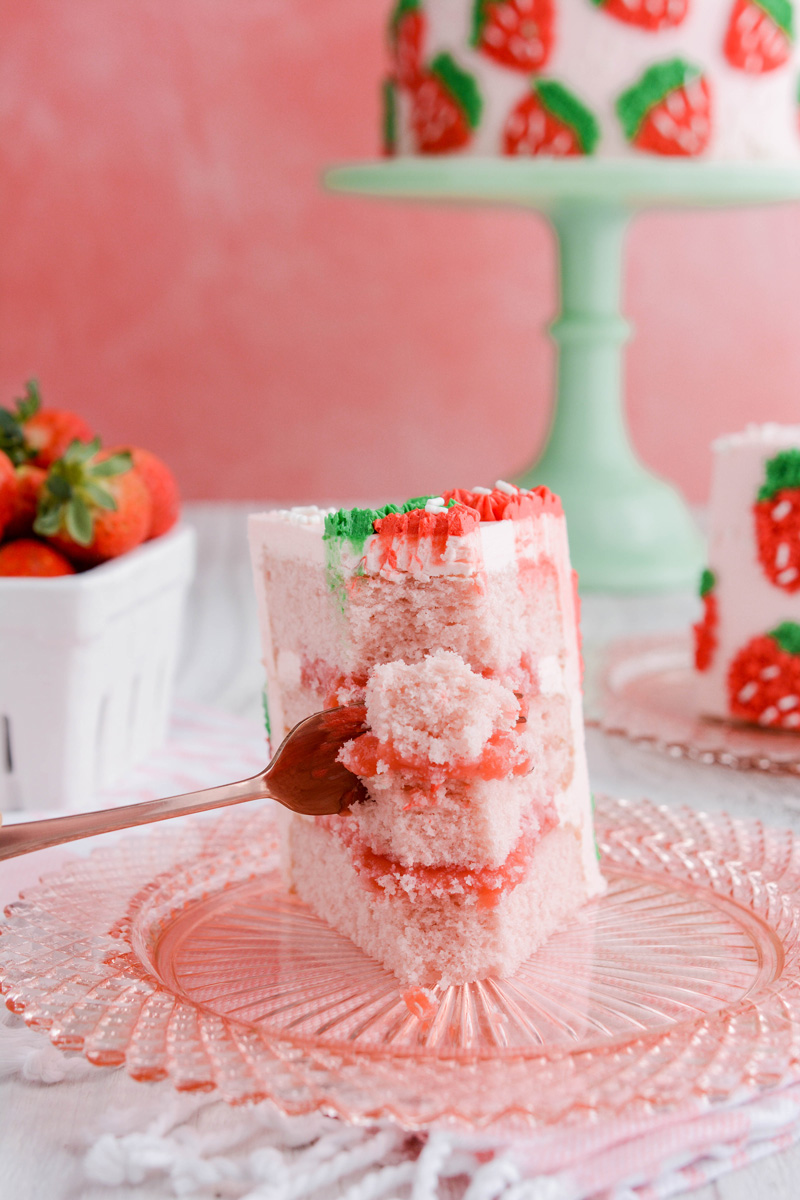
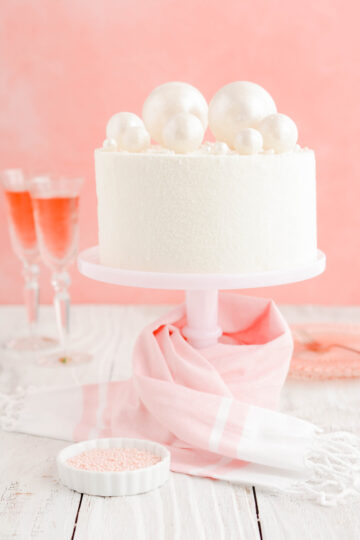
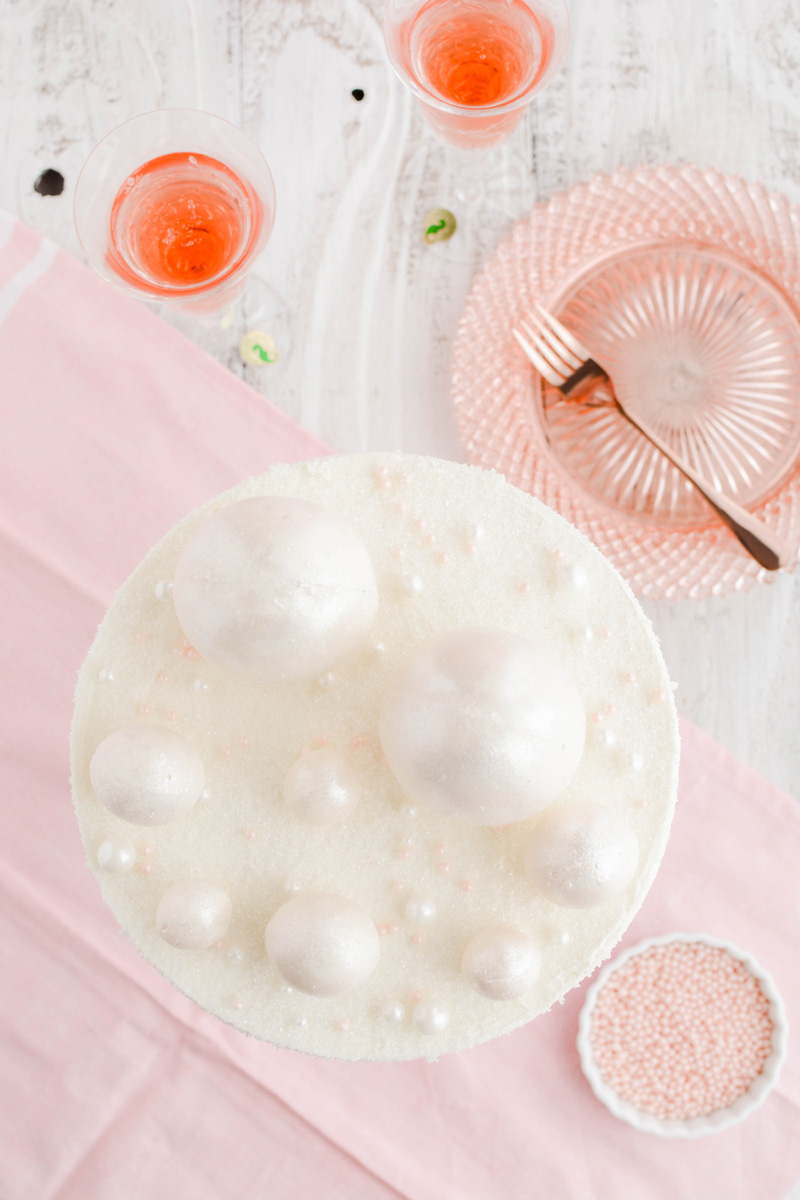
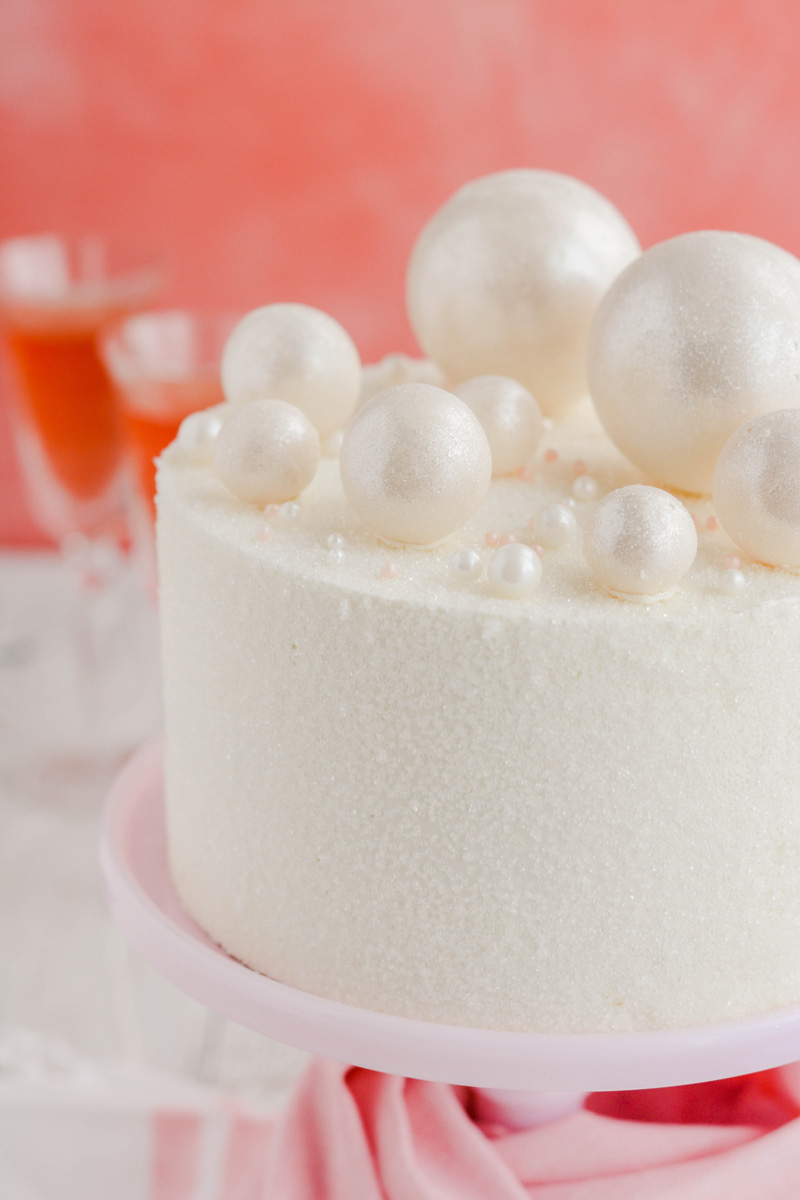
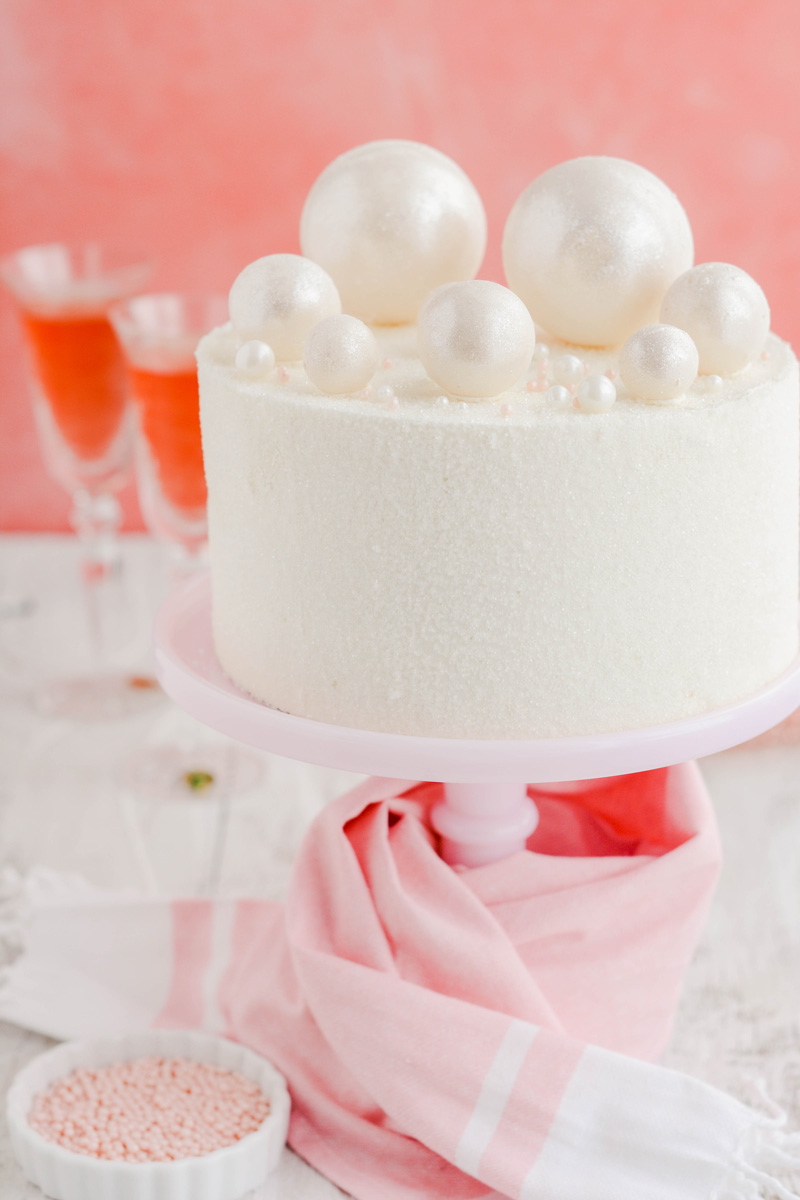
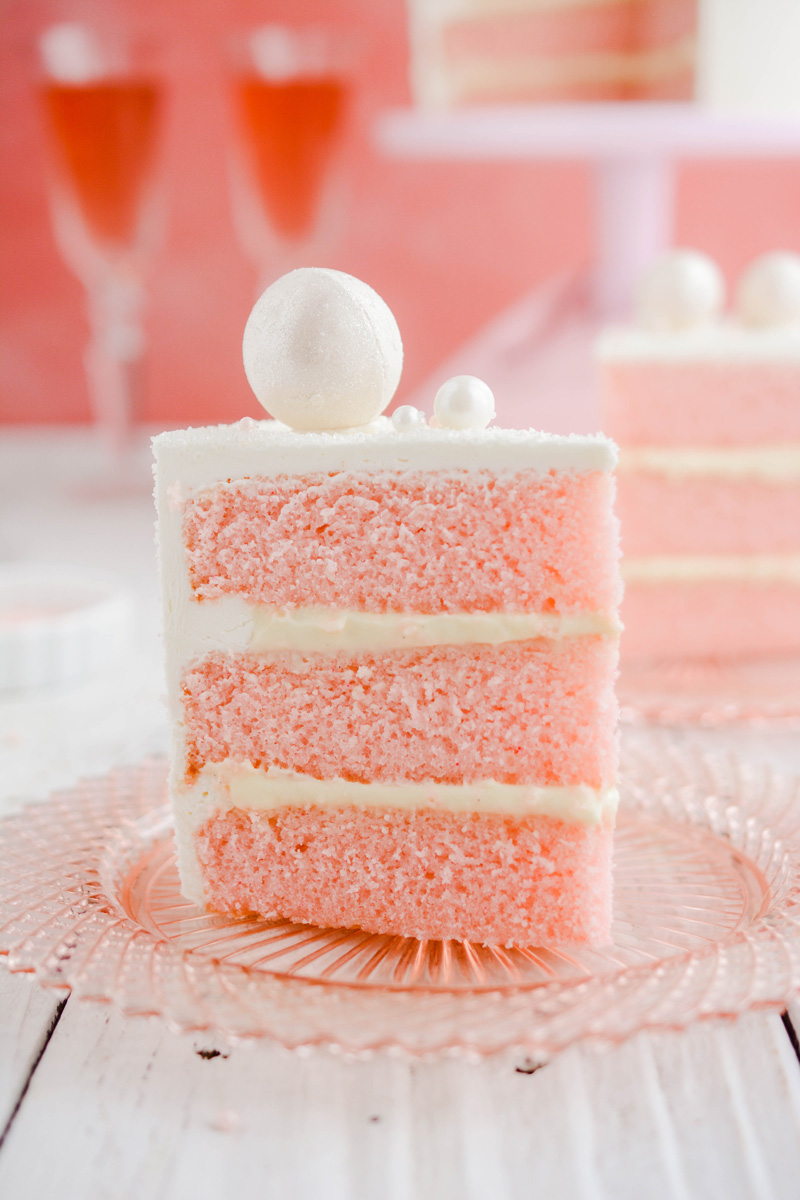
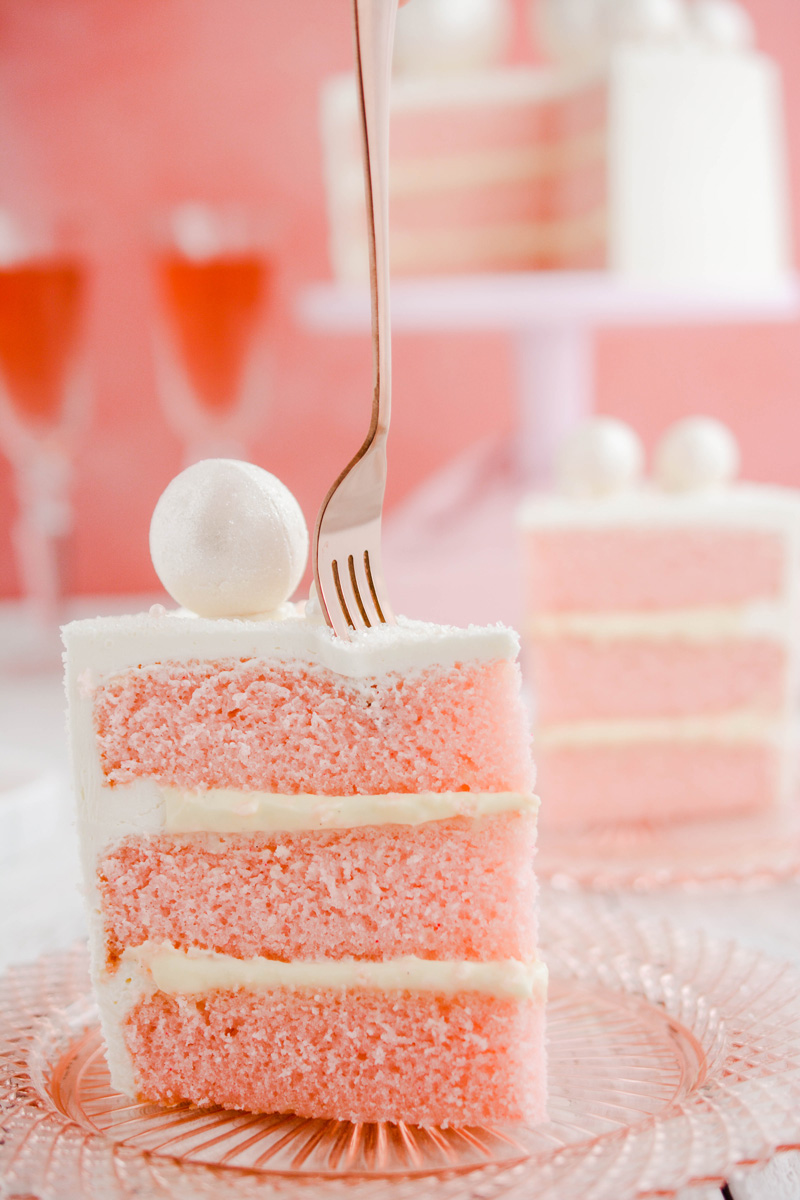
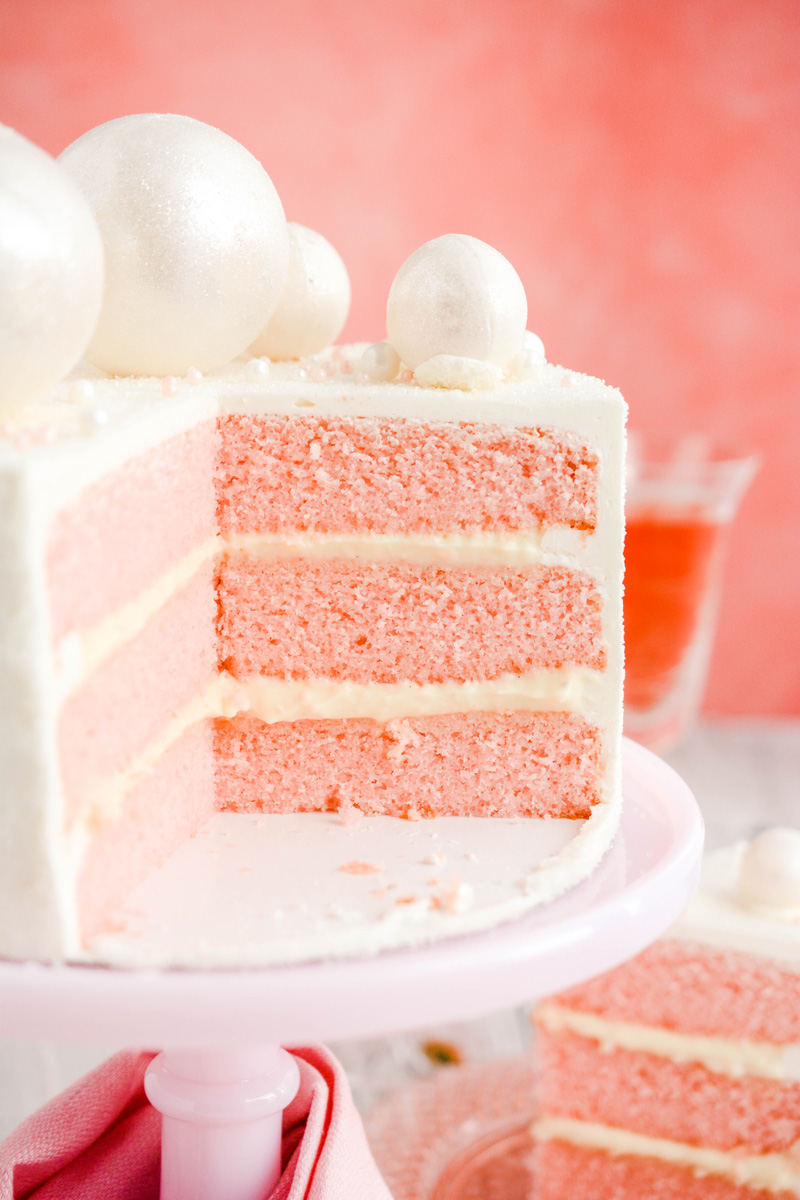
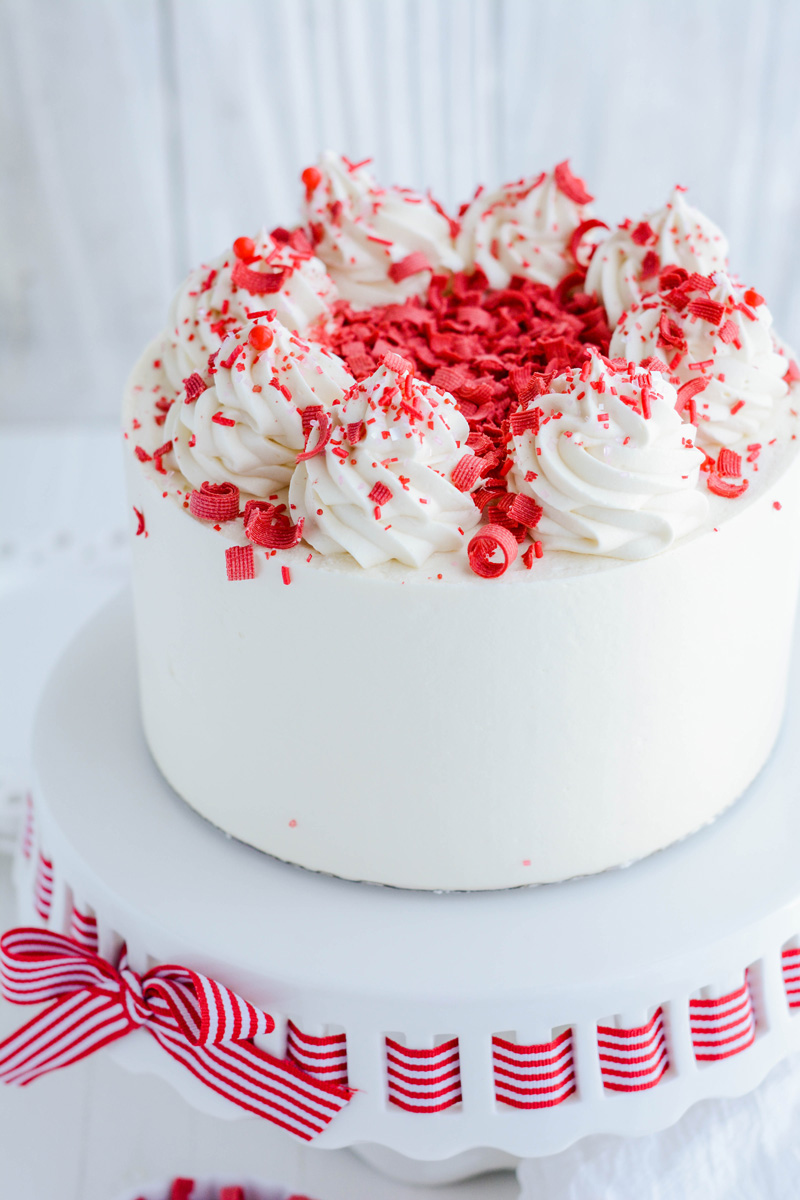
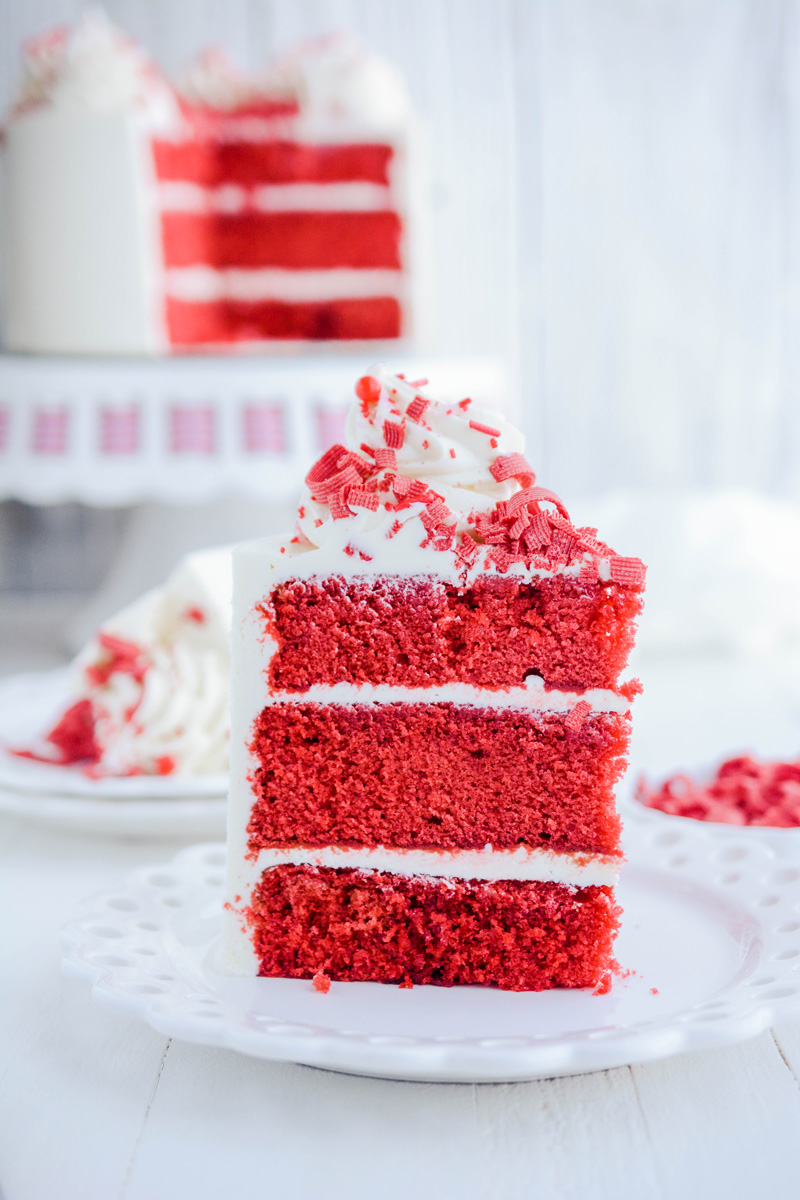
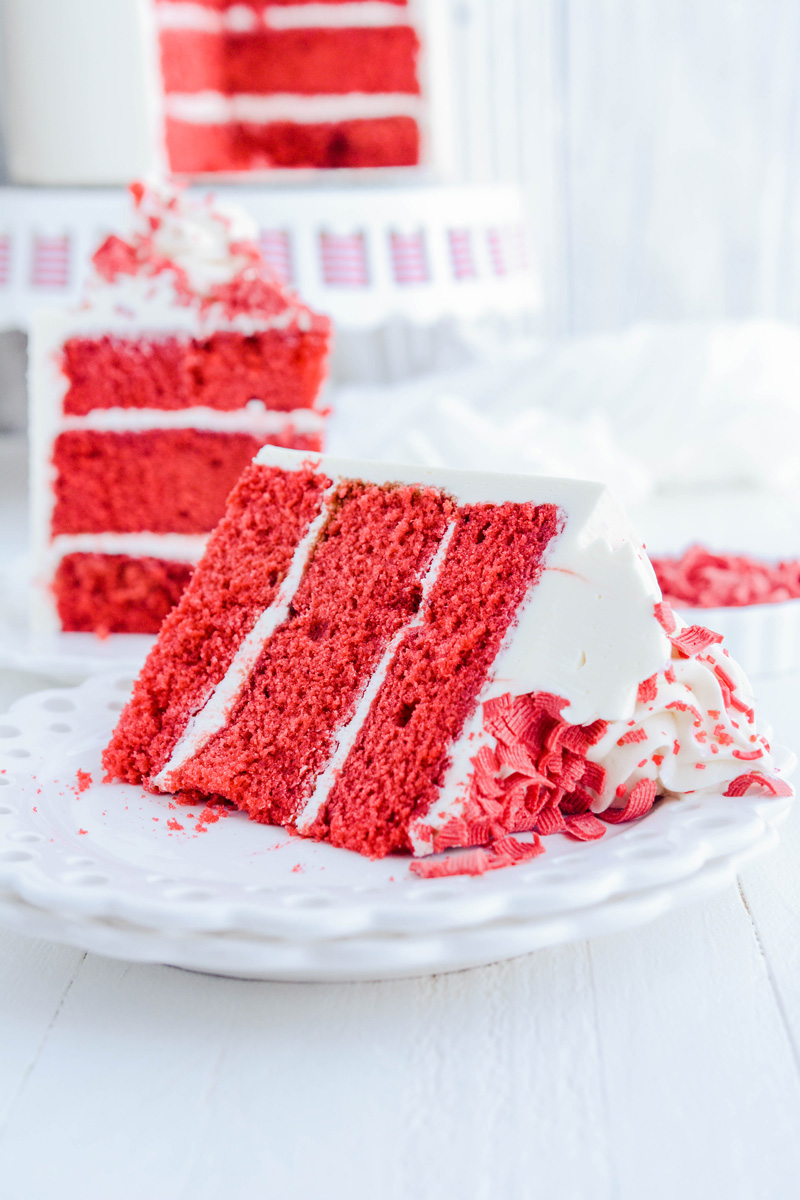
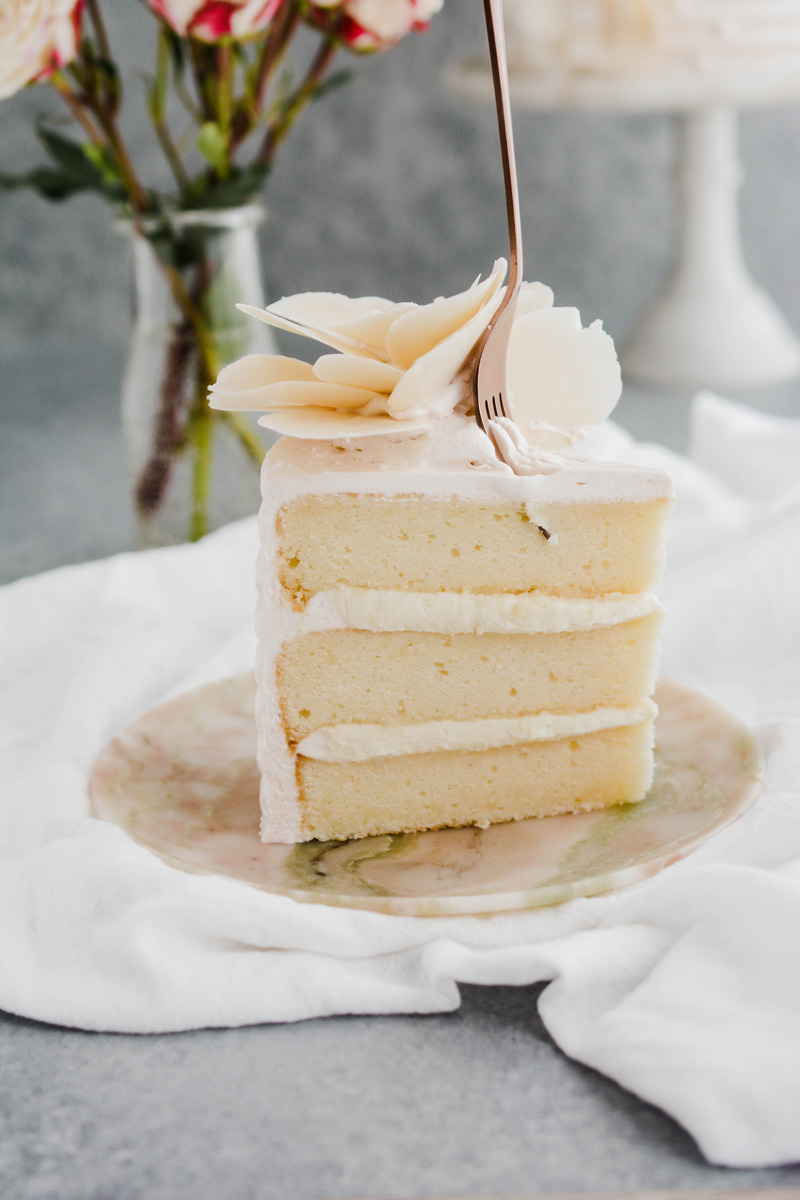
Three layers of decadent white cake, filled with white chocolate rose filling that's covered with a white chocolate rose flavored bakery-style frosting create this beautiful cake.
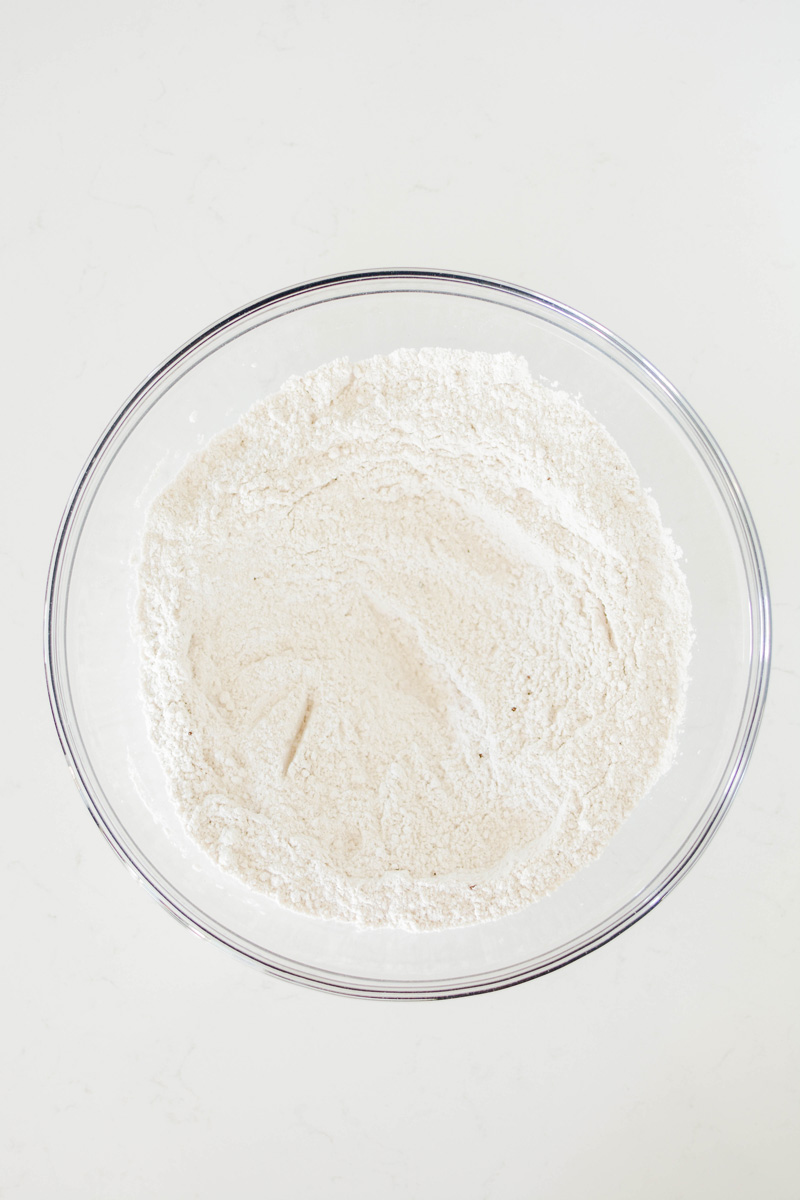
White Chocolate Cake
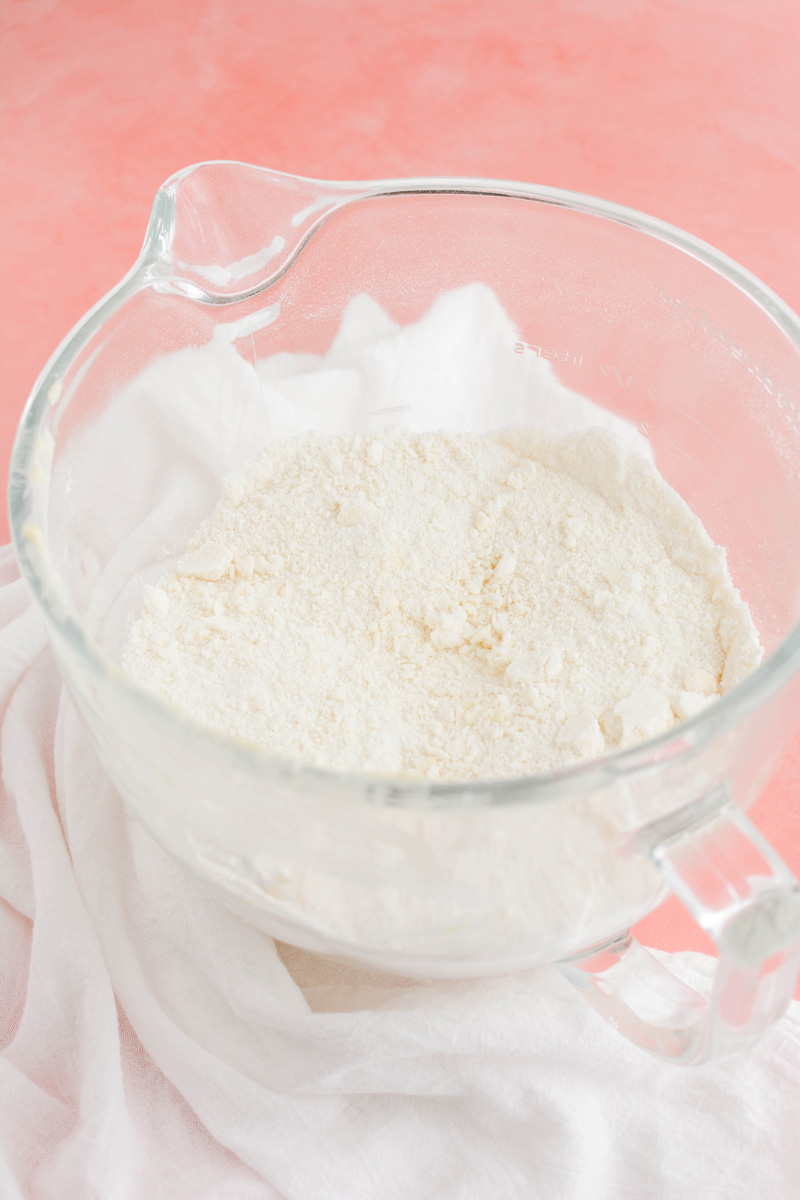
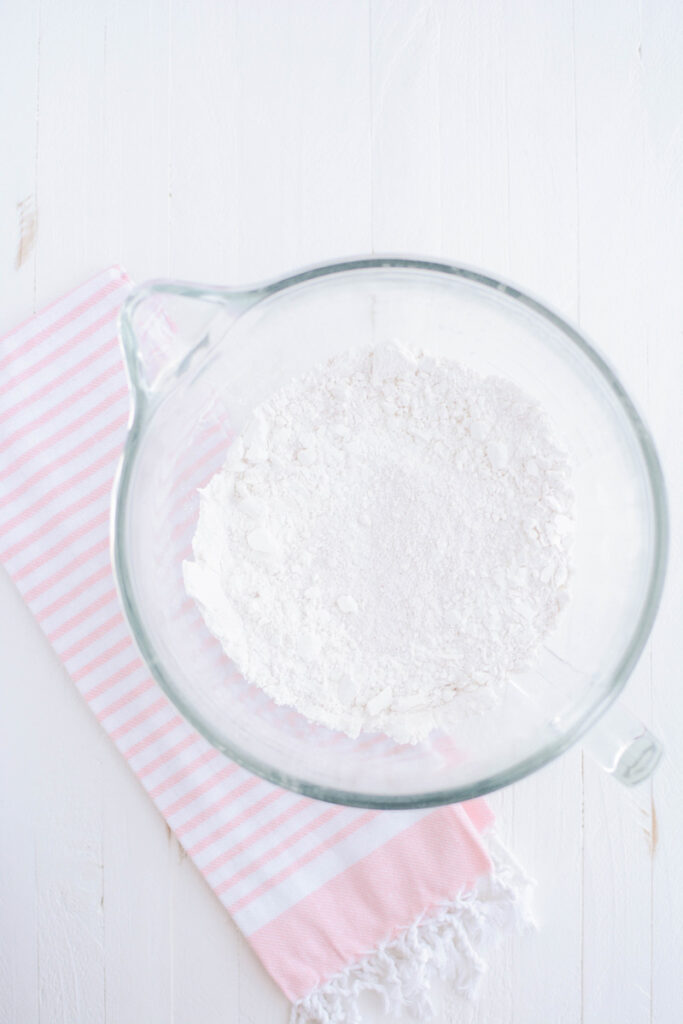
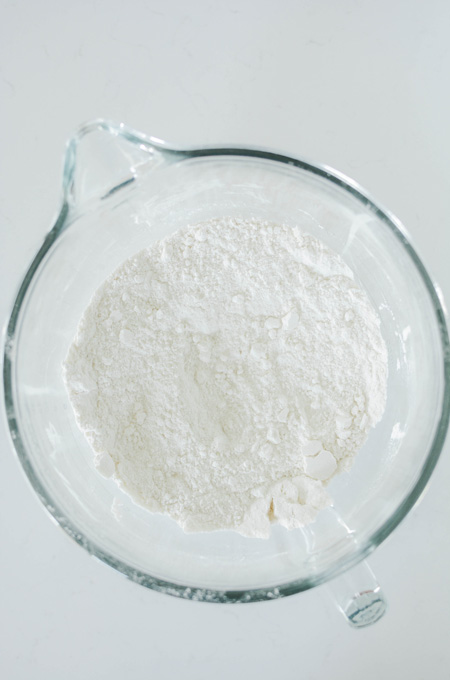
- Cake flour: cake flour has a lower protein content than all-purpose flour, which produces delicate and fine crumbed cakes like this one.
- Baking powder: leavens the cake.
- Granulated sugar: flavors the cake batter and incorporates and dissolves easily into the cake batter.
- Salt: helps enhance flavor.
- Eggs: bind, thicken, emulsify and leaven.
- Vanilla extract: enhances the cake flavor.
- Buttermilk: adds a tangy flavor, as well as tenderizes and creates a fluffy crumb. Bakers Tip: Sour cream or yogurt can be substituted for buttermilk. Both are acidic and produce similar results.
- Unsalted butter: is rich in flavor and also helps determine the cakes crumb. Fat coats the flour stopping its ability to form too much gluten. Bakers Tip: Always use unsalted butter since different brands of butter have different amounts of salt in them.
- Melted white chocolate: adds flavor to the white chocolate cake layers. Be sure to use real white chocolate for the best flavor.
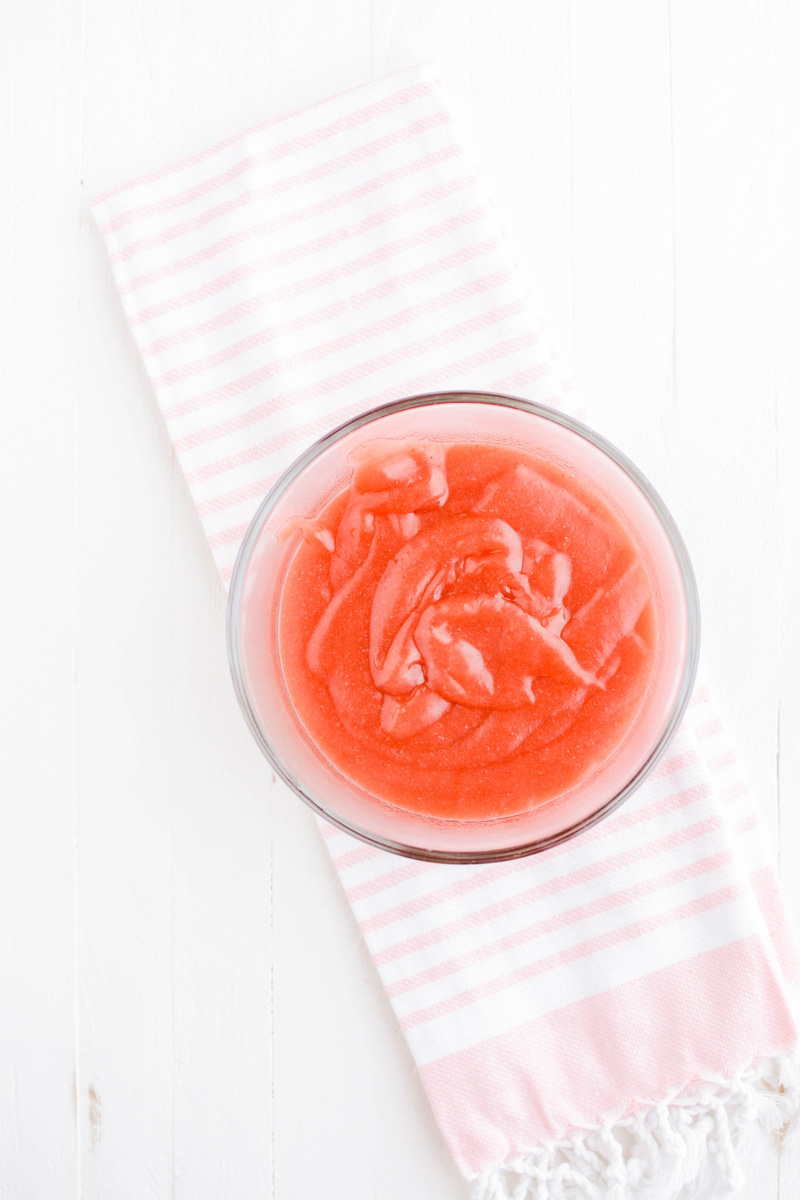
White Chocolate Rose Filling
The filling will need time to chill and set up so be sure to plan accordingly. I like to prep the filling the day before so it can set up overnight.
White Chocolate Rose Frosting Tips
- Use real white chocolate, not white chocolate chips.
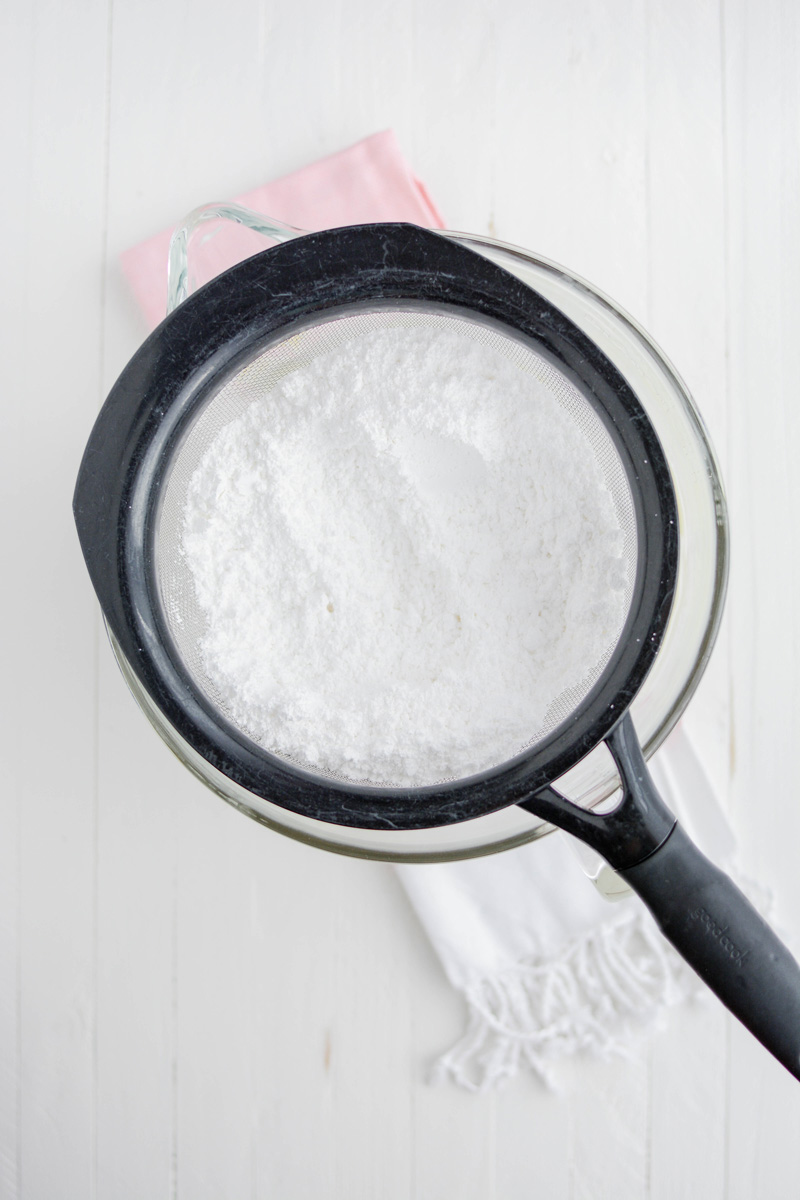
- Sift the powdered sugar before adding into the mixer bowl for a smooth frosting.
- Rose extract is strong so I recommend using between 1/4 teaspoon to 1/2 teaspoon.
Assemble
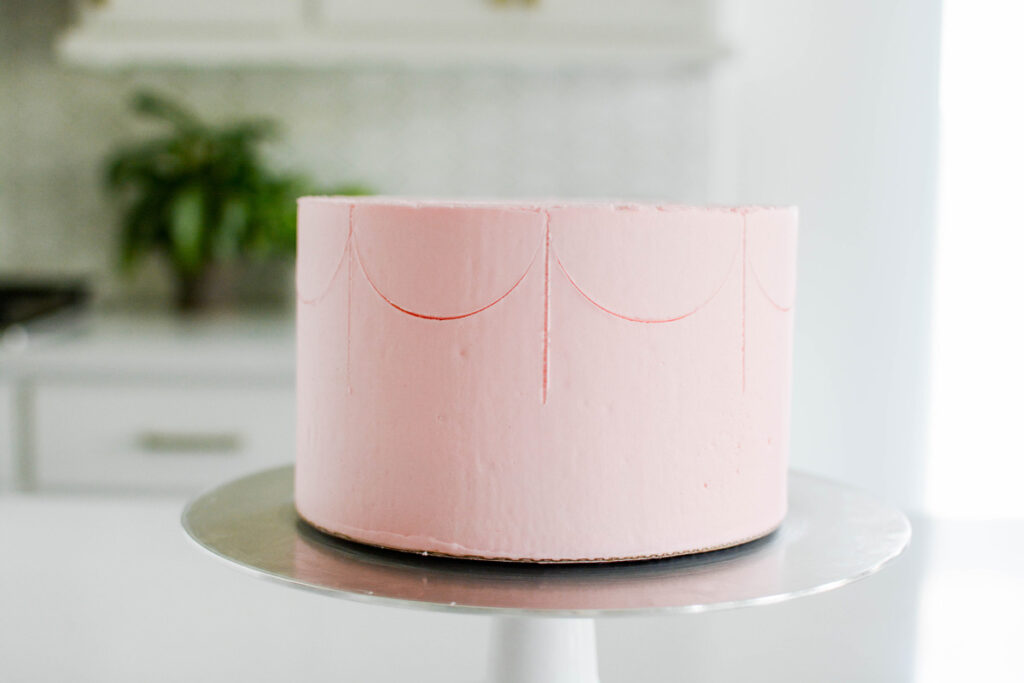
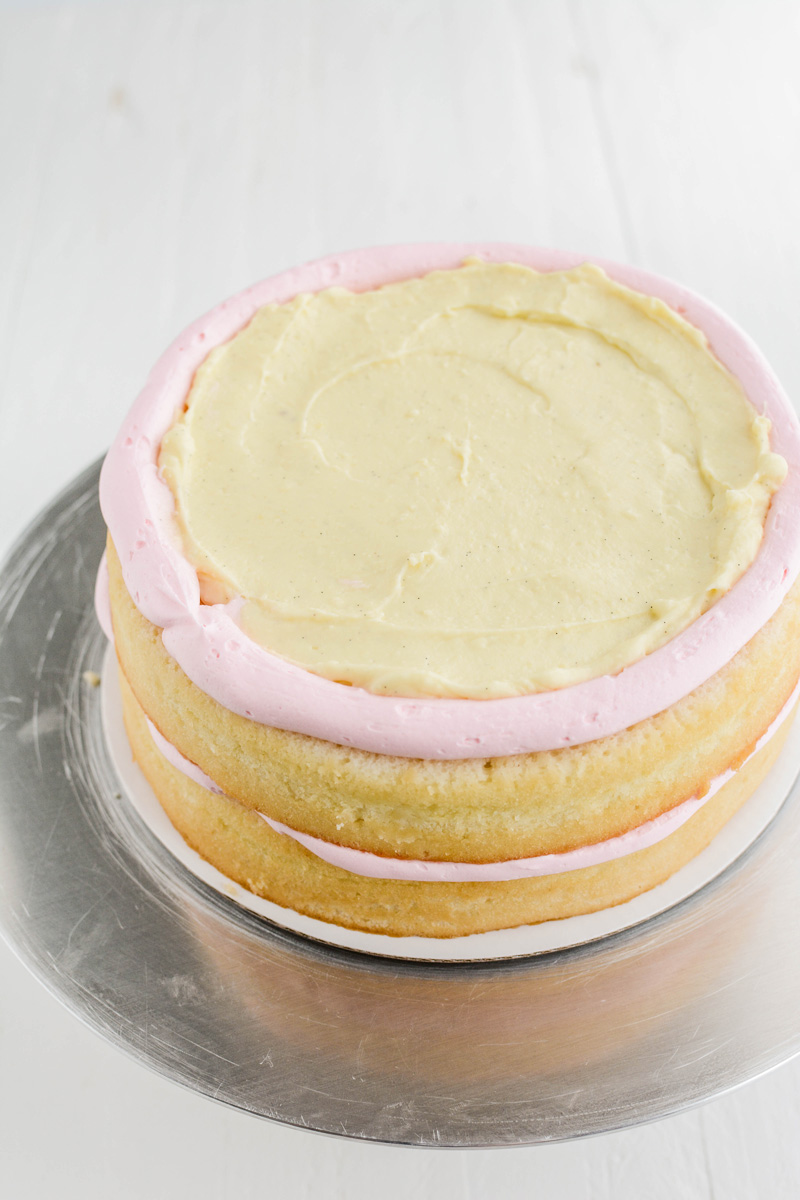
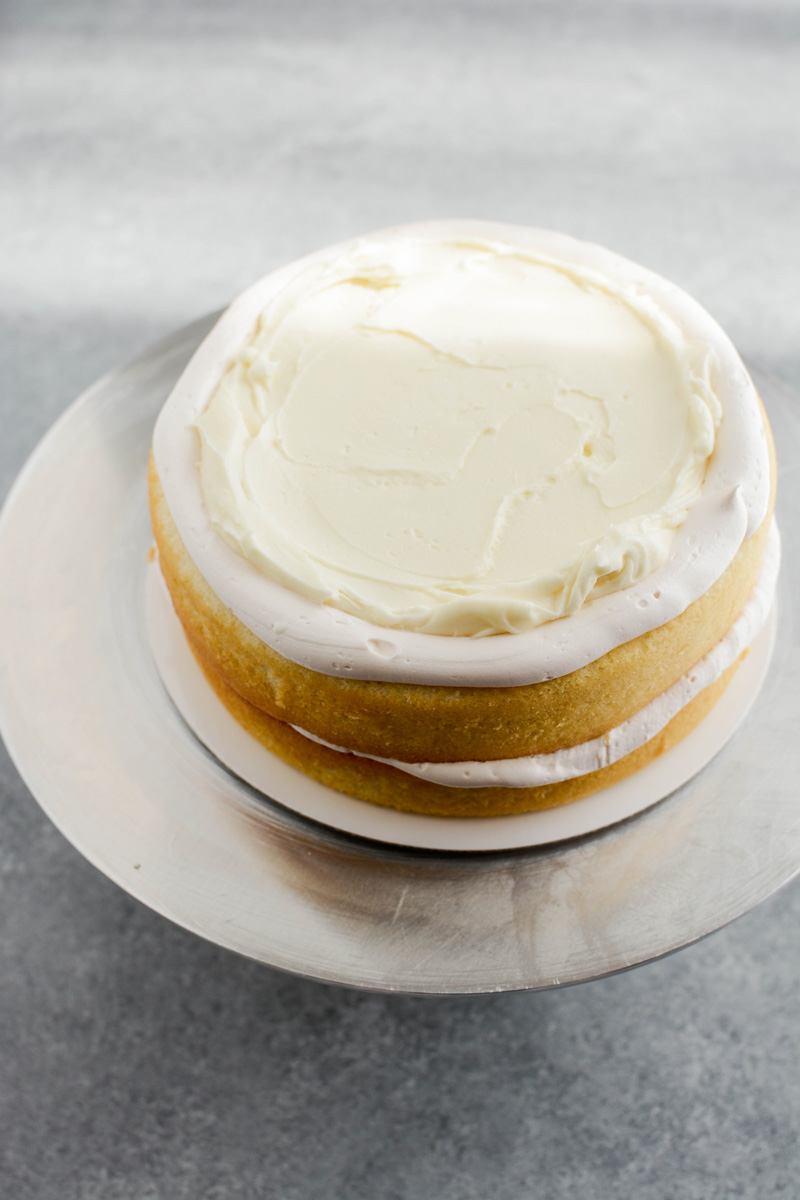
- Center a cake layer on an 8-inch round cake board and place on a cake turntable with a non slip mat.
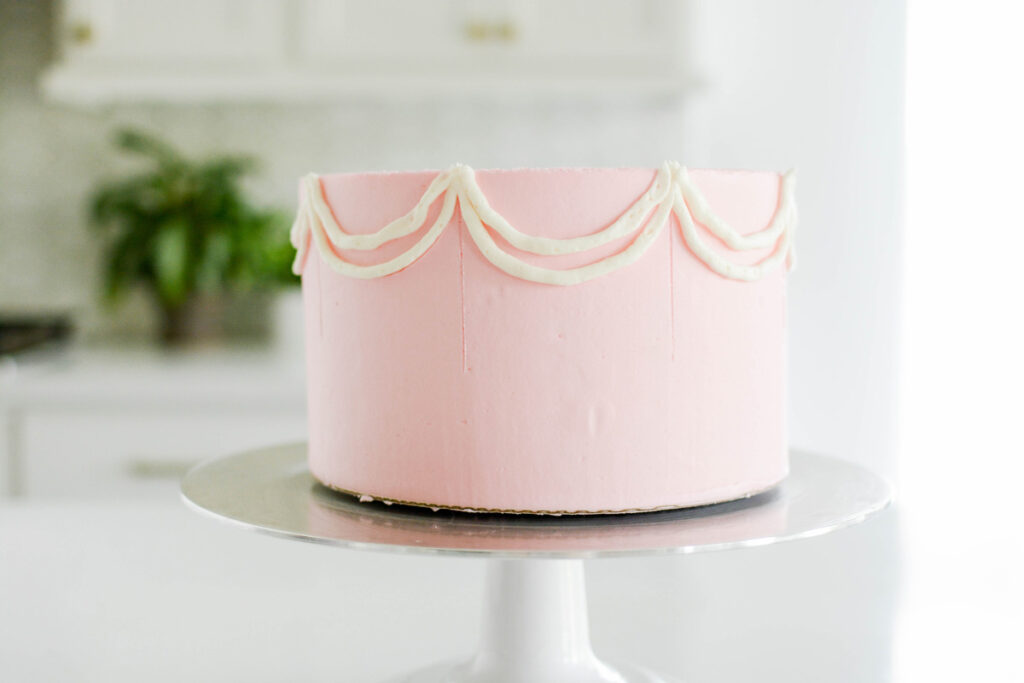
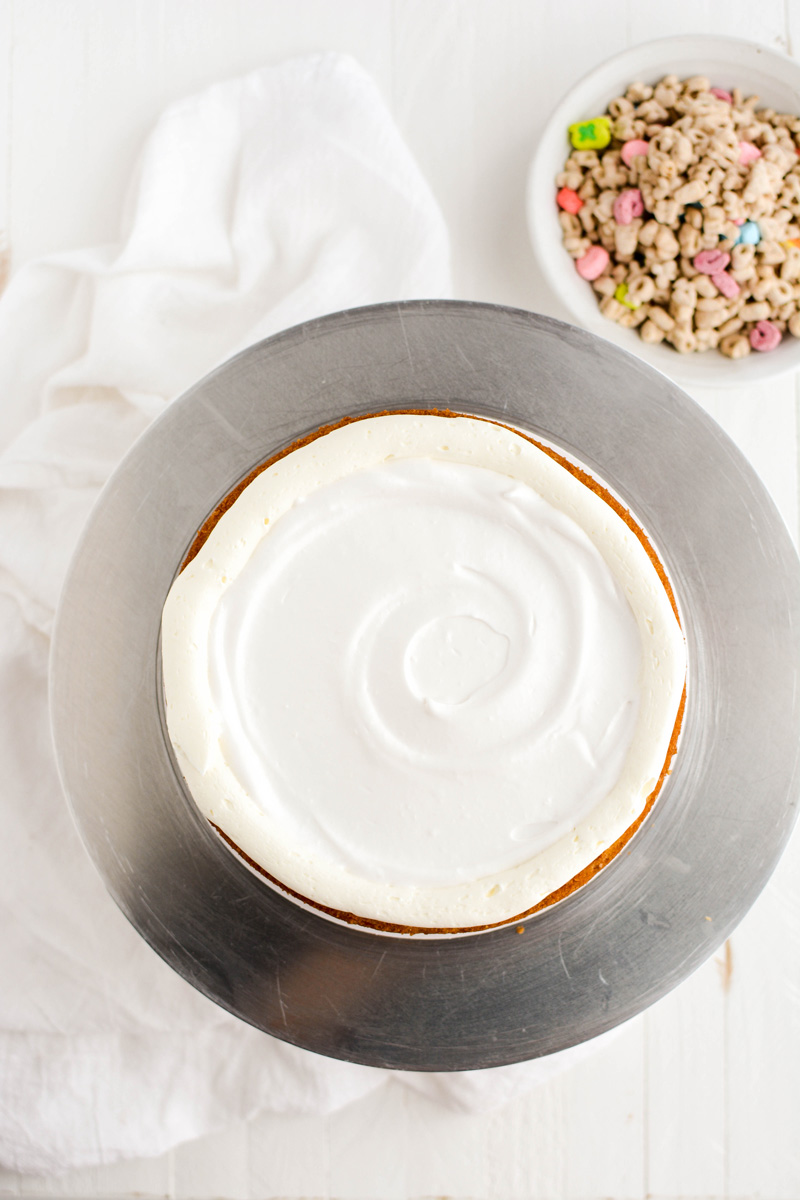
- Fit a piping bag with a coupler attached and fill with frosting. Pipe a frosting dam around the edge of the cake and spread half of the white chocolate rose filling on top in an even layer.
- Place the second cake layer on top and gently press to adhere. Pipe another frosting dam around the edge of the cake and spread with the remaining filling in the center in an even layer. (Save this piping bag for making the white chocolate roses.)
- Place the last cake layer on top, bottom side up.
How To Make White Chocolate Roses
- Heat chocolate melts in a microwave safe bowl for 30 seconds and stir. Heat for another 30 seconds and stir well. If the melts feel too thick, add in 1 teaspoon shortening and stir.
- Continue to microwave on 10 second intervals, stirring between each interval until melted. Add more shortening if needed.
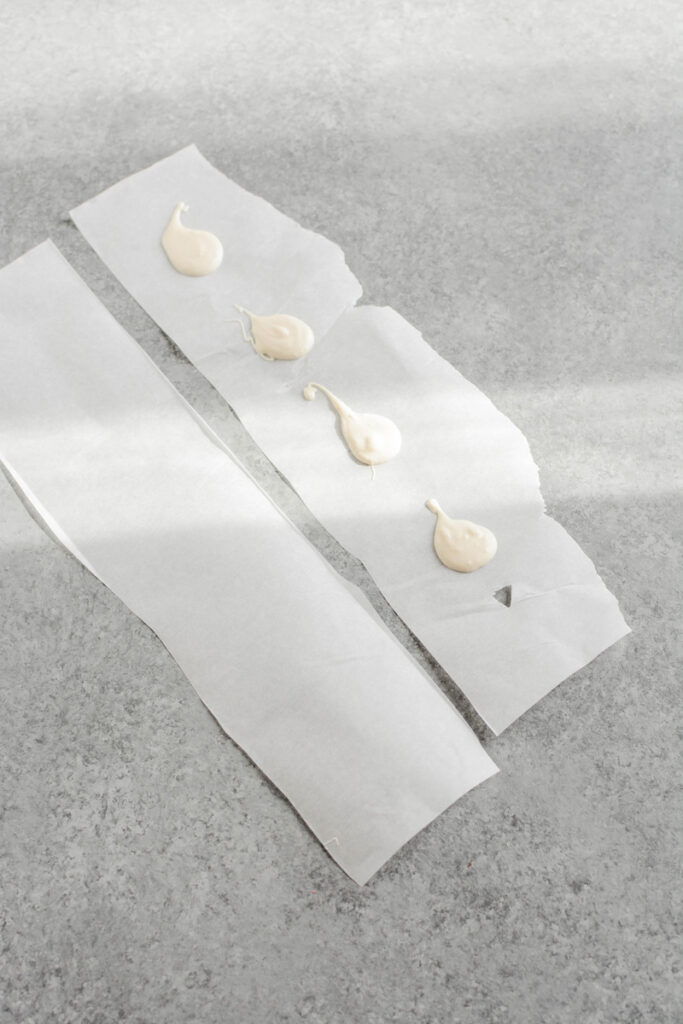
- Pour melted chocolate in a piping bag and snip the tip off.
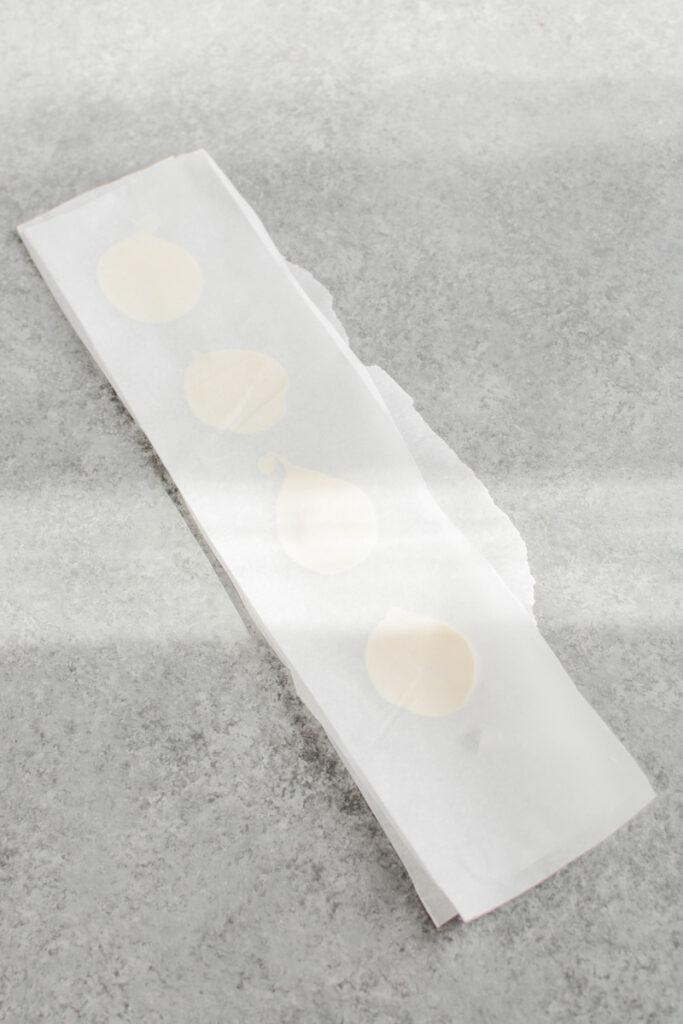
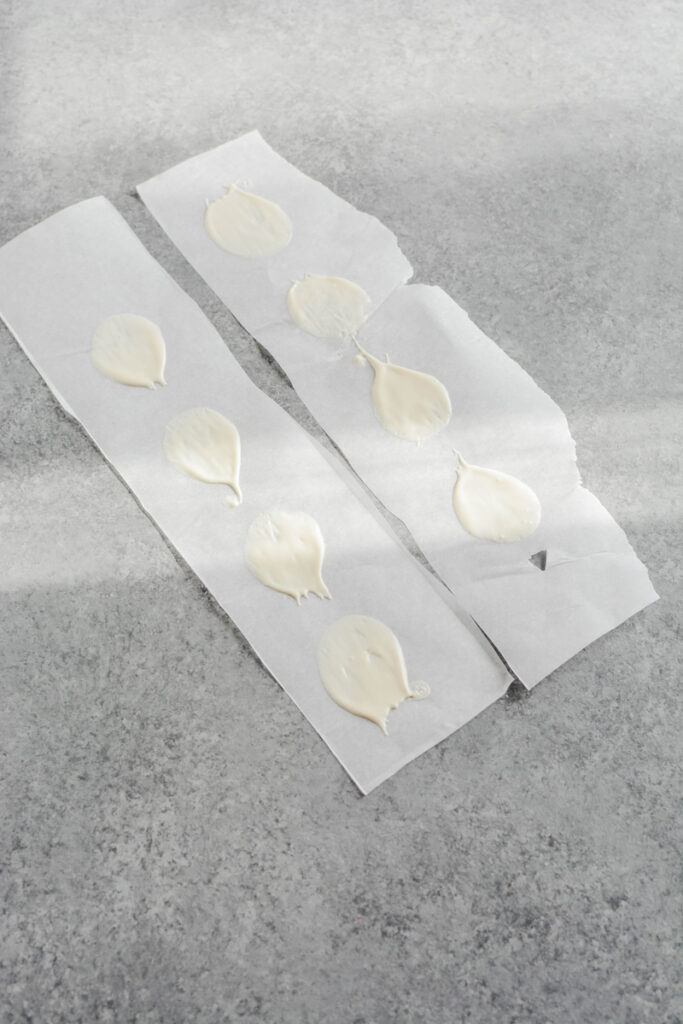
- On parchment paper strips, pipe small dollops of chocolate on to each strip. Place another parchment paper strip on top, and press each dollop of chocolate with your finger to create a rose petal shape. Carefully peel off the parchment paper, starting from the bottom and pulling up to the top. Place the strips on top of the flower formers to set. Continue this process with the remaining melted chocolate.
- Once the petals are set, line a baking sheet with parchment paper.
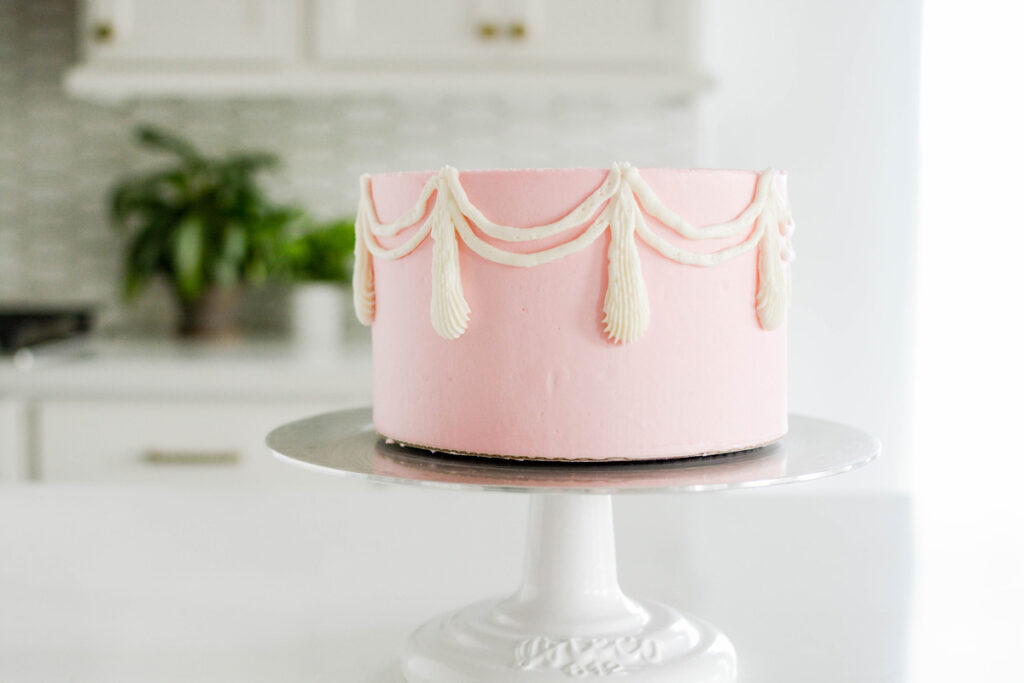
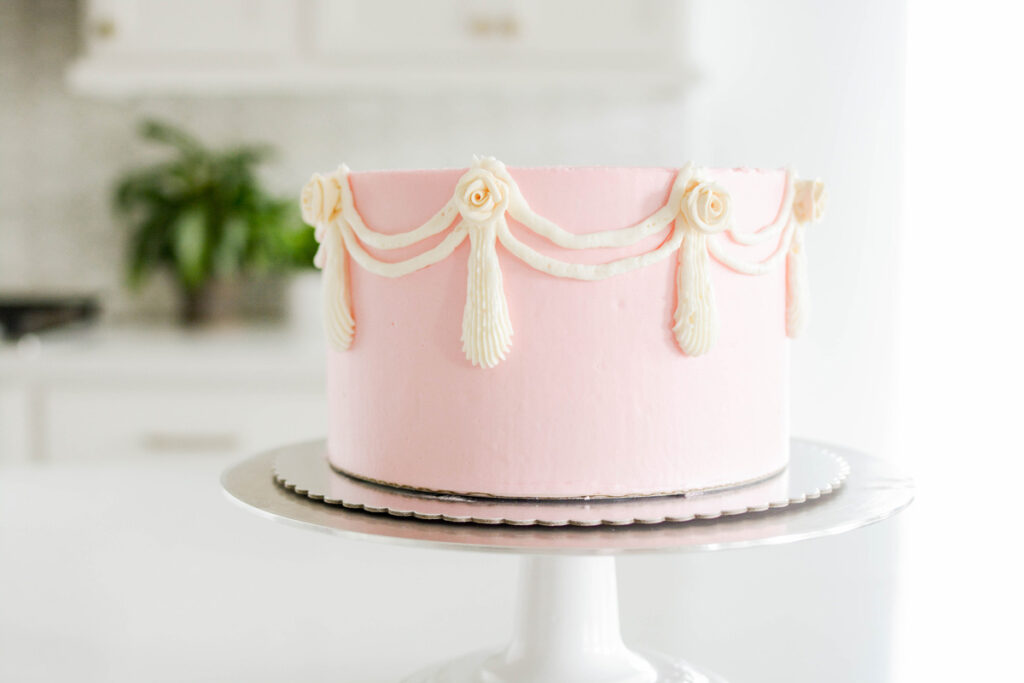
- Pipe a dollop of frosting onto the parchment paper and add rose petals to the frosting dollop, starting from the bottom and working your way up to the top. Use bigger petals on the bottom and smaller ones for the top.
- Place a few pearl dragees in the rose centers. Make a few roses and choose the best ones to use on your cake. Chill the roses in the refrigerator until needed.
- TIP: Place the formers on a couple of full sized baking sheets and stick in the refrigerator to set quickly if you have the space.
- TIP: I used white chocolate candy melts for the decorative roses. This saves me from having to temper the chocolate. If you use real white chocolate you will need to temper it before using or your roses will melt.
Cake Decorating Tools
- Piping bags
- Parchment paper
- Flower formers
- Pearl dragees
- AmeriColor Blush gel food coloring
- 8-inch round cake board
- Cake turntable
- Nonslip mat
- Coupler
- 8-inch round acrylic disc
- Cake scraper
- Offset cake spatula
- Cake comb
White Chocolate Rose Cake Baking Schedule
- Day 1: Bake cake and prepare filling.
- Day 2: Whip up filling, make frosting, assemble and serve.
Let's Connect
The Cake Chica is on the following social media platforms below. Click subscribe, like and follow! We would love to have you over!

Suggested Recipes
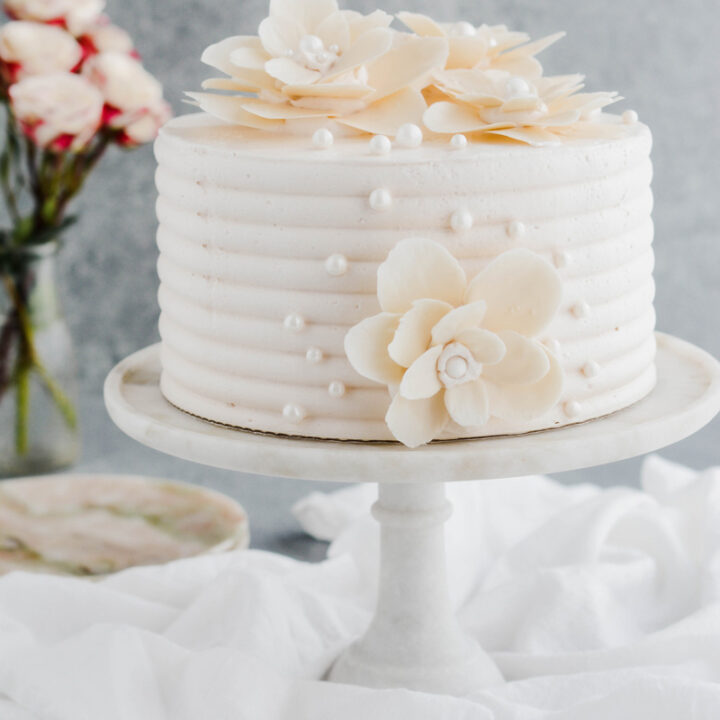
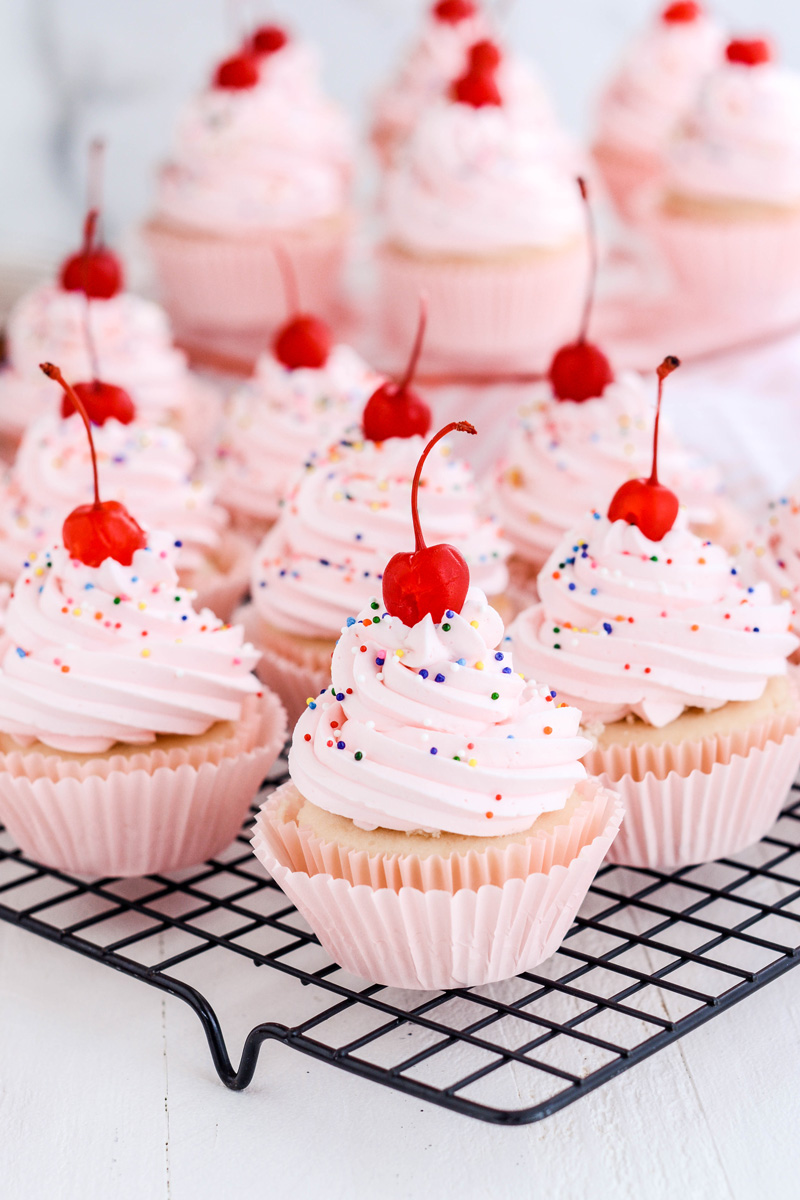
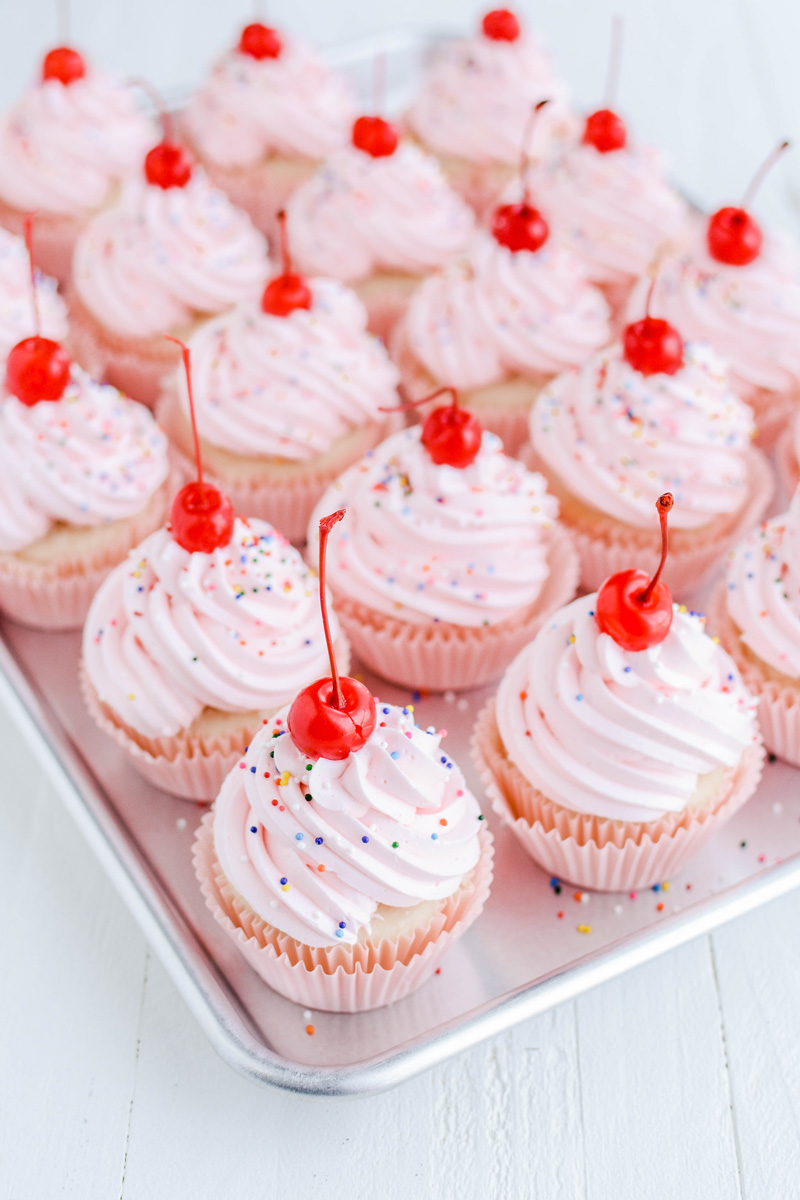
White Chocolate Rose Cake
White chocolate cake layers filled with white chocolate rose filling and covered with white chocolate rose frosting, garnished with white chocolate roses.
Ingredients
SPECIAL TOOLS
- 3 8-inch round cake pans
- Nonstick baking spray
- Stand mixer
- Piping bags
- Parchment paper
- Flower formers
- Pearl dragees
- AmeriColor Blush gel food coloring
- 8-inch round cake board
- Cake turntable
- Nonslip mat
- Coupler
- 8-inch round acrylic disc
- Cake scraper
- Offset cake spatula
- Cake comb
WHITE CHOCOLATE CAKE
- 1 cup (8 ounces) white chocolate, melted
- 3 cups (12 ounces) cake flour
- 1 tablespoon baking powder
- 1 1/2 cups (10.5 ounces) granulated sugar
- 3/4 teaspoons salt
- 4 large eggs
- 1 teaspoon vanilla extract
- 1 cup buttermilk
- 1/2 cup sour cream
- 1 cup (2 sticks) unsalted butter, cut into tablespoon sized pieces, at room temperature
WHITE CHOCOLATE FILLING
- 1 cup heavy cream
- 8 ounces white chocolate, chopped fine
- 1/4 teaspoon rose extract
- 1/8 teaspoon salt
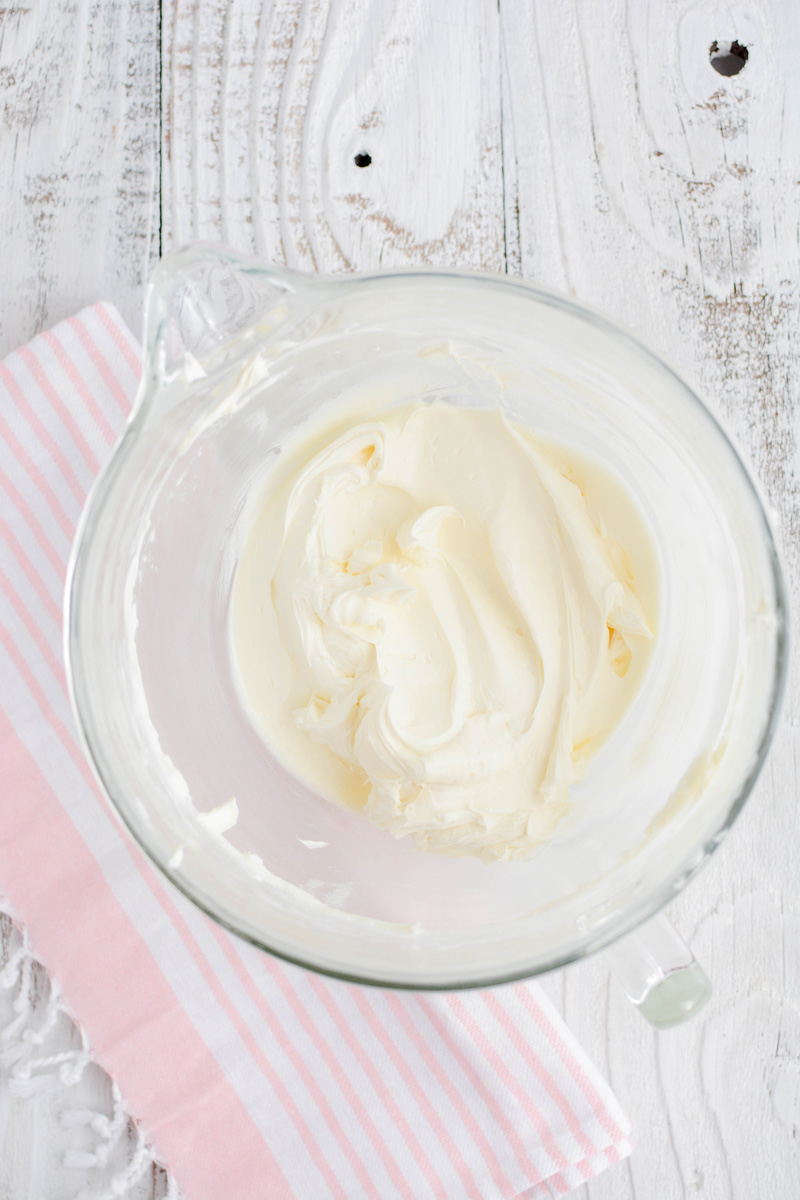
WHITE CHOCOLATE ROSE FROSTING
- 1 cup (16 tablespoons/225 grams) unsalted butter, at room temperature
- 1/4 cup (50 grams) shortening
- Pinch of salt
- 6 ounces white chocolate, melted and slightly cooled
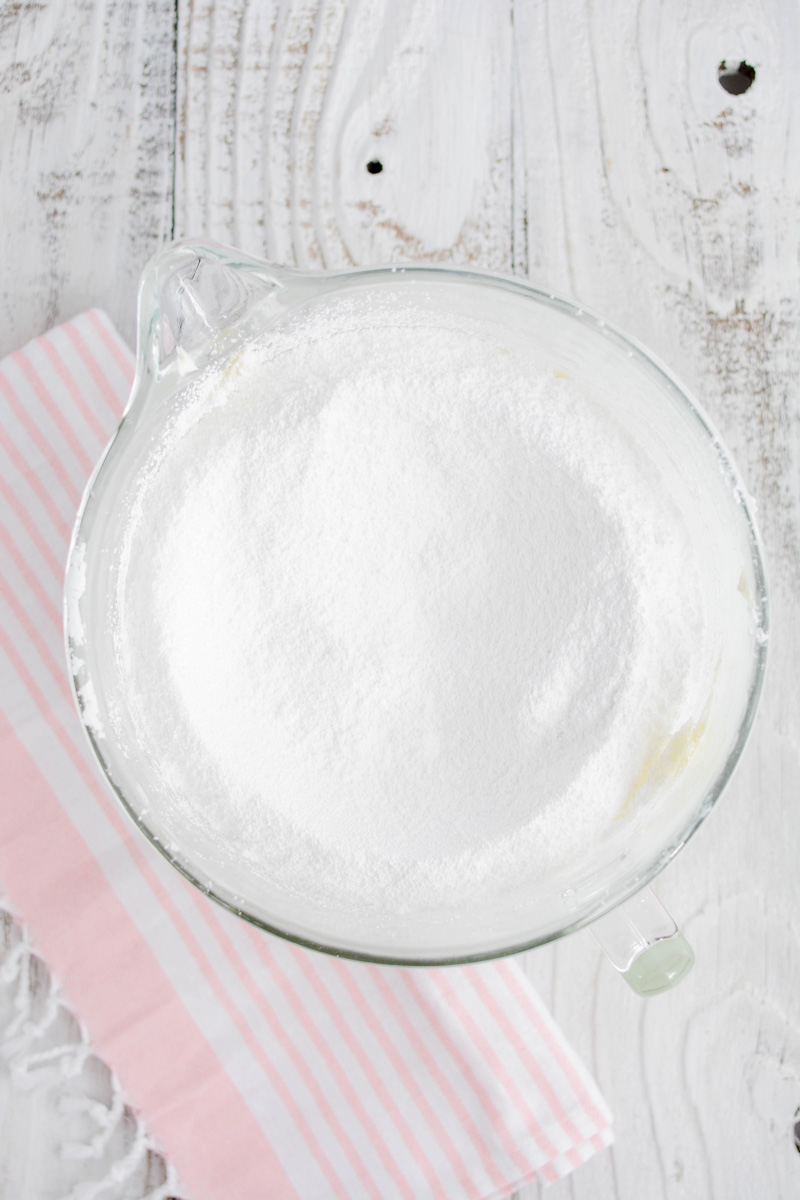
- 3 1/4 cup (13 ounces/410 grams) powdered sugar, sifted
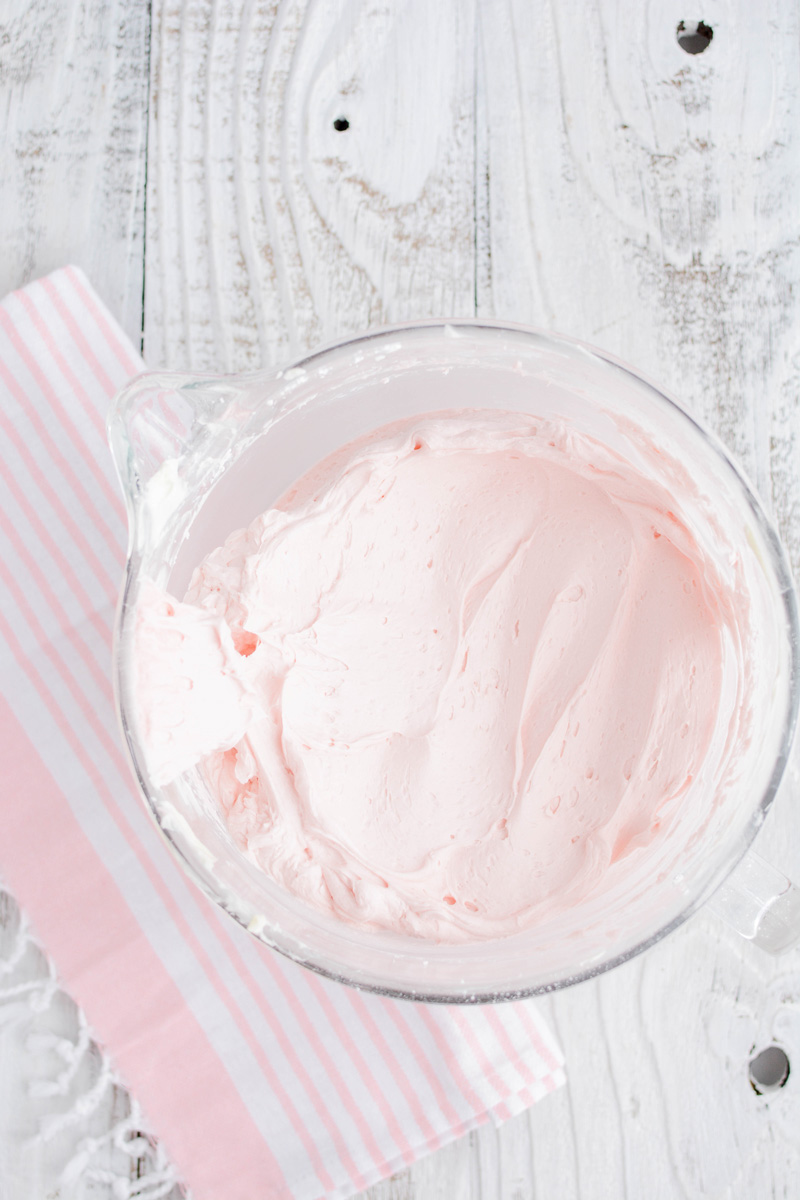
- 1/2 cup heavy cream
- 1/2 teaspoon rose extract
WHITE CHOCOLATE ROSES
- 8 ounces white chocolate melts, chopped fine
- 1 to 2 teaspoons shortening
- Flower formers
- Parchment paper cut into strips to fit flower formers
Instructions
WHITE CHOCOLATE CAKE
- Adjust and oven rack to the center position and heat oven to 325 degrees. Spray 3 8-inch round cake pans with nonstick baking spray and set aside.
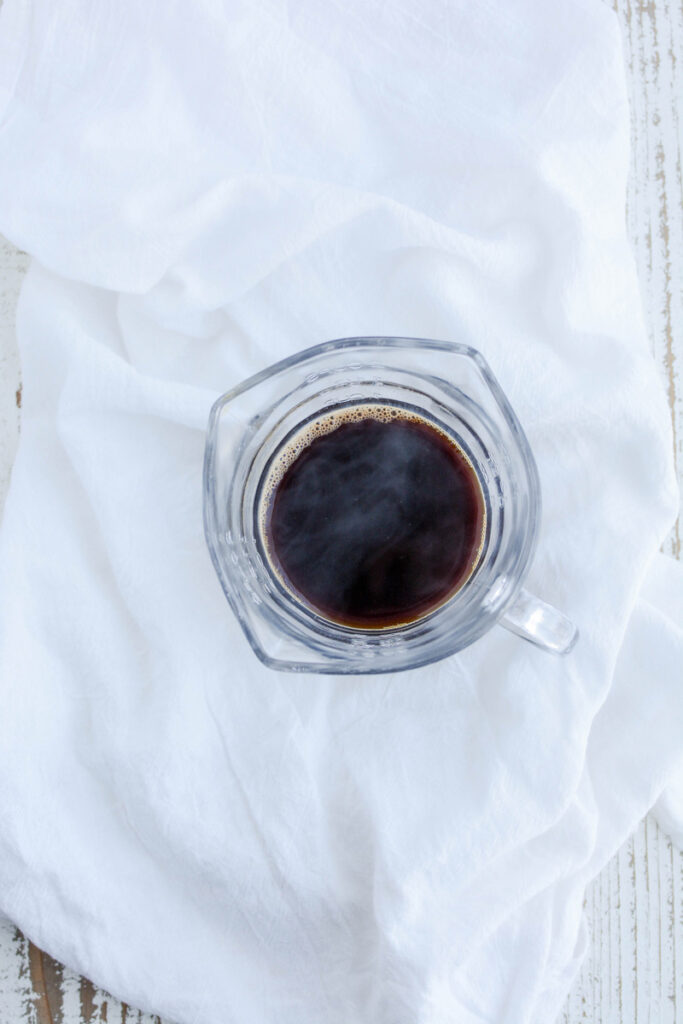
- Place white chocolate in a microwave safe bowl and heat on 30 second intervals, stirring between each interval until the chocolate is smooth. Set aside to cool slightly.
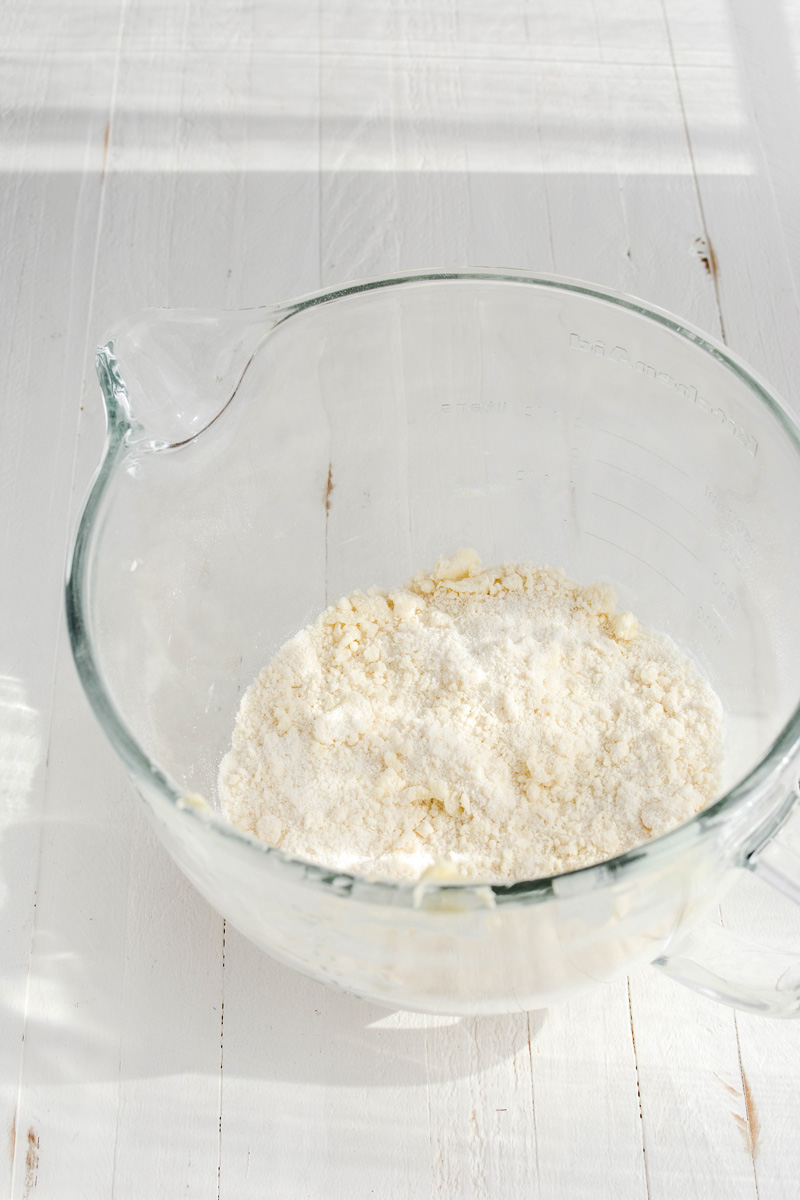
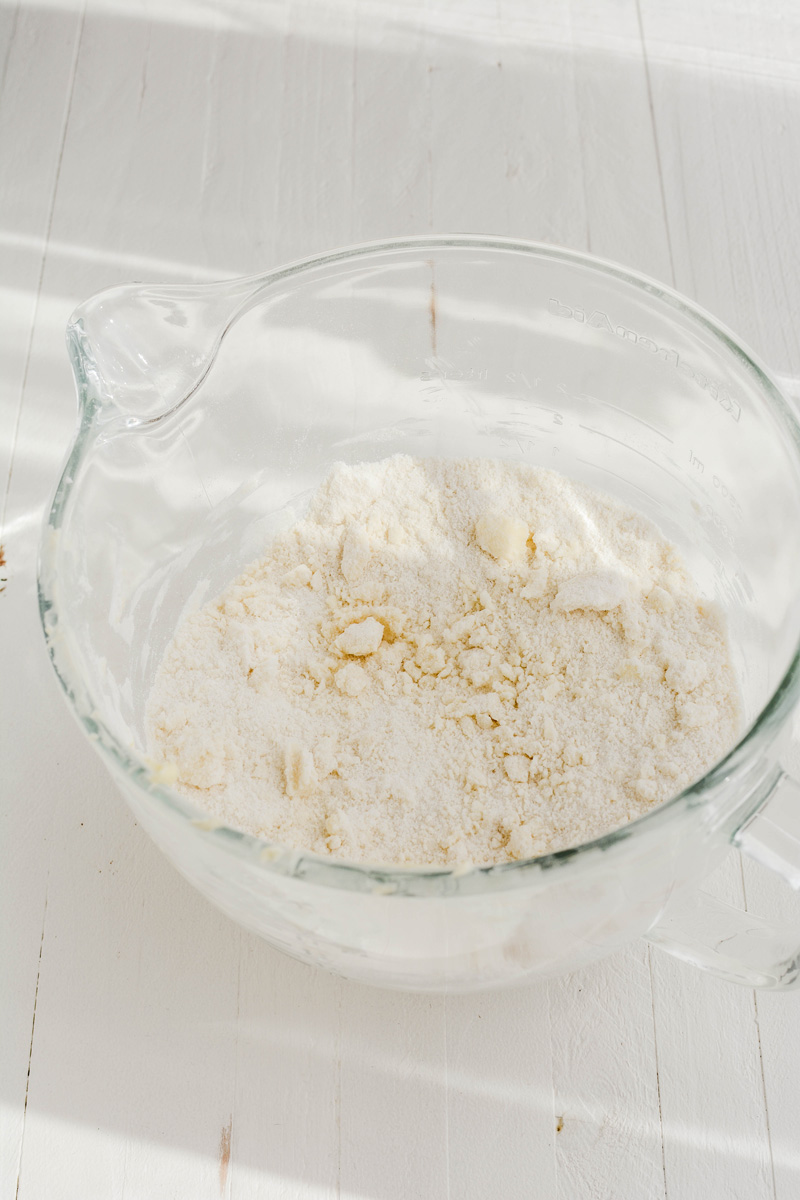
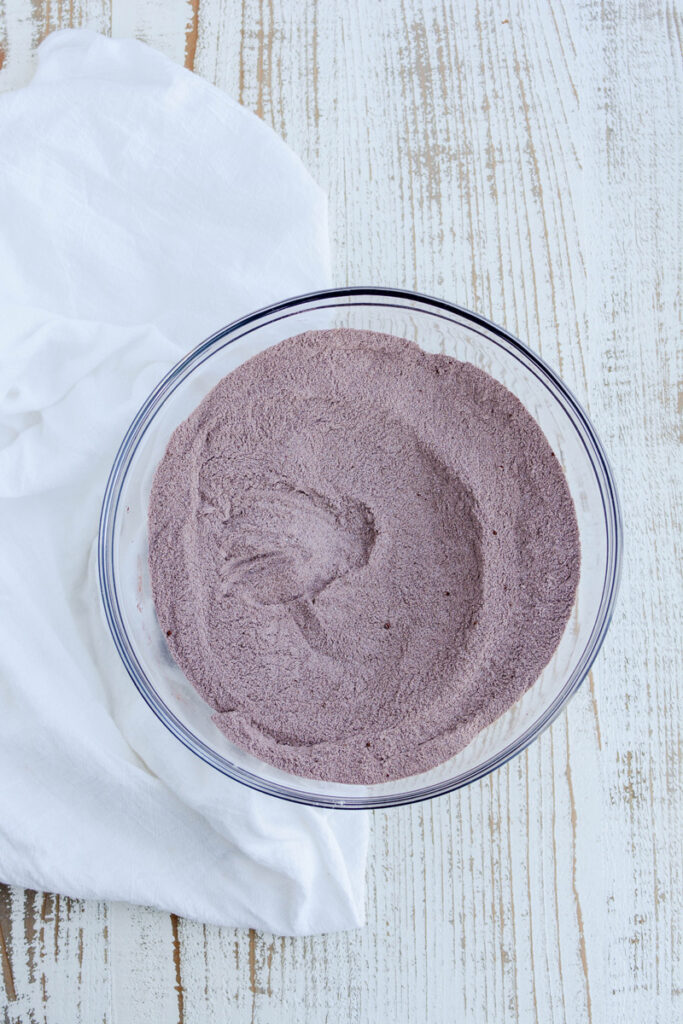
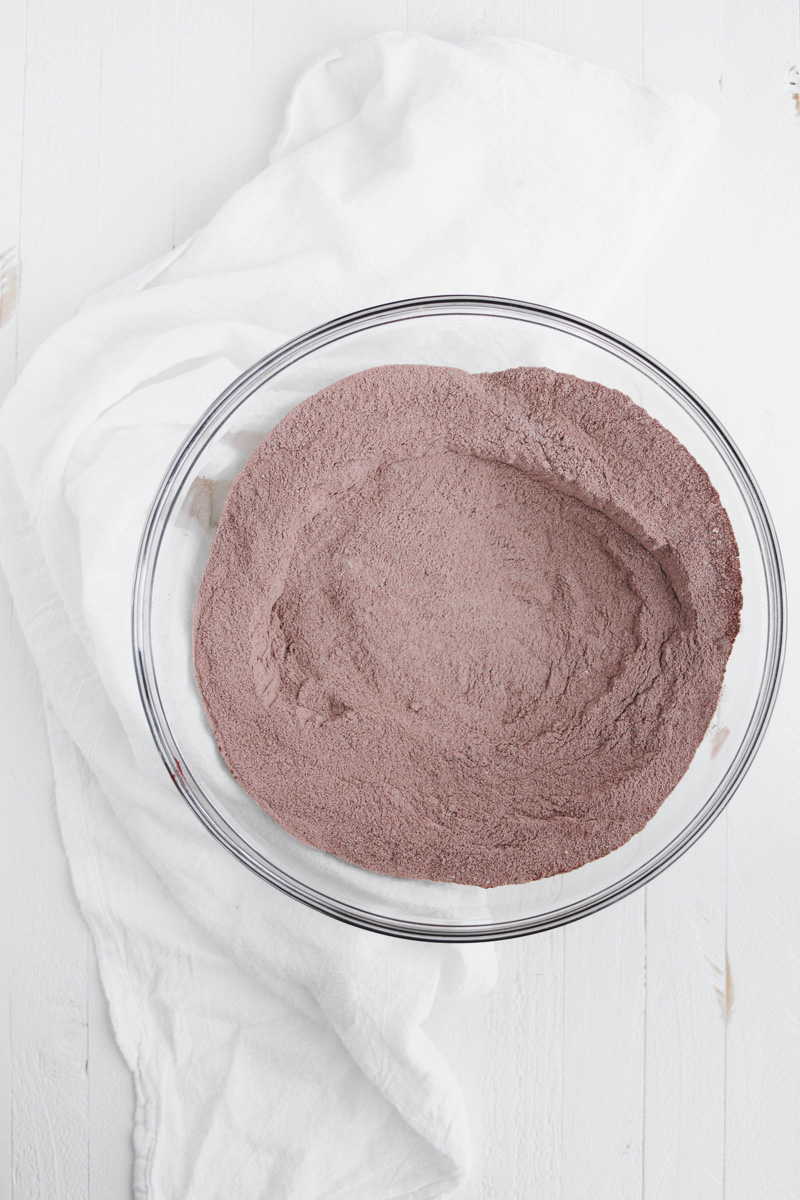
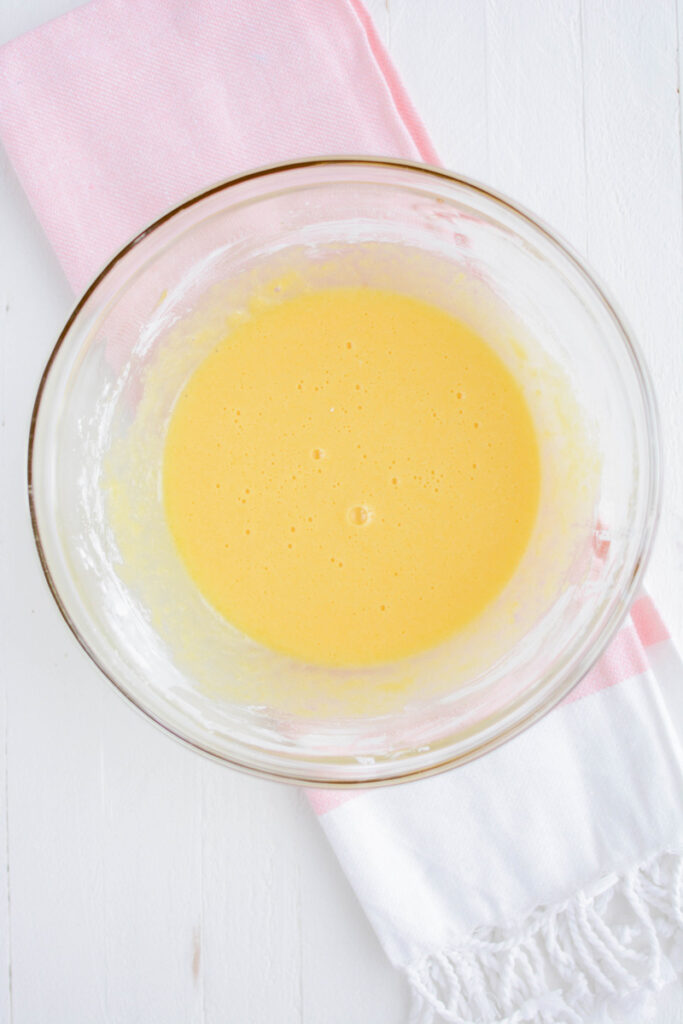
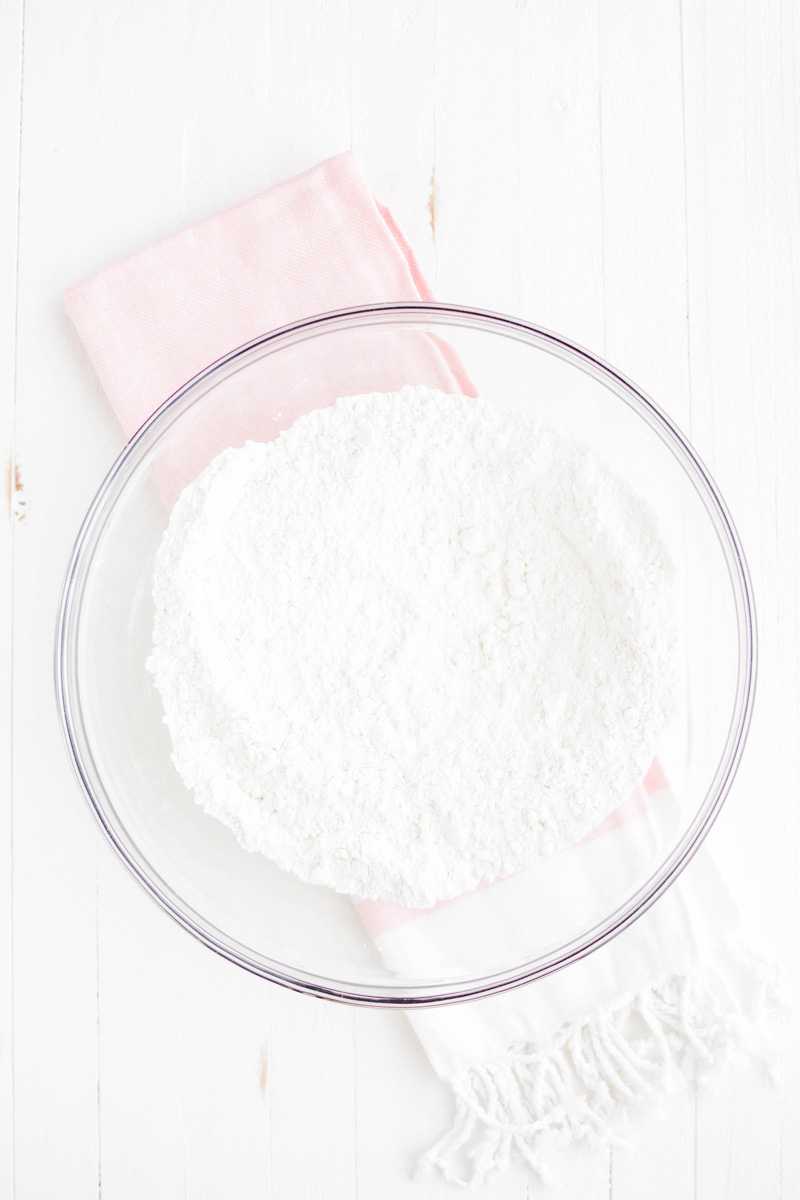
- In the bowl of a stand mixer, add the flour, baking powder, sugar and salt and mix on medium speed until combined.
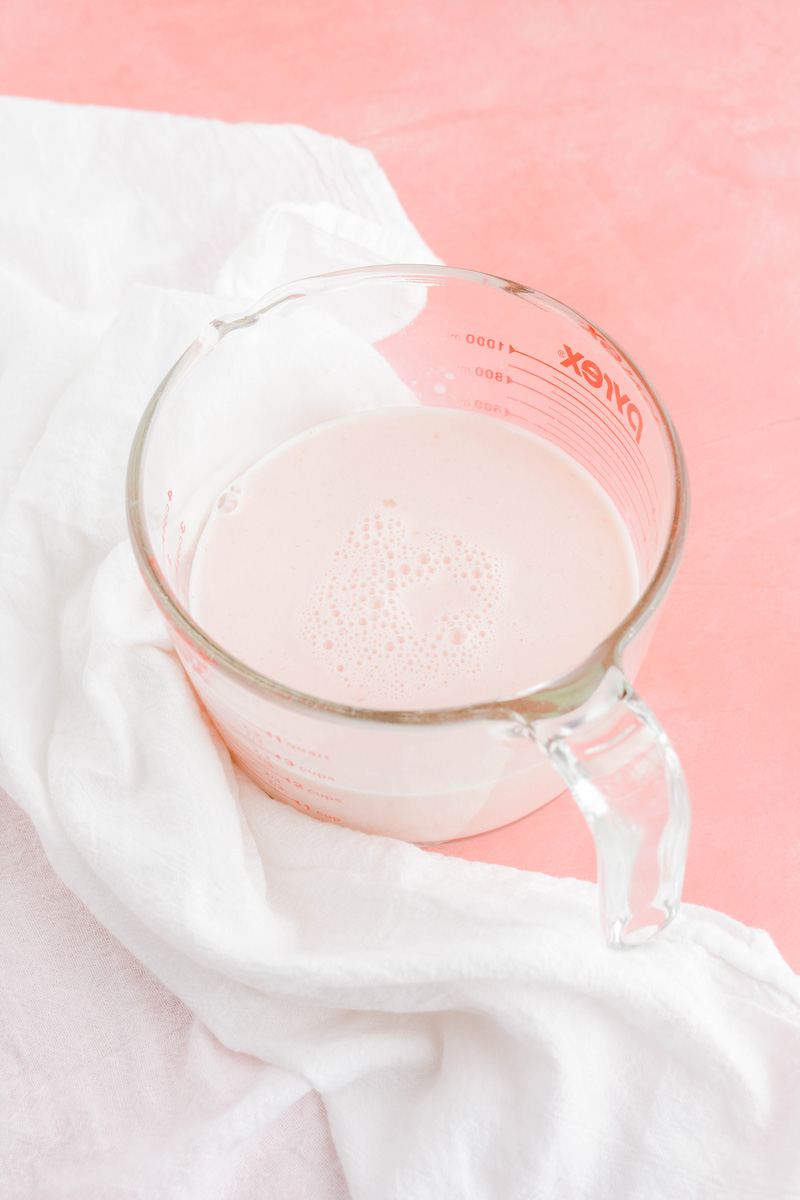
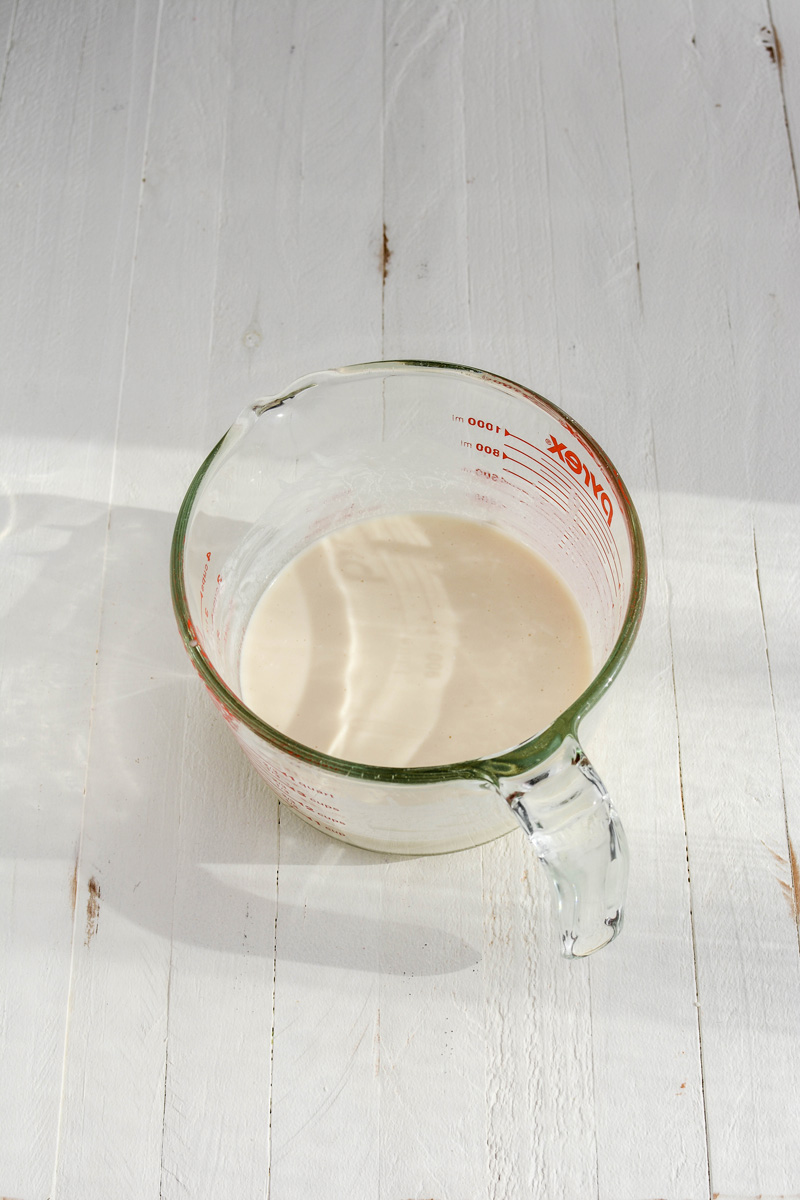
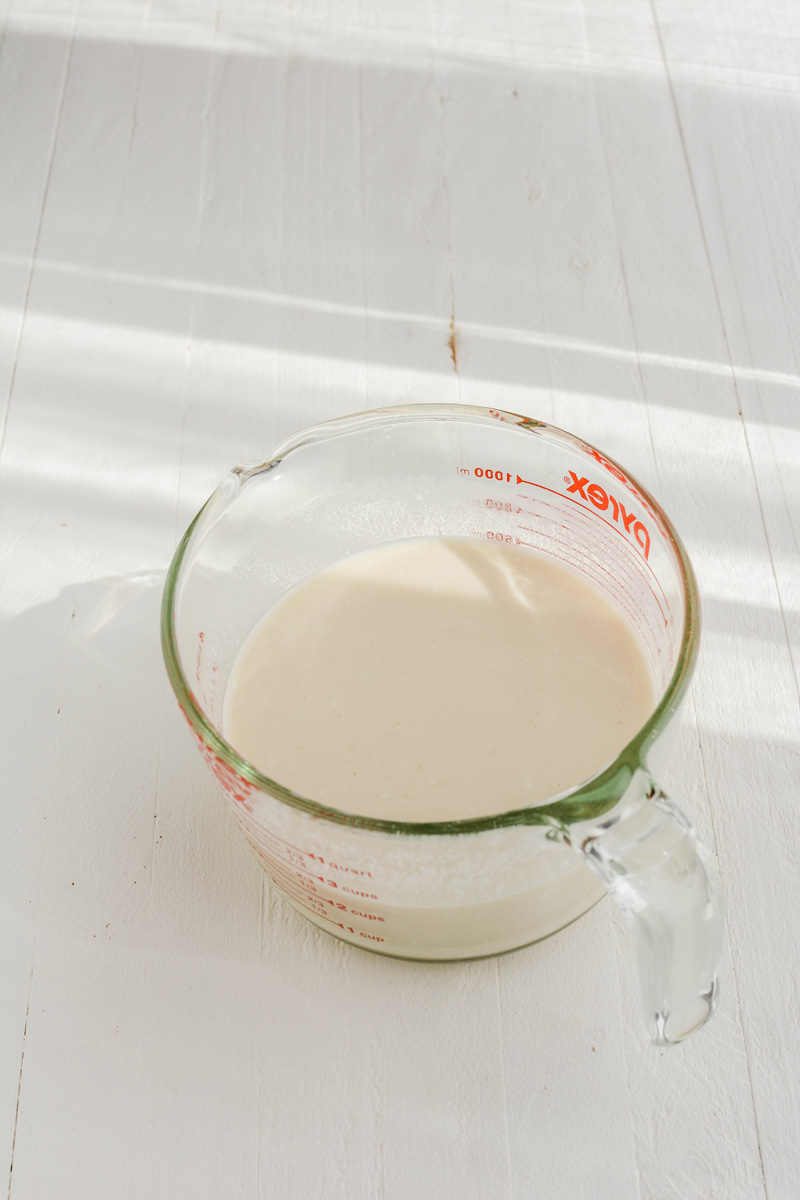
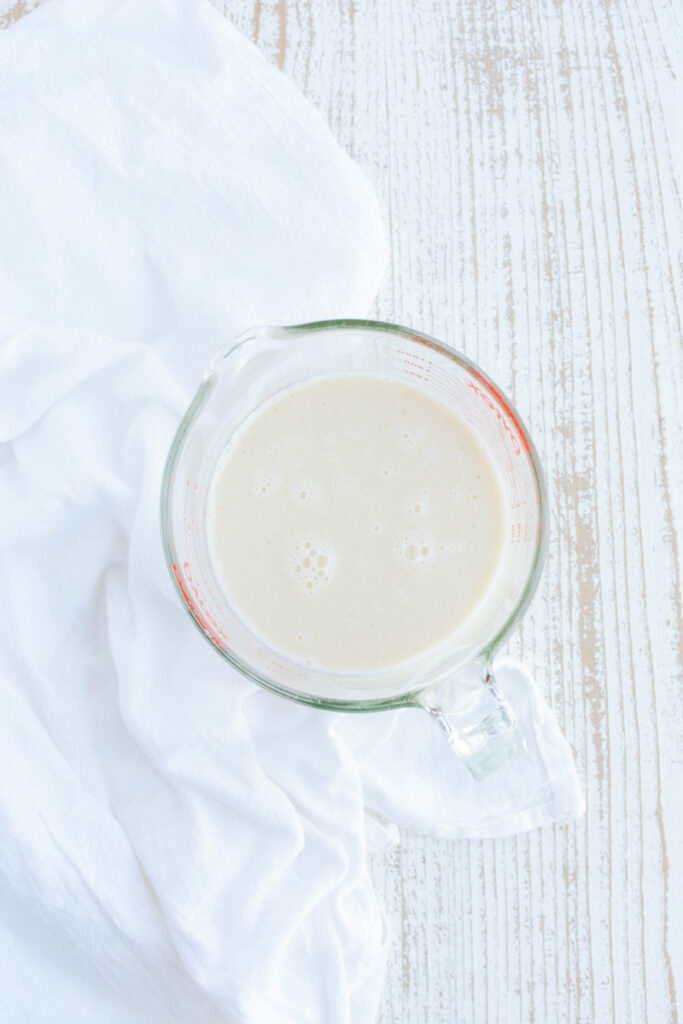
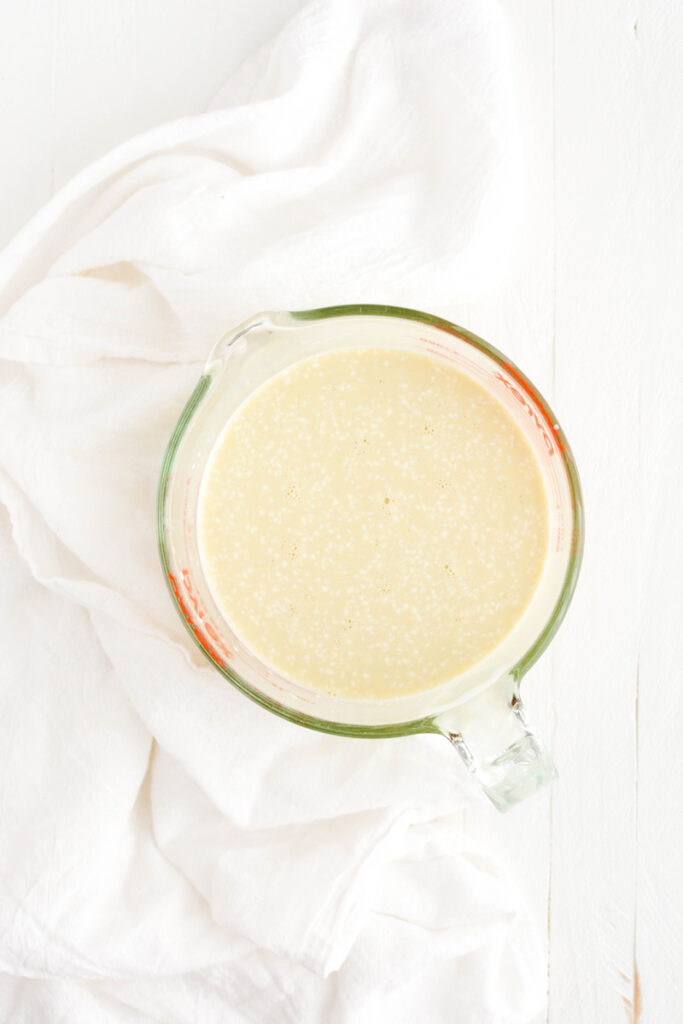
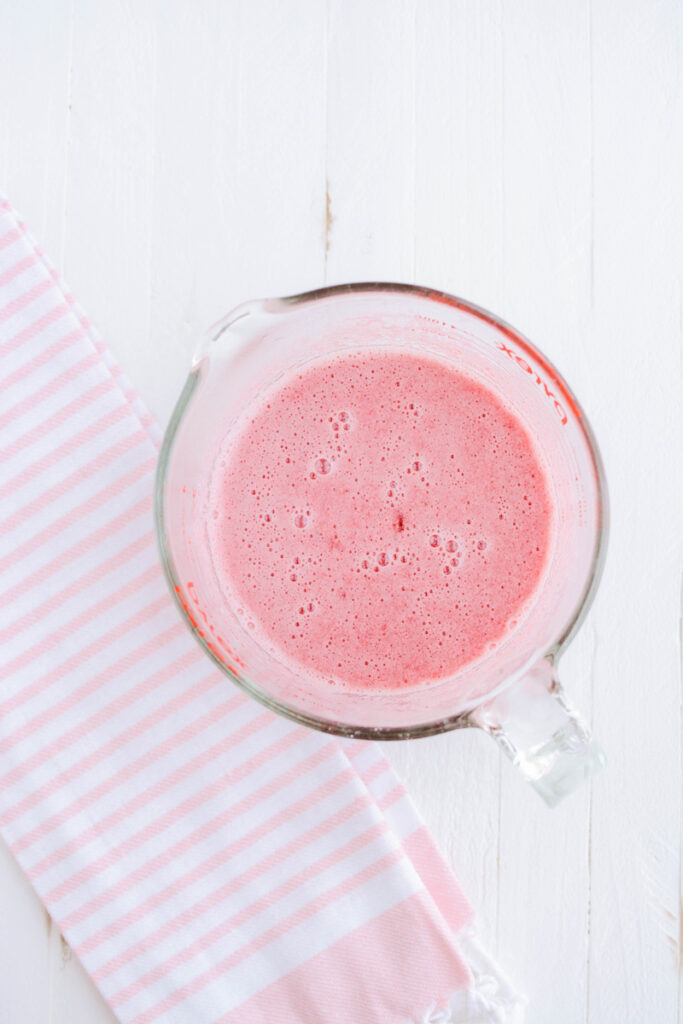
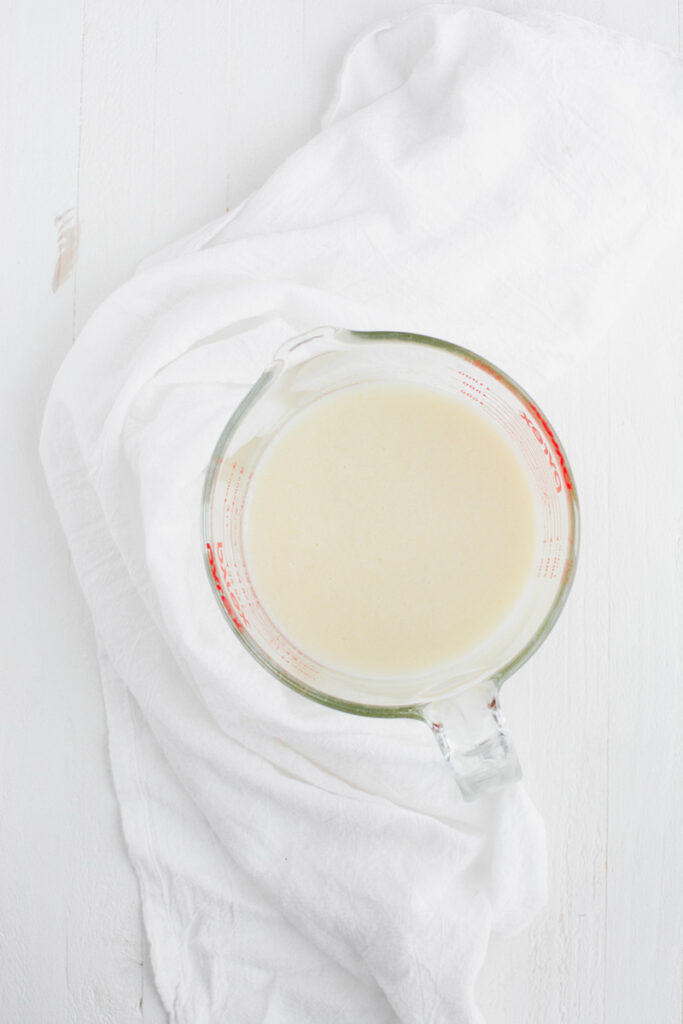
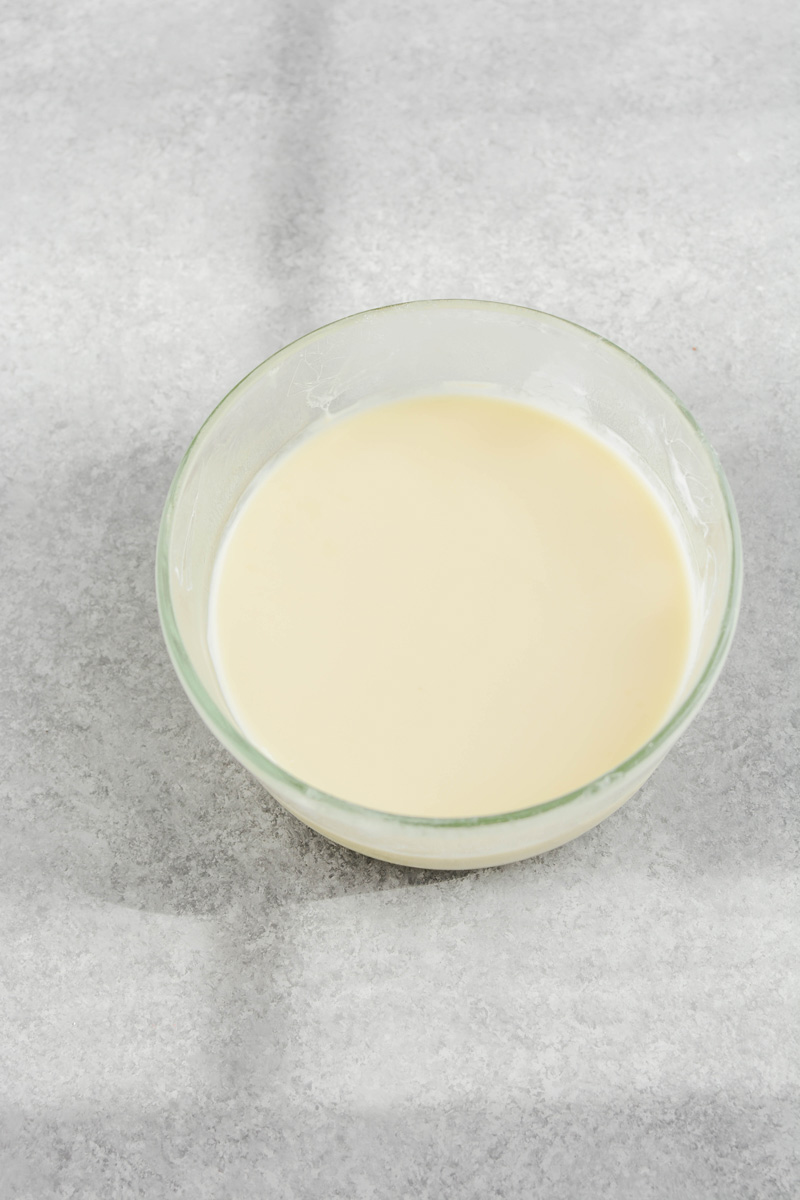
- In a 4 cup measuring cup, add the eggs, vanilla extract, buttermilk and sour cream and whisk to combine.
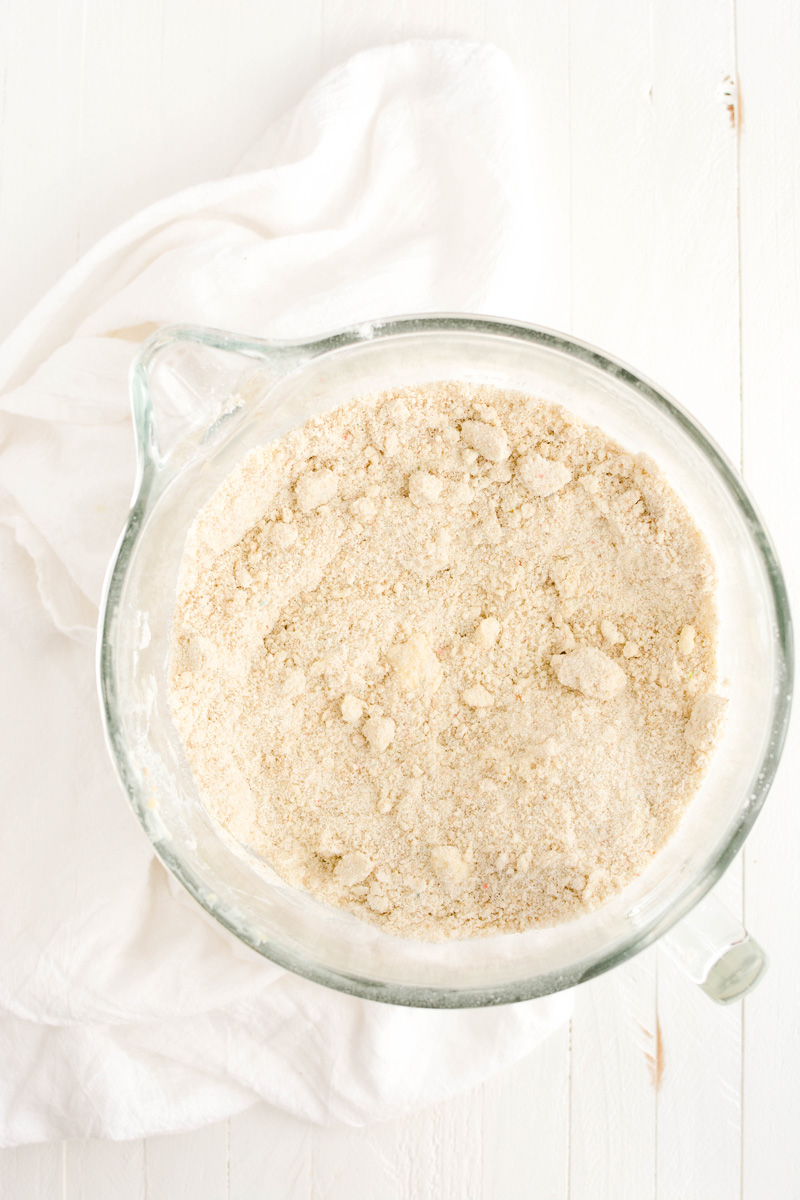
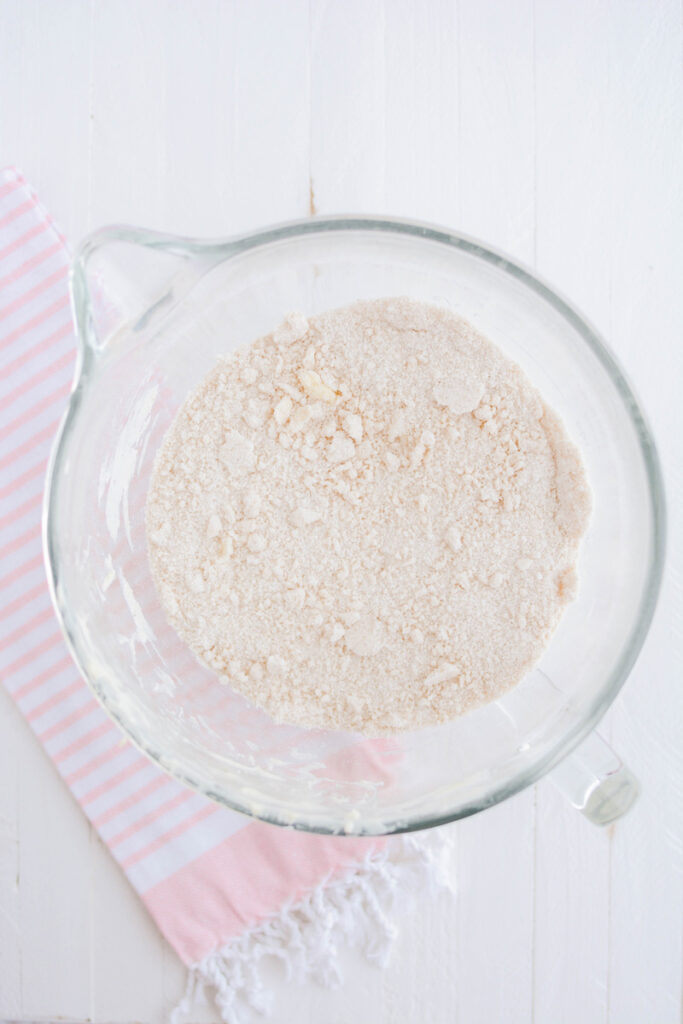
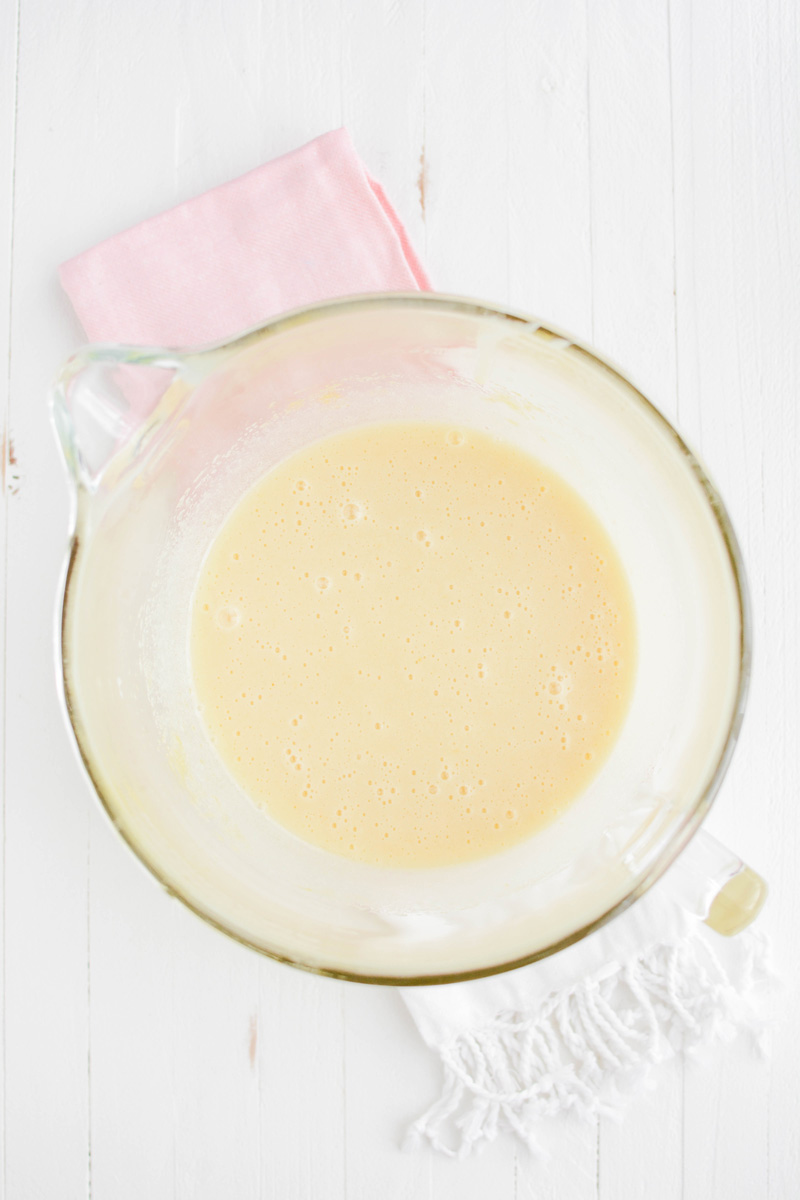
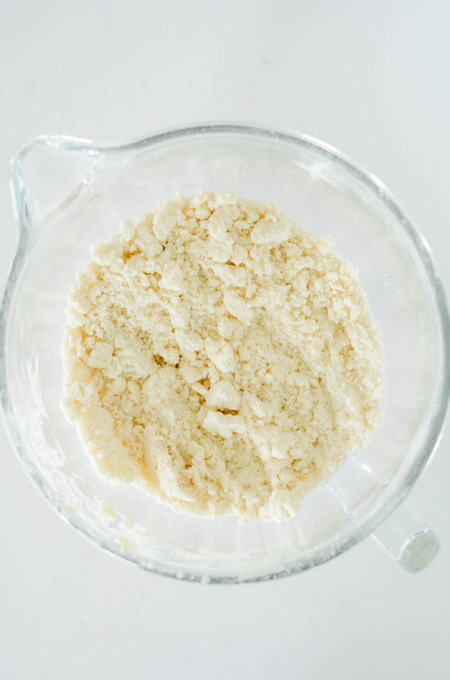
- Slowly add the butter to the mixer bowl with the dry ingredients, one tablespoon at a time. Mix until the mixture resembles pea sized balls of flour.
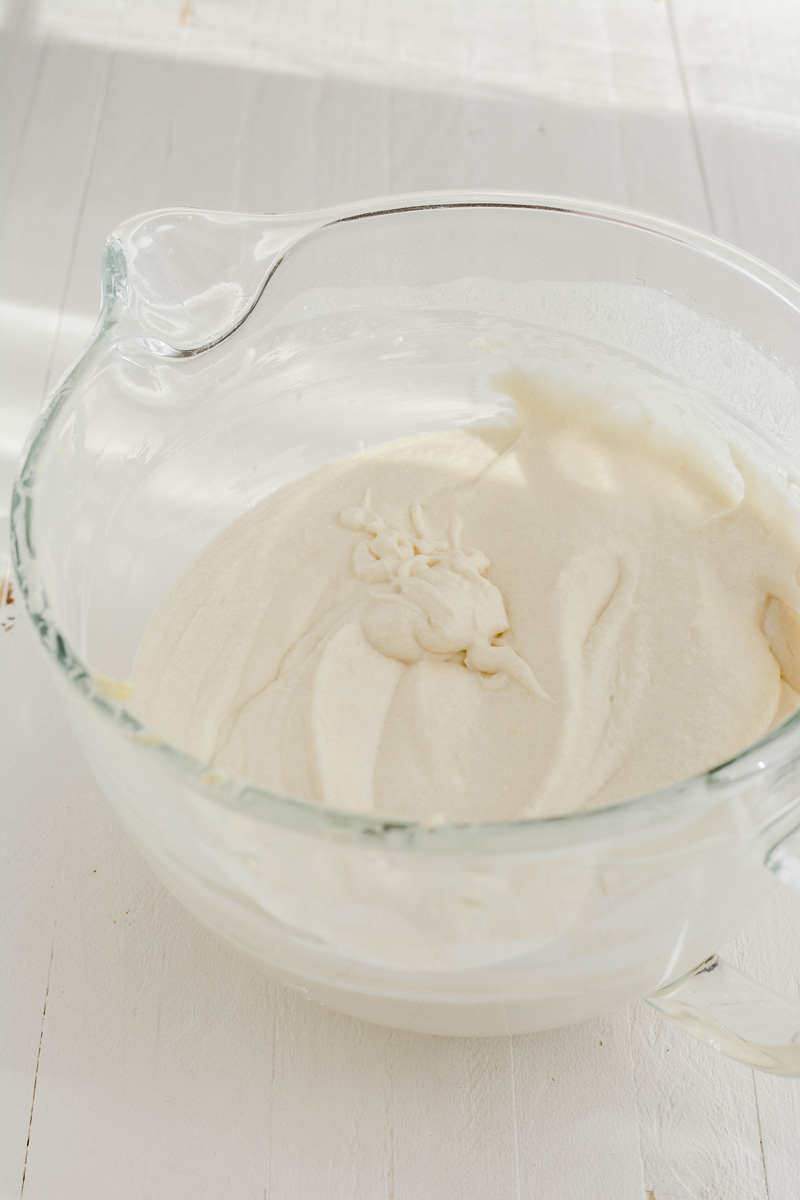
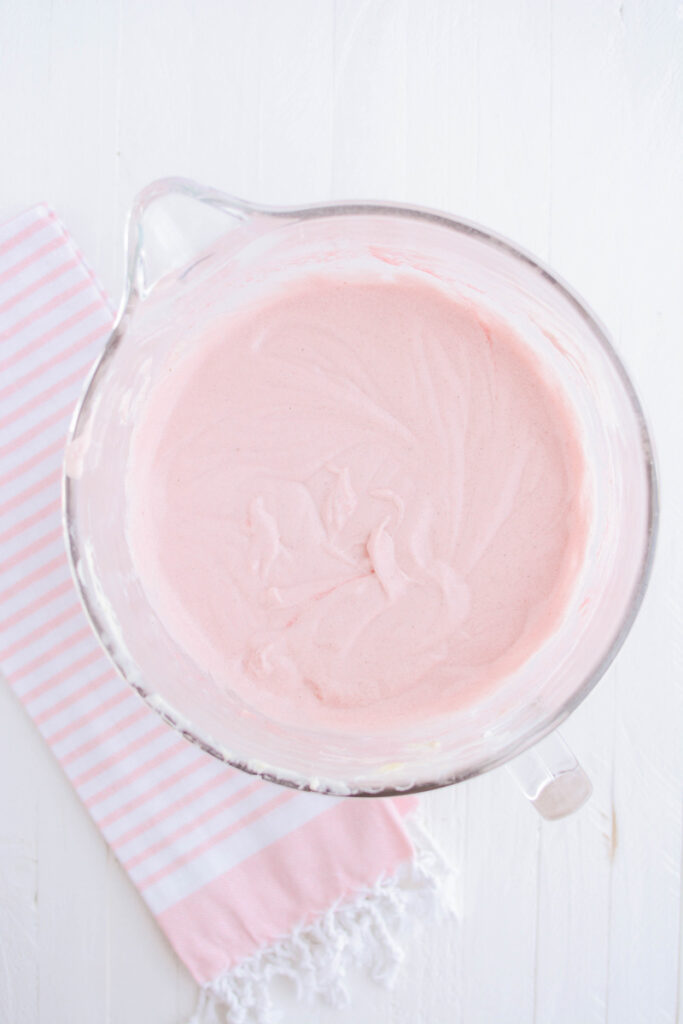
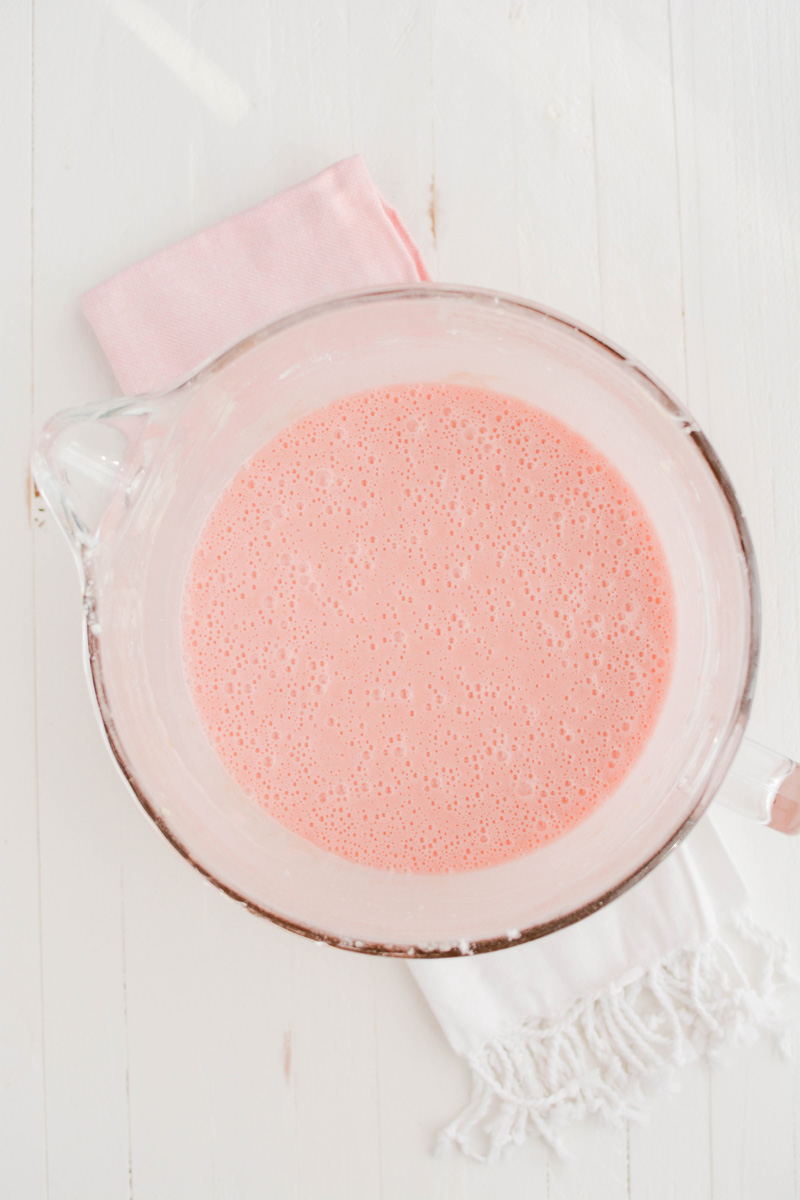
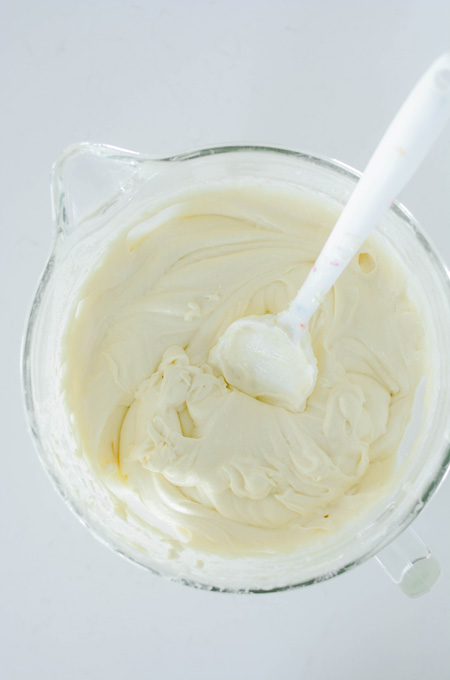
- Reserve 1/2 cup of the wet ingredients and add the remaining into the dry ingredients. Mix on medium-high speed for 1 to 2 minutes, until combined. Add the reserved 1/2 cup wet ingredients to the batter and mix until combined on medium-low speed, about 30 seconds. Add the melted chocolate and mix on medium-low speed until combined.
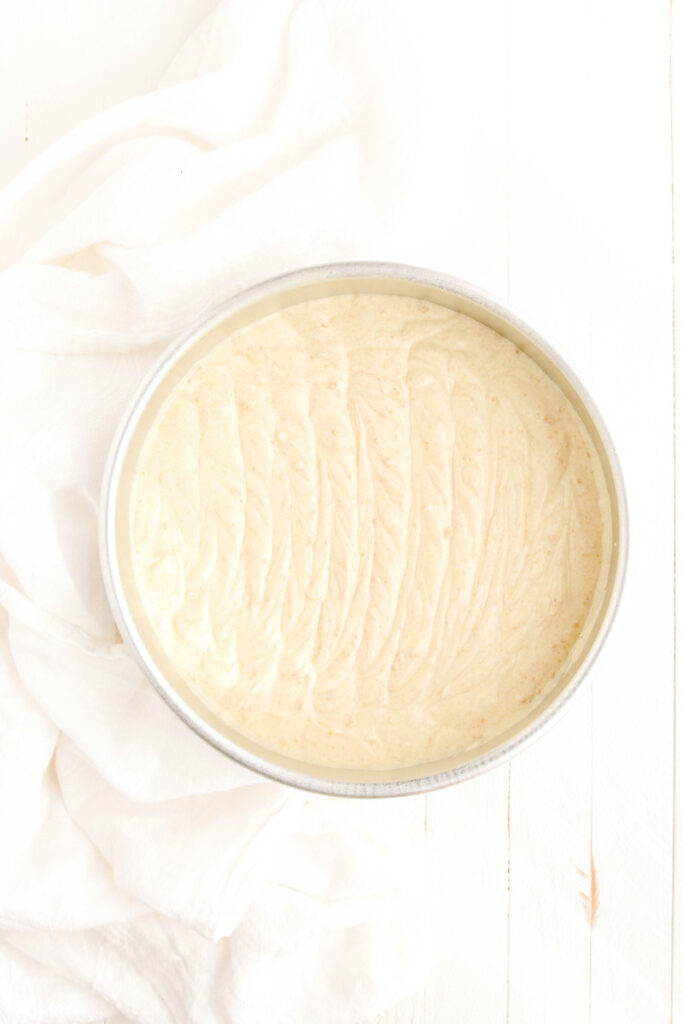
- Divide the cake batter into the prepared cake pans and bake for 25 to 30 minutes or until a toothpick inserted in the center comes out with a few moist crumbs attached, rotating pans halfway through baking.
- Let cakes cool in their pans for 15 minutes, then invert them on to cooling racks to cool completely.
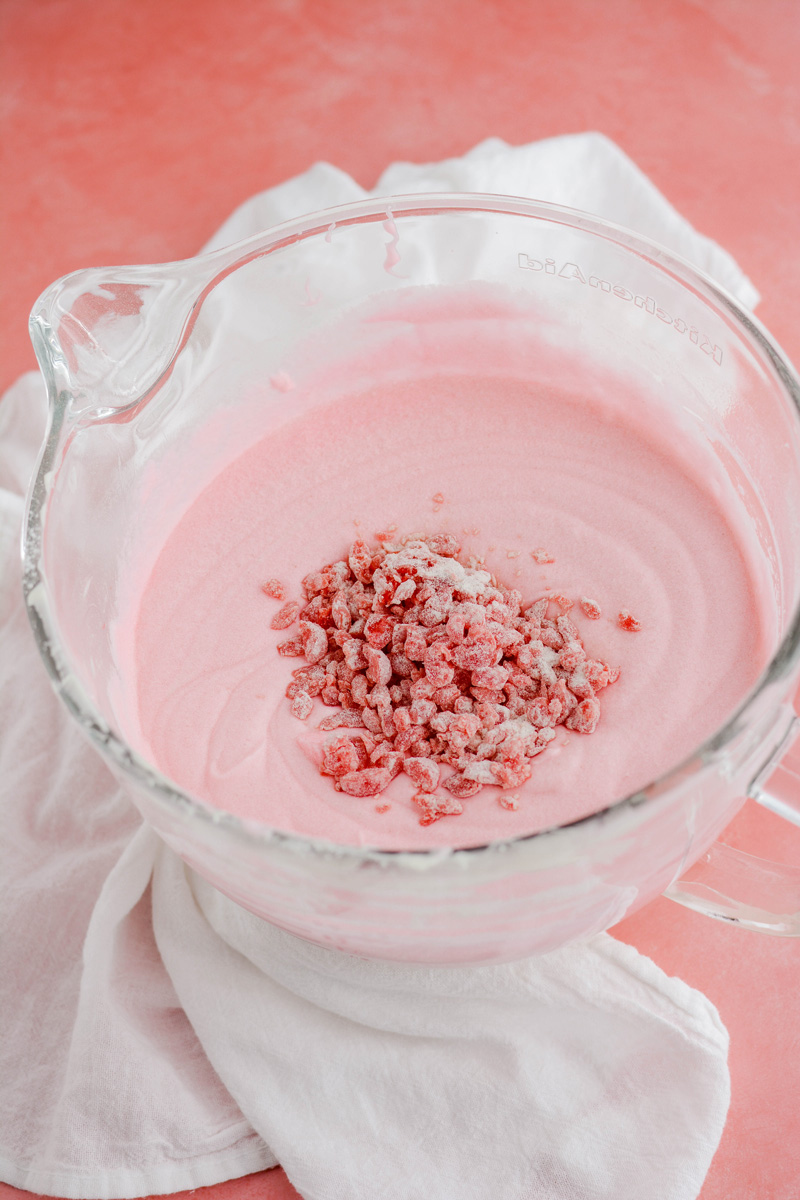
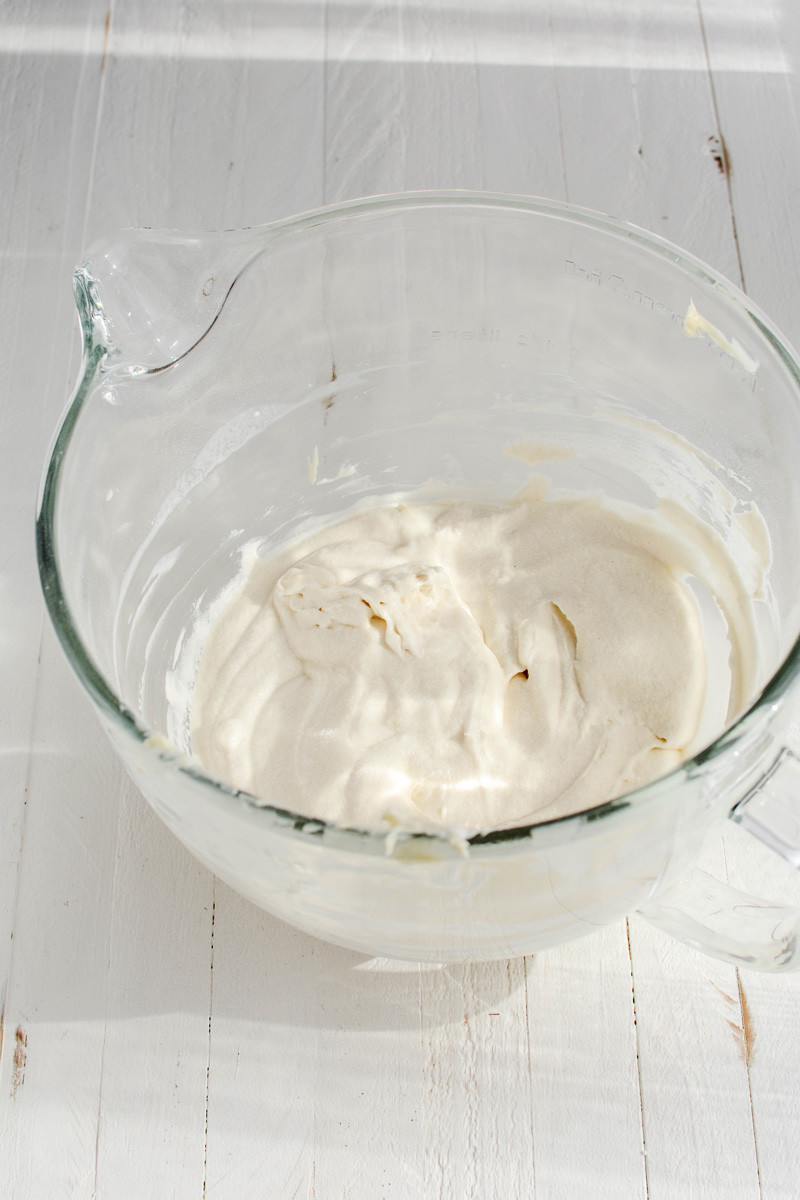
WHITE CHOCOLATE FILLING
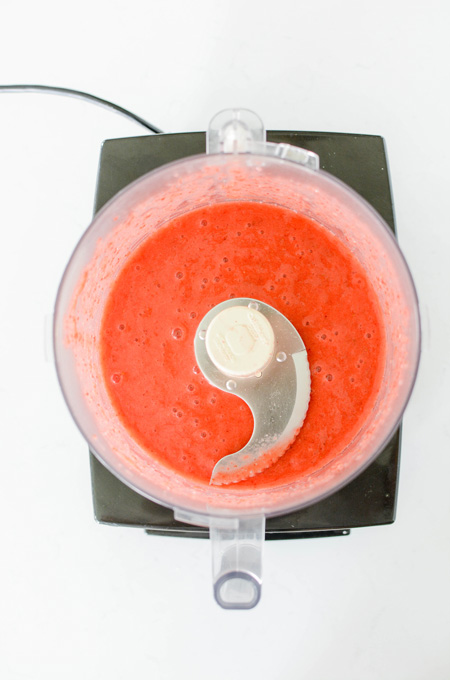
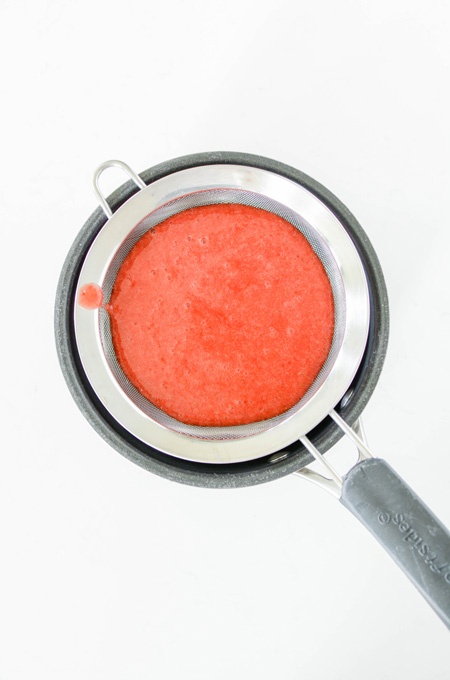
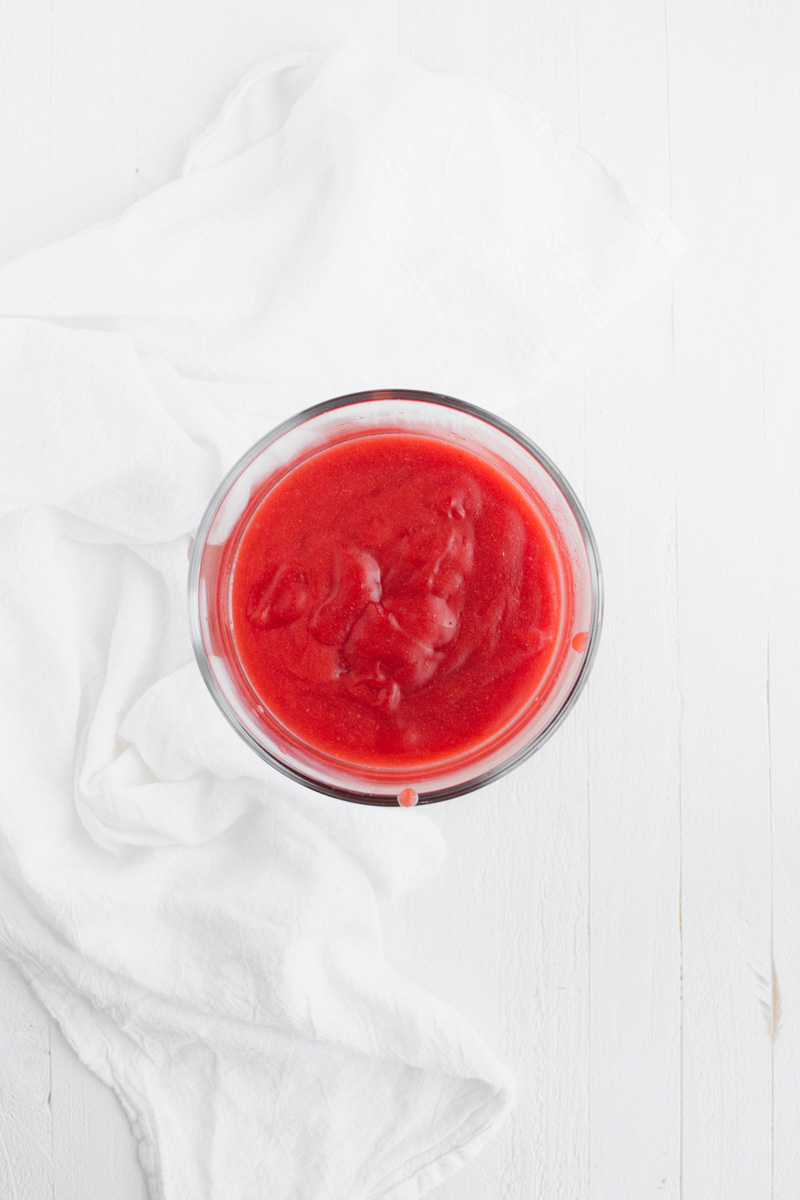
- Combine cream and chocolate in a microwave safe bowl and microwave on 30 second intervals, stirring well between each interval until melted, about 2 to 3 minutes. Stir in rose extract and salt. Cover with plastic wrap until thickened at least 4 hours or up to 1 week.
- Transfer the mixture to the bowl of a stand mixer and with the whisk attachment attached, beat on medium-high speed until stiff but spreadable, about 1 1/2 minutes.
WHITE CHOCOLATE ROSES
- Heat chocolate melts in a microwave safe bowl for 30 seconds and stir. Heat for another 30 seconds and stir well. If the melts feel too thick, add in 1 teaspoon shortening and stir. Continue to microwave on 10 second intervals, stirring between each interval until melted. Add more shortening if needed.
- Pour melted chocolate in a piping bag and snip the tip off. On parchment paper strips, pipe small dollops of chocolate on to each strip. Place another parchment paper strip on top, and press each dollop of chocolate with your finger to create a rose petal shape. Carefully peel off the parchment paper, starting from the bottom and pulling up to the top. Place the strips on top of the flower formers to set. Continue this process with the remaining melted chocolate.
- Once the petals are set, line a baking sheet with parchment paper. Pipe a dollop of frosting onto the parchment paper and add rose petals to the frosting dollop, starting from the bottom and working your way up to the top. Use bigger petals on the bottom and smaller ones for the top. Place a few pearl dragees in the rose centers. Make a few roses and choose the best ones to use on your cake. Chill the roses in the refrigerator until needed.
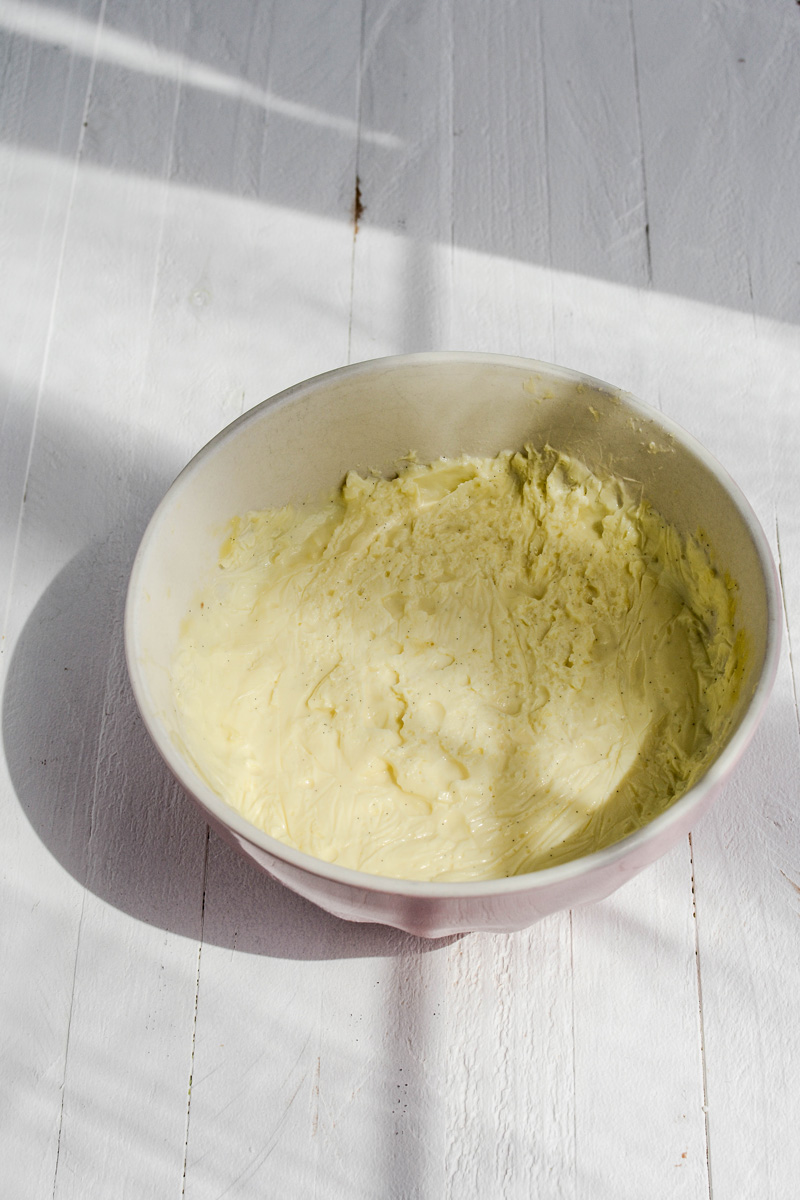
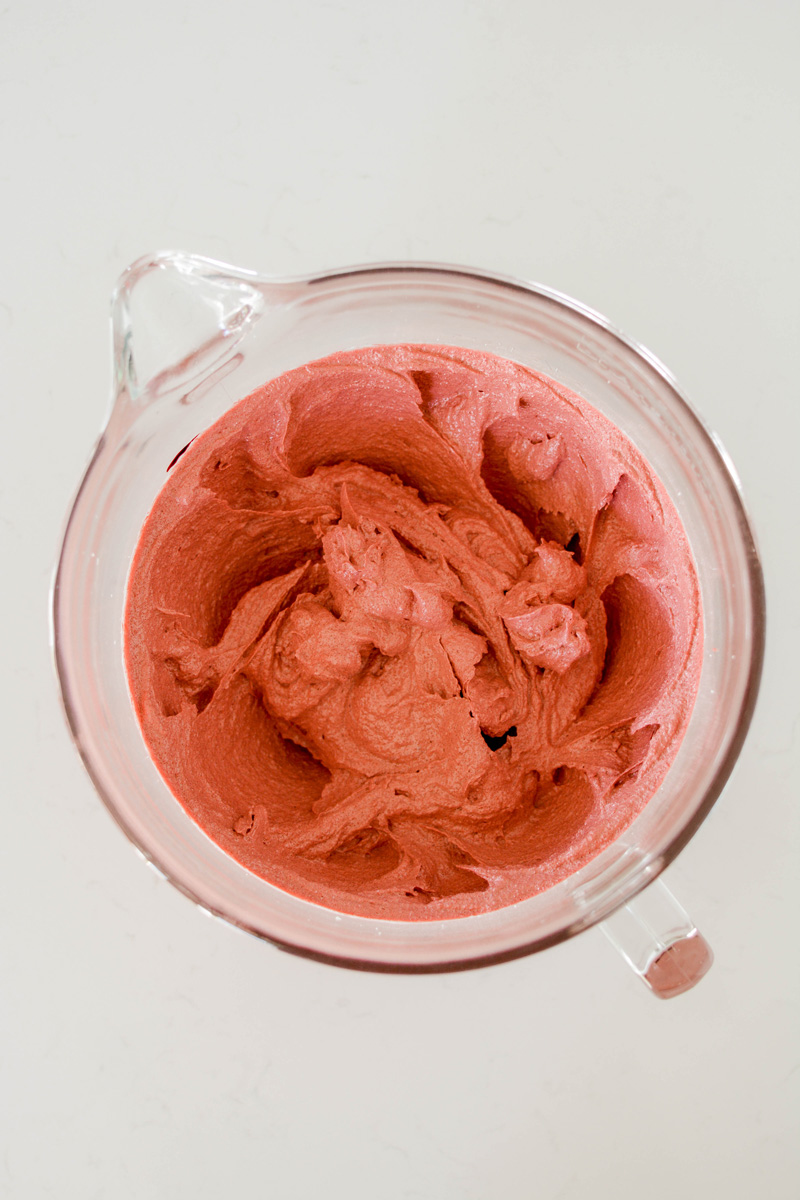
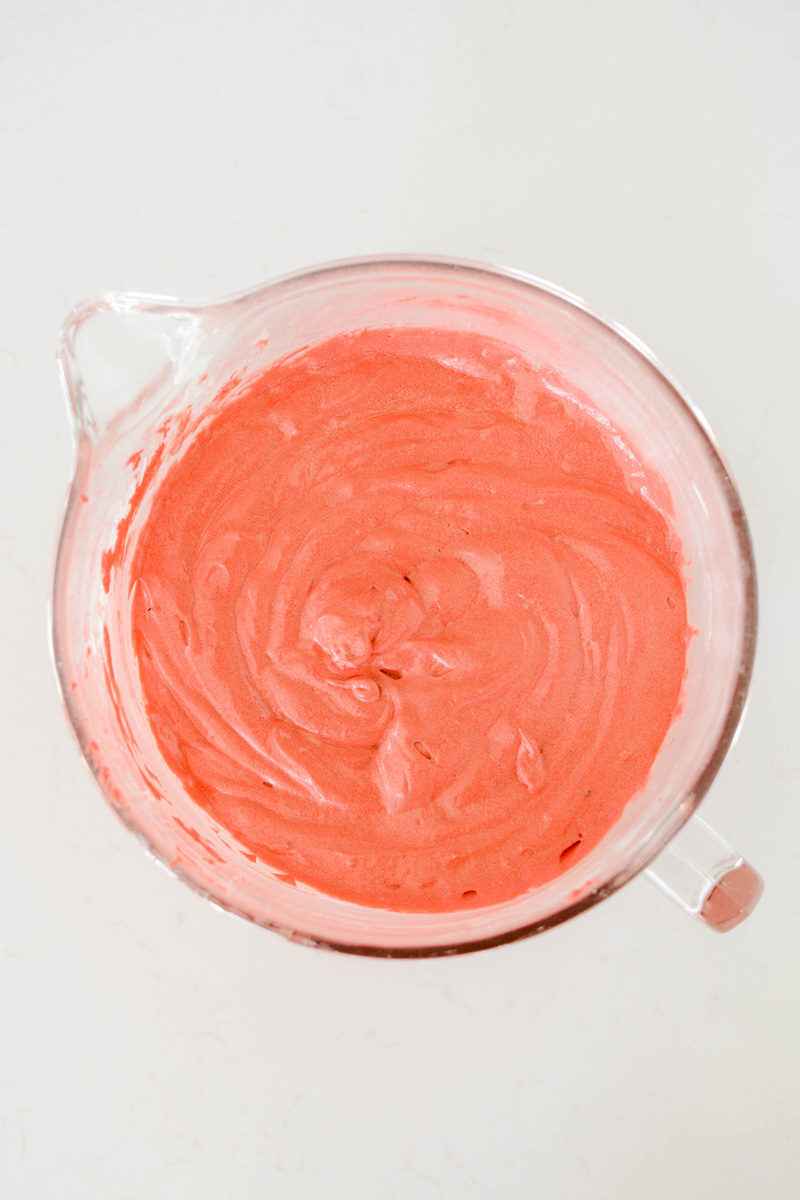
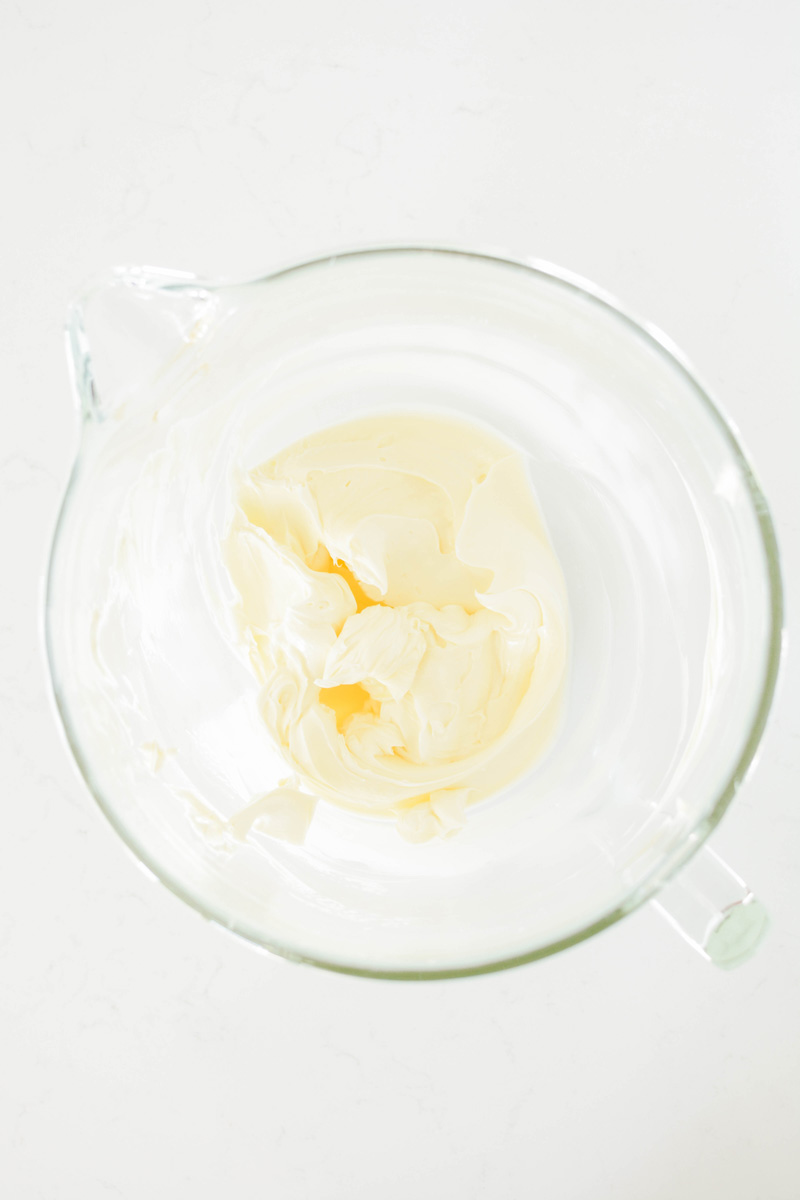
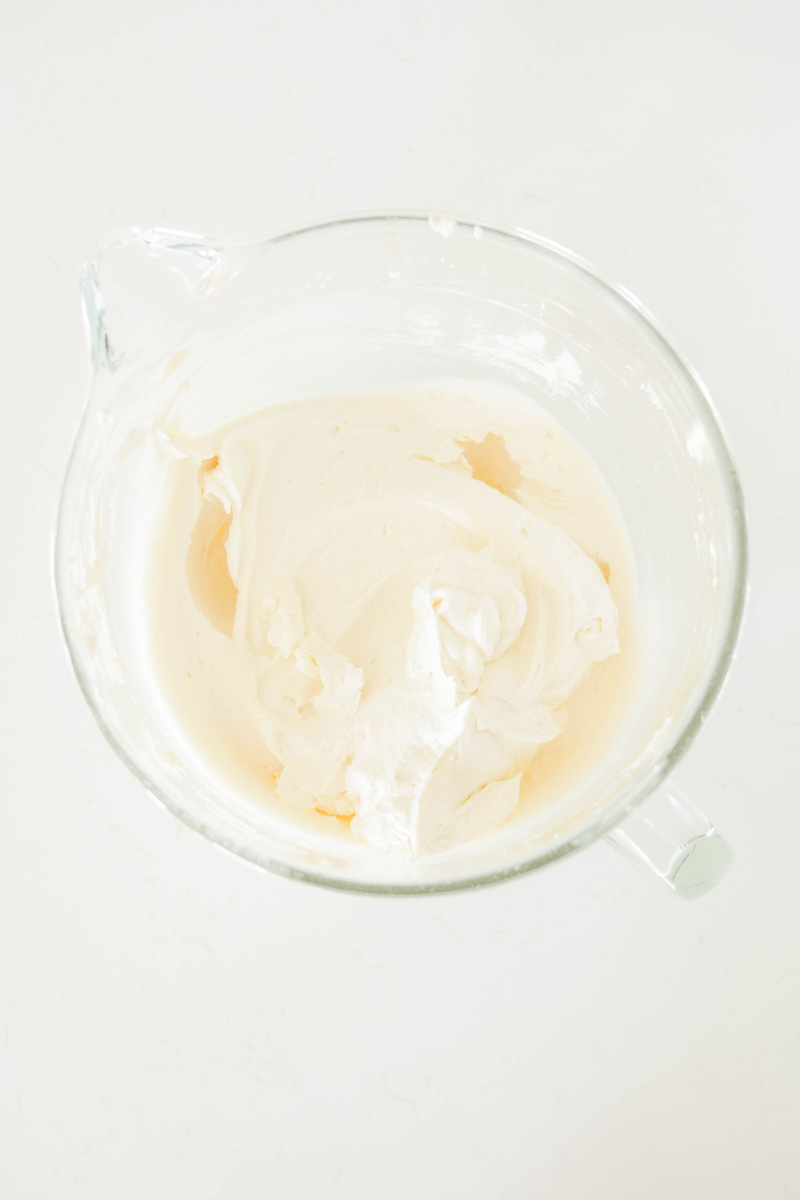
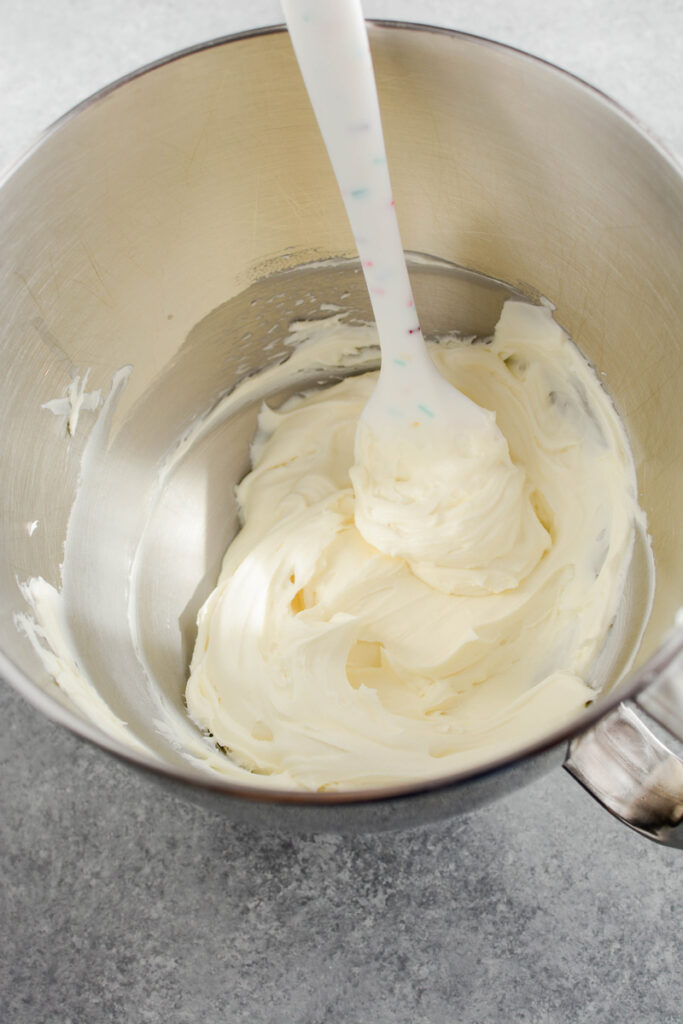
BAKERY-STYLE FROSTING
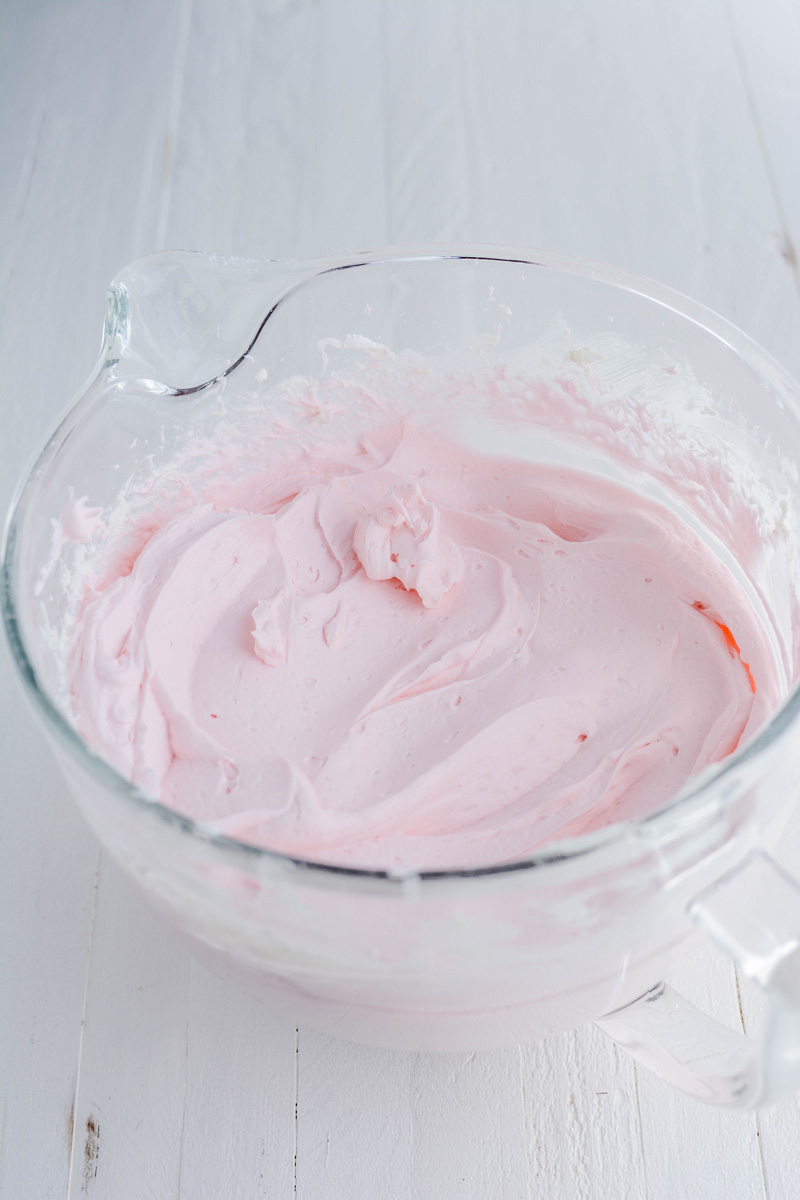
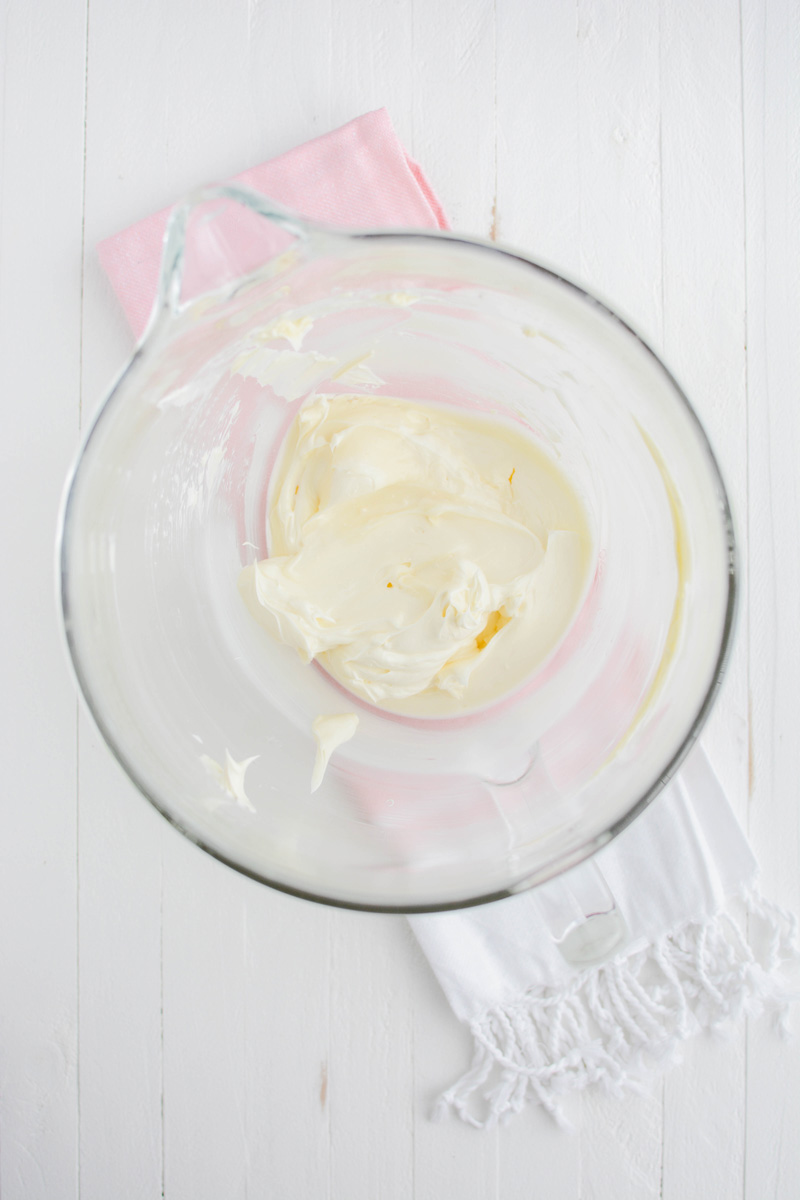
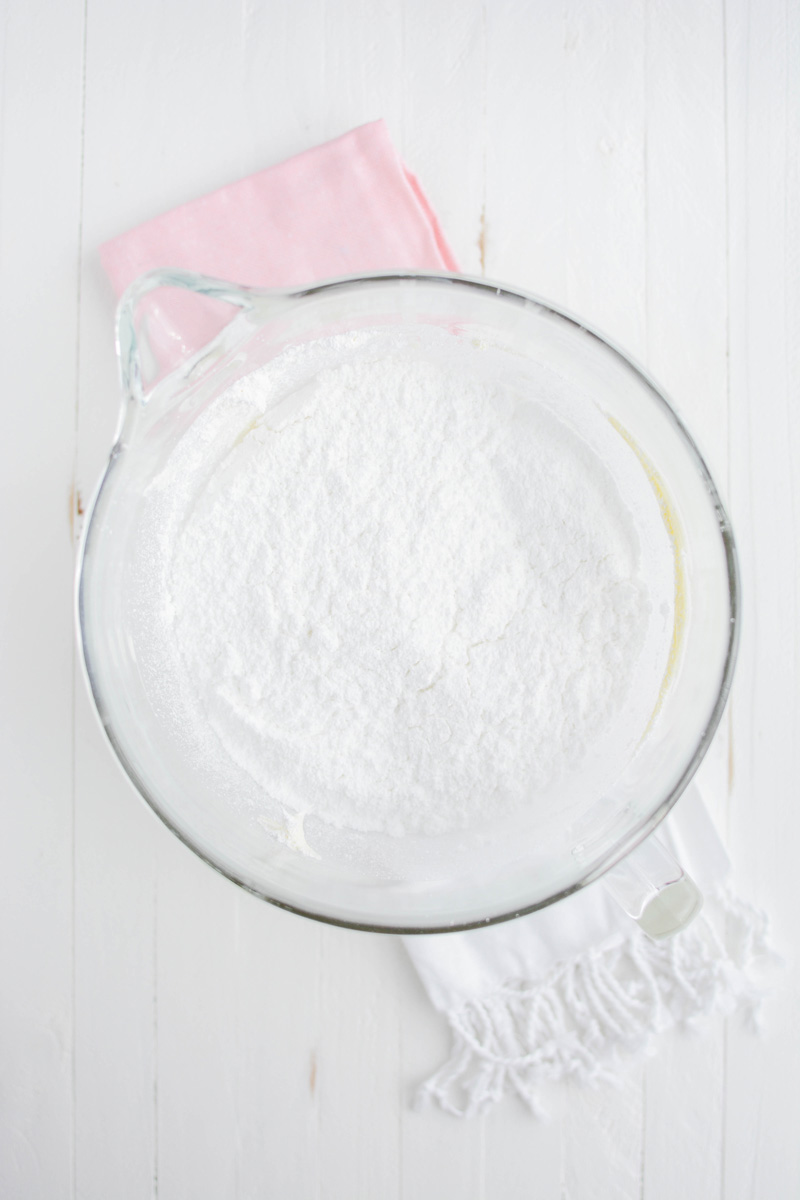
- In the bowl of a stand mixer with the paddle attachment attached, beat the butter, shortening and salt on medium speed until light and fluffy, about 4 minutes, then add the melted white chocolate and beat for another 4 minutes. Add the powdered sugar, heavy cream, and rose extract and slowly mix until combined, about 1 minute.
- Increase the mixer speed to medium-high and beat until light and fluffy, about 6 minutes. Add a few squeezes of AmeriColor Blush gel food coloring and mix to combine.
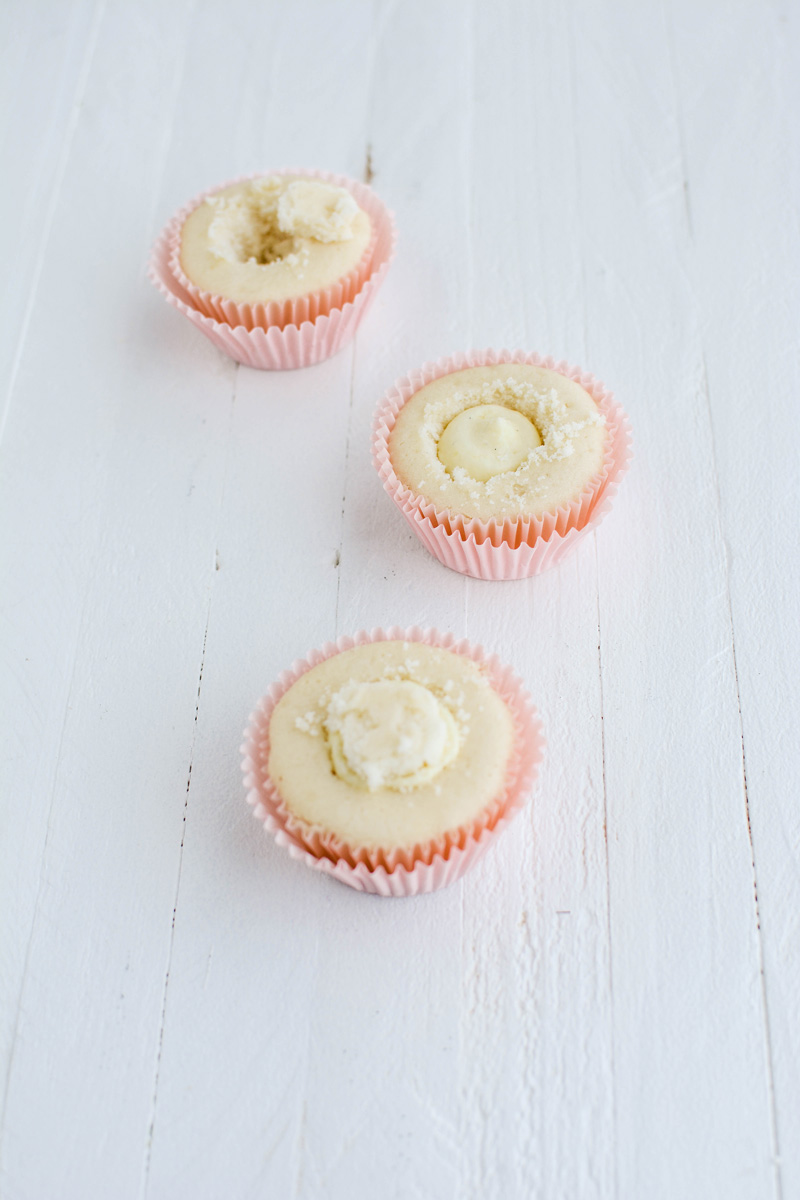
ASSEMBLE
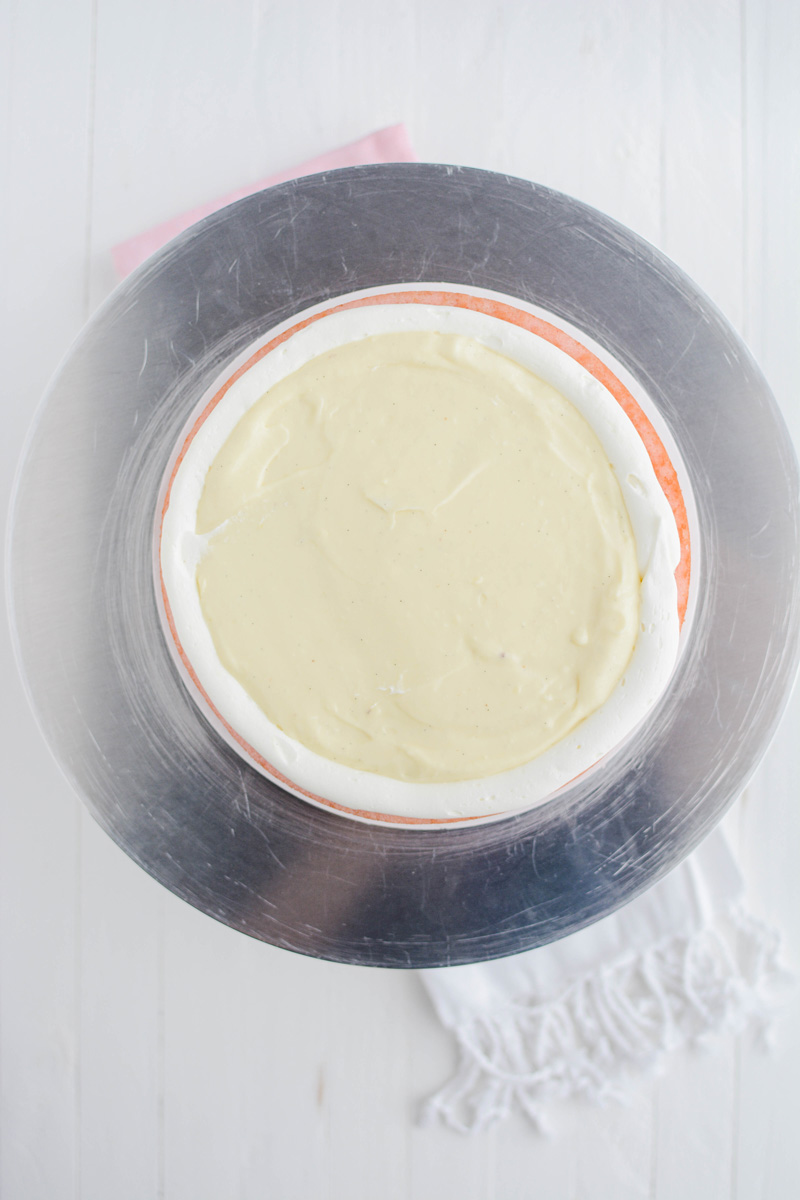
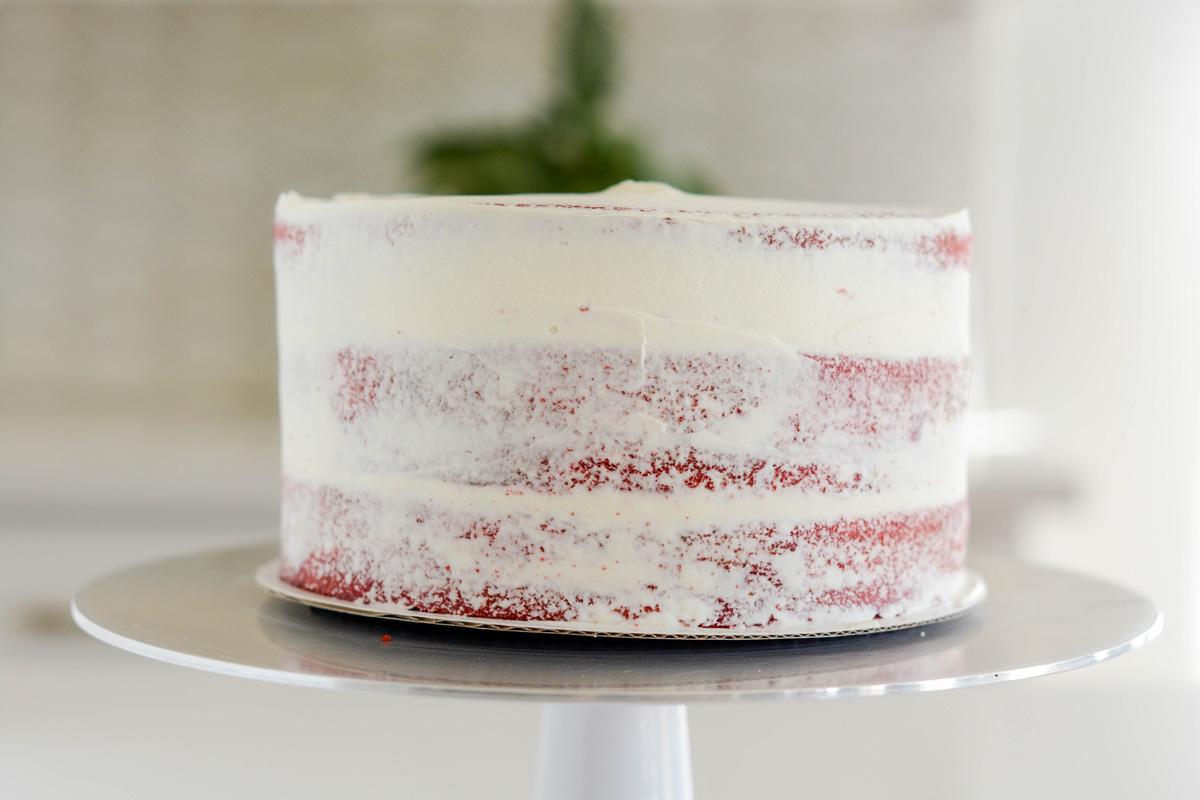
- Center a cake layer on an 8-inch round cake board and place on a cake turntable with a non slip mat. Fit a piping bag with a coupler attached and fill with frosting. Pipe a frosting dam around the edge of the cake and spread half of the white chocolate rose filling on top in an even layer.
- Place the second cake layer on top and gently press to adhere. Pipe another frosting dam around the edge of the cake and spread with the remaining filling in the center in an even layer. (Save this piping bag for making the white chocolate roses.)
- Place the last cake layer on top, bottom side up.
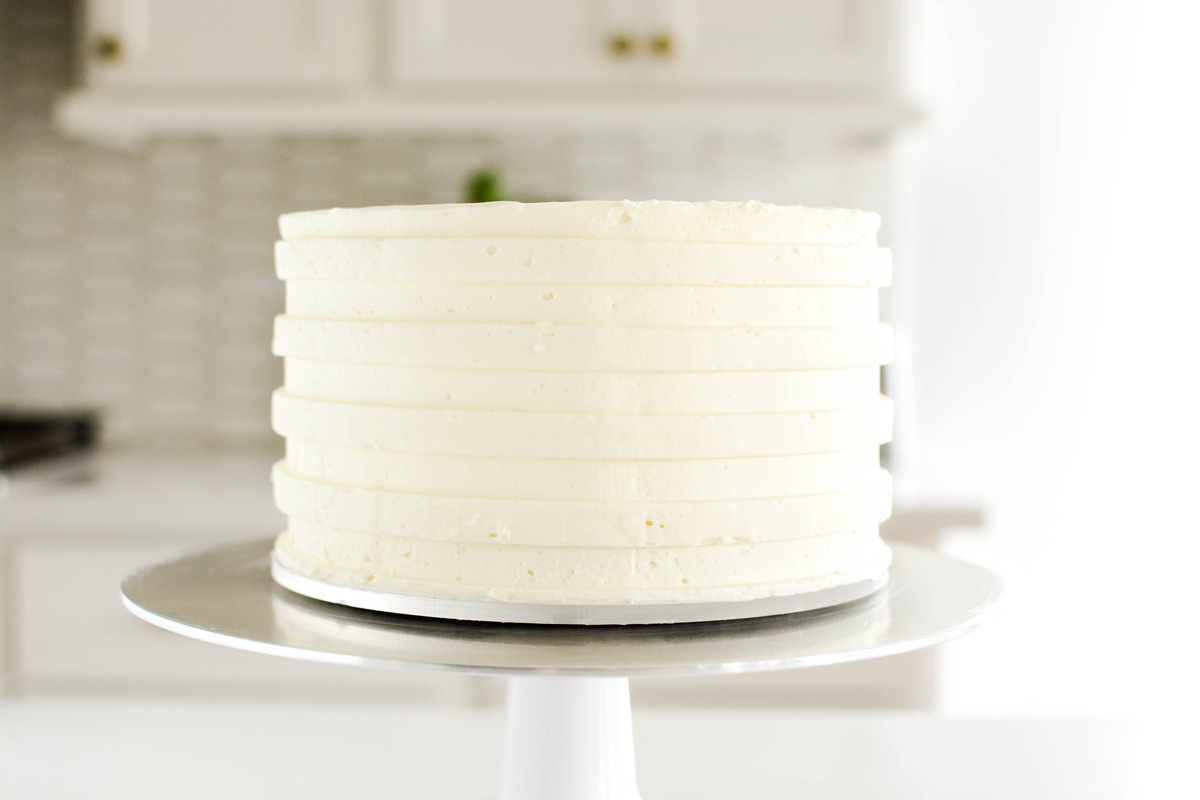
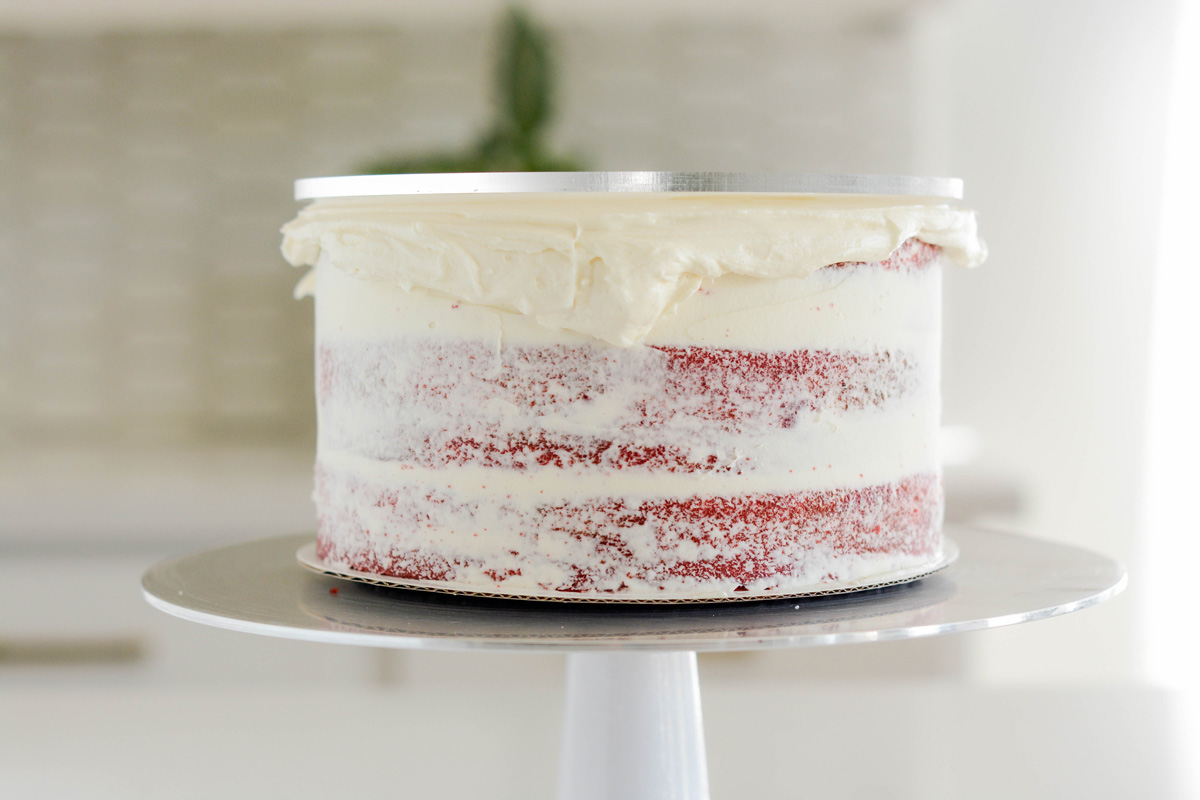
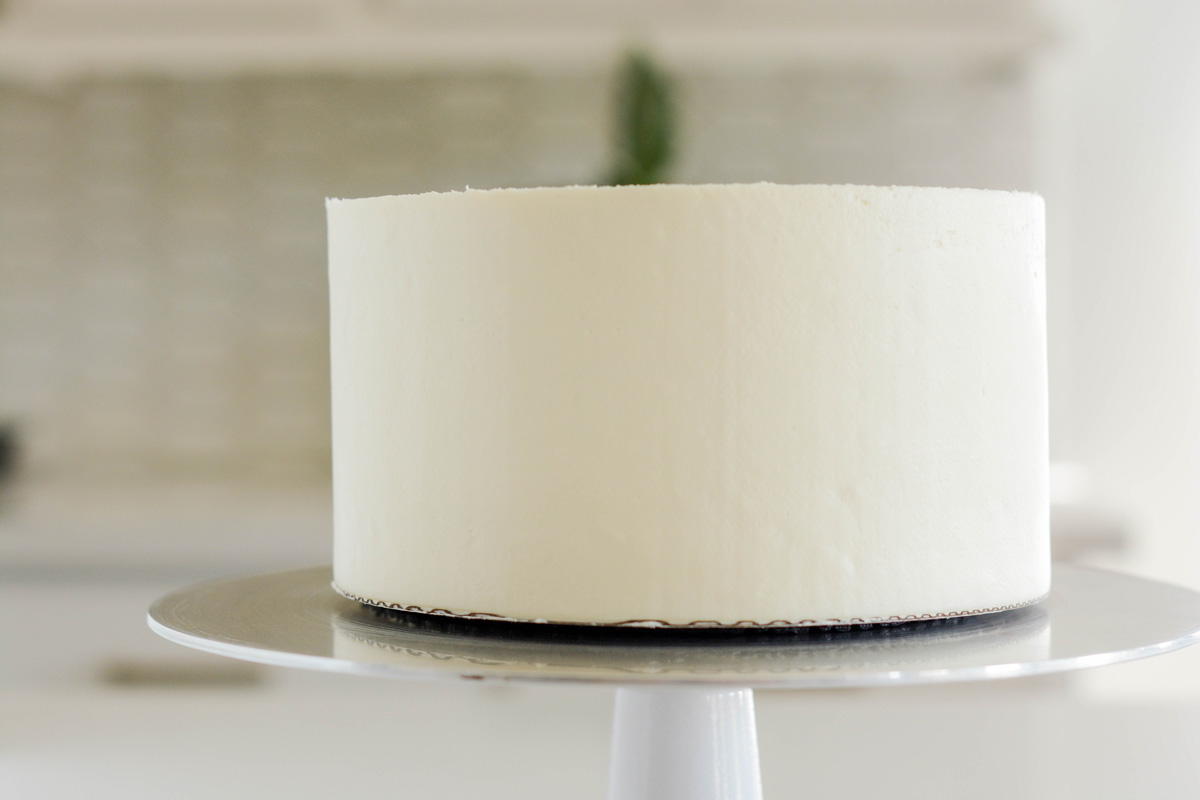
CRUMB COAT
- Apply a thin layer for frosting over the top and sides of the cake and place in the freezer for 15 minutes or in the refrigerator for 30 minutes.
CAKE DECORATING
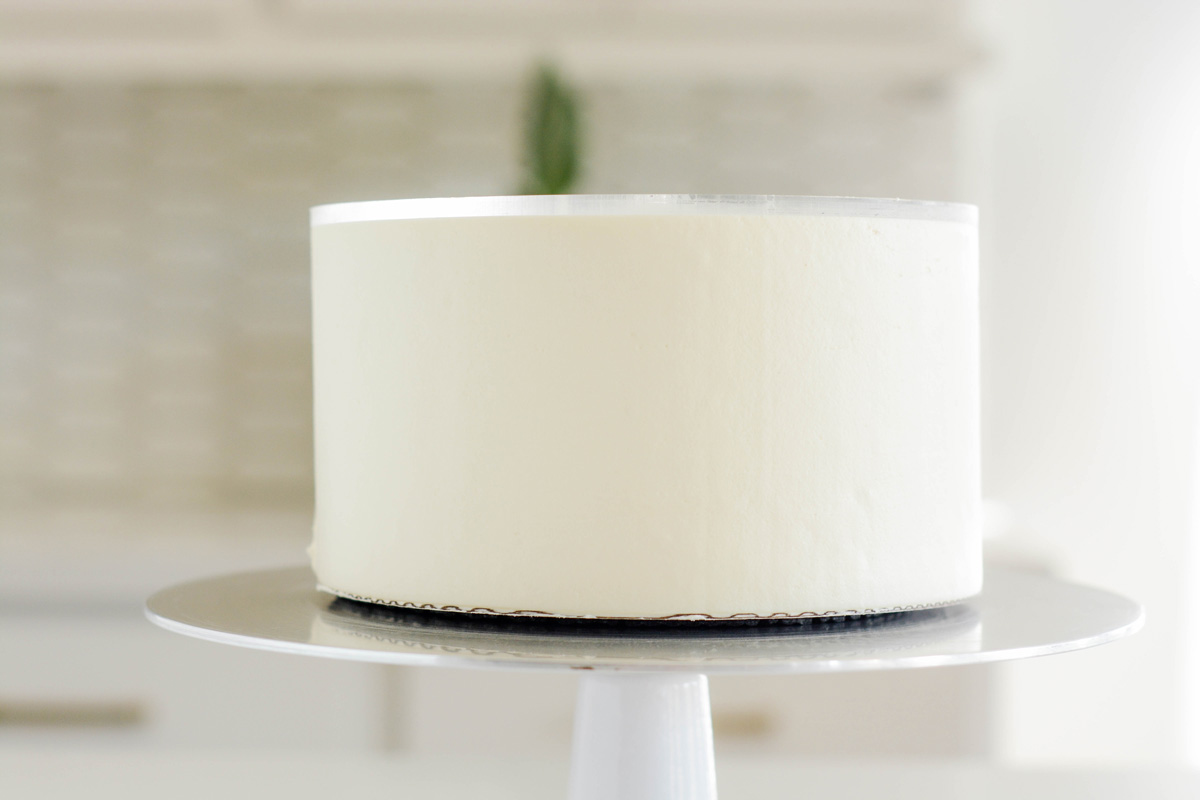
- Line an 8-inch round acrylic disc with parchment paper. Apply a generous amount of frosting to the top of the cake and spread out in an even layer with an offset cake spatula. Place the lined acrylic disc on top of the cake, parchment side down, making sure the disc lines up with the bottom cake board. Apply more frosting to the sides of the cake until the entire cake is covered with frosting, including the bottom cake board.
- Press a cake scraper against the bottom cake board and the top acrylic disc and rotate the cake turntable until the frosting is smooth, adding more frosting to any gaps and rotating the turntable to smooth out. Chill the cake in the freezer for 15 minutes or in the refrigerator for 30 minutes.
- Using an offset cake spatula, carefully insert the spatula under the disc, but over the parchment paper and carefully rotate the turntable until the disc releases. Carefully peel off the parchment paper and fill in any gaps with more frosting and smooth out.
- Place a cake comb onto the sides of the cake into the frosting and rotate to create a decorative design to the side of the cake. Continue to rotate with the cake comb until the design is smooth.
- Figure out where you want to place your white chocolate roses and pipe a dollop of frosting on top to carefully set your roses on. Add a few pearl dragees to the cake and transfer to a cake pedestal to serve.
Nutrition Information:
Yield: 12 Serving Size: 1Amount Per Serving: Calories: 755Total Fat: 42gSaturated Fat: 22gTrans Fat: 1gUnsaturated Fat: 17gCholesterol: 152mgSodium: 543mgCarbohydrates: 85gFiber: 1gSugar: 54gProtein: 12g
*Nutrition information is an estimate and will vary.*