
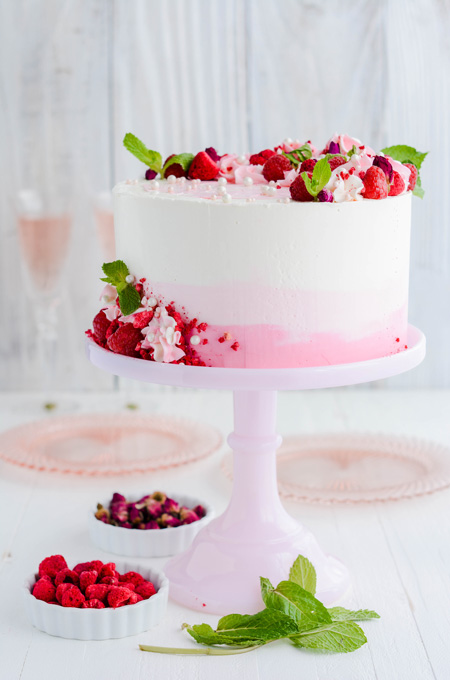
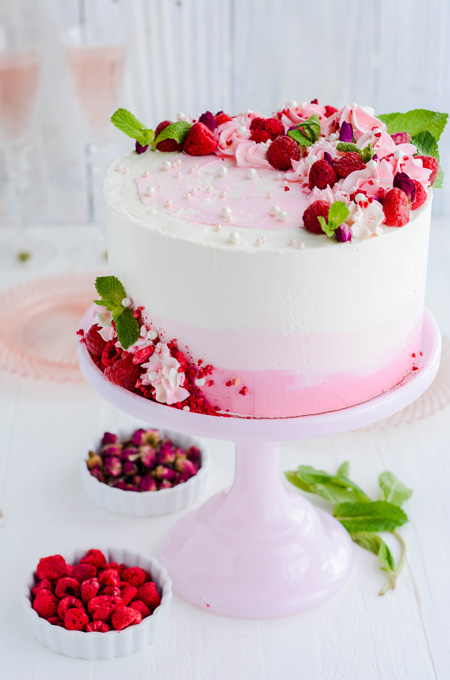
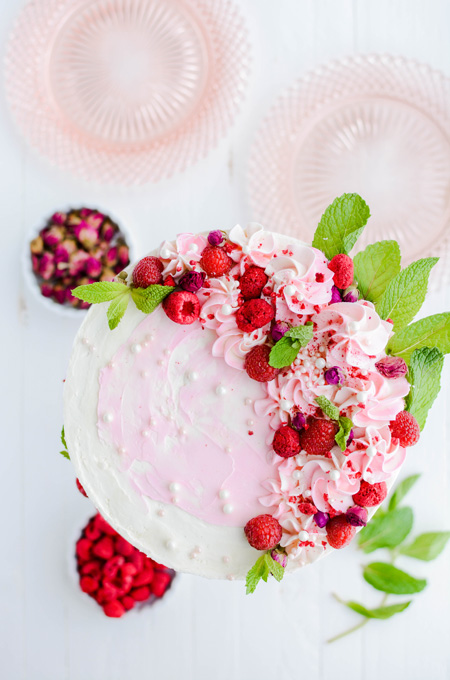
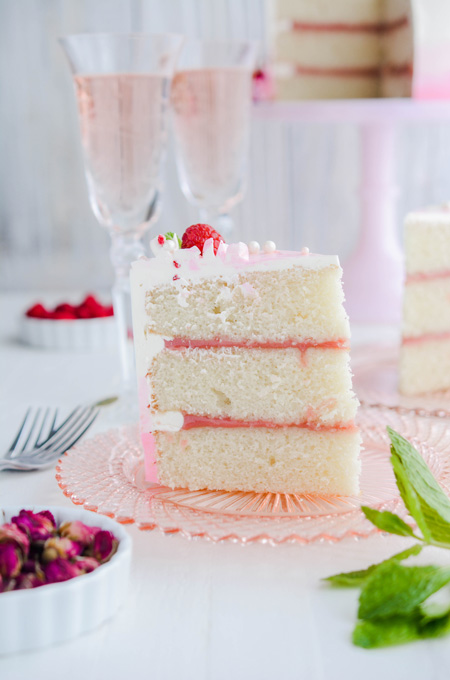
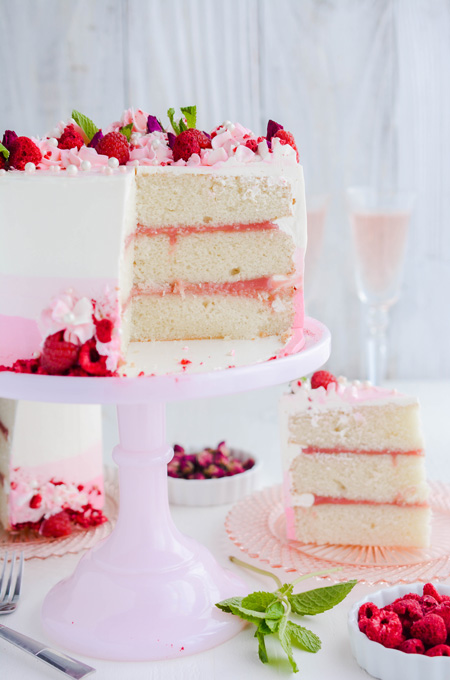
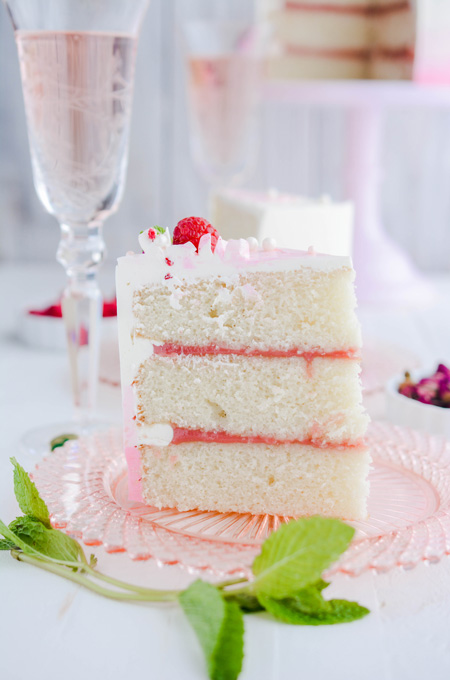
Okay y'all this is my new favorite cake! My Raspberry Wine Cake includes three layers of vanilla-raspberry cake, filled with raspberry curd filling, frosted with raspberry flavored Swiss meringue buttercream.
And it that wasn't enough, I used a fun ombre effect on the sides of this cake, plus garnished the top with some fresh and freeze dried raspberries!
Raspberry Wine Cake Ingredients
- Cake flour: cake flour has a lower protein content than all-purpose flour, which produces delicate and fine crumbed cakes like this one.
- Baking powder: leavens the cake.
- Salt: helps enhance flavor.
- Eggs: bind, thicken, emulsify and leavens.
- Granulated sugar: flavors the cake batter and incorporates and dissolves easily into the cake batter.
- Vanilla extract: enhances the cake flavor.
- Raspberry emulsion:enhances the cake flavor.
- Vegetable oil: produces a softer crumbed cake while chilled.
- Sparking raspberry wine: gives this cake a little something extra!
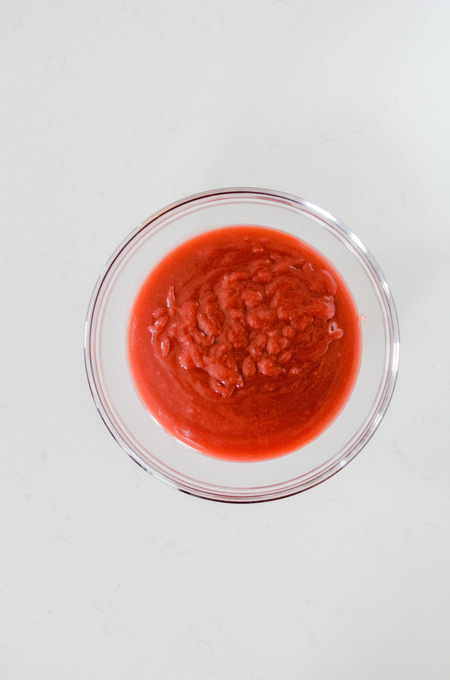
Raspberry Curd
The raspberry curd is bold and bright and pairs perfectly with my vanilla-raspberry cake layers. If you're planning your baking schedule out for this one, (and I hope you are) you'll be happy to know you can make this curd up to 1 week in advance, stored in the refrigerator.
Raspberry Wine Swiss Meringue Buttercream Tips
- Your mixer bowl should be completely dry and clean before use.
- There should be no grease residue on the bowl and your egg whites should be free of egg yolks.
- Whisk together the sugar and egg whites well, or the eggs may start to cook on their own.
- Make sure the double boiler stays at a simmer.
- Your butter should be room temperature before using.
- Add your butter by tablespoon to the meringue.
- The buttercream should be as smooth as possible.
- To help remove air bubbles, run the mixer on low speed for one minute.
Cake Assembly

- Place a nonslip mat on top of a cake turntable and place a cake board on top.
- Center the first cake layer on top of the cake board, making sure there's even spacing from all around the edges.
- Fit a piping bag with a round piping tip or coupler and fill the piping bag with about 1 cup buttercream.
- Pipe a buttercream dam around the outer edge of the cake.
- Fill the center with half of the filling and spread out in an even layer with a small offset cake spatula.
- Place the second cake layer on top and gently press to adhere to the bottom cake layer.
- Pipe a buttercream dam around the outer edge and spread the remaining filling out in an even layer until it reaches the buttercream dam.
- Add the third and final cake layer (bottom side up) on top and gently press to adhere.
- Apply a thin layer of buttercream over the top and sides of the cake, creating a crumb coat.
- Chill the crumb coated cake in the refrigerator for 30 minutes.
How To Create The Ombre Buttercream Effect
- Add a large dollop of uncolored buttercream on top of the cake and smooth out with an offset cake spatula. There should be some overhang of buttercream off the edge of the cake.
- Line an 8-inch round acrylic cake disc with parchment paper and place it on top of the cake (paper side down) and make sure it is even and that it lines up with the bottom cake board.
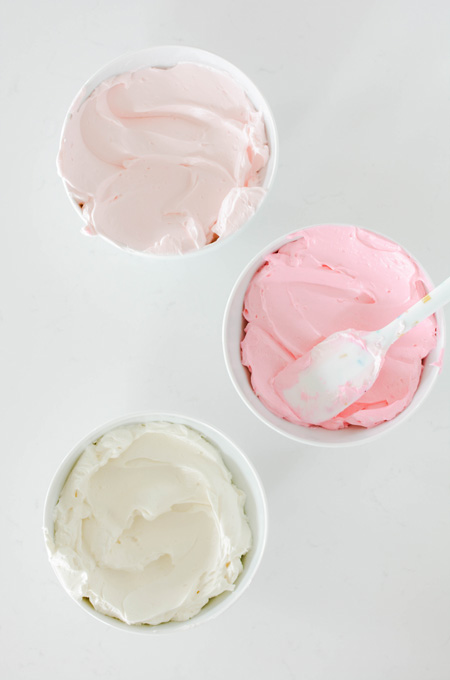
- Set aside about 1 1/2 cups buttercream and divide the remaining buttercream between 2 bowls.
- Color one bowl of buttercream with pink gel food coloring.
- Color the second bowl with pink gel food coloring making sure it's lighter pink than the one before.
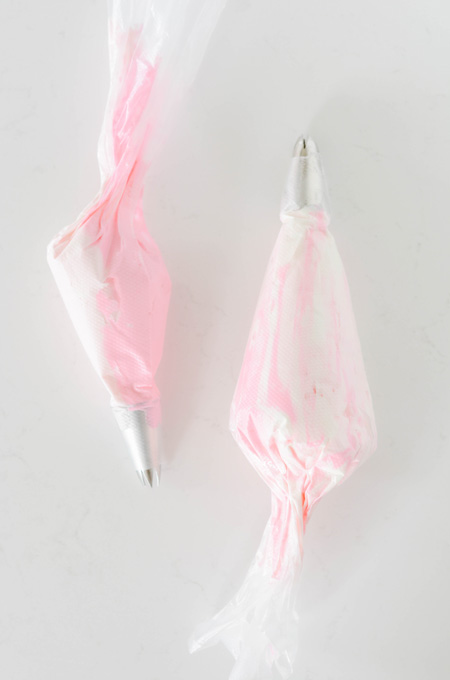
- Fit a piping bag with a plain round tip or a coupler and fill the piping bag with the dark pink buttercream.
- Fit a second piping bag with another round coupler or piping tip and fill with the light pink buttercream.
- With the remaining uncolored buttercream, fit a third piping bag with a round piping tip or coupler with uncolored buttercream.
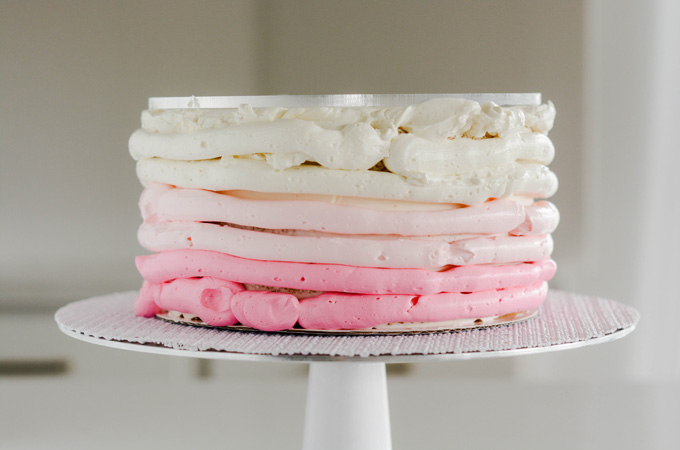
- Starting from the bottom of the cake with your dark pink buttercream, pipe 2 rings around the cake.
- Using your light pink buttercream, pipe 2 more rings around the cake.
- With your uncolored buttercream, pipe buttercream all the way up until it reaches the top edge.
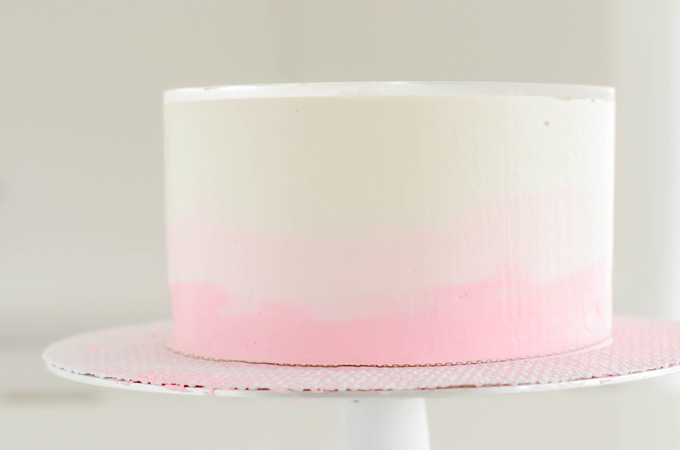
- Using a cake scraper, gently touch the scraper against the bottom cake board and the top acrylic disk and rotate the turntable. Clean off the scraper by placing the excess frosting back into your mixer bowl. (You'll use this buttercream for decorating the top of the cake.)
- Fill in any gaps with the appropriate color of buttercream and rotate the turntable with the cake scraper again. Repeat this process until you achieve the ombre look.
- Chill the cake in the refrigerator for 30 minutes.
- Carefully place a small offset cake spatula under the acrylic disc and rotate the turntable until the disc loosens up and remove the disc and the parchment paper.
- Place remaining buttercream in piping bags. I added the remaining buttercreams from my piping bags in one piping bag. And the excess buttercream in my mixer bowl in another piping bag.
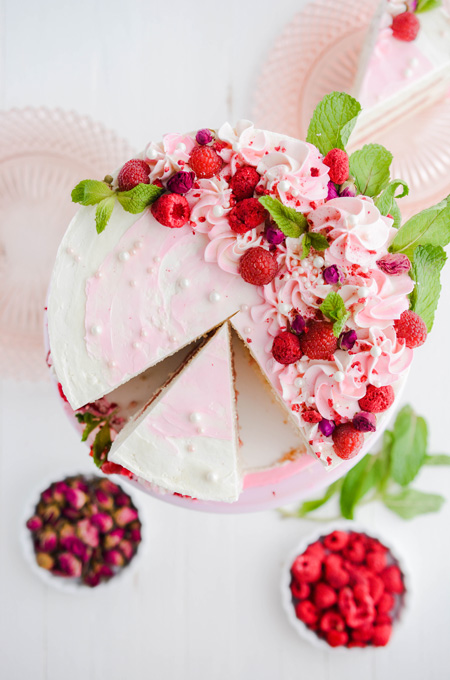
- Pipe swirls and stars on the top of the cake concentrating on one side.
- Add some more swirls and stars on the lower bottom of the cake, concentrating on the opposite side of the top decorations.
- Sprinkle some crushed up freeze dried raspberries over the piping.
- Add some fresh and whole freeze dried raspberries on the top of the cake and side of the cake.
- For some texture, sprinkle some pearl and pink colored dragees on top.
- Before serving add a few sprigs of fresh mint.
Decorating Tools For Raspberry Wine Cake
- Turntable
- Cake scraper
- 8-inch round acrylic disc
- Piping bags
- Round piping tips or couplers
- Wilton 1M piping tips
- Small offset cake spatula
- Wilton's Pink Rose gel food coloring
Cake Garnishes
- Freeze dried and fresh raspberries
- Fresh mint
- Pearl dragees
- Edible rose buds
Raspberry Wine Baking Schedule
- Day 1: Prepare the raspberry curd
- Day 2: Bake the cake layers.
- Day 3: Assemble, decorate and serve the cake.
Let's Connect
The Cake Chica is on Facebook sharing sneak peeks of recipes to come, Instagram for your food porn desires and Pinterest for your board pinning needs.
You May Also Like
Spring Lemon Layer Cake
Strawberry Rose Cake
Blackberry Lavender Pound Cake
Inspired by Icing on the Cake by Tessa Huff.

Raspberry Wine Cake
Homemade Vanilla Raspberry Cake filled with Raspberry Curd, frosted with Sparkling Wine Swiss Meringue Buttercream, garnished with fresh and freeze dried raspberries.
Ingredients
SPECIAL TOOLS
- 3 8-inch round cake pans
- Nonstick baking spray
- Stand mixer
- Sieve
- Candy thermometer
- 8-inch round cake board
- Cake turntable
- Cake scraper
- 8-inch round acrylic disc
- Piping bags
- Round piping tips or couplers
- Wilton’s Pink Rose gel food coloring
- Freeze dried and fresh raspberries (garnish)
- Fresh mint (garnish)
- Pearl dragees (garnish)
- Edible rose buds (garnish)
RASPBERRY CURD
- 1 1/4 cups (5.5 ounces) fresh or frozen raspberries
- 6 tablespoons unsalted butter, diced
- 2 tablespoons fresh lemon juice
- 3 large egg yolks
- 1 large egg
- 2/3 cup (5.3 ounces) granulated sugar
VANILLA RASPBERRY CAKE
- 3 cups (12 ounces) cake flour
- 2 ½ teaspoons baking powder
- ½ teaspoon table salt
- 4 large eggs, at room temperature
- 1 ¾ cups (12.25 ounces) granulated sugar
- 1 teaspoon vanilla extract
- 2 teaspoons raspberry emulsion
- 1 cup vegetable oil
- 1 cup sparkling raspberry wine
SPARKLING RASPBERRY WINE SWISS MERINGUE BUTTERCREAM
- ½ cup, plus 2 tablespoons egg whites
- 1 ¼ cup (8.75 ounces) granulated sugar
- 2 cups (4 sticks) unsalted butter, cubed, slightly under room temperature
- 1 teaspoon vanilla extract
- 1 teaspoon raspberry emulsion
- ½ cup sparkling raspberry wine
Instructions
RASPBERRY CURD
- In a small saucepan over medium-high heat, cook the raspberries until they start to break down, about 10 minutes. Strain raspberries through a fine mesh strainer to remove the solids, stirring with a spoon to extract as much liquid as possible. Discard the solids and measure out 1/4 cup of the raspberry juice.
- Place the butter in a heatproof bowl with a sieve on top.
- In a medium saucepan, add the 1/4 cup raspberry juice, lemon juice, egg yolks, egg and sugar and whisk to combine. Over medium heat, cook the mixture until it is thick enough to coat the back of a spoon and registers 160 degrees on a candy thermometer, about 8 minutes.
- Strain the mixture through the sieve, that’s over the bowl with the butter. Discard the strained solids. Stir mixture together with the butter until the butter has melted and the mixture is combined. Cover the mixture with plastic wrap, pressing plastic wrap directly on top of the surface. This will prevent a skin from forming. Refrigerate until set, at least 4 hours or overnight. (The raspberry curd may be made 1 to 2 weeks in advance and stored in the refrigerator.)
VANILLA RASPBERRY CAKE
- Spray 3 8-inch round cake pans and set aside.
- Adjust an oven rack to the center position and heat oven to 350 degrees. In a large bowl, sift the flour, baking powder and salt. Then whisk to combine.
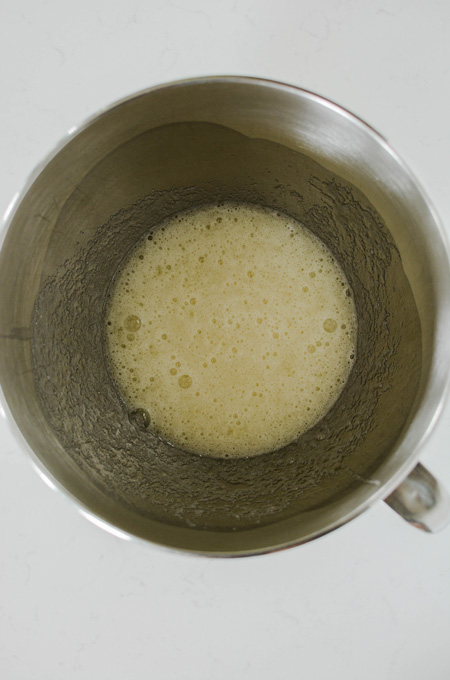
- In the bowl of a stand mixer fitted with the paddle attachment, beat the eggs, sugar, vanilla and raspberry emulsion together on medium speed for 1 minute. Reduce the mixer speed to low speed and slowly pour the oil into the mixture until combined. Add the flour mixture in 3 parts, alternating with the wine in 2 parts, beginning and ending with the flour mixture, mixing until just barely blended. Scrape the sides of the bowl as necessary. The batter will be thin. Use a rubber spatula to finish mixing the batter together to be sure you don’t over mix.
- Divide the cake batter between the prepared cake pans and bake for 25 to 30 minutes, or until a toothpick inserted in the center comes out with a few moist crumbs attached; rotating pans halfway through baking. The cakes will form a dome on top and be golden in color in the center. Remove the cakes from the oven and let cool in their pans on wire racks for 10 to 15 minutes. Invert the cakes onto wire racks and let cool completely.
SPARKLING RASPBERRY WINE BUTTERCREAM
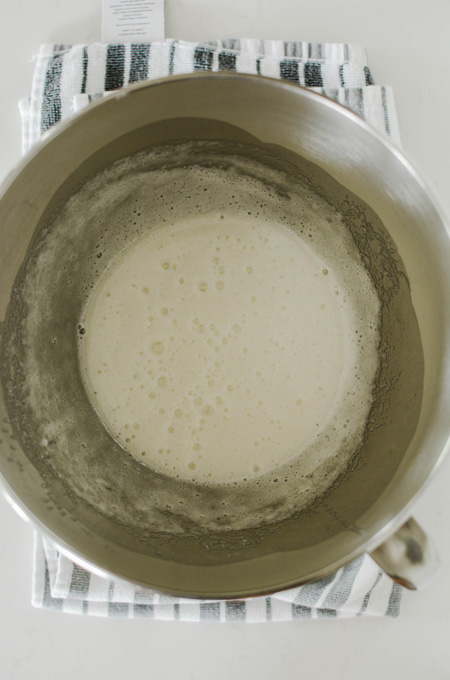
- In the bowl of a stand mixer fitted with the whisk attachment, pour in the egg whites and sugar and whisk by hand until combined. Fill a medium saucepan with about 2 inches of water and bring to a simmer. Place mixer bowl on top, being sure the bottom of the bowl does not touch the water and attach a candy thermometer.
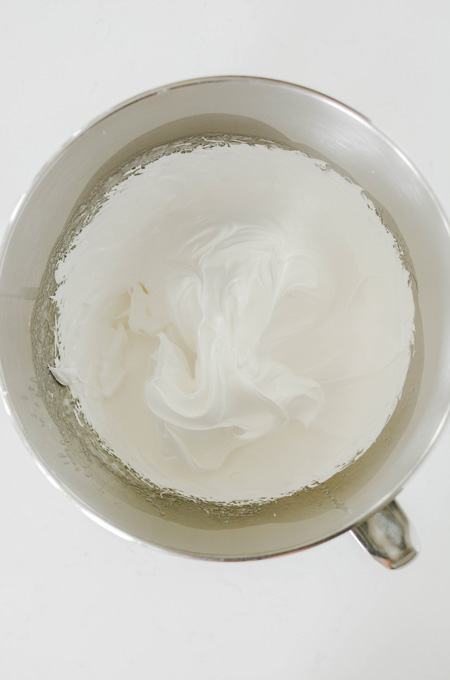
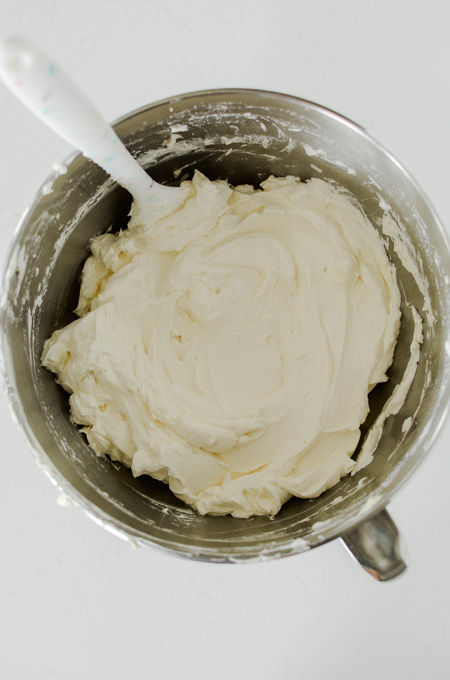
- Whisking occasionally, heat the egg mixture until the temperature reaches 160 degrees. Once the mixture reaches 160 degrees, transfer to a stand mixer and beat the mixture on high speed for 10 minutes or until medium-stiff peaks form. At this point the outside of the mixer bowl should be room temperature. Switch out the whisk attachment with the paddle attachment and with the mixer on low speed, add the butter one tablespoon at a time, and then add the vanilla extract, raspberry emulsion and wine. Once combined, turn up the mixer speed to medium-high and beat until the buttercream is smooth about 5 minutes.
ASSEMBLE
- Place a nonslip mat on top of a cake turntable and place a cake board on top. Center the first cake layer on top of the cake board, making sure there's even spacing from all around the edges. Fit a piping bag with a round piping tip or coupler and fill the piping bag with about 1 cup buttercream.
- Pipe a buttercream dam around the outer edge of the cake. Fill the center with half of the filling and spread out in an even layer with a small offset cake spatula. Place the second cake layer on top and gently press to adhere to the bottom cake layer. Pipe a buttercream dam around the outer edge and spread the remaining filling out in an even layer until it reaches the buttercream dam. Add the third and final cake layer (bottom side up) on top and gently press to adhere.
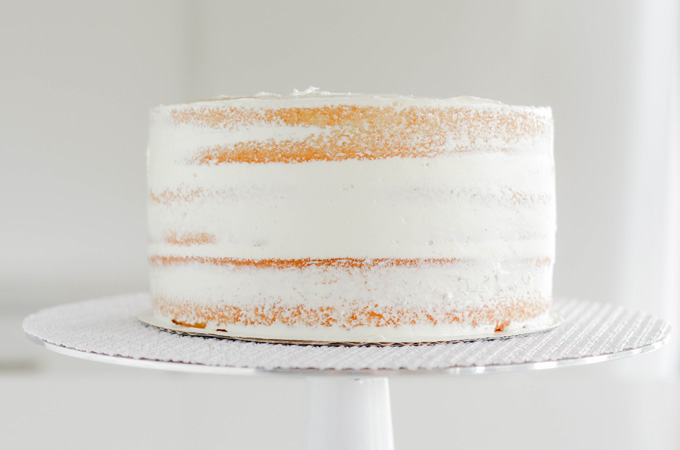
- Apply a thin layer of buttercream over the top and sides of the cake, creating a crumb coat. Chill the crumb coated cake in the refrigerator for 30 minutes.
CAKE DECORATING
- Add a large dollop of buttercream on top of the cake and smooth out with an offset cake spatula. There should be some overhang of buttercream off the edge of the cake. Line an 8-inch round acrylic cake disc with parchment paper and place it on top of the cake (paper side down) and make sure it is even and that it lines up with the bottom cake board.
- Set aside about 1 1/2 cups buttercream and divide the remaining buttercream between 2 bowls. Color one bowl of buttercream with pink gel food coloring. Color the second bowl with pink gel food coloring making sure it's lighter pink than the one before.
- Fit a piping bag with a plain round tip or a coupler and fill the piping bag with the dark pink buttercream. Fit a second piping bag with another round coupler or piping tip and fill with the light pink buttercream. Fit a third piping bag with a round piping tip or coupler and fill with uncolored buttercream.
- Starting from the bottom of the cake with your dark pink buttercream, pipe a 2 rings around the cake. Using your light pink buttercream, pipe 2 more rings around the cake. With your uncolored buttercream, pipe buttercream all the way up until it reaches the top edge.
- Using a cake scraper, gently touch the scraper against the bottom cake board and the top acrylic disk and rotate the turntable. Clean off the scraper by placing the excess frosting back into your mixer bowl. (You'll use this buttercream for decorating the top of the cake.) Fill in any gaps with the appropriate color of buttercream and rotate the turntable with the cake scraper again. Repeat this process until you achieve the ombre look.
- Place remaining buttercream in piping bags fitted with Wilton 1M piping tips. (I added the remaining buttercreams from my piping bags that I used for the side of the cake in one piping bag. And the excess buttercream in my mixer bowl in another piping bag.) Pipe swirls and stars with your choice of buttercreams on the top of the cake concentrating on one side. Pipe more swirls and stars on the lower bottom of the cake, concentrating on the opposite side of the top decorations. Sprinkle some crushed up freeze dried raspberries over the piping. Add some fresh and whole freeze dried raspberries on the top of the cake and side of the cake. For some texture, sprinkle some pearl and pink colored dragees on top. Before serving add a few sprigs of fresh mint.
Notes
Cake can be stored in an airtight cake container at room temperature for 1 day or stored in the refrigerator for 3 day. Bring to room temperature before serving.
Nutrition Information:
Yield: 12 Serving Size: 1Amount Per Serving: Calories: 613Total Fat: 36gSaturated Fat: 8gTrans Fat: 0gUnsaturated Fat: 26gCholesterol: 185mgSodium: 352mgCarbohydrates: 53gFiber: 4gSugar: 19gProtein: 10g
*Nutrition information is an estimate and will vary.*


Leave a Reply