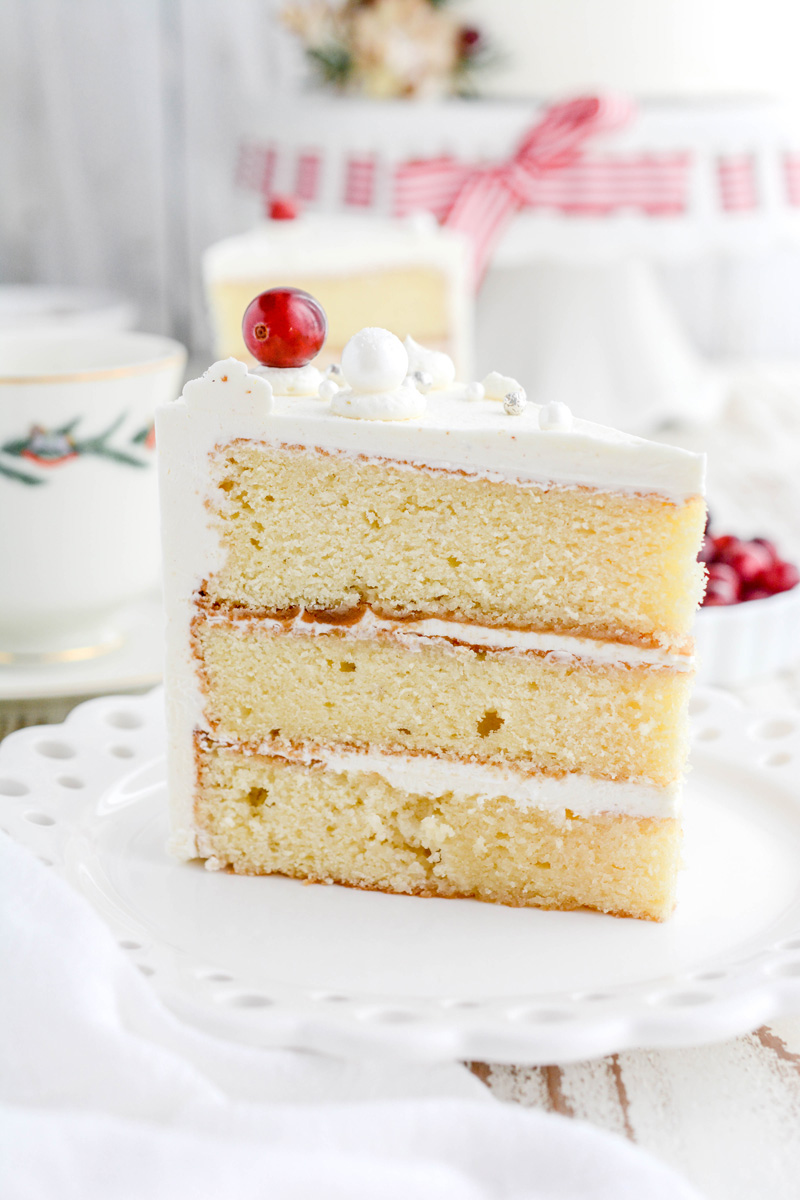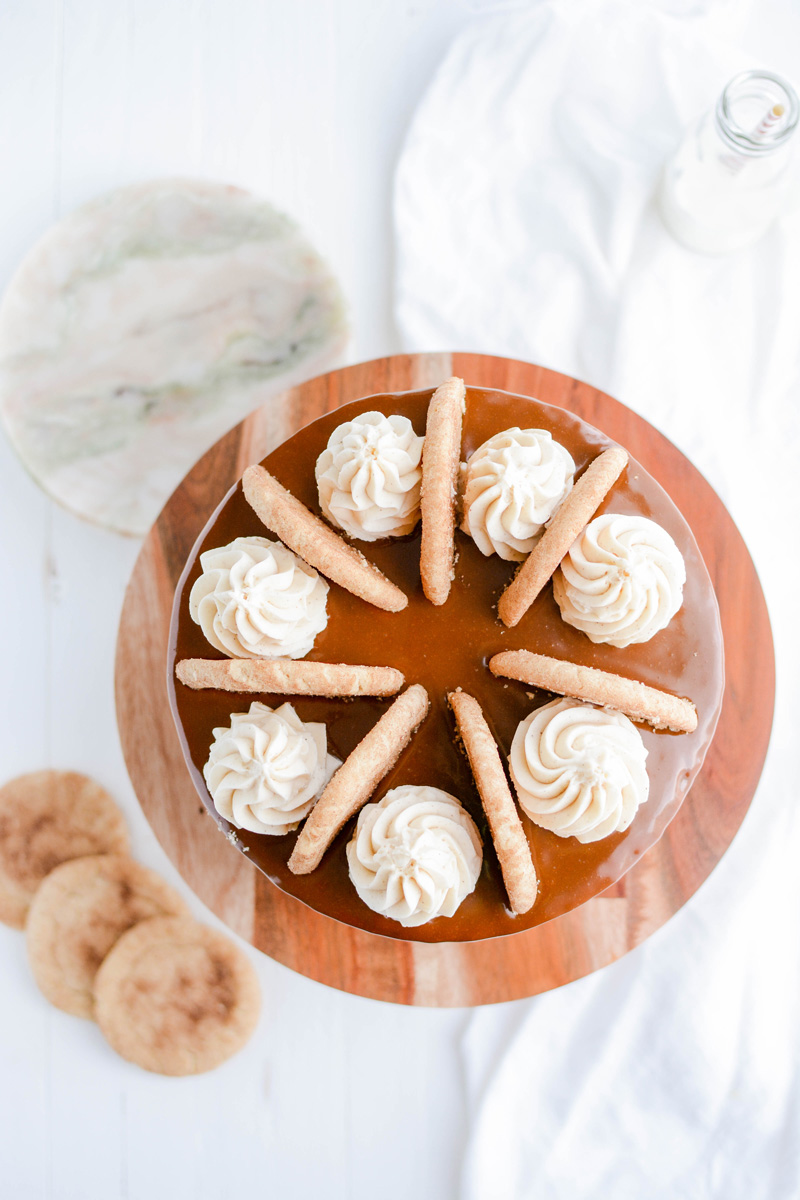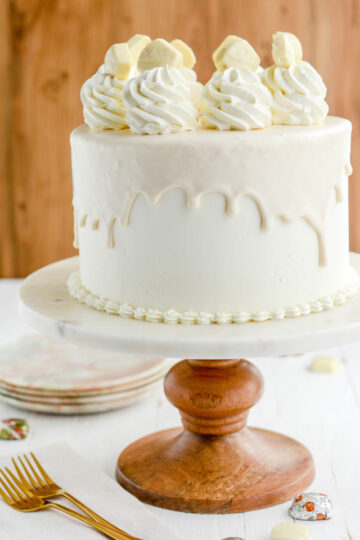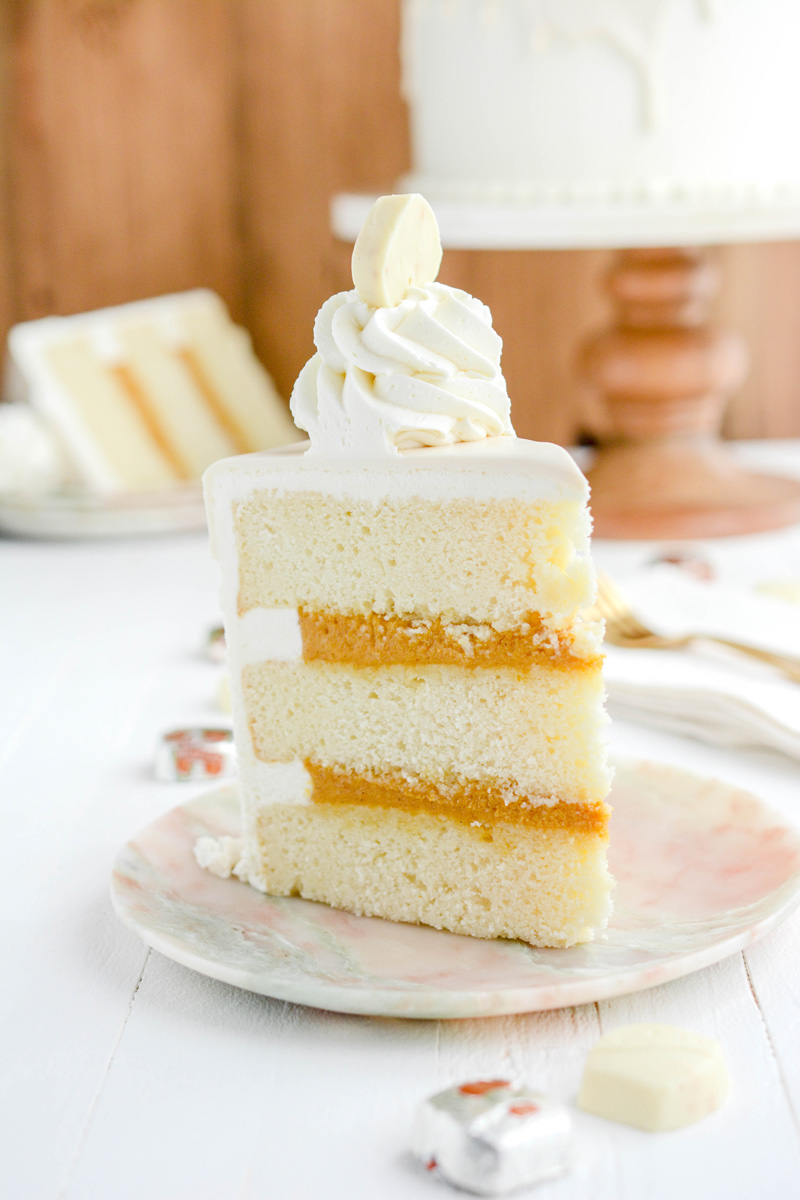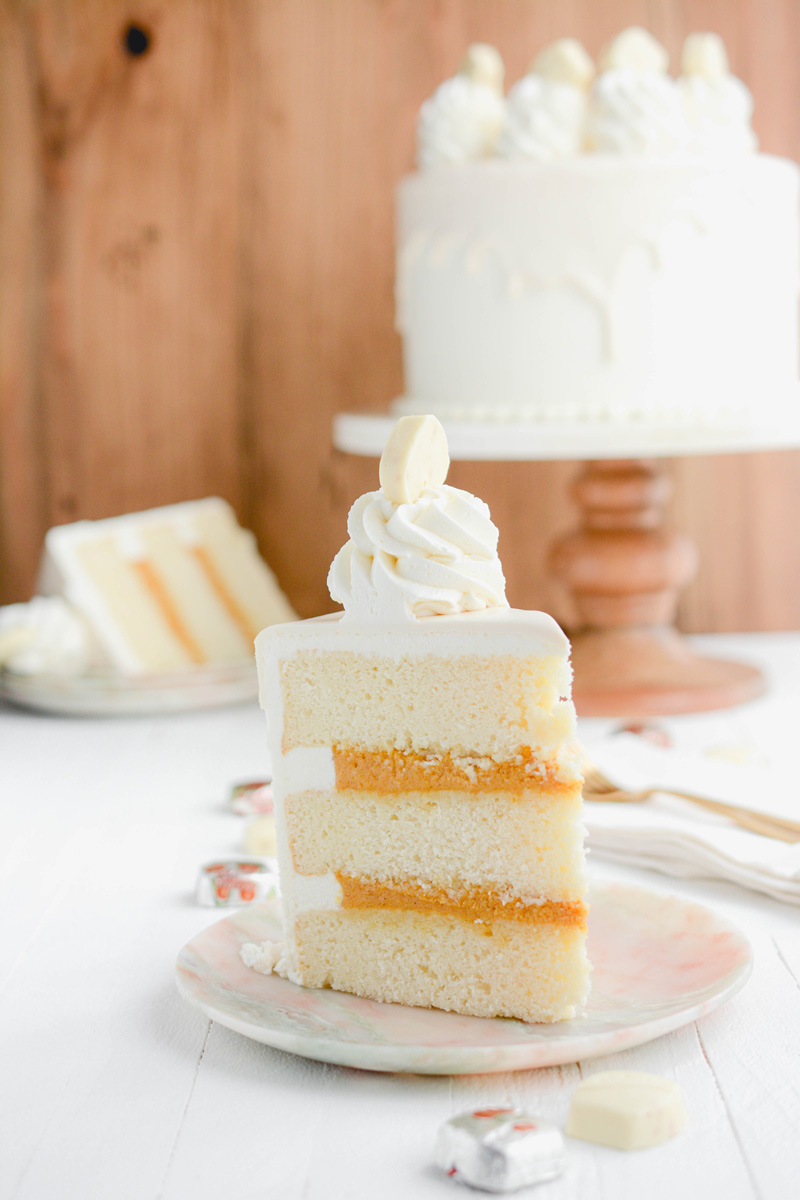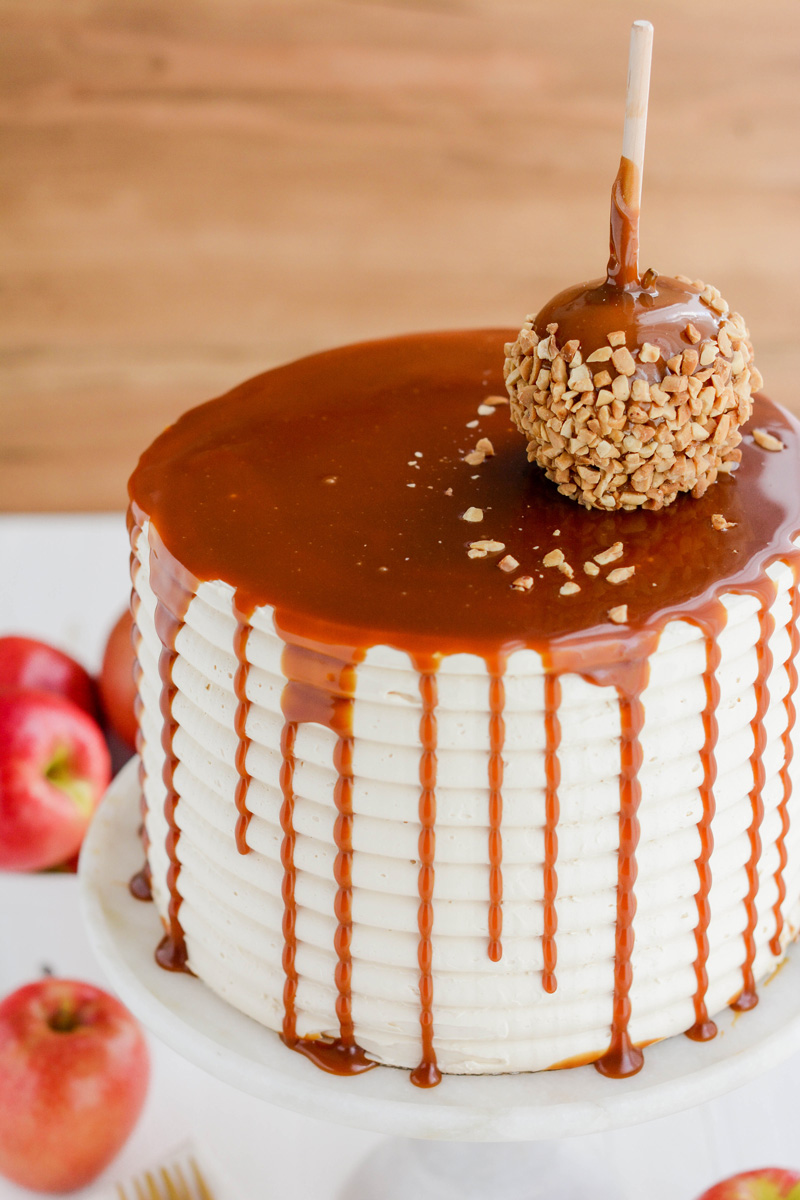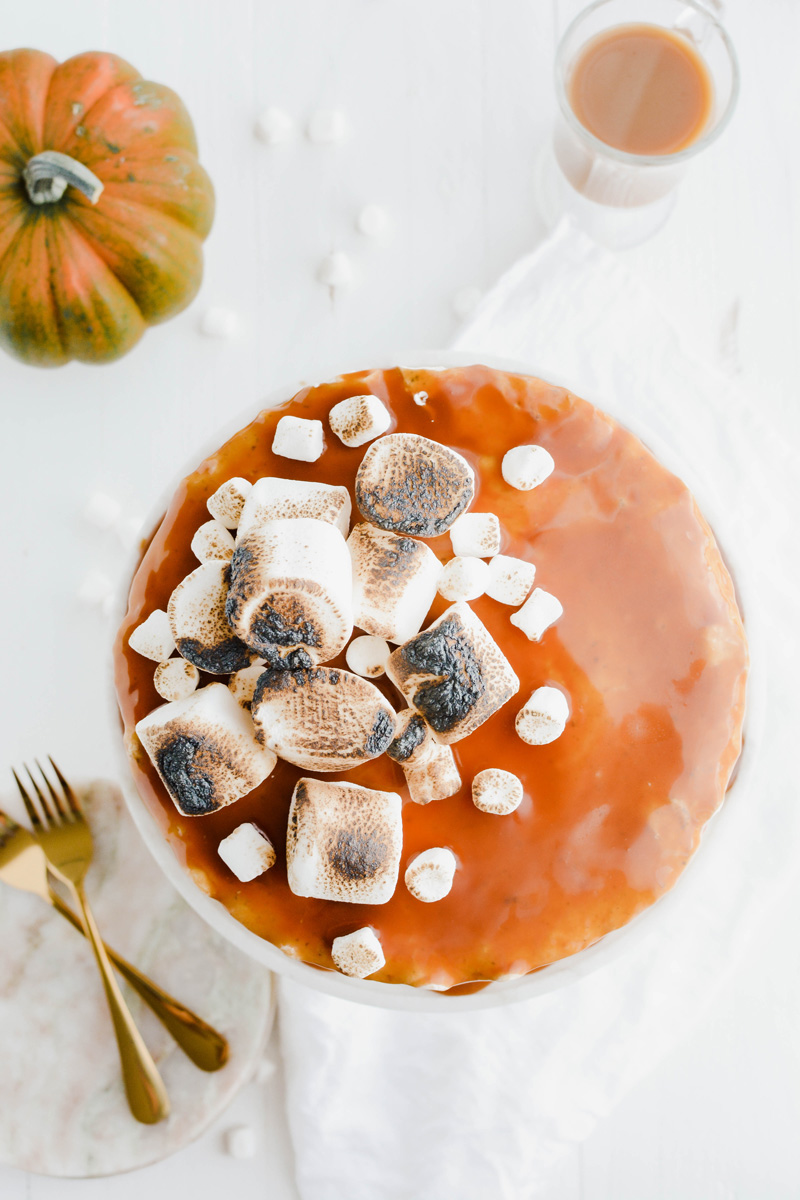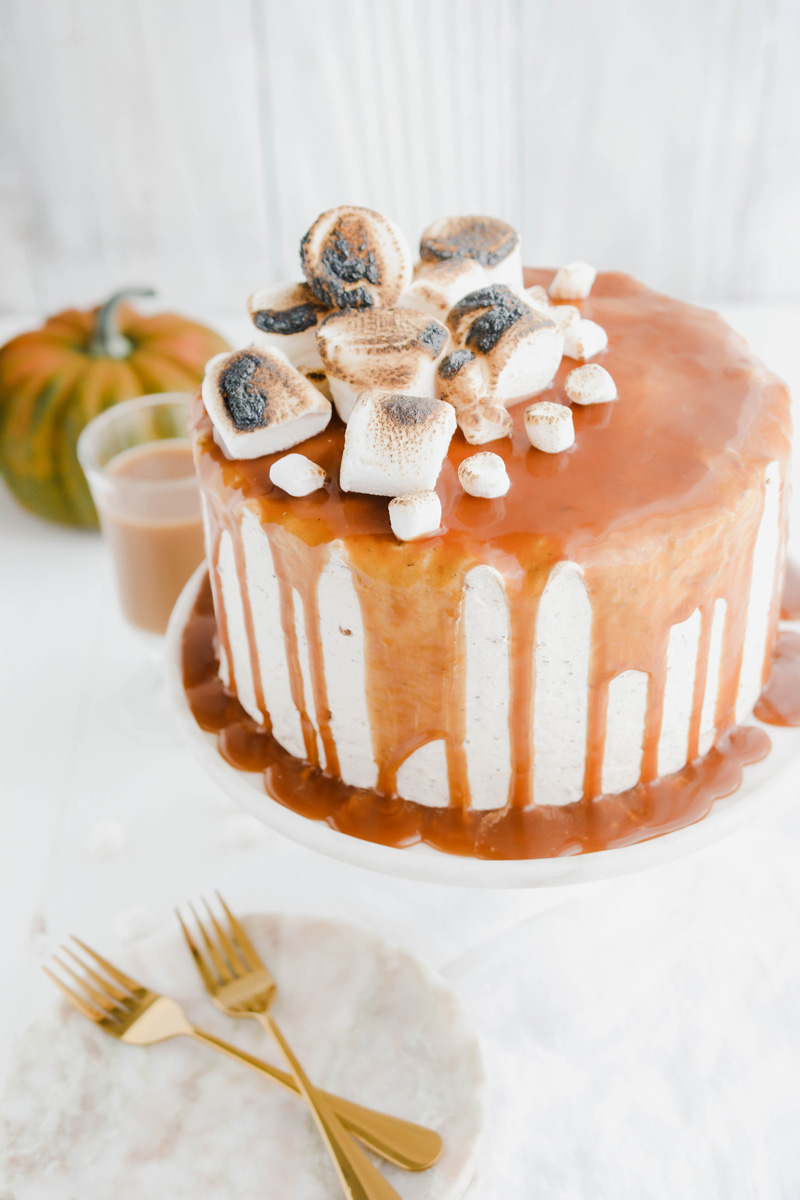
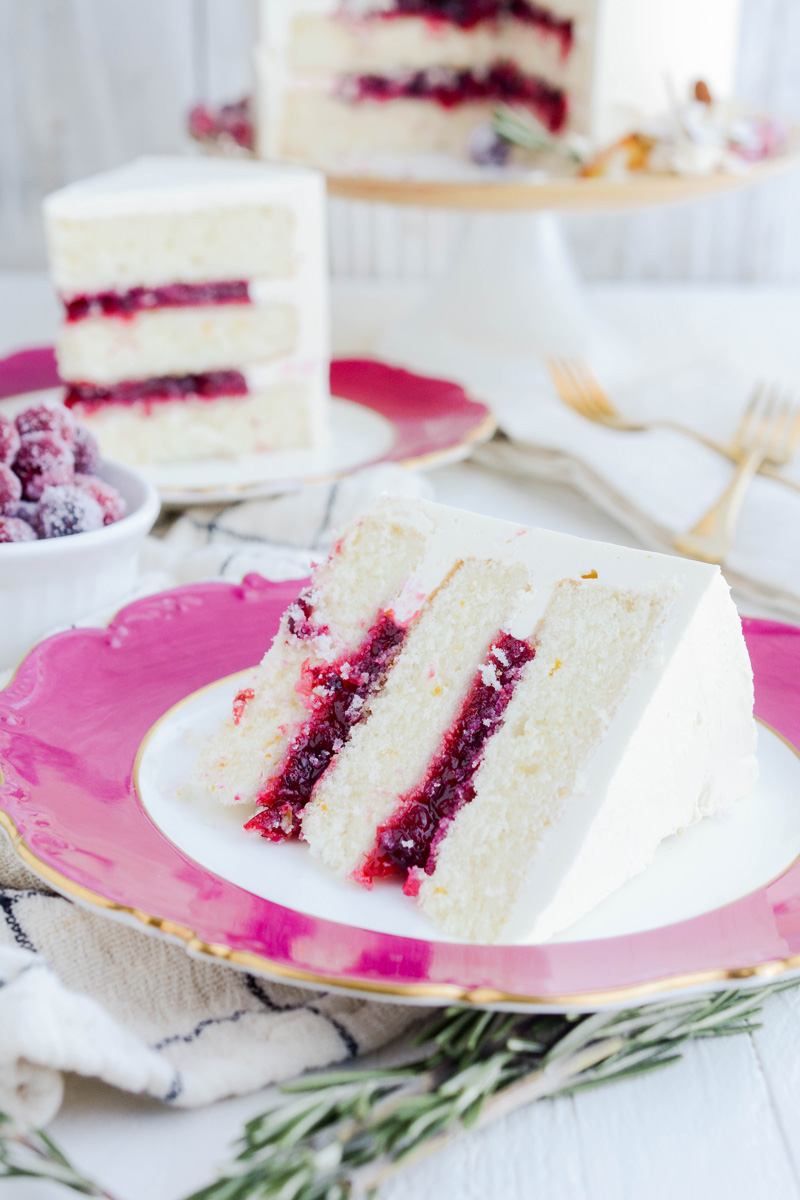
Thankfully I was able to squeeze in one more cake for the year of 2022. I had some leftover cranberries from my Egg Nog Layer Cake so I wanted to make the most of the ingredients I had on hand. Viola, my Orange Cranberry Cake was born.
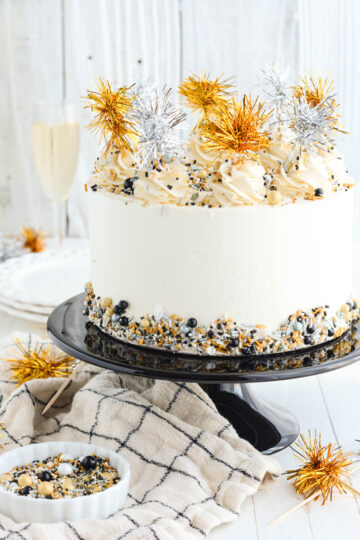
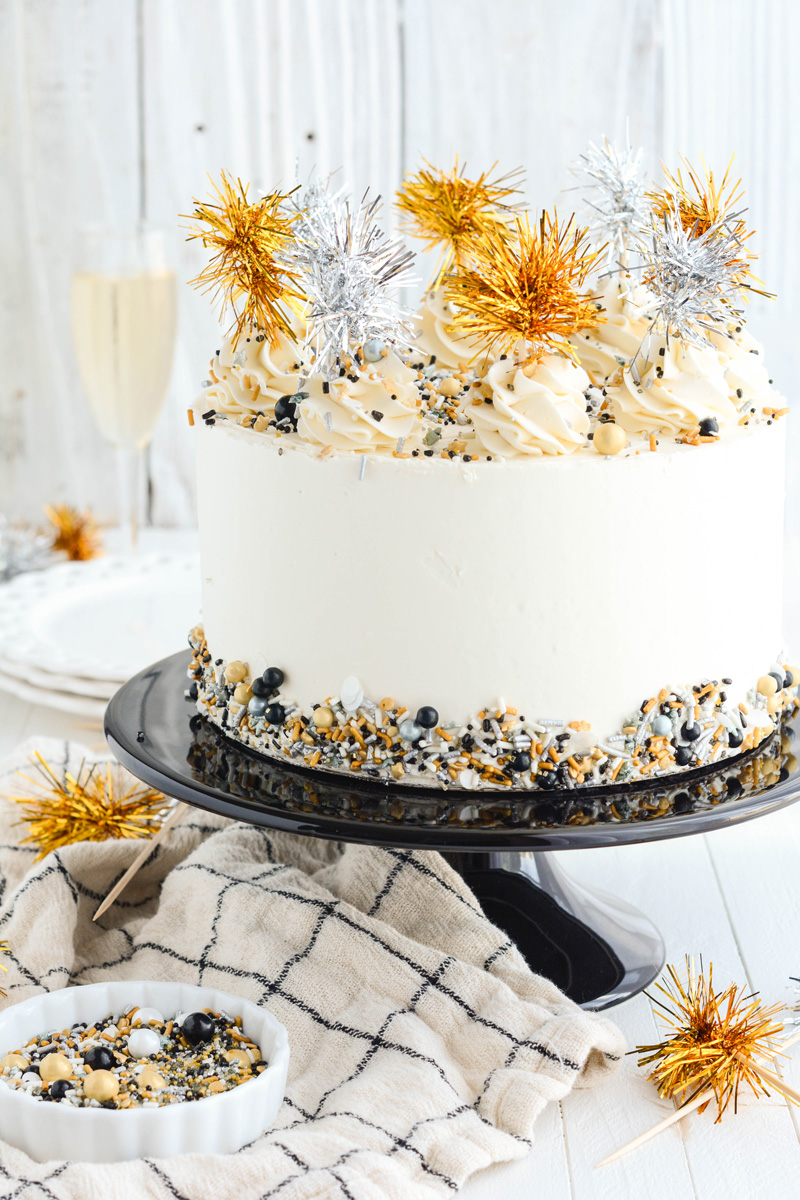
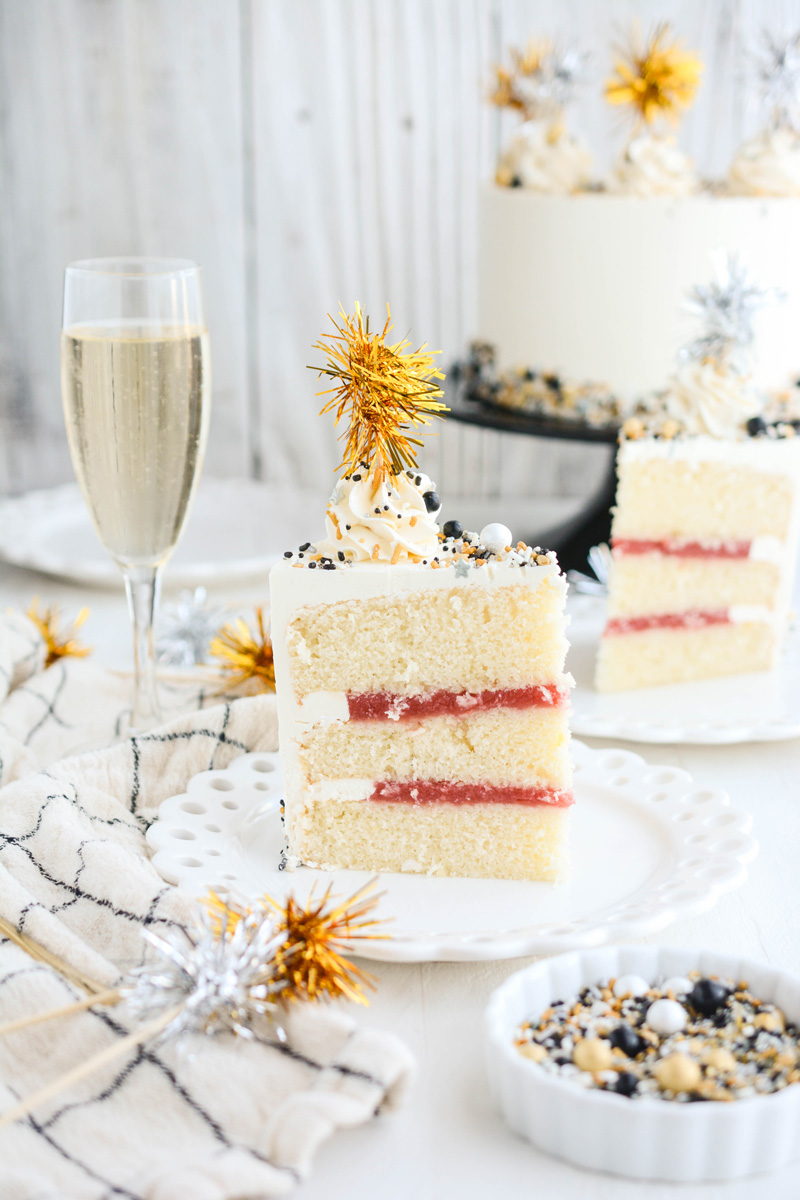
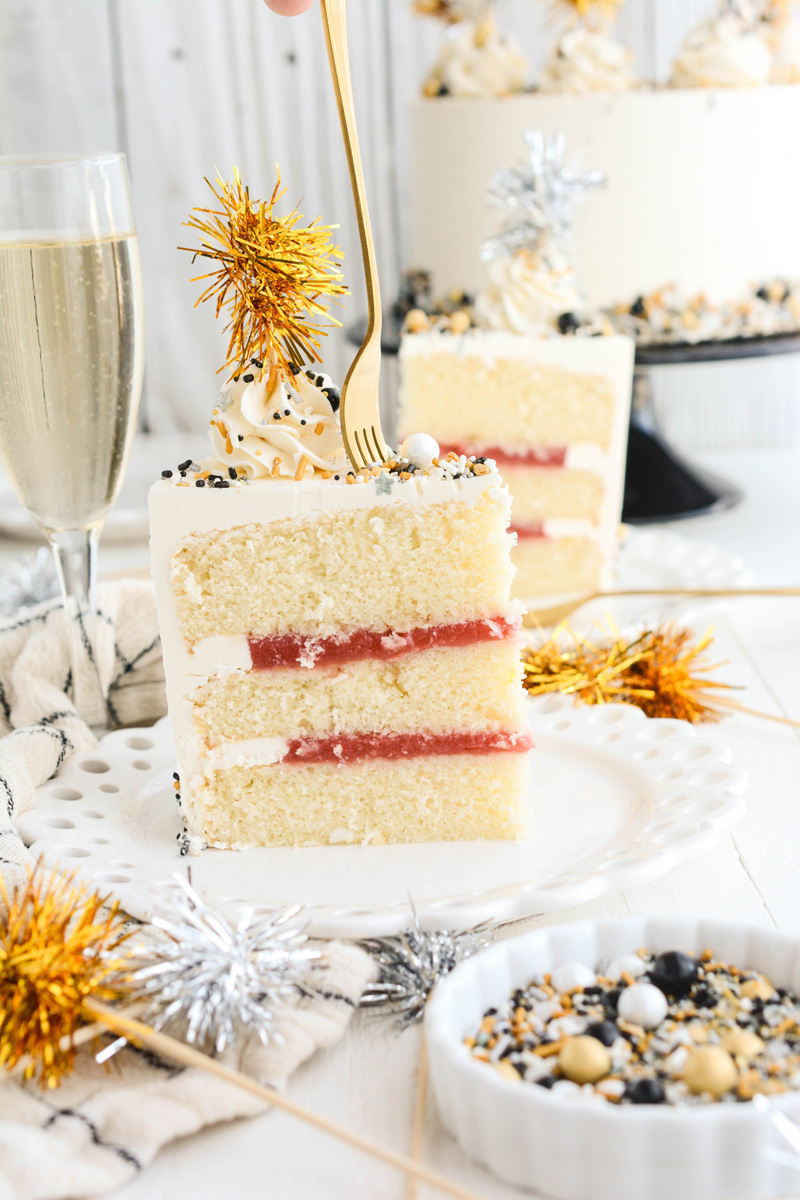
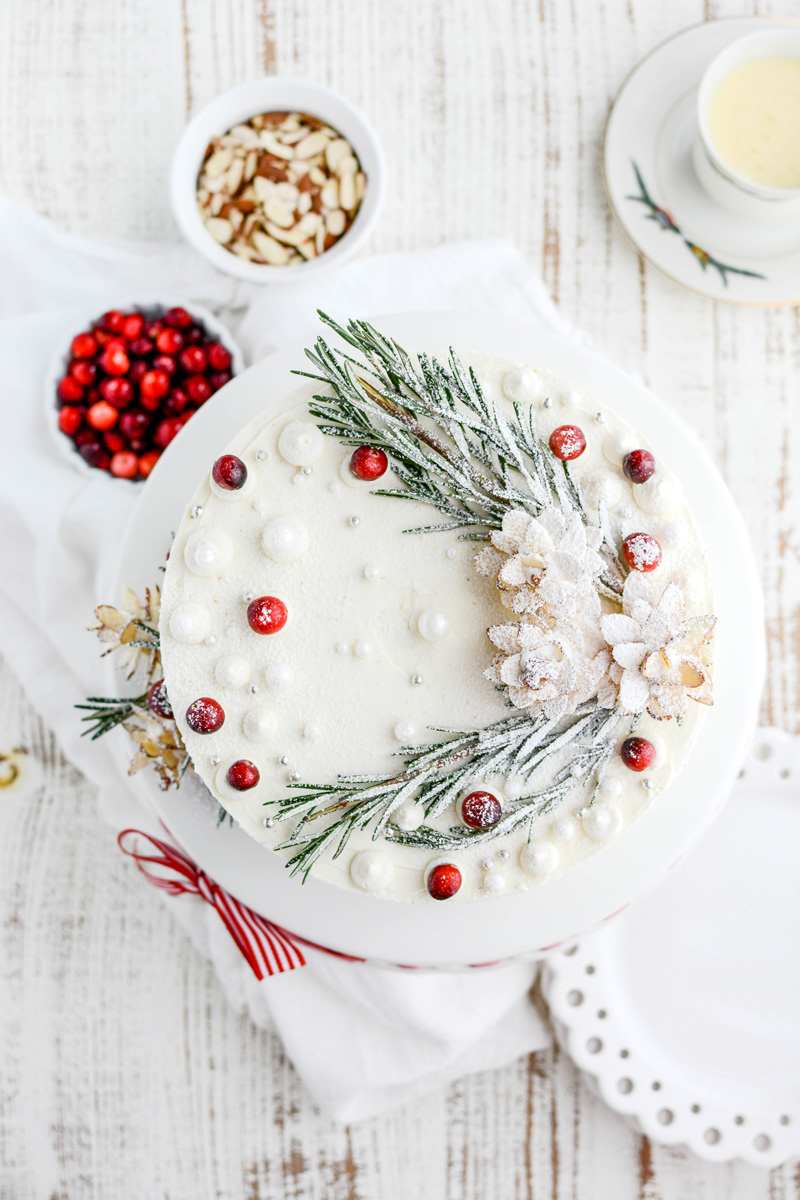
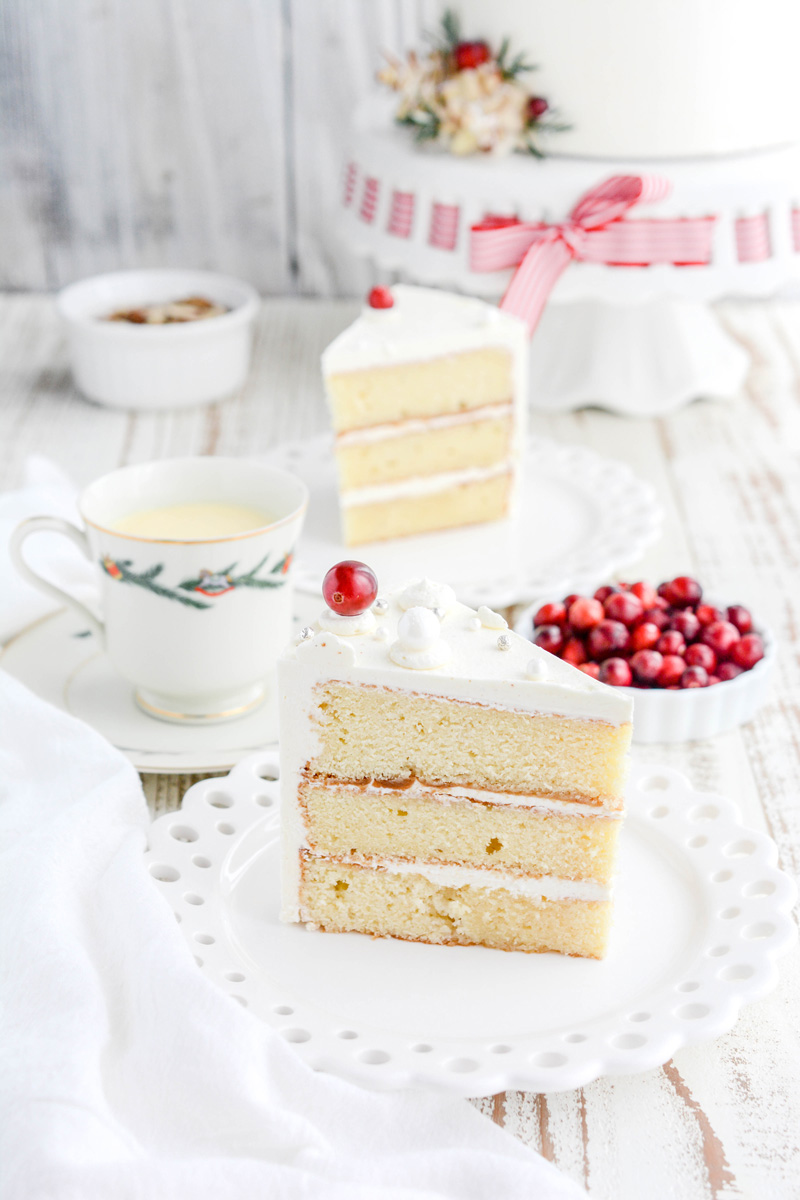
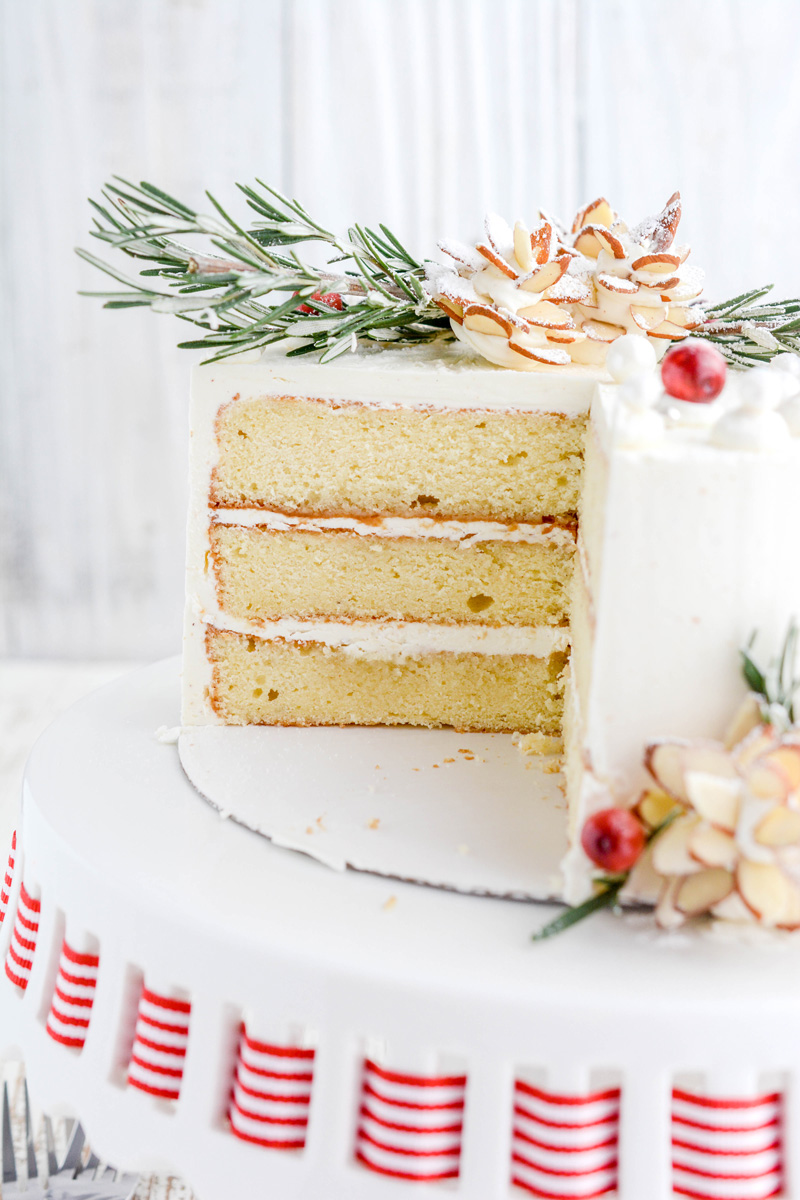
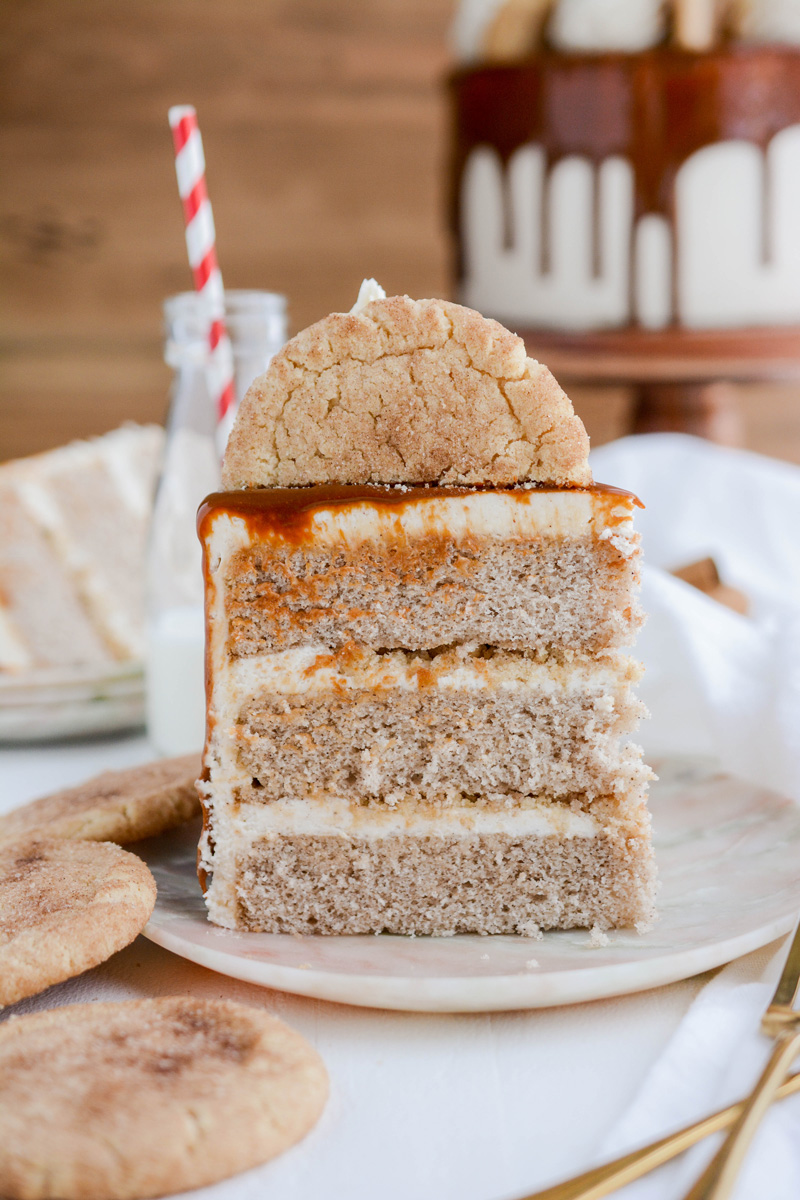
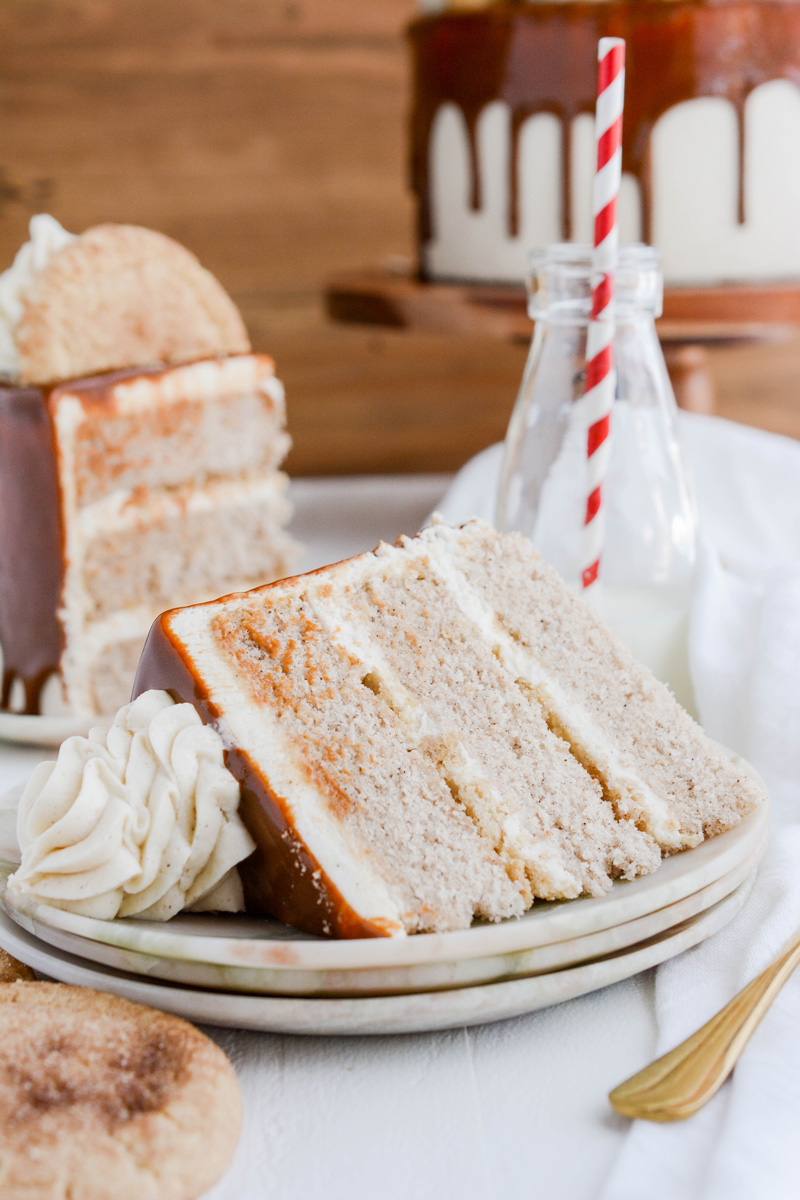
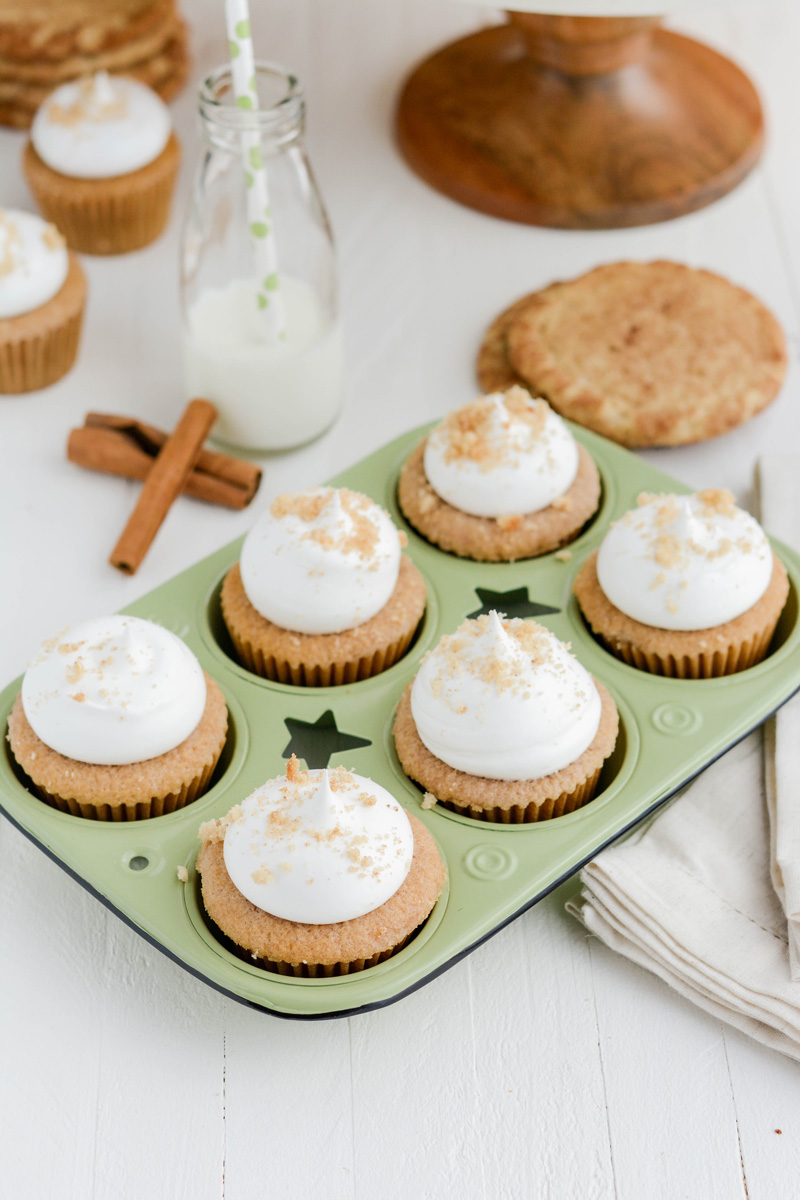
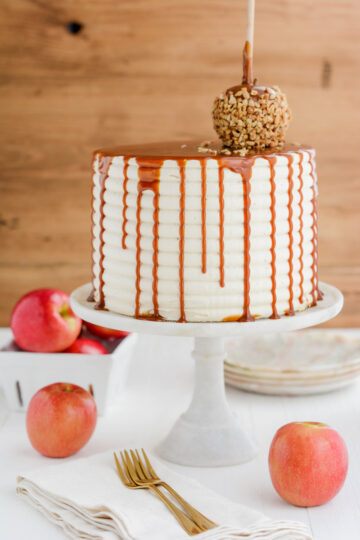
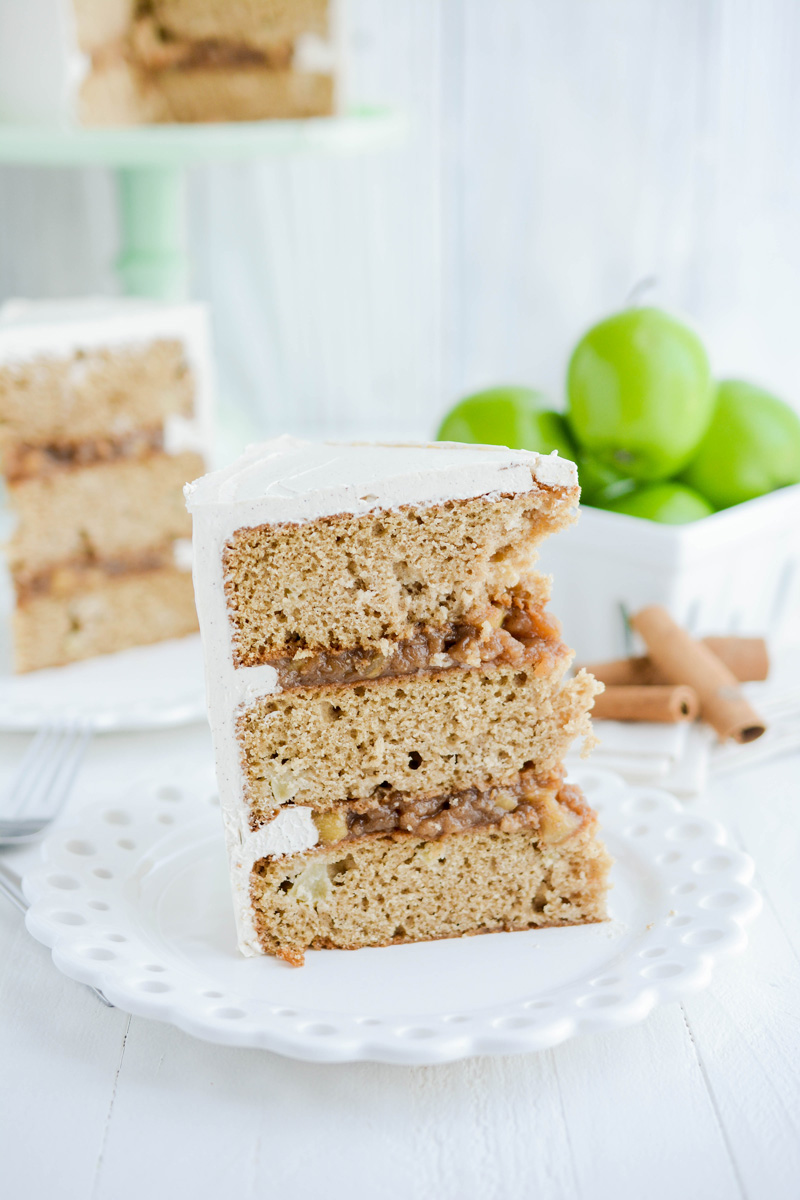
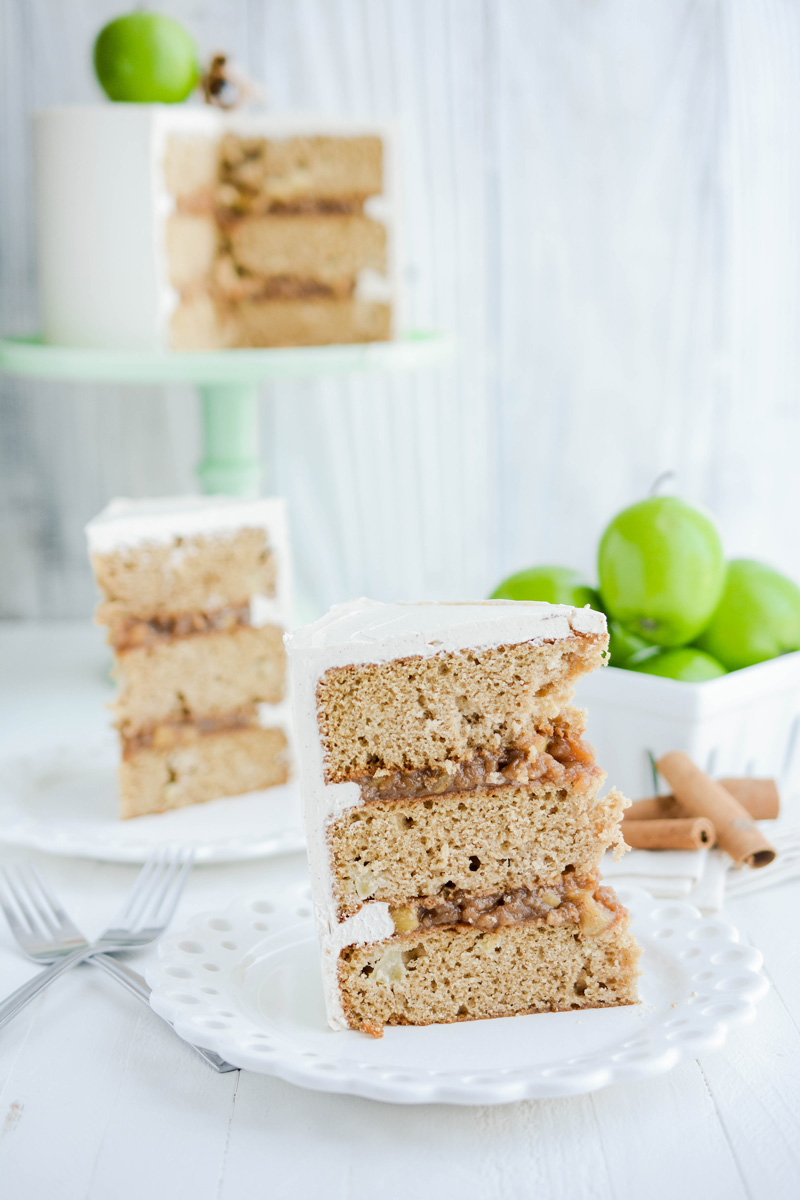
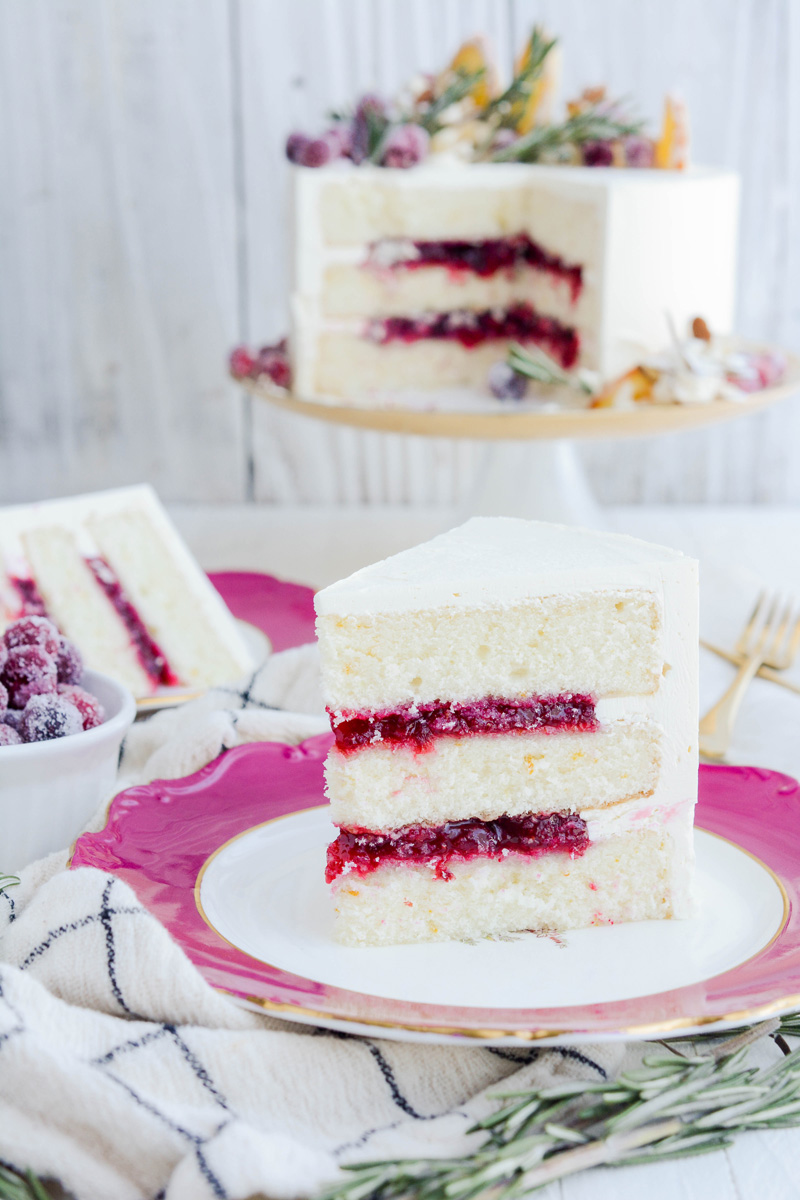
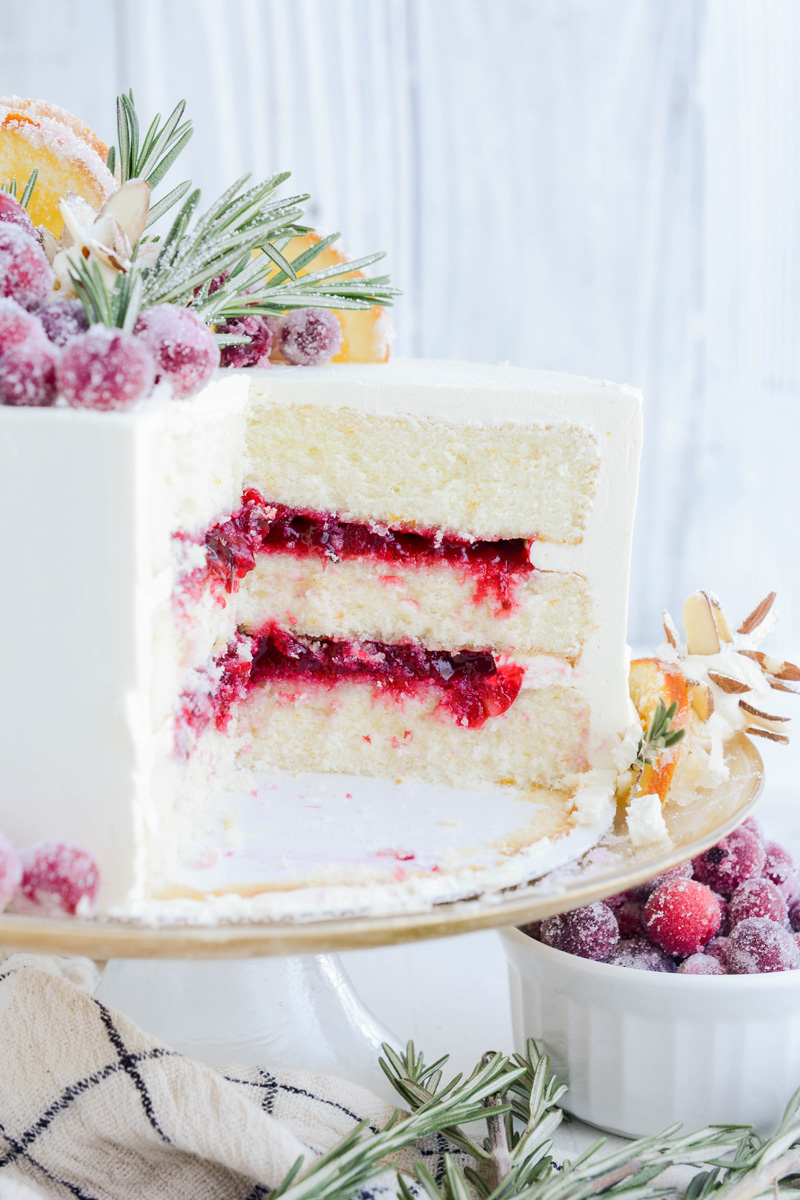
Orange Cranberry Cake is light and fluffy, flavored with orange zest and orange emulsion. I've paired it with a fresh cranberry filling and orange Swiss meringue buttercream that's flavored with homemade orange curd.
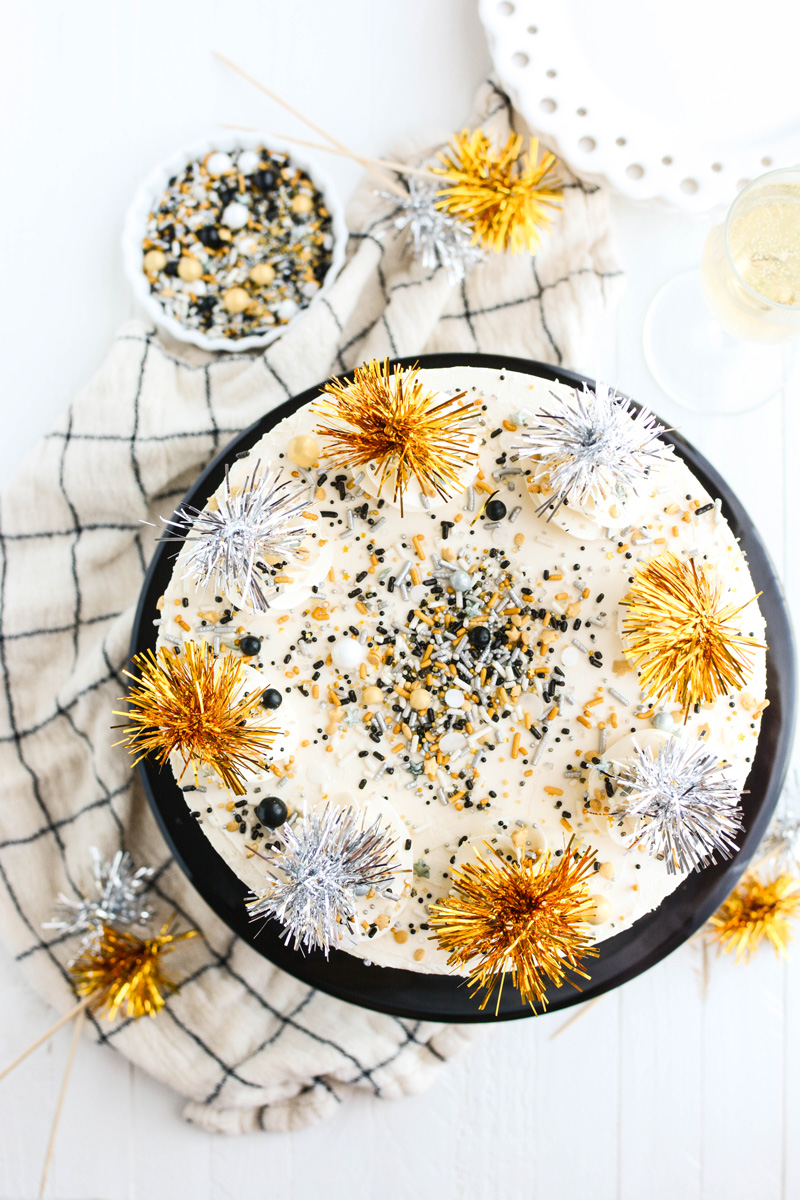
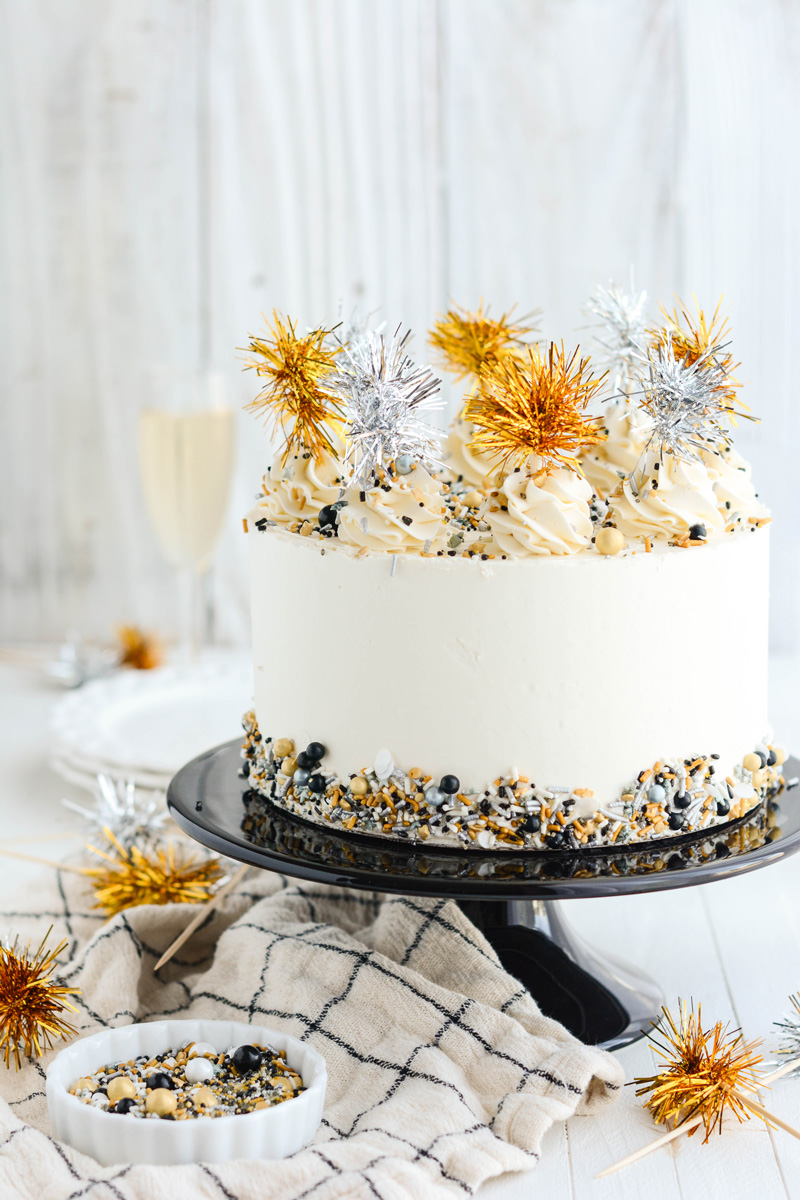
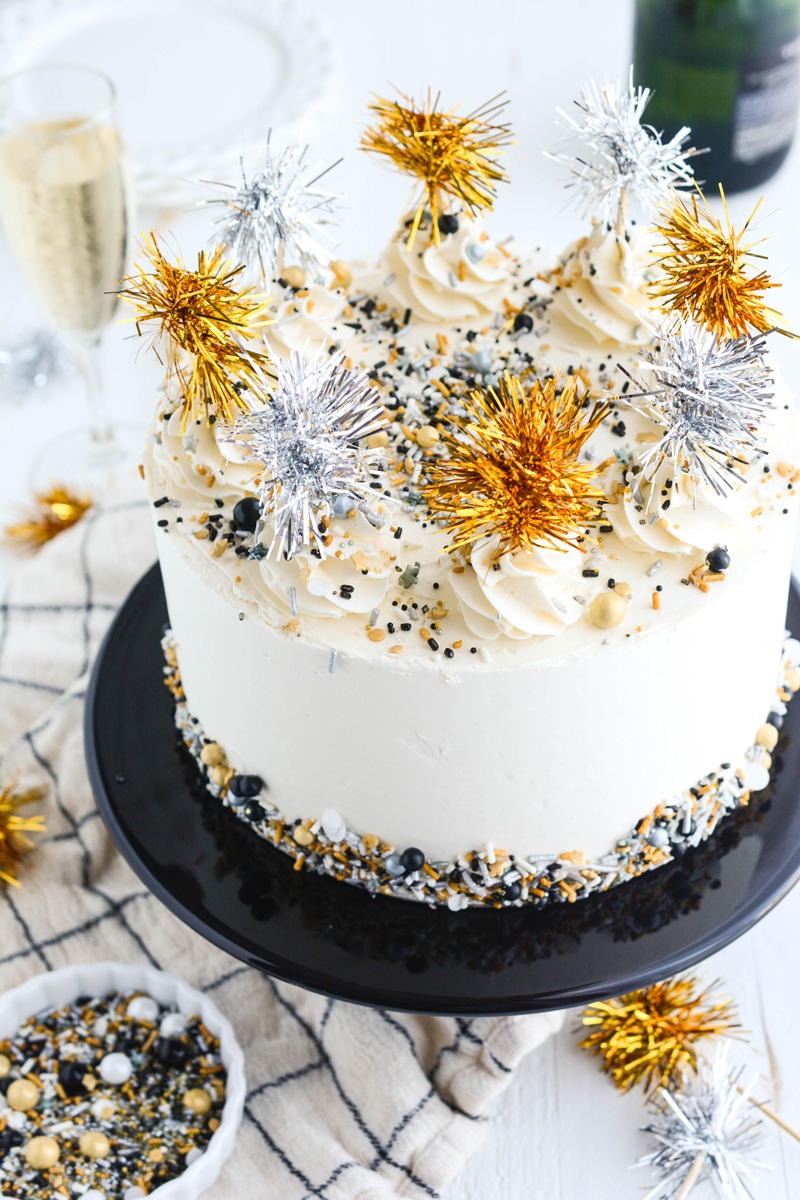
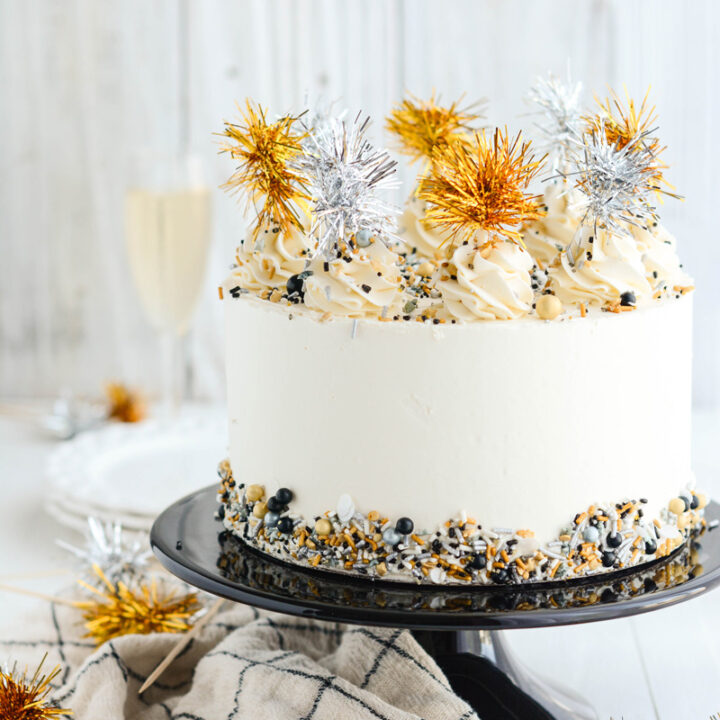
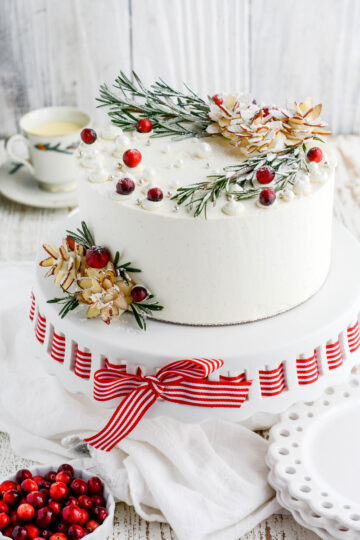
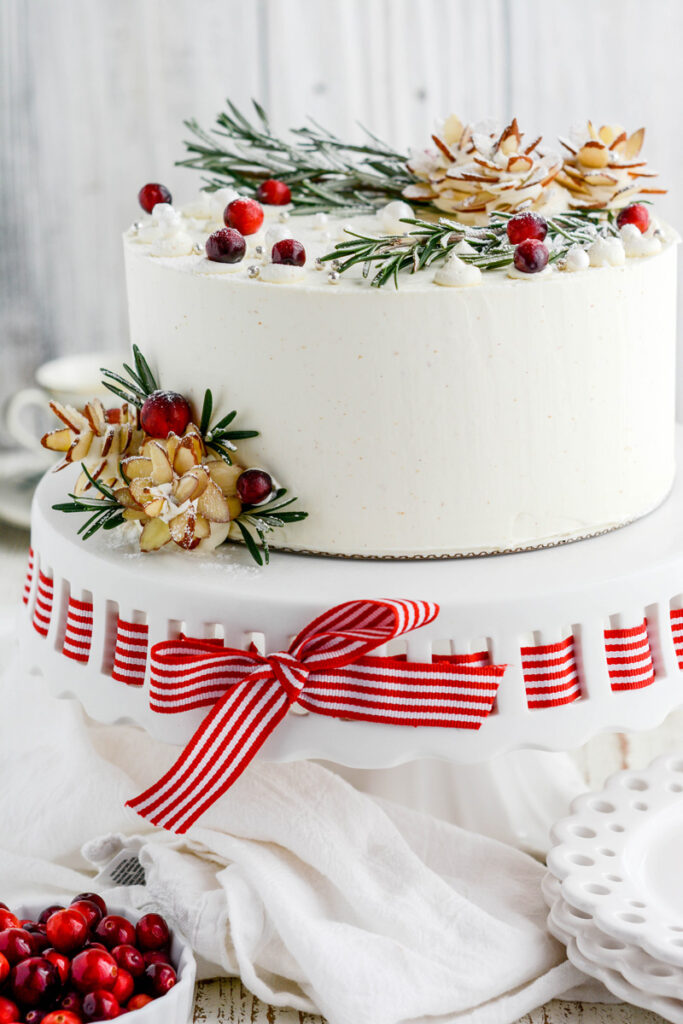
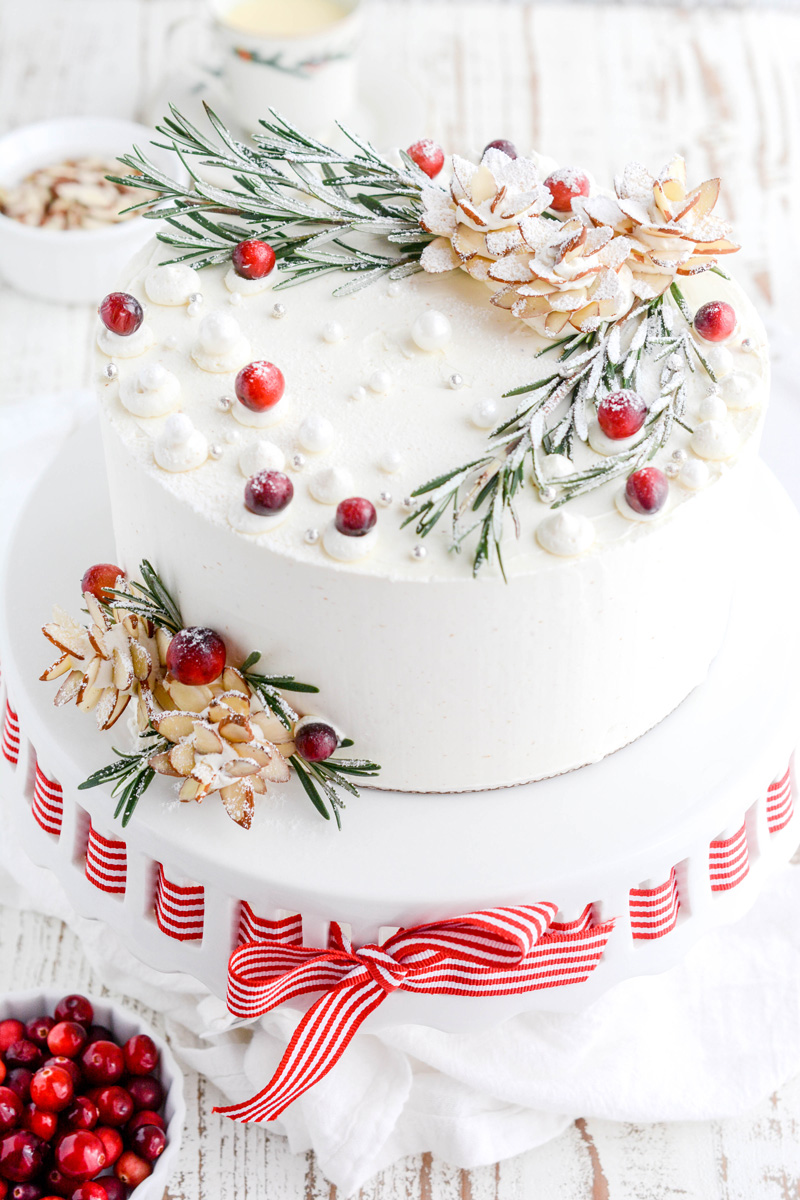
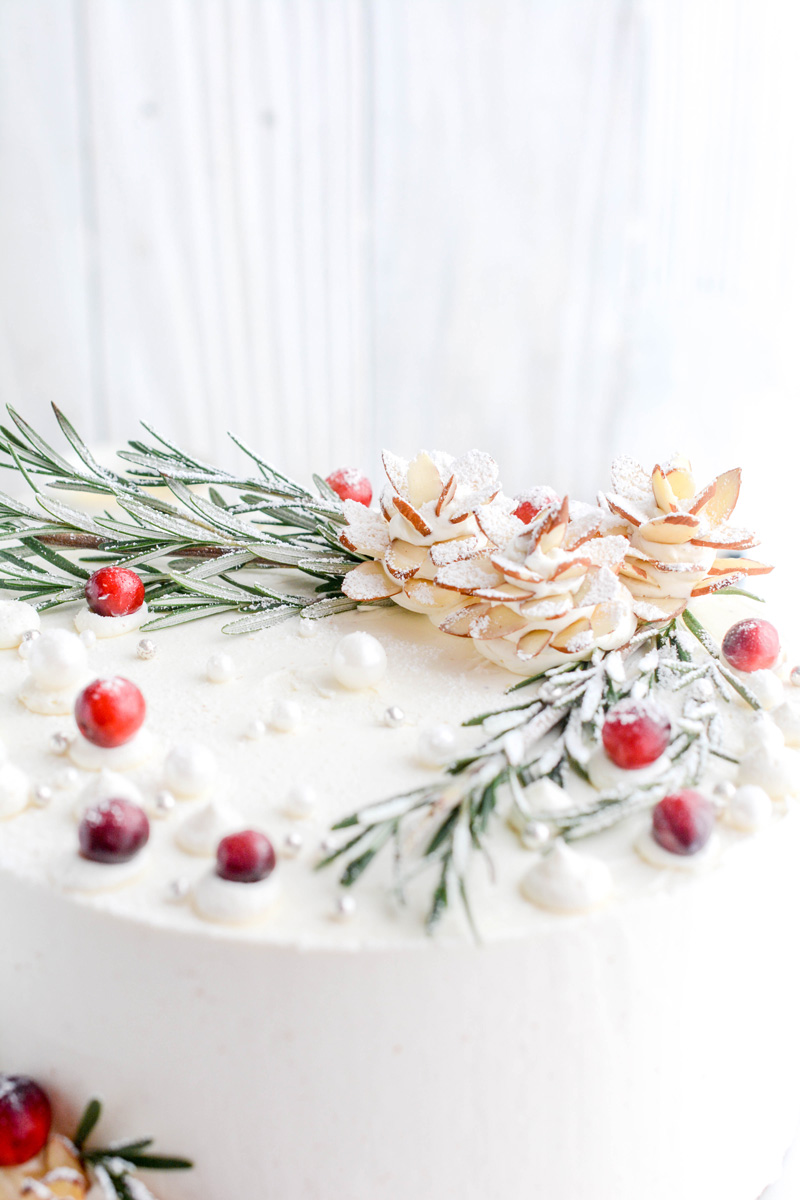
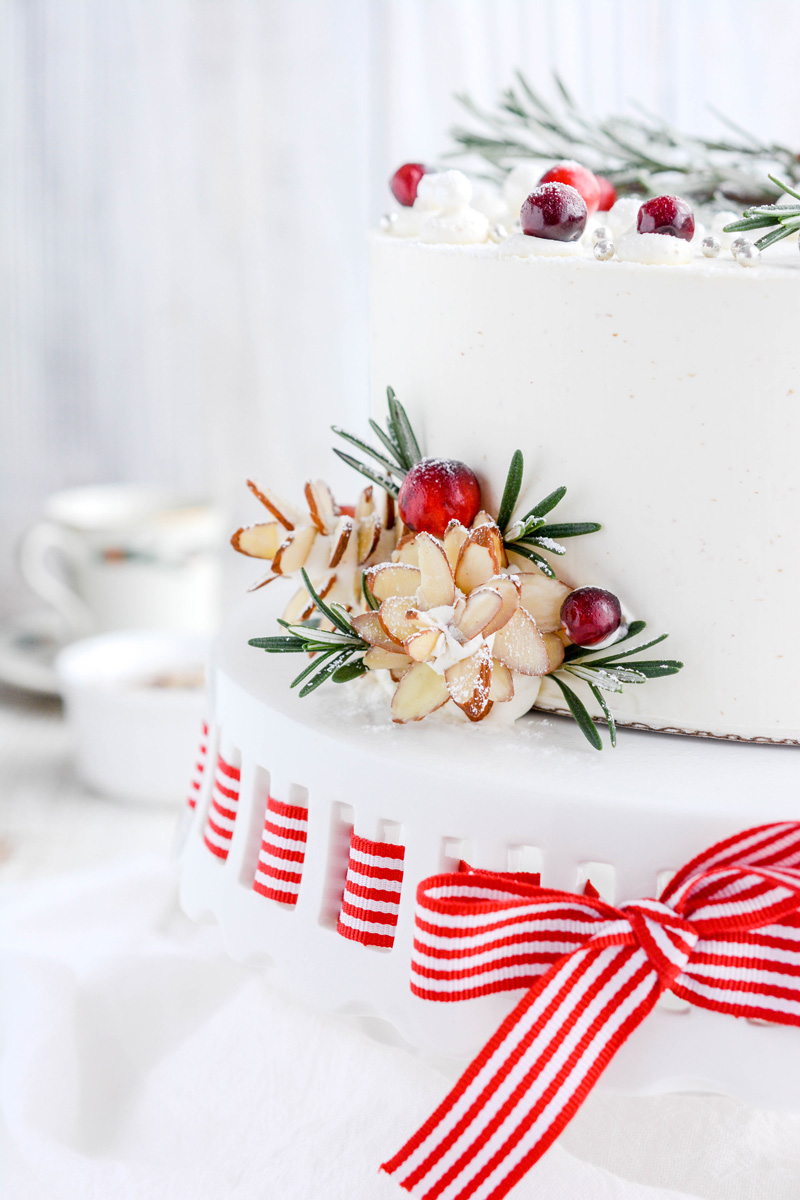
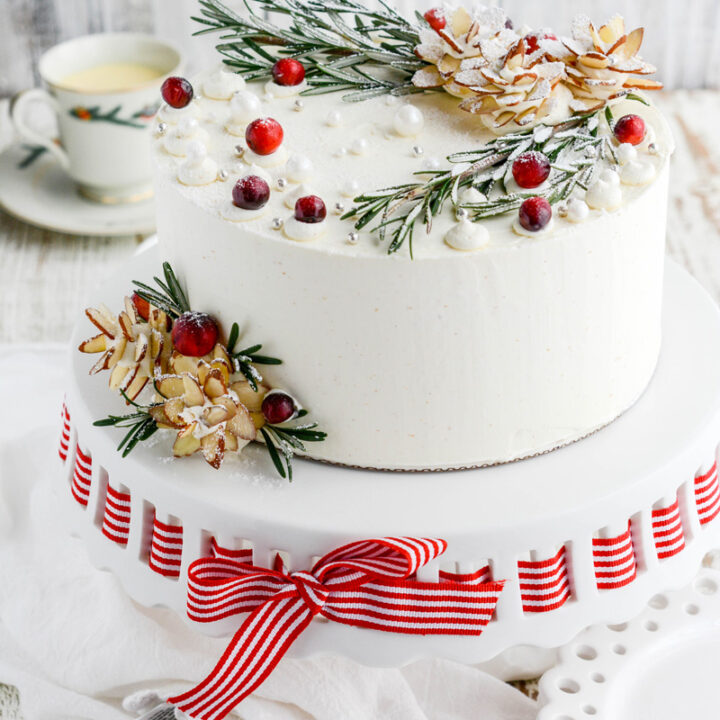
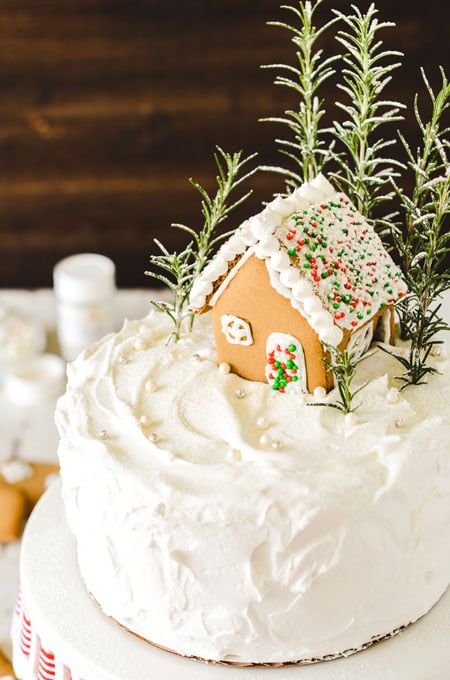
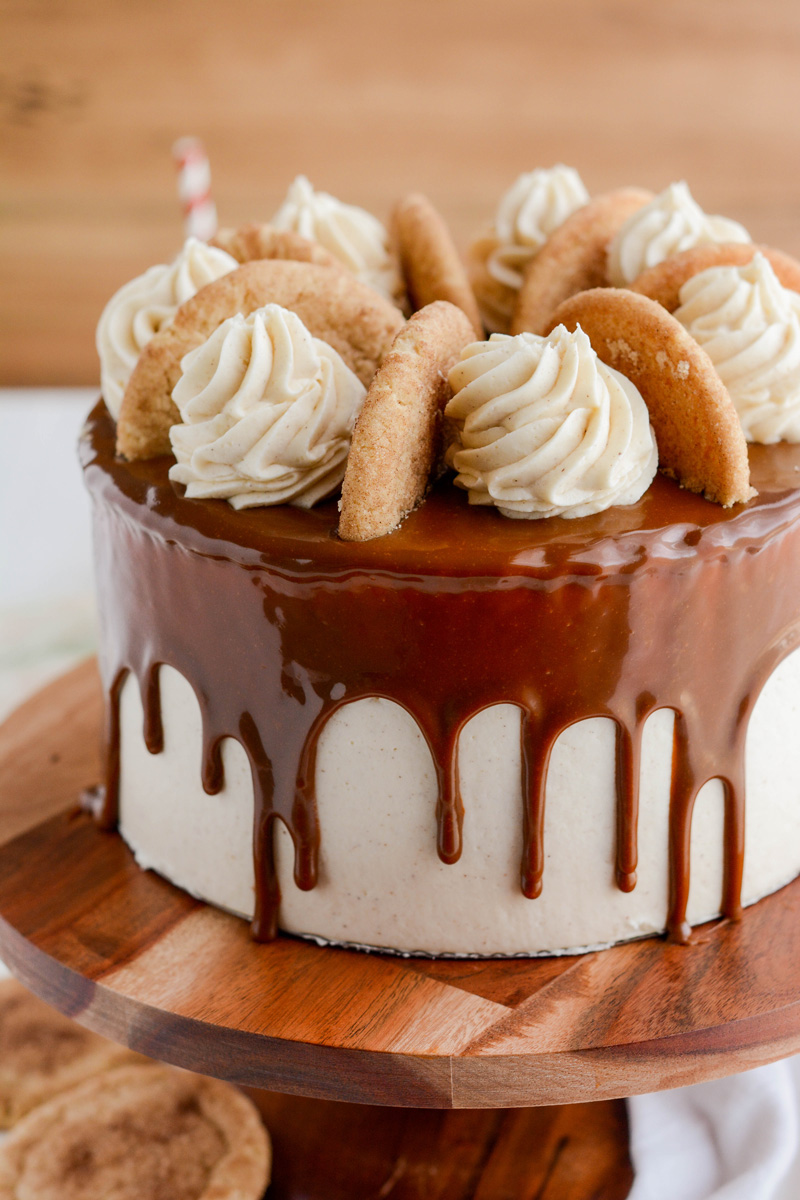
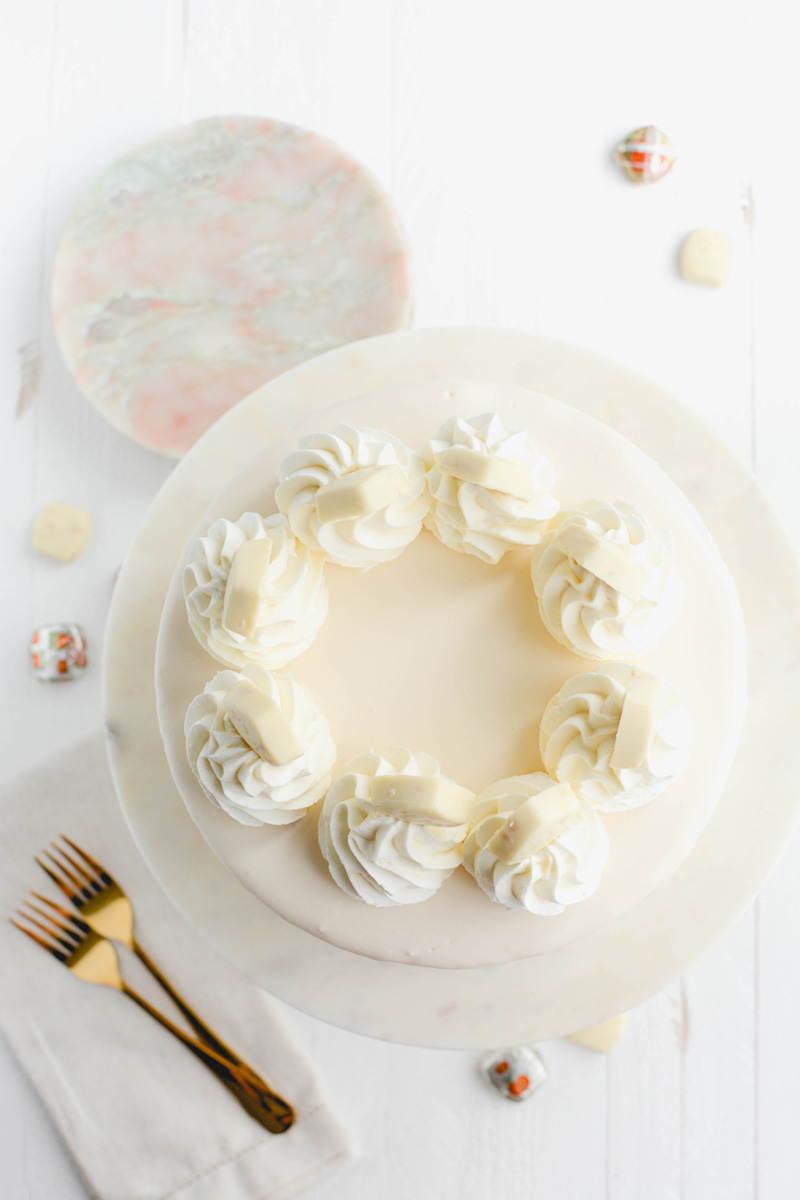
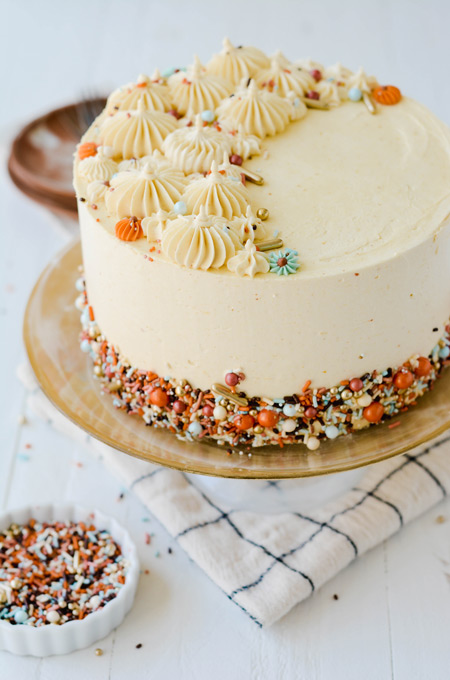
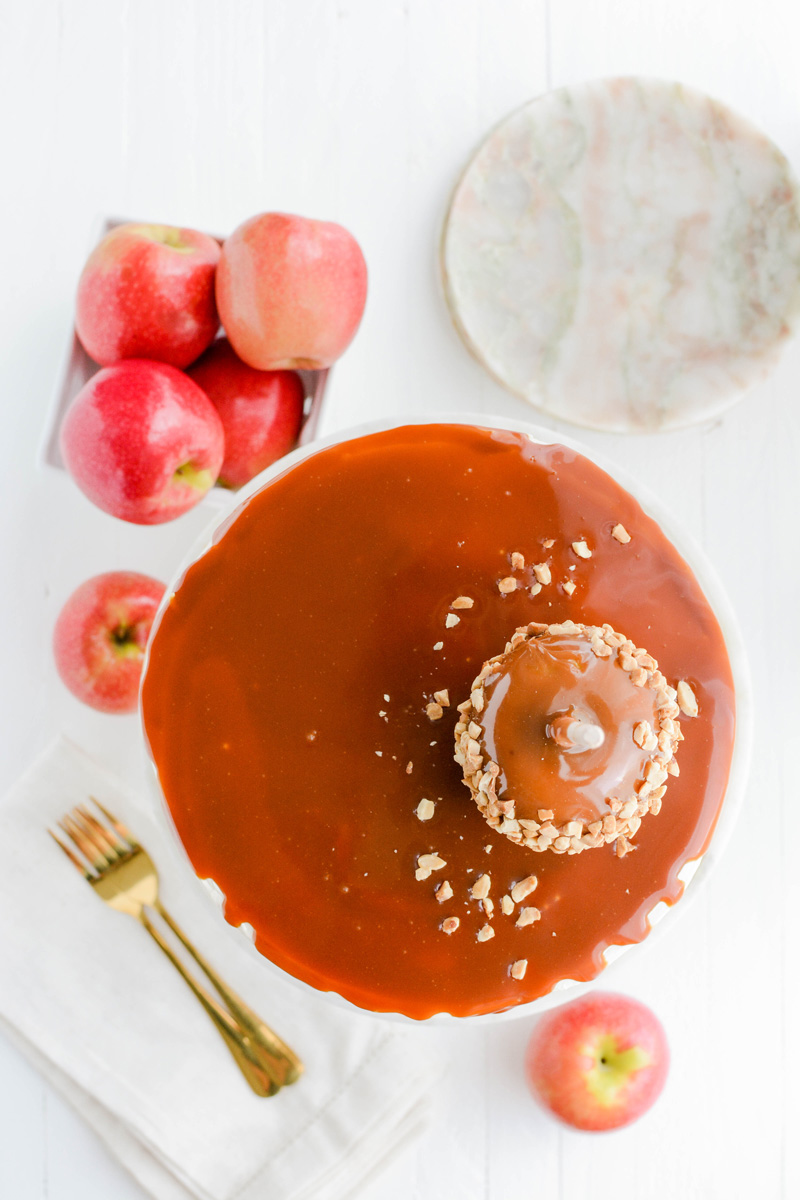
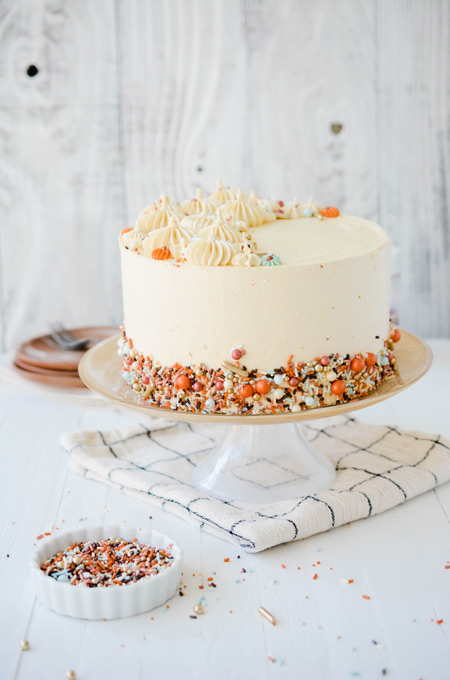
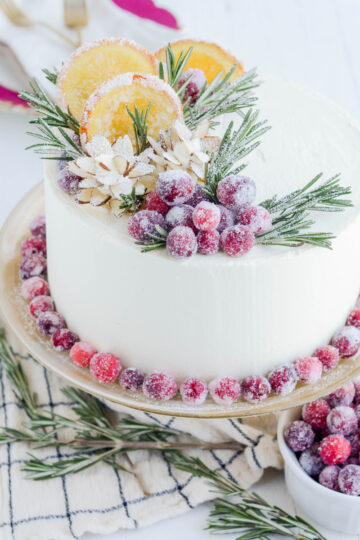
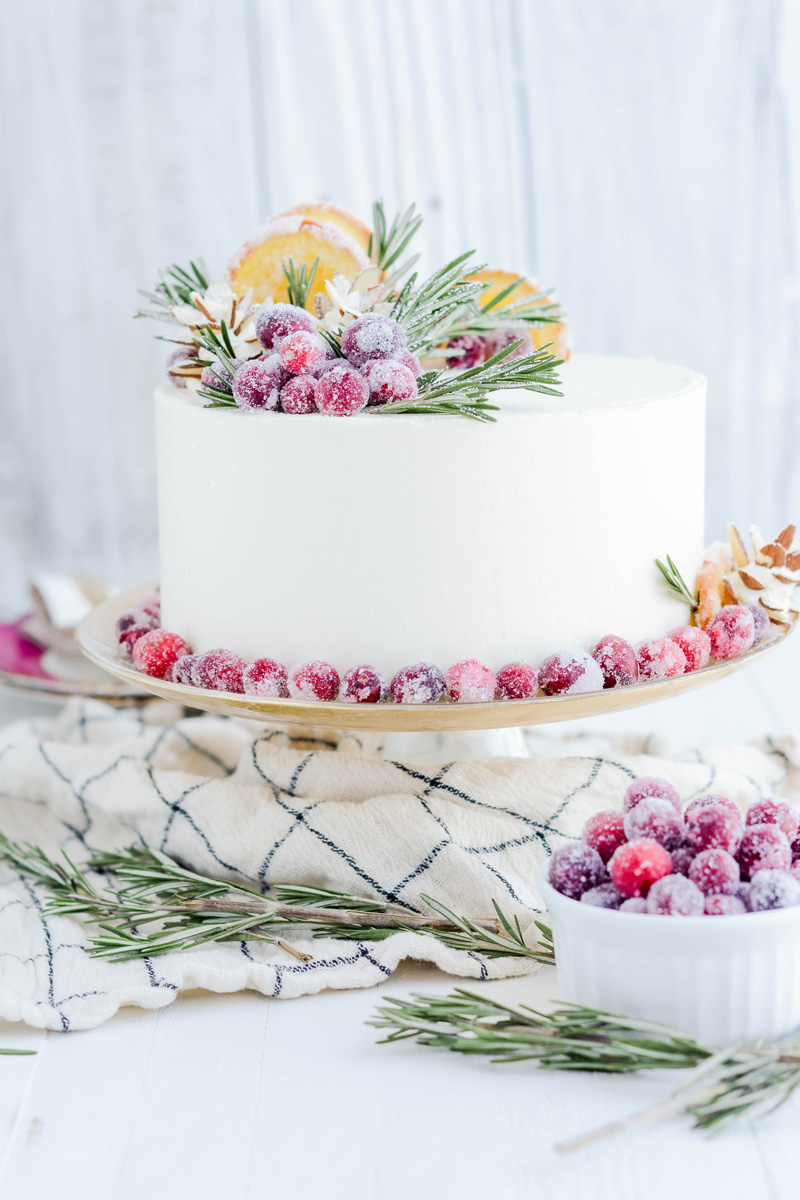
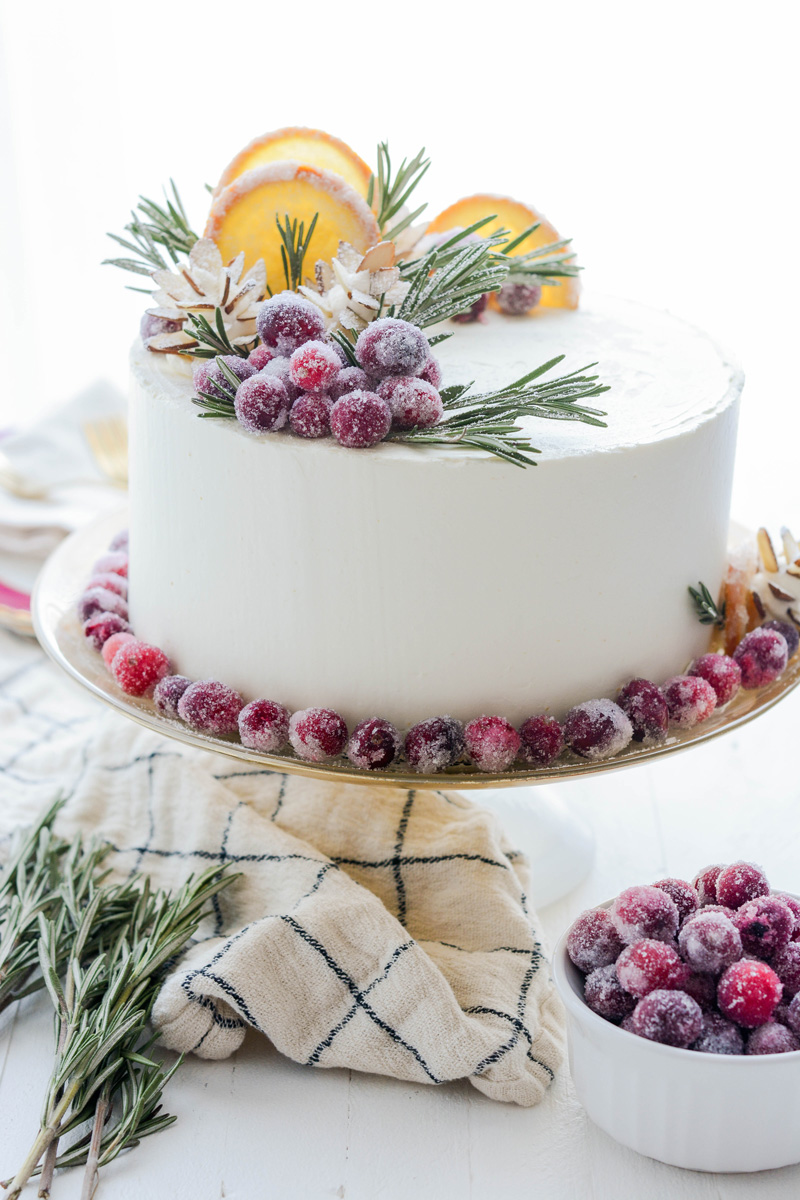
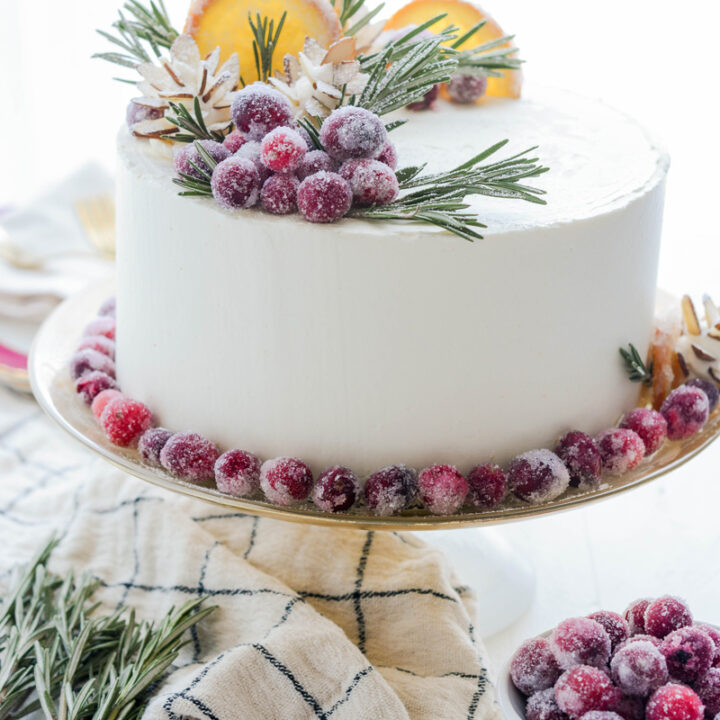
Lastly, for the garnish I used fresh rosemary springs, sugared cranberries, candied orange slices and some almond pine cones. This cake is truly next level!
Orange Cake Ingredients
- Whole milk: The fat in whole milk helps to tenderize the cakes crumb. It also interacts with the flour to create just enough gluten to form the cakes structure.
- Egg whites: helps create structure.
- Orange emulsion: I like to use a bit of orange emulsion with the fresh orange zest to help increase the orange flavor.
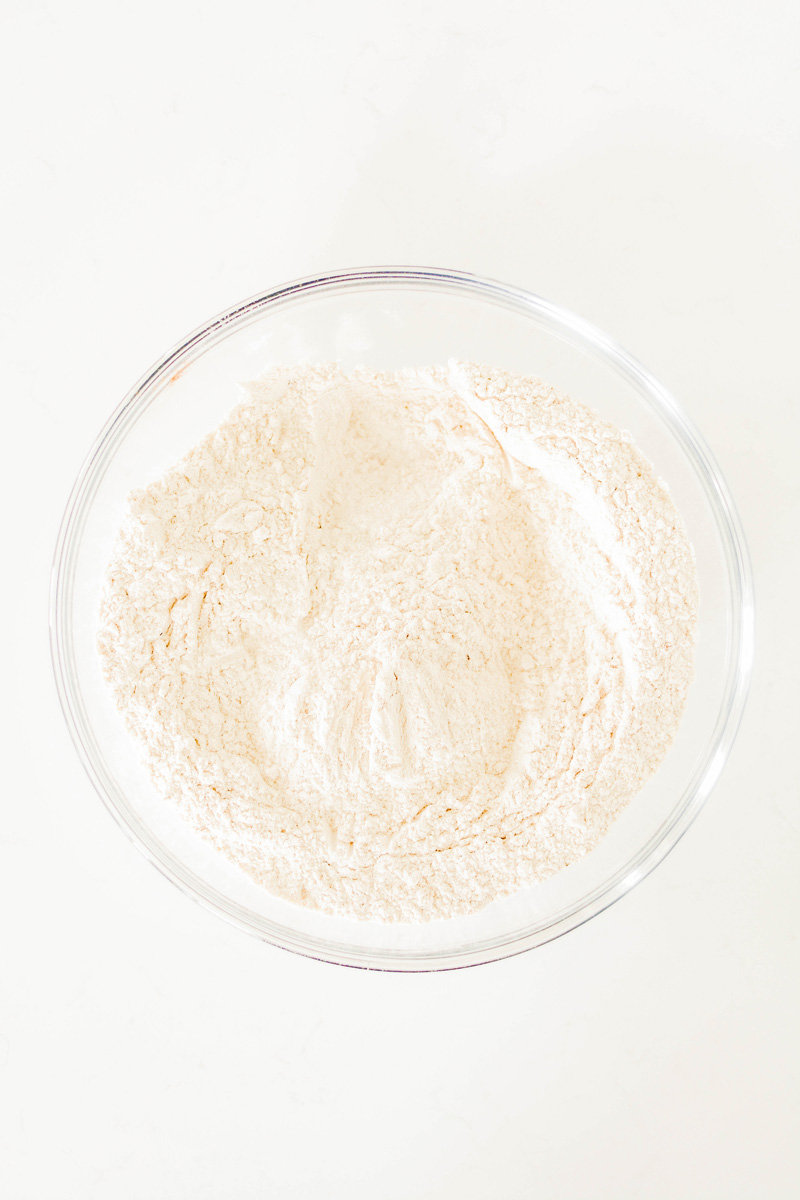
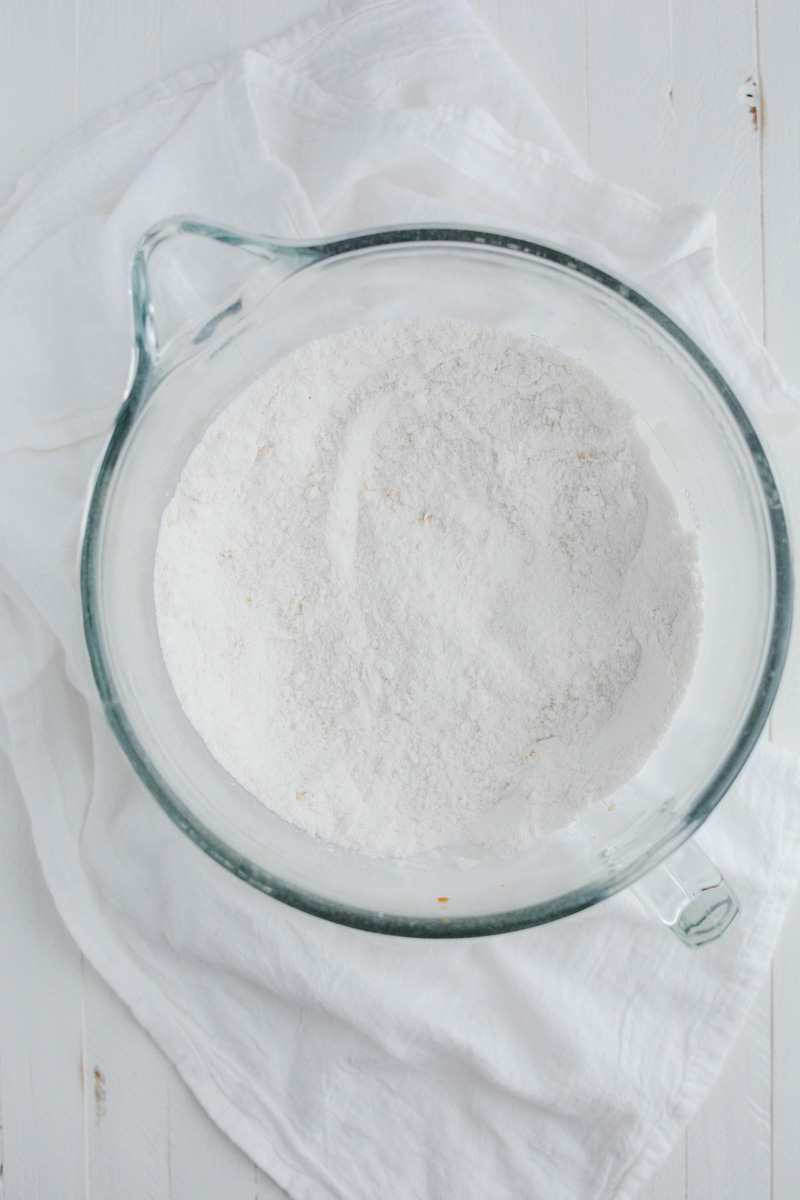
- Cake flour: has a lower protein content than all-purpose flour which helps create a delicate crumb.
- Granulated sugar: Sugar not only sweetens the cake but it also helps tenderize, leavens and browns.
- Baking powder: is a leavener that contains baking soda and cornstarch. Baking soda reacts twice. The first is when it comes into contact with liquid and then when it is heated. Baking soda can’t be used as a substitute for baking powder.
- Salt: helps bring out the sweetness in the cake.
- Orange zest: helps flavor the cake.
- Unsalted butter: tenderizes, moistens, leavens, browns, and flavors.
How To Make Candied Orange Slices
- In a 12 inch skillet, over medium heat, whisk together sugar and water. Bring to a simmer and continue to whisk until sugar has dissolved.
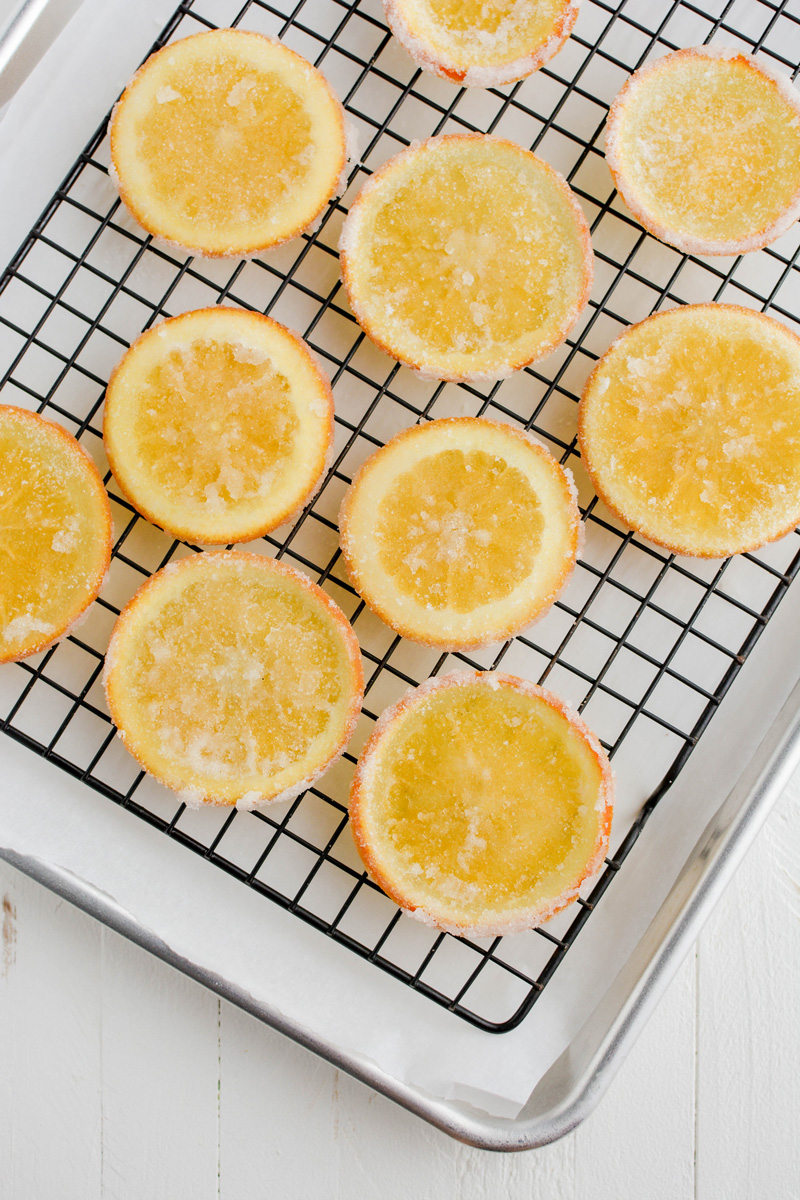
- Once sugar has dissolved lay orange slices into the skillet in a single layer and simmer for about 15 minutes, flipping halfway through, until rinds appear softened and slightly translucent.
- Carefully remove orange slices from the skillet and transfer to a parchment paper lined baking sheet with a cooling rack inside and set aside to dry for 2 hours.
- Place 1/2 cup sugar on a plate and dip dried orange slices in the sugar to coat on the back and front. Set back on the cooling rack to dry for at least 2 hours.
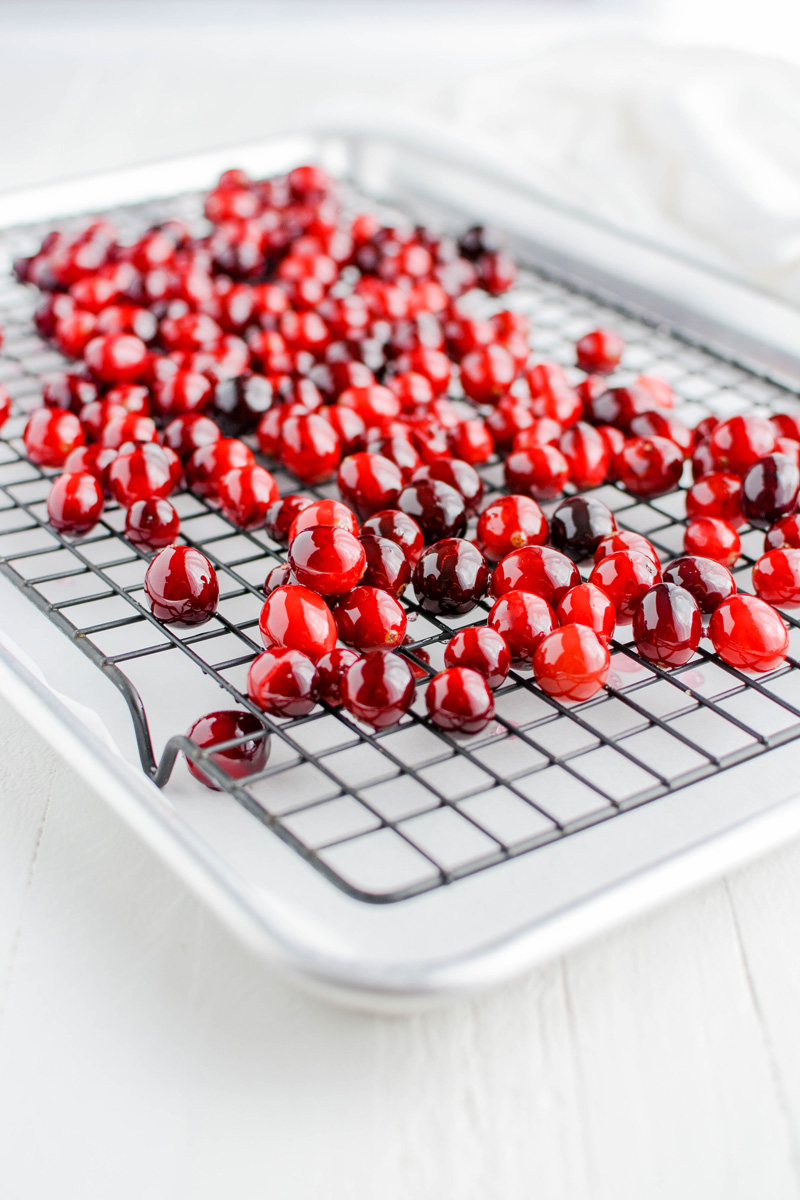
How To Make Sugared Cranberries
- Combine water and 1/2 cup of the sugar in a medium-sized saucepan and bring to a boil, stirring frequently until the sugar has dissolved.
- Stir in the cranberries. Once the cranberries are covered in syrup, transfer the cranberries to a parchment lined baking sheet with a cooling rack on top and spread the cranberries out to dry for 2 hours.
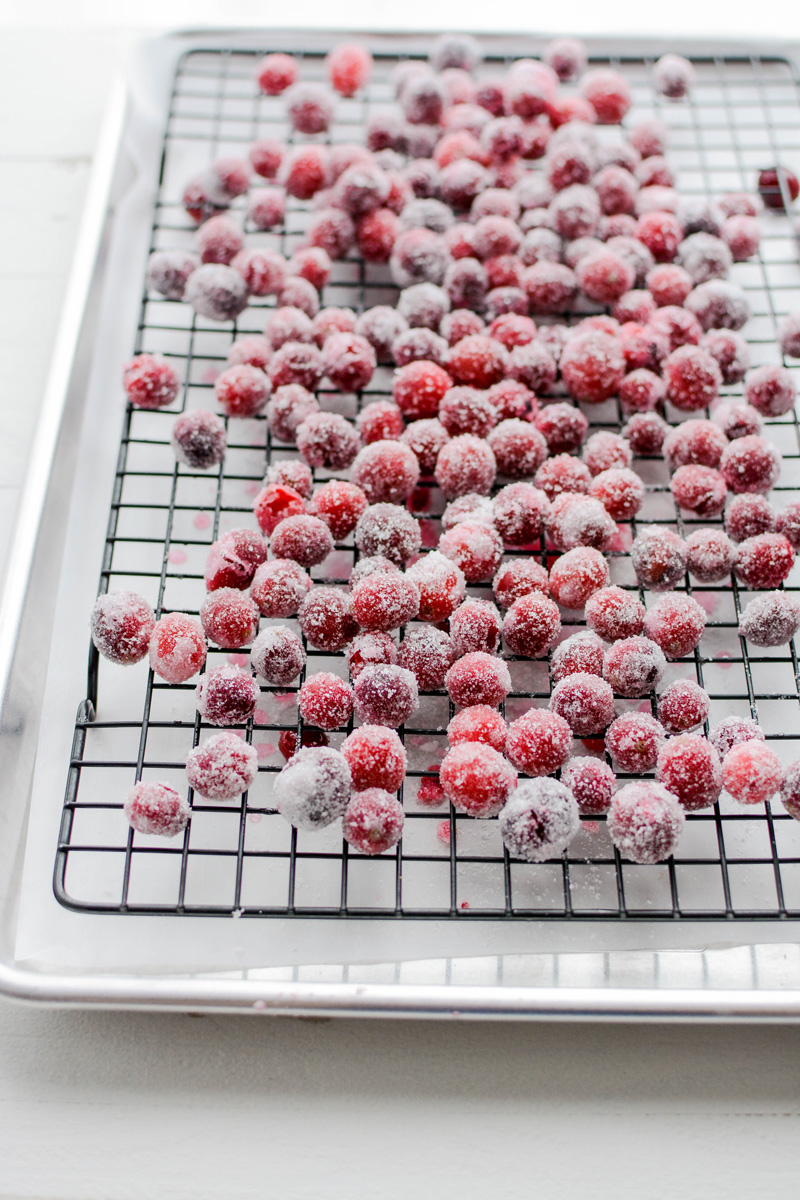
- After the cranberries have dried, add 1/2 cup sugar to a medium-sized bowl and stir the cranberries in. Arrange the sugared cranberries back on the cooling rack and let dry for at least 1 hour before using.
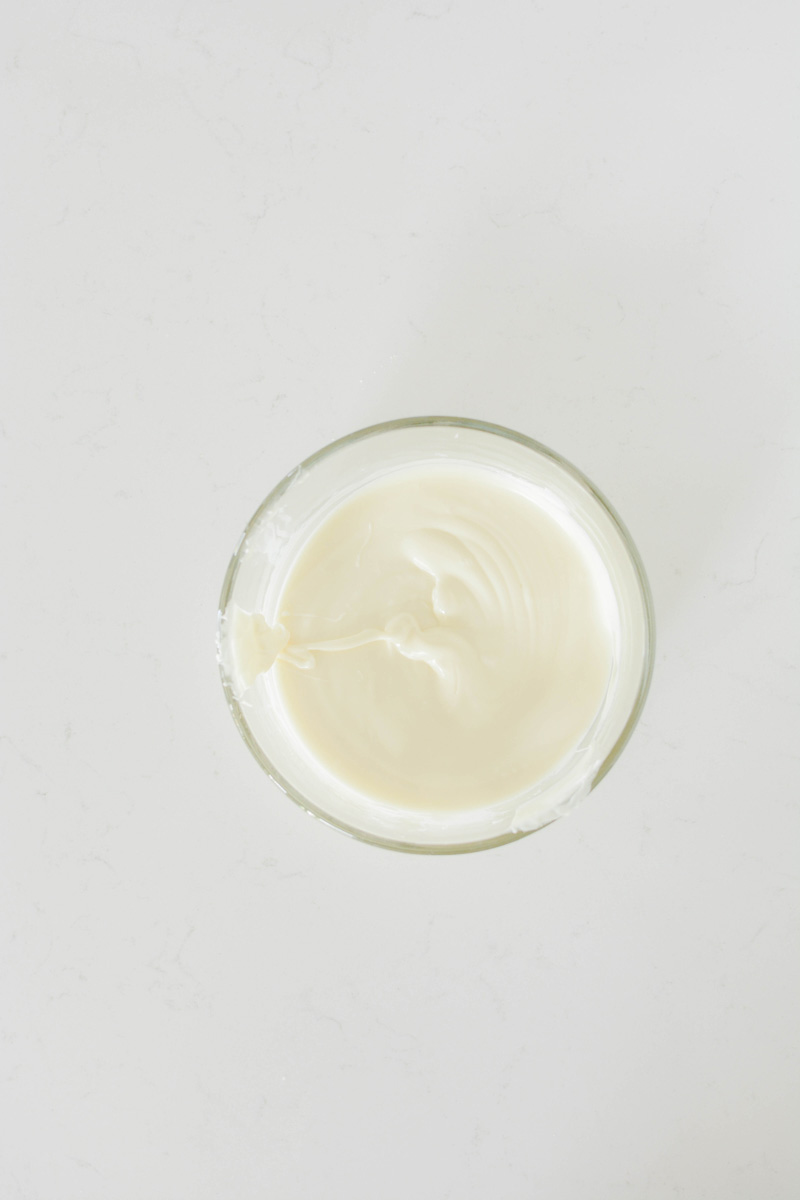
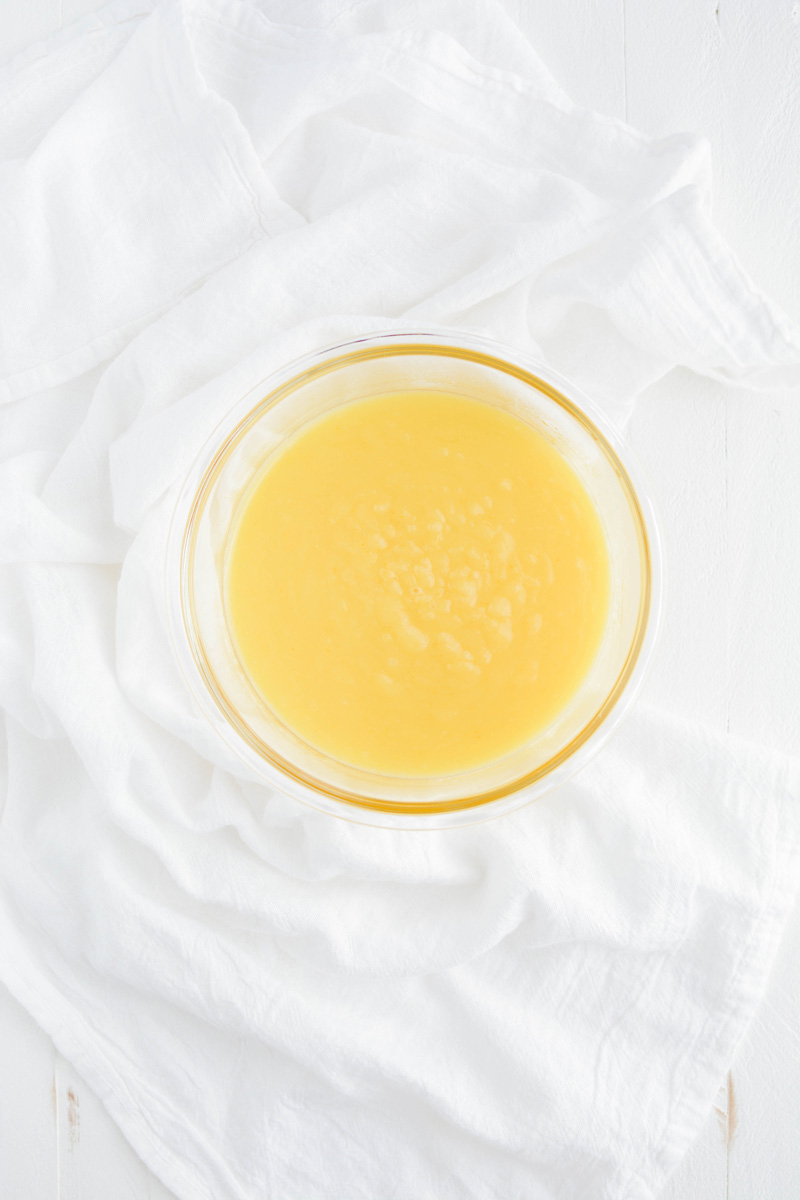
Orange Curd
I couldn't bring myself to use just an orange flavoring to flavor the buttercream here. If I'm going through the process of making candied orange slices and sugared cranberries I had to continue to show off a bit here.
I used orange curd to flavor the Swiss meringue buttercream for my Orange Cranberry Cake. Nothing but the best for my last cake of 2022!
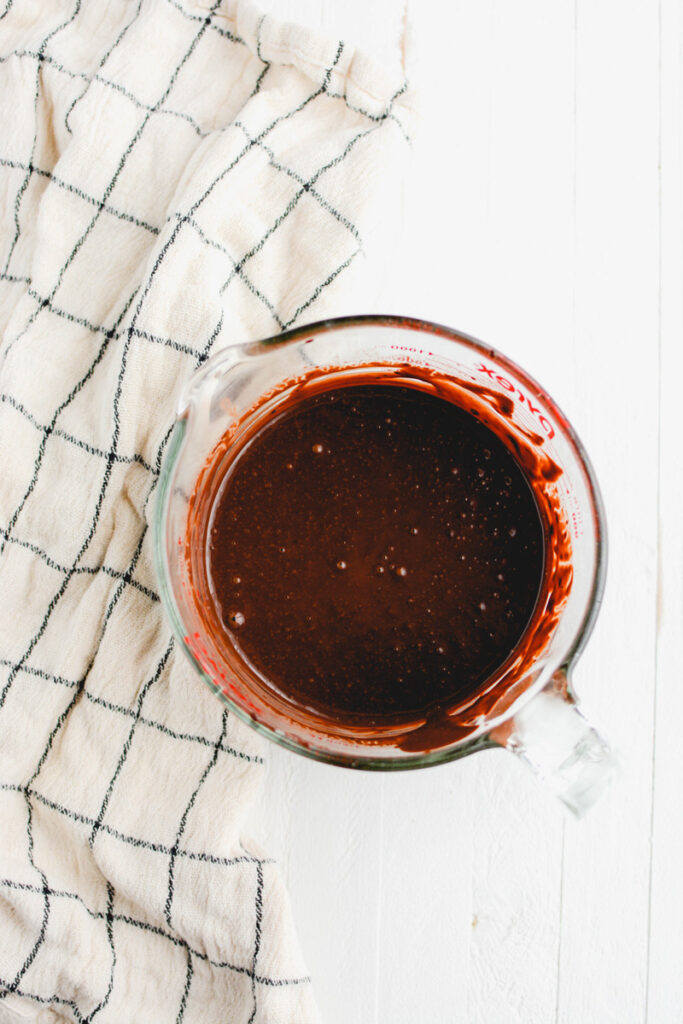
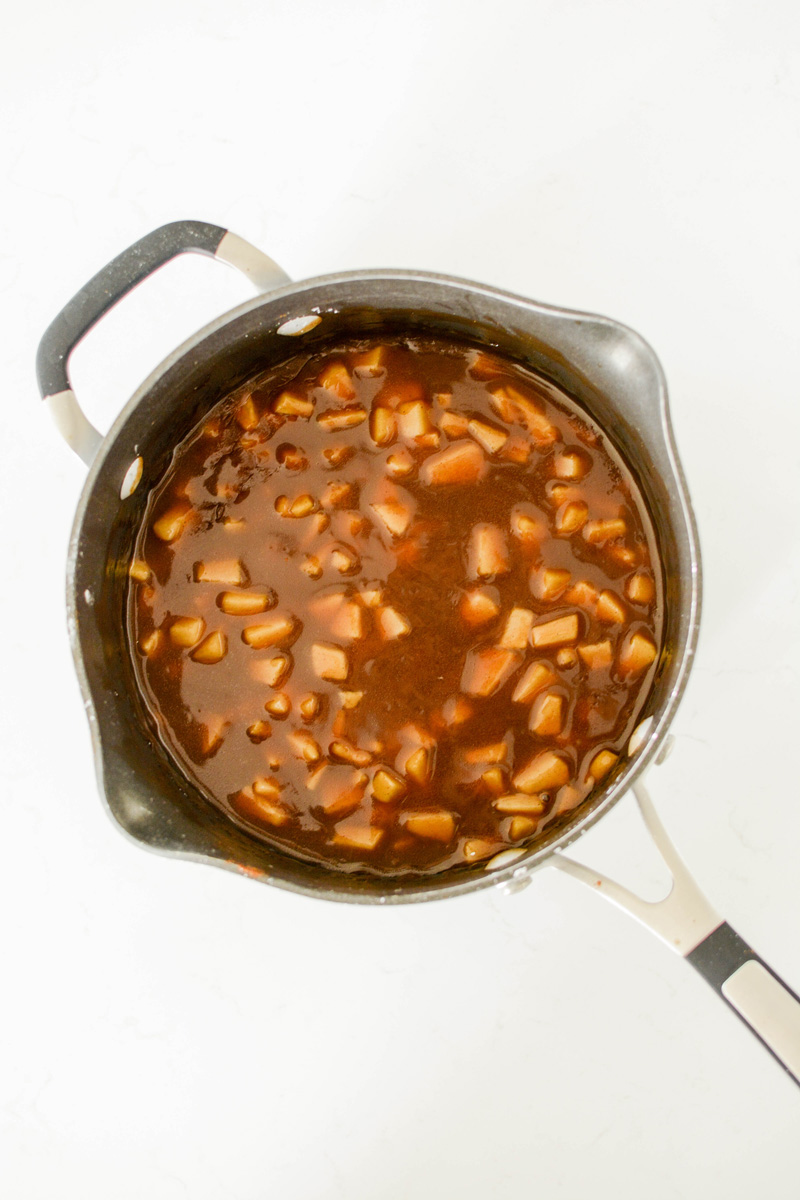
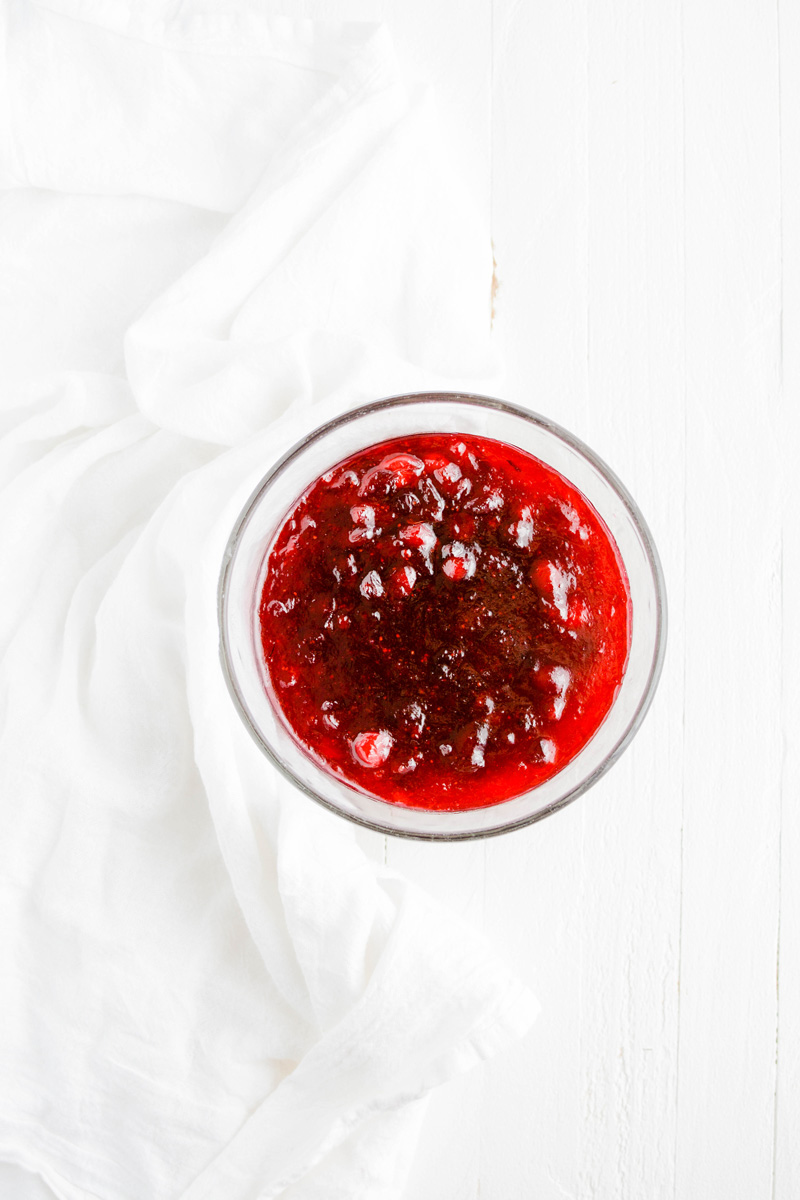
Cranberry Compote
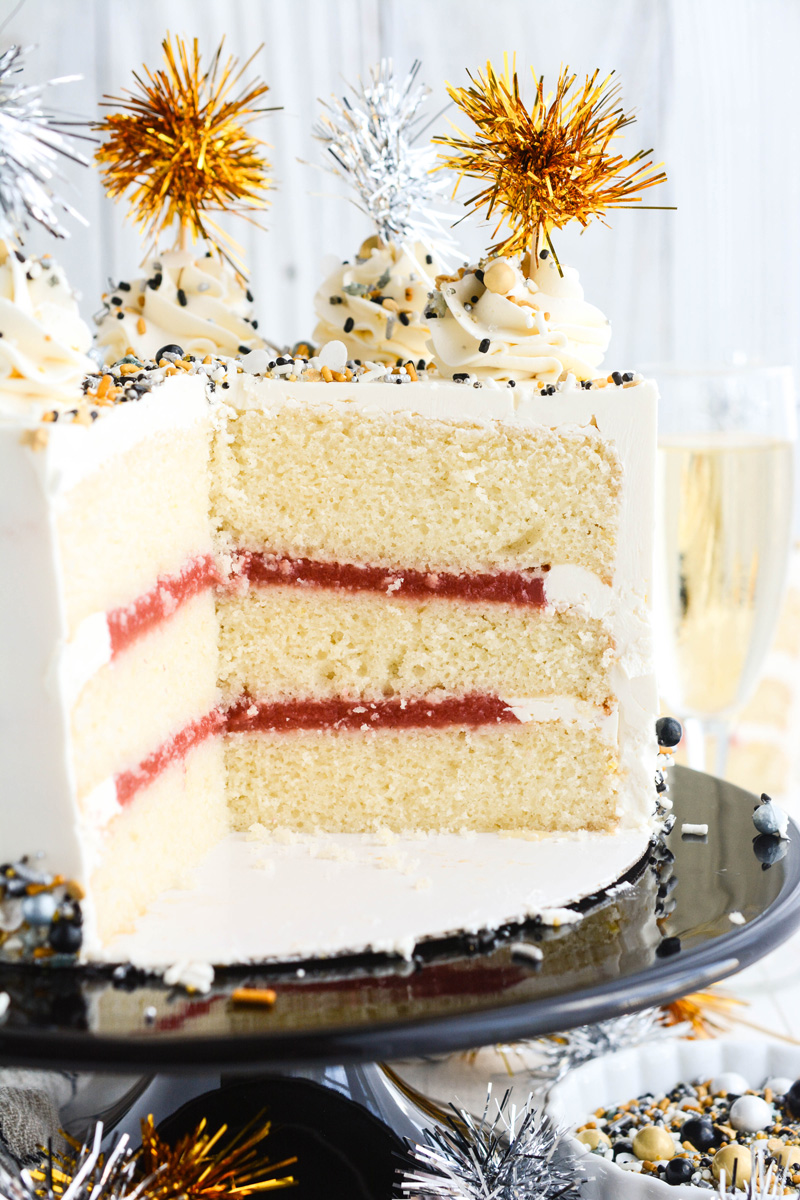
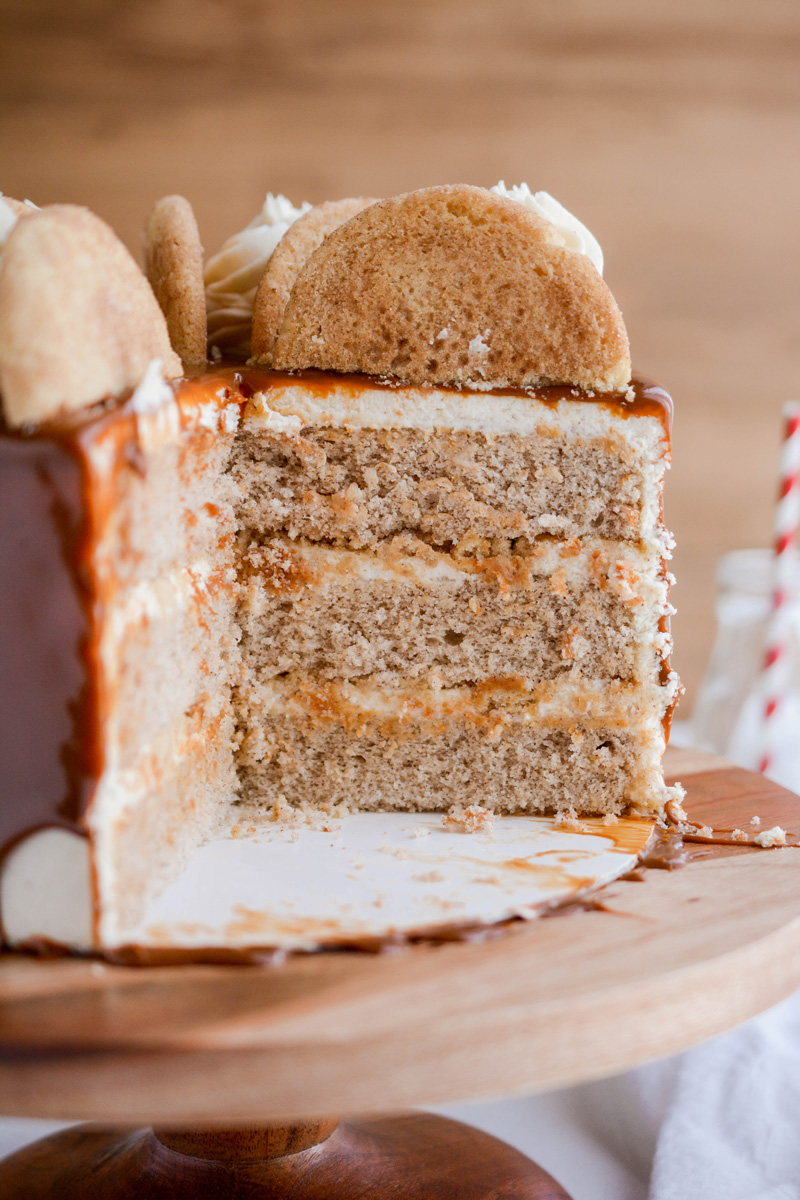
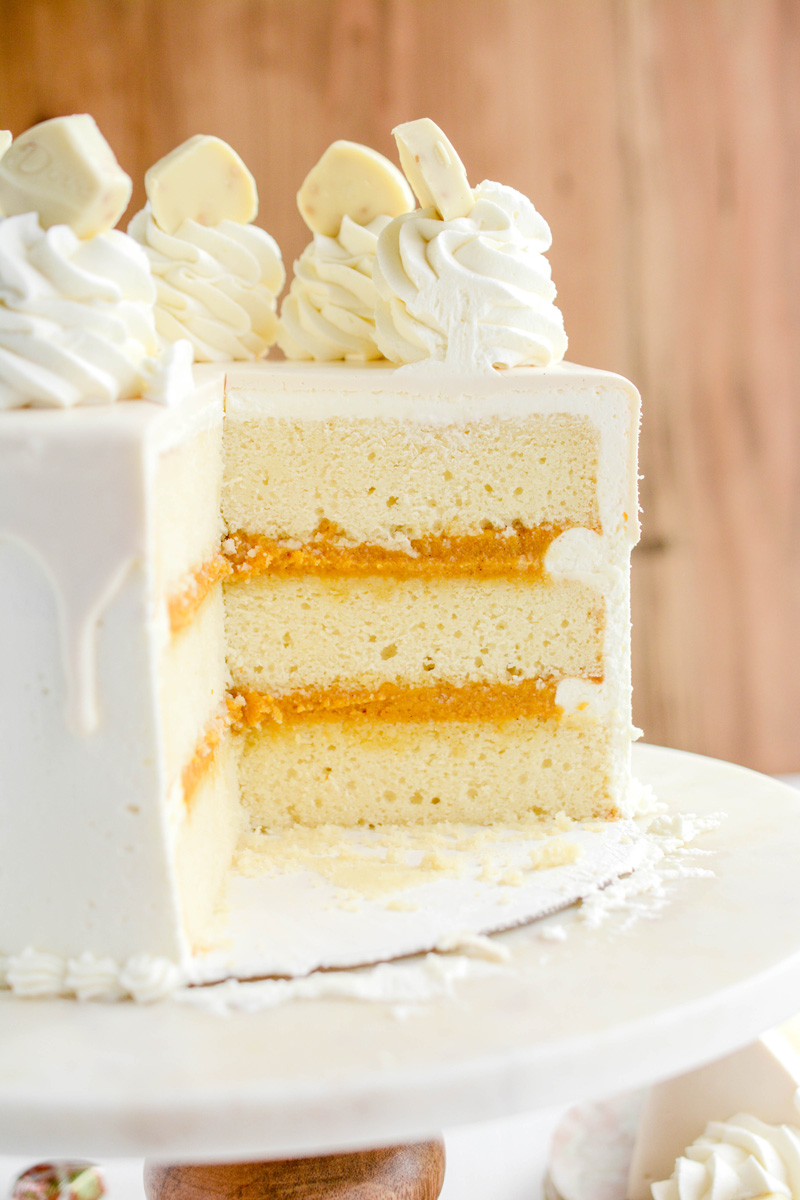
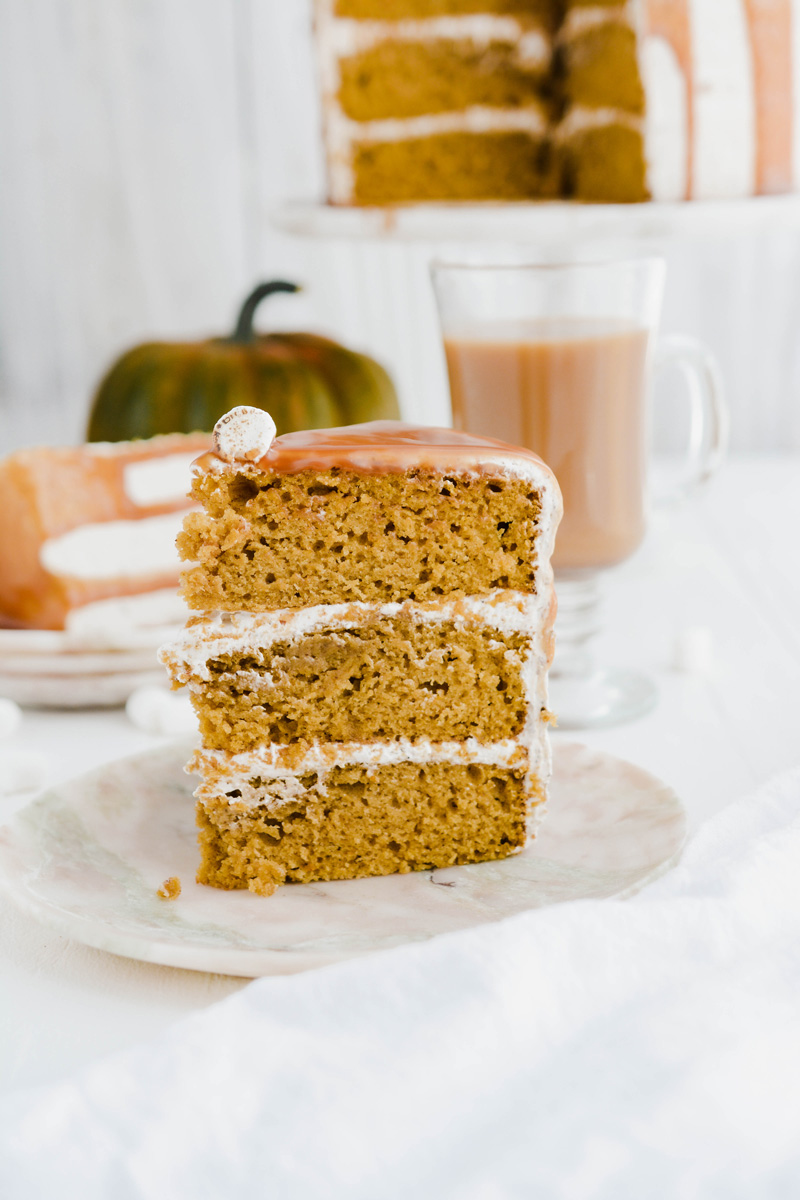
Are you team jellied cranberry sauce, or team whole berry cranberry sauce? I'm team whole berry cranberry sauce all the way, which is why I used a fresh cranberry compote to fill this cake. I love the texture of the bits and pieces of fresh cranberries here, giving the cake an organic feel.
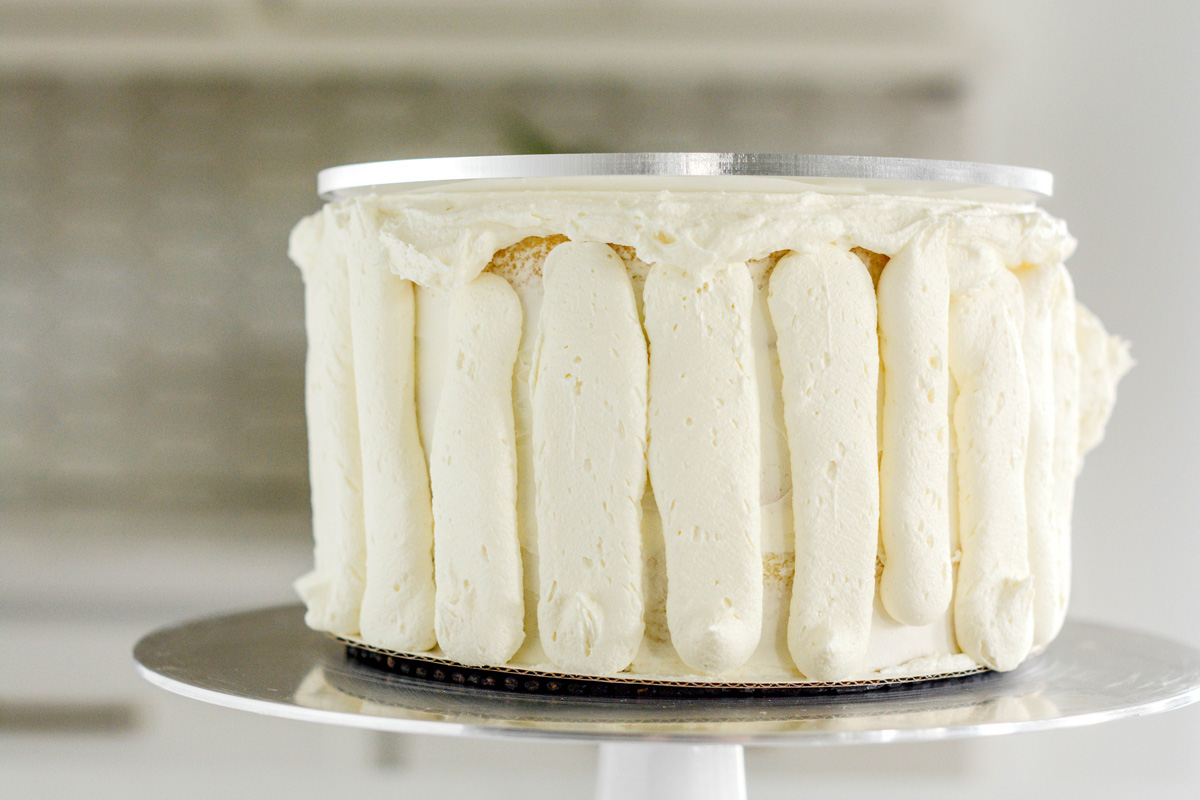
How To Fill And Stack A Cake
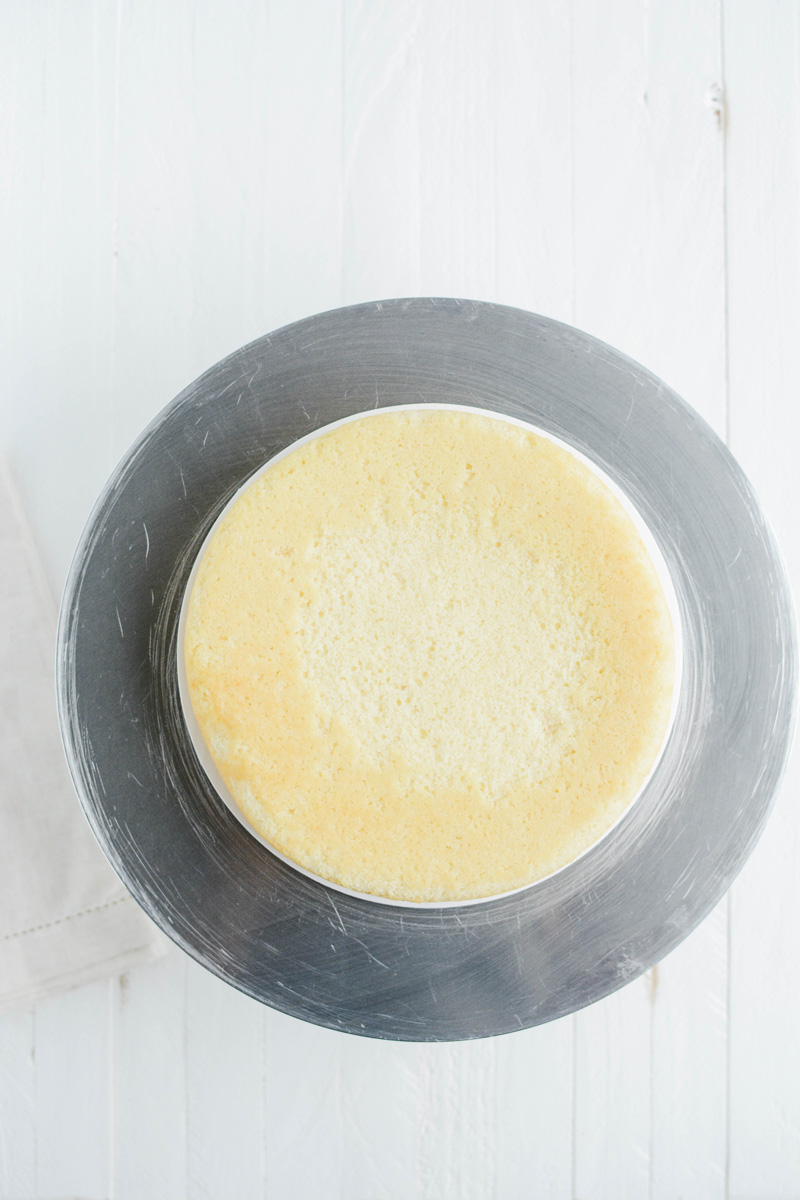
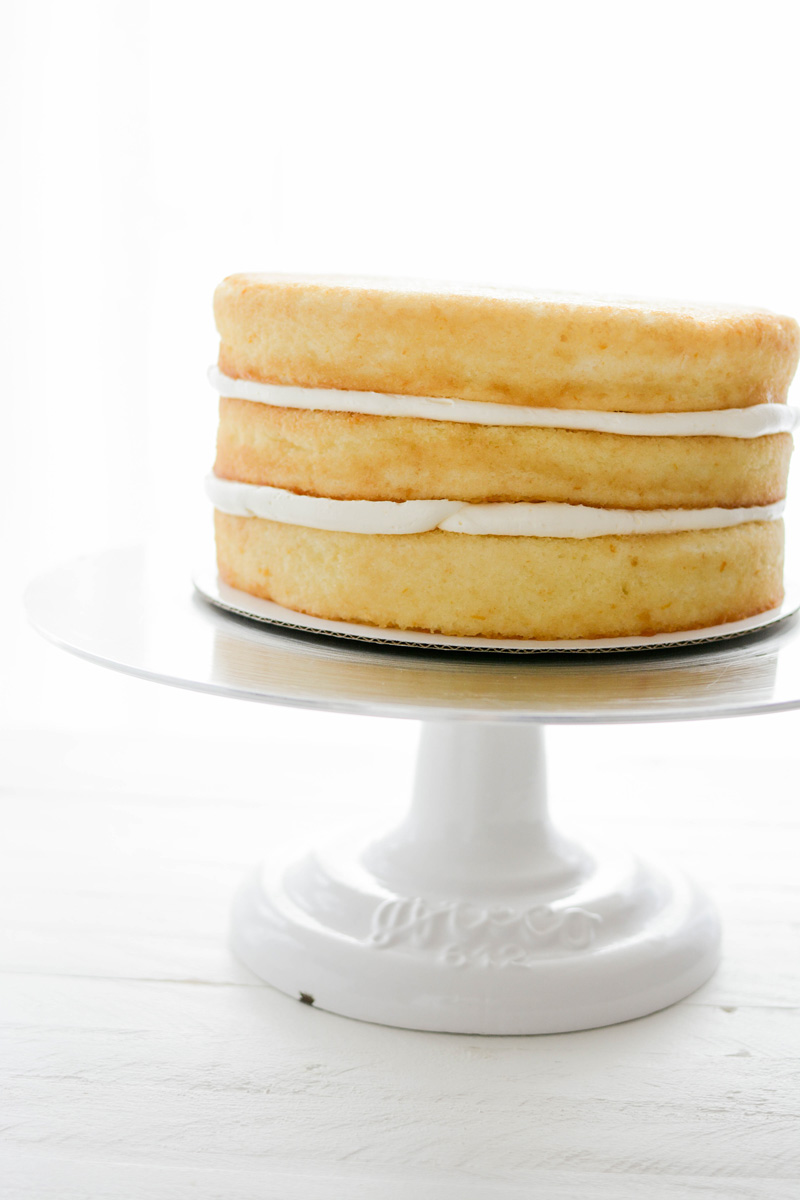
- Place a nonslip mat on top of a cake turntable and place an 8-inch cake round on top. Center the first layer of cake on the cake board.
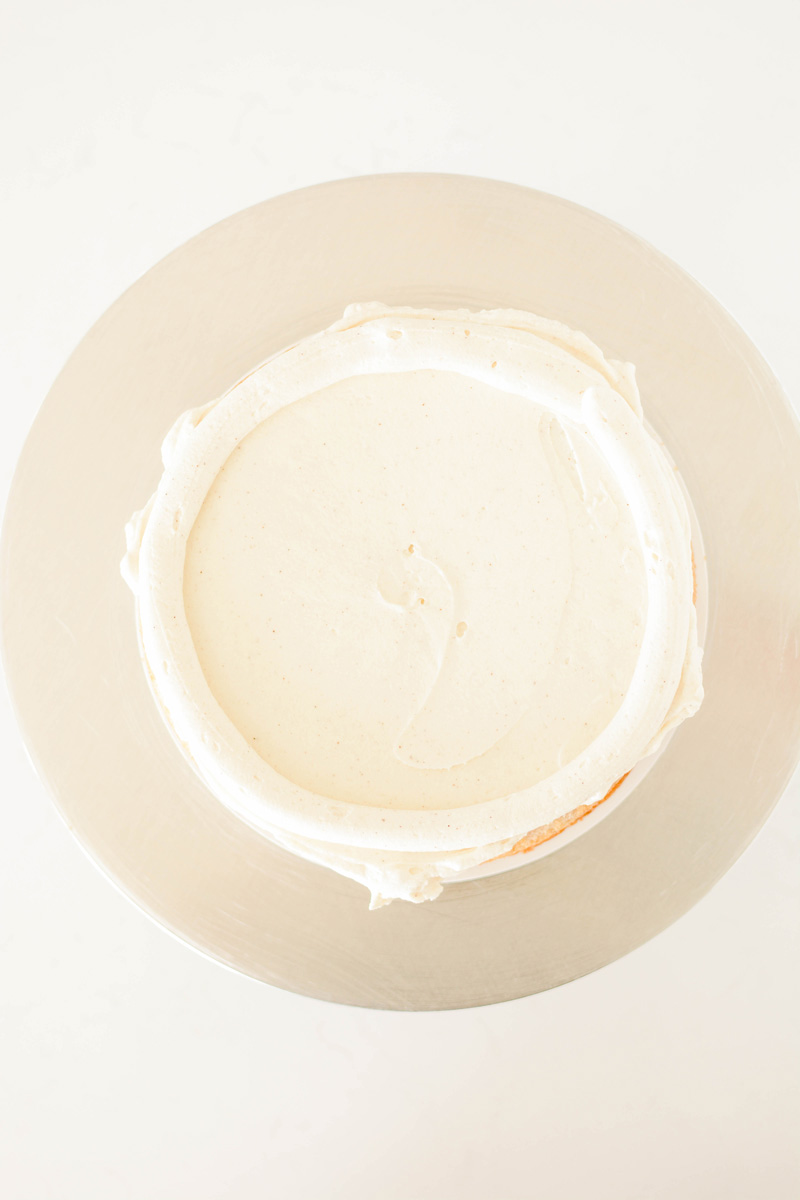
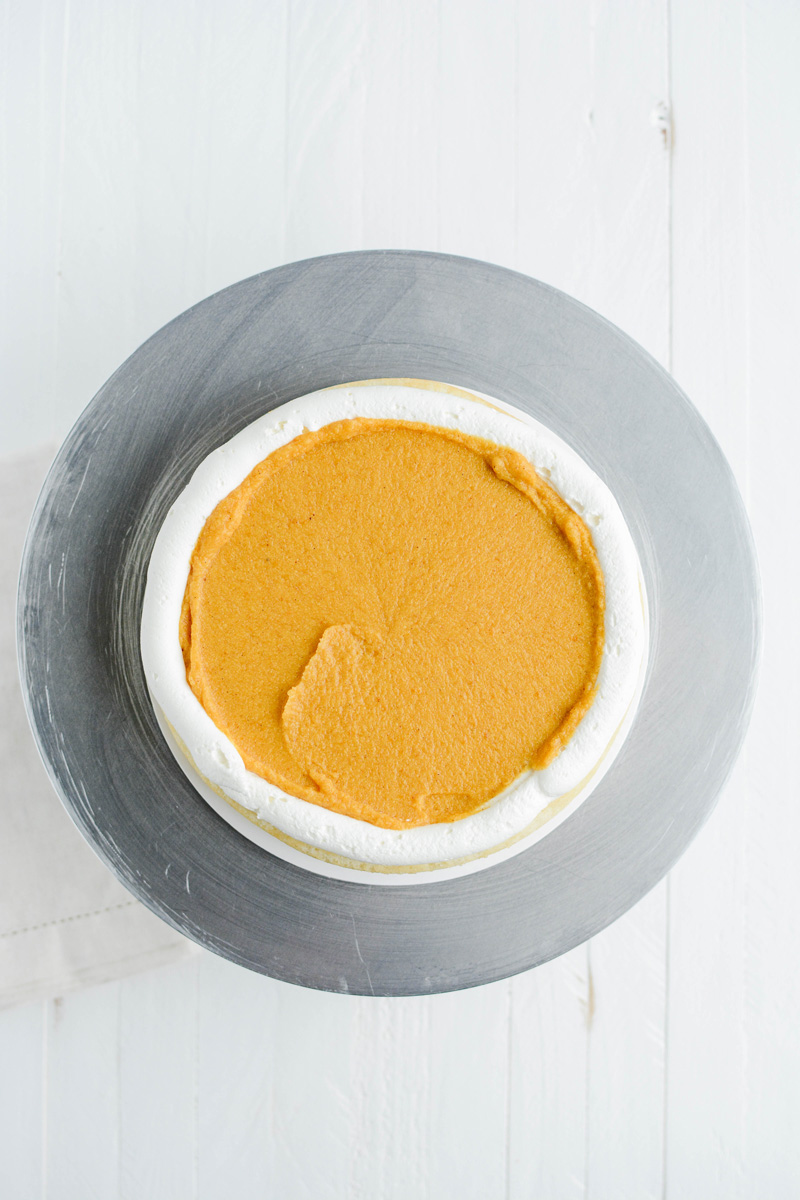
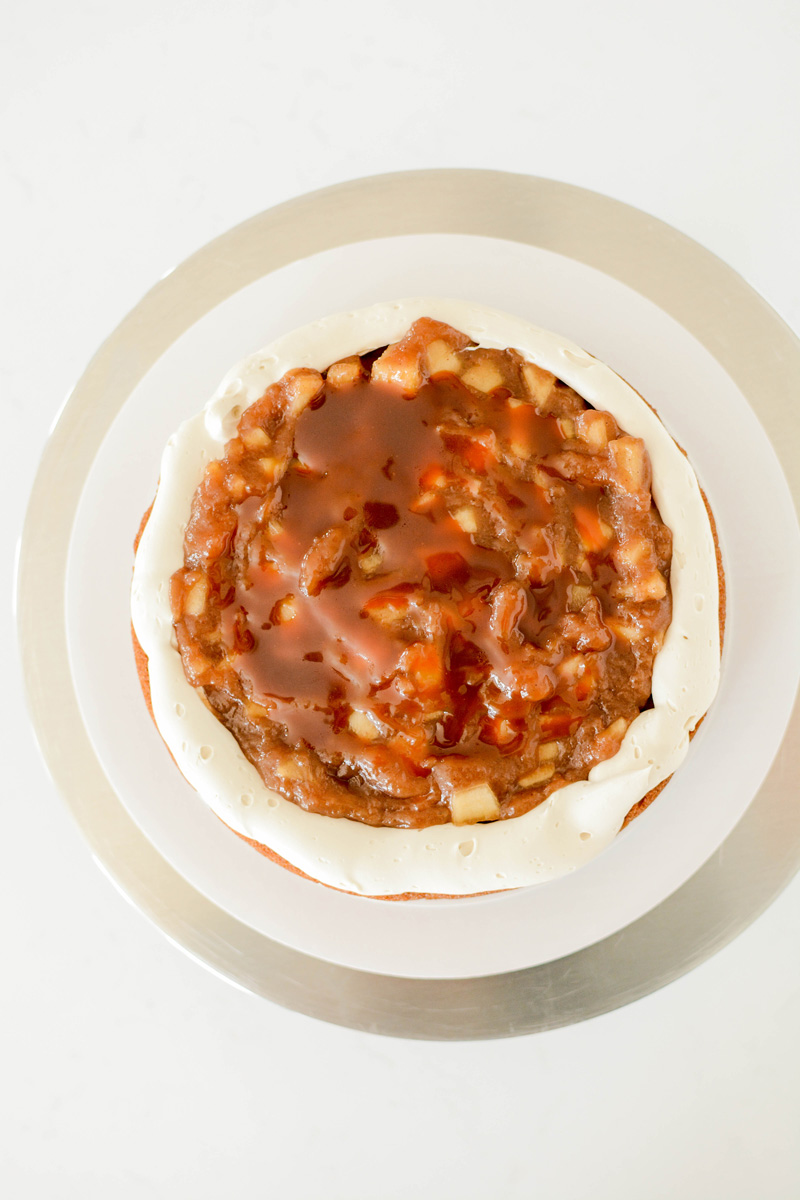
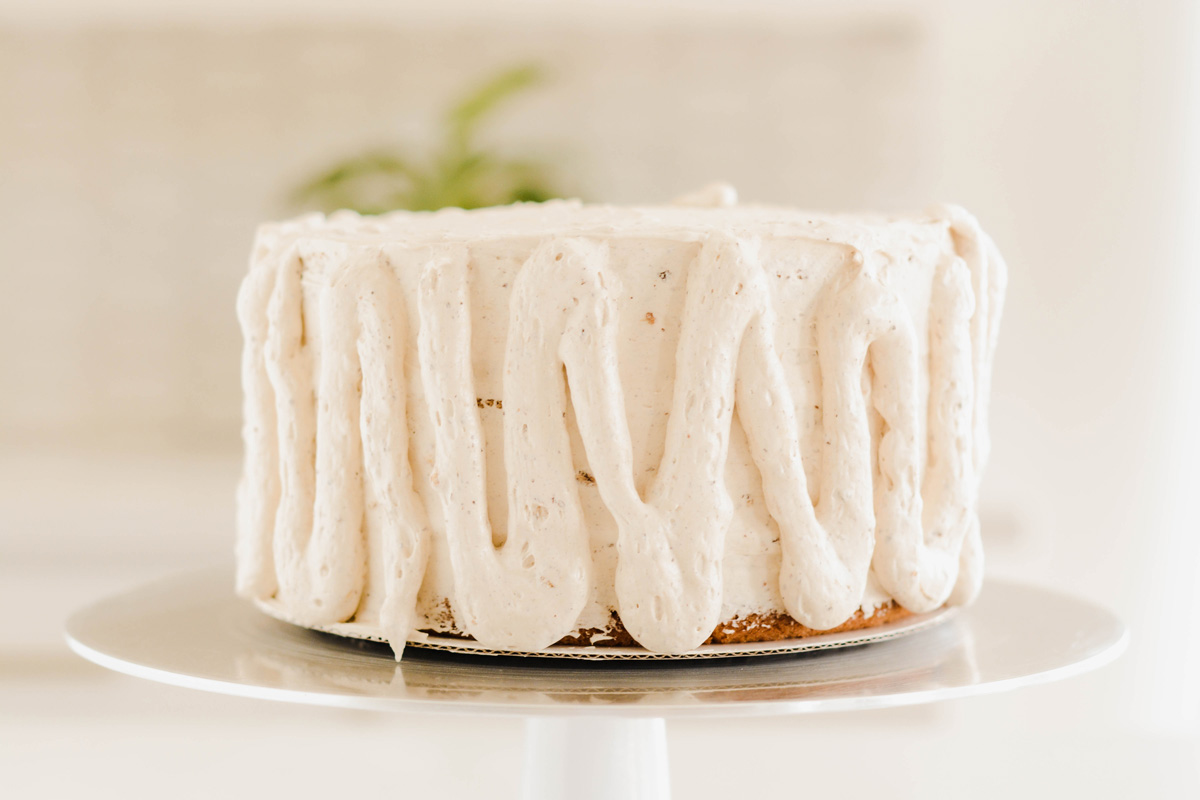
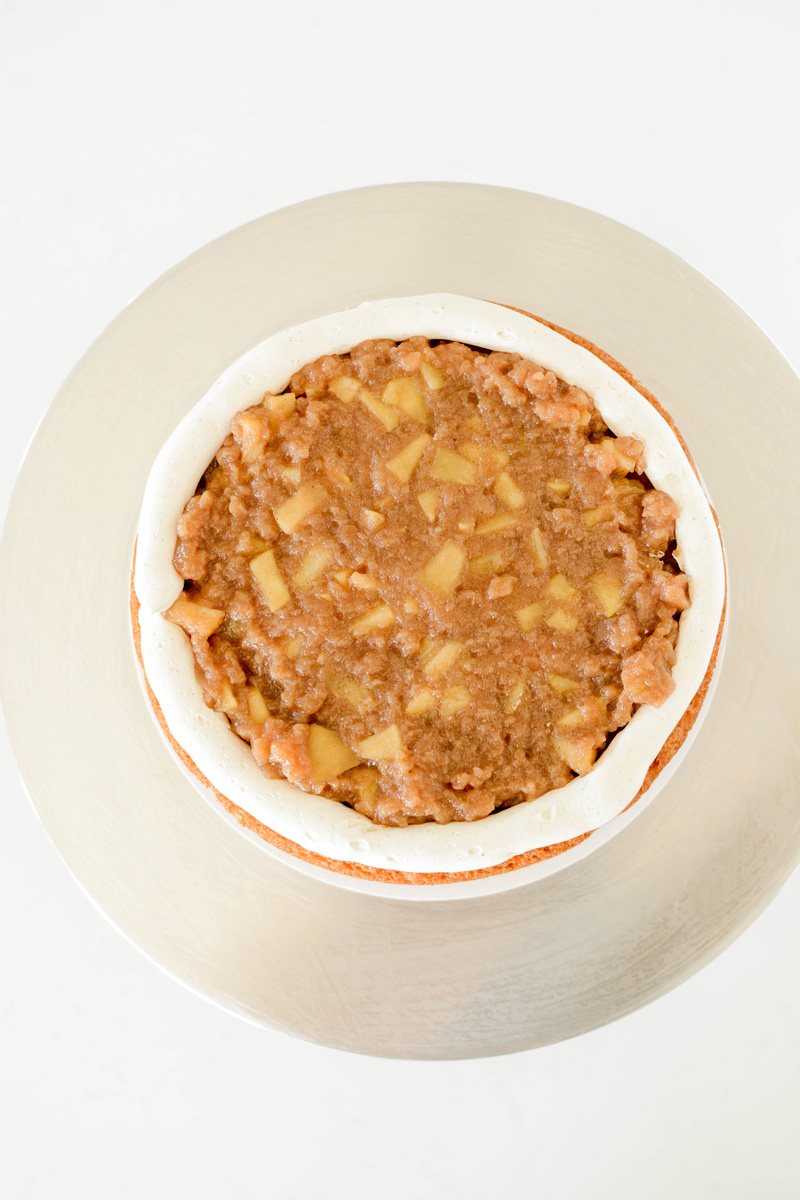
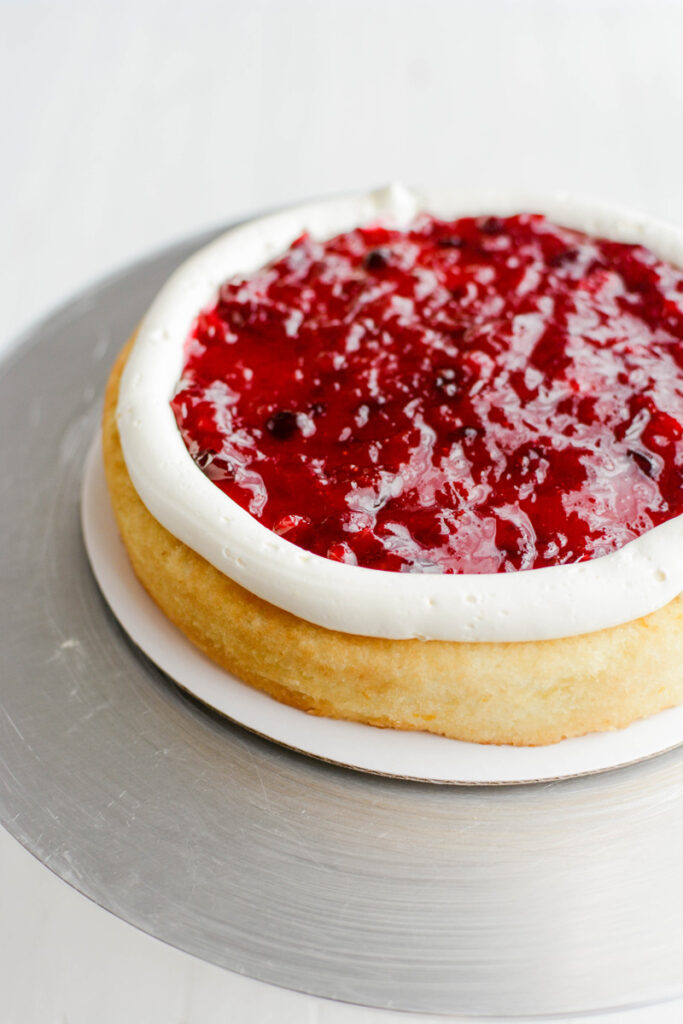
- Fit a piping bag with a round coupler or round piping tip and fill piping bag with buttercream. Pipe a buttercream dam around the cake edge.
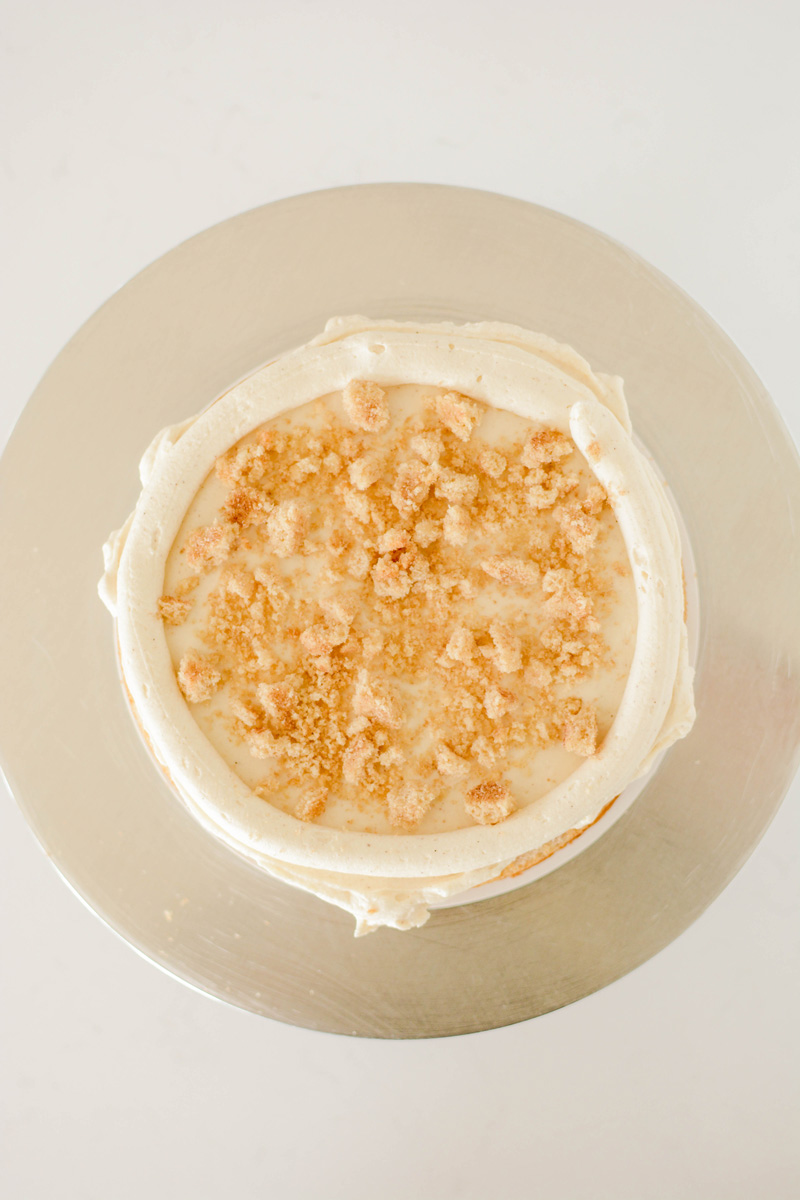
- Spread half of the cranberry compote on top in an even layer until it reaches the buttercream dam.
- Place the second cake layer on top, gently pressing to adhere.
- Pipe another buttercream dam on the edge of the cake and fill with remaining cranberry compote and spread in an even layer. Top with the third cake layer (bottom side up) and gently press down to adhere.
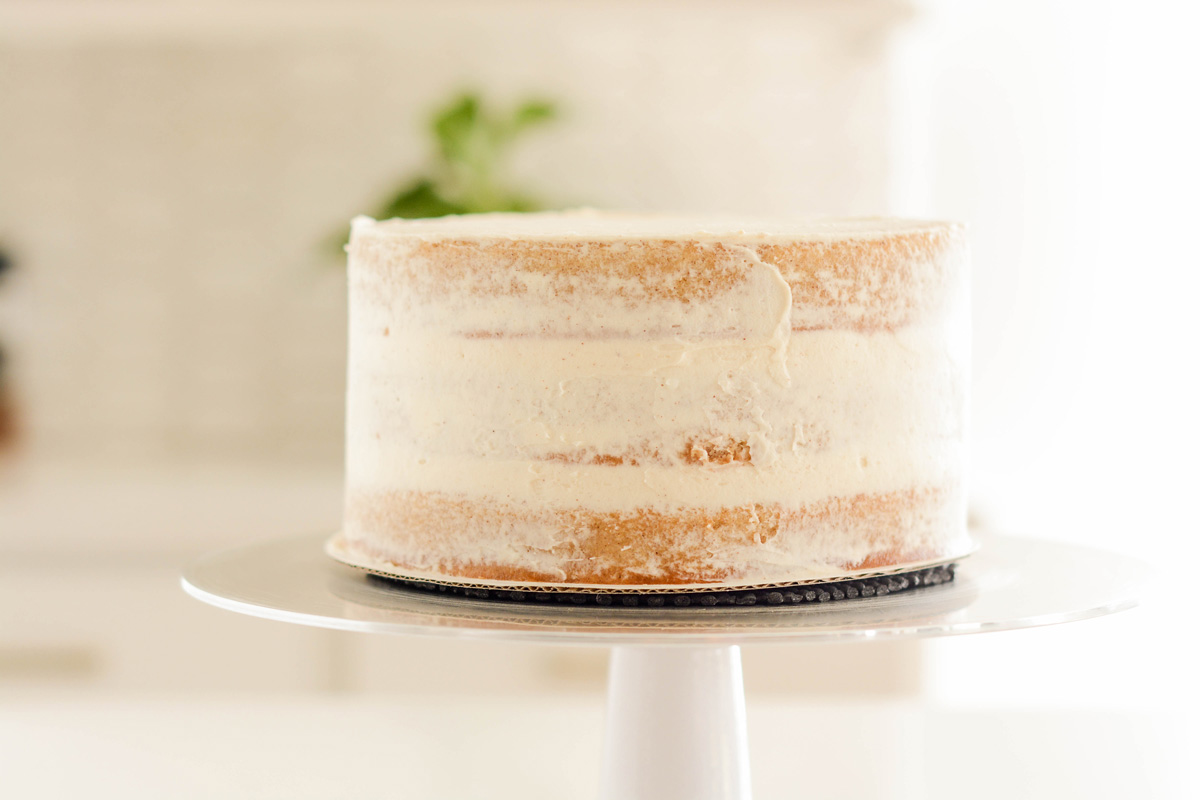
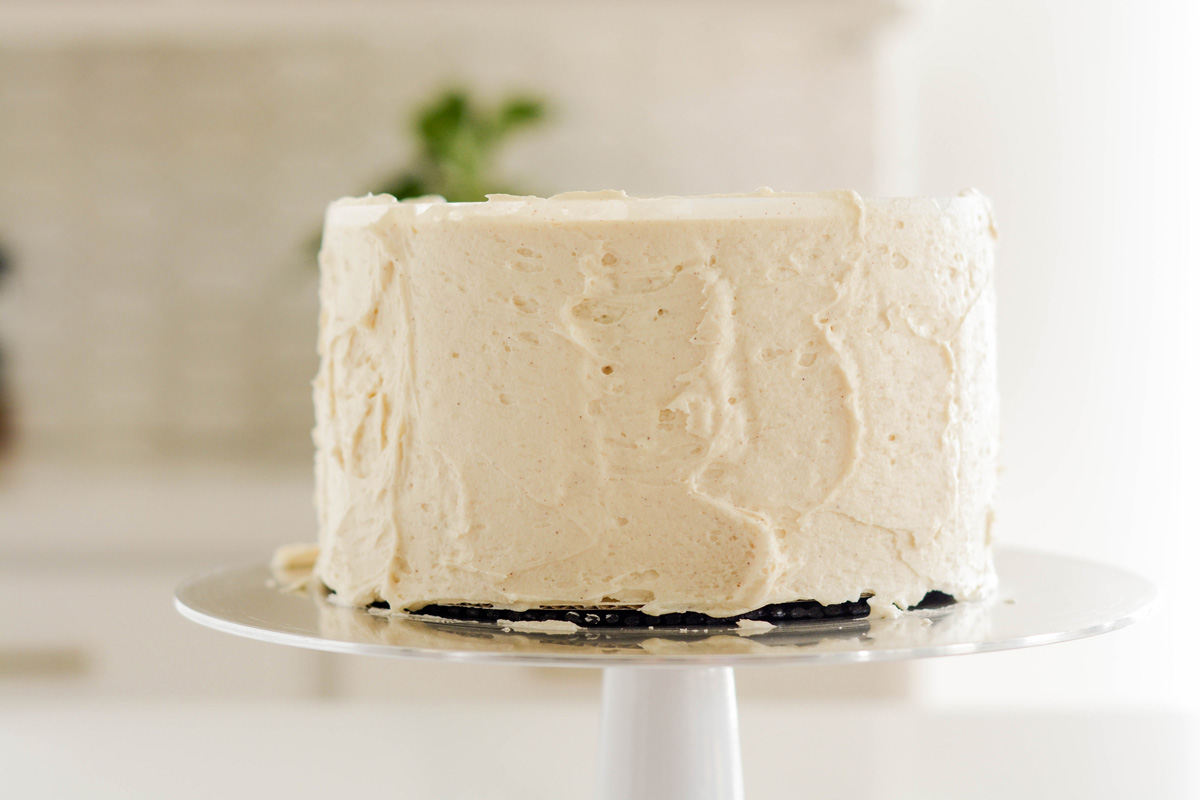
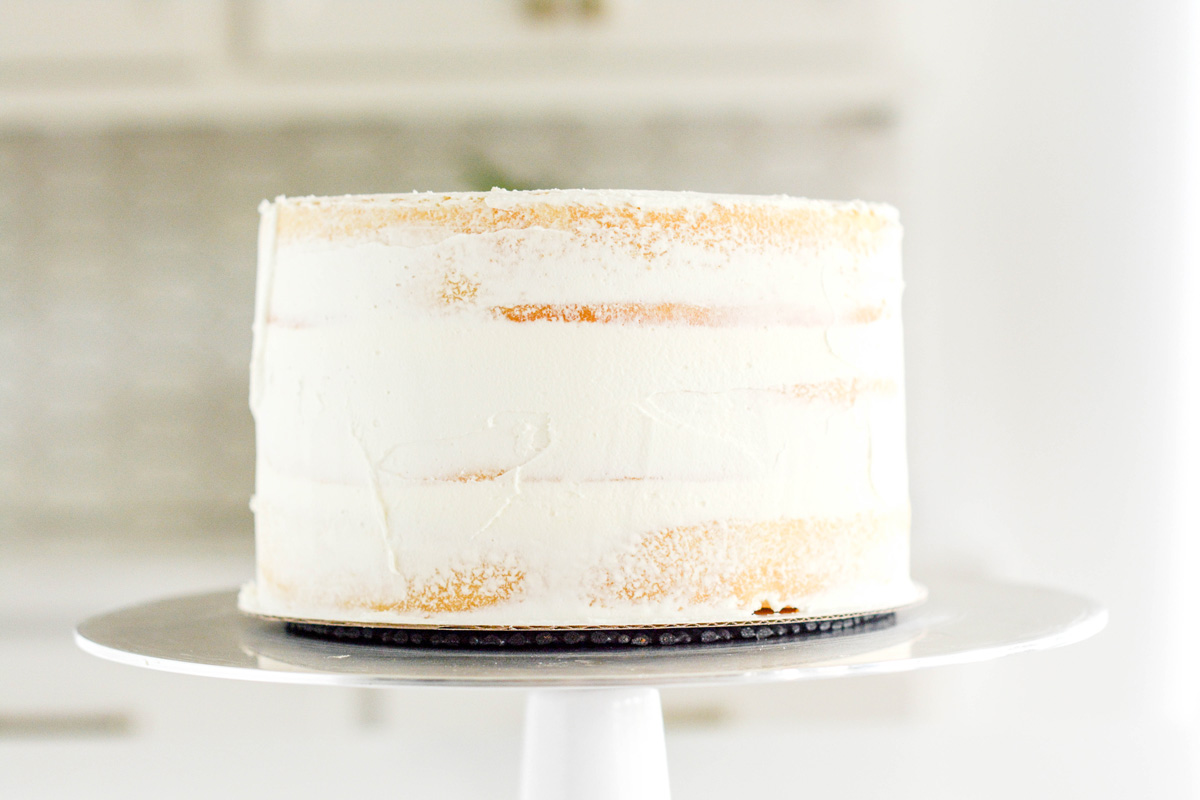
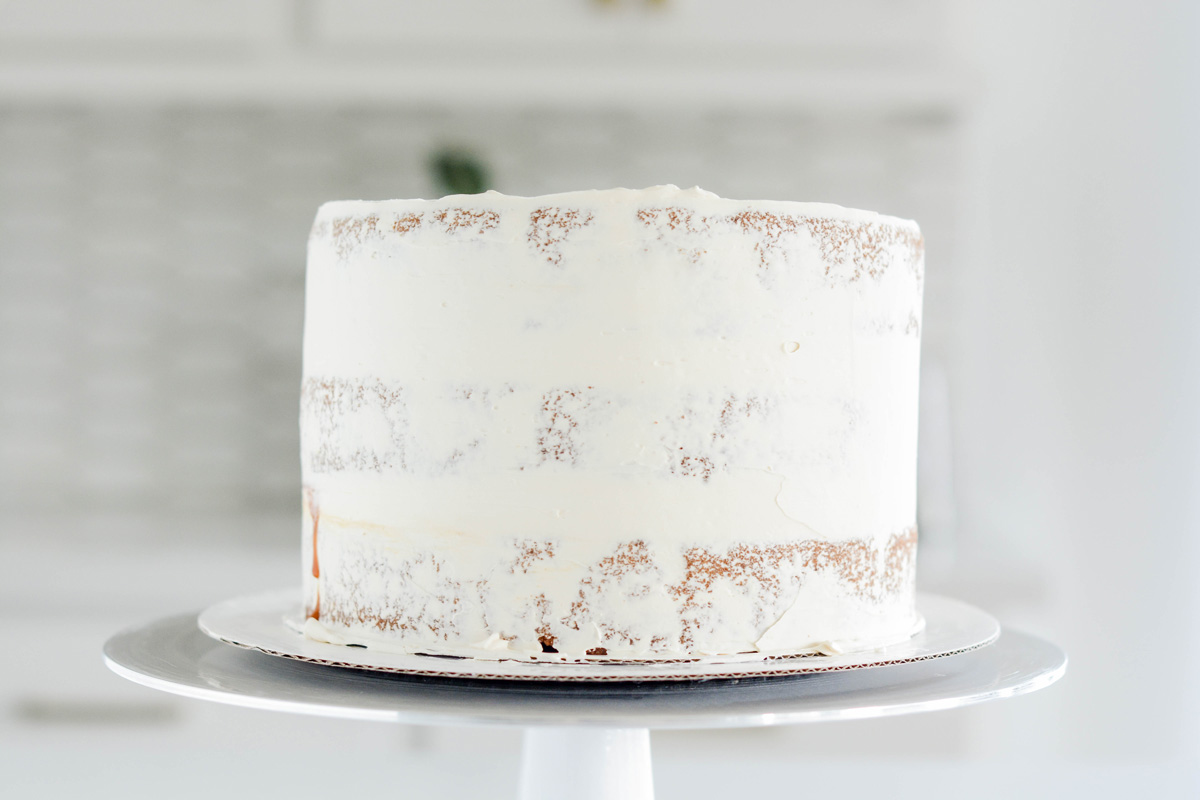
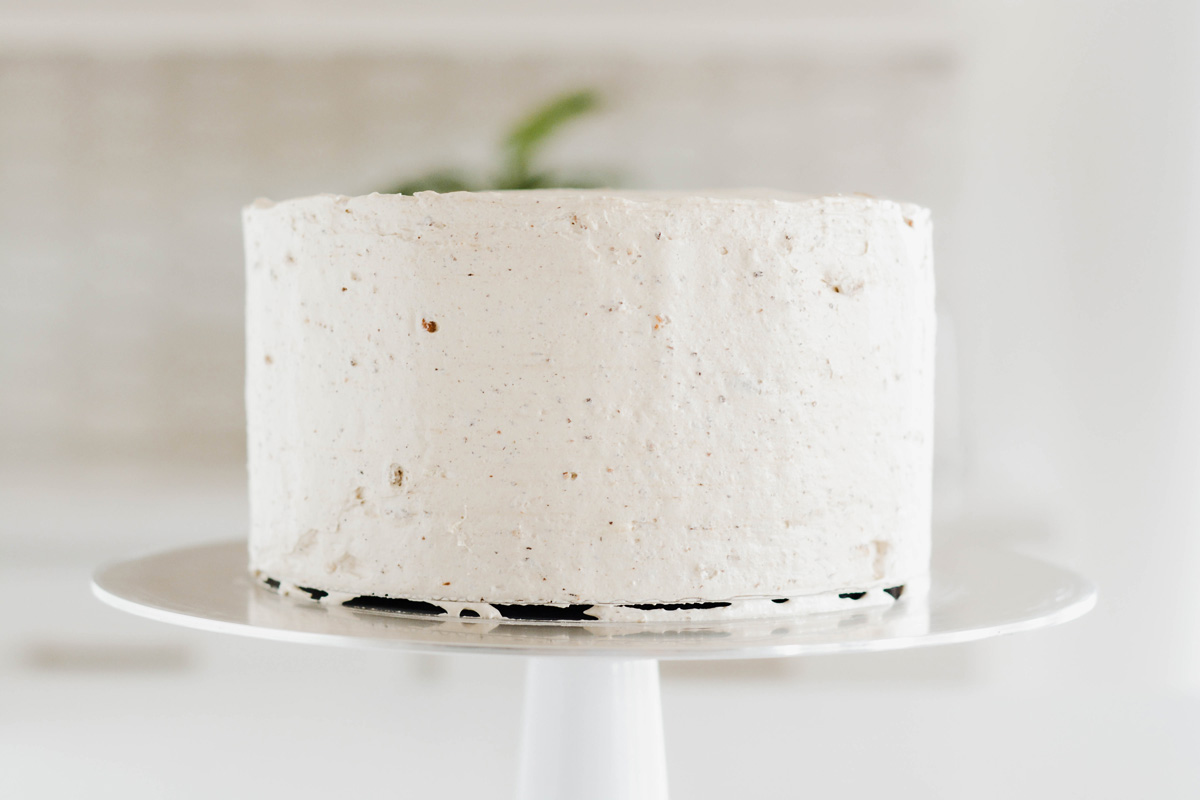
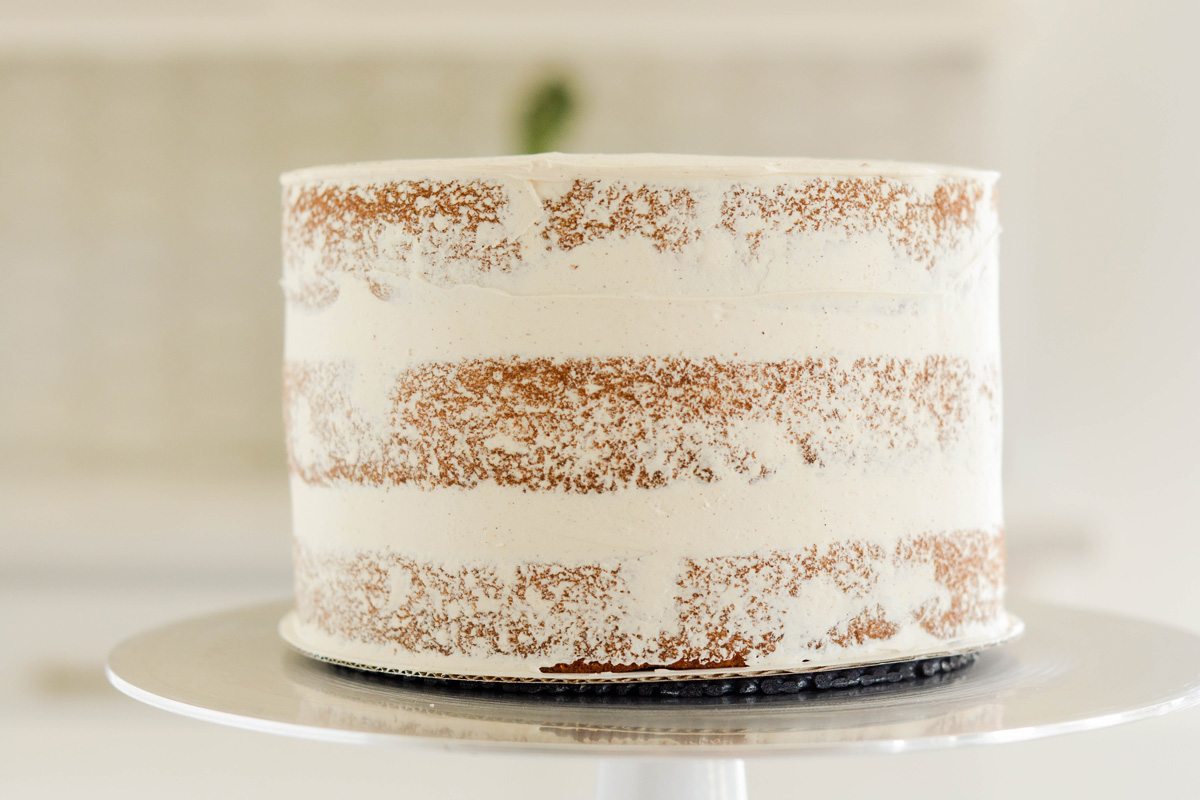
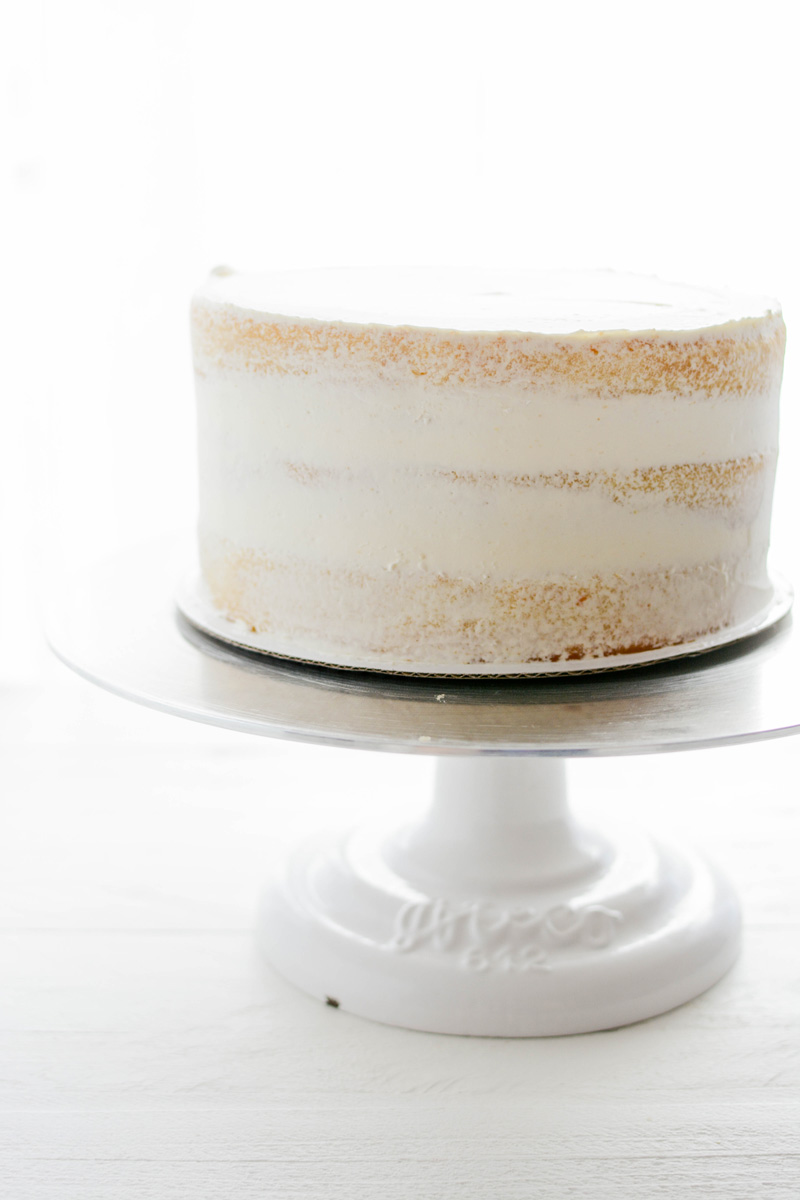
Crumb Coating
Crumb coating keeps loose crumbs from getting into your final layer of buttercream and gives you a nice chilled base to start the cake decorating process.
Cake Decorating Tips
- Review the recipe.
- Prepare in advance.
- Don't over fill your cake with compote. Depending on the type of filling I typically keep it between 1/2 cup to 2/3 cup of filling. Over-filling could cause your filling to ooze out of the sides or the cake layers to slide around.
- Use a crumb coat to keep your final layer of buttercream free of crumbs.
- Chill your crumb coat before applying your final layer of buttercream.
- Apply your final layer of buttercream to the cake and chill (yes again) before adding additional decoration to the cake.

Orange Cranberry Cake Decorating Tools
- Nonslip mat
- Cake turntable
- 8-inch round cake board
- Piping bag
- Round piping tip or coupler
- 8-inch round acrylic disc
- Cake scraper
- Small offset cake spatula
- Candied orange slices
- Sugared cranberries
- Almond pine cones

Baking Schedule
- Day 1: Prepare orange curd and cranberry compote.
- Day 2: Make candied orange slices and sugared cranberries.
- Day 3: Bake orange cake layers.
- Day 4: Prepare Swiss meringue buttercream, assemble and serve.
Make Ahead Options and Storage
Candied orange slices can be made up to 5 days in advance, stored in an airtight container at room temperature.
Sugared cranberries can be made up to 5 days in advance, stored in an airtight container at room temperature. Roll in more sugar if needed before using.
Orange curd can be made up to 5 days in advance, covered with plastic wrap on the surface of the curd, stored in the refrigerator.
Cranberry compote can be made up to 5 days in advance, stored in the refrigerator.
Orange cake be made up to 3 days in advance, wrapped in plastic wrap, in an airtight container, stored in the refrigerator.
Swiss meringue buttercream is best made the day the cake is assembled.
Let's Connect
The Cake Chica is on the following social media platforms below. Click subscribe, like and follow! We would love to have you over!
Suggested Recipes

Orange Cranberry Cake
Three layers of fluffy orange cake filled with cranberry compote, frosted with orange Swiss meringue buttercream and garnished with candied orange slices and sugared cranberries.
Ingredients
SPECIAL TOOLS
- 2 rimmed baking sheets with cooling racks
- Parchment paper
- 3 8-inch round cake pans
- Nonstick baking spray
- 4 cup liquid measuring cup
- Stand mixer
- Rubber spatula
- Sieve
- Candy thermometer
- Nonslip mat
- Cake turntable
- 8-inch cardboard cake round
- Piping bag
- Round piping tip or coupler
- 8-inch round acrylic disc
- Cake scraper
- Small offset spatula
SUGARED CRANBERRIES
- 1/2 cup water
- 1 cup granulated sugar, divided
- 12 ounces fresh cranberries
CANDIED ORANGE SLICES
- 2 oranges, sliced 1/8-inch thick
- 2 cups granulated sugar
- 1 ½ cups water
- 1/2 cup granulated sugar for coating
ORANGE CAKE
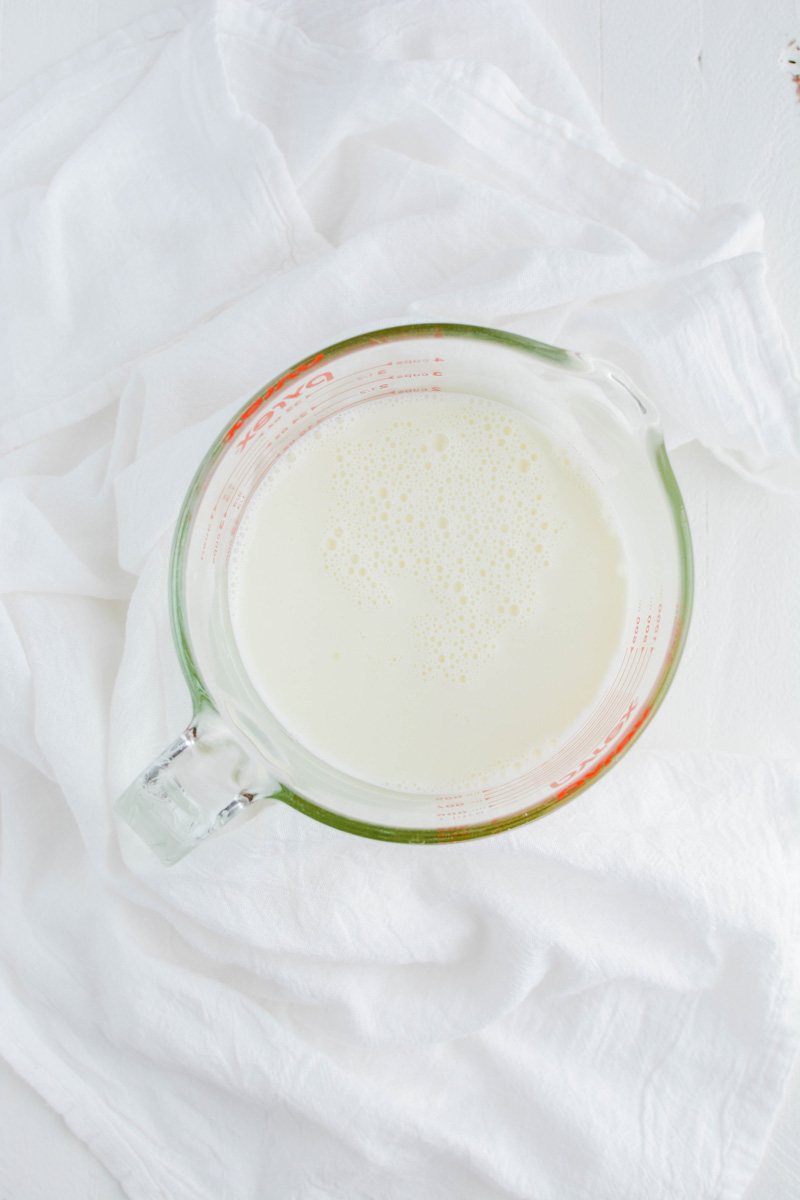
- 1 cup (8 ounces) whole milk, at room temperature
- 6 large egg whites, at room temperature
- 1 1/2 teaspoons orange emulsion
- 2 1/4 cups (9 ounces) cake flour
- 1 3/4 cup (12 1/4 ounces) granulated sugar
- 4 teaspoons baking powder
- 1 teaspoon salt
- 1 tablespoon fresh orange zest
- 12 tablespoons unsalted butter, cut into tablespoon sized pieces, at room temperature
CRANBERRY FILLING
- 2 cups (7 ounces/200 grams) fresh cranberries, rinsed
- 1 cup (7 ounces/200 grams) granulated sugar
- 1/2 cup water, mixed with 2 tablespoons cornstarch
- 1 teaspoon orange zest
ORANGE CURD
- 3 whole eggs
- 3/4 cup (5.25 ounces) granulated sugar
- Pinch of salt
- 1/2 cup freshly squeezed orange juice
- 1 tablespoon orange zest
- 4 tablespoons unsalted butter, cut into tablespoon sized pieces
ORANGE SWISS MERINGUE BUTTERCREAM
- 1/2 cup, plus 2 tablespoons egg whites
- 1 1/4 cups (8.75 ounces) granulated sugar
- 2 cups (4 sticks) unsalted butter, at room temperature
- 1 teaspoon vanilla extract
- 1/2 cup Orange Curd
Instructions
SUGARED CRANBERRIES
- Combine water and 1/2 cup of the sugar in a medium-sized saucepan and bring to a boil, stirring frequently until the sugar has dissolved. Stir in the cranberries. Once the cranberries are covered in syrup, transfer the cranberries to a parchment lined baking sheet with a cooling rack on top and spread the cranberries out to dry for 2 hours.
- After the cranberries have dried, add 1/2 cup sugar to a medium-sized bowl and stir the cranberries in. Arrange the sugared cranberries back on the cooling rack and let dry for at least 1 hour before using.
CANDIED ORANGE SLICES
- In a 12 inch skillet, over medium heat, whisk together sugar and water. Bring to a simmer and continue to whisk until sugar has dissolved. Once sugar has dissolved lay orange slices into the skillet in a single layer and simmer for about 15 minutes, flipping halfway through, until rinds appear softened and slightly translucent. Carefully remove orange slices from the skillet and transfer to a parchment paper lined baking sheet with a cooling rack inside and set aside to dry for 2 hours.
- Place 1/2 cup sugar on a plate and dip dried orange slices in the sugar to coat on the back and front. Set back on the cooling rack to dry for at least 2 hours.
ORANGE CAKE
- Adjust an oven rack to the center position and heat oven to 350 degrees. Spray 3 8-inch round cake pans with nonstick baking spray and set aside.
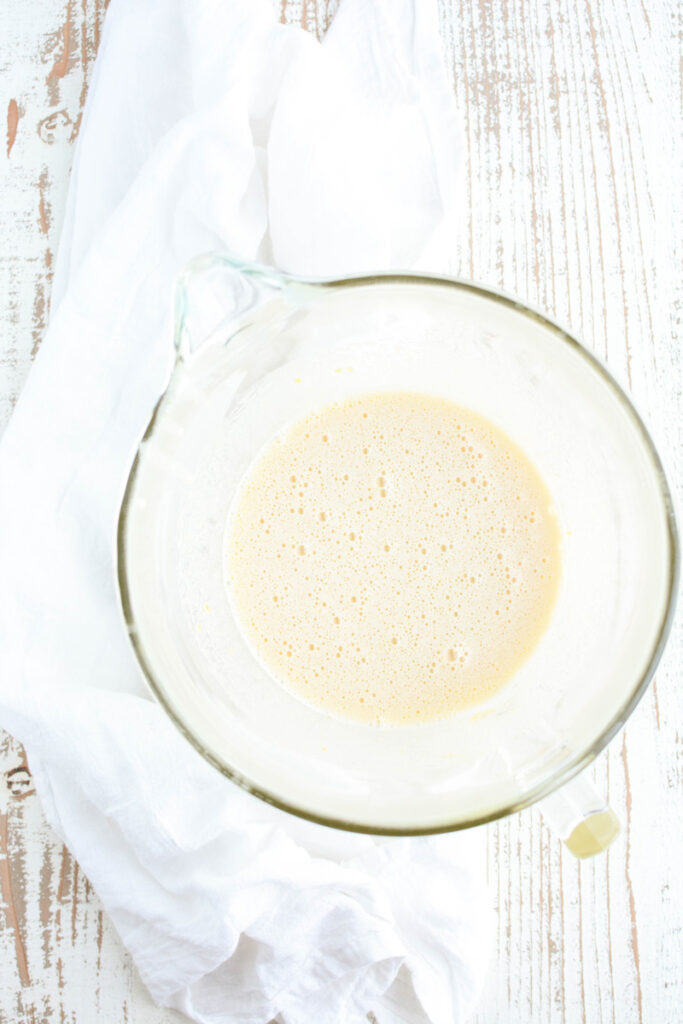
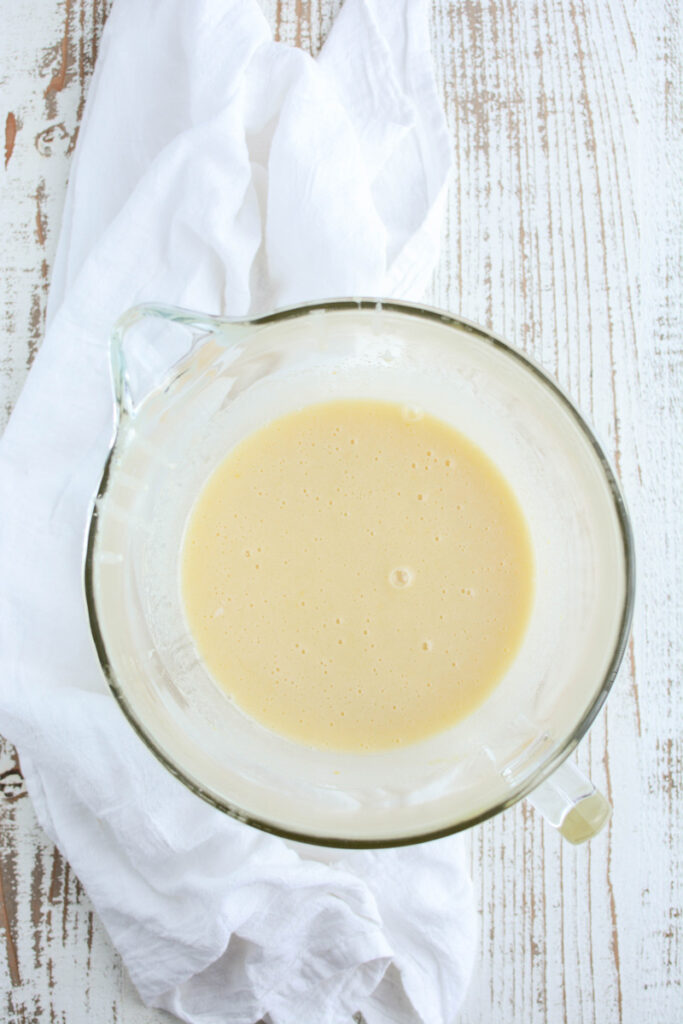
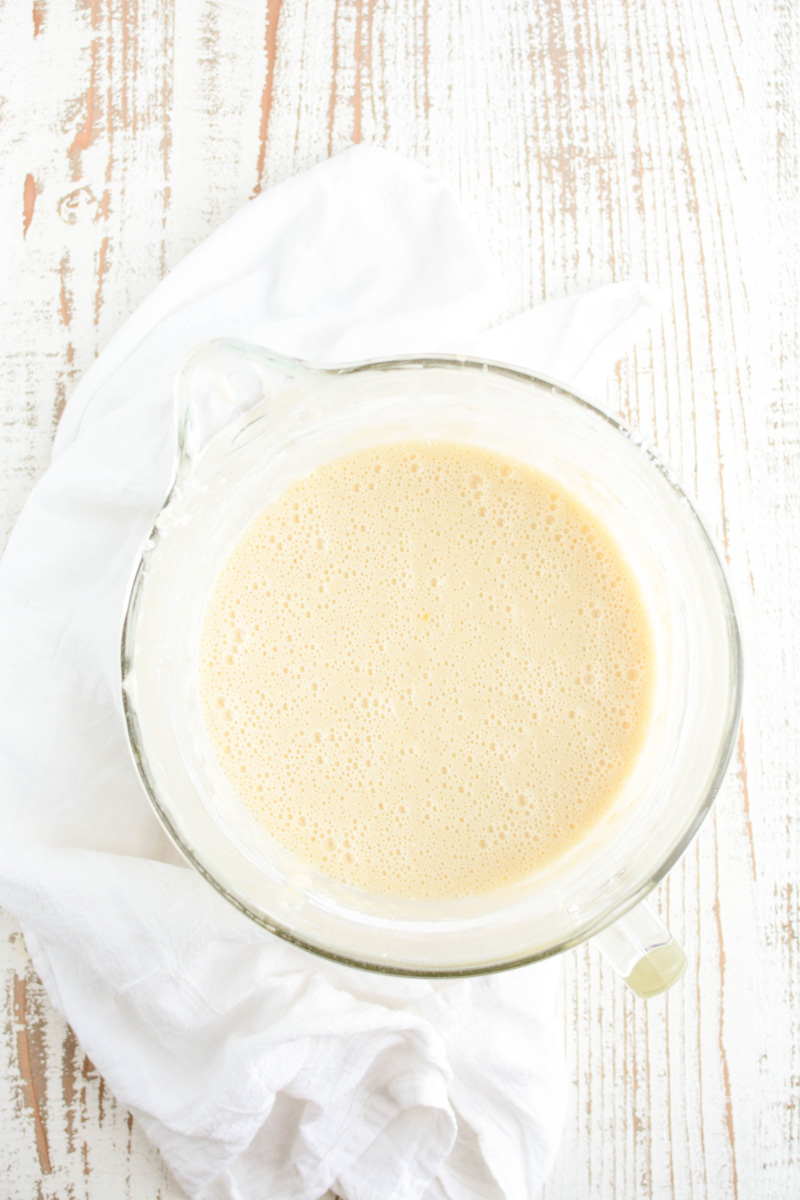
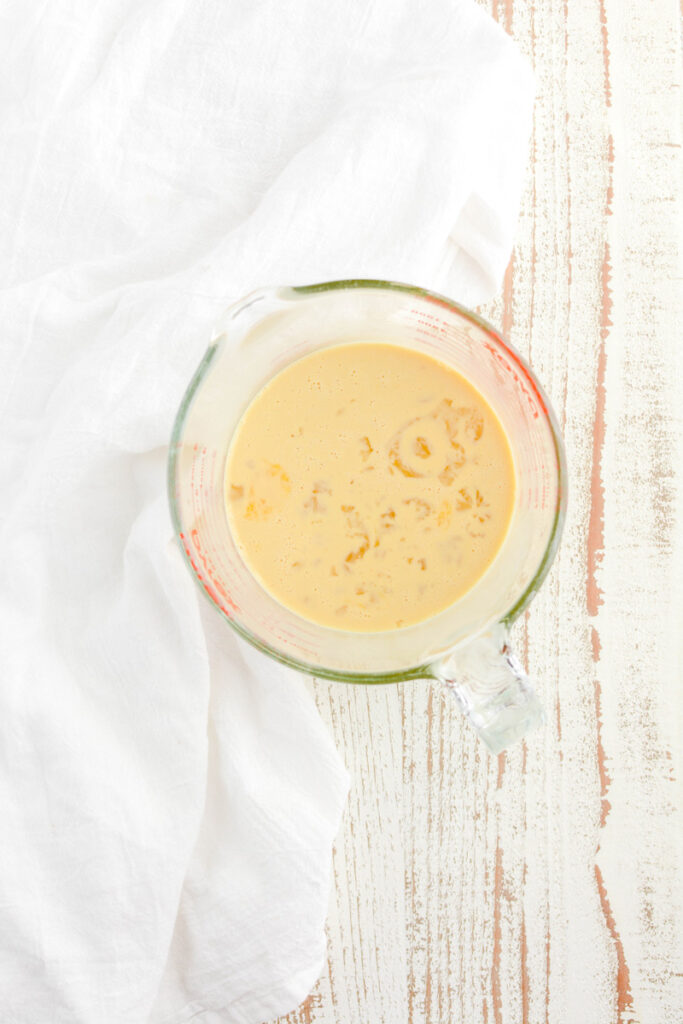
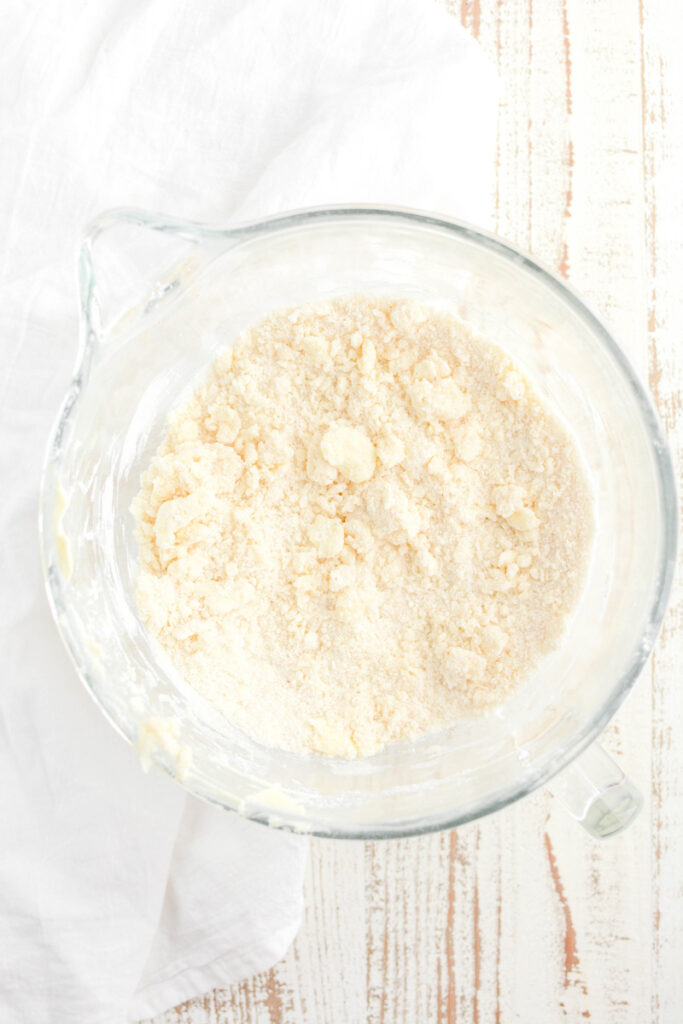
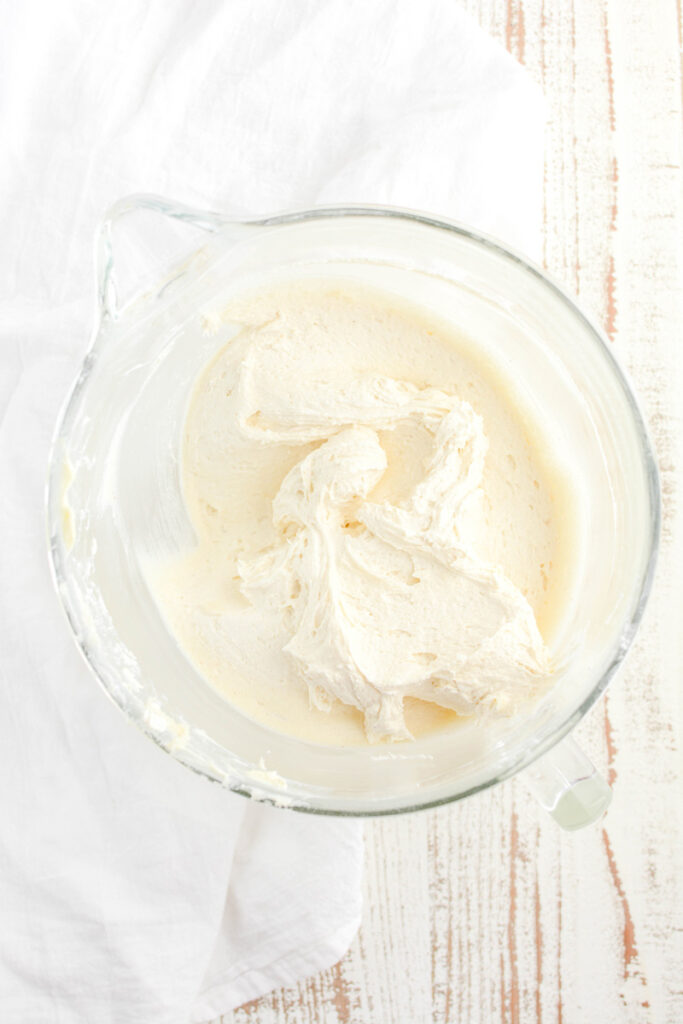
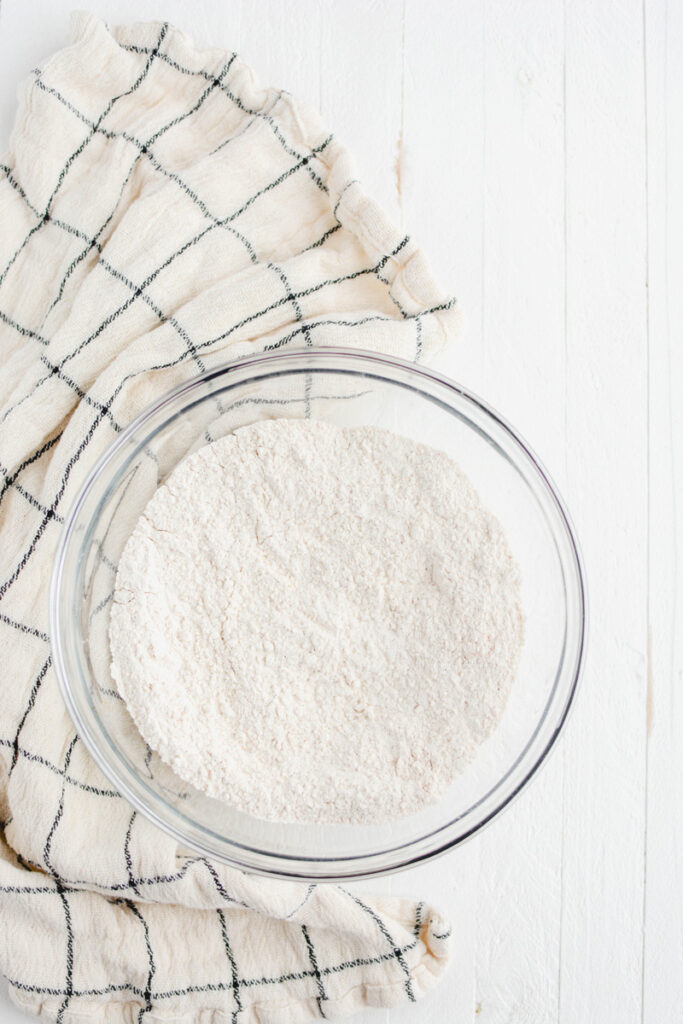
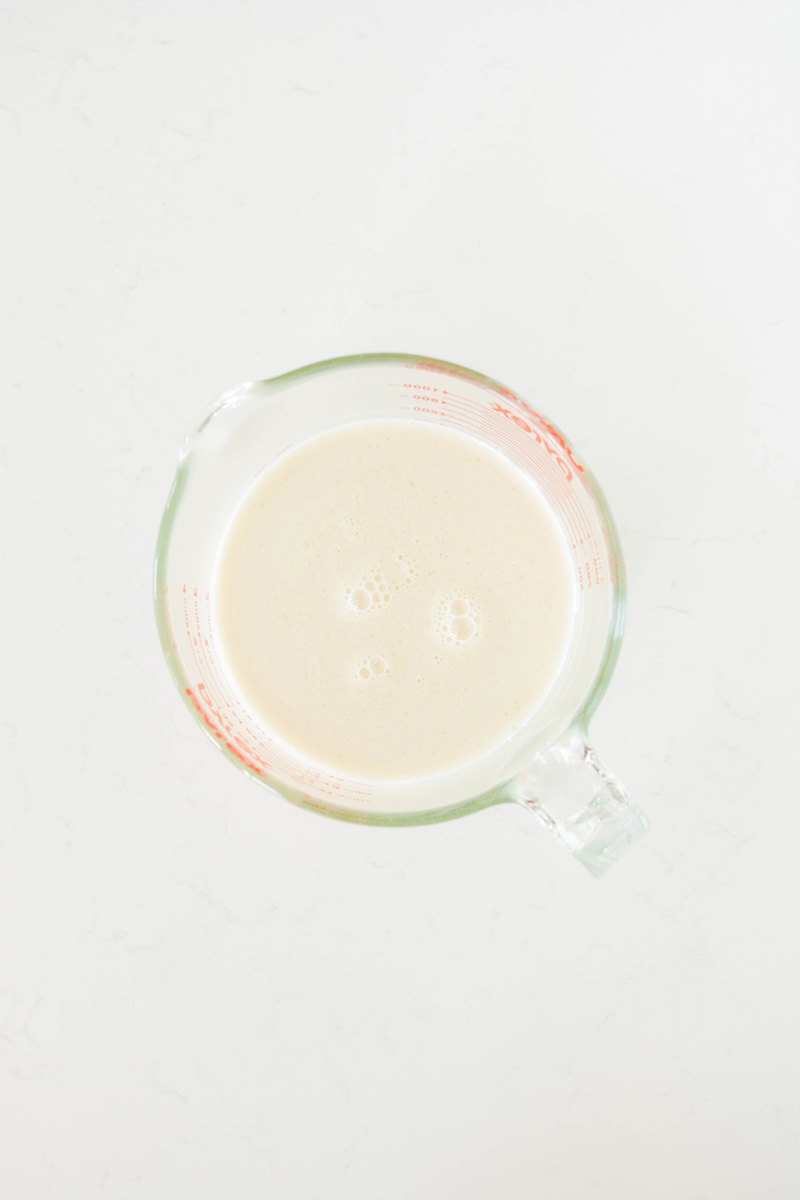
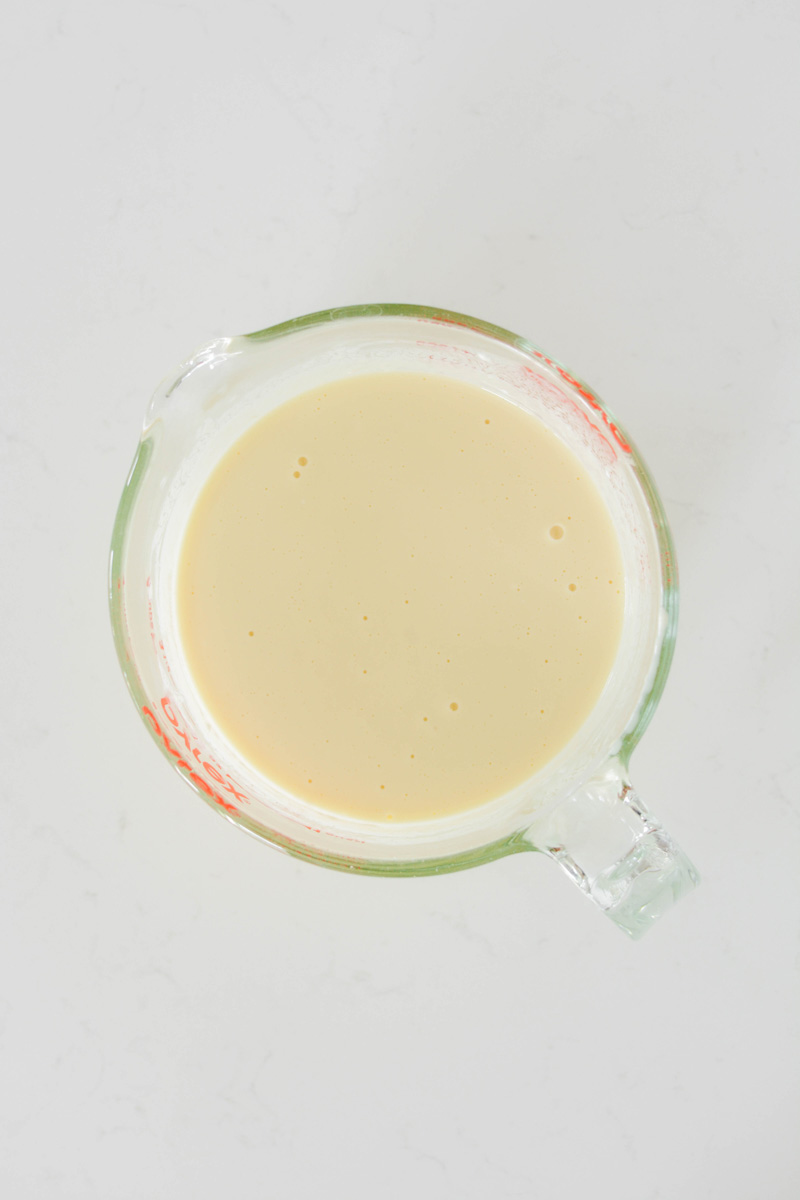
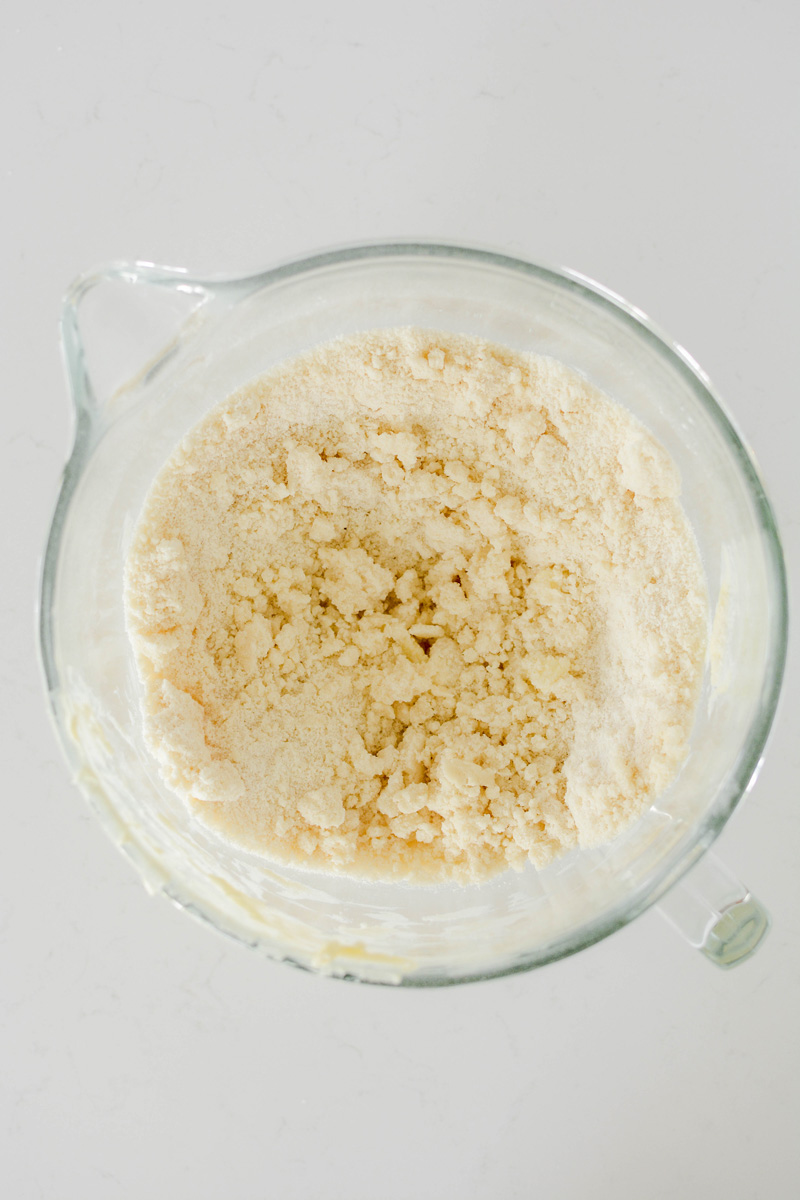
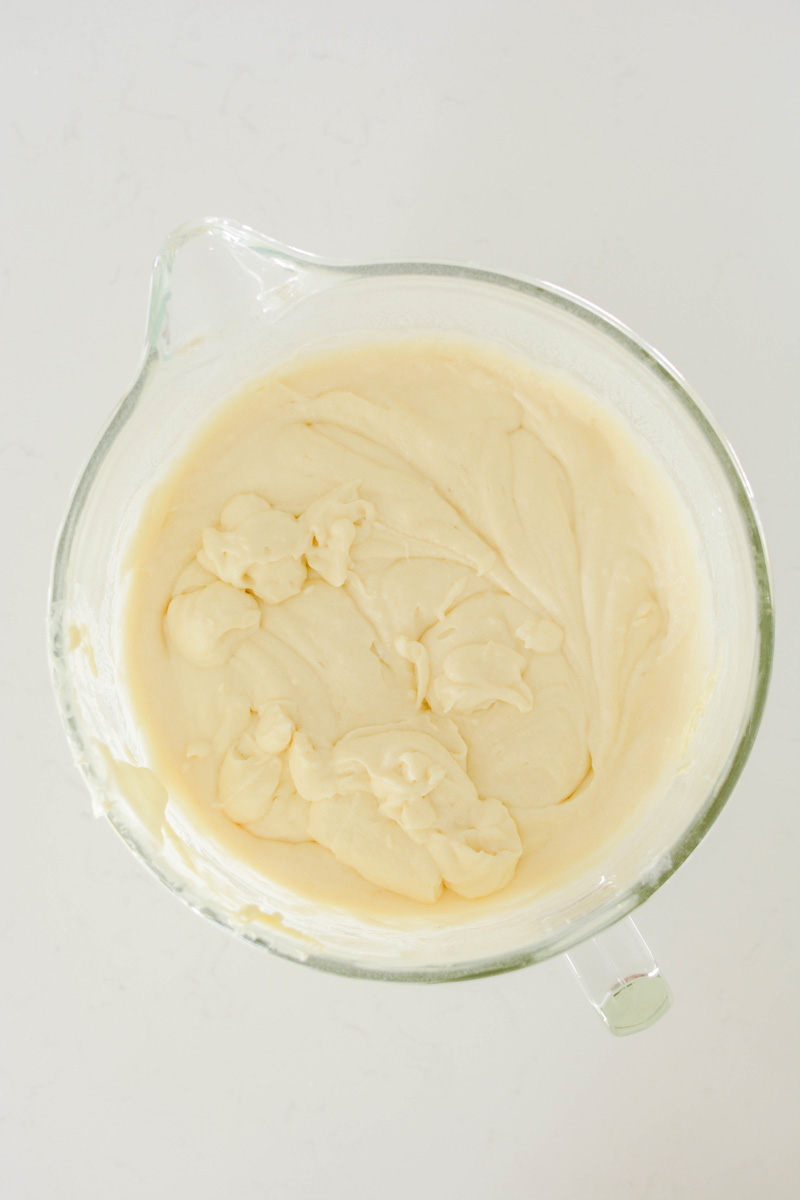
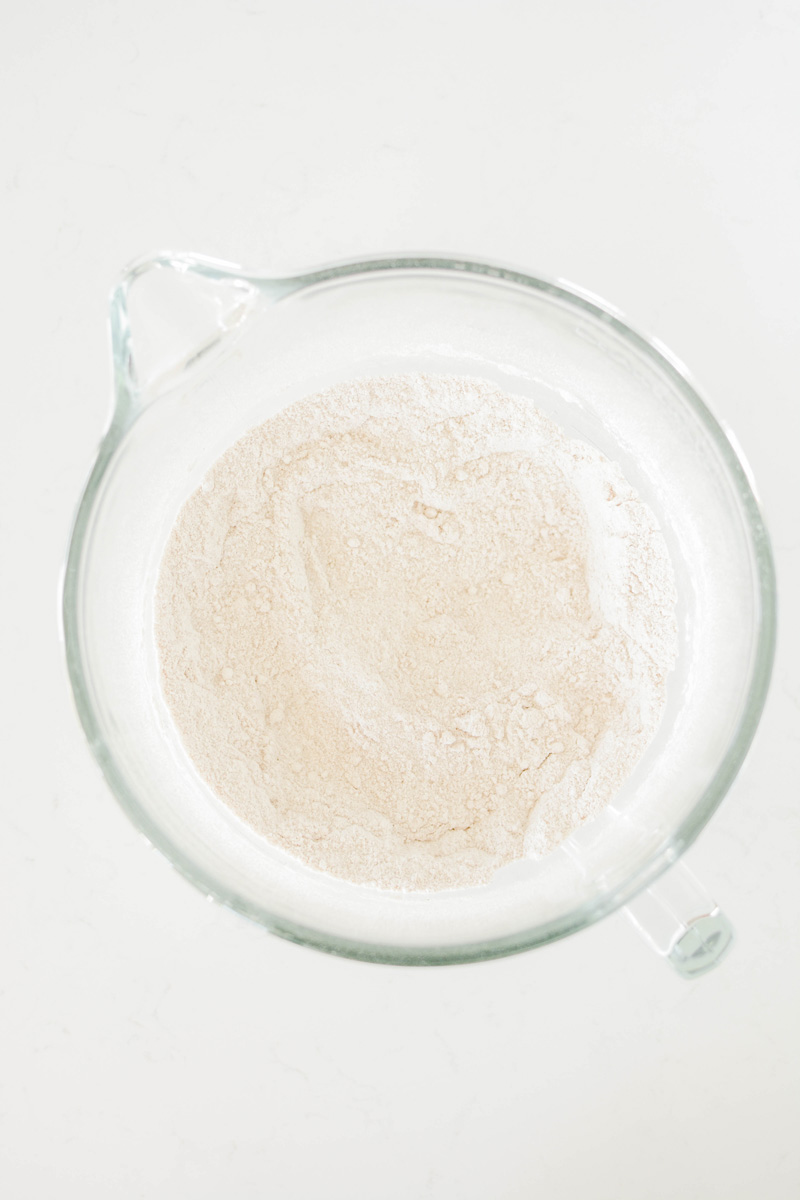
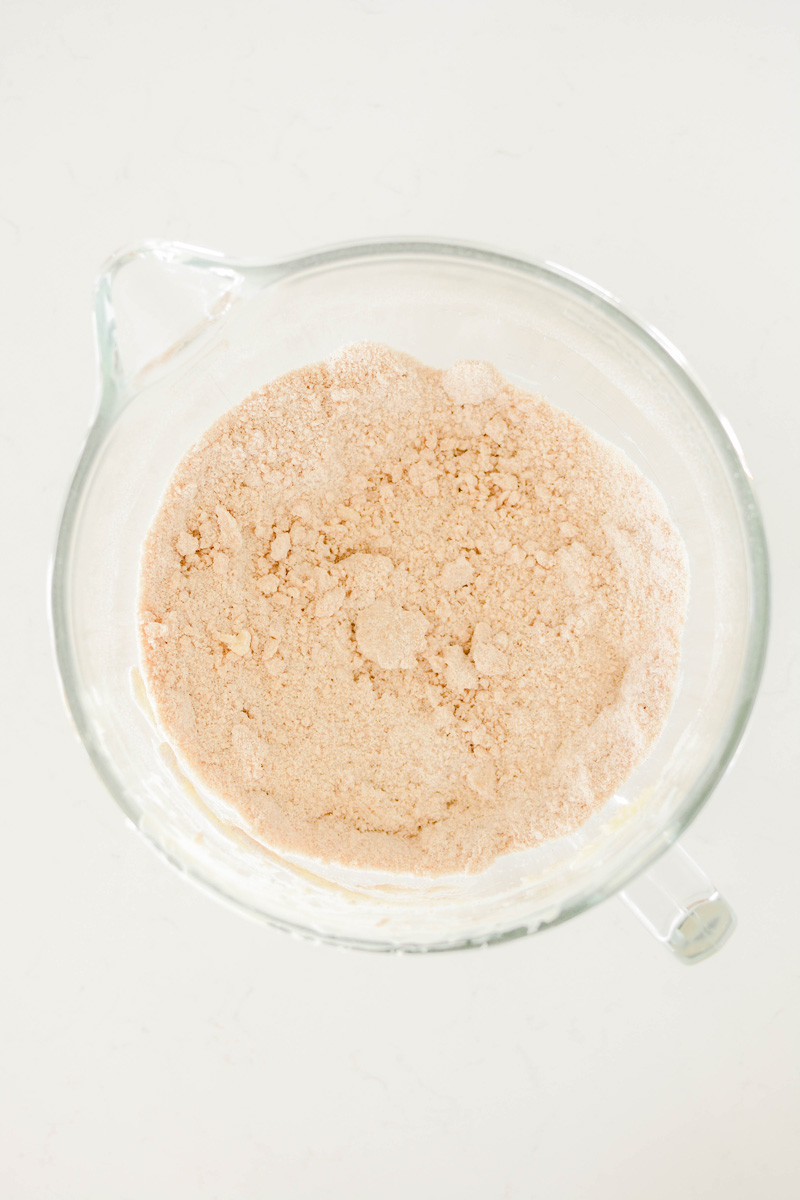
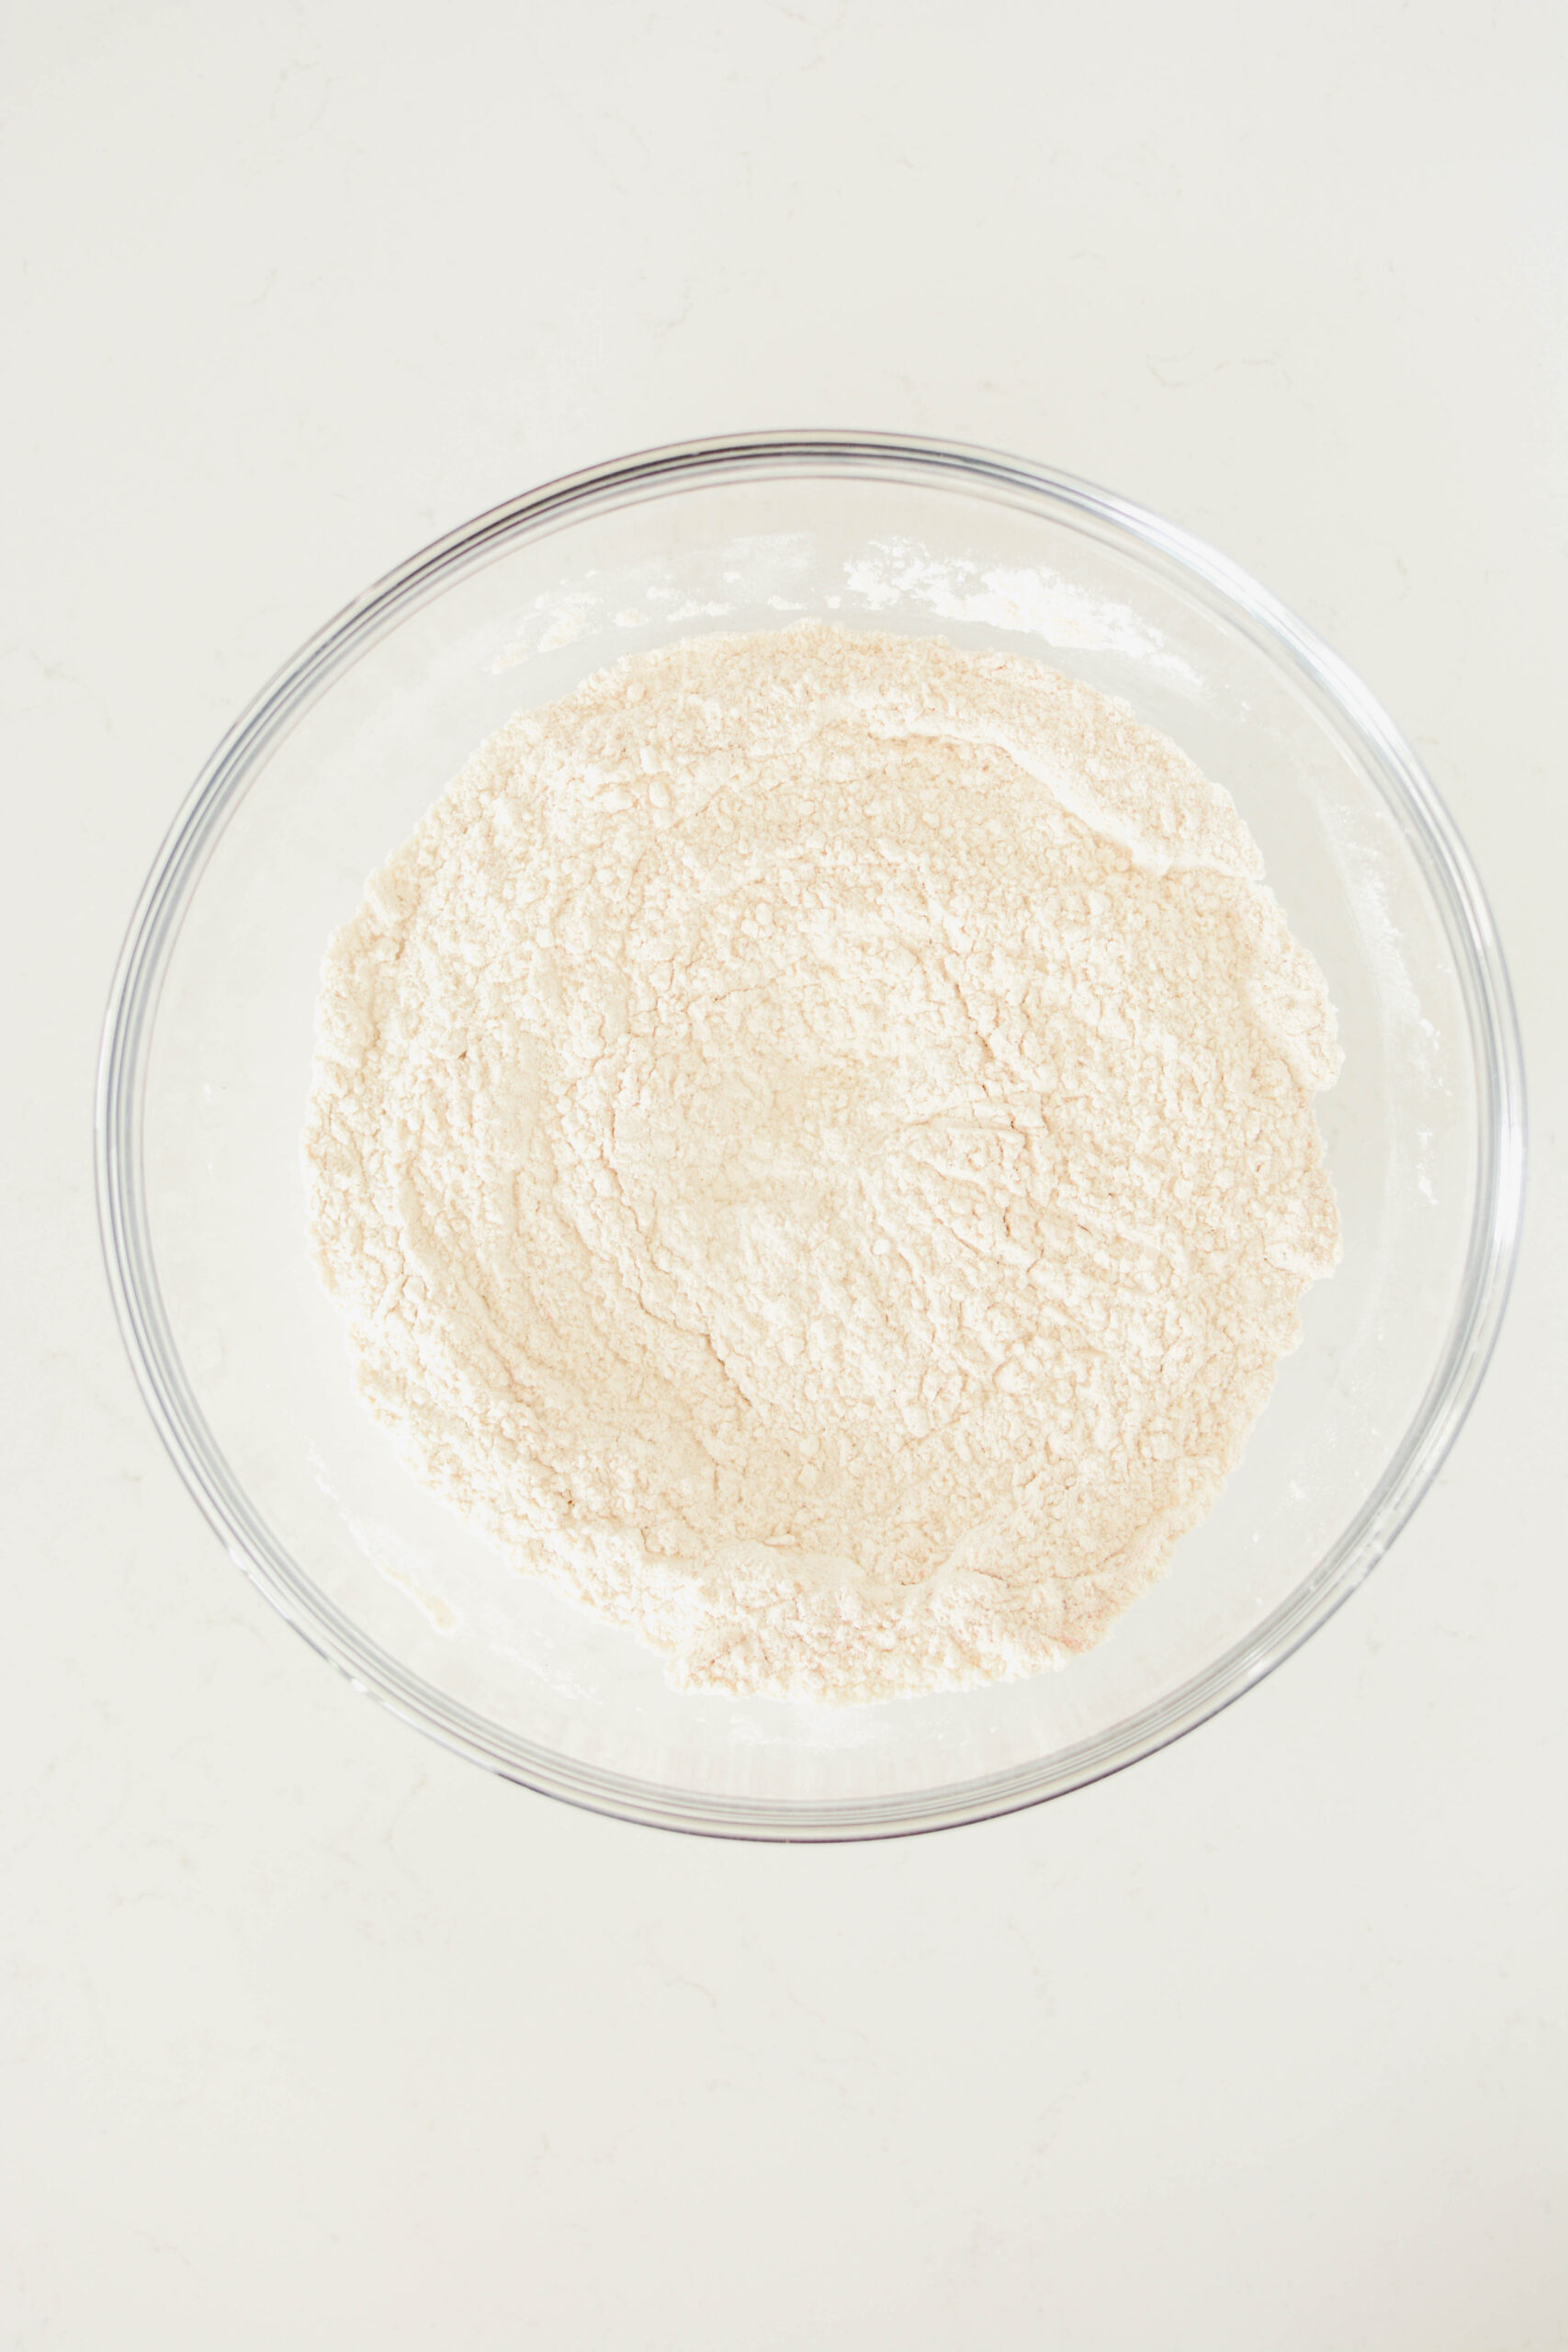
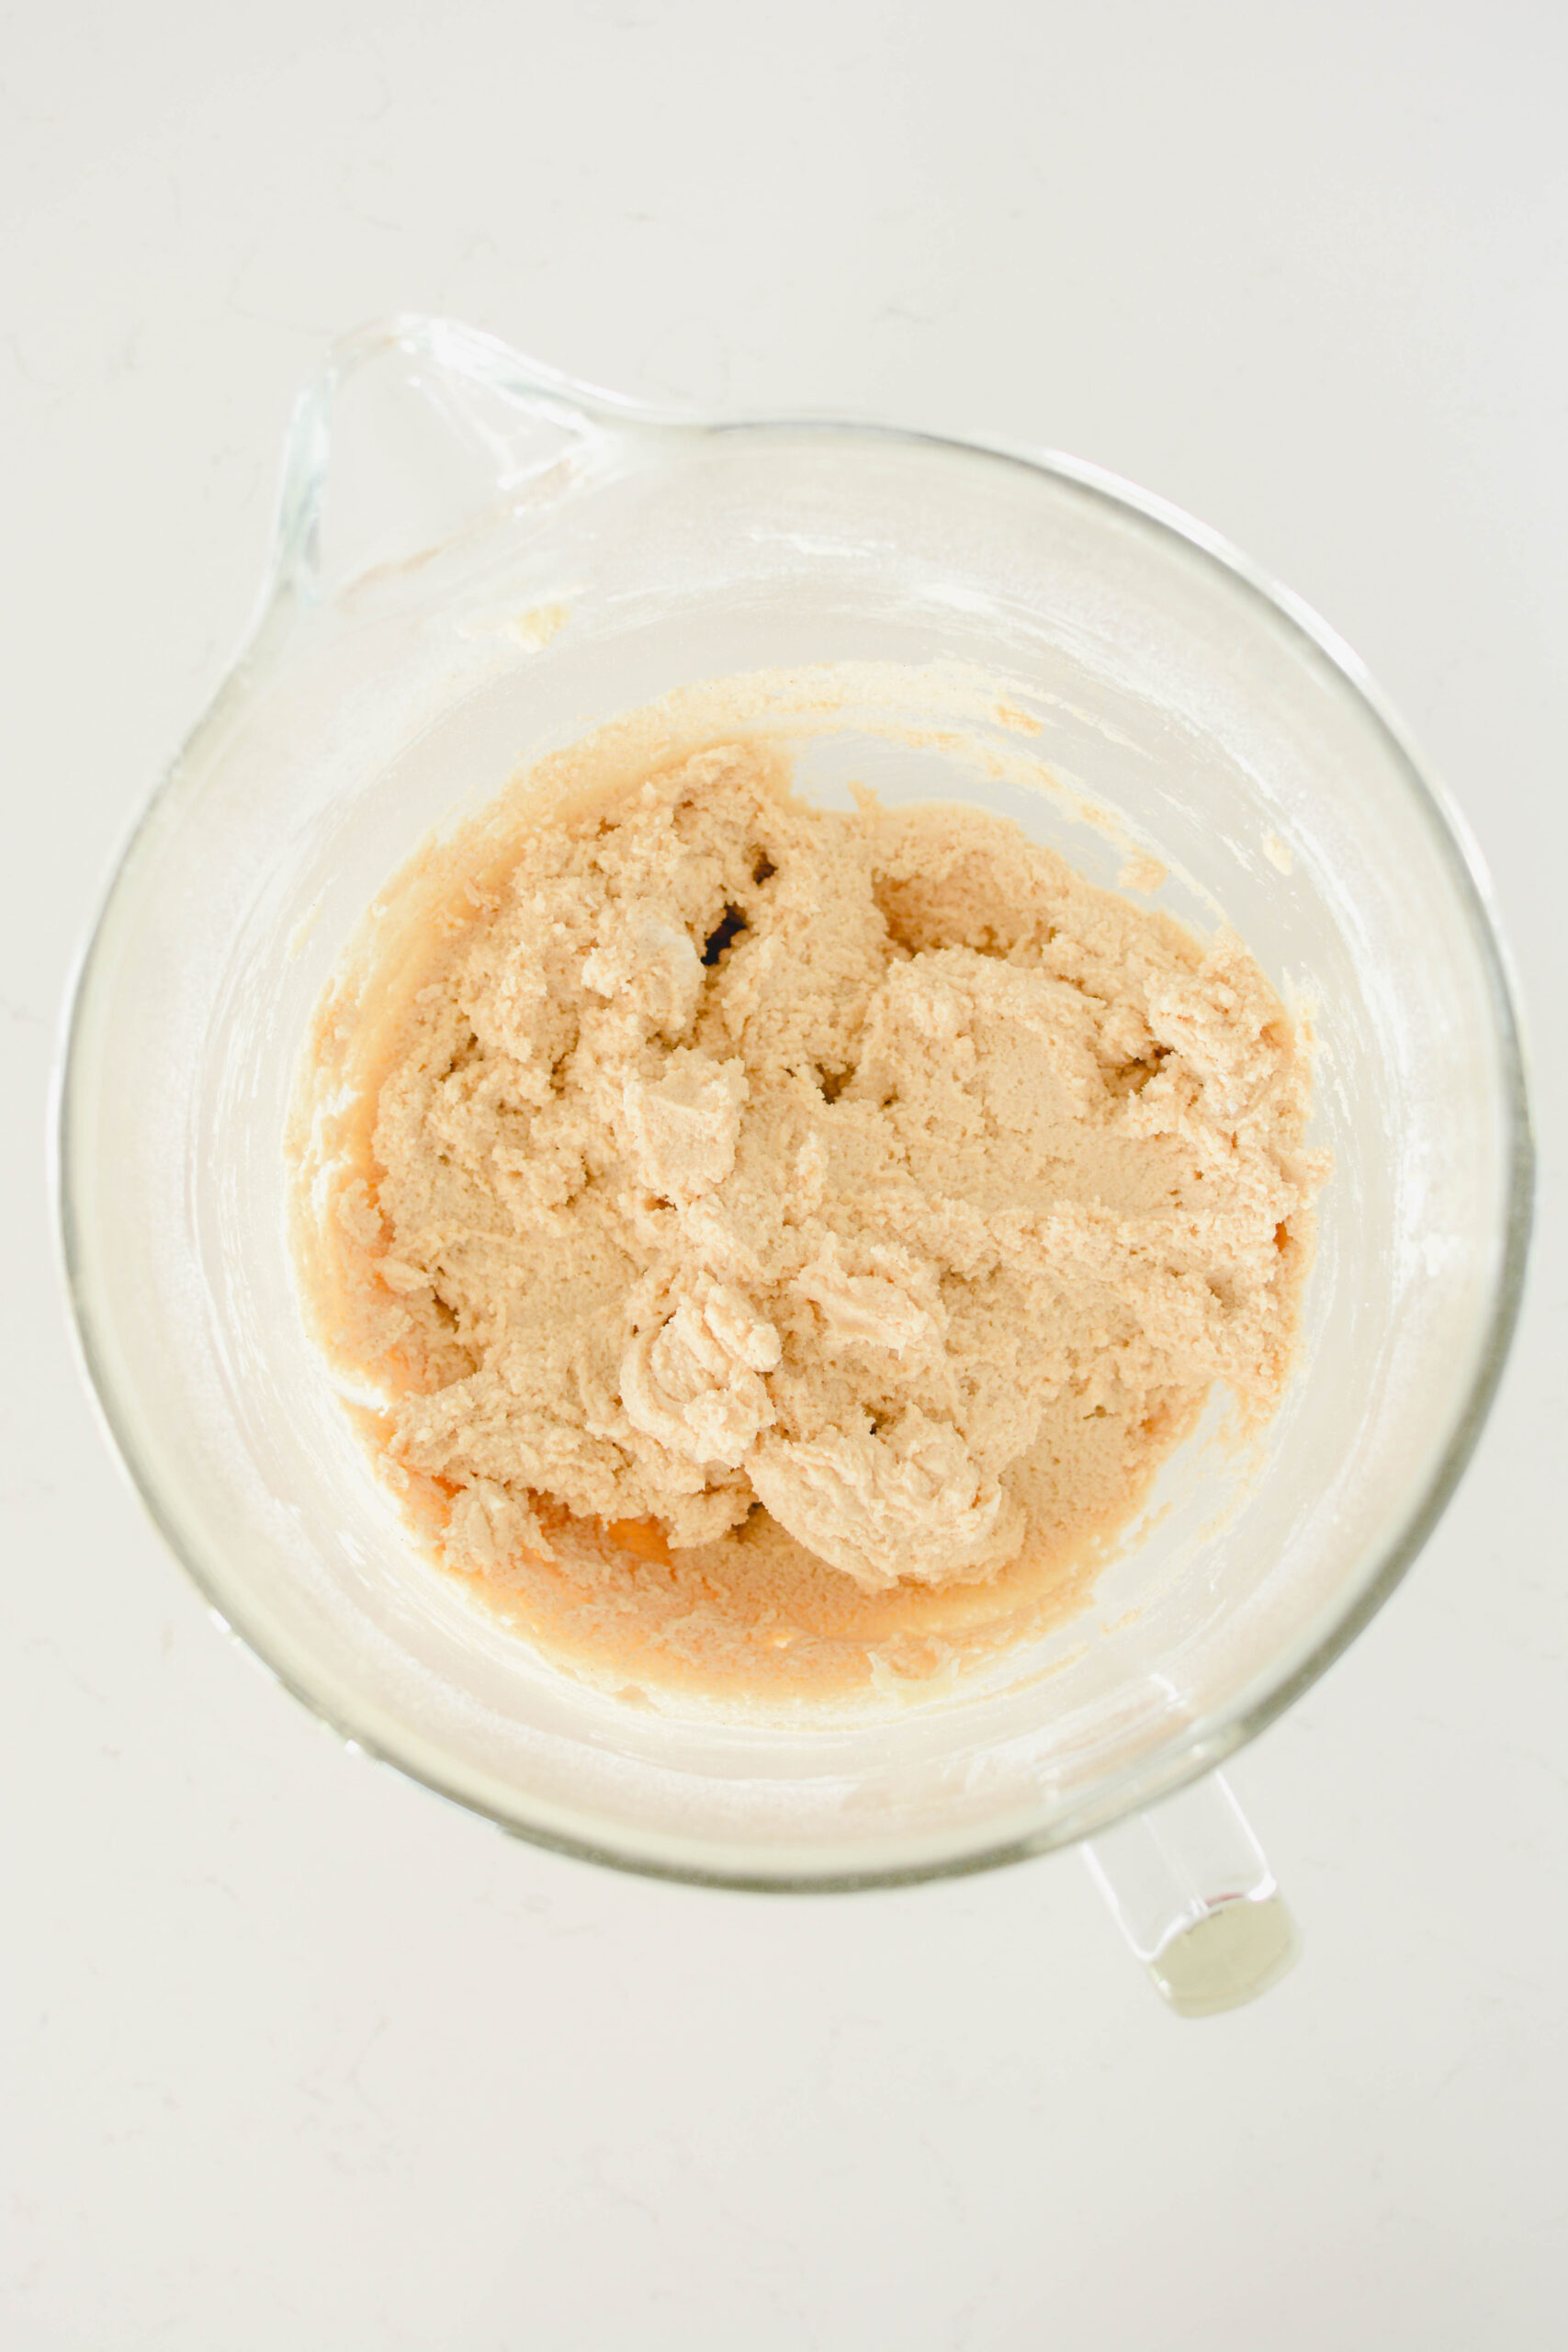
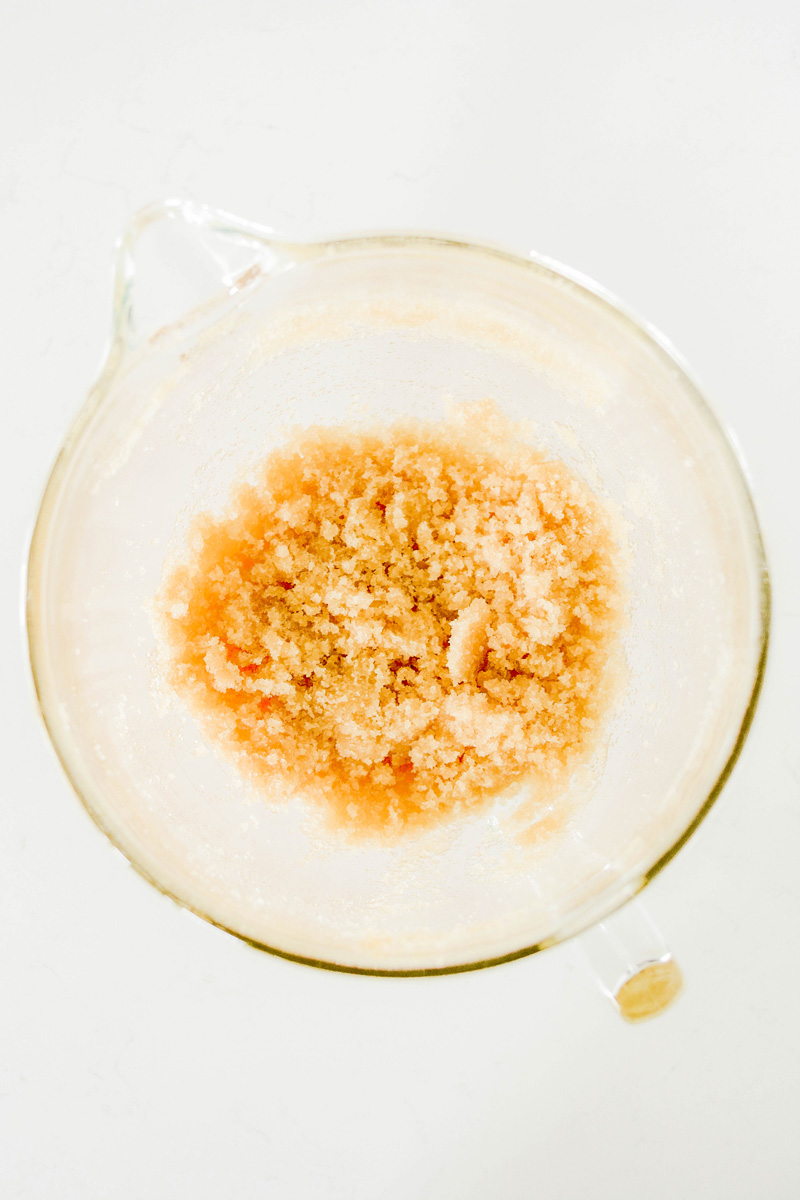
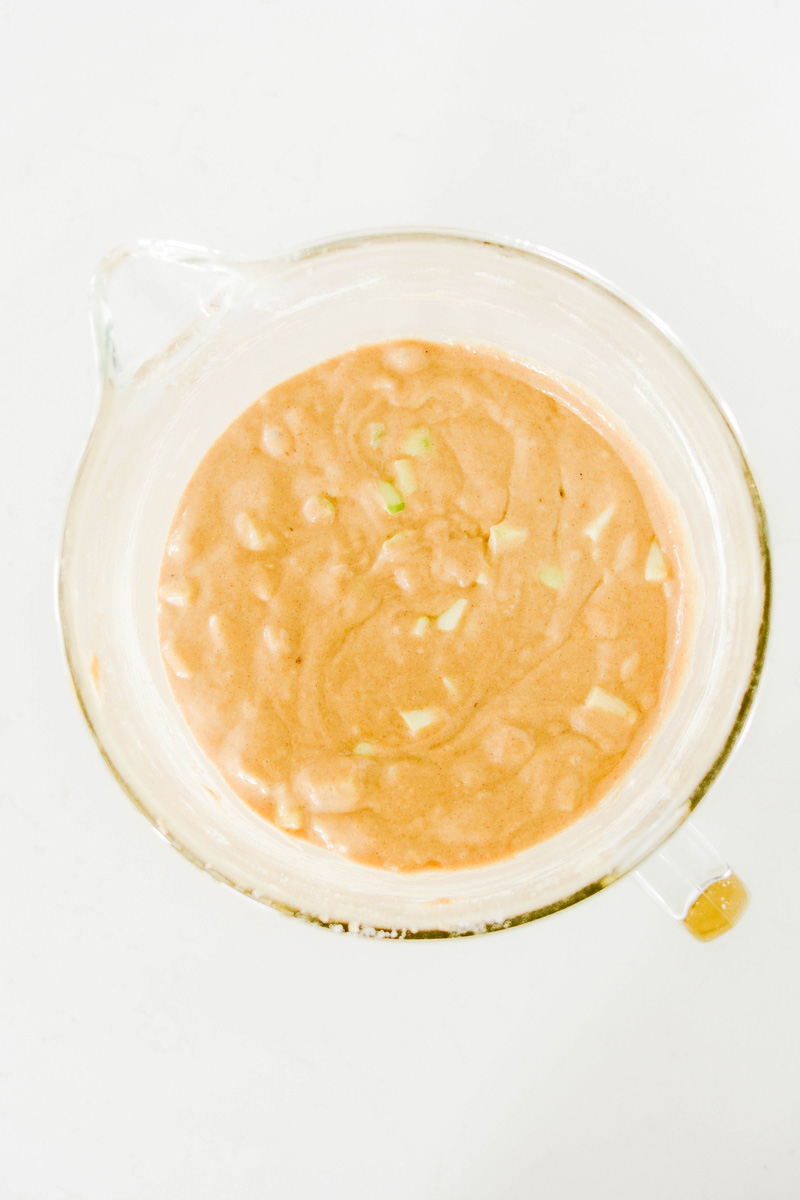
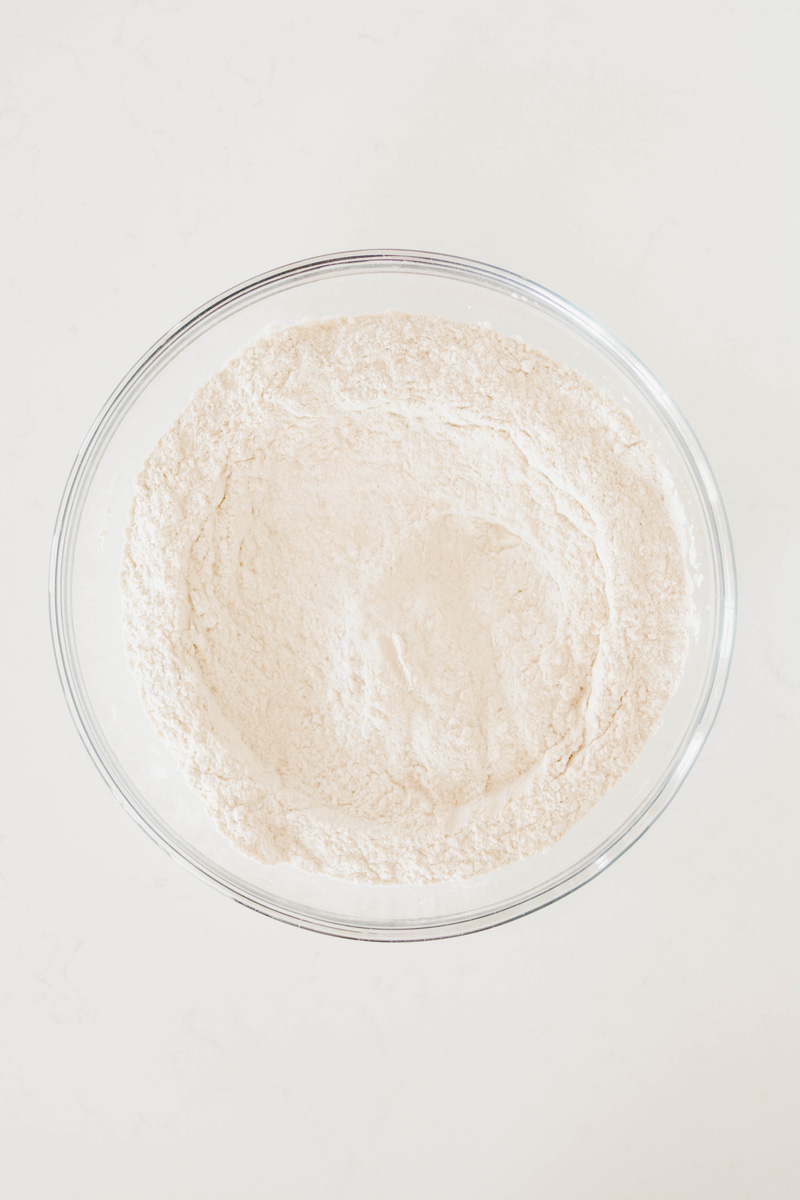
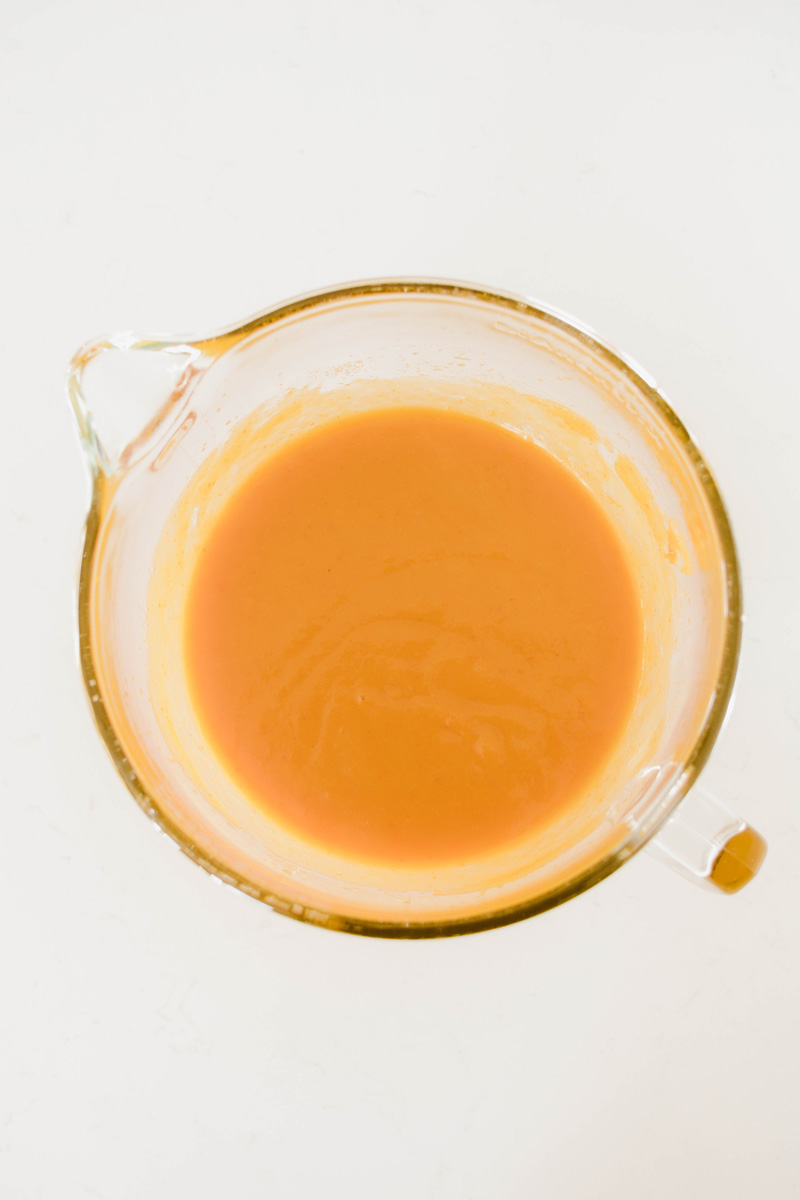
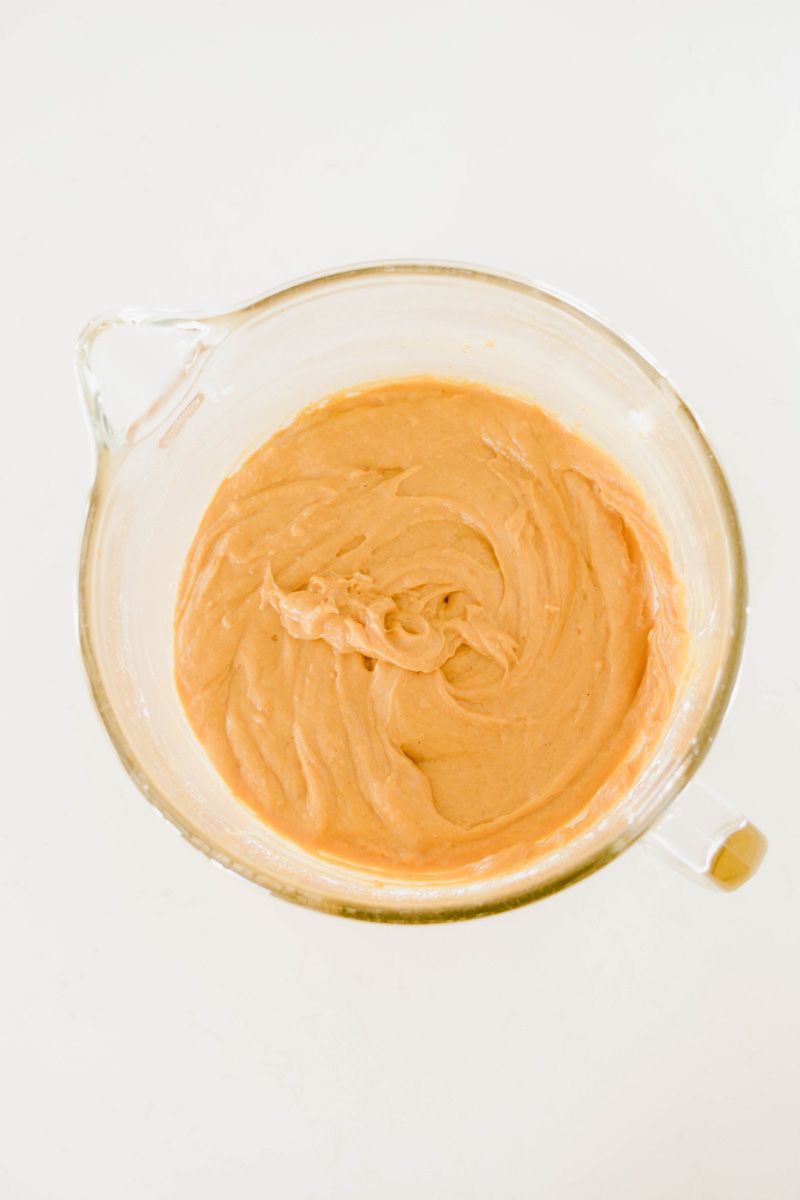
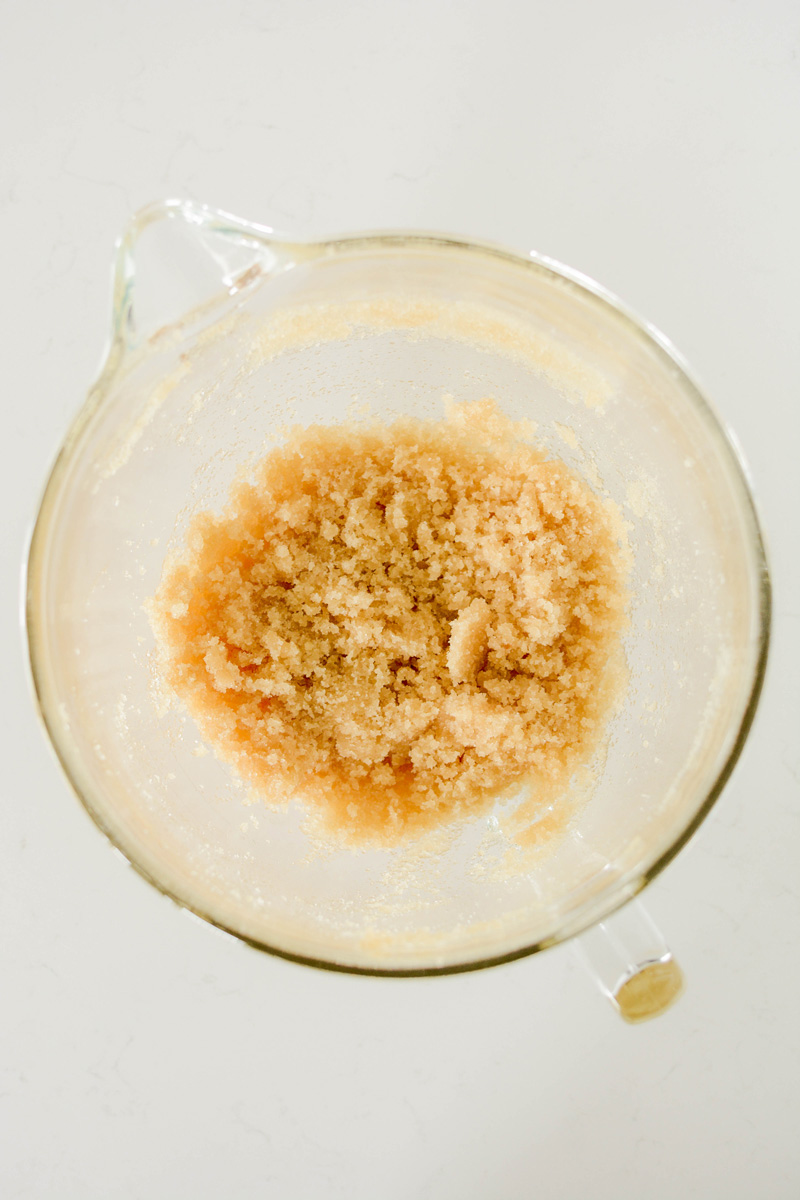
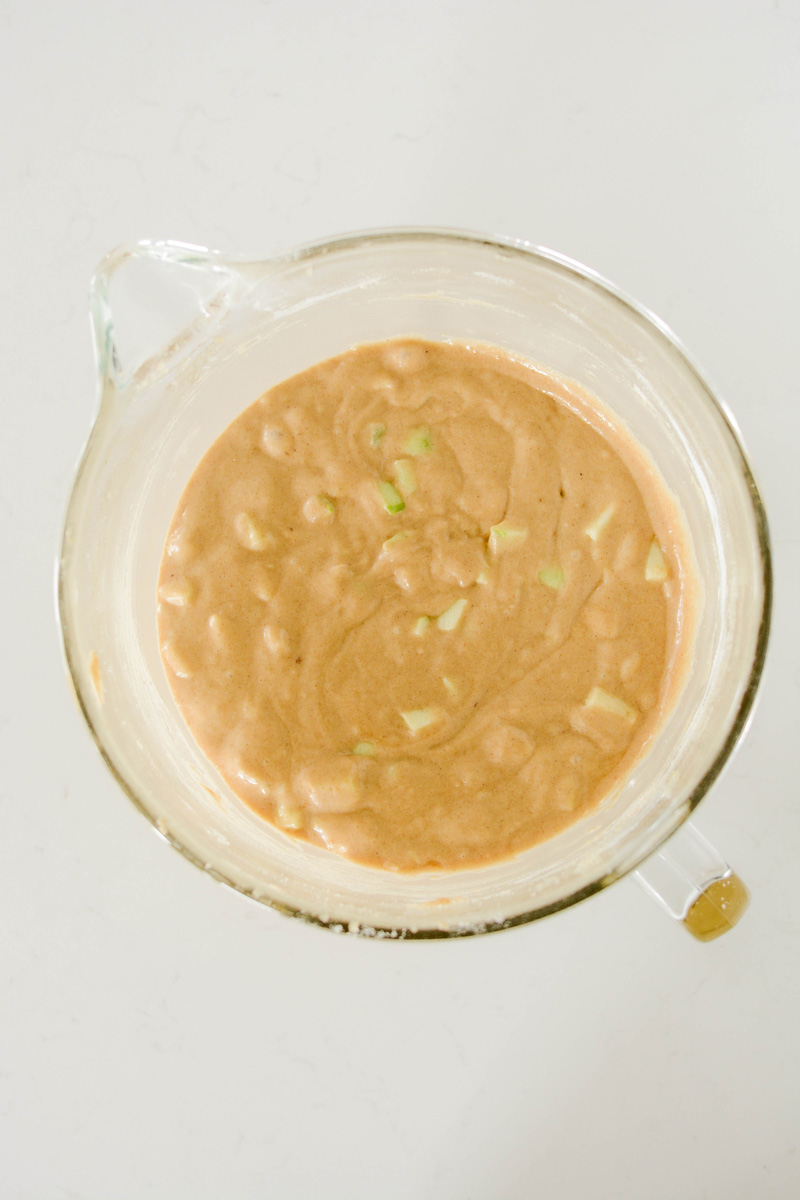
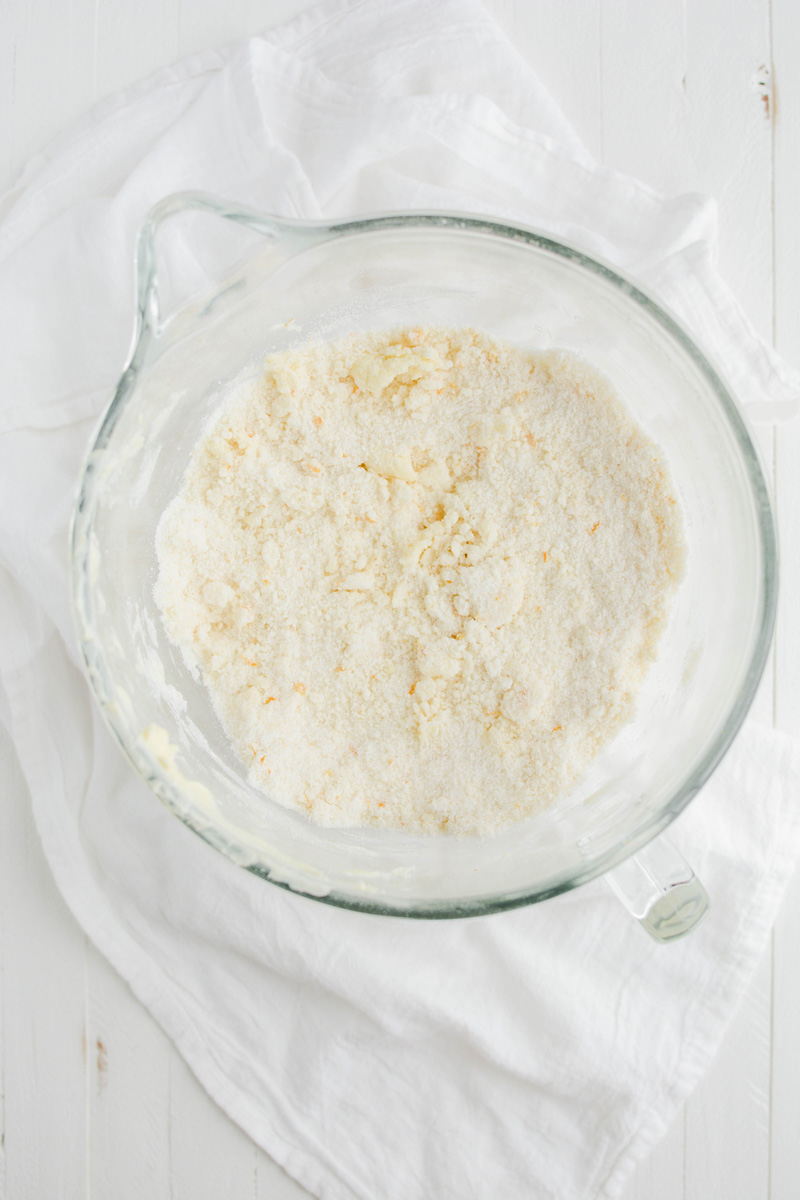
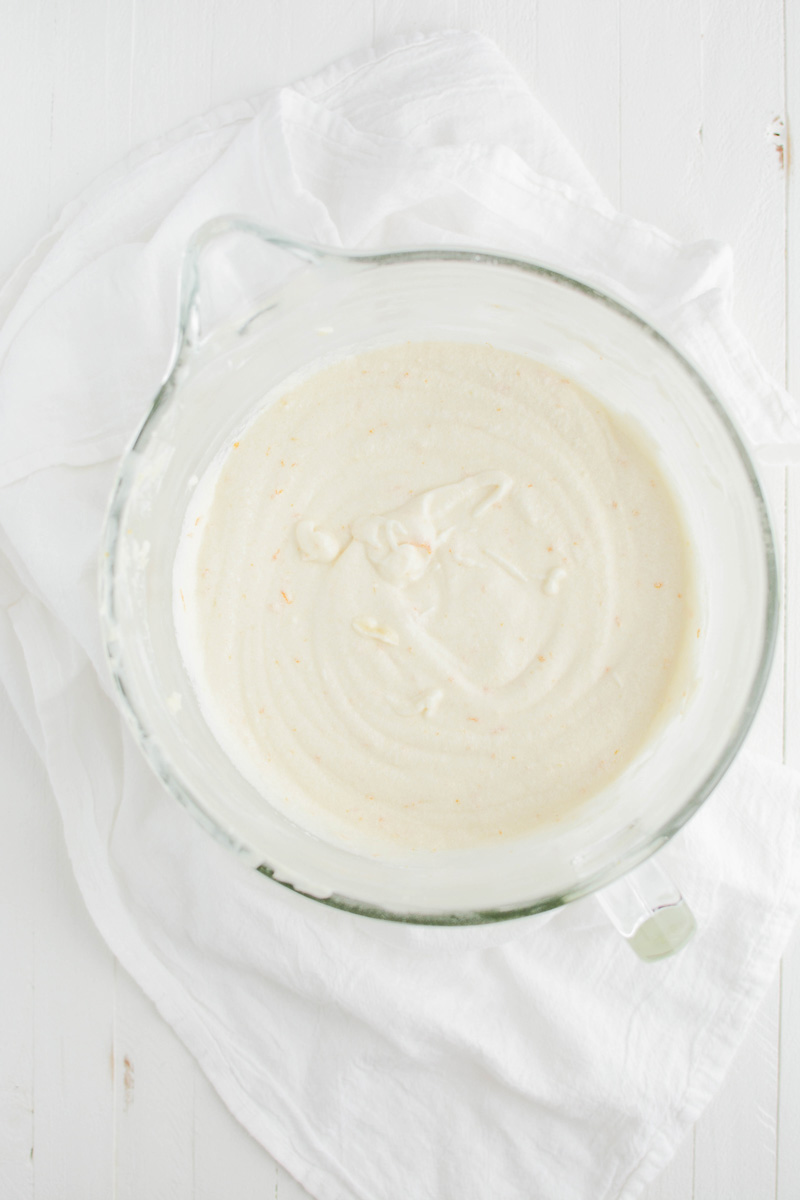
- In a bowl or a 4 cup liquid measuring cup, whisk together milk, egg whites and orange emulsion. In the bowl of a stand mixer, with the paddle attachment attached, mix the flour, sugar, baking powder, salt and orange zest on low speed until combined. Add butter one tablespoon at a time until the mixture forms pea-sized pieces, about 1 minute. Reserve ½ cup of the milk mixture and pour the remaining to the flour mixture and mix on medium-high speed until light and fluffy, about 1 minute. Reduce the mixer speed to medium-low and add the reserved ½ cup milk mixture to the batter and mix until combined, about 30 seconds. Do not over mix. The batter may look curdled. Give the batter a final stir by hand with a rubber spatula.
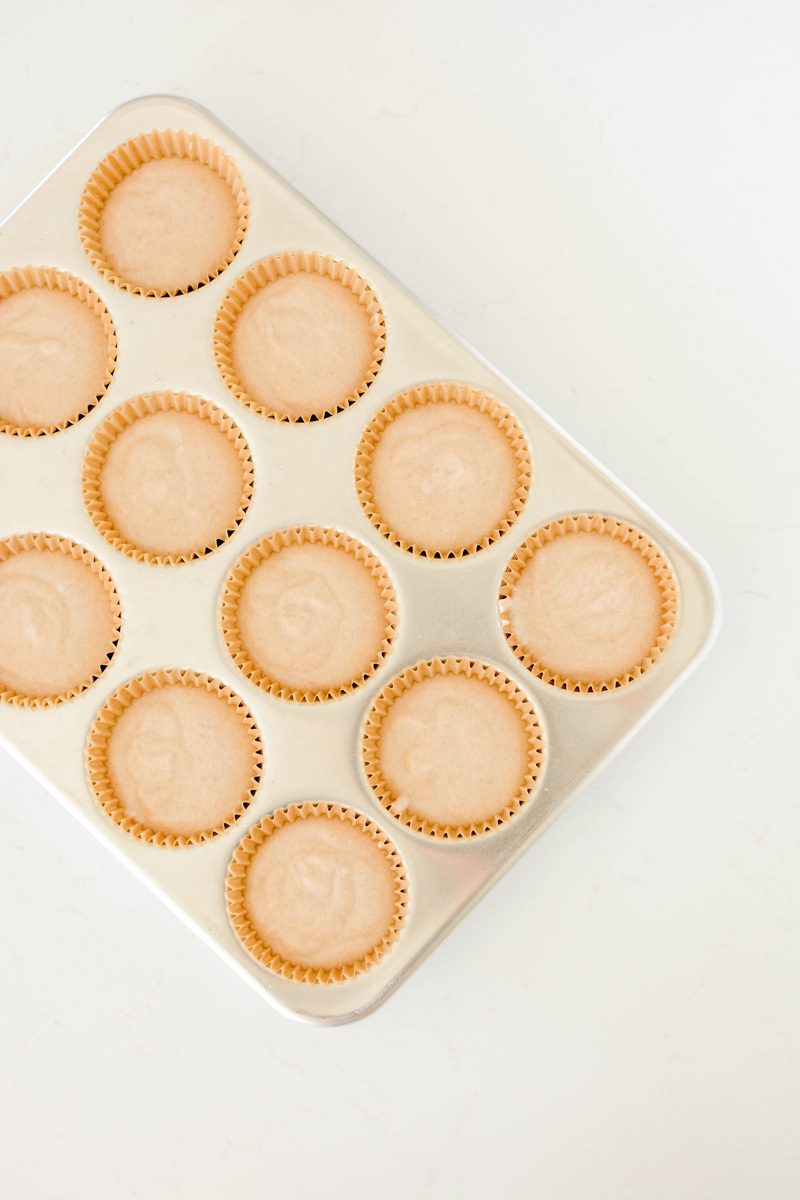
- Divide the batter evenly between the prepared cake pans and smooth tops with a rubber spatula. Gently tap cake pans on the counter to settle the batter and bake until a toothpick inserted in the centers comes out with a few moist crumbs attached, about 20 to 25 minutes, switching and rotating pans halfway through baking.
- Let cakes cool in their pans on wire racks for 10 minutes. Invert cakes on to wire racks to cool completely, about 2 hours.
CRANBERRY FILLING
- In a medium-sized saucepan, combine the cranberries, sugar and water-cornstarch mixture and cook over medium heat. Stir frequently until the sugar has dissolved and cover and cook until the cranberries begin to pop.
- Stir in orange zest. Simmer uncovered for another 5 to 10 minutes, stirring frequently until the mixture starts to thicken. Transfer filling to a heatproof bowl and cool completely. Cover and refrigerate until ready to use.
ORANGE CURD
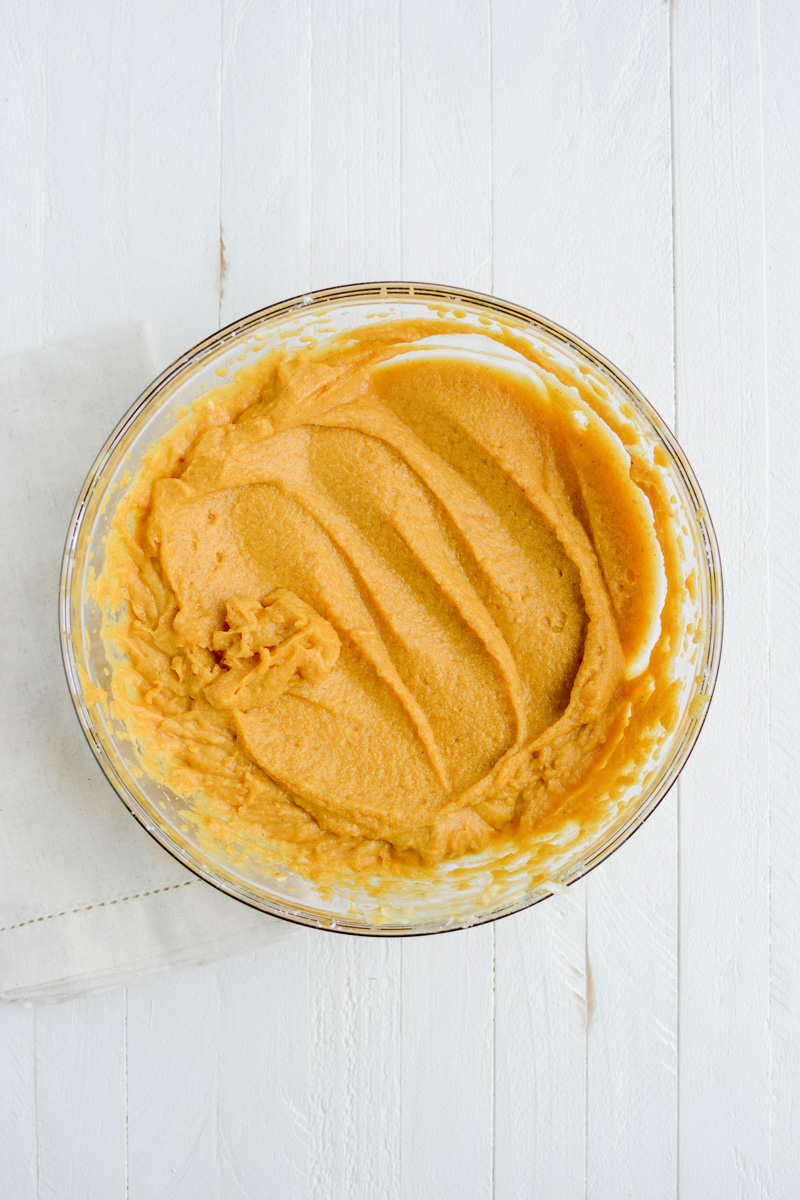
- In a medium sized saucepan, whisk together the eggs, sugar, salt, orange juice and zest.
- Over low heat, whisk constantly for about 15 to 20 minutes or until the mixture starts to thicken. The curd should coat the back of a wooden spoon without being translucent.
- Remove the curd from the heat and stir in the butter. Strain the curd through a fine-mesh sieve into a bowl to remove any solids that may have formed while cooking. Place a piece of plastic wrap on the surface of the curd and chill in the refrigerator for at least 3 hours or overnight.
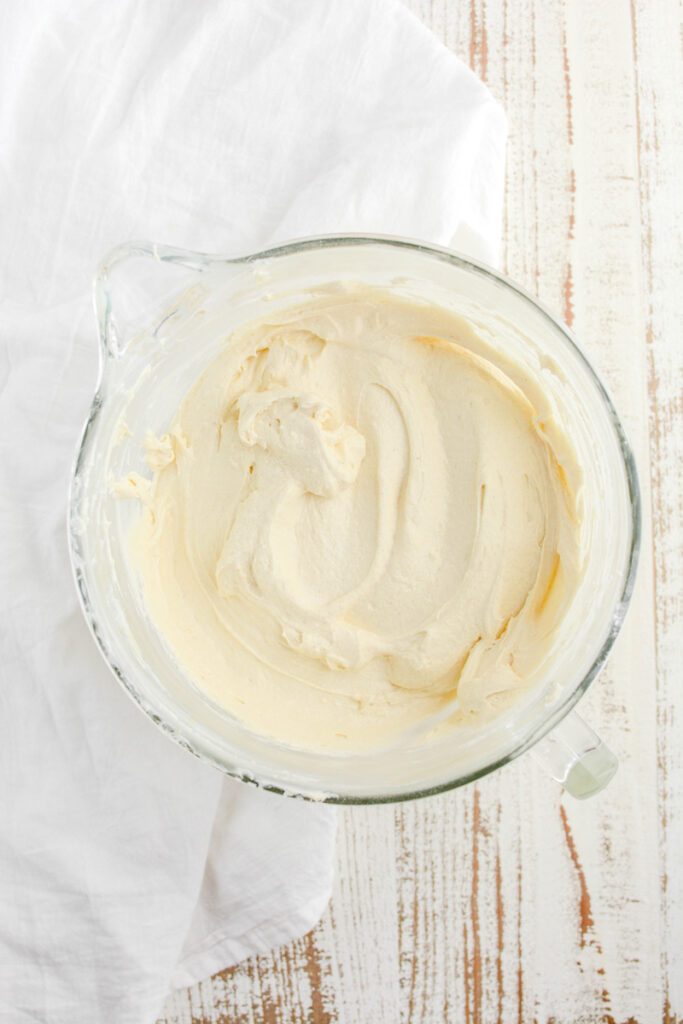
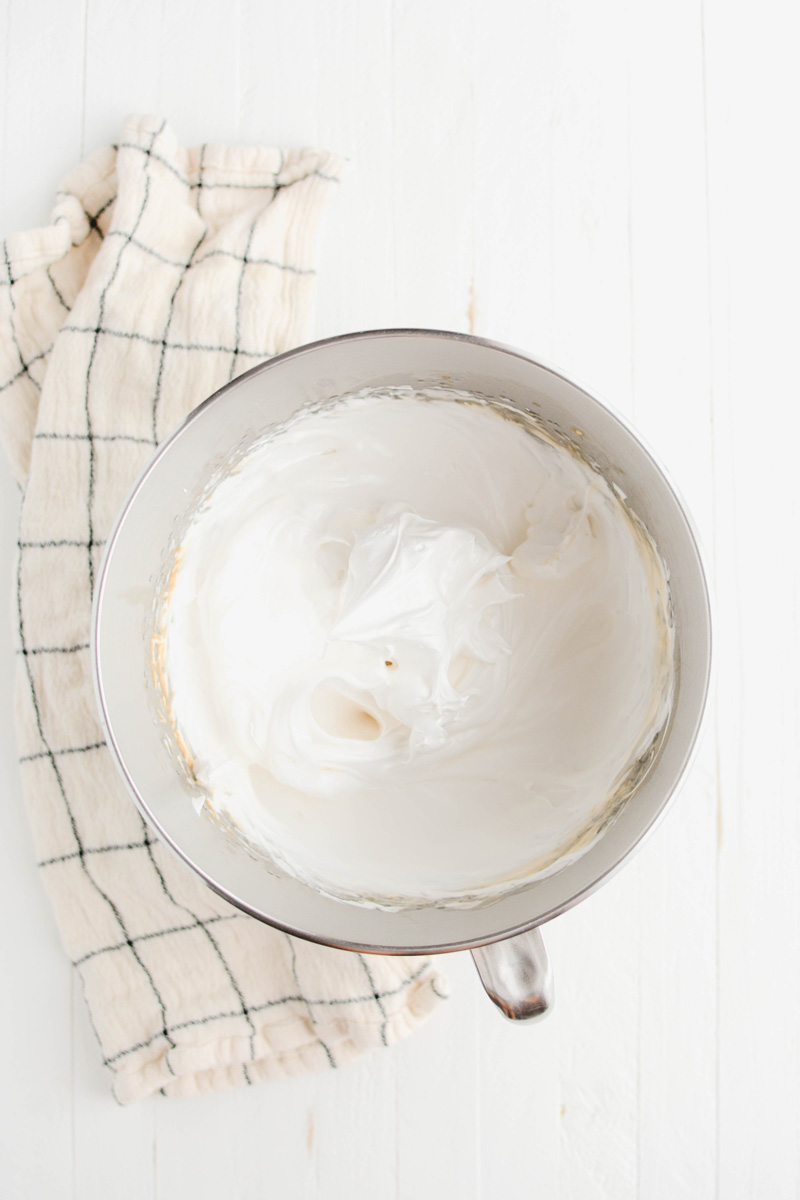
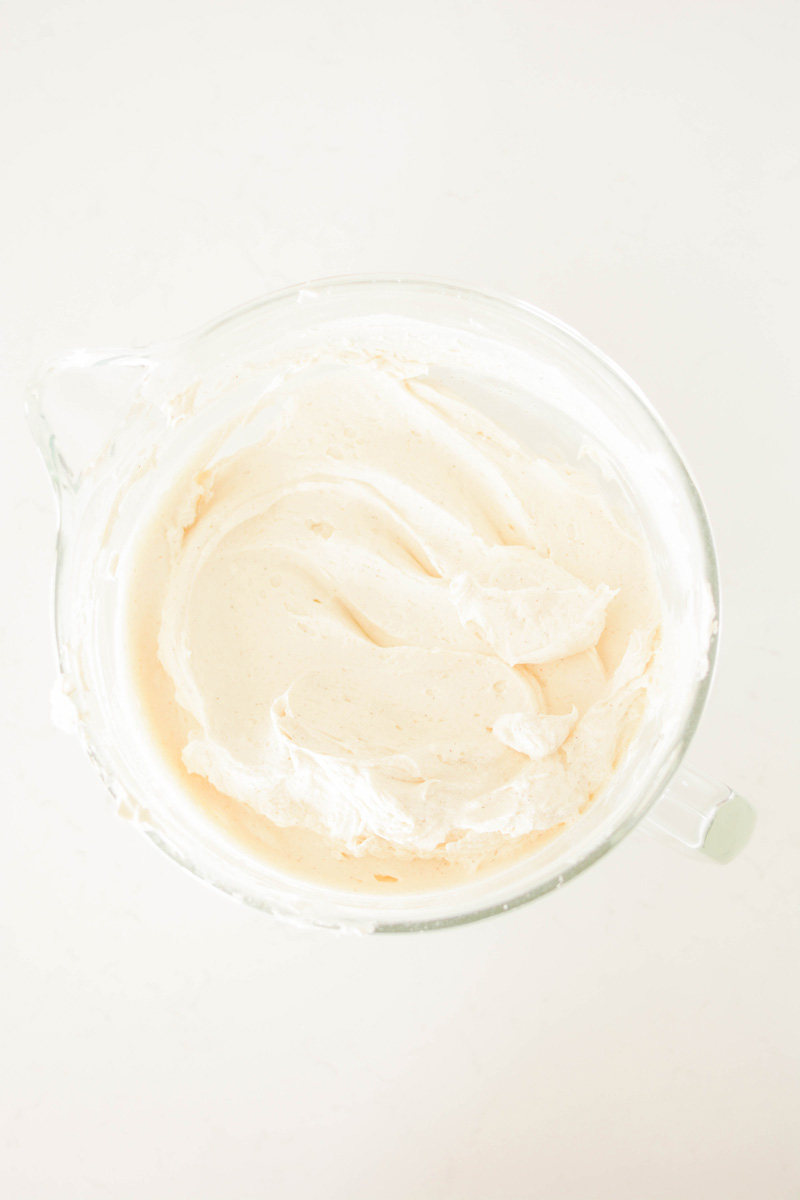
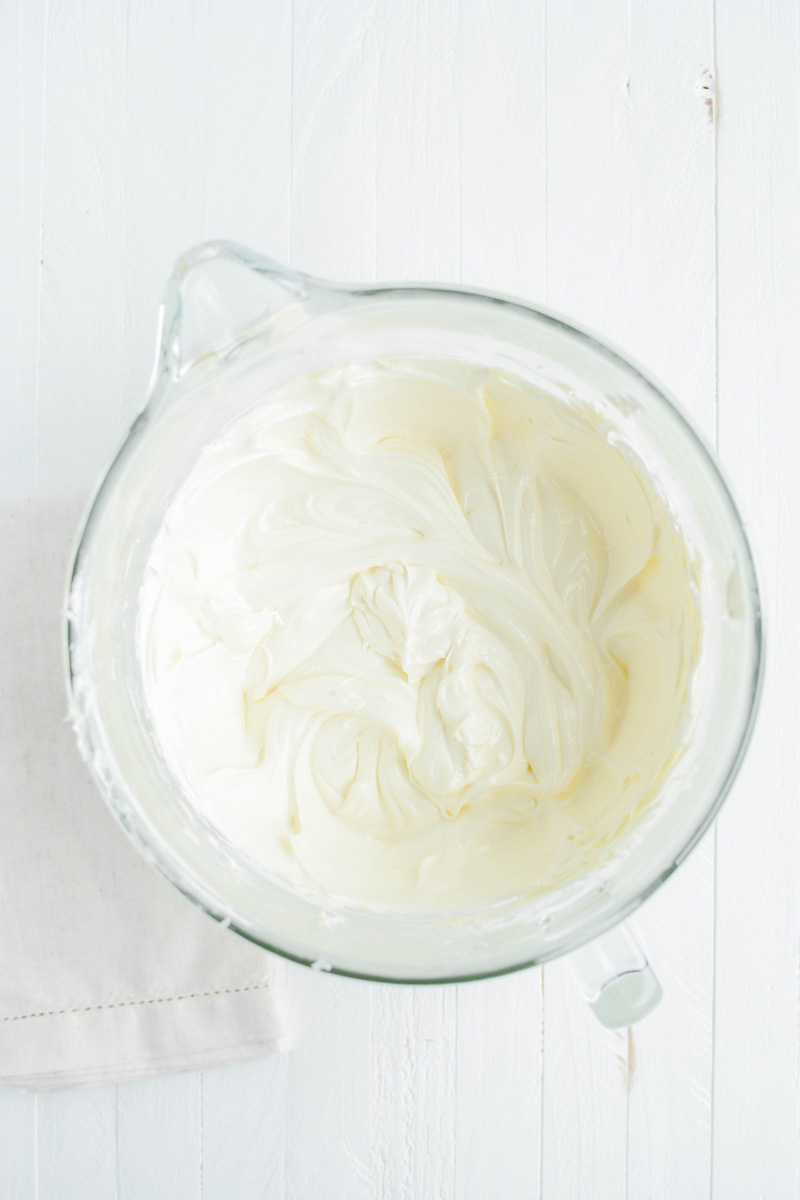
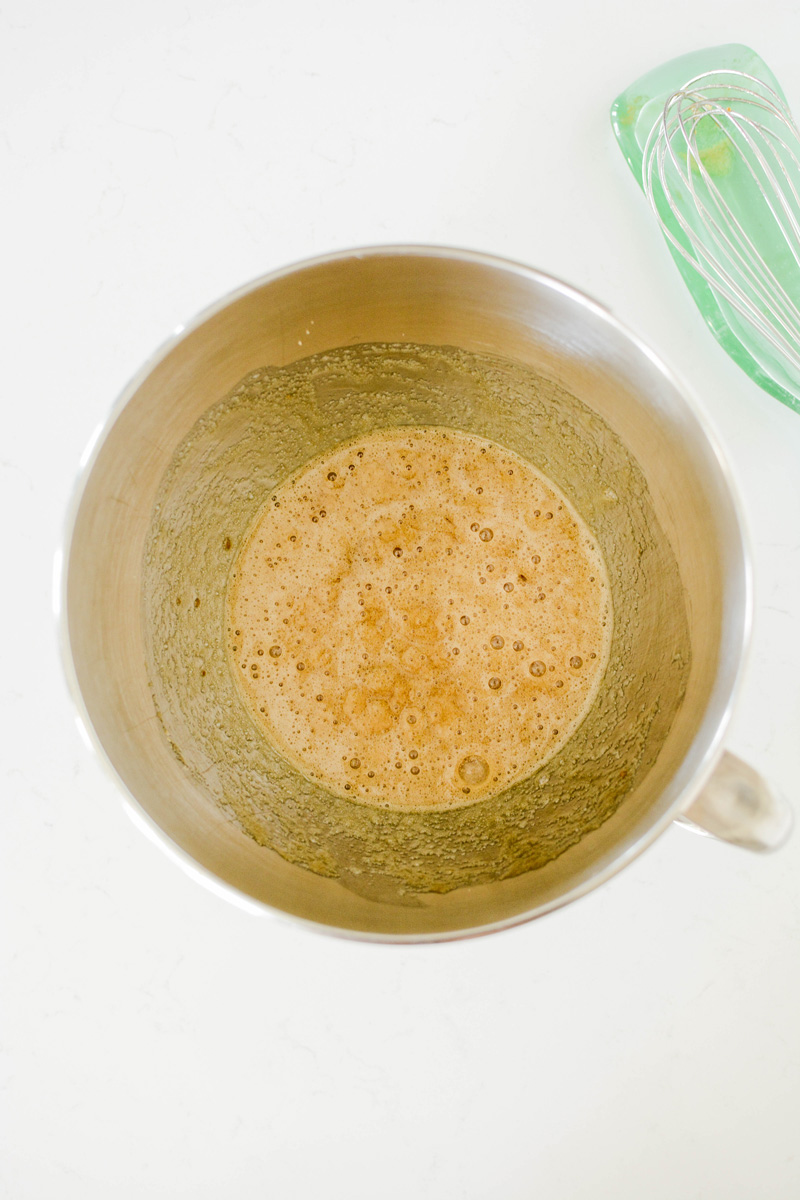
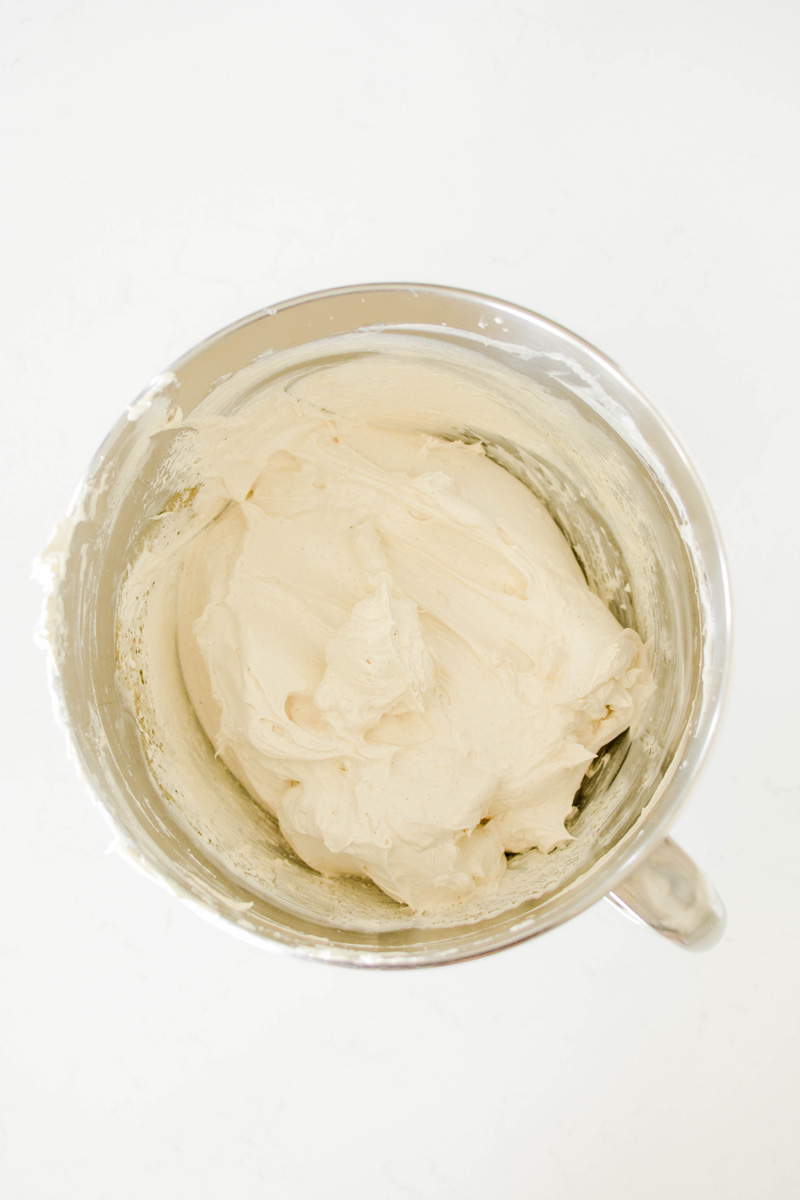
ORANGE SWISS MERINGUE BUTTERCREAM
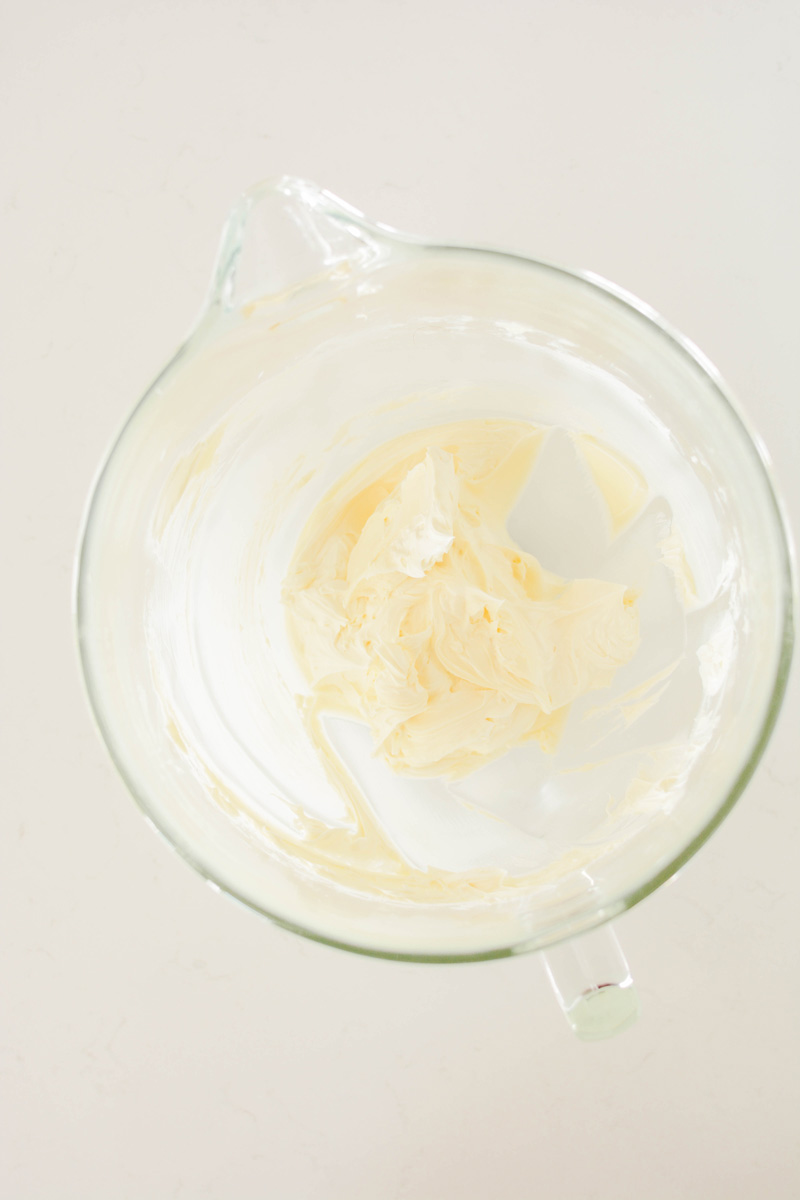
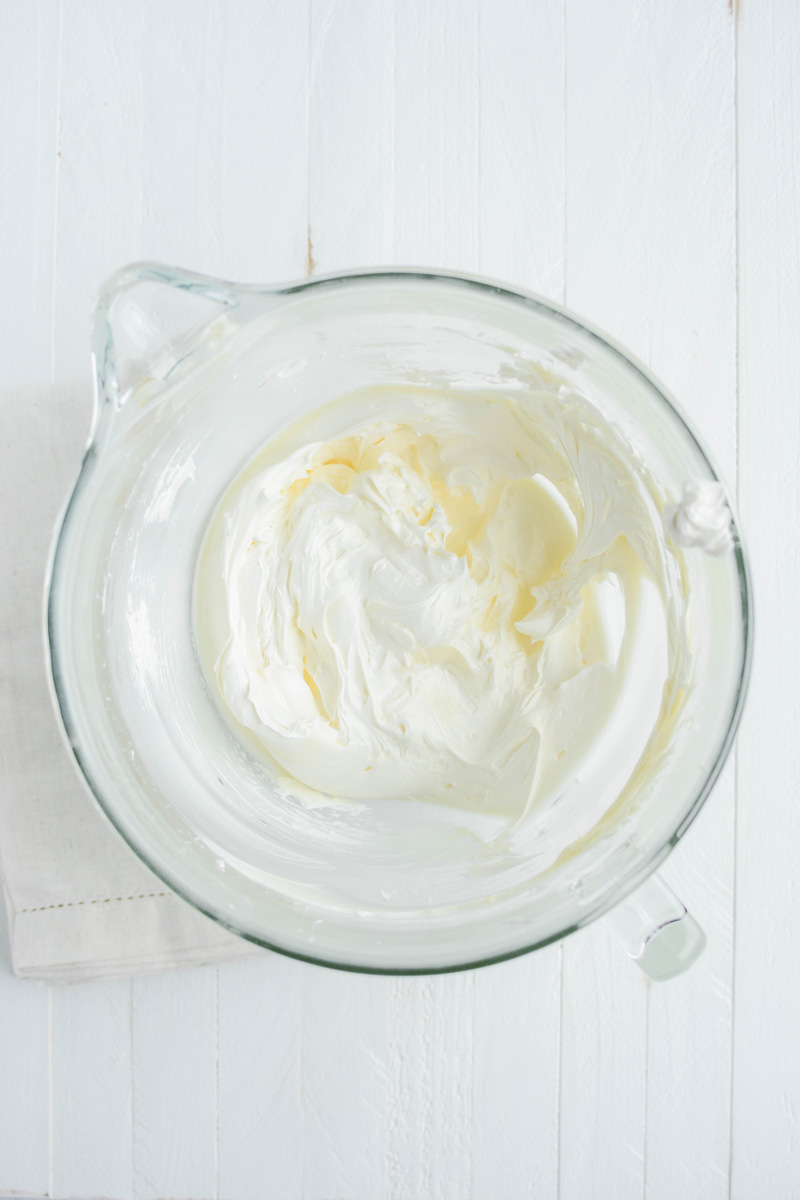
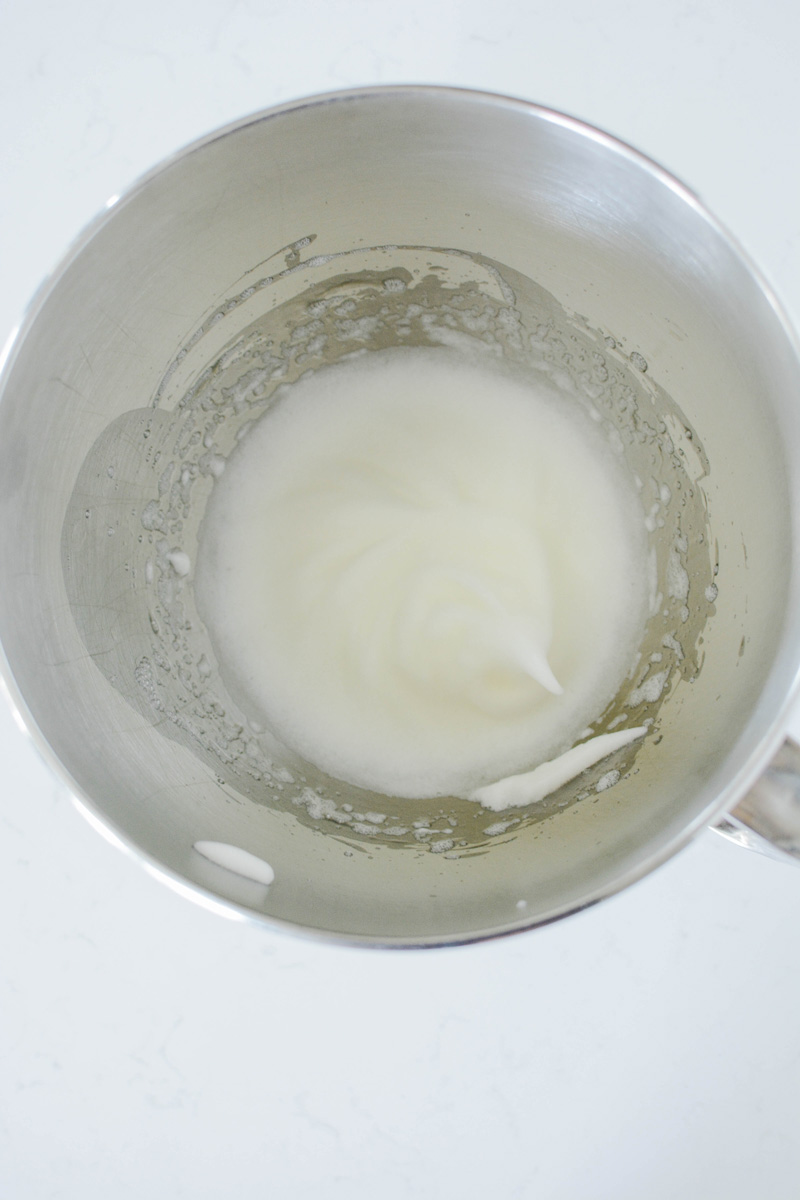
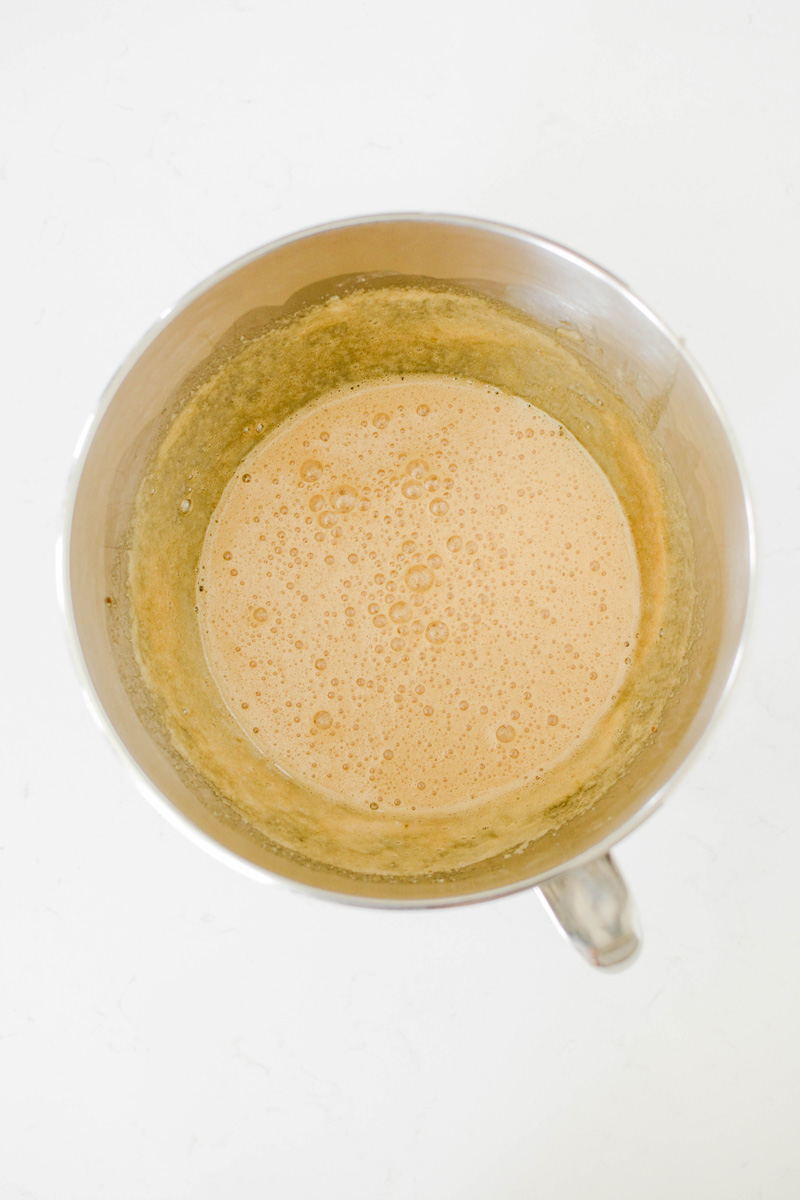
- In the bowl of a stand mixer fitted with the whisk attachment, pour in the egg whites and sugar and whisk by hand until combined. Fill a medium saucepan with about 2 inches of water and bring to a simmer. Place mixer bowl on top, being sure the bottom of the bowl does not touch the water and attach a candy thermometer.
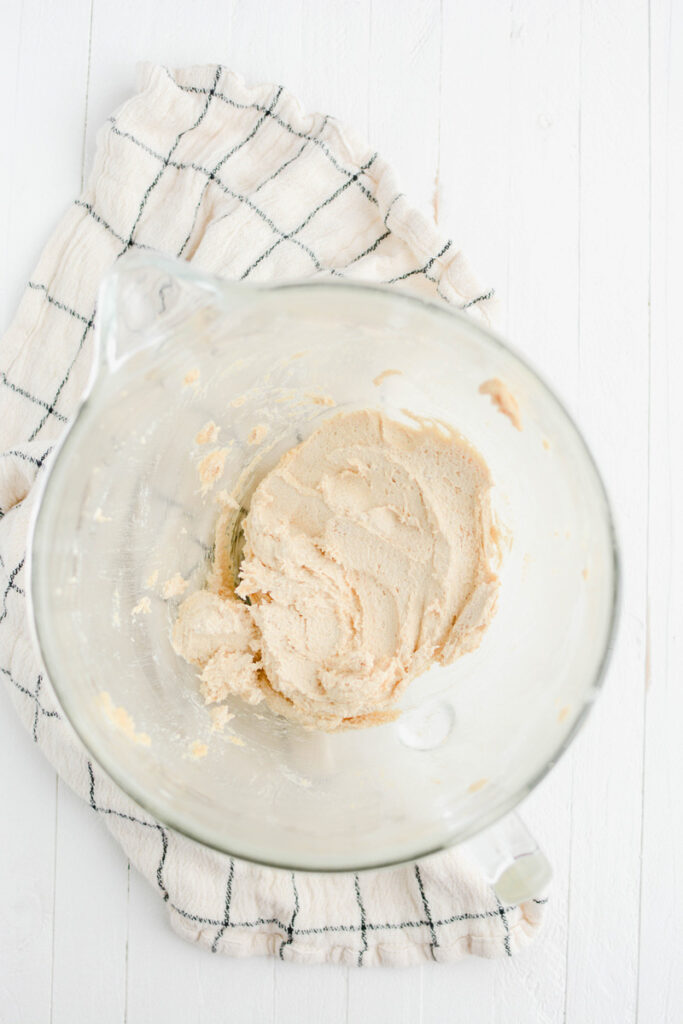
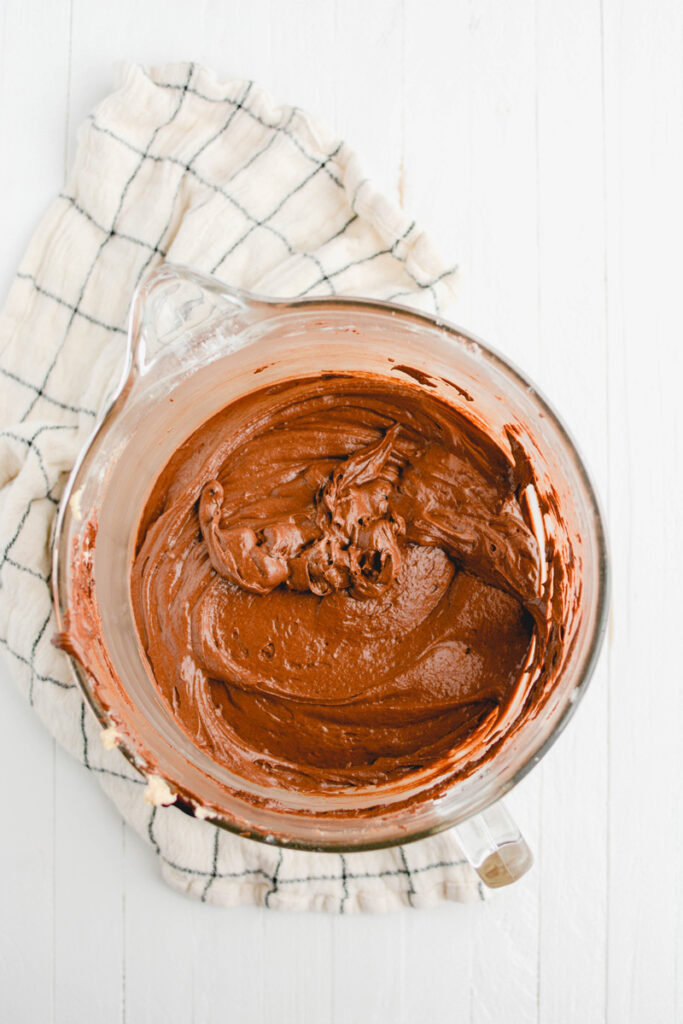
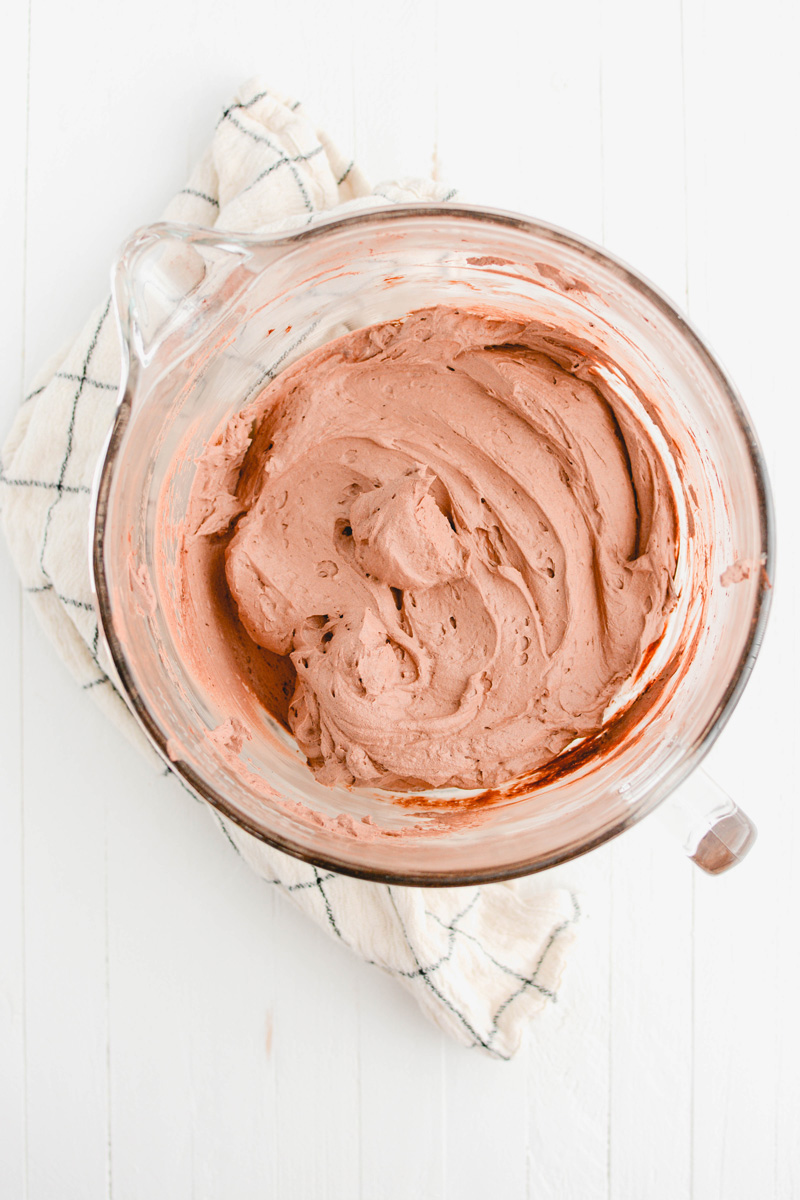
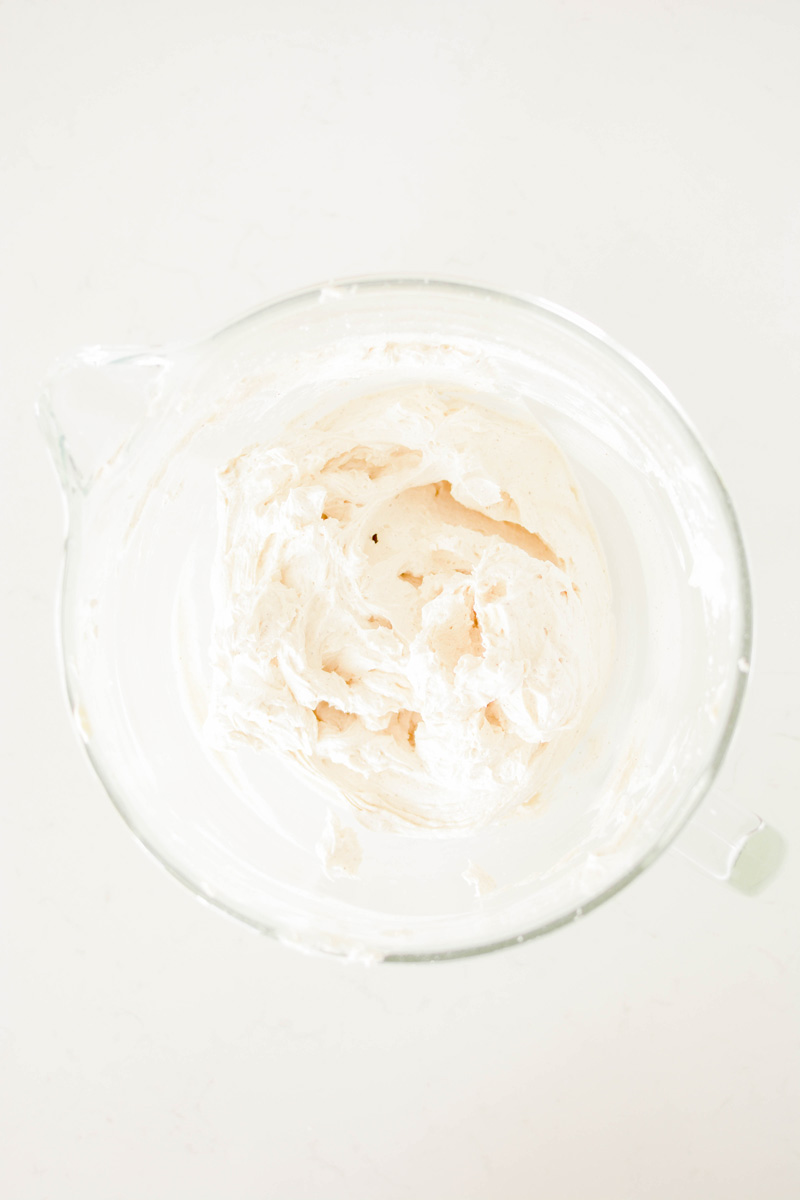
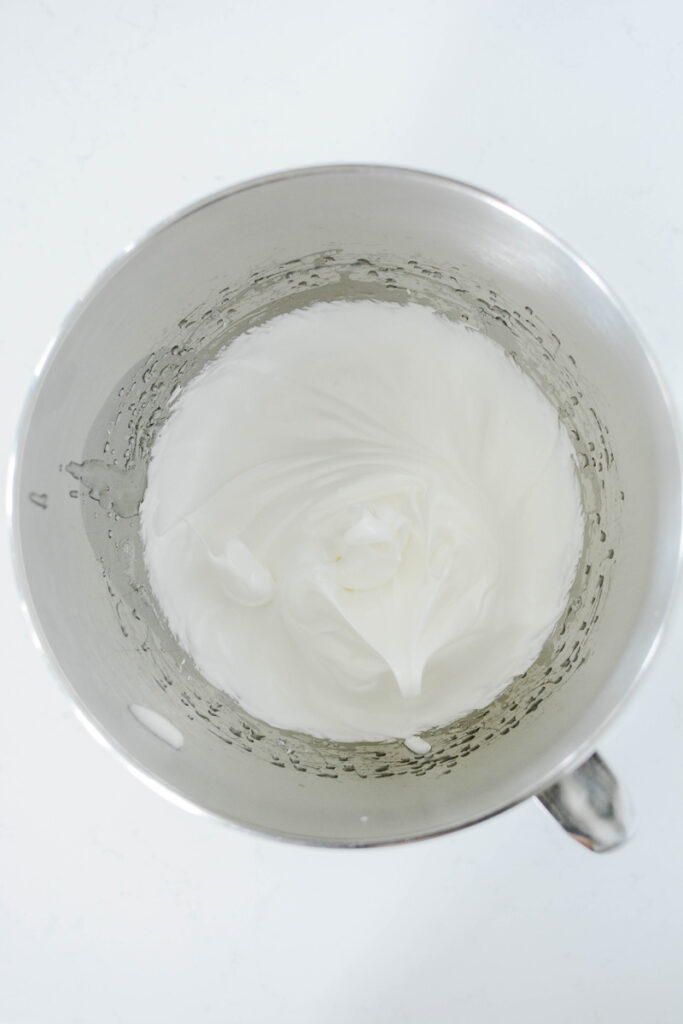
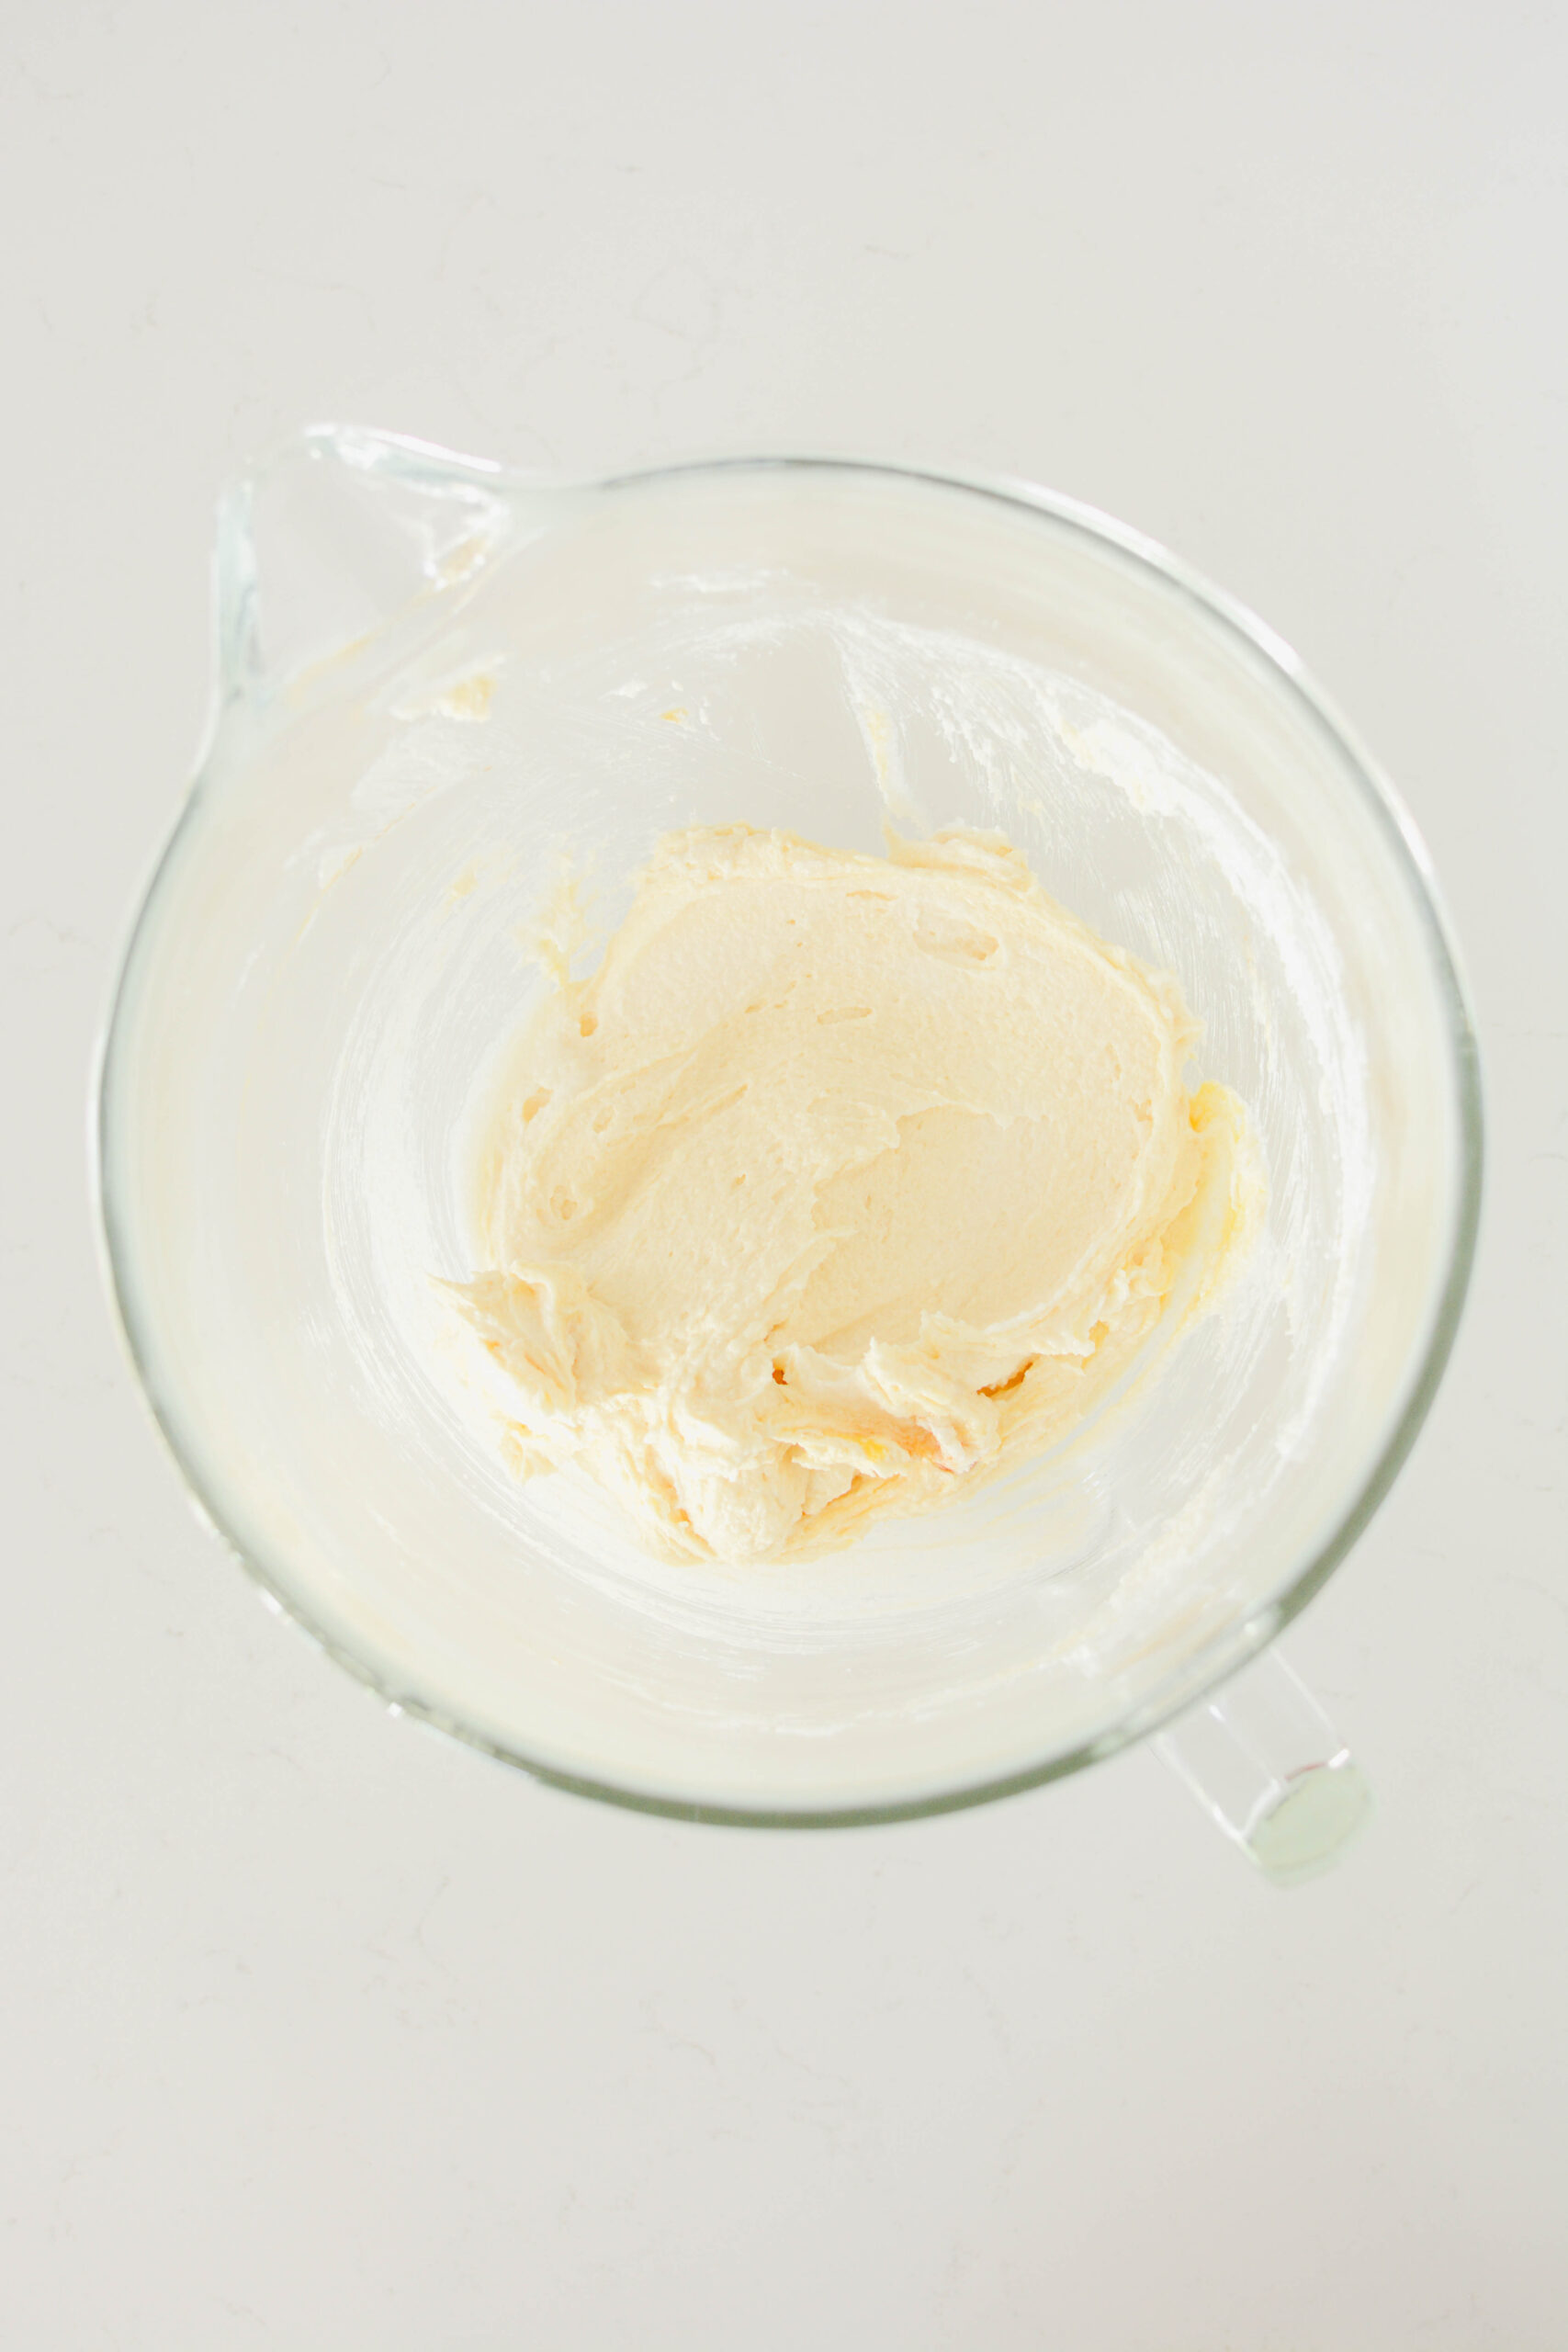
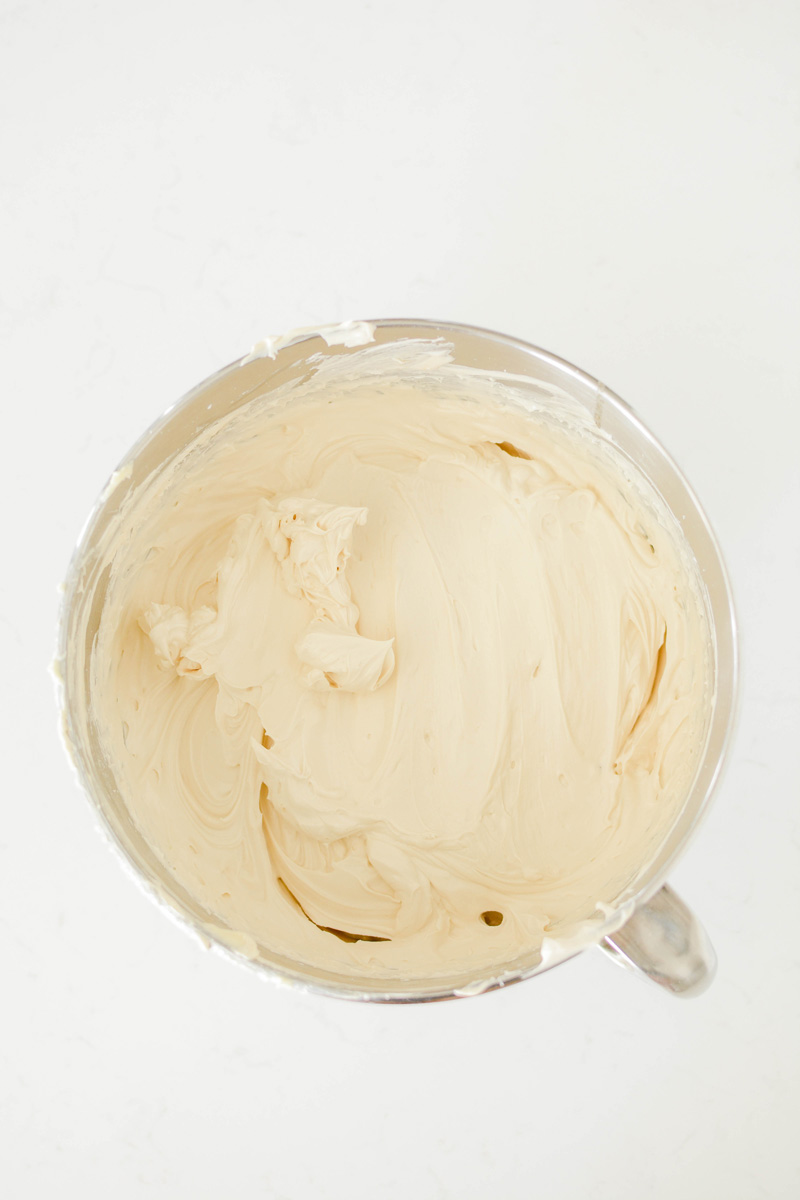
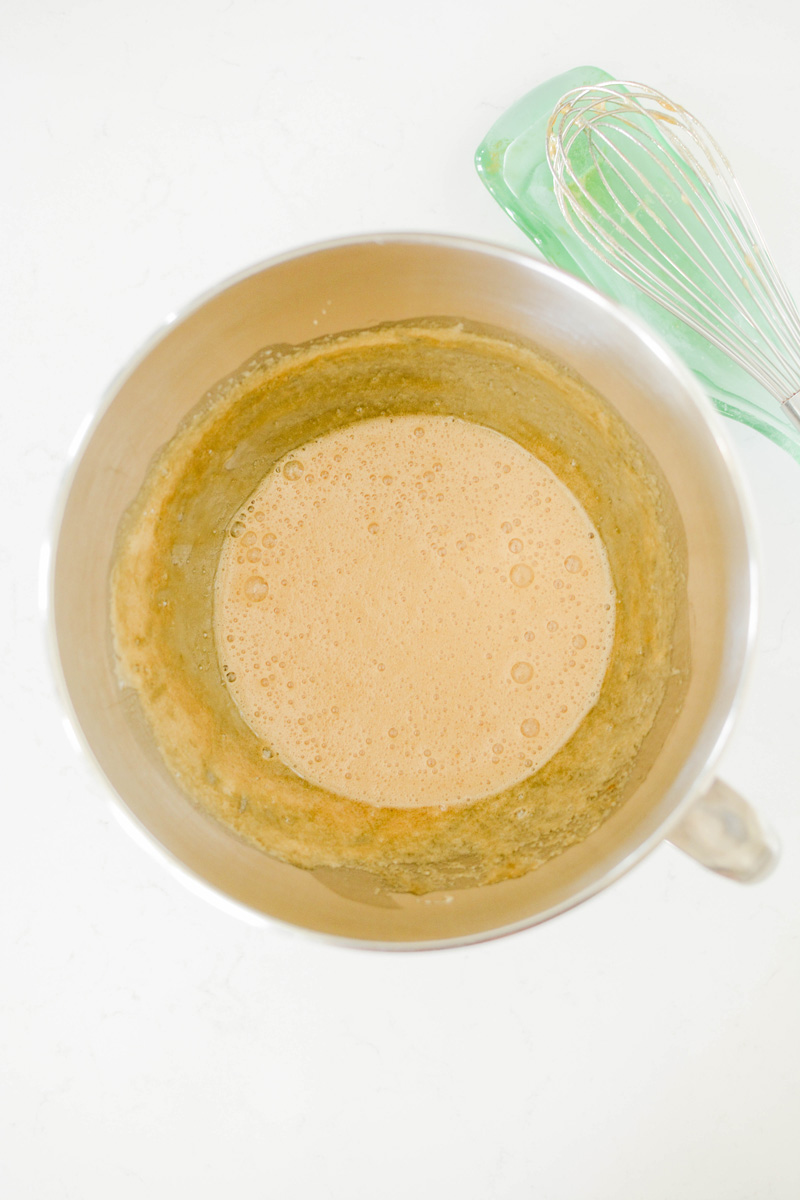
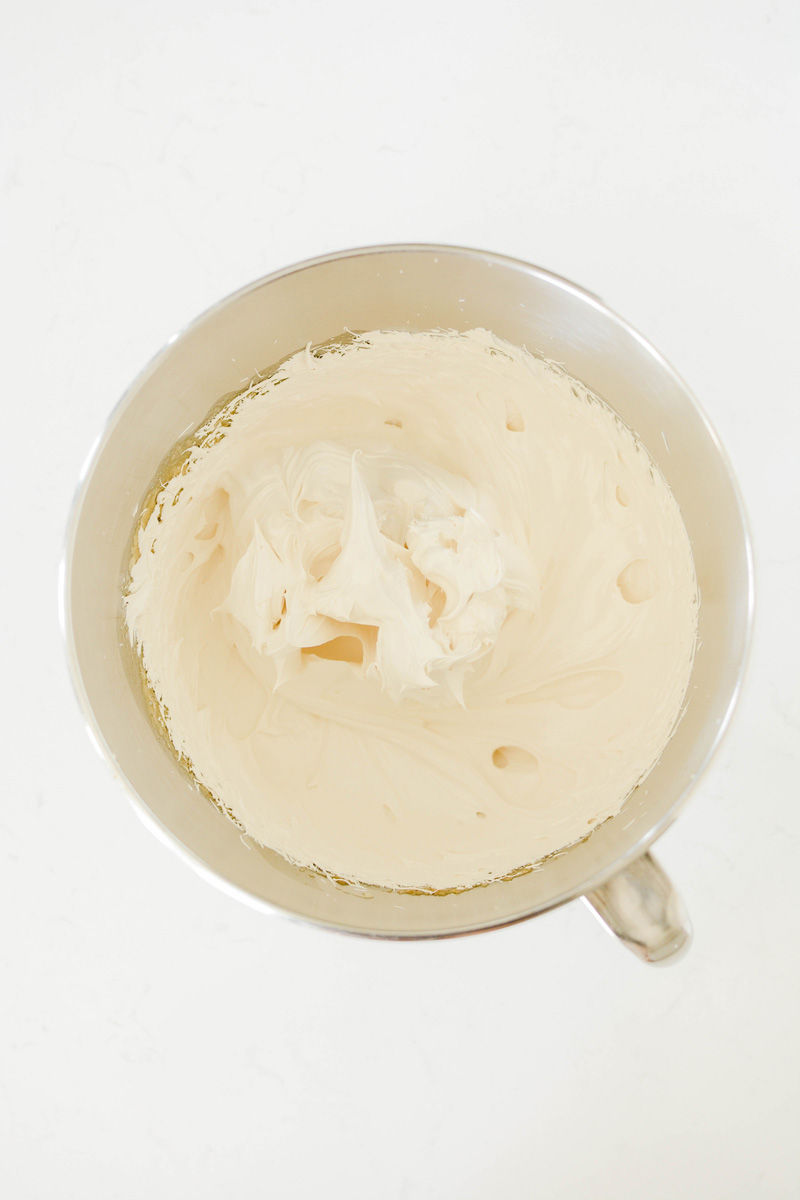
- Whisking occasionally, heat the egg mixture until the temperature reaches 160 degrees. Once the mixture reaches 160 degrees, transfer to a stand mixer and beat the mixture on high speed for 10 minutes or until medium-stiff peaks form. At this point the outside of the mixer bowl should be room temperature. Switch out the whisk attachment with the paddle attachment and with the mixer on low speed, add the butter one tablespoon at a time, and then add the vanilla extract and orange curd. Once combined, turn up the mixer speed to medium-high and beat until the buttercream is smooth about 5 minutes.
ASSEMBLE
- Place a nonslip mat on top of a cake turntable and place an 8-inch cake round on top. Center the first layer of cake on the cake board. Fit a piping bag with a round coupler or round piping tip and fill piping bag with buttercream. Pipe a buttercream dam around the cake edge. Spread half of the cranberry compote on top in an even layer until it reaches the buttercream dam. Place the second cake layer on top, gently pressing to adhere.
- Pipe another buttercream dam on the edge of the cake and fill with remaining cranberry compote and spread in an even layer. Top with the third cake layer (bottom side up) and gently press down to adhere.
CRUMB COAT
- Apply a thin coat of buttercream over the top and sides to the cake creating a crumb coat and chill in the freezer for 15 minutes or the refrigerator for 30 minutes.
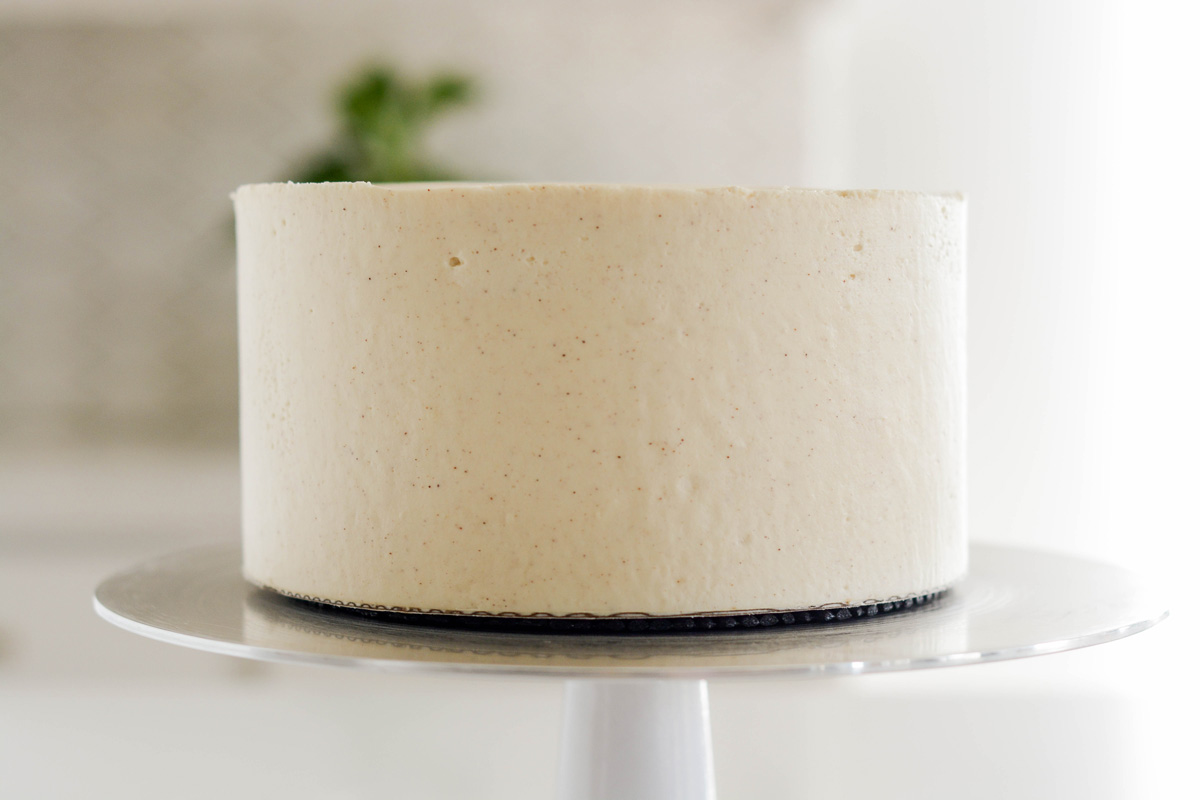
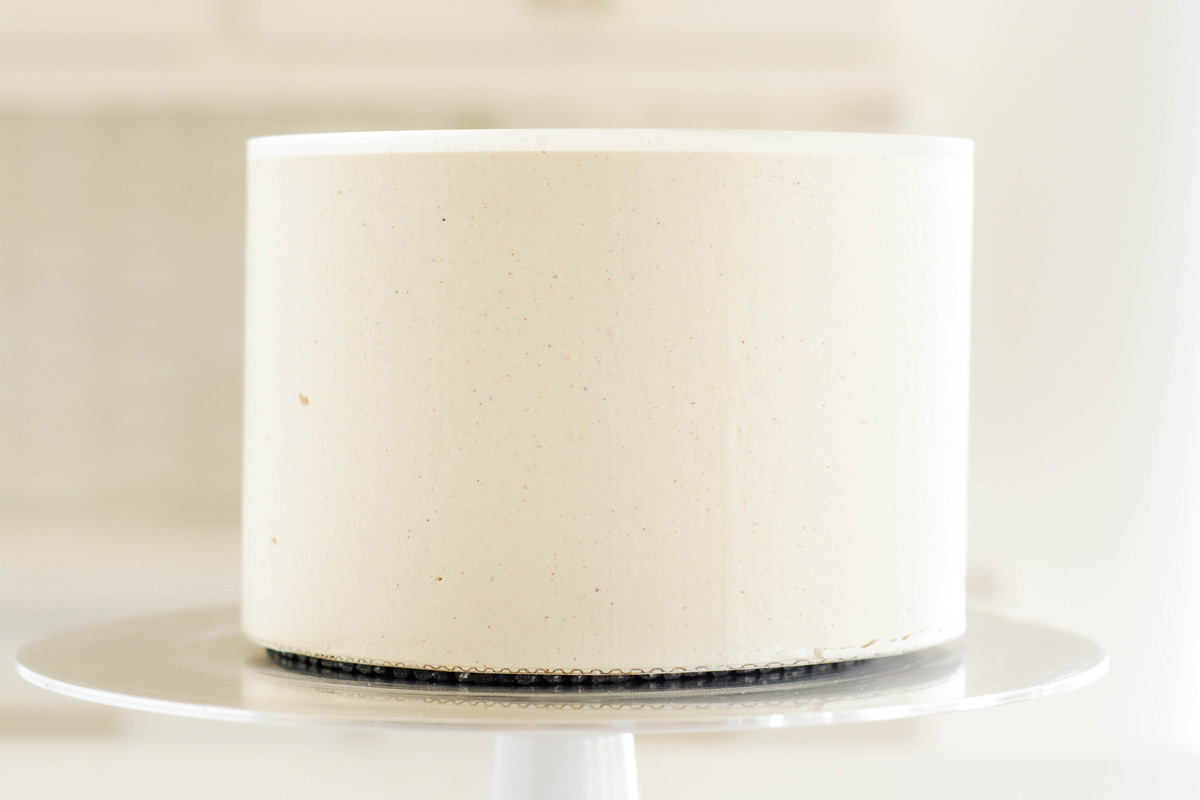
DECORATING
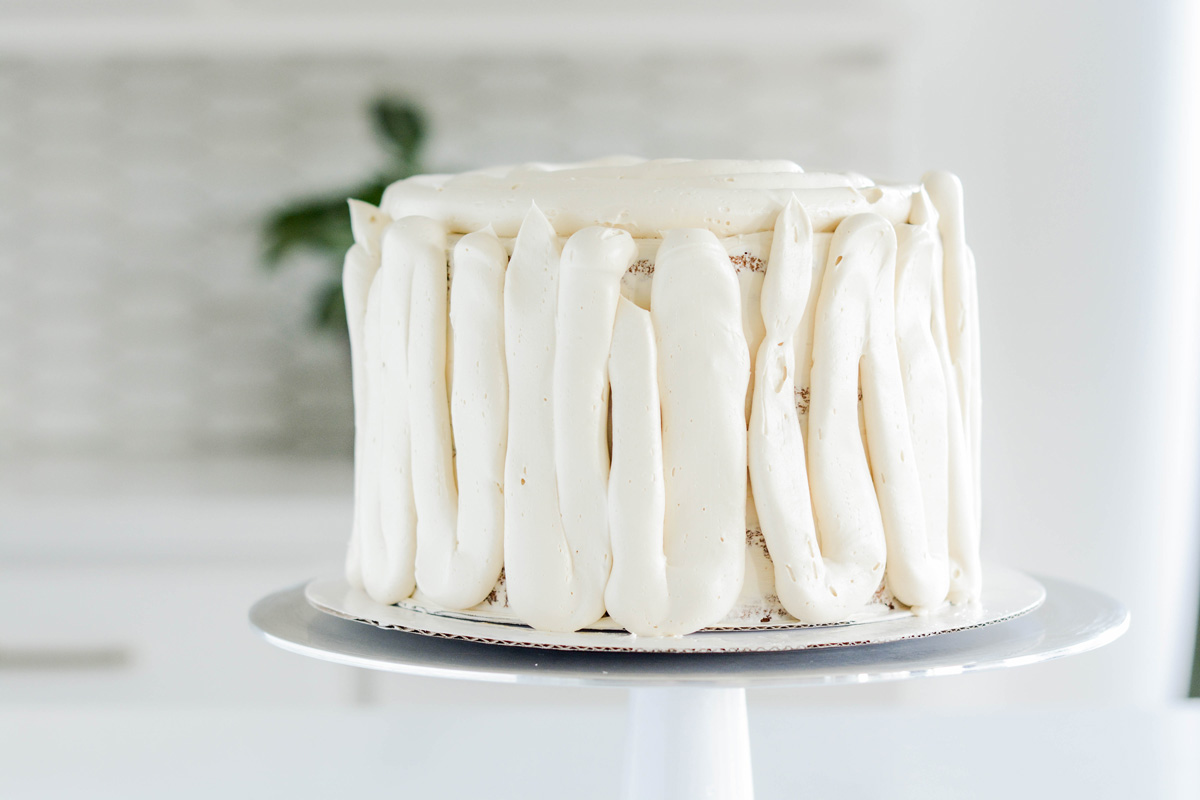
- Apply a large amount of buttercream to the top of the chilled cake and spread out in an even layer. You should have excess buttercream hanging off the edges. Place an 8-inch round acrylic disc lined with parchment paper on top of the cake, making sure it lines up with the bottom cake board.
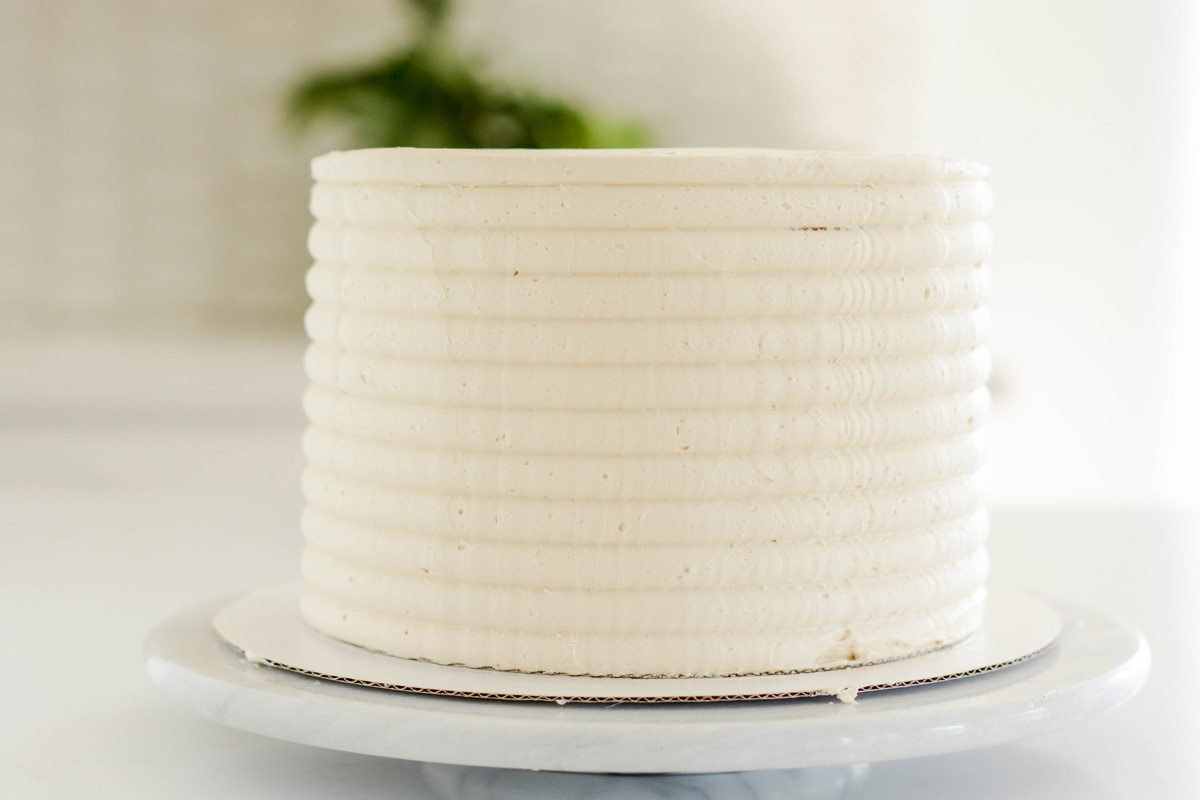
- Apply more buttercream to the sides of the cake, making sure the entire bottom cake board is covered with buttercream. Gently touch the cake scraper against the top acrylic disc and bottom cake board and rotate the turntable to smooth out the buttercream. Apply more buttercream to any gaps and continue to rotate the turntable until the buttercream is smooth and even. Chill the cake in the freezer for 15 minutes or in the refrigerator for 30 minutes before removing the acrylic disc.
- Carefully insert a small offset cake spatula under the acrylic disc (but on top of the parchment paper) and gently rotate the cake turntable until the disc releases. Peel off the parchment paper. Apply additional buttercream to gaps and smooth out.
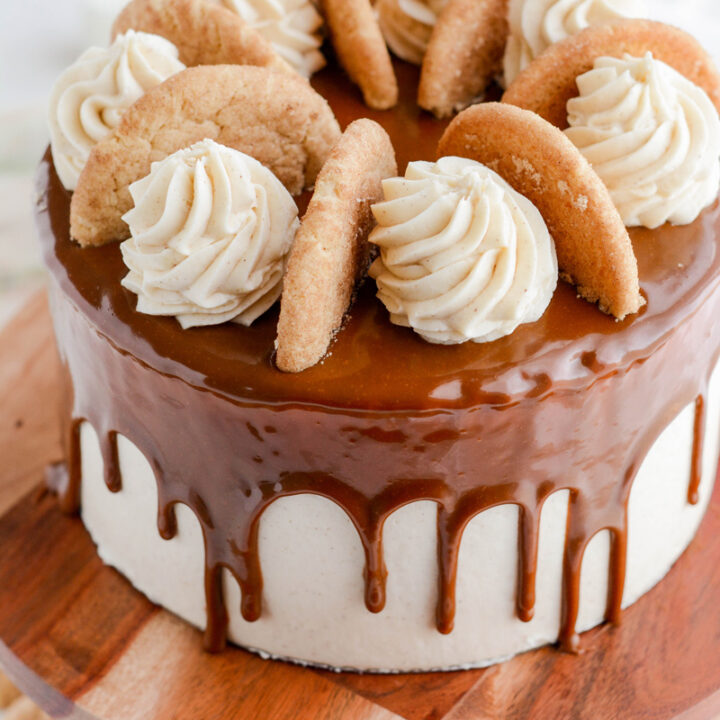
- Decorate the top of the cake with candied orange slices, sugared cranberries and almond pinecones. Place fresh rosemary springs around the fruit and dust with powdered sugar right before serving.
- Carefully transfer the cake to a cake pedestal and serve.
Notes
Candied orange slices can be made up to 5 days in advance, stored in an airtight container at room temperature.
Sugared cranberries can be made up to 5 days in advance, stored in an airtight container at room temperature. Roll in more sugar if needed before using.
Orange curd can be made up to 5 days in advance, covered with plastic wrap on the surface of the curd, stored in the refrigerator.
Cranberry compote can be made up to 5 days in advance, stored in the refrigerator.
Orange cake be made up to 3 days in advance, wrapped in plastic wrap, in an airtight container, stored in the refrigerator.
Swiss meringue buttercream is best made the day the cake is assembled.
Nutrition Information:
Yield: 12 Serving Size: 1Amount Per Serving: Calories: 696Total Fat: 26gSaturated Fat: 13gTrans Fat: 0gUnsaturated Fat: 11gCholesterol: 120mgSodium: 525mgCarbohydrates: 111gFiber: 3gSugar: 81gProtein: 9g
*Nutrition information is an estimate and will vary.*