As an Amazon Associate, I earn from qualifying purchases.
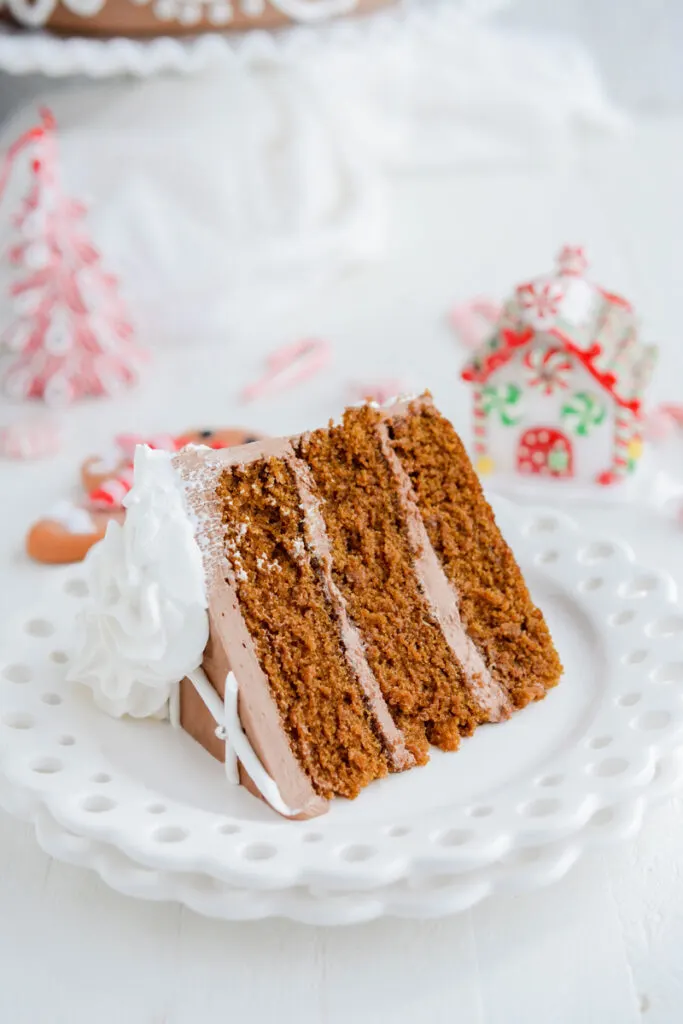
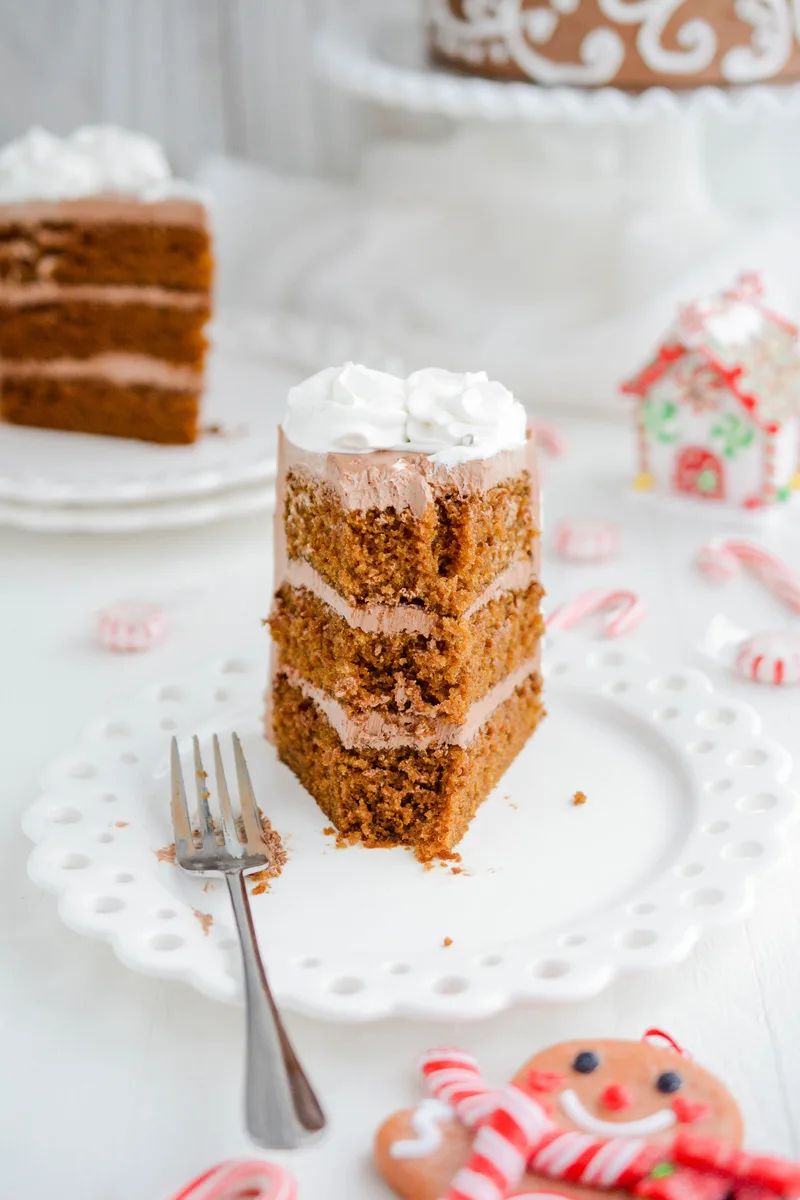
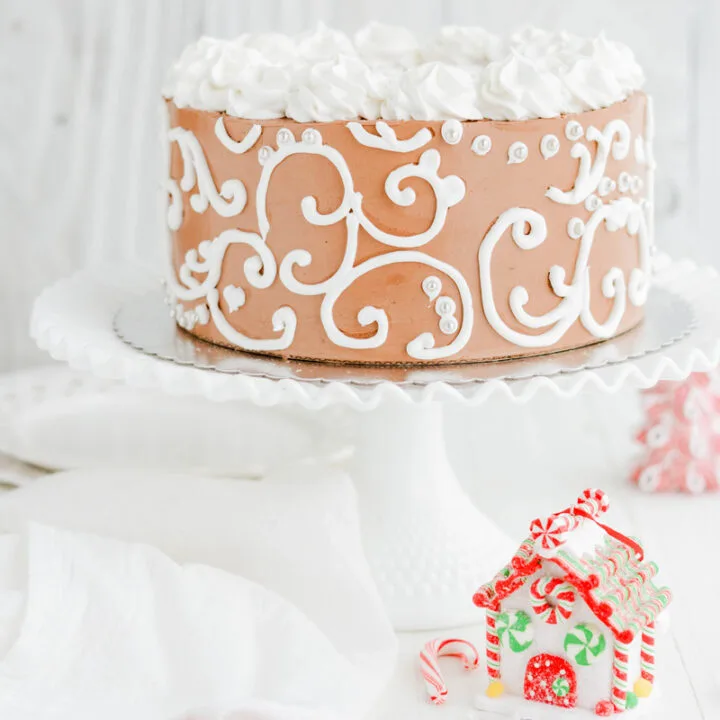
I’ve got the perfect holiday centerpiece for your dessert table this year! This Festive Gingerbread Layer Cake is baked from scratch with a blend of seasonal spices and fresh ginger.

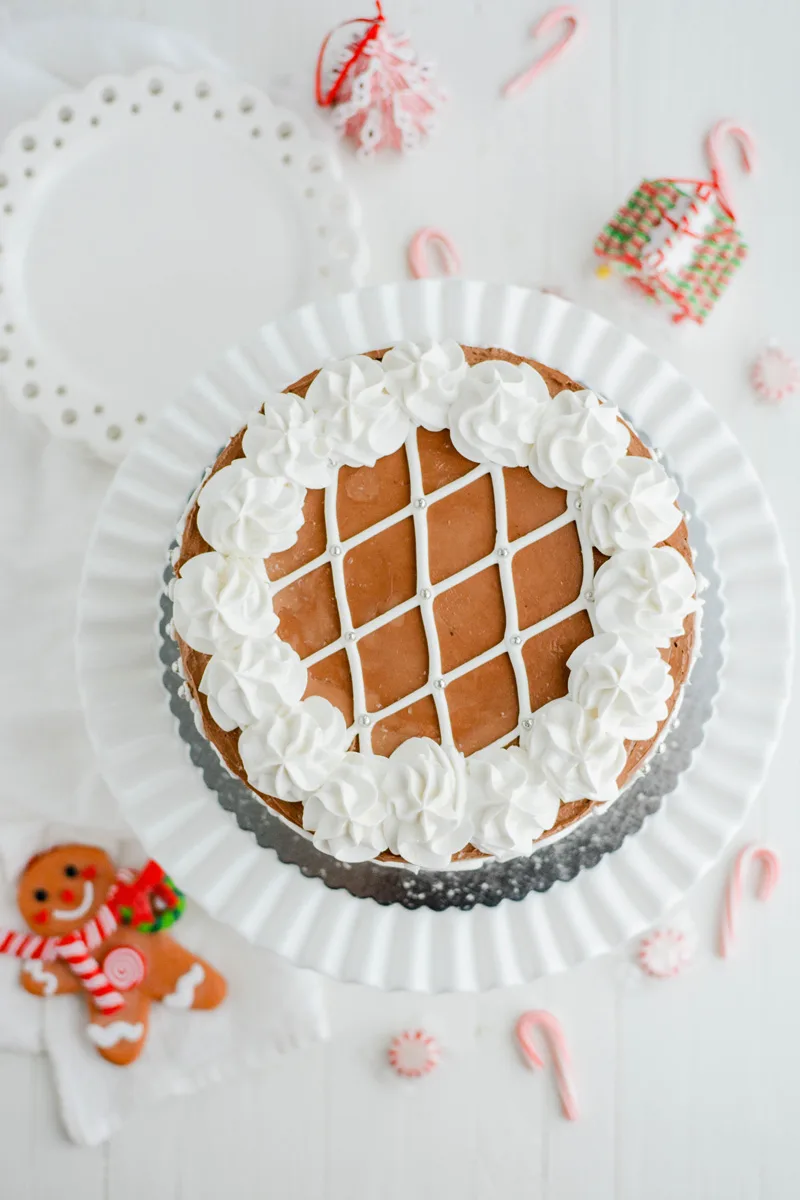
Chocolate Swiss meringue buttercream is the perfect pairing for this warm and comforting Christmas treat. Plus the royal icing piping is a nod to the traditional gingerbread houses that fill many homes this time of year.
Gingerbread Cake
- All-purpose flour: gives cakes their structure, crumb and texture. All-purpose flour is ideal for cakes that require extra structure.
- Unsweetened cocoa powder: gives the cake a hint of chocolate flavor. It also helps to absorb the excess moisture in the cake, creating a less sticky cake.
- Ground ginger: is a staple in gingerbread cake and helps give the cake its flavor.
- Baking powder: is a leavener which works twice, once when the baking powder comes into contact with liquid it creates bubbles in the batter. And second, when the baking powder comes into contact with heat it expands the bubbles creating the cakes structure.
- Ground cinnamon: gives the cake a warm flavor and aroma.
- Salt: helps with flavor.
- White pepper: has a hotter flavor than black pepper but is less pungent because it doesn’t have its black outer coat.
- Cayenne pepper: gives the cake a bit of spice.
- Brewed coffee: helps give the cake its color and flavor.
- Molasses: helps with flavor and color. Don’t use blackstrap molasses.
- Baking soda: is a leavener and must be used in the presence of an acid and liquid ingredient to be activated. Baking soda releases carbon dioxide creating air bubbles. Giving the cake its tender crumb.
- Granulated sugar: is perfect for baking since it creams nicely for cake batters and will easily dissolve during baking.
- Vegetable oil: supplies moisture and tenderness to the cake.
- Eggs: emulsifies and leavens the cake creating a tender crumb.
- Fresh ginger: gives this cake something extra in the flavor department.
Chocolate Swiss Meringue Buttercream Tips
- Melt the chocolate until smooth and let cool for about 10 minutes before adding into the buttercream.
- Your mixer bowl should be completely dry and clean before use.
- There should be no grease residue on the bowl and your egg whites should be free of egg yolks.
- Whisk together the sugar and egg whites well, or the eggs may start to cook on their own.
- Make sure the double boiler stays at a simmer.
- Your butter should be room temperature before using.
- Add your butter by tablespoon to the meringue.
- The buttercream should be as smooth as possible.
- To help remove air bubbles, run the mixer on low speed for one minute.

Gingerbread Cake Assembly
- Fill, crumb coat and chill the cake.
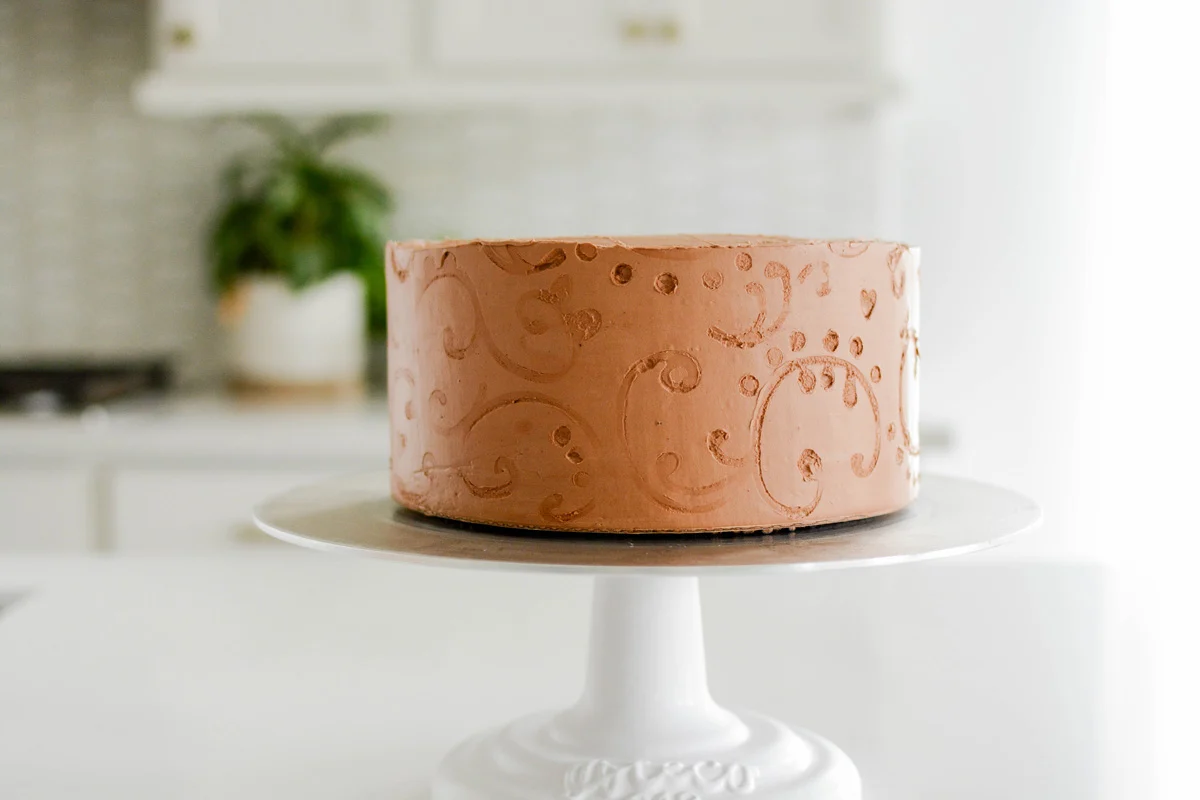
- Apply buttercream using an acrylic disk and chill the cake.
- Emboss the side of the well chilled cake using an impression mat.
- Remove the acrylic disk and decorate the cake with royal icing.
Royal Icing
I used two different consistencies of royal icing for this cake. I used a thicker icing for the swirls on top of the cake, and a thinner icing for the swirls. Be sure to check out the recipe for more details on this.
Baking Schedule
- Day 1: Bake gingerbread cake layers.
- Day 2: Make chocolate Swiss meringue buttercream and royal icing. Assemble, decorate and serve cake.
Baking and Cake Decorating Tools
- 3 8-inch round cake pans
- Nonstick baking spray
- Stand mixer
- Candy thermometer
- 8-inch round cake board
- Cake turntable
- Parchment paper
- 8-inch round acrylic disk
- Metal cake scraper
- Impression mat
- Offset cake spatula
- Piping bags (2)
- Piping tip #7
- Piping tip #1M
- Edible glitter

Cake Storage
Assembled cake: can be stored in an airtight container in the refrigerator for up to 1 day.
Storage: Cake layers: can be made up to 3 days in advance, wrapped in plastic and stored in the refrigerator.
Chocolate Swiss meringue buttercream: is best made the day of assembly.
Royal icing: is best made the day of assembly.
Let’s Connect
The Cake Chica is on the following social media platforms below. Click subscribe, like and follow! We would love to have you over!
Suggested Recipes
Festive Gingerbread Layer Cake
Homemade Festive Gingerbread Layer Cake filled and frosted with chocolate Swiss meringue buttercream and garnished with royal icing.
Ingredients
SPECIAL TOOLS
- 3 8-inch round cake pans
- Nonstick baking spray
- Stand mixer
- Candy thermometer
- 8-inch round cake board
- Cake turntable
- Parchment paper
- 8-inch round acrylic disk
- Metal cake scraper
- Impression mat
- Offset cake spatula
- Piping bags (2)
- Piping tip #7
- Piping tip #1M
- Edible glitter
GINGERBREAD CAKE
- 1 ¾ cups (8 ¾ ounces) all-purpose flour
- ¼ cup (3/4 ounce) unsweetened cocoa powder
- 2 tablespoons ground ginger
- 1 ½ teaspoons baking powder
- 1 teaspoon ground cinnamon
- ¾ teaspoon salt
- ½ teaspoon ground white pepper
- 1/8 teaspoon cayenne pepper
- 1 cup brewed coffee
- ¾ cup molasses
- ½ teaspoon baking soda
- 1 ½ cups (10 ½ ounces) granulated sugar
- ¾ cup vegetable oil
- 3 large eggs, lightly beaten
- 2 tablespoons finely grated fresh ginger
CHOCOLATE SWISS MERINGUE BUTTERCREAM
- 1/2 cup plus 2 tablespoons egg whites
- 1 1/4 cups (8.75 ounces/250 grams) granulated sugar
- 2 cups (4 sticks) unsalted butter, cut into tablespoon sized pieces and softened
- 2 teaspoons vanilla extract
- 10 ounces bittersweet chocolate, melted and cooled
ROYAL ICING
- 3 tablespoons meringue powder
- ½ cup warm water
- 16 ounces (4 ½ cups) powdered sugar
- 1 teaspoon vanilla extract
Instructions
GINGERBREAD CAKE
- Adjust an oven rack to the center position and heat oven to 350 degrees. Spray 3 8-inch round cake pans with nonstick baking spray and set aside.
- In a large bowl, add the flour, cocoa, ground ginger, baking powder, cinnamon, salt, pepper, and cayenne pepper and whisk to combine. In another large bowl, add the coffee, molasses and baking soda and whisk to combine. Add the sugar, oil, eggs and fresh ginger to the coffee mixture and whisk until incorporated and mixture is smooth.
- Whisk the coffee mixture into the flour mixture until smooth. Batter will be thin. Divide batter among the prepared cupcake pans and bake until a toothpick inserted in the centers comes out with a few moist crumbs attached, about 20 to 25 minutes, rotating pans halfway through baking. Let cakes cool in their pans on wire racks for 10 minutes, then invert on to wire racks to cool completely.
CHOCOLATE BUTTERCREAM
- In the bowl of a stand mixer fitted with the whisk attachment, pour in the egg whites and sugar and whisk by hand until combined. Fill a medium saucepan with about 2 inches of water and bring to a simmer. Place mixer bowl on top, being sure the bottom of the bowl does not touch the water and attach a candy thermometer.
- Whisking occasionally, heat the egg mixture until the temperature reaches 160 degrees. Once the mixture reaches 160 degrees, transfer to a stand mixer and beat the mixture on high speed for 10 minutes or until medium-stiff peaks form. At this point the outside of the mixer bowl should be room temperature. Switch out the whisk attachment with the paddle attachment and with the mixer on low speed, add the butter one tablespoon at a time, and then add the vanilla extract. Once combined, turn up the mixer speed to medium-high and beat until the buttercream is smooth about 5 minutes. Add the melted chocolate and mix until combined.
ASSEMBLE
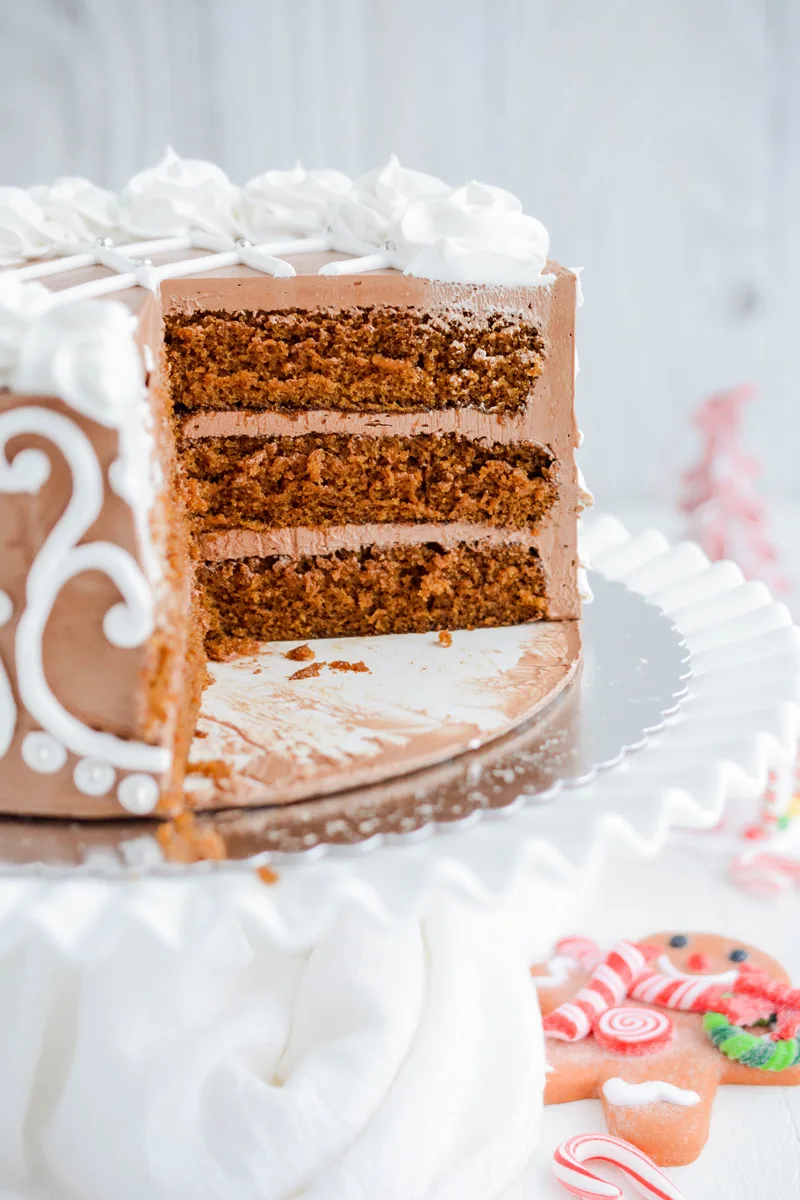
- Center one cake layer on an 8-inch round cake board and place on a cake turntable. Spread about 3/4 cup chocolate buttercream on top in a smooth layer. Place a second cake layer on top and spread another 3/4 cup chocolate buttercream on top in an even layer. Add the last cake layer on top (bottom side up). Cover the cake in a thin layer of buttercream creating a crumb coat and chill in the freezer for 15 minutes or in the refrigerator for 30 minutes.
- Spread a heaping dollop of buttercream on top of the chilled cake and spread the buttercream out in an even layer. Place a parchment paper lined 8-inch round acrylic disk down on top of the buttercream (parchment paper side down). Apply more buttercream to the sides of the cake and using an offset spatula smooth onto the cake.
- Place a metal cake scraper on to the sides of the bottom cake board and top acrylic disk, and rotate the cake turntable until the buttercream is smooth on the sides of the cake.
- Chill the cake in the freezer for 15 minutes or in the refrigerator for 30 minutes before embossing the cake.
- Using an impression mat, emboss the cake on the sides. Insert an offset cake spatula under the acrylic disc but over the parchment paper and carefully turn the cake turntable until the disk releases. Chill the cake in the refrigerator while you prepare the royal icing.
ROYAL ICING
- In the bowl of a stand mixer, with the whisk attachment attached, whisk together the meringue powder and water on high speed until soft peaks form.
- Add the powdered sugar and vanilla extract and beat until the icing is smooth, shiny and has increase in volume, about 10 minutes.
- Remove about half of the icing and place in a separate bowl.
- With the remaining icing in the mixer bowl add a couple teaspoons of water to thin the icing until its a pipeable consistency.
- Fit a piping bag with a #7 piping tip and fill with the pipeable royal icing. Pipe over the embossing on the cake.
- Fit a #1M piping tip on to a piping bag and fill with the reserved (thick) royal icing. Pipe swirls around the edge of the cake. Carefully transfer the cake to a cake pedestal and sprinkle edible glitter on top right before serving.
Notes
Storage:
Assembled cake: can be stored in an airtight cake container for up to 1 day in the refrigerator.
Cake layers: can be made up to 3 days in advance, wrapped in plastic and stored in the refrigerator.
Chocolate Swiss meringue buttercream: is best made the day of assembly.
Royal icing: is best made the day of assembly.
Nutrition Information:
Yield: 12 Serving Size: 1Amount Per Serving: Calories: 635Total Fat: 36gSaturated Fat: 11gTrans Fat: 0gUnsaturated Fat: 23gCholesterol: 81mgSodium: 405mgCarbohydrates: 69gFiber: 5gSugar: 42gProtein: 9g
*Nutrition information is an estimate and will vary.*

