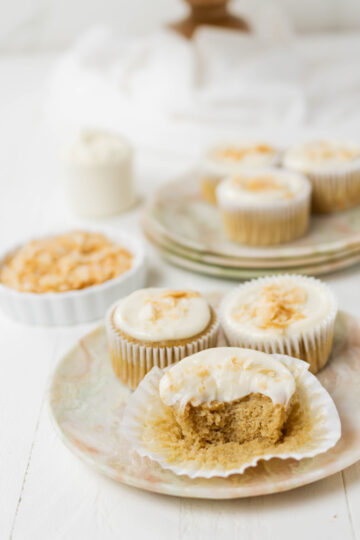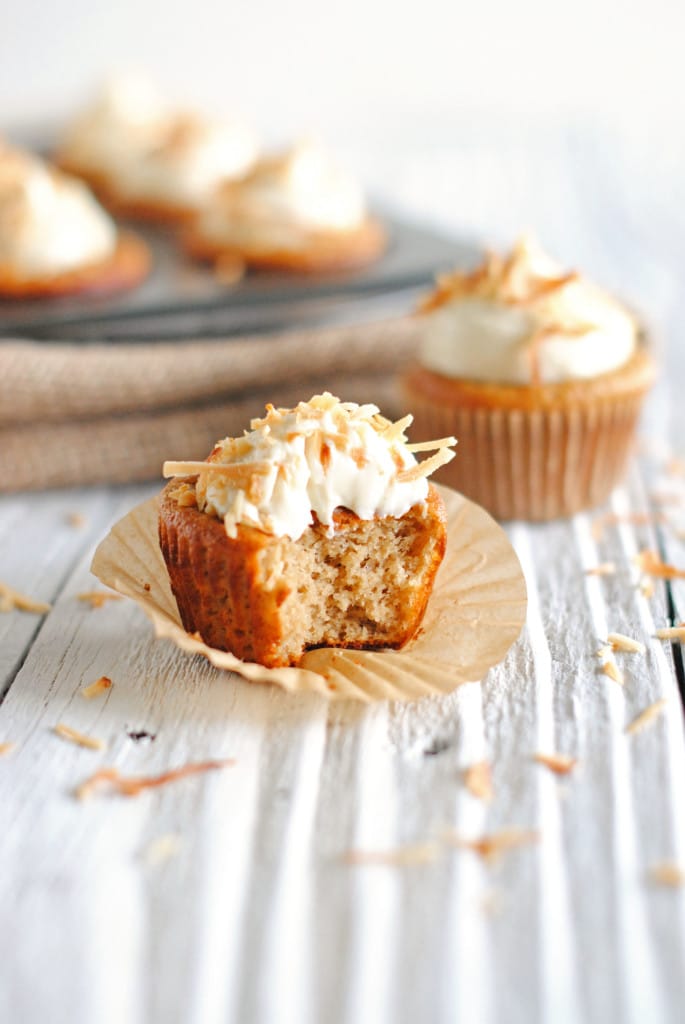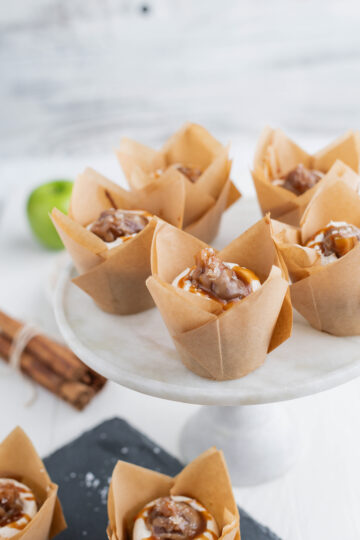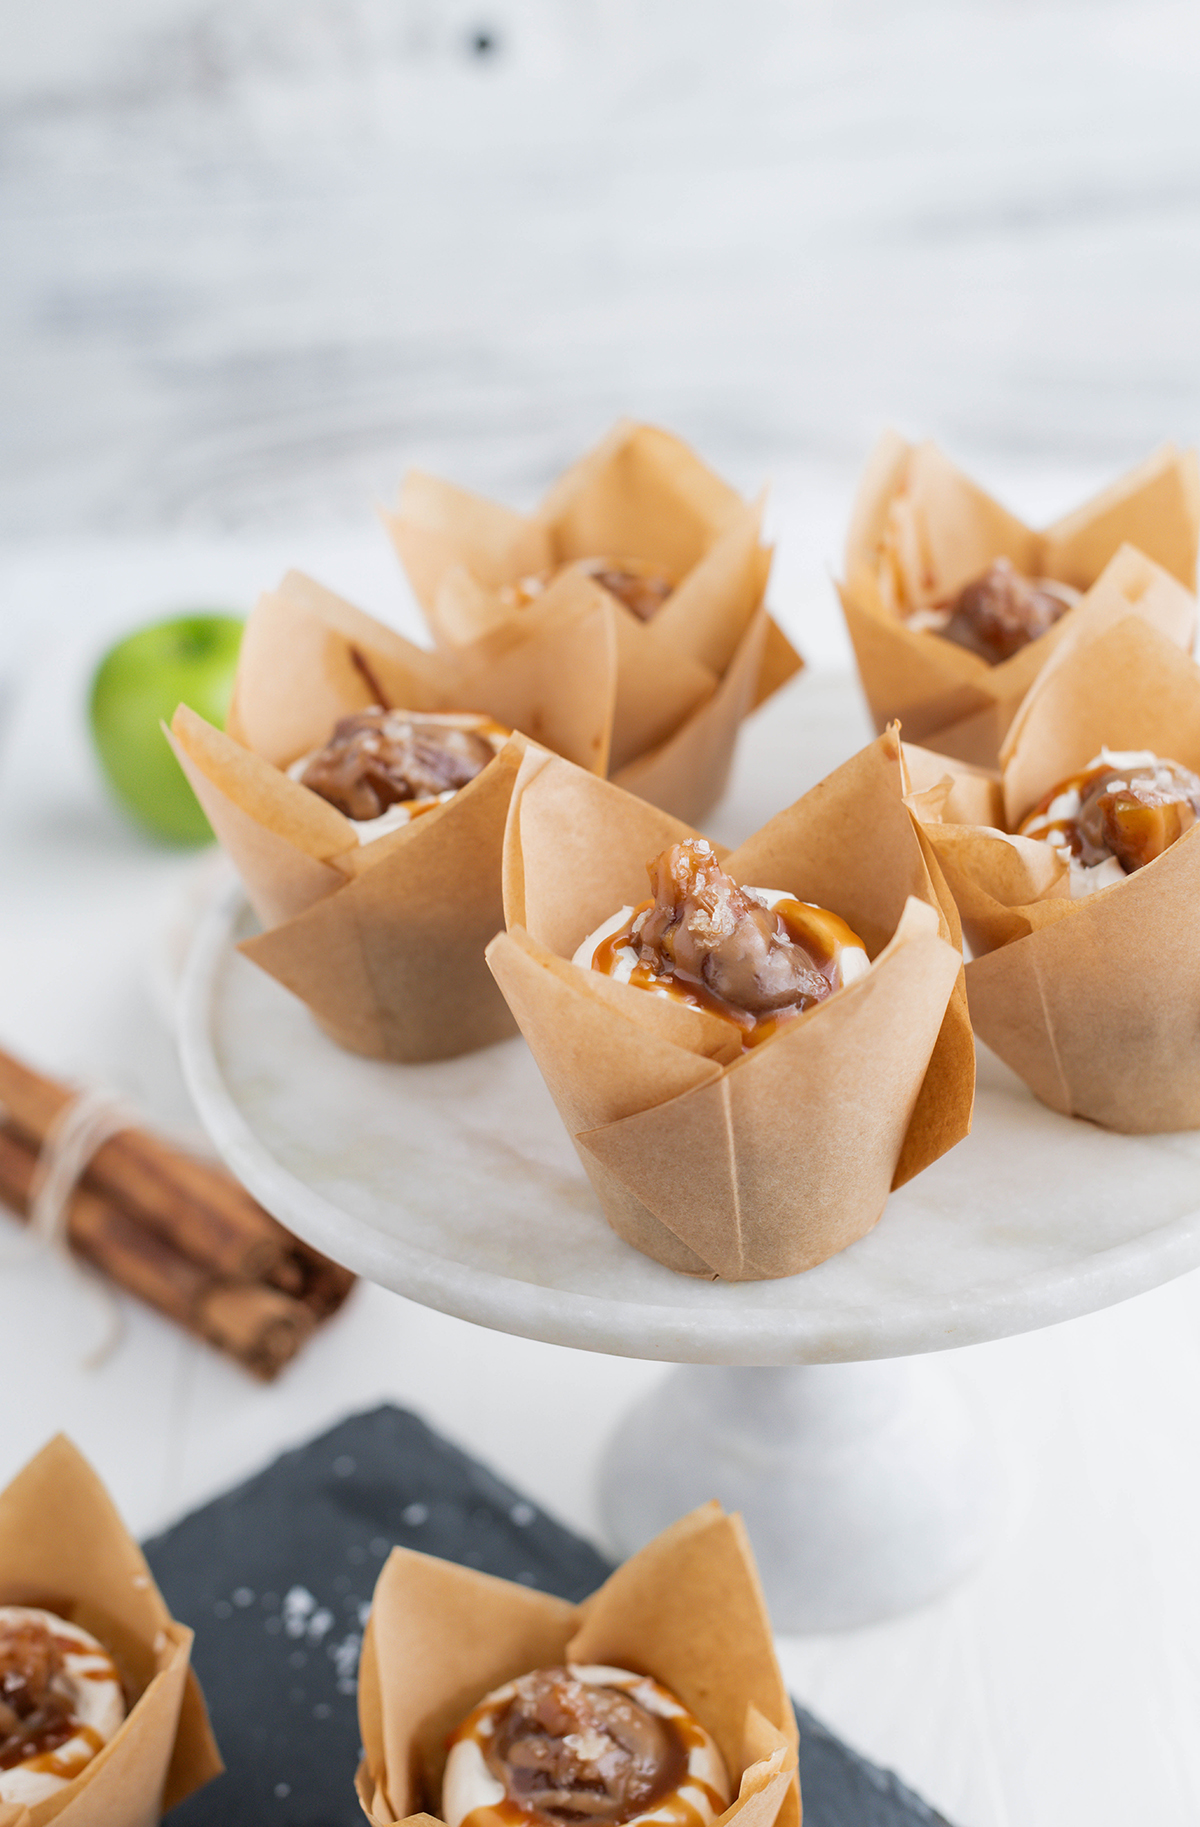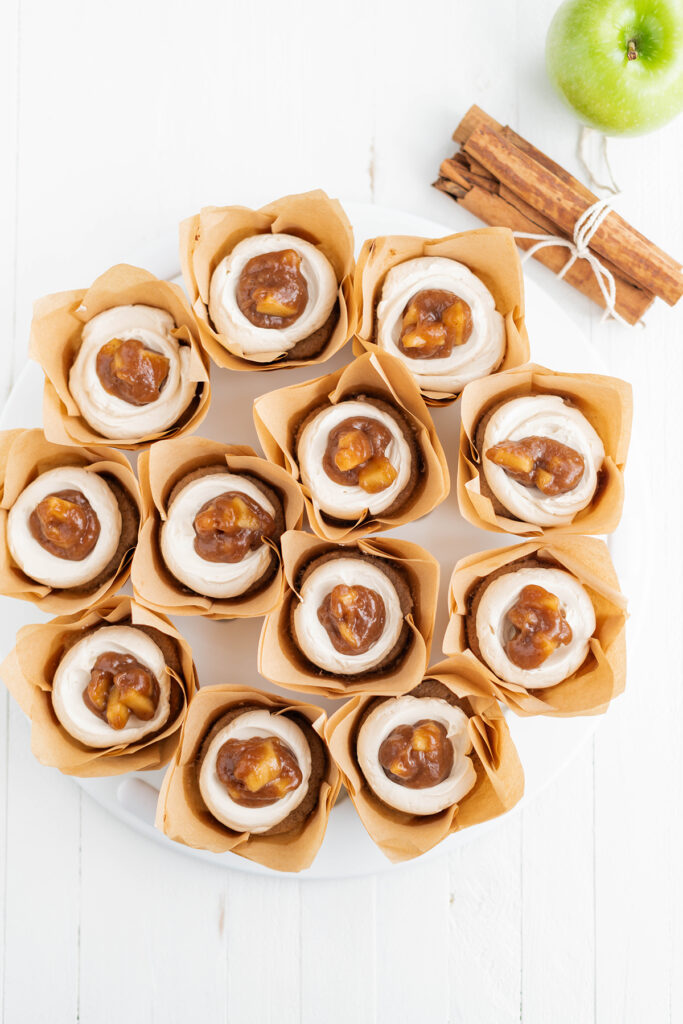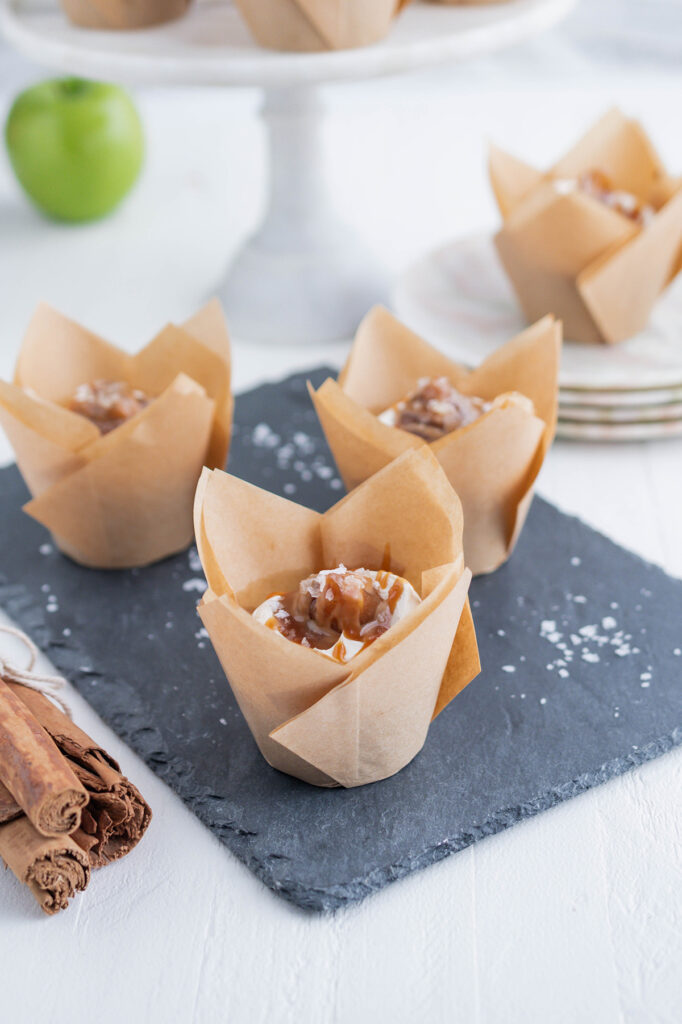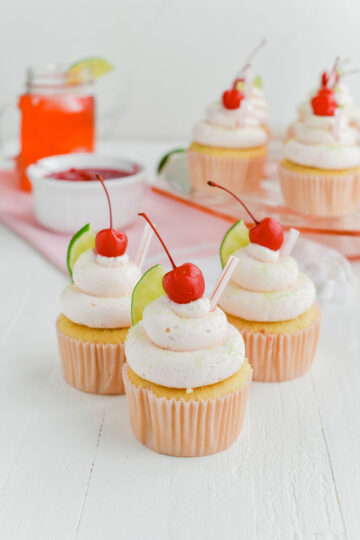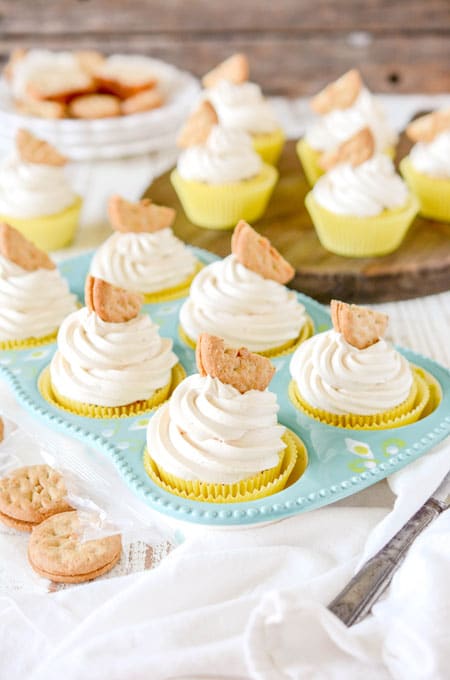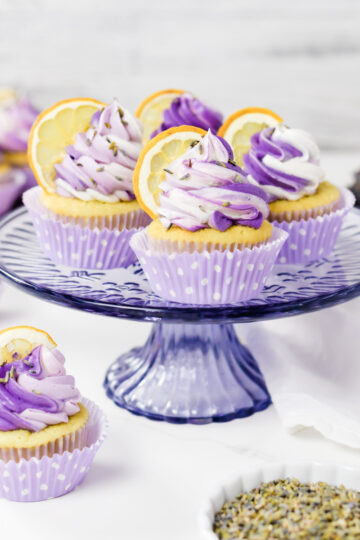
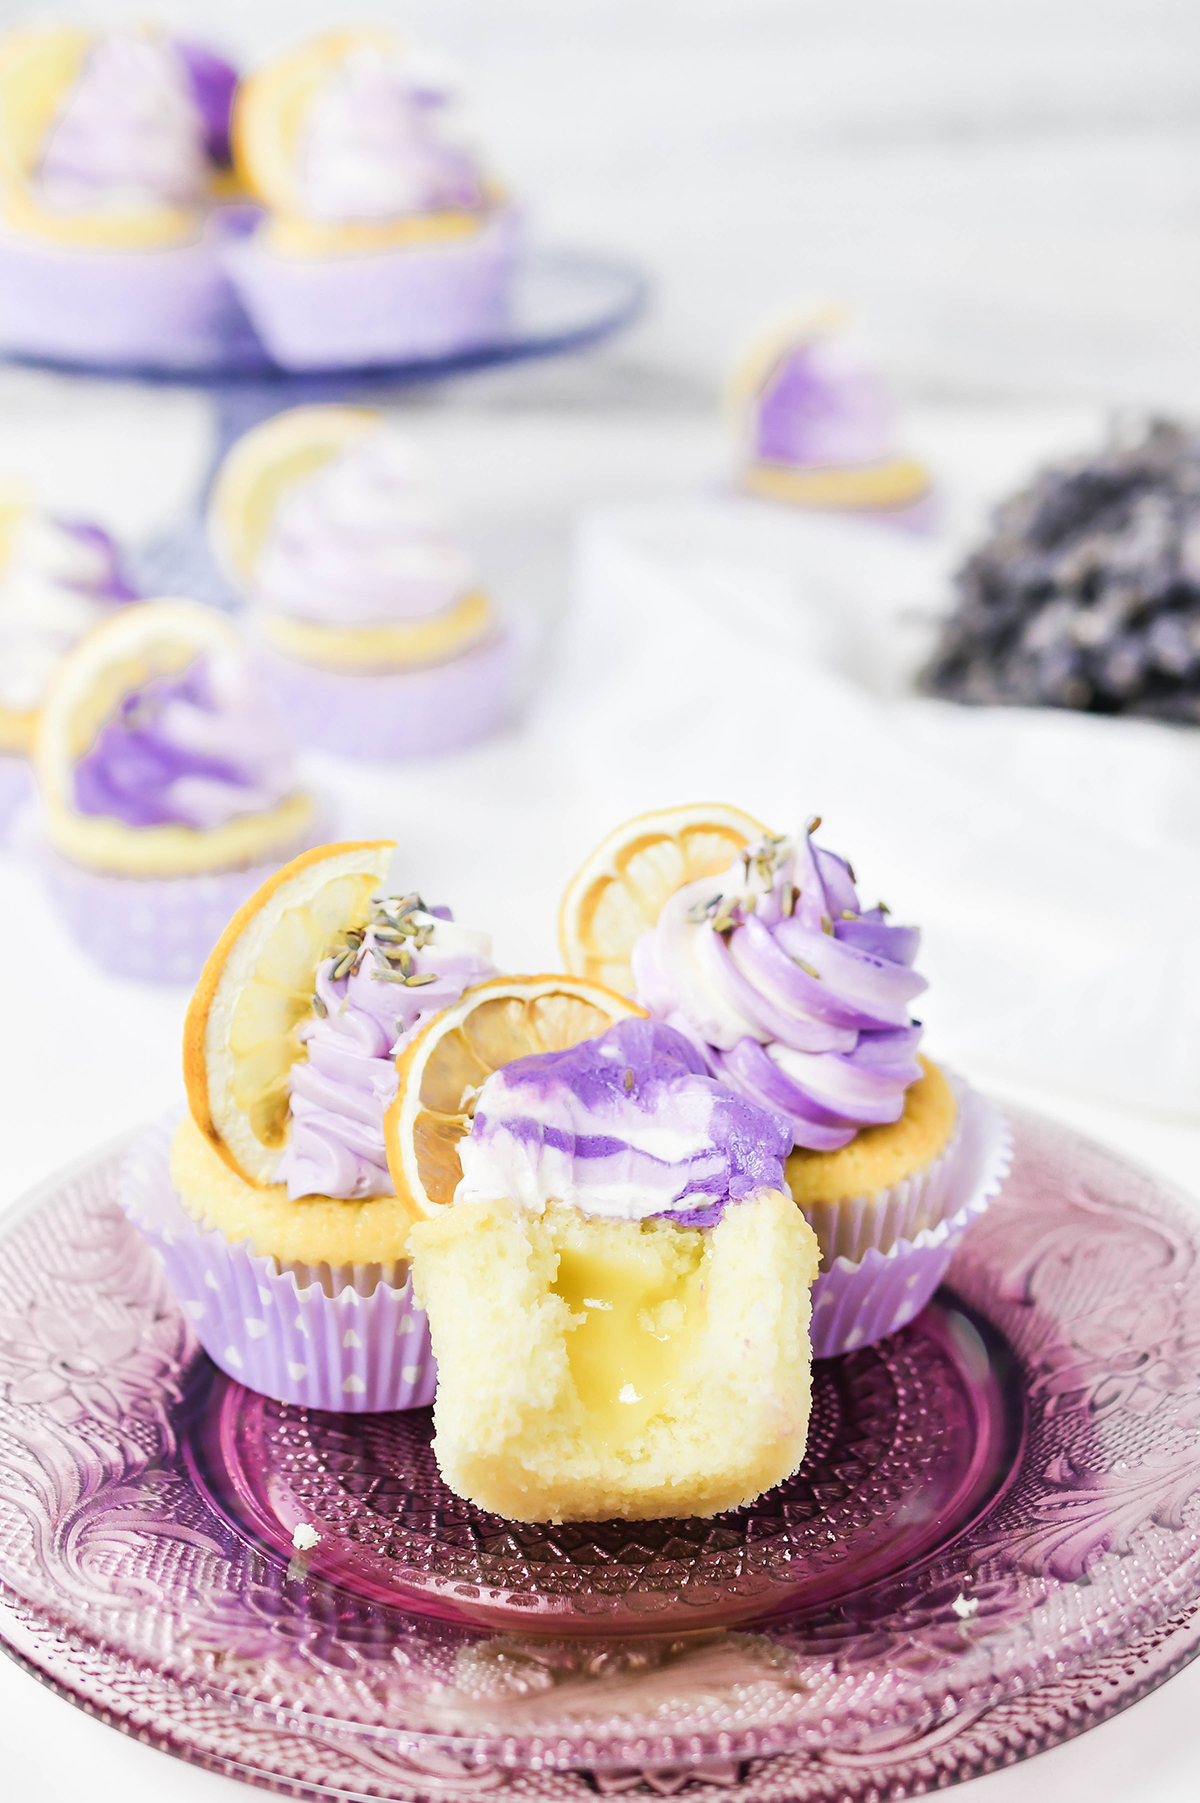
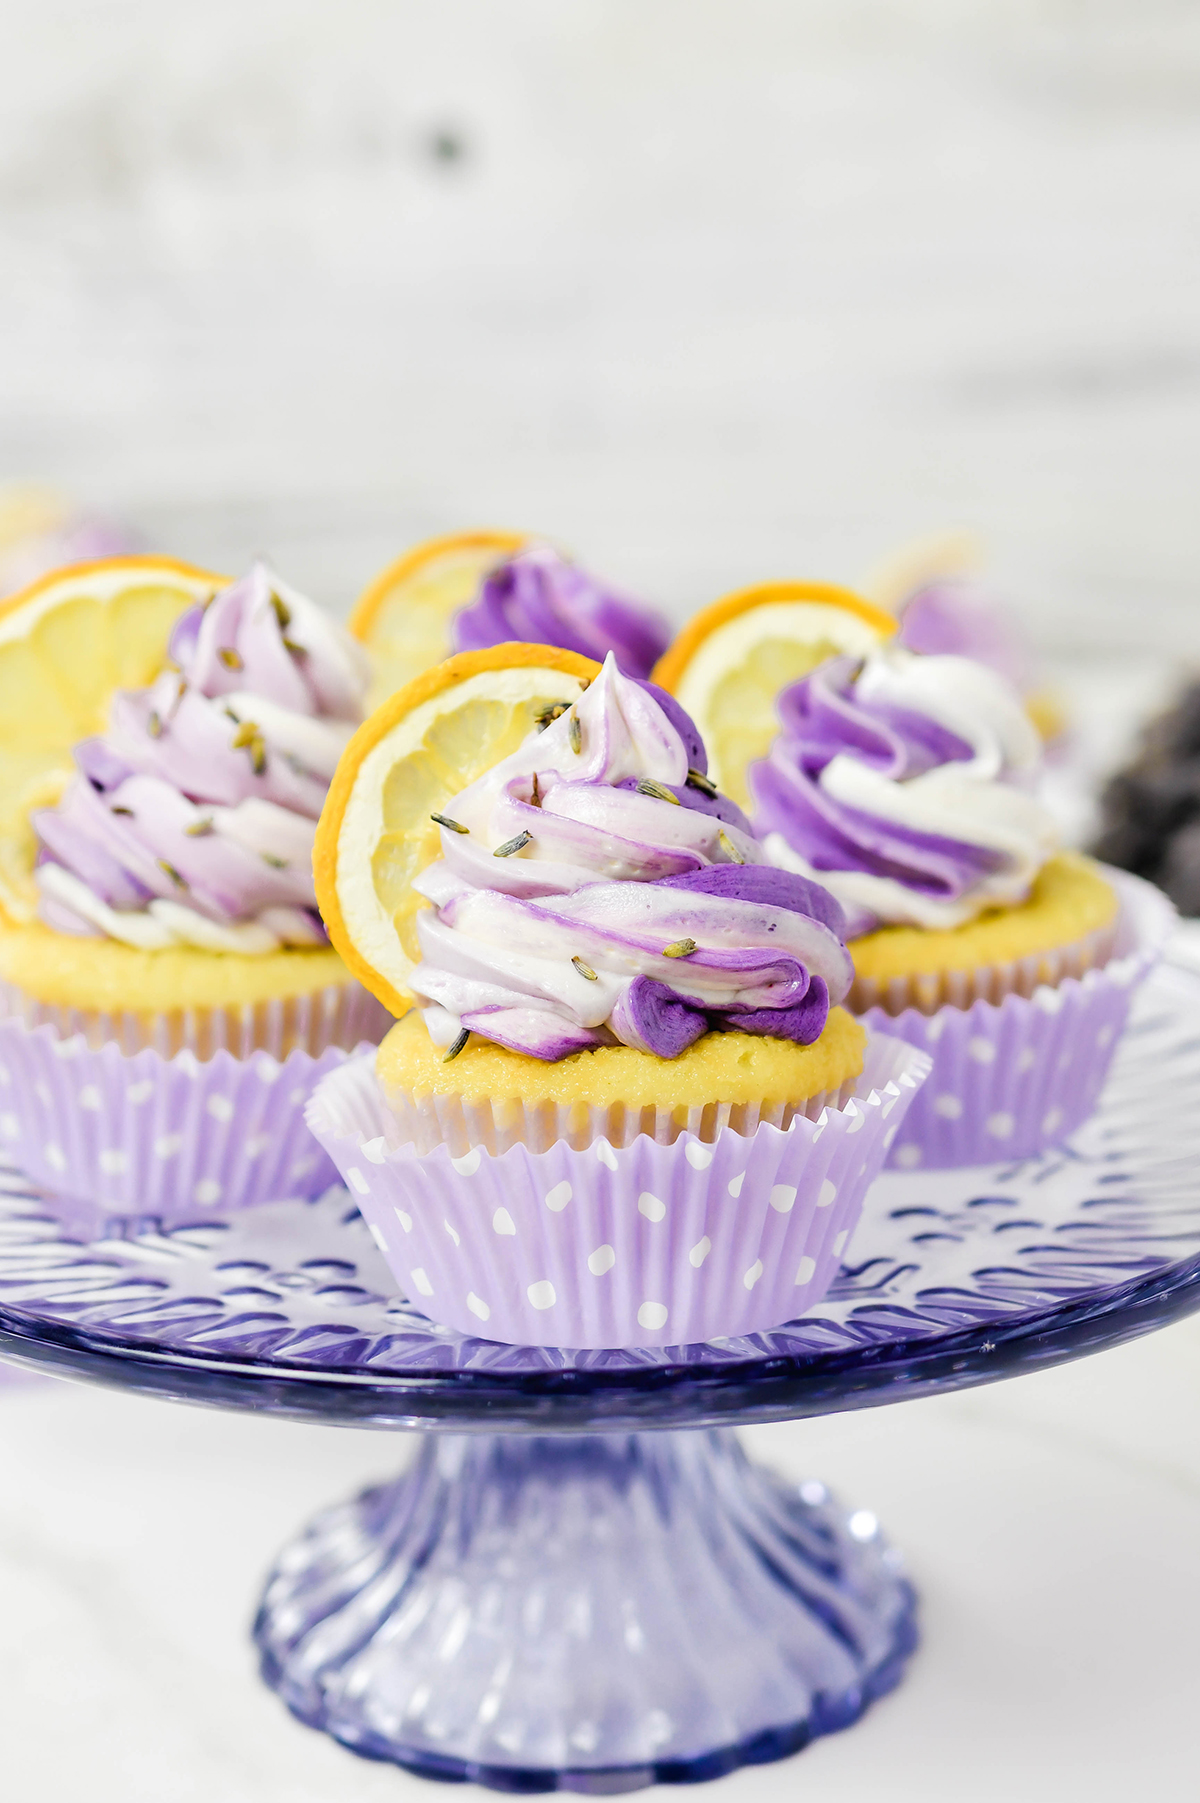
These Lavender Lemon Cupcakes bring together soft, lavender-scented cake with a subtly sweet lavender frosting, creating a dessert that’s as beautiful as it is delicious. Perfect for spring gatherings, Mother’s Day, or anytime you’re craving something unique and homemade, this recipe is sure to stand out. With easy-to-find ingredients and simple steps, these cupcakes are a delightful way to try baking with culinary lavender.
Why I Love This Recipe
- Soft, light, and fluffy cupcakes that melt in your mouth
- Just a hint of lavender for a delicate floral twist
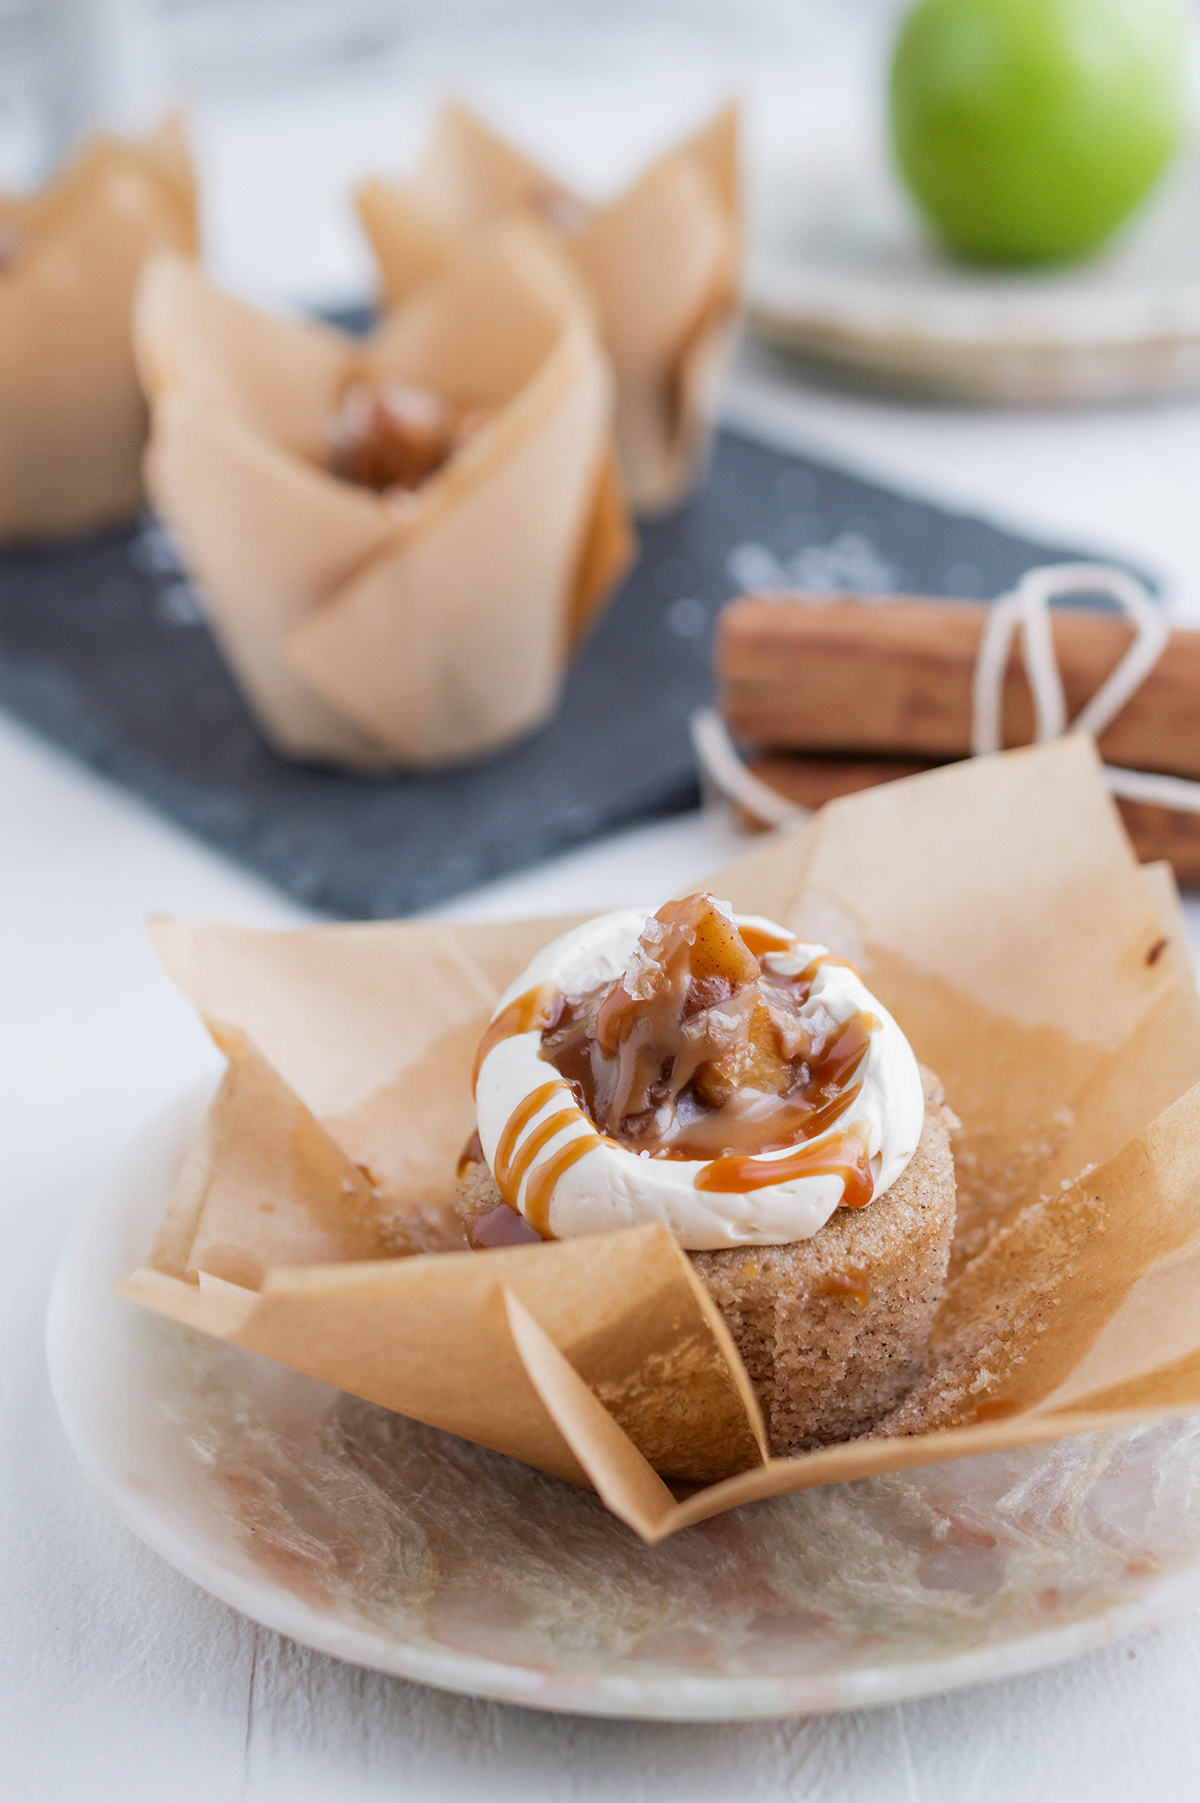
- A surprise lemon curd center that adds bright, tangy flavor
- Simple to make, but beautiful enough for any special occasion
Lavender Cupcake Ingredients
- Lavender Infused Whole milk: The fat in whole milk helps to tenderize the cake crumb. It also interacts with the flour to create just enough gluten to form the cake structure. Plus the lavender helps with the flavor of the cake.
- Egg whites: helps create structure.
- Vanilla extract: helps balance the flavors.
- Lavender extract: gives the cake a hint of lavender flavor.
- Cake flour: has a lower protein content than all-purpose flour which helps create a delicate crumb.
- Granulated sugar: Sugar not only sweetens the cake but it also helps tenderize, leavens and browns.
- Baking powder: is a leavener that contains baking soda and cornstarch. Baking soda reacts twice. The first is when it comes into contact with liquid and then when it is heated. Baking soda can’t be used as a substitute for baking powder.
- Salt: helps bring out the sweetness in the cake.
- Unsalted butter: tenderizes, moistens, leavens, browns, and flavors.
How To Make Lemon Curd
- In a medium sized saucepan, whisk together the eggs, sugar, salt, lemon juice and zest.
- Over low heat, whisk constantly for about 15 to 20 minutes or until the mixture starts to thicken.
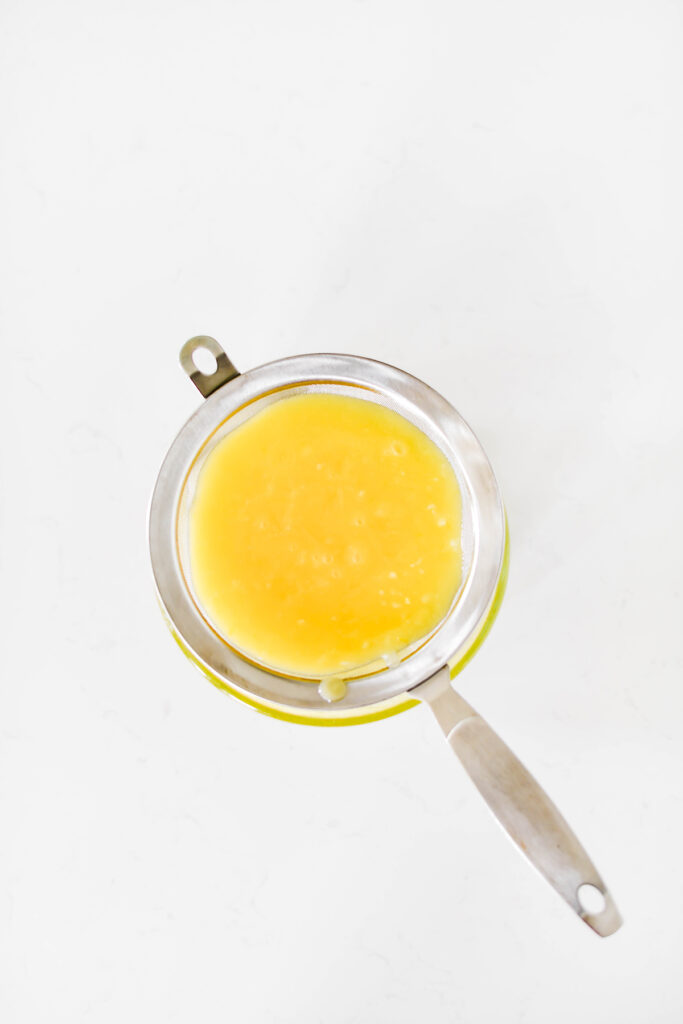
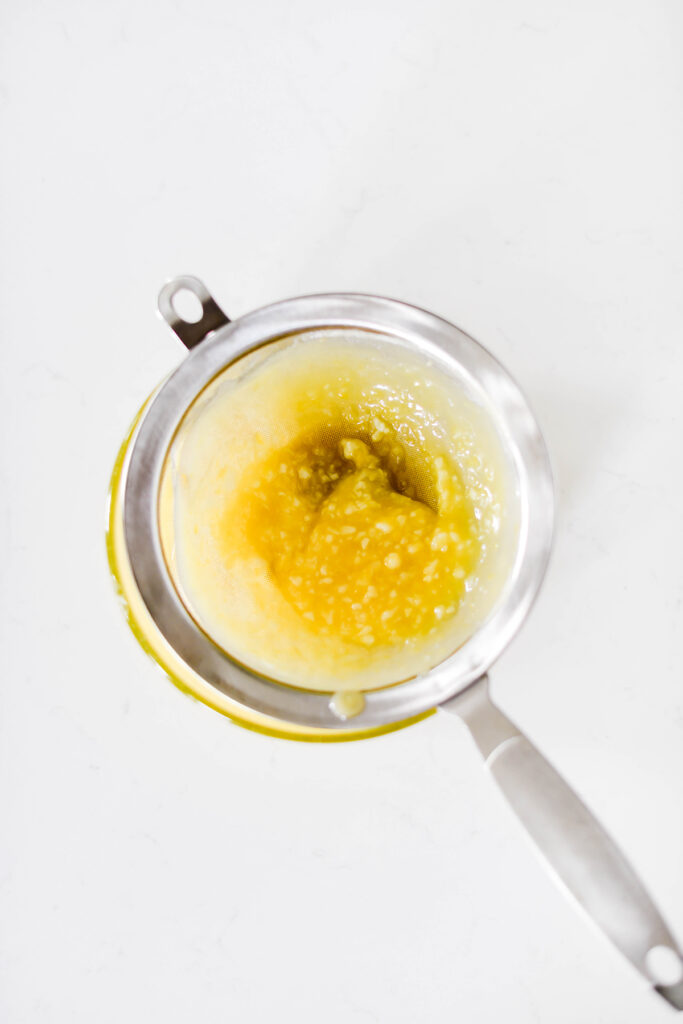
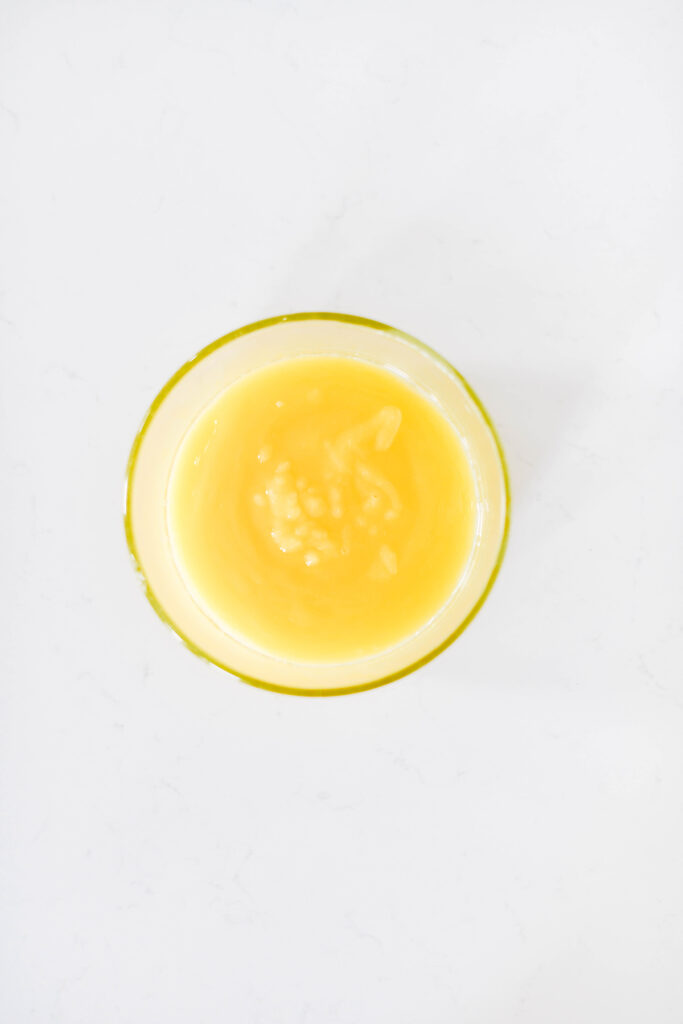
- Remove the curd from the heat and stir in the butter. Strain the curd through a fine-mesh sieve into a bowl to remove any solids that may have formed while cooking. Place a piece of plastic wrap on the surface of the curd and chill in the refrigerator for at least 3 hours or overnight.
Tips For Success
- Read the full recipe first. Knowing the steps ahead of time helps everything go more smoothly.
- Plan each part around your schedule. I usually spread cake recipes over 2 days to make things easier and less stressful.
- Use room temperature ingredients. They mix more easily and help prevent overmixing.
- Scoop batter with a 3-tablespoon spring-loaded ice cream scoop. It keeps cupcakes uniform in size for even baking.
- Rotate pans gently. About 5 minutes before baking is done, rotate your pans. Avoid slamming the oven door—cupcakes are delicate and can fall.
- Chill cupcakes before decorating. Once cooled, pop them in the fridge. Cold cupcakes are easier to fill and frost.
- Let colored frosting sit. The longer it rests, the deeper the color becomes.
Baking and Cake Decorating Tools
- Sieve
- 2 12-cup cupcake pans
- Cupcake liners
- Stand mixer
- Piping bags (2)
- AmeriColor Violet gel food color
- AmeriColor Red Red gel food color
- Ateco piping tip #827
- Dried lemon wedges (garnish)
- Culinary lavender (garnish)
Baking Schedule
- Day 1: Make lemon curd.
- Day 2: Bake cupcakes.
- Day 3: Prepare frosting, assemble and serve cupcakes.
Let's Connect
The Cake Chica is on the following social media platforms below. Click subscribe, like and follow! We would love to have you over!
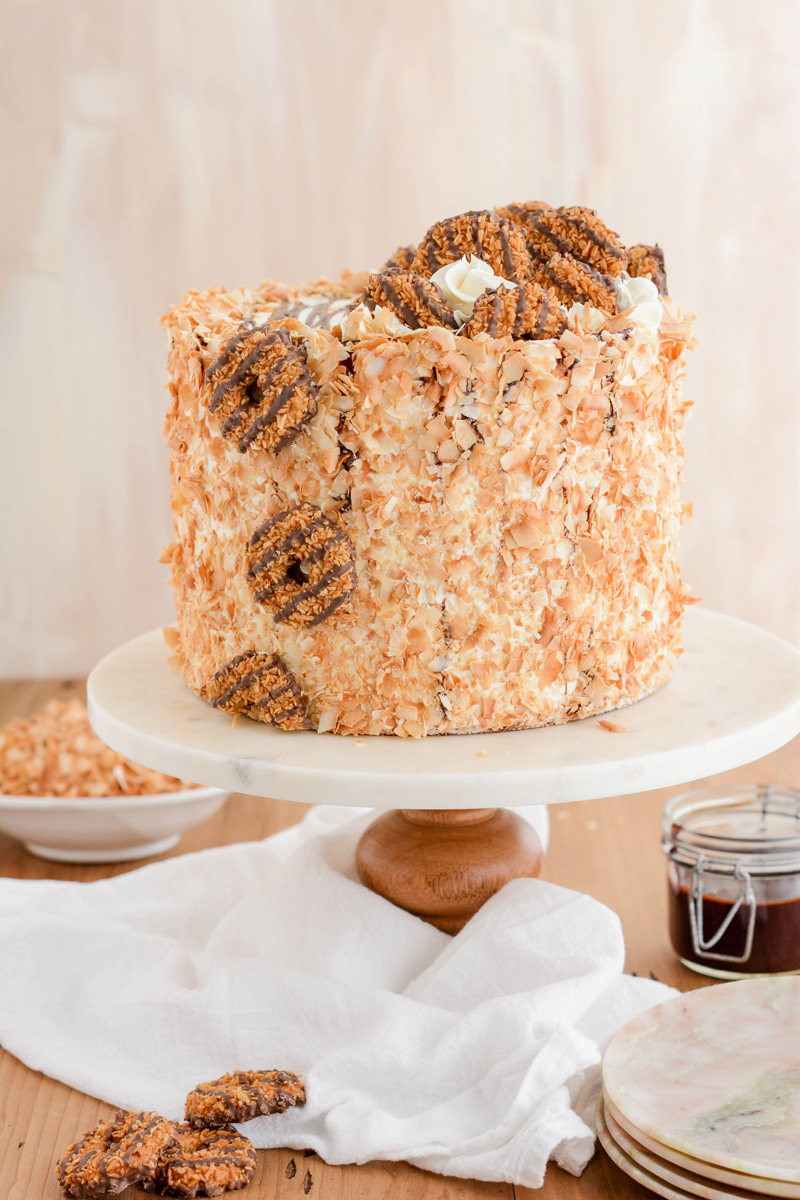
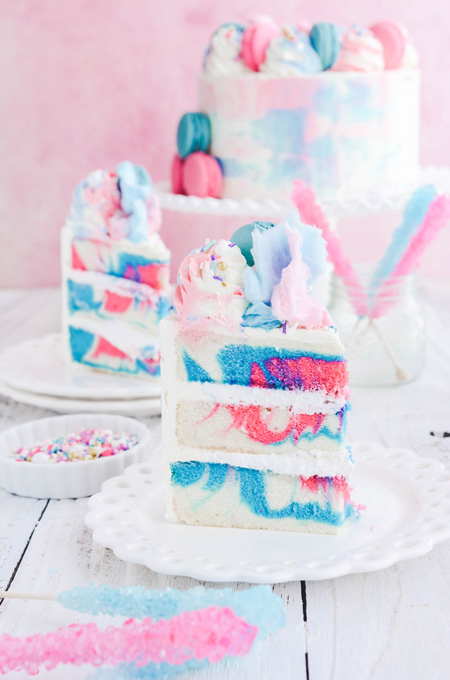
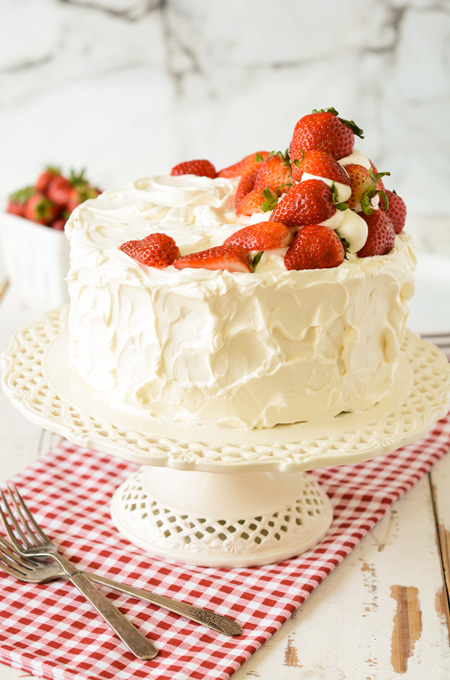
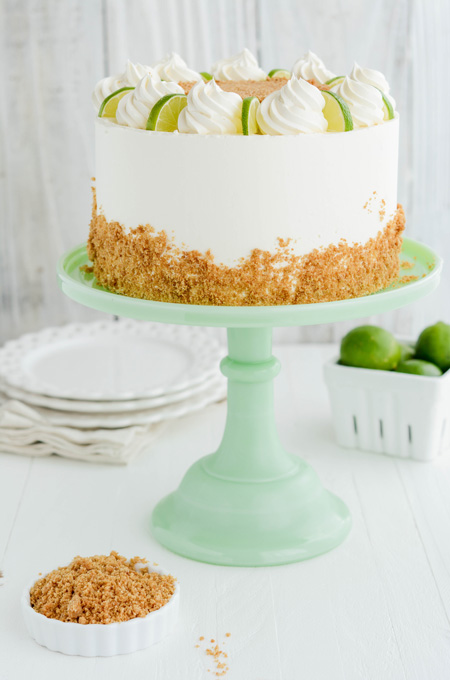
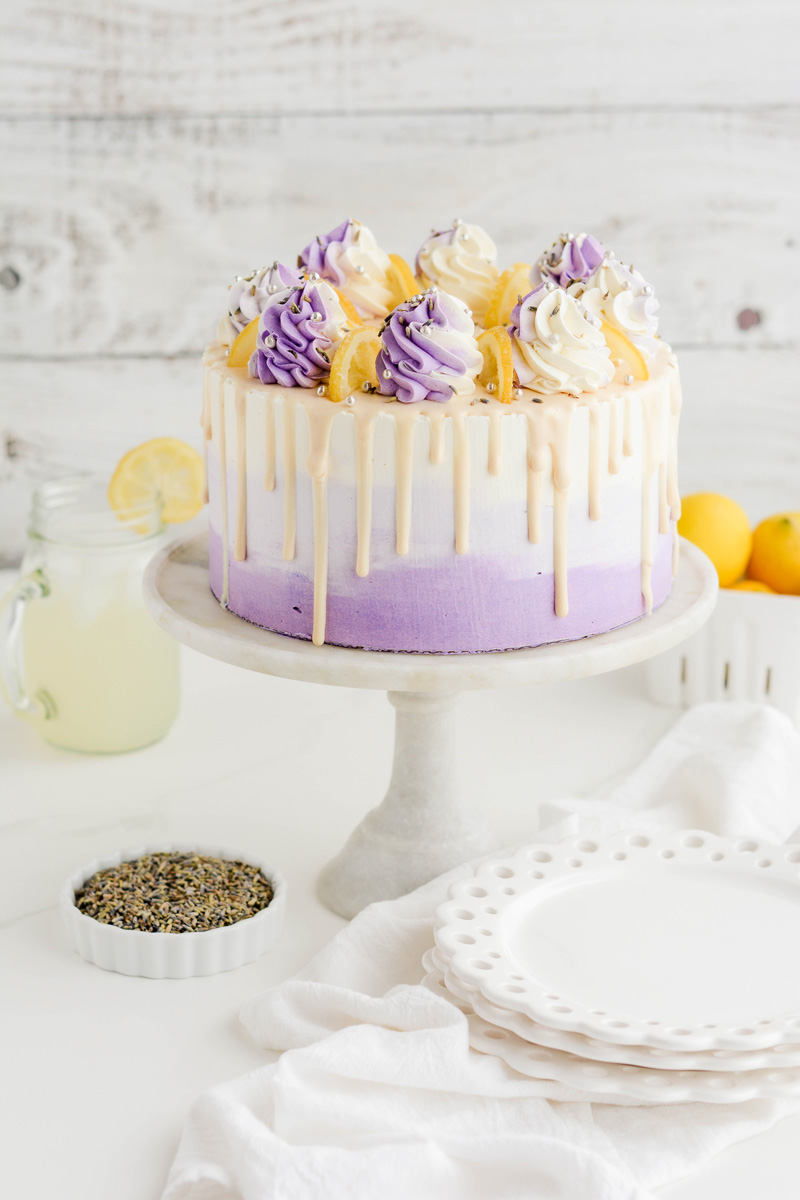
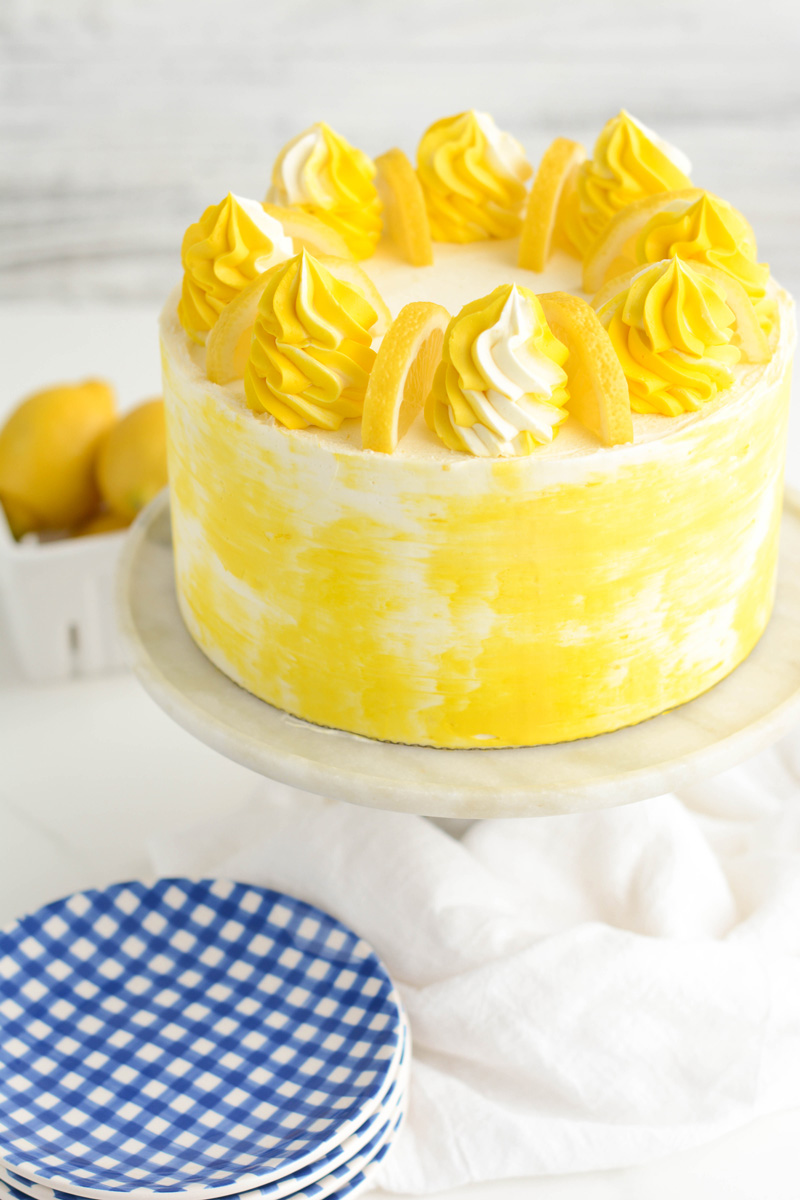
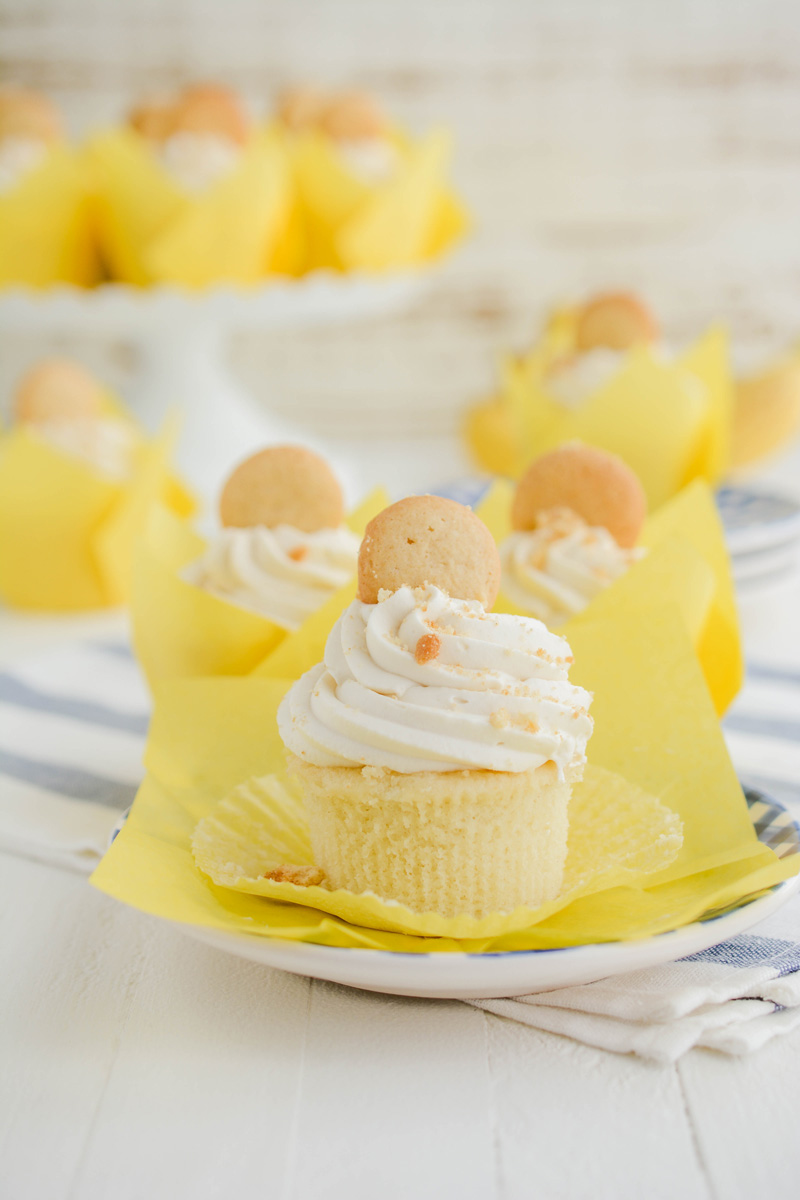
Suggested Recipes
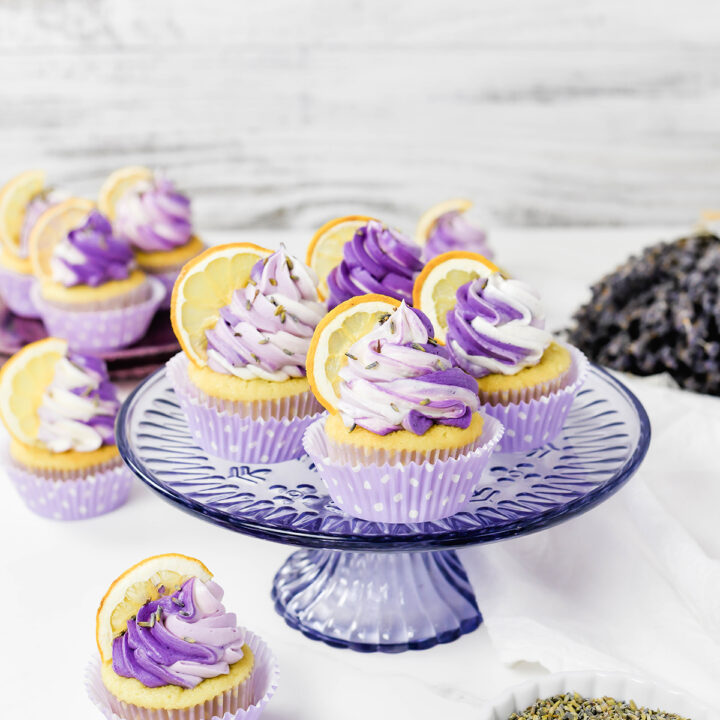
Lavender Lemon Cupcakes
These Lavender Lemon Cupcakes are soft, zesty, and topped with a floral buttercream, perfect for spring gatherings or garden parties.
Ingredients
SPECIAL TOOLS
- Sieve
- 2 12-cup cupcake pans
- Cupcake liners
- Stand mixer
- Piping bags (2)
- Ateco piping tip #827
- Dried lemon wedges (garnish)
- Culinary lavender (garnish)
LAVENDER MILK
- 1 cup whole milk
- 2 tablespoons culinary lavender
LAVENDER CAKE
- 1 cup Lavender Milk, at room temperature
- 6 large egg whites, at room temperature
- 1 teaspoon vanilla extract
- 2 teaspoons lavender extract
- 2 ¼ cups (9 ounces) cake flour
- 1 ¾ cups (12 1/4 ounces) granulated sugar
- 4 teaspoons baking powder
- 1 teaspoon salt
- 12 tablespoons unsalted butter, cut into tablespoon sized pieces, at room temperature
LEMON CURD
- 3 whole eggs
- 3/4 cup (5.25 ounces) granulated sugar
- Pinch of salt
- 1/2 cup freshly squeezed lemon juice
- 1 tablespoon lemon zest
- 4 tablespoons unsalted butter, cut into tablespoon sized pieces
LAVENDER FROSTING
- 2 cups (454 grams/16 ounces)unsalted butter, at room temperature
- 1/2 cup (8 tablespoons) shortening
- 1/4 teaspoon salt
- 6 1/2 cups (26 ounces/734.5 grams) powdered sugar, sifted
- 1 cup (8 fluid ounces) heavy cream
- 4 teaspoons vanilla extract
- 1/2 teaspoon lavender extract
Instructions
LAVENDER MILK
- In a small saucepan, slowly bring the milk to a simmer over low heat. Add the lavender and remove from the heat and let steep for 20 minutes. Strain the milk with a sieve over a 1 cup measuring cup to remove the lavender. Add more milk to the lavender milk to equal 1 cup.
LAVENDER CAKE
- Adjust an oven rack to the center position and heat oven to 350 degrees. Line 2 12-cup cupcakes pans with cupcake liners and set aside.
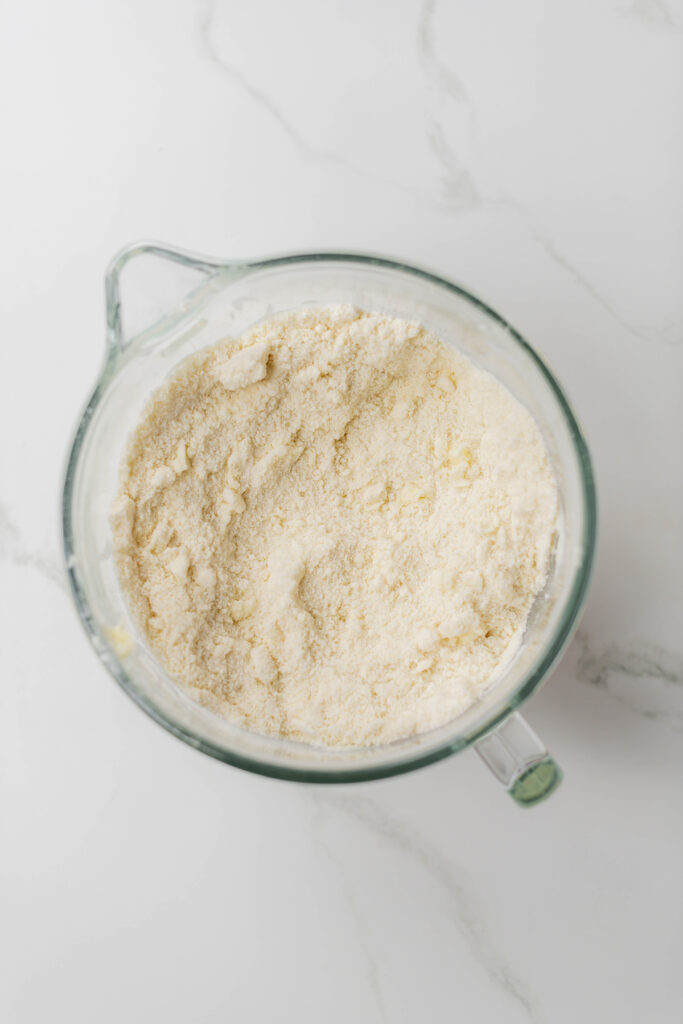
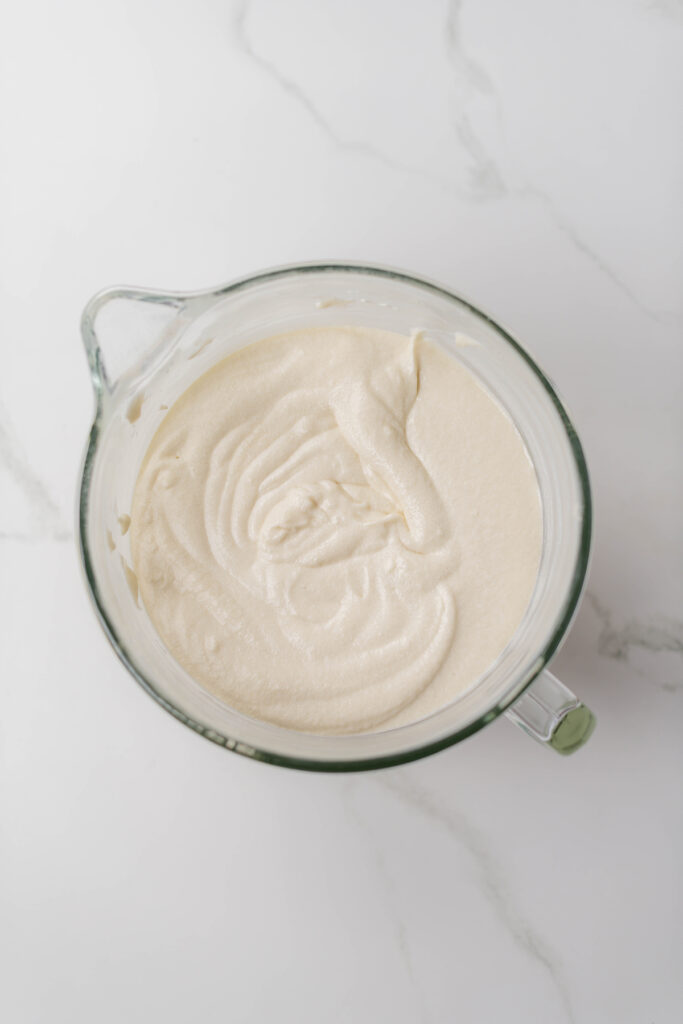
- In a bowl, whisk together lavender milk, egg whites, vanilla and lavender extract. In the bowl of a stand mixer, with the paddle attachment attached, mix the flour, sugar, baking powder and salt on low speed until combined. Add butter one tablespoon at a time until the mixture forms pea-sized pieces, about 1 minute. Reserve ½ cup of the lavender milk mixture and pour the remaining to the flour mixture and mix on medium-high speed until light and fluffy, about 1 minute. Reduce the mixer speed to medium-low and add the reserved ½ cup milk mixture to the batter and mix until combined, about 30 seconds. Do not over mix. The batter may look curdled. Give the batter a final stir by hand with a rubber spatula.
- Divide the batter evenly between the prepared cupcake pans. Gently tap cake pans on the counter to settle the batter and bake until a toothpick inserted in the centers comes out with a few moist crumbs attached, about 20 to 25 minutes, switching and rotating pans halfway through baking.
- Let cakes cook in their pans on wire racks for 10 minutes. Invert cakes on to wire racks to cool completely, about 2 hours.
LEMON CURD
- Over low heat, whisk constantly for about 15 to 20 minutes or until the mixture starts to thicken.
- Remove the curd from the heat and stir in the butter. Strain the curd through a sieve into a bowl to remove any solids that may have formed while cooking. Place a piece of plastic wrap on the surface of the curd and chill in the refrigerator for at least 3 hours or overnight.
LAVENDER FROSTING
- In the bowl of a stand mixer with the paddle attachment attached, beat the butter, shortening and salt on medium speed until light and fluffy, about 8 minutes. Add the powdered sugar, heavy cream, vanilla and lavender extract and slowly mix until combined, about 1 minute.
- Increase the mixer speed to medium-high and beat until light and fluffy, about 6 minutes.
HOW TO COLOR FROSTING
- In 2 separate bowls, set aside about 2 cups of frosting into each bowl.
- Color the first bowl of frosting with AmeriColor Violet gel food coloring. Add a small amount of AmeriColor Red Red to reduce the blue tones and create the perfect lavender shade. Once you're happy with the color, use the same spoon or spatula to mix a portion of the lavender frosting into the second bowl. This will create a lighter lavender shade. Using the same tool and base color helps keep the tones consistent.
ASSEMBLE
- Using a small paring knife, cut a cone of cake out of each cupcake. Cut off the cone section of cake and discard, but keep the circular top of cake to place back on to the cupcake after filling.
- Place the curd in a piping bag and cut off the tip for the lemon curd to come out. Start filling each cupcake with about 2 teaspoons of lemon curd. Place the circular piece of cake back on top.
- Fit a piping bag with Ateco piping tip #827.
- Lay a piece of plastic wrap on the counter and place the uncolored, lavender and light lavender frosting on top of the plastic wrap in a line. It doesn't have to be perfect.
- Roll up the plastic wrap into a tight log shape, twisting both ends. Cut one end of the plastic wrap.
- Place the plastic wrapped buttercream into the prepared piping bag.
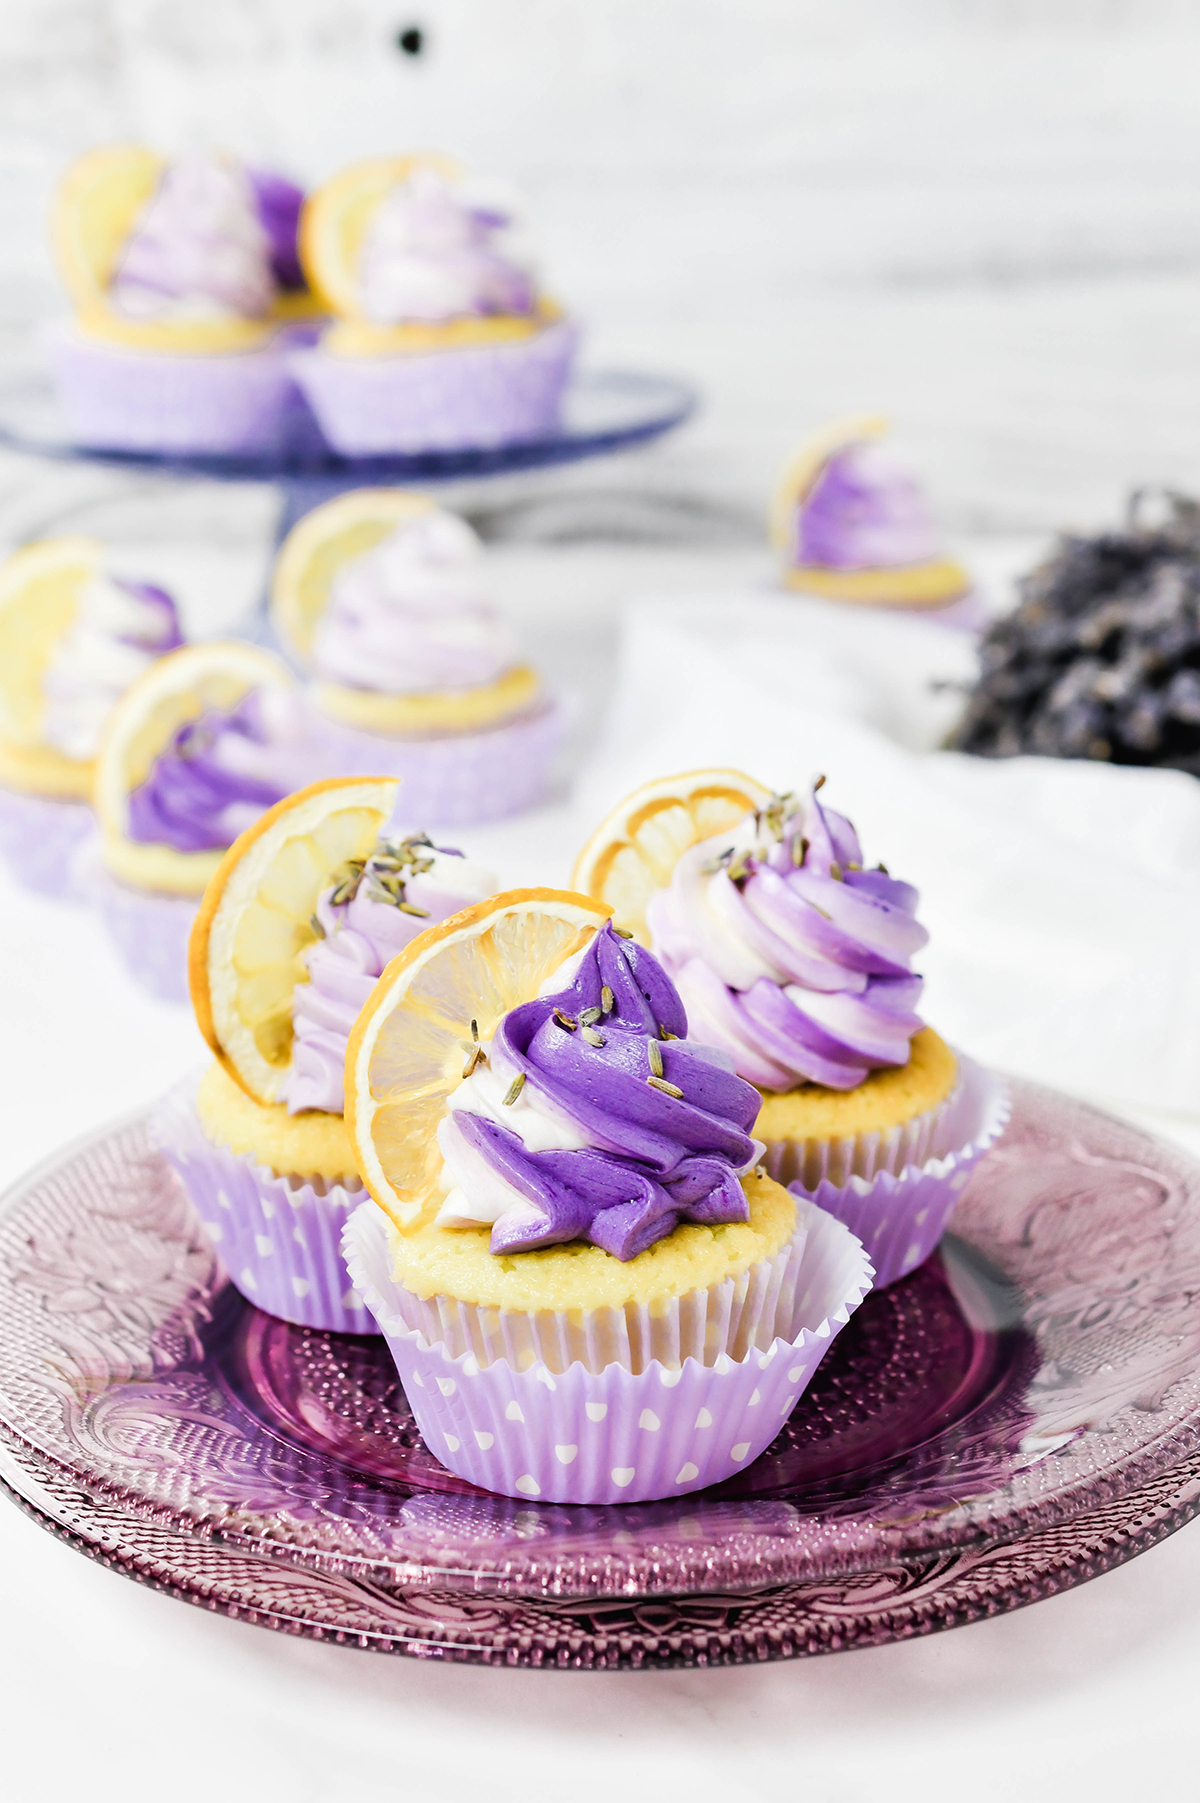
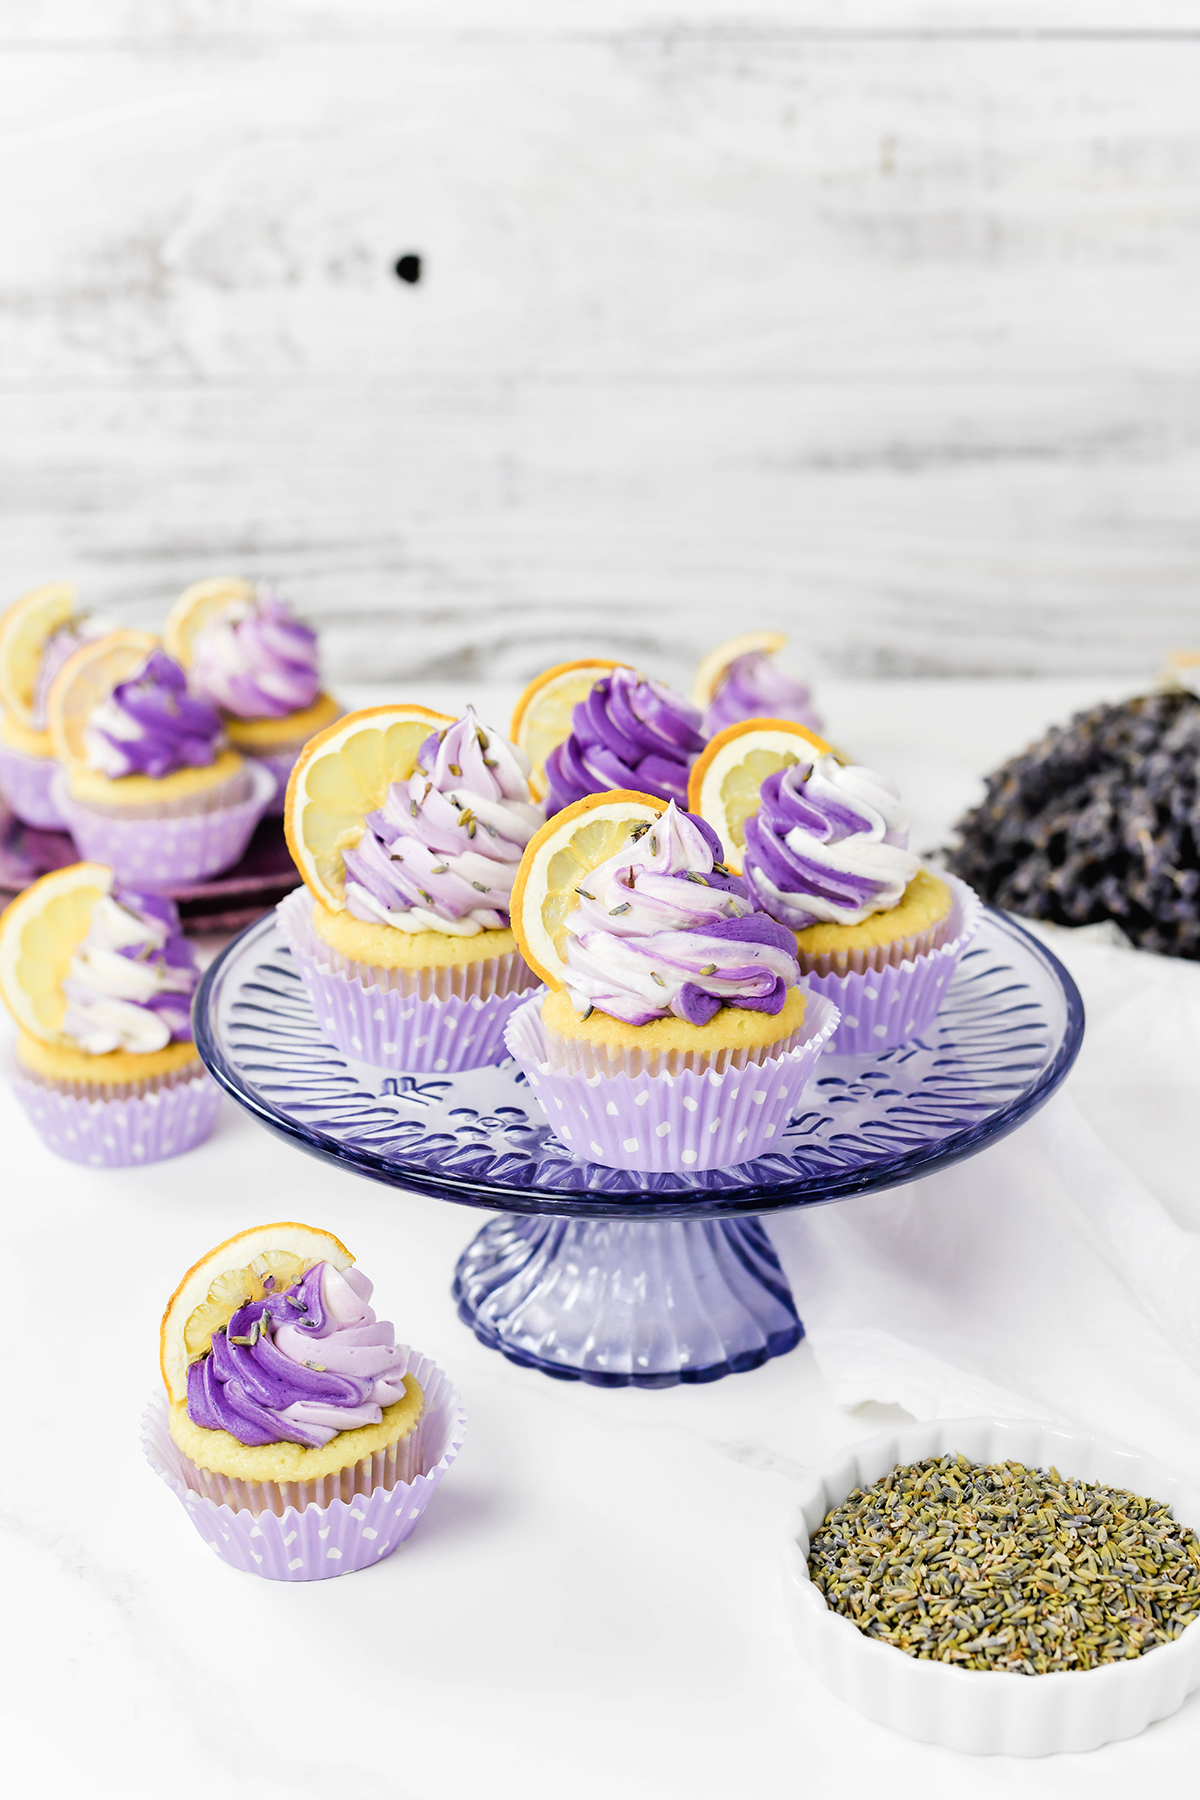
- Pipe a swirl of frosting on top of each cupcake. Top the cupcakes with a lemon wedge and a sprinkle of culinary lavender.
Notes
Cupcake Storage: Assembled cupcakes can be stored in an airtight container in the refrigerator for up to 3 days. Bring to room temperature before serving.
Make Ahead: Store cake layers in plastic wrap in an airtight cake container at room temperature for up to 3 days. Lemon Curd will keep in an airtight container in the refrigerator for up to 1 week. Or in the freezer for 6 months. The frosting will keep in an airtight container in the refrigerator for up to 3 days. Bring chilled frosting room temperature and beat on low speed to soften. You can also warm the frosting in a heatproof container in the microwave in 10 second intervals, stirring after each interval until the frosting is smooth.
Nutrition Information:
Yield: 24 Serving Size: 1Amount Per Serving: Calories: 1045Total Fat: 56gSaturated Fat: 20gTrans Fat: 3gUnsaturated Fat: 31gCholesterol: 99mgSodium: 1031mgCarbohydrates: 133gFiber: 6gSugar: 94gProtein: 12g
*Nutrition information is an estimate and will vary.*