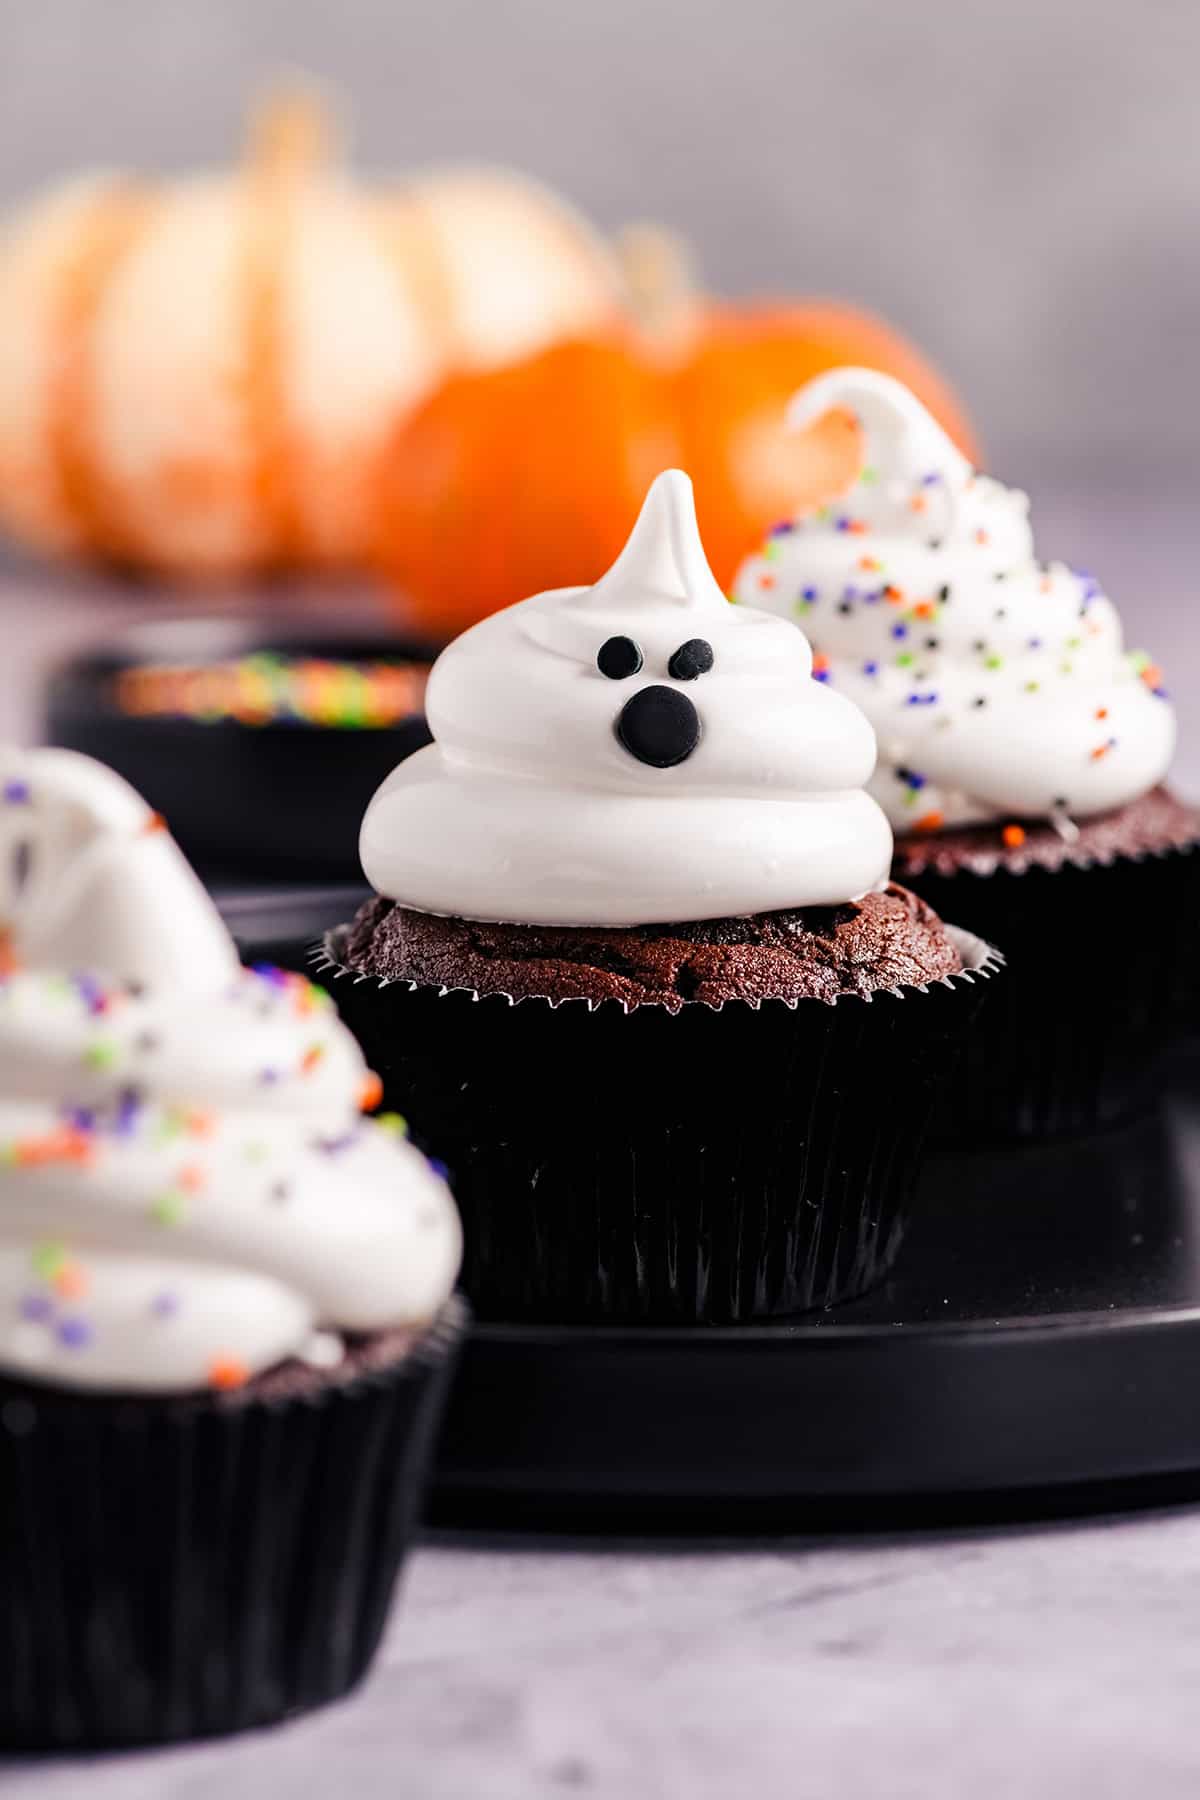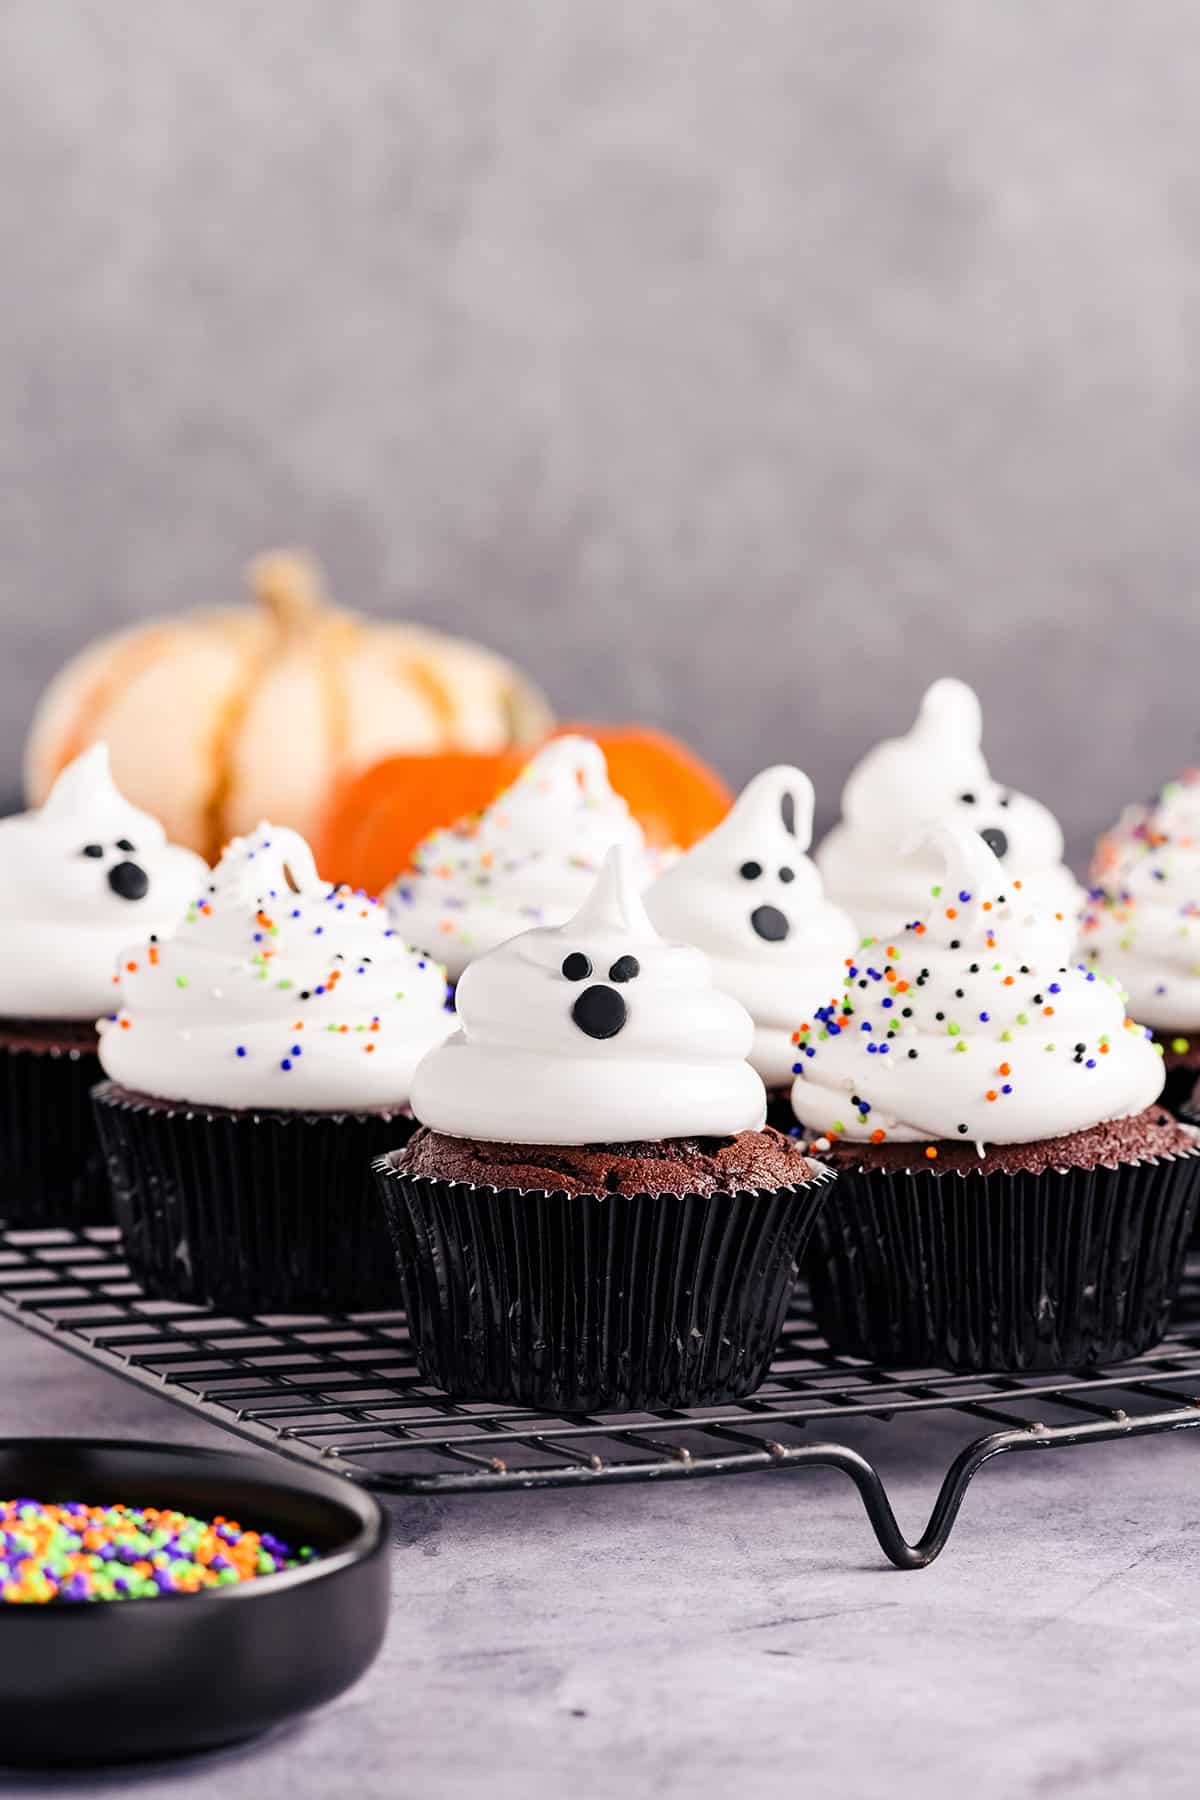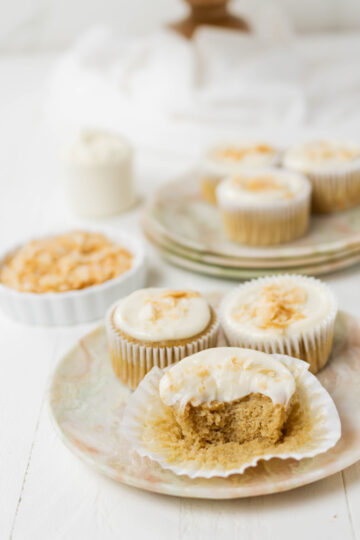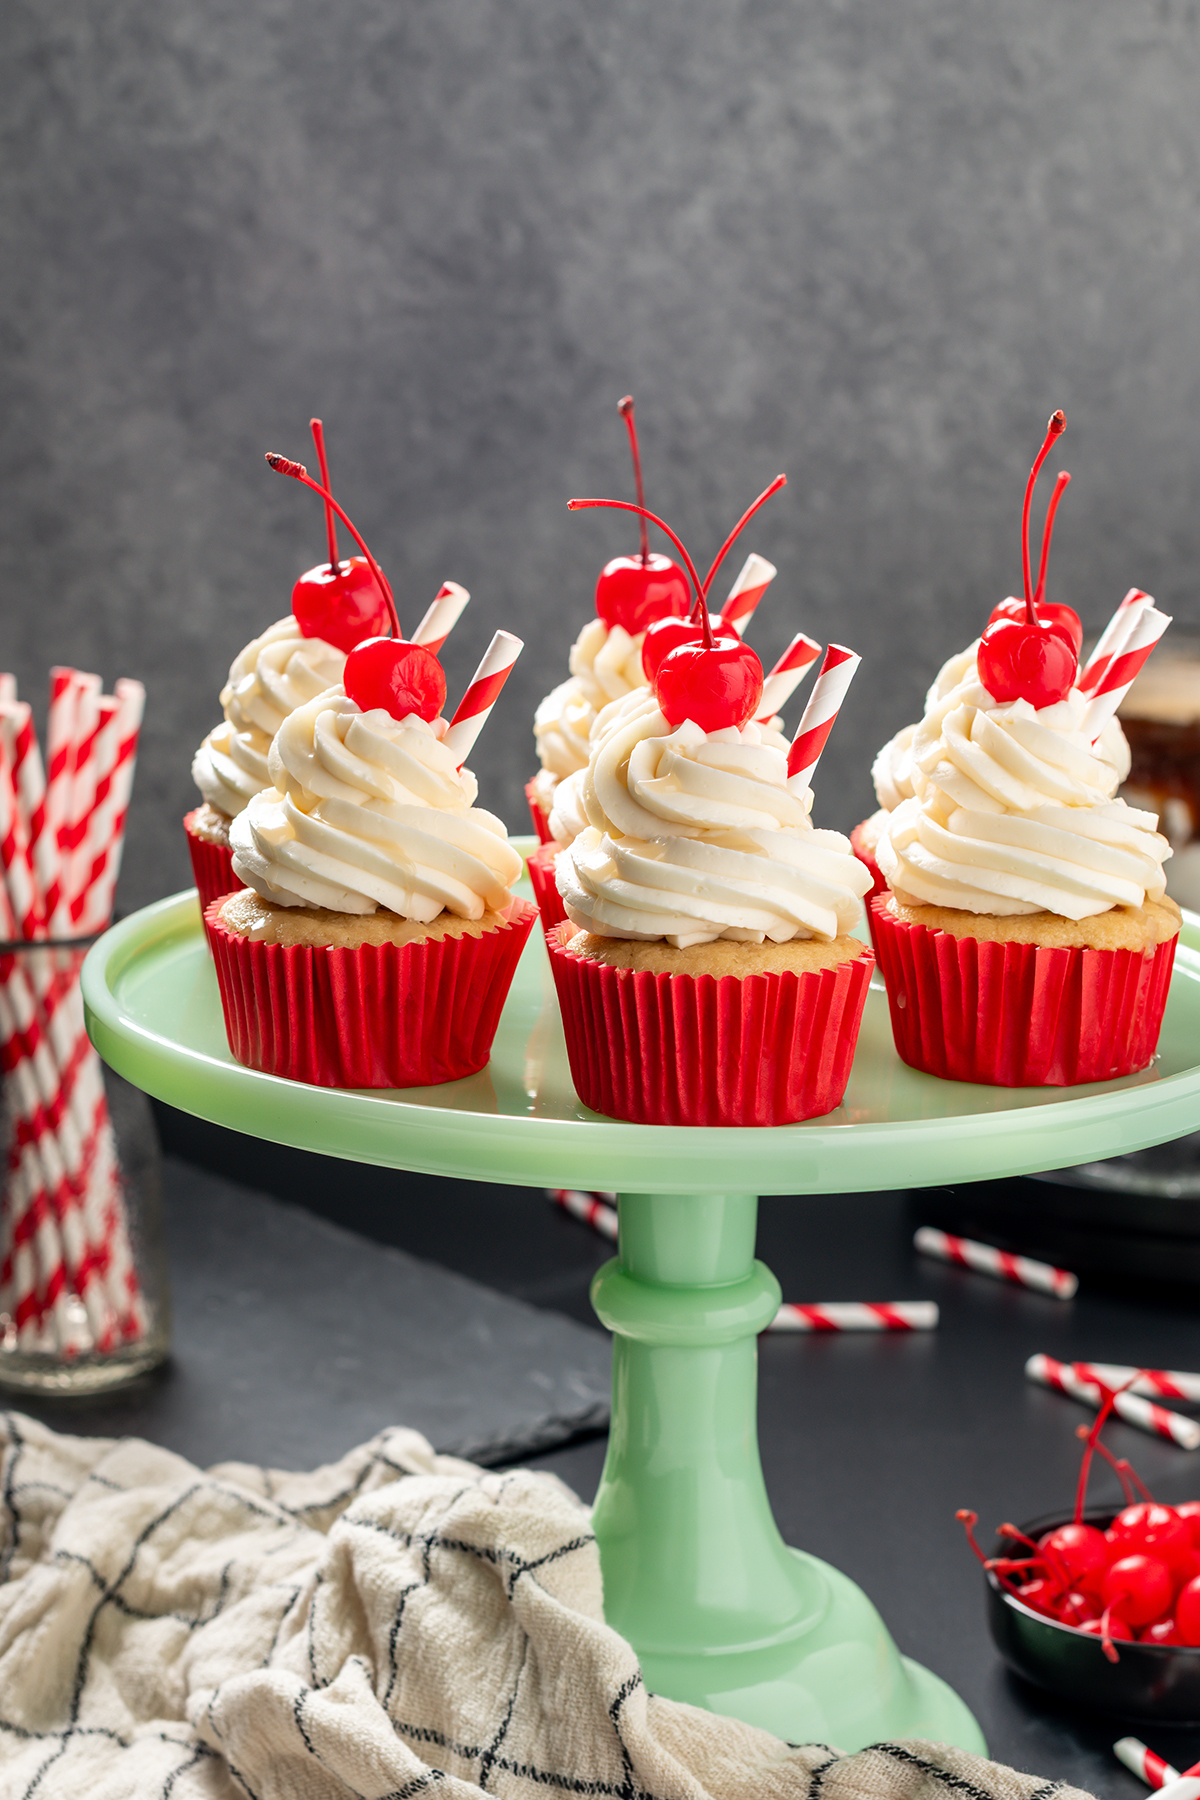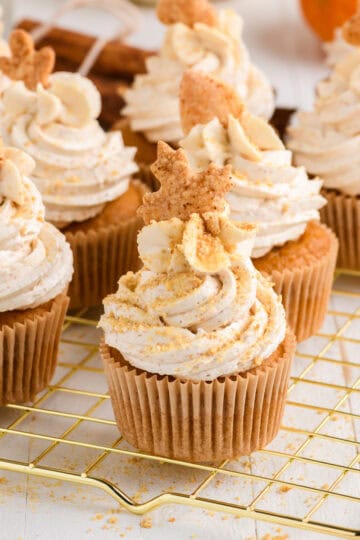
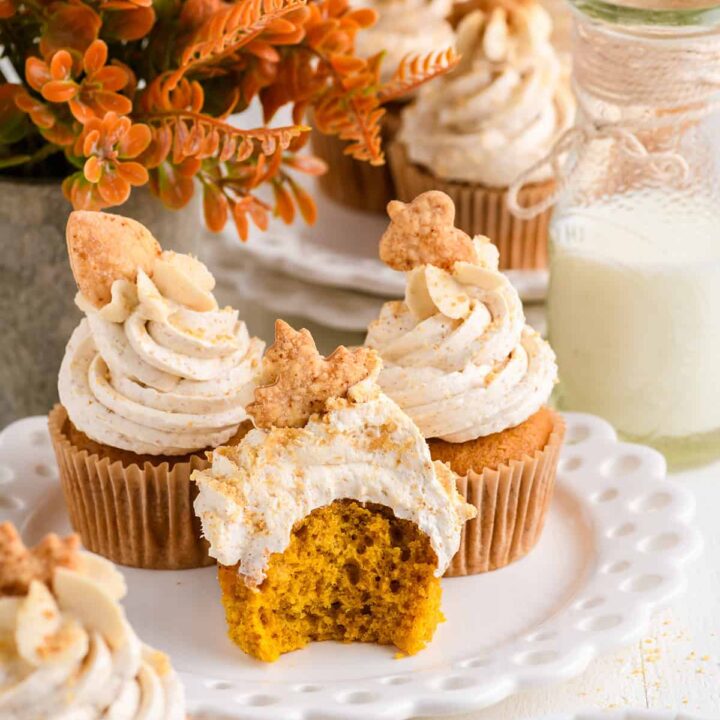
These Pumpkin Pie Cupcakes bring all the cozy vibes of fall in one adorable, handheld dessert. Think creamy pumpkin spice filling, fluffy texture, and that irresistible pie-meets-cupcake mashup you didn’t know you needed.
[feast_advanced_jump_to]AS AN AMAZON ASSOCIATE I EARN FROM QUALIFYING PURCHASES.

Why You'll Love This Recipe
- Smells amazing while baking!
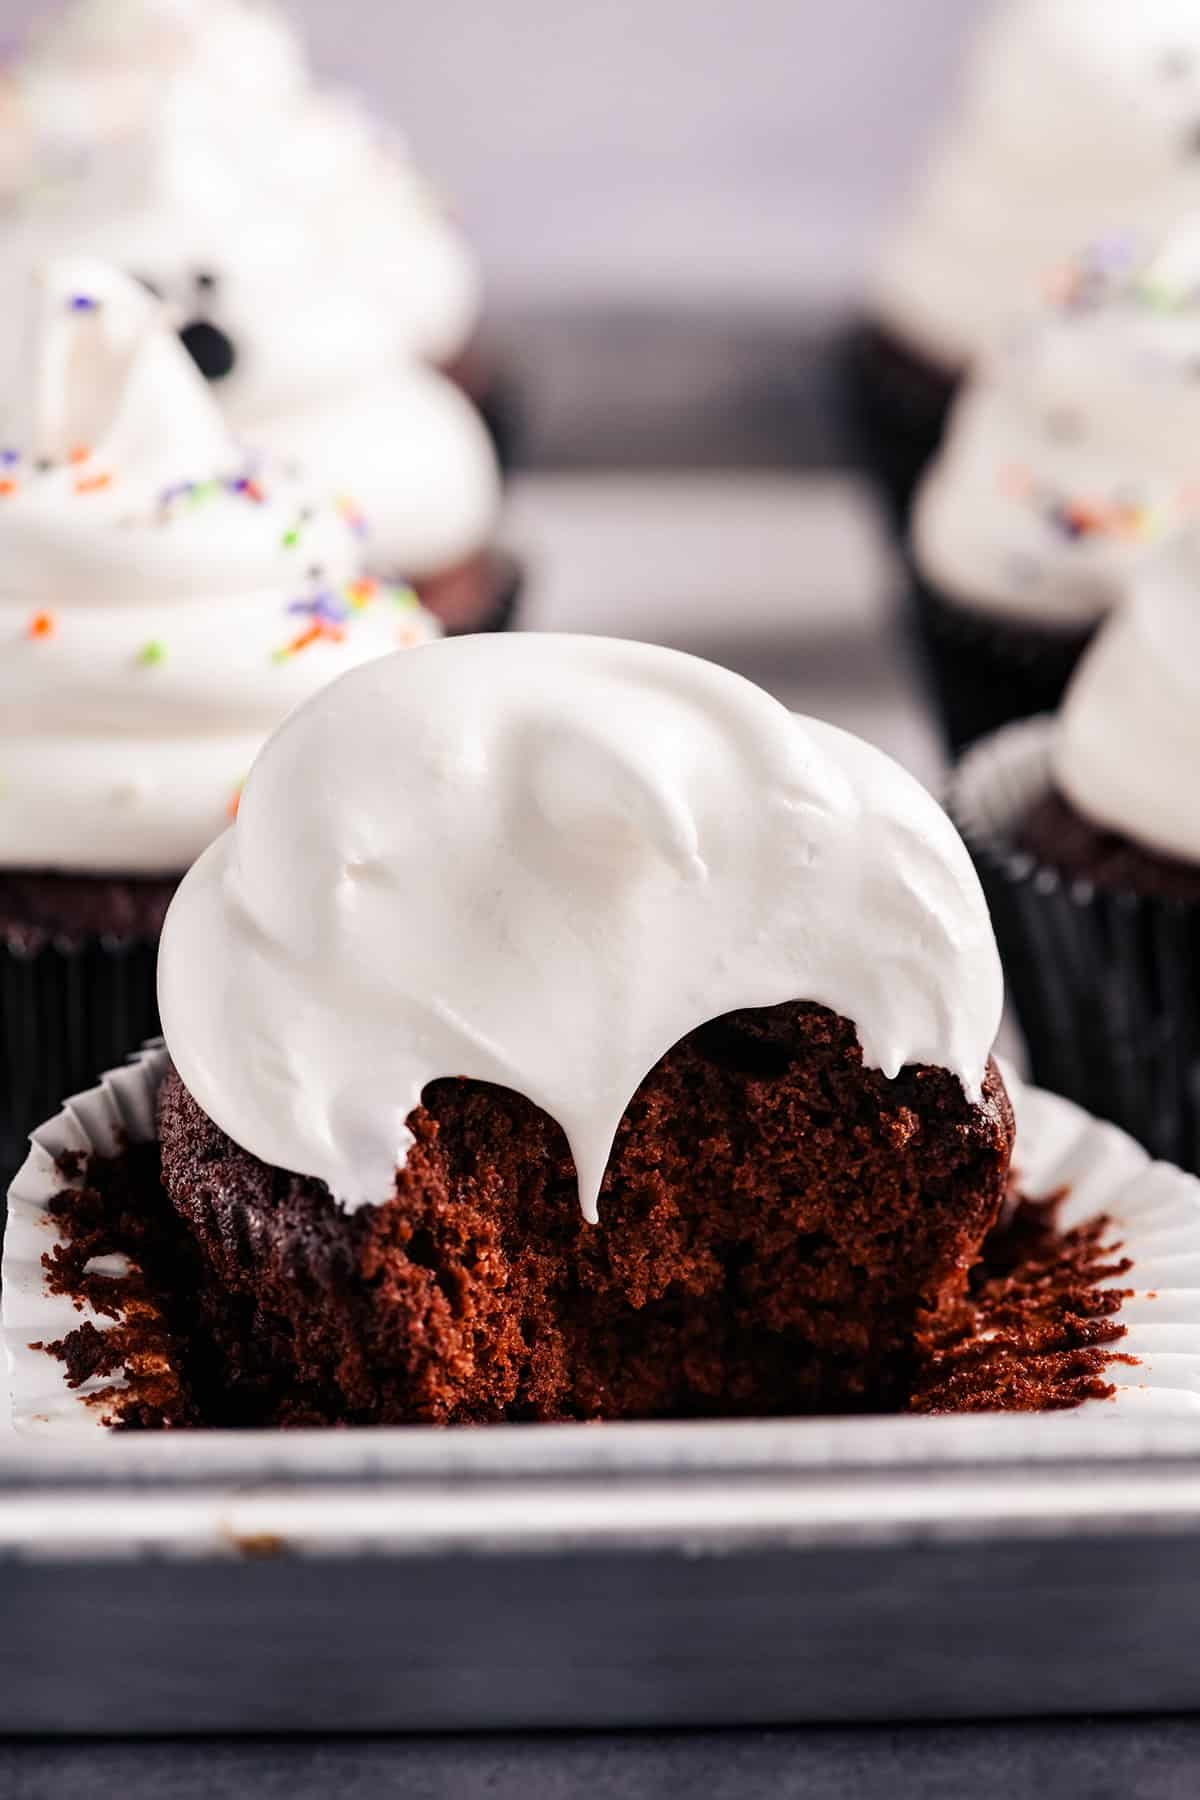
- Moist, tender crumb with fall spices.
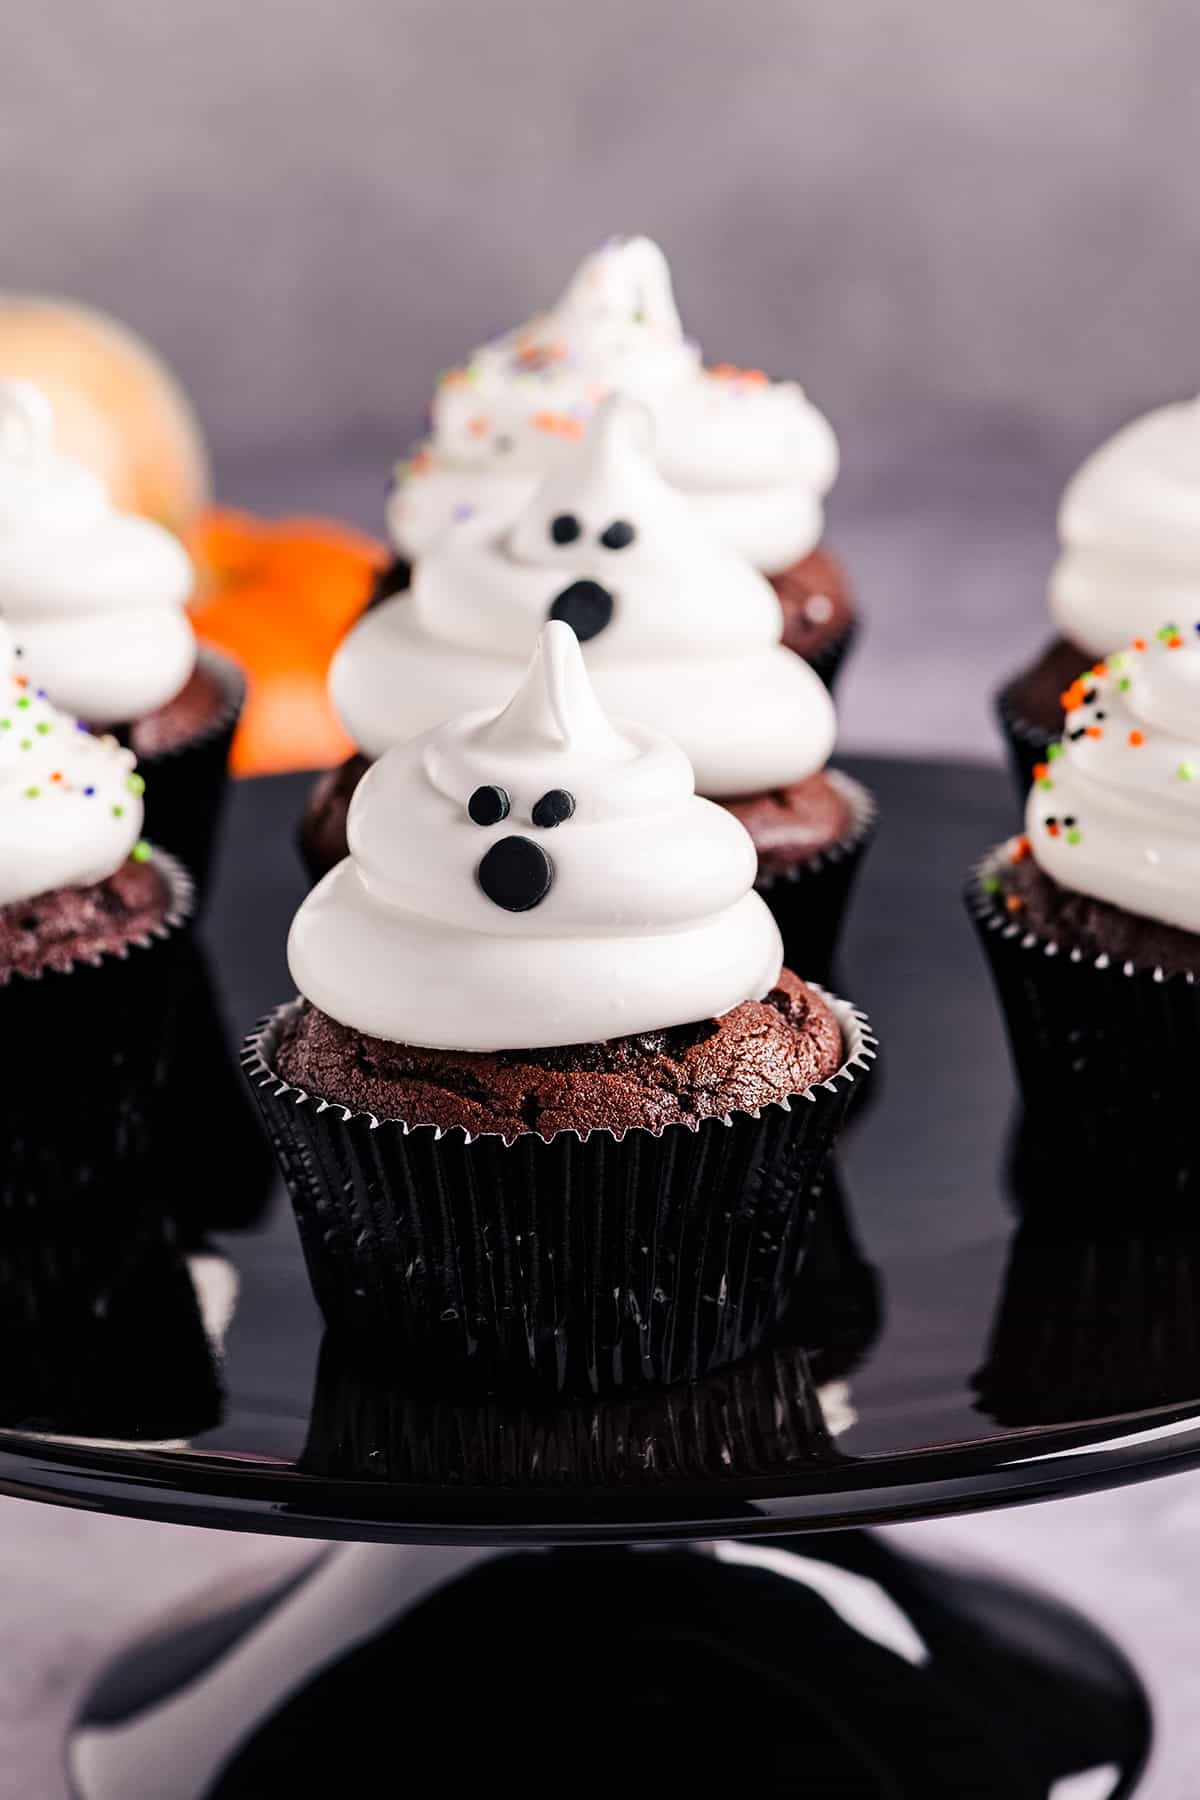
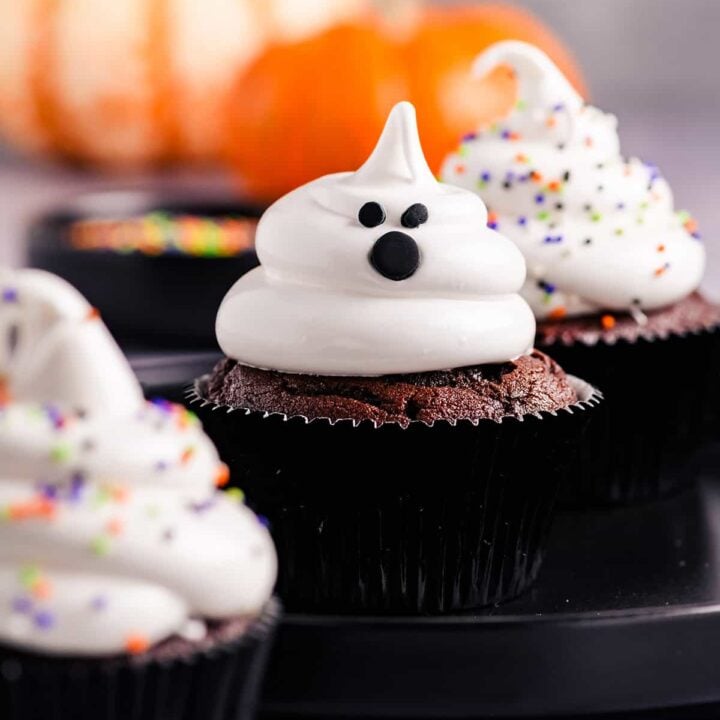
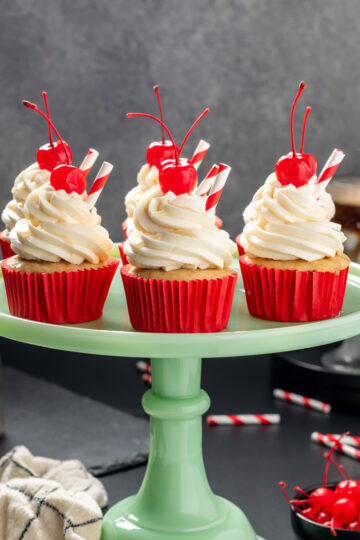
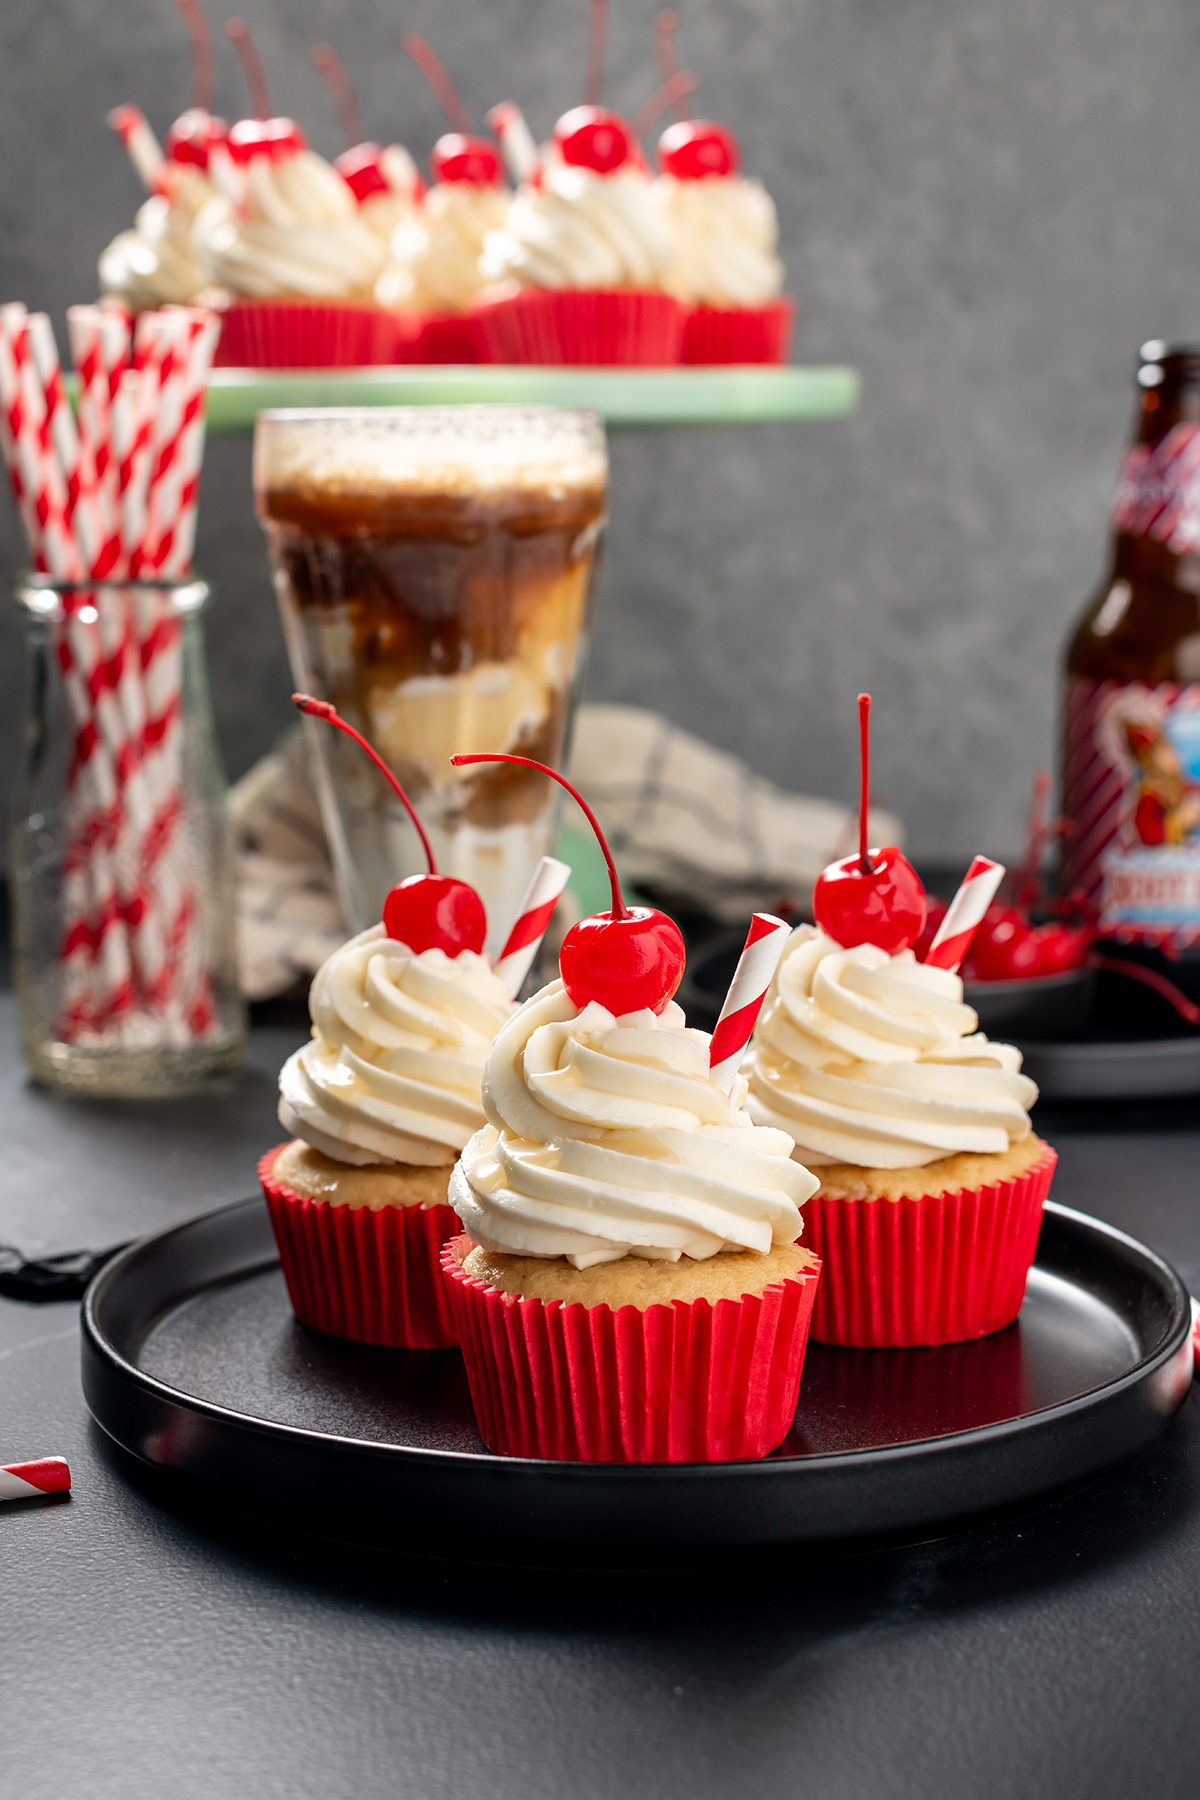
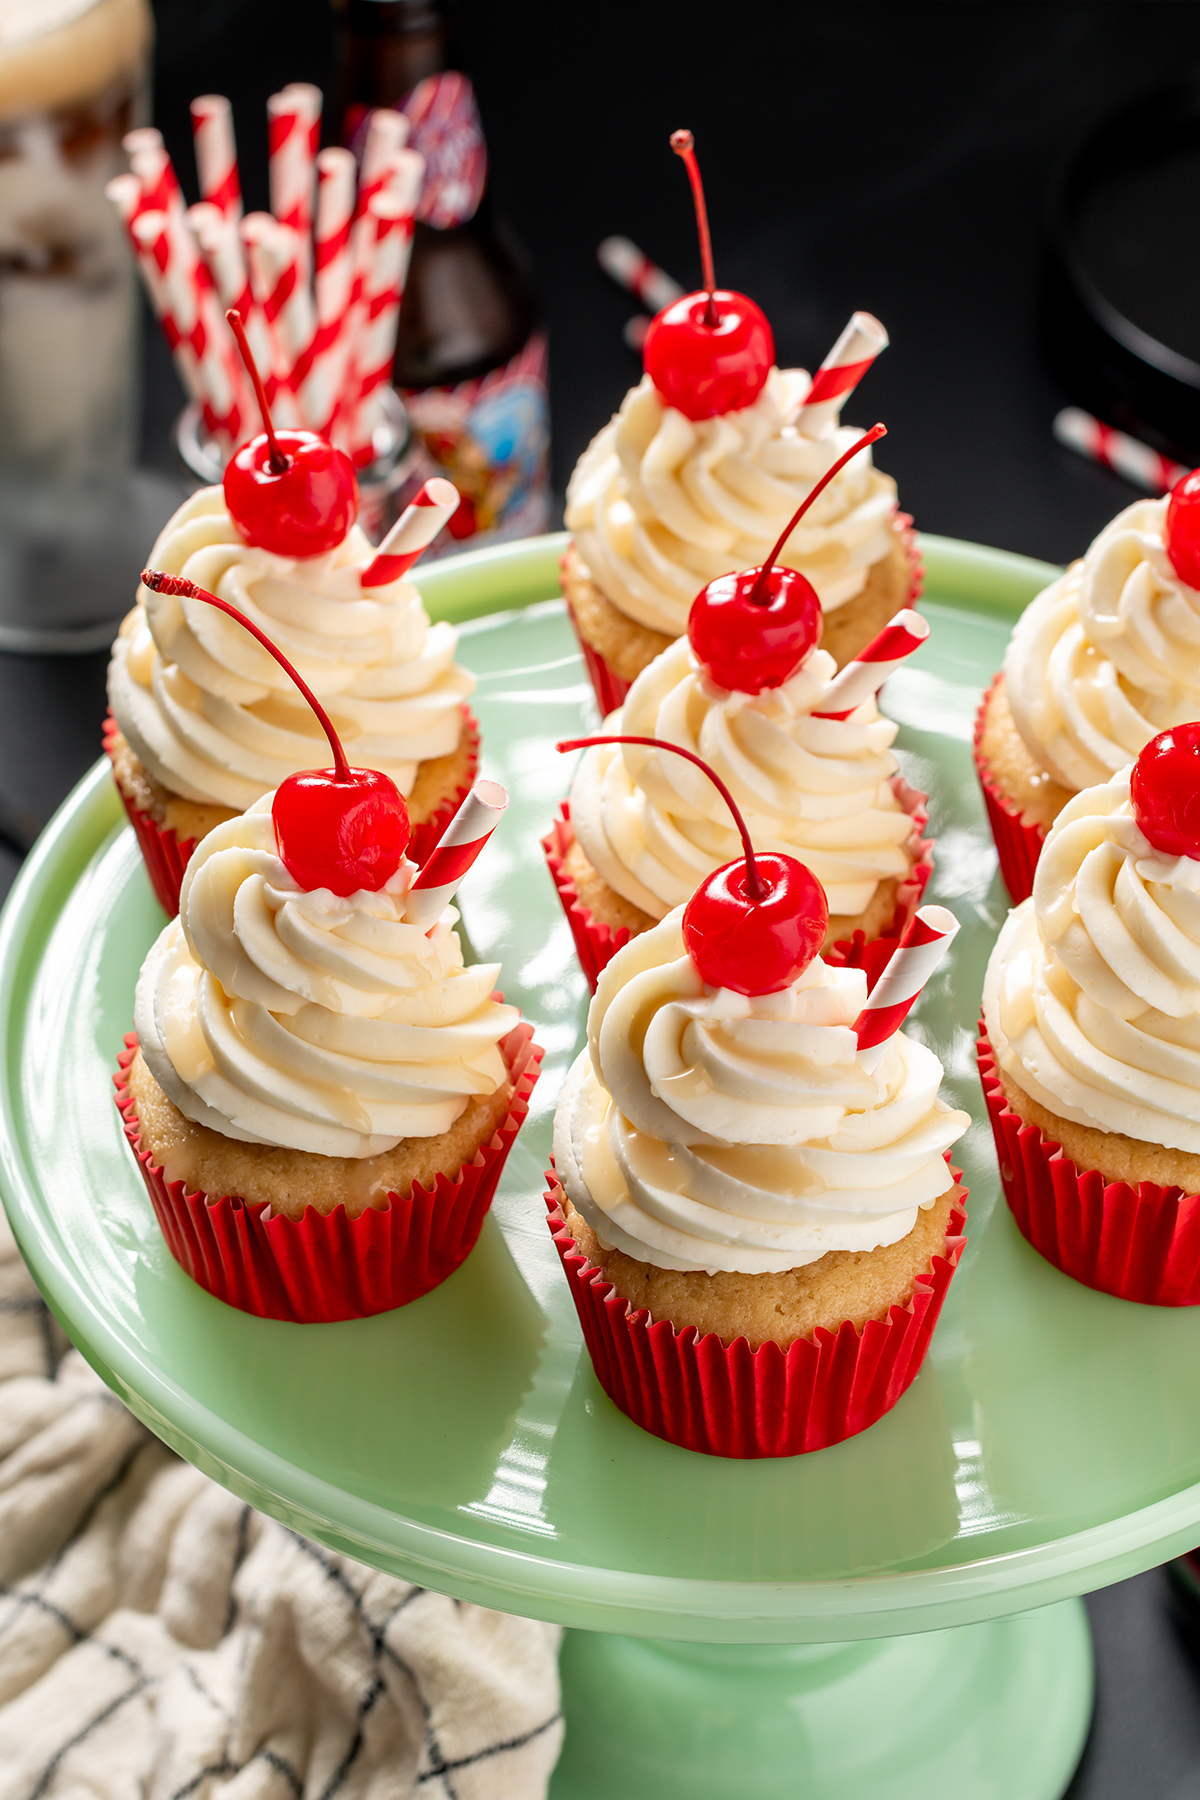
- They look gorgeous on a dessert table.
- Great make-ahead dessert for the holidays.

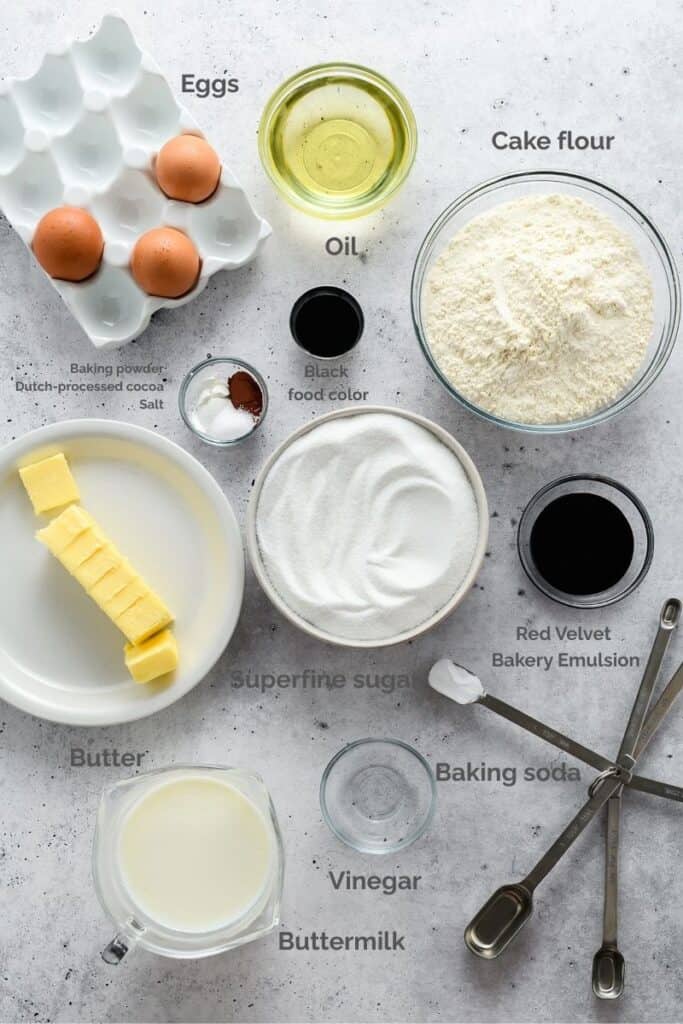
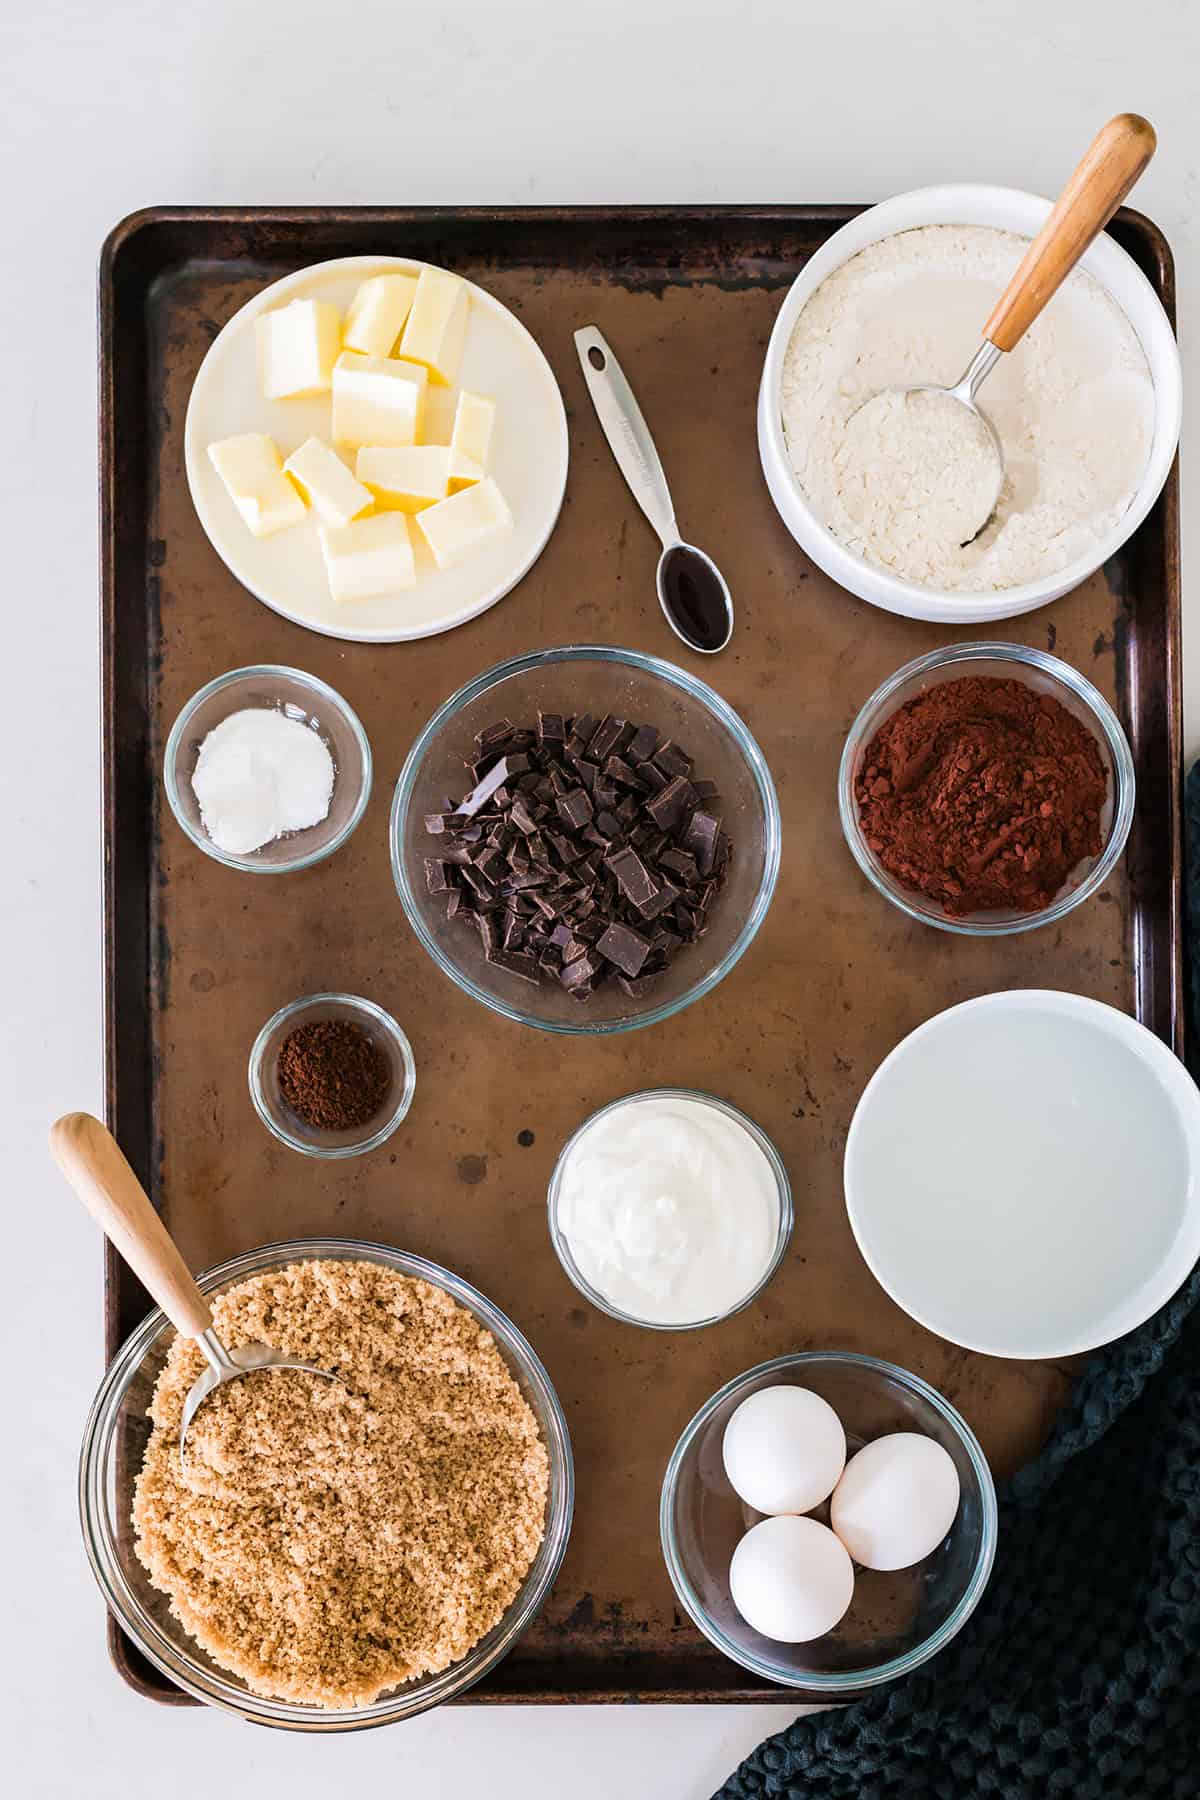
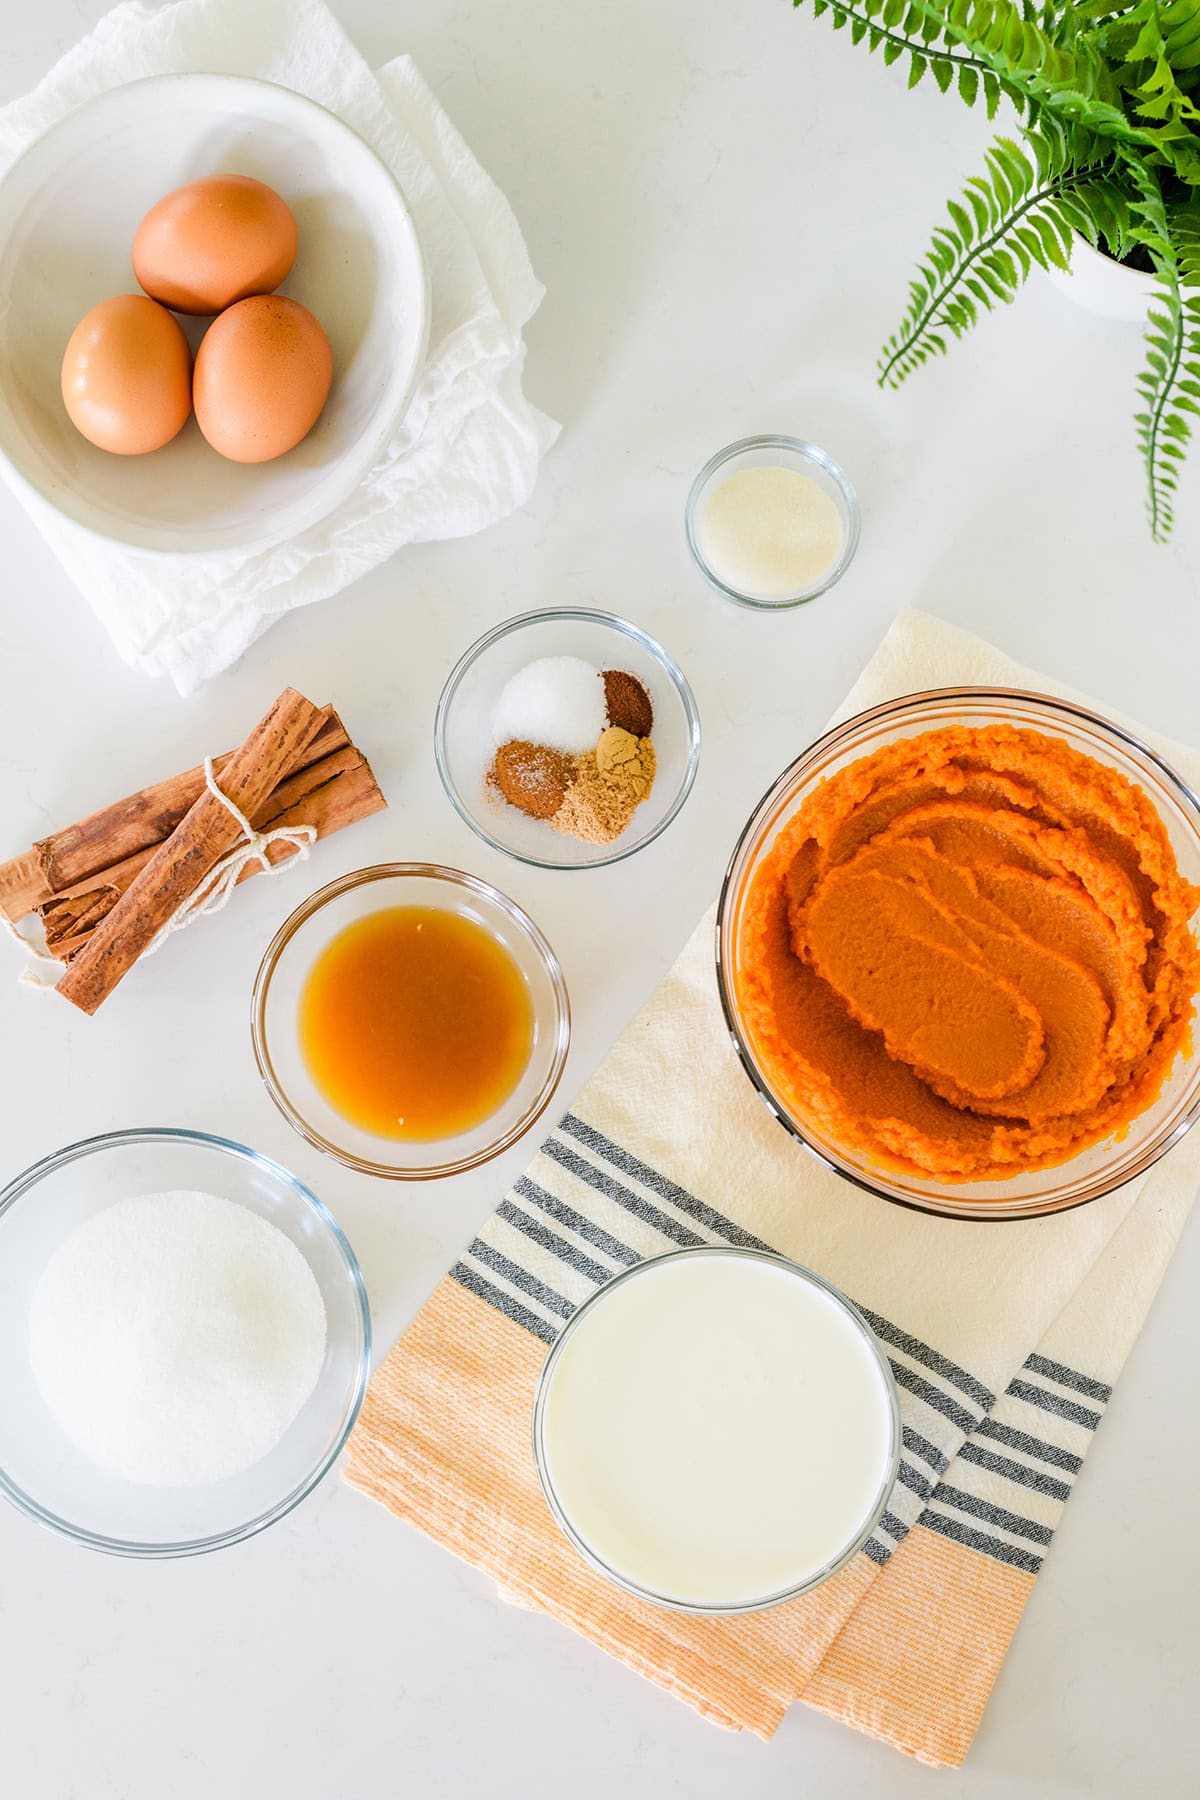
Ingredients Overview
Here's a quick run down of the star ingredients for these Pumpkin Pie Cupcakes
- Canned Pumpkin Puree - real pumpkin for that classic flavor
- Fall Spices - homemade spice blend of cinnamon, nutmeg, ginger and cloves.
- Brown Sugar - for a warm caramel note
- Pie Crust Garnish - for a crispy bite reminiscent of a traditional pie
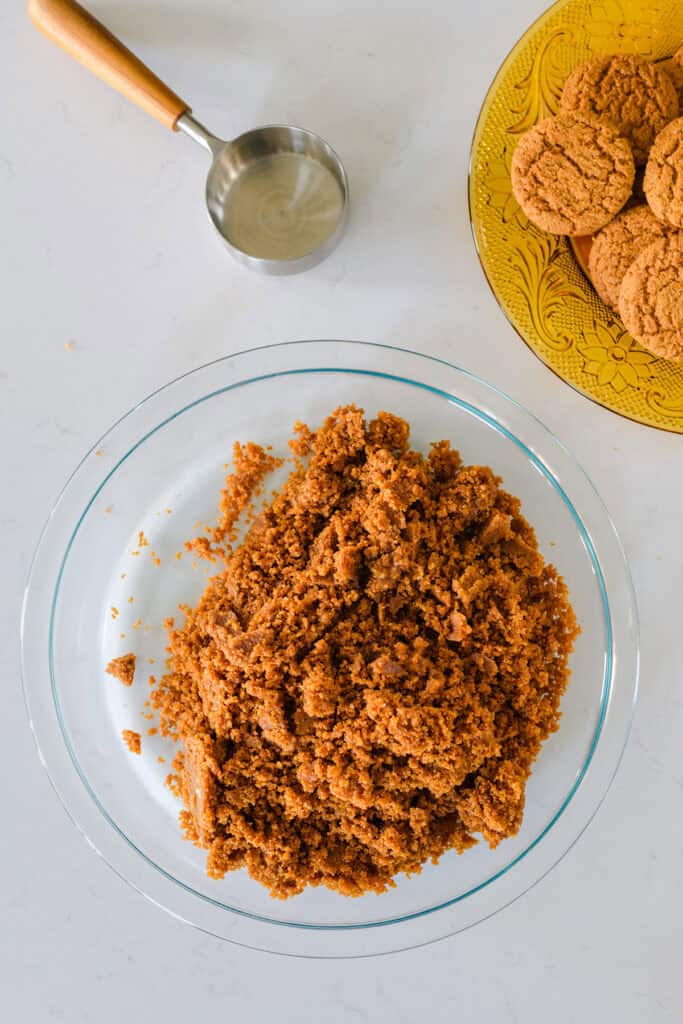
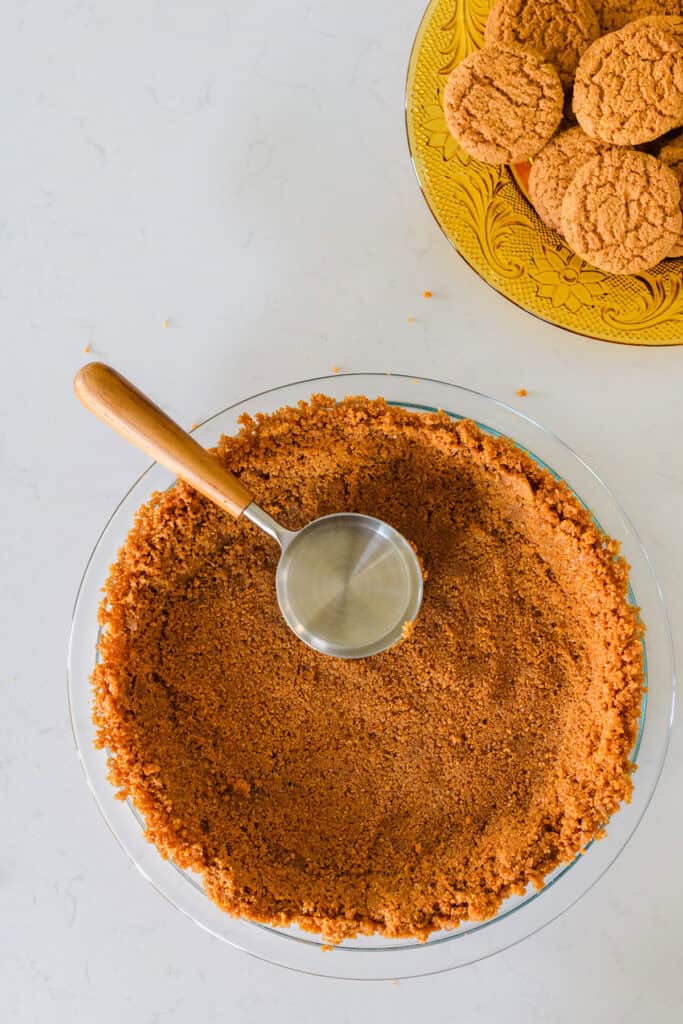
- Graham Cracker Crumbs - just another layer of texture to bring these Pumpkin Pie Cupcakes together

Pumpkin Cupcake Ingredients
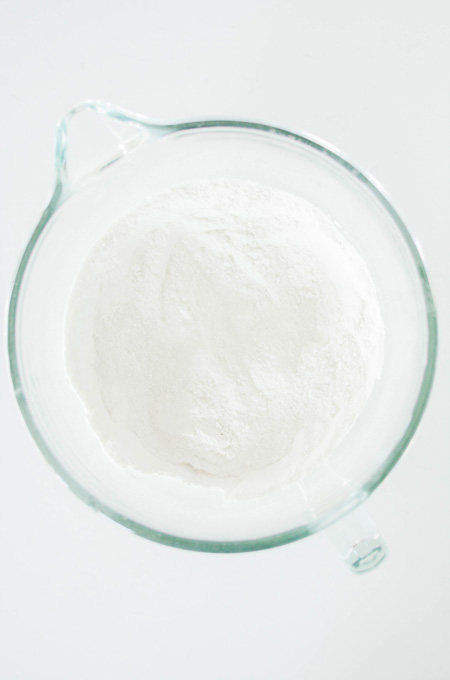
- All-purpose flour: gives the cake its structure, crumb and texture
- Baking powder: helps the cupcakes rise
- Fall spice blend: gives the cupcakes their fall flavor
- Salt: enhances flavor
- Vegetable oil: helps the cupcakes remain tender and moist and creates a softer crumb when cooled.
- Brown sugar: gives the cupcakes a bit of a caramel flavor
- Granulated sugar: incorporates well in the cake batter and helps give the cupcakes its sweetness
- Eggs: bind, thicken, emulsify and leaven
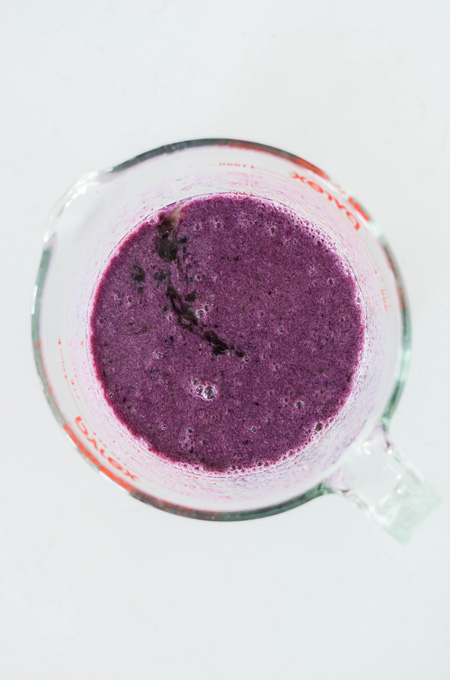
- Canned pumpkin puree: adds moisture, richness, flavor and color


Baking Tips for Success
- Use room temperature eggs for smoother mixing
- Don't over mix the batter to keep the cupcakes tender
- Bake cupcakes in the middle rack for even baking
- Let them cool completely before frosting
- Don't over bake. Check the cupcakes about 5 minutes before they're done baking and insert a toothpick in the center of the cupcakes. There should be a few moist crumbs attached.
- Rotate the pan about 5 to 10 minutes before the cupcakes should be done.
- Opening the oven door before the cupcakes have had time to build their structure could result in the cupcakes collapsing. Gently close the oven door.


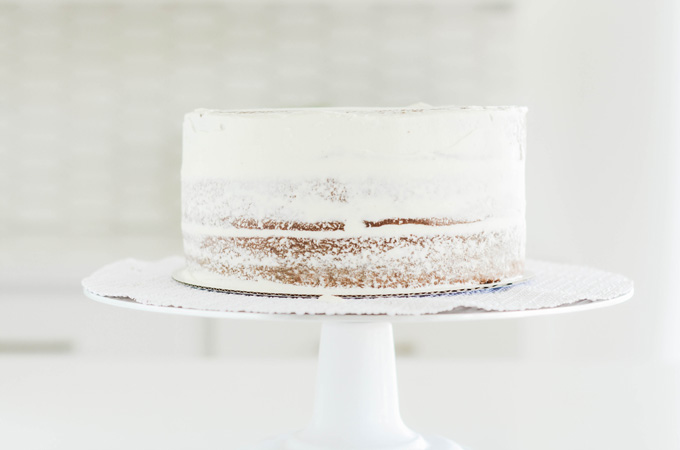
Buttercream Tips
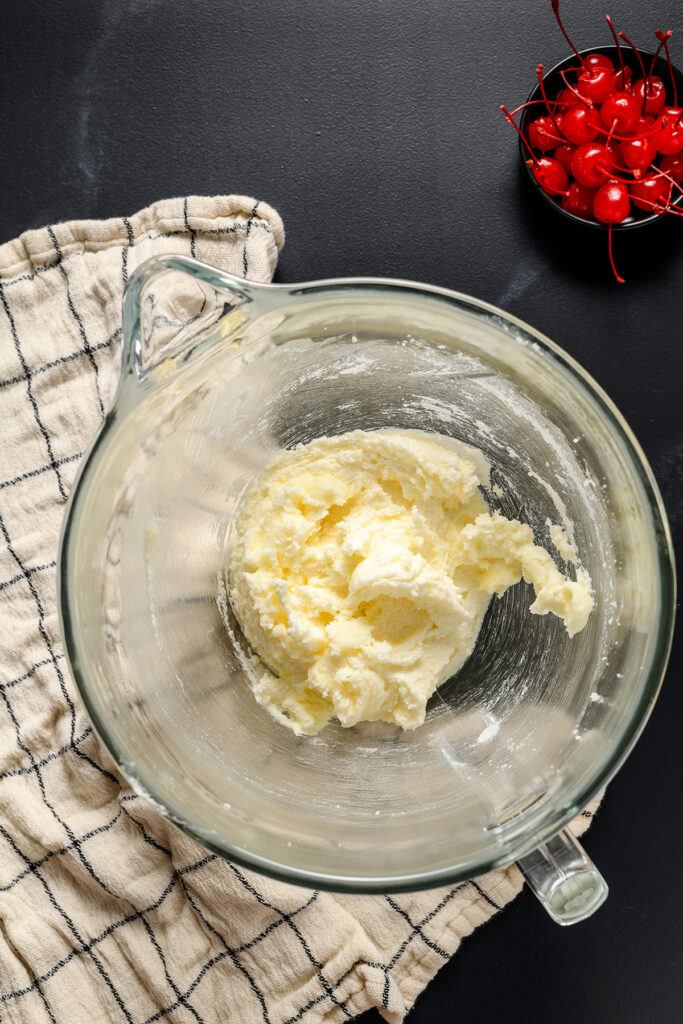
- Butter should be room temperature or slightly warmer, but not too warm. I leave my butter out on the counter the night before, and then whip up my buttercream the next morning.
- Make sure your mixer bowl and whisk are clean before using. Be sure there are no traces of grease and that the egg whites are yolk free.
- Be sure to stir the egg whites and sugar together well before heating or the eggs may start to cook on their own.
- Always be sure the water stays at a simmer for your double boiler and that the bottom of the bowl does not touch the simmering water.
- Test the temperature of the outside of your mixer bowl with your inner wrist instead of the palm of your hand for a more accurate temperature.
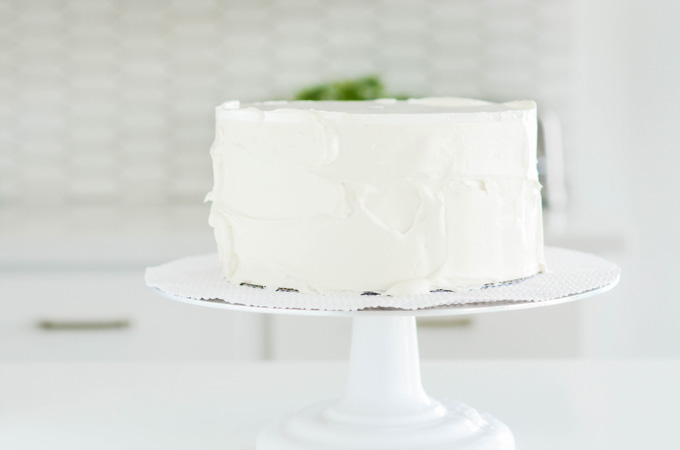
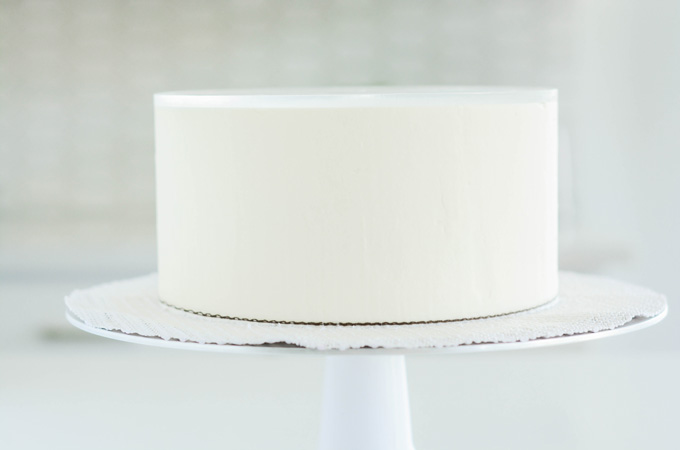
- The buttercream should be as smooth as possible. Let the mixer run on low speed to get any remaining air bubbles out before using.


Whipped Cream Overview
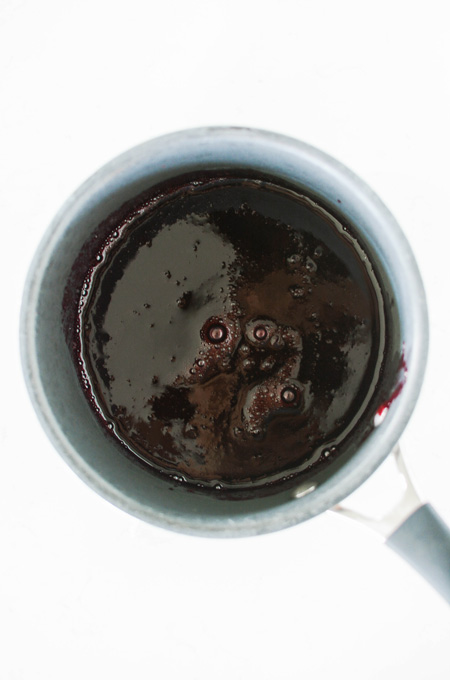
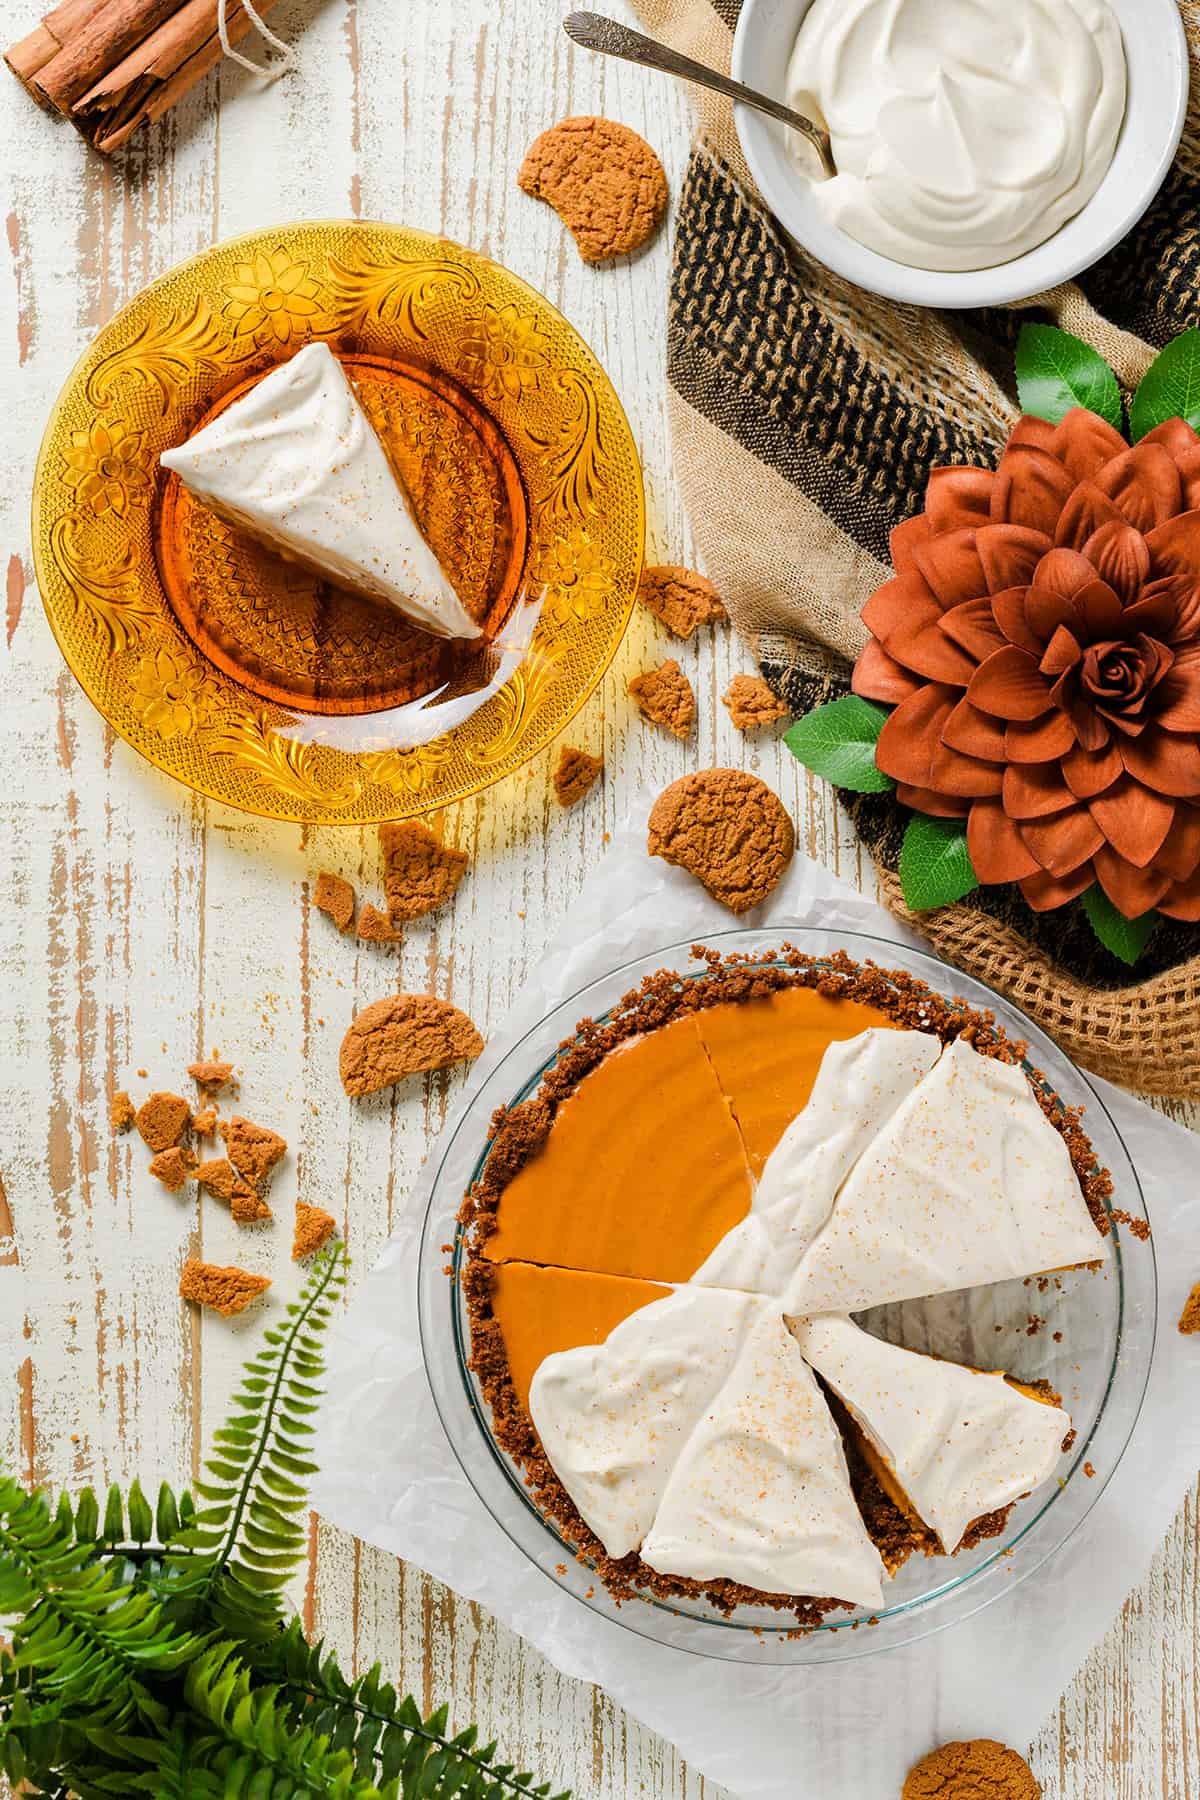
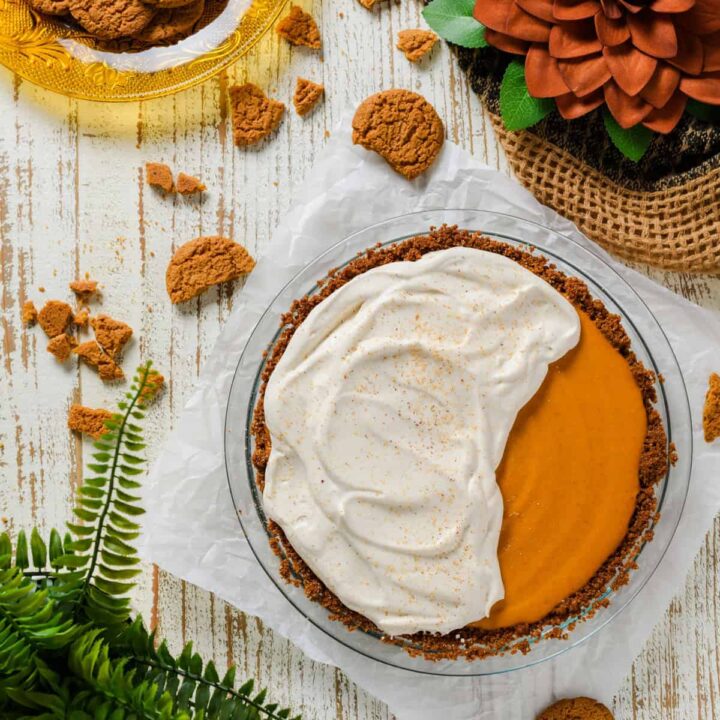
This brown sugar whipped cream takes things up a notch! The hint of molasses from the brown sugar gives it a warm sweetness, while graham cracker crumbs add just the right touch of texture and flavor.
Baking Schedule
- Day 1: Bake cupcakes and make pie crust garnish.
- Day 2: Prepare the buttercream and whipped cream. Decorate and serve.

Baking and Cake Decorating Tools
- 2 12-cup cupcake pans
- Cupcake liners
- Stand mixer
- Leaf-shaped cutter
- Piping tip #827
- Piping tip #1M
- Piping bags
- 1 ready made pie dough


Let's Connect
Want more behind-the-scenes peeks, recipe drops, and food photography inspo? Come hang out with me on Instagram, Pinterest, Facebook and more. I’d love to connect with you there!
Suggested Recipes

Adapted from Layered by Tessa Huff
Pumpkin Pie Cupcakes
Homemade pumpkin cupcakes topped with graham cracker buttercream and whipped cream, garnished with a pie crust star.
Ingredients
SPECIAL TOOLS
- 2 12-cup cupcake pans
- Cupcake liners
- Stand mixer
- Leaf-shaped cutter
- Piping tip #827
- Piping tip #1M
- Piping bags
CUPCAKES
- 3 cups (15 ounces/426 grams) all purpose flour
- 1 tablespoon baking powder
- 2 teaspoons ground cinnamon
- ½ teaspoon freshly grated nutmeg
- ½ teaspoon ground ginger
- ½ teaspoon table salt
- ¼ teaspoon ground cloves
- ¾ cup plus 2 tablespoons vegetable oil
- 1 ½ cup (10.5 ounces/297 grams)firmly packed light brown sugar
- ½ cup (3.5 ounces/99 grams) granulated sugar
- 4 large eggs, at room temperature
- 1 15 ounce can pumpkin puree
GARNISH
- 1 store bought pie dough
- Freshly grated nutmeg
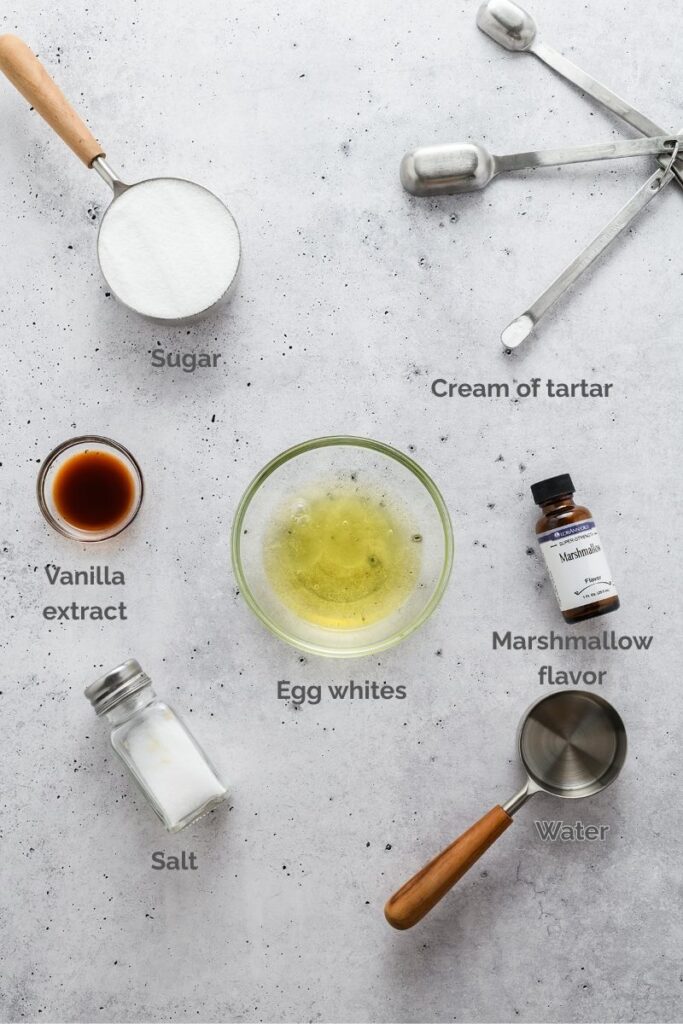
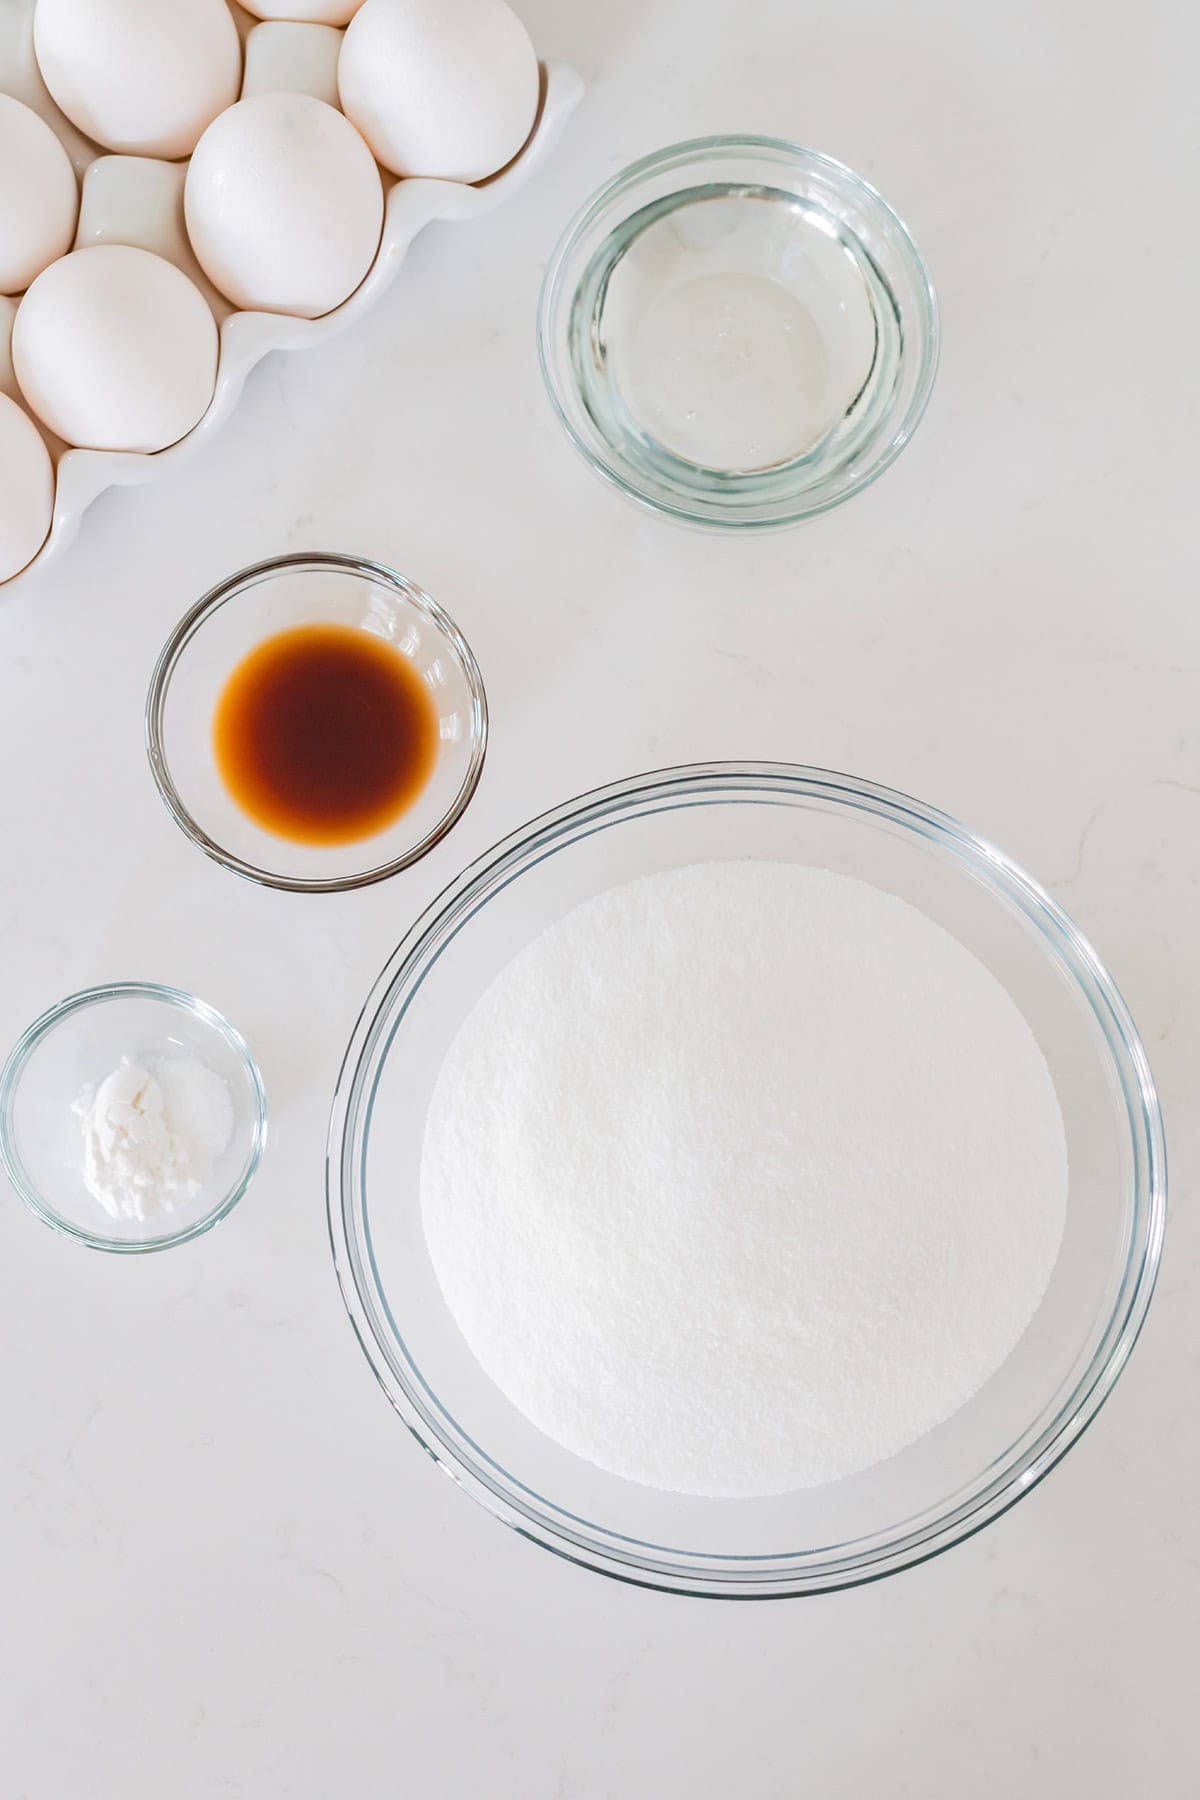
BUTTERCREAM
- 1 cup large egg whites (about 8)
- 2 cups (14 ounces/396 grams) granulated sugar
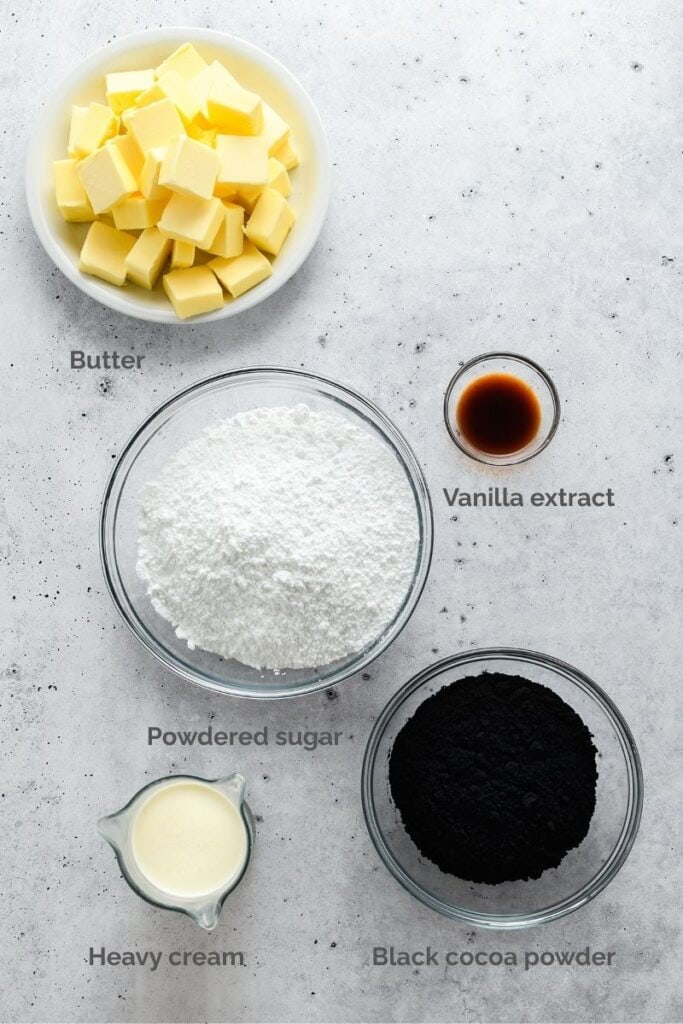
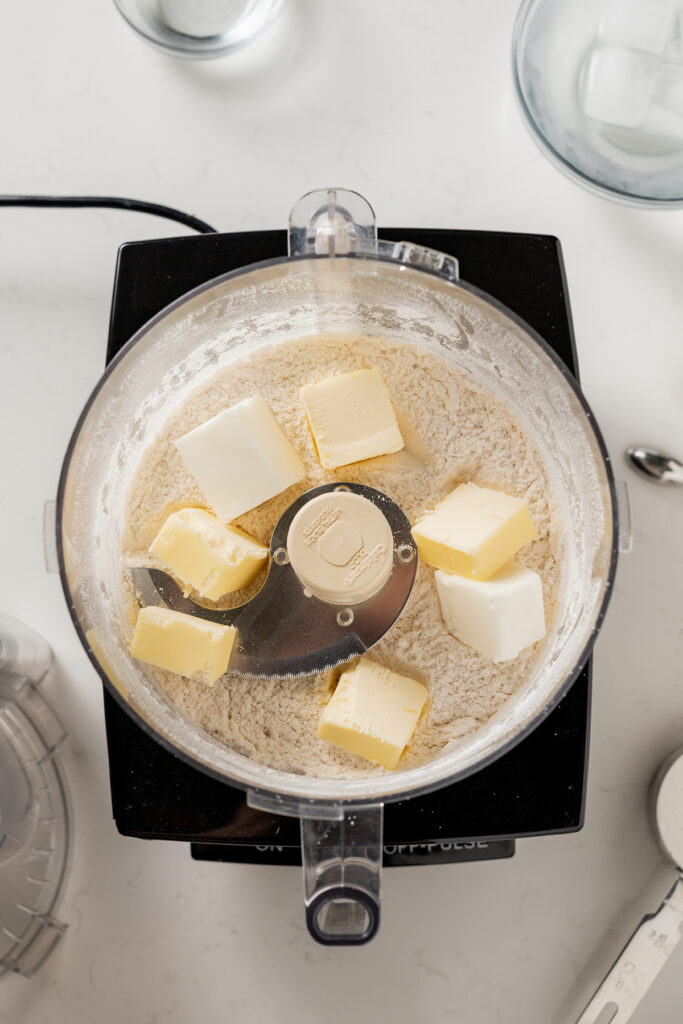
- 3 cups (6 sticks) unsalted butter, cut into tablespoon sized pieces, at room temperature
- 1 tablespoon vanilla extract
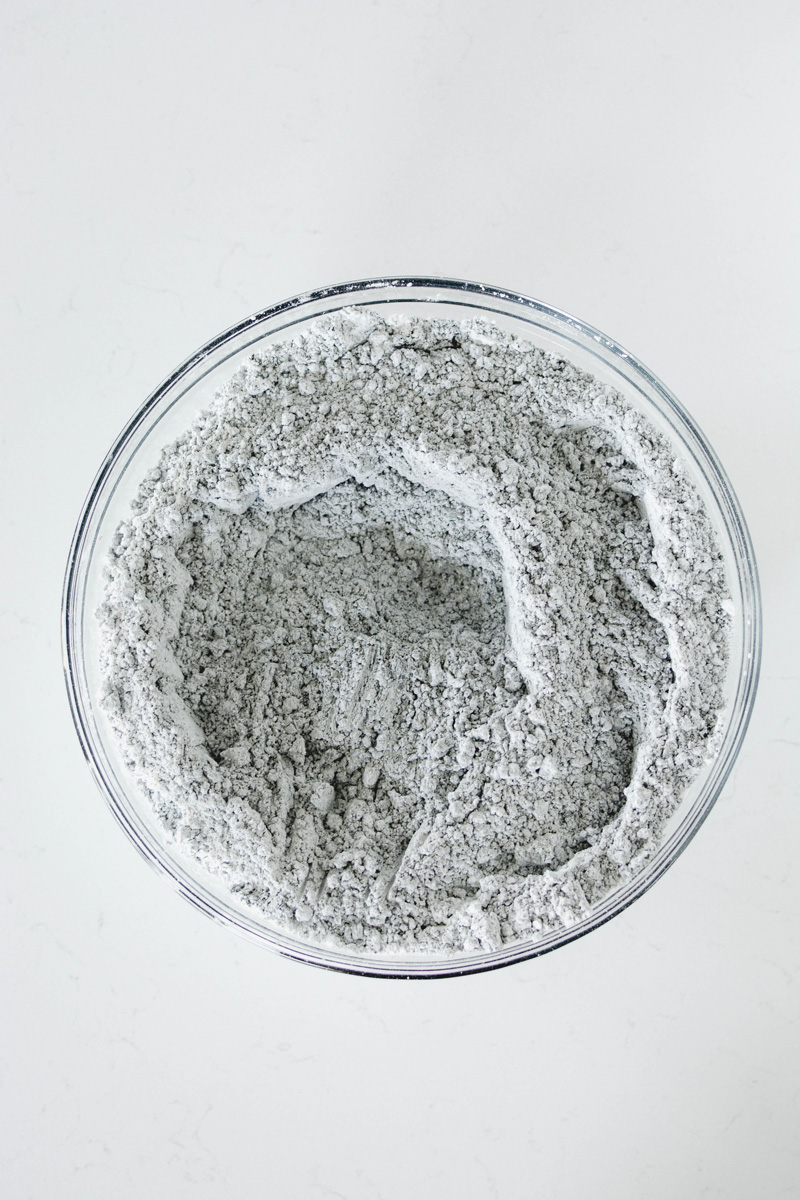
- 1 ¼ cup (5.2 ounces/150 grams) graham cracker crumbs (have extra crumbs for decorating)
- ¾ teaspoon ground cinnamon
WHIPPED CREAM
- 1/2 cup (3.3 ounces/99 grams) brown sugar
- Pinch table salt
- 1 ½ cups heavy cream
- 2 teaspoons vanilla extract
Instructions
CUPCAKES
- Adjust an oven rack to the center of the oven and heat to 350 degrees. Line cupcake pans with cupcake liners and set aside.
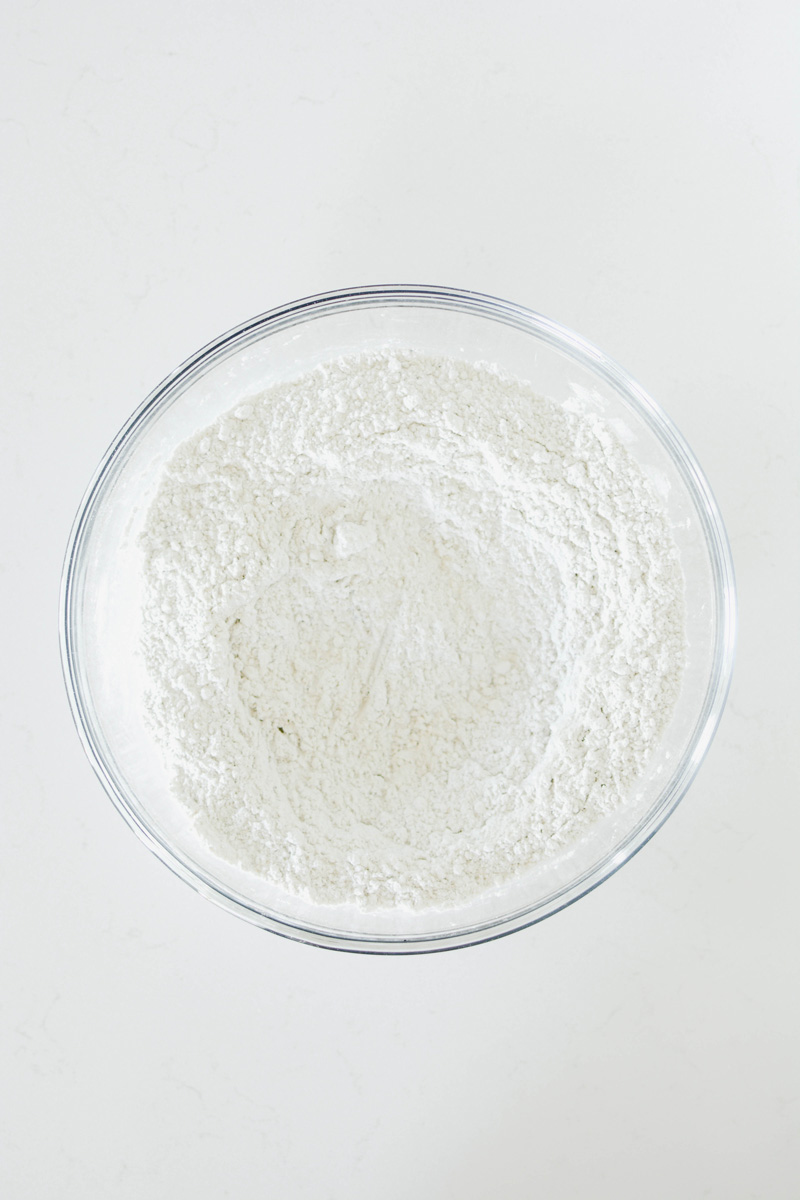
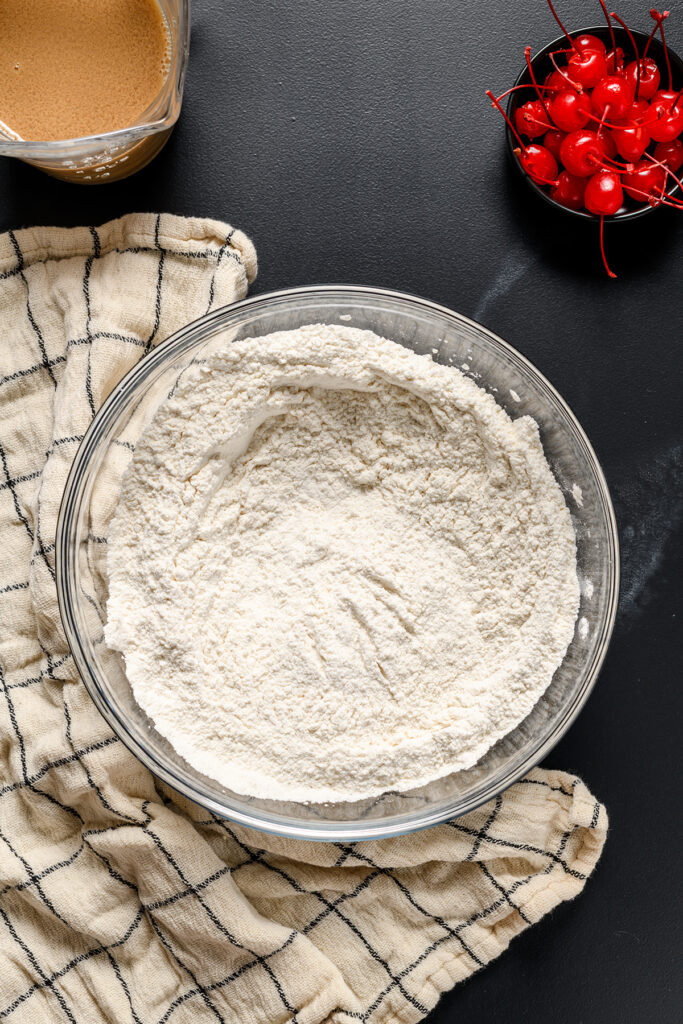
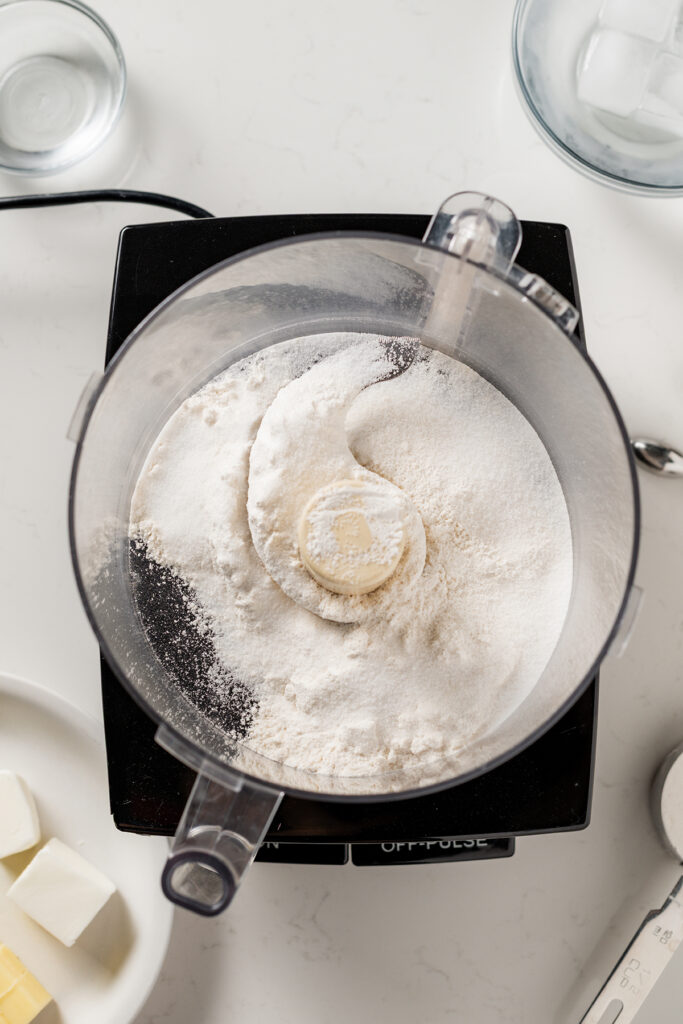
- In a large bowl, whisk together the flour, baking powder, cinnamon, nutmeg, ginger, salt and cloves and set aside.
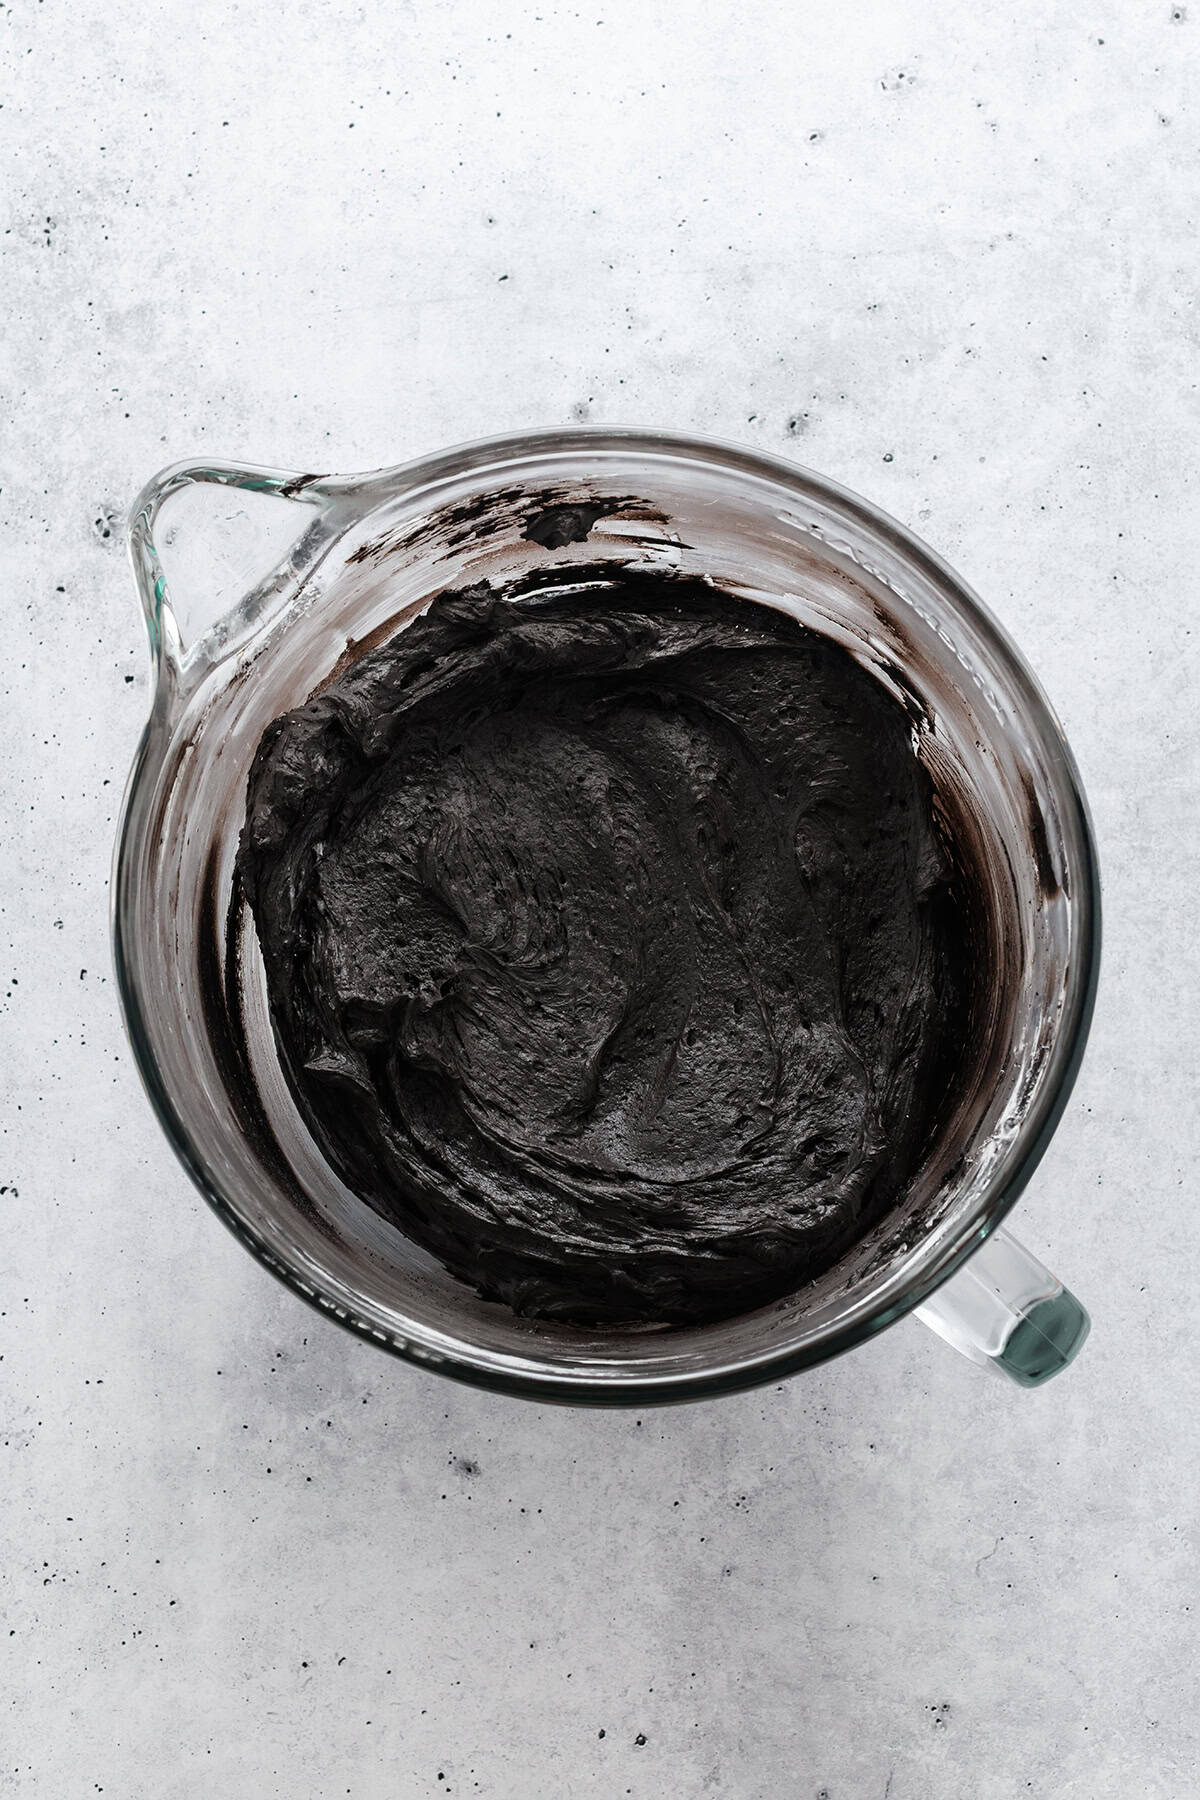
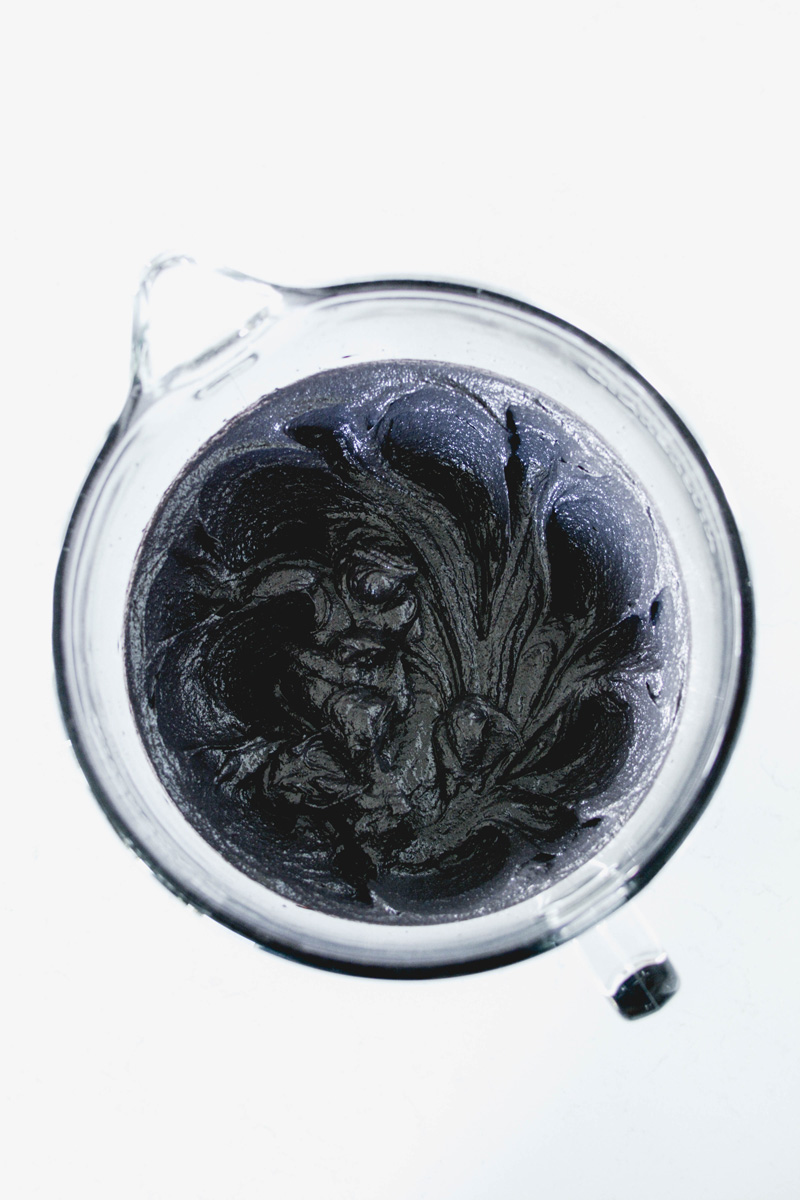
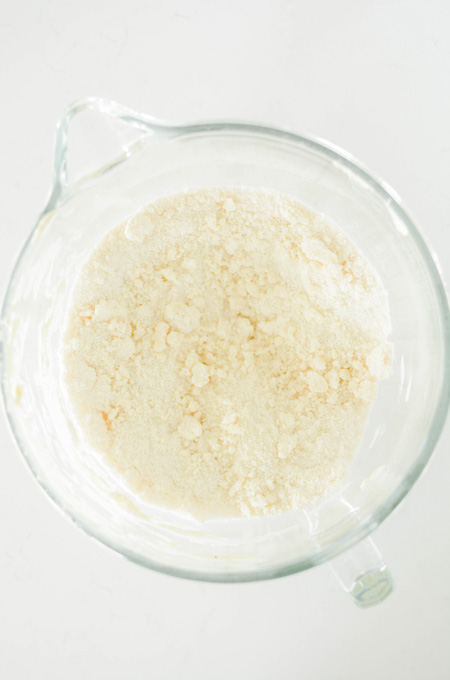
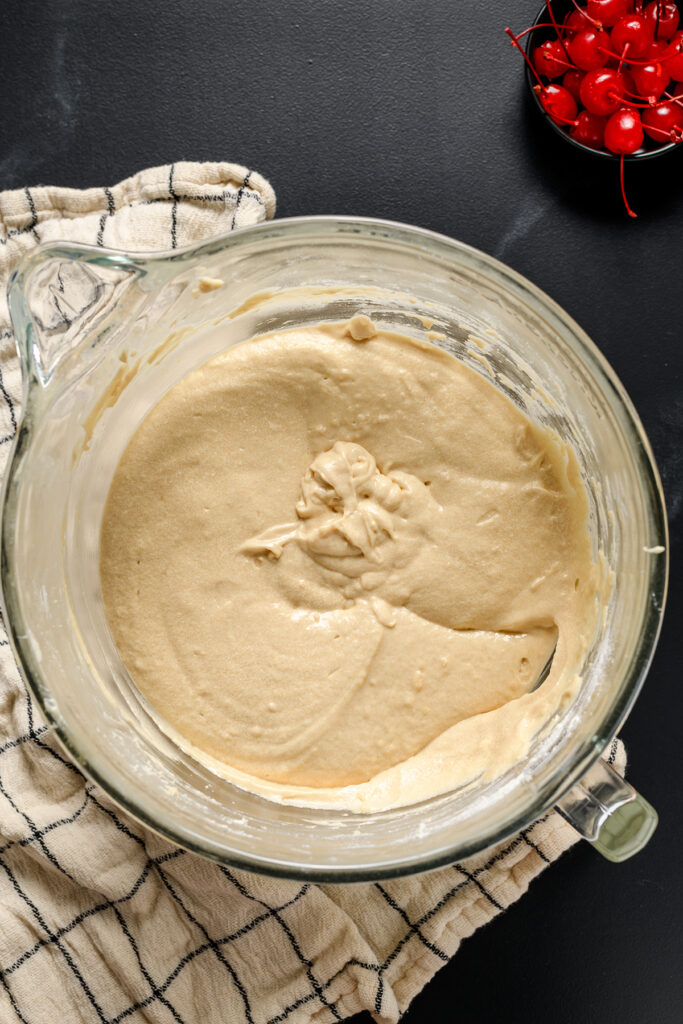
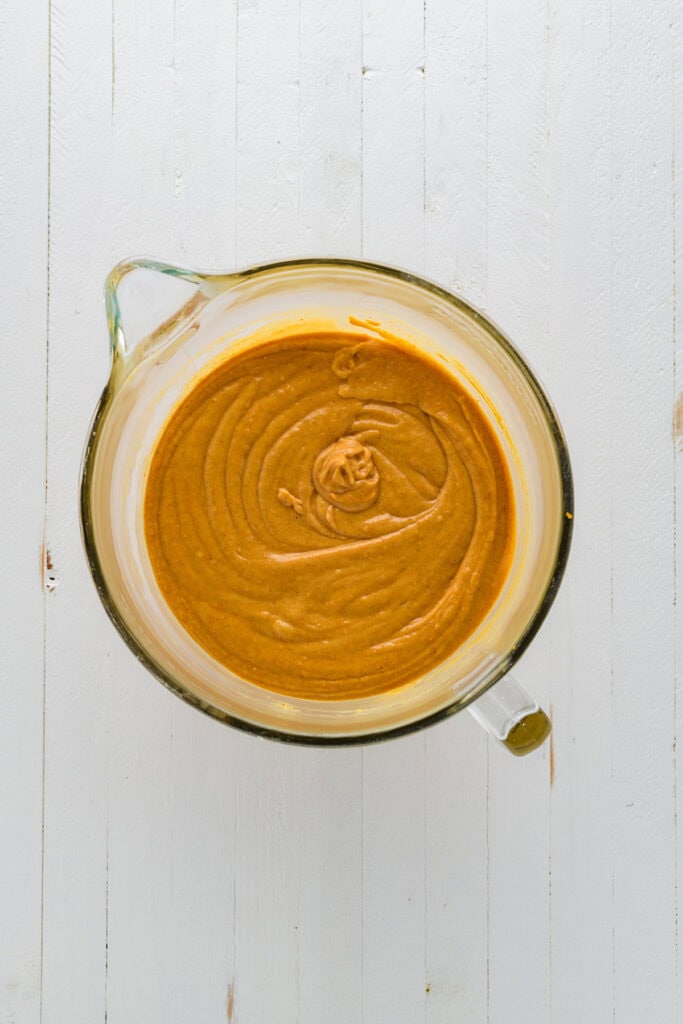
- In the bowl of a stand mixer, fitted with the paddle attachment, mix together the oil and sugars on medium speed for 2 minutes. Reduce the speed to medium-low and add the eggs one at a time, scraping the sides of the bowl as needed.
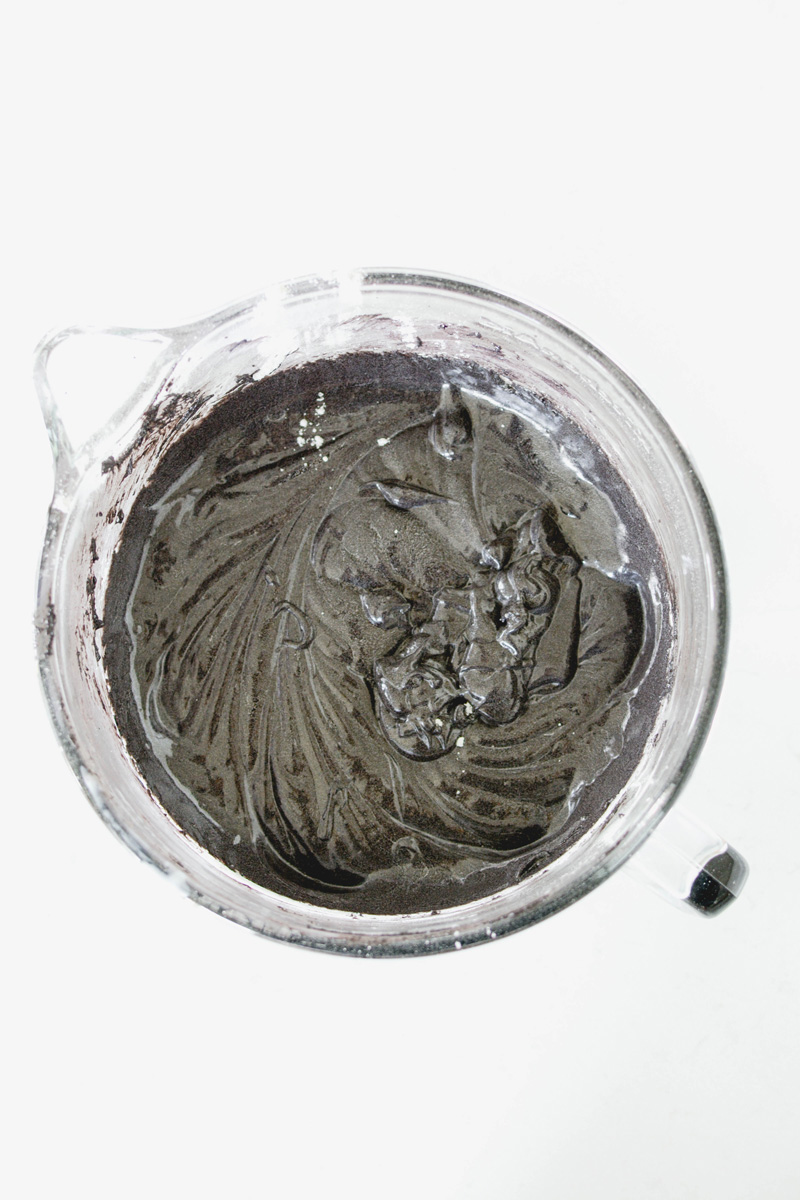
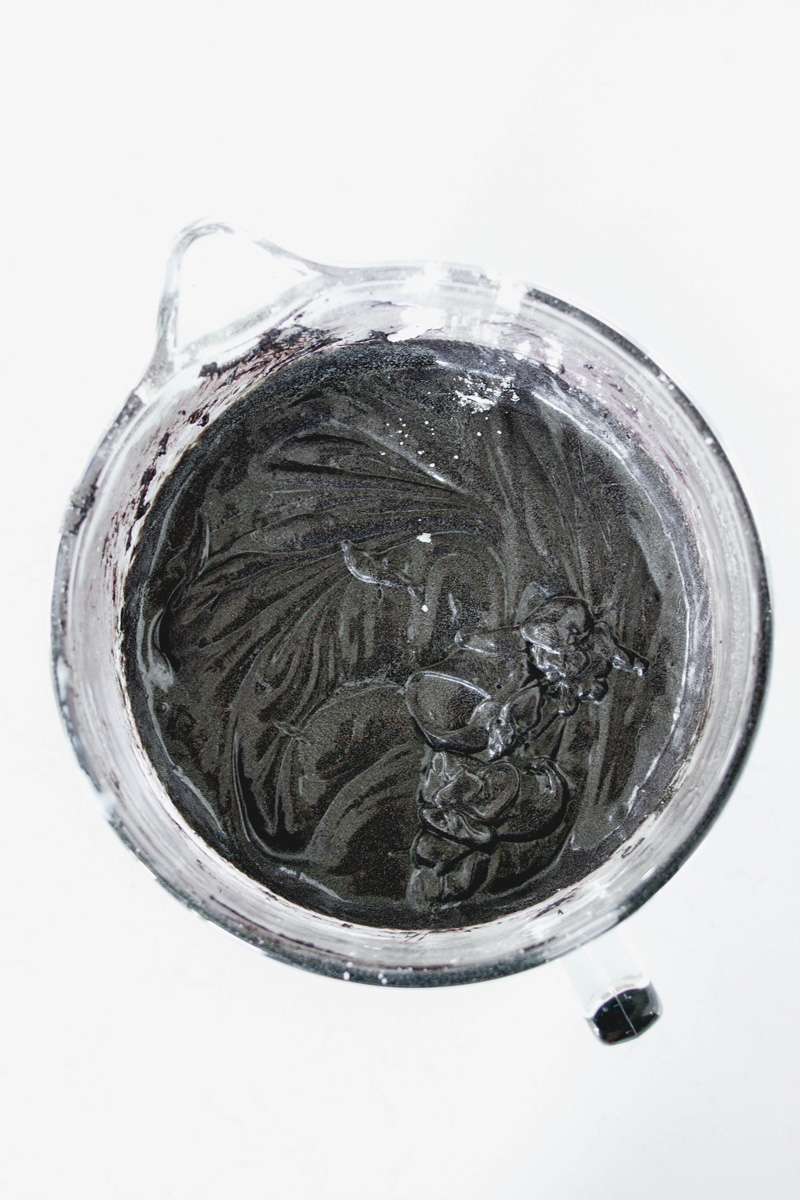
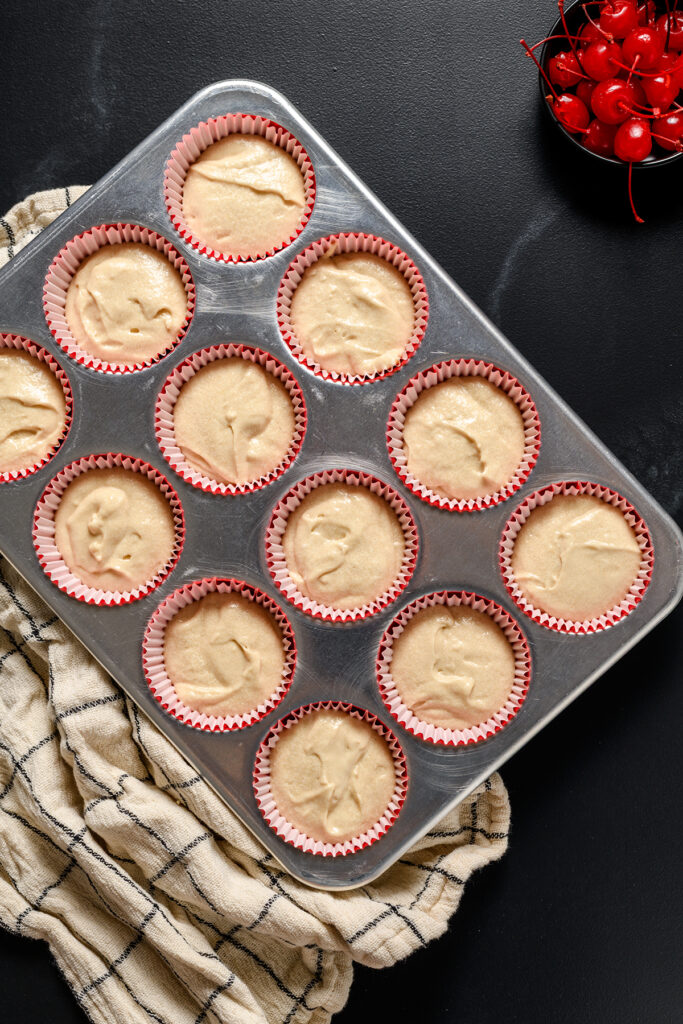
- Reduce the mixer speed to low and add the flour mixture in two batches and mix until just combined. Add the pumpkin puree and mix on low speed until combined, about 30 seconds. Give the batter a final stir by hand with a rubber spatula and evenly divide batter into prepared cupcake pans, filling about two-thirds full. Bake for 15 to 20 minutes or until a toothpick inserted in the centers comes out with a few moist crumbs attached, rotating pans halfway through baking. Let cupcakes cool in their pans on wire racks for 10 minutes, then invert on wire racks to cool completely.
GARNISH
Adjust an oven rack to the center position and heat oven to 400 degrees. On a lightly floured work surface, roll out the pie dough and cut small fall-themed shapes using a small cookie cutter. Place shapes on a baking sheet lined with parchment paper. Grate a sprinkle of nutmeg over each shape and bake until the edges turn golden, about 5 minutes. Let cool on wire racks and set aside to cool before using.
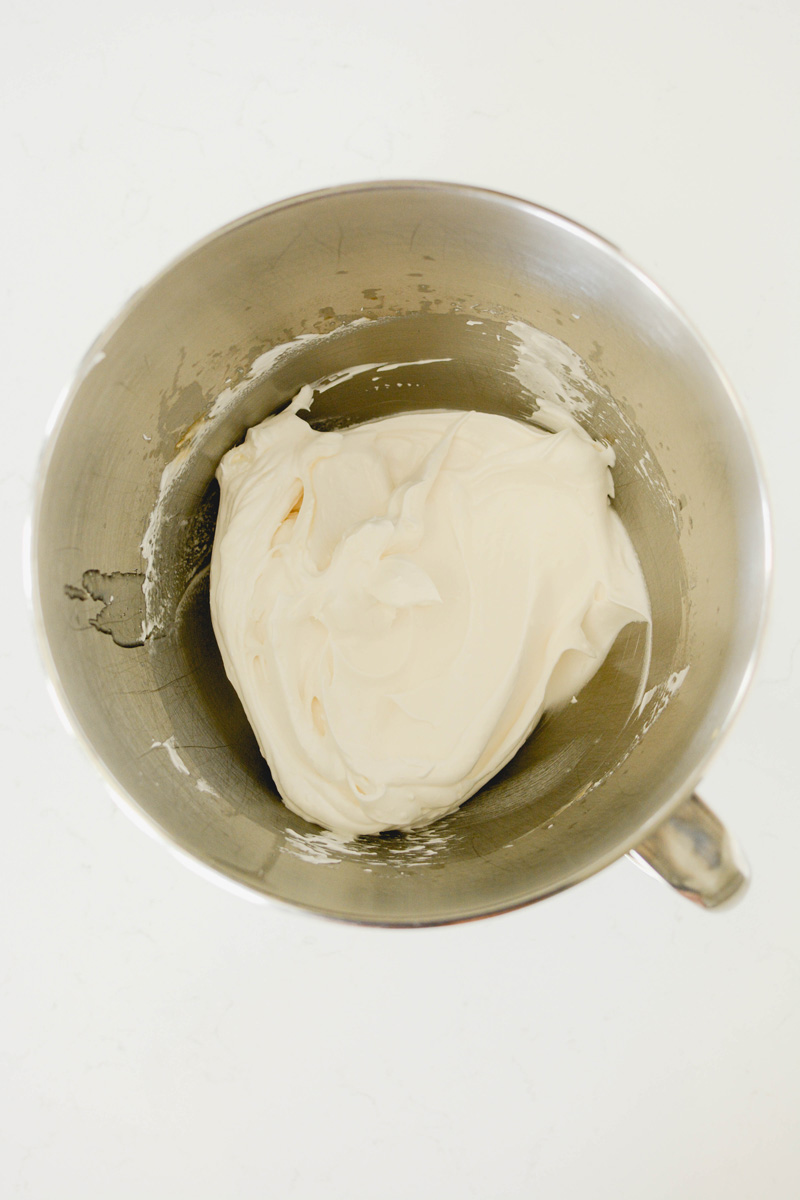
BUTTERCREAM
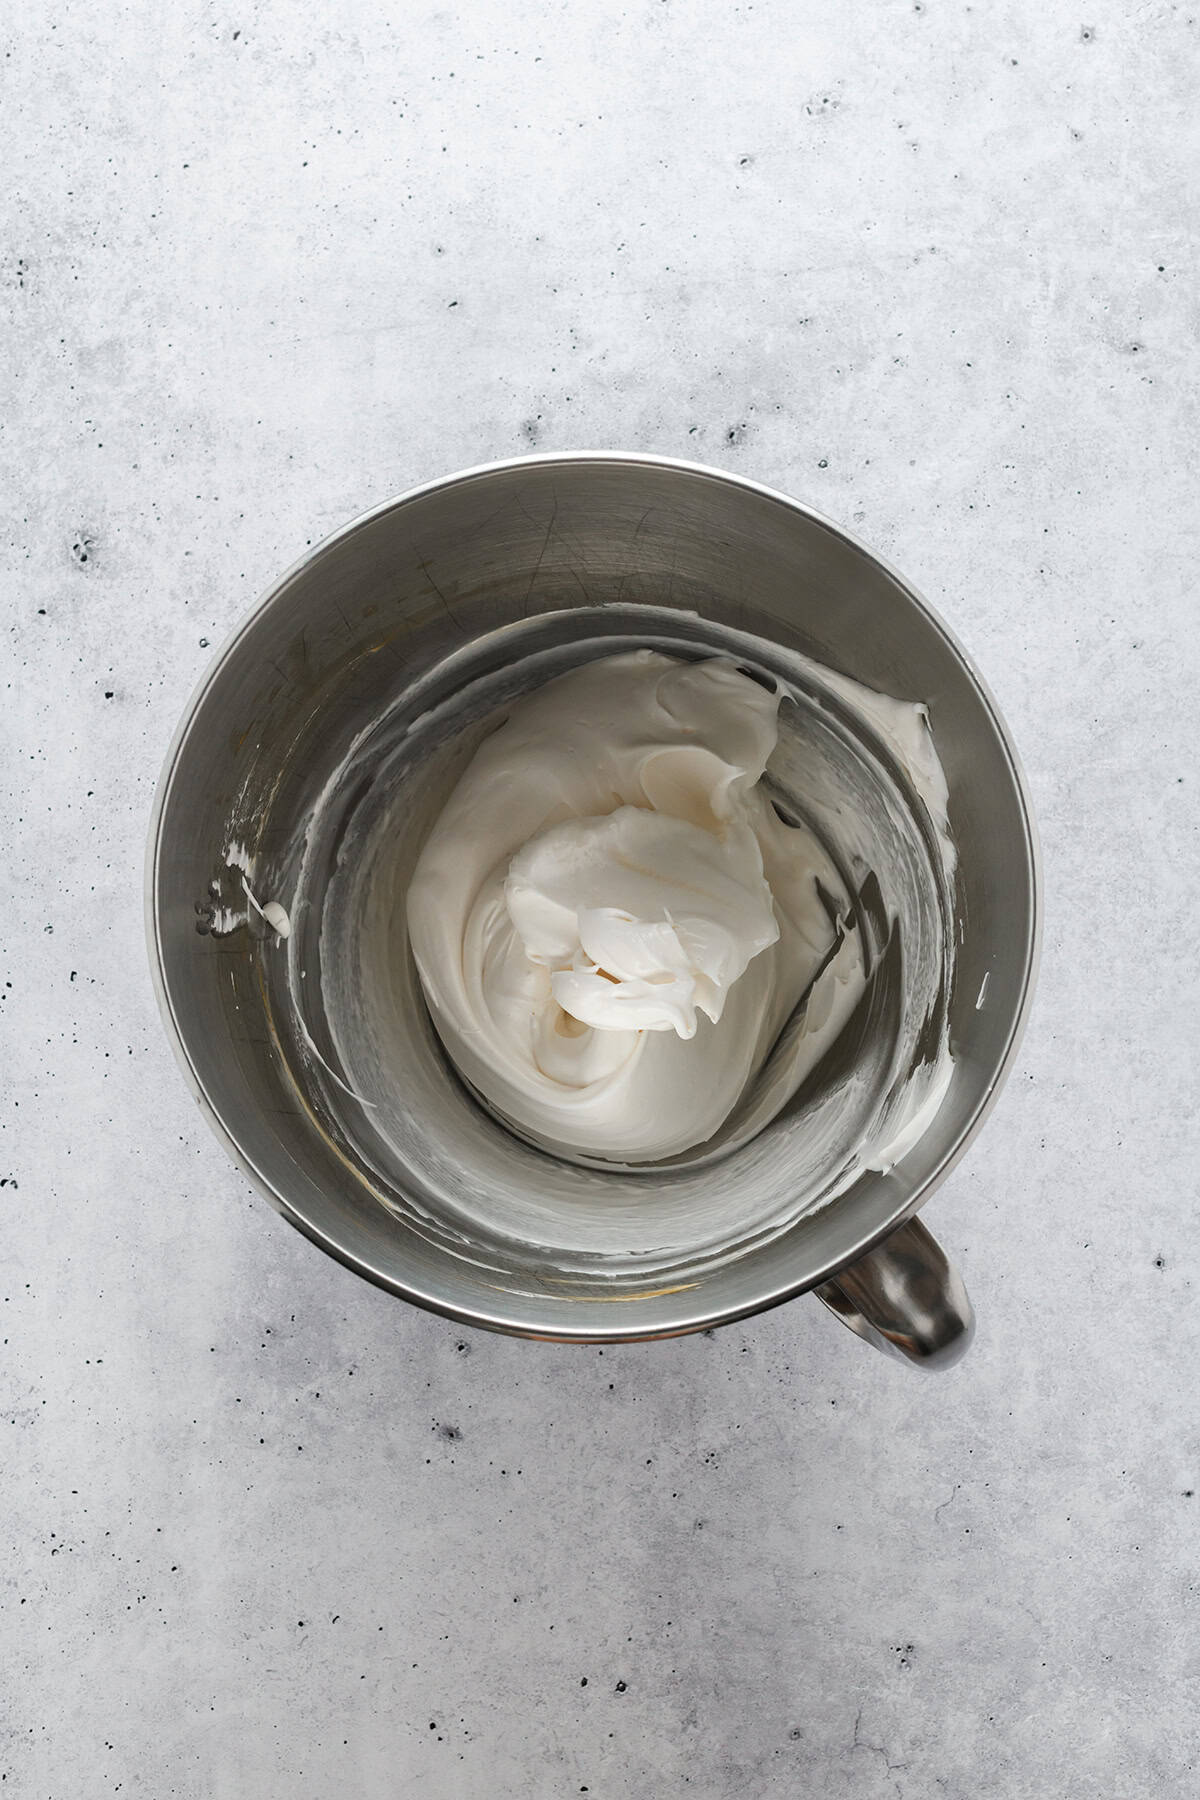
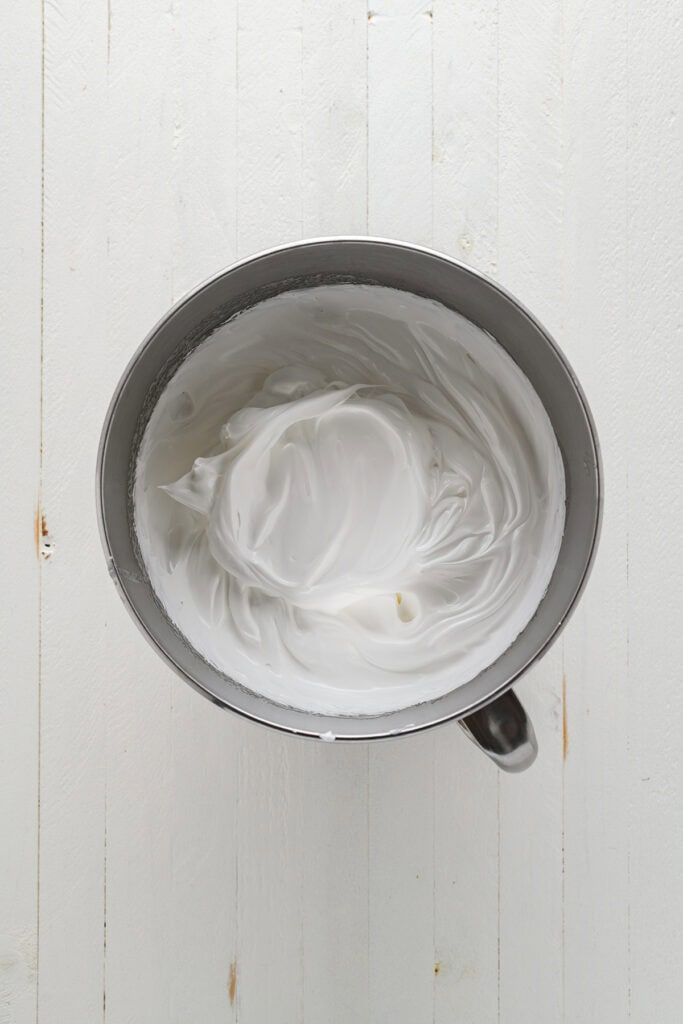
- Place egg whites and sugar in the bowl of a stand mixer. Whisk together by hand to combine. Fill a medium saucepan with about 2 inches of water and heat over medium-high heat. Once the water comes to a simmer, place mixer bowl on top making sure the bottom of the bowl does not touch the water. Attach a thermometer to the bowl and heat egg white mixture until it reaches 160 degrees, stirring frequently.
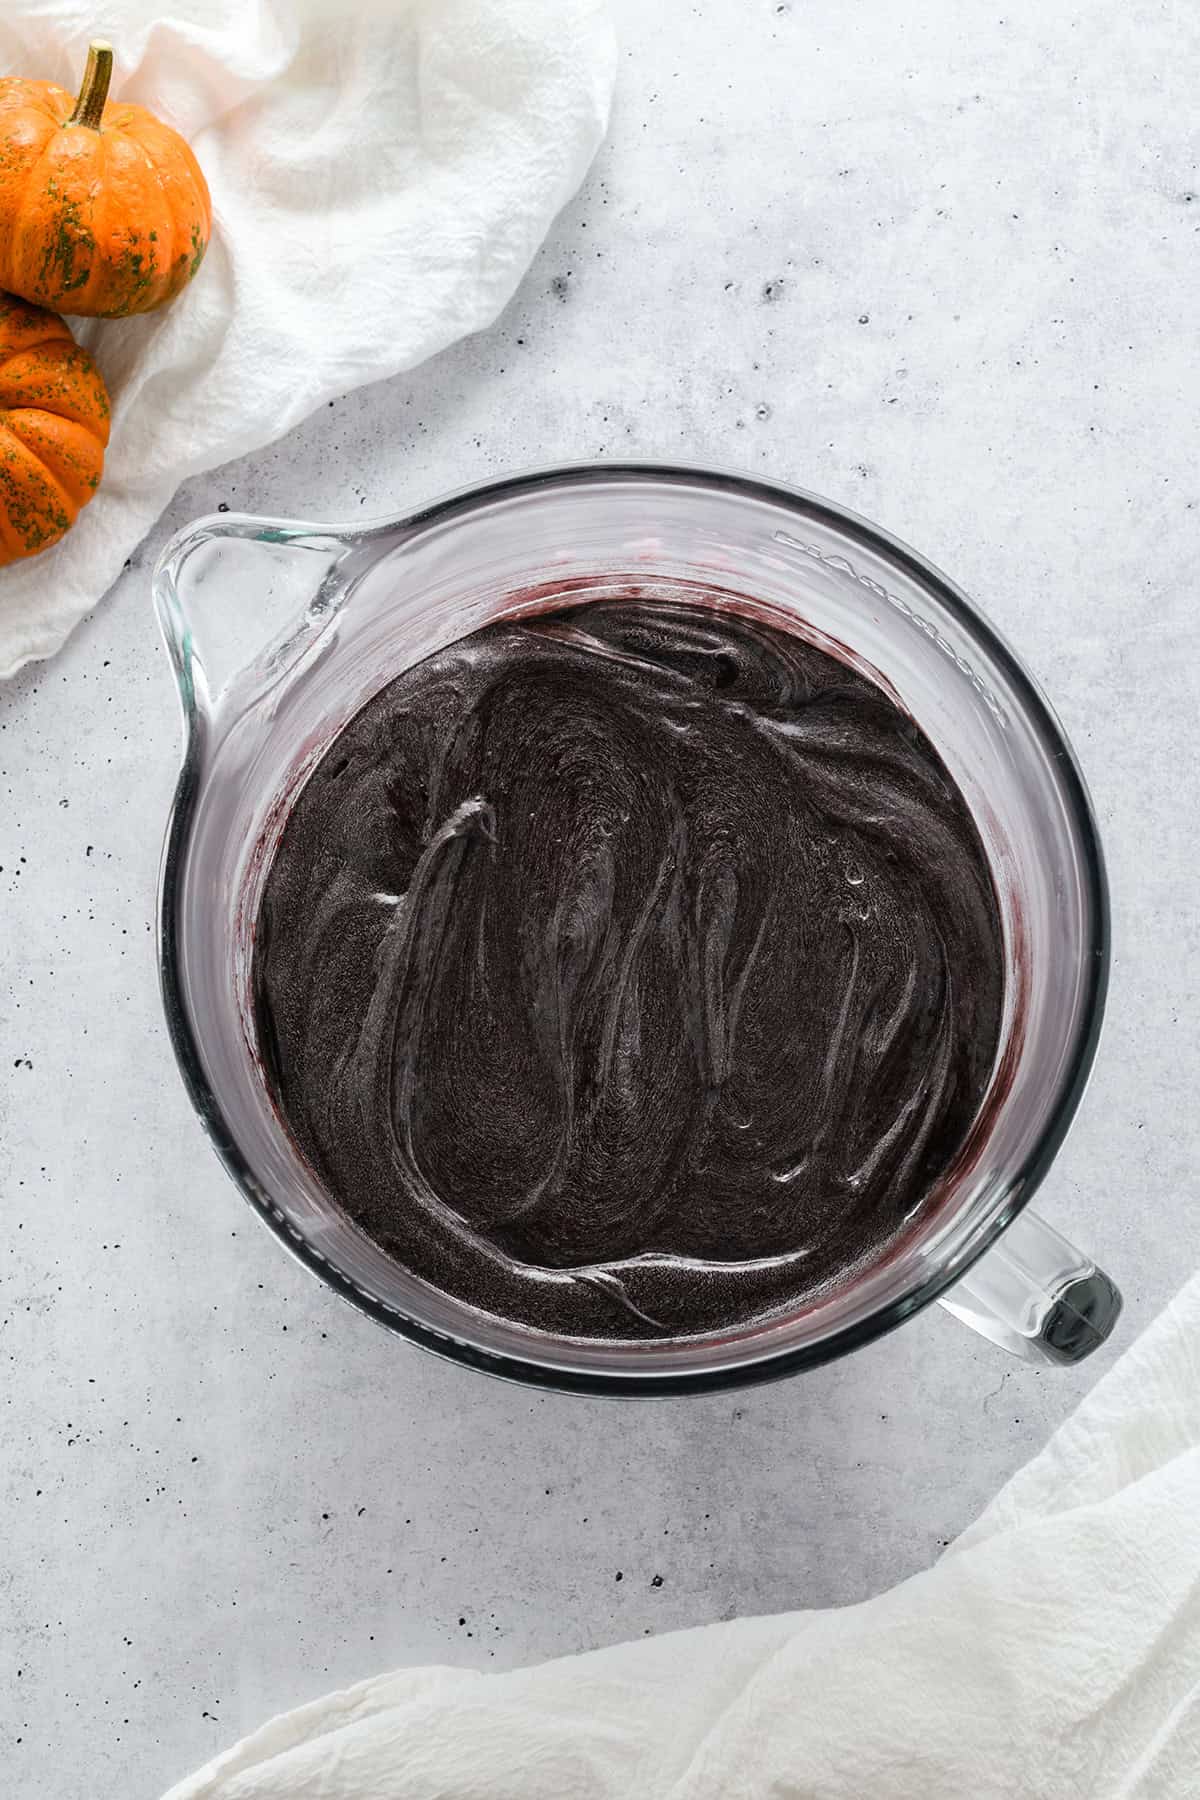
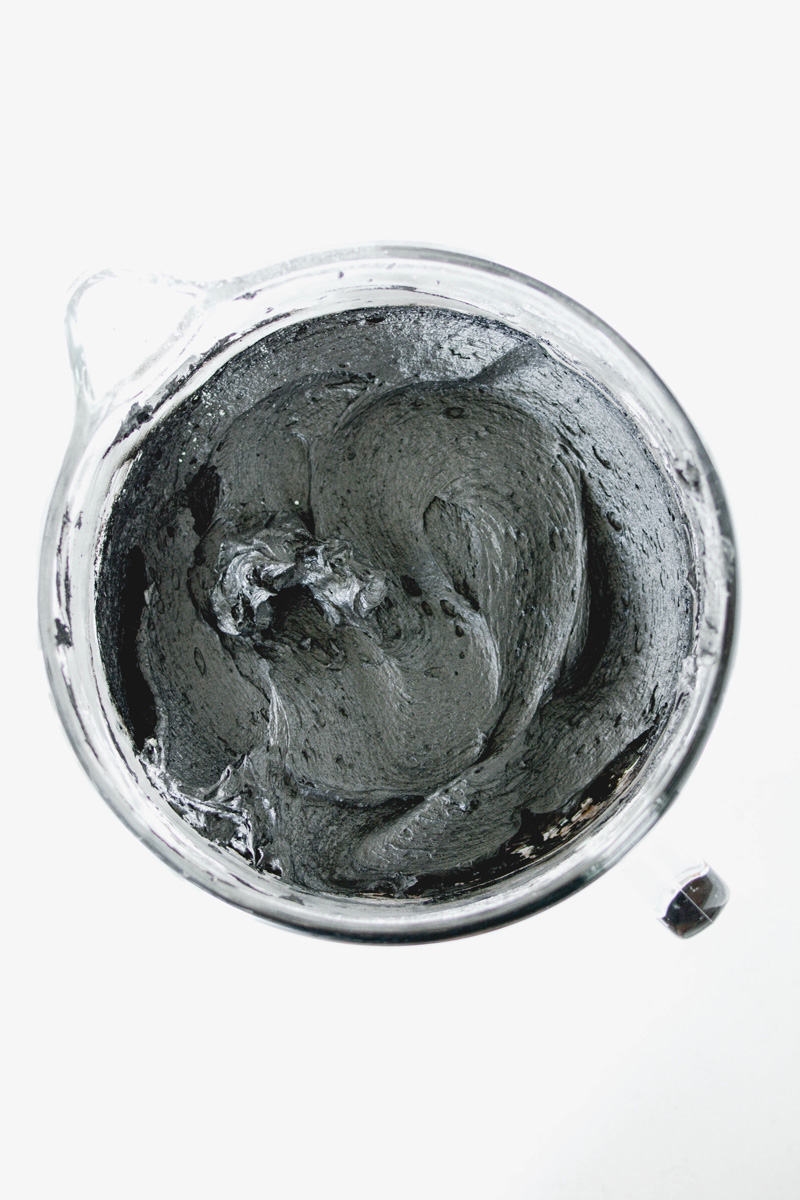
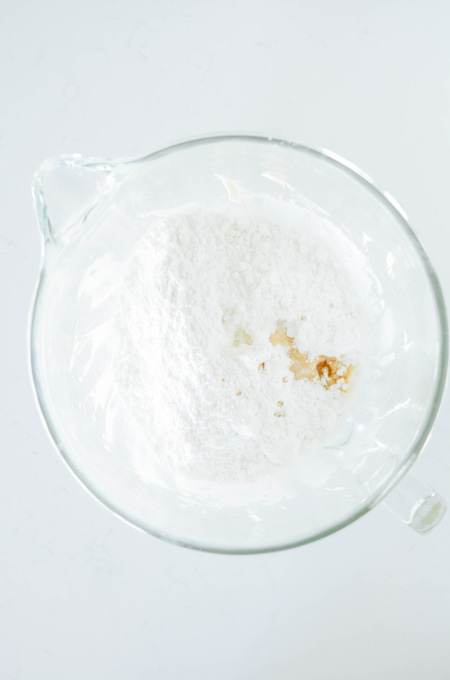
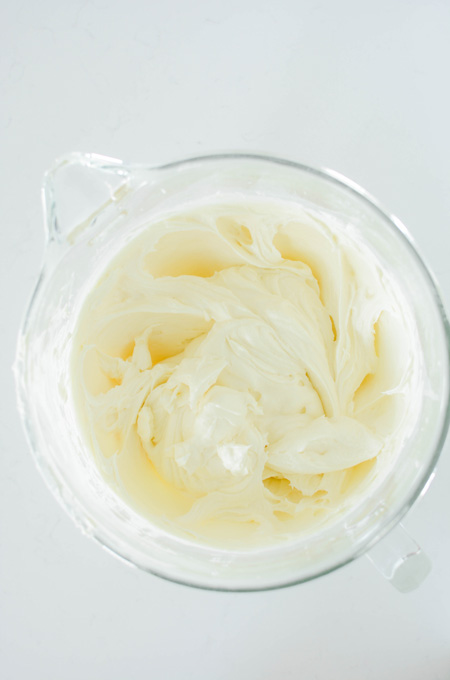
- Once the egg white mixture reaches 160 degrees, transfer the mixer bowl to the mixer stand fitted with the whisk attachment and beat the egg white mixture on medium-high speed until it holds medium-stiff peaks, about 8 to 10 minutes. Switch the whisk attachment for the paddle attachment and with the mixer on low speed add the butter one tablespoon at a time then add the vanilla extract. Once combined, add the graham cracker crumbs and cinnamon and turn up the mixer speed to medium-high and beat until the buttercream is silky and smooth, about 5 minutes.
WHIPPED CREAM
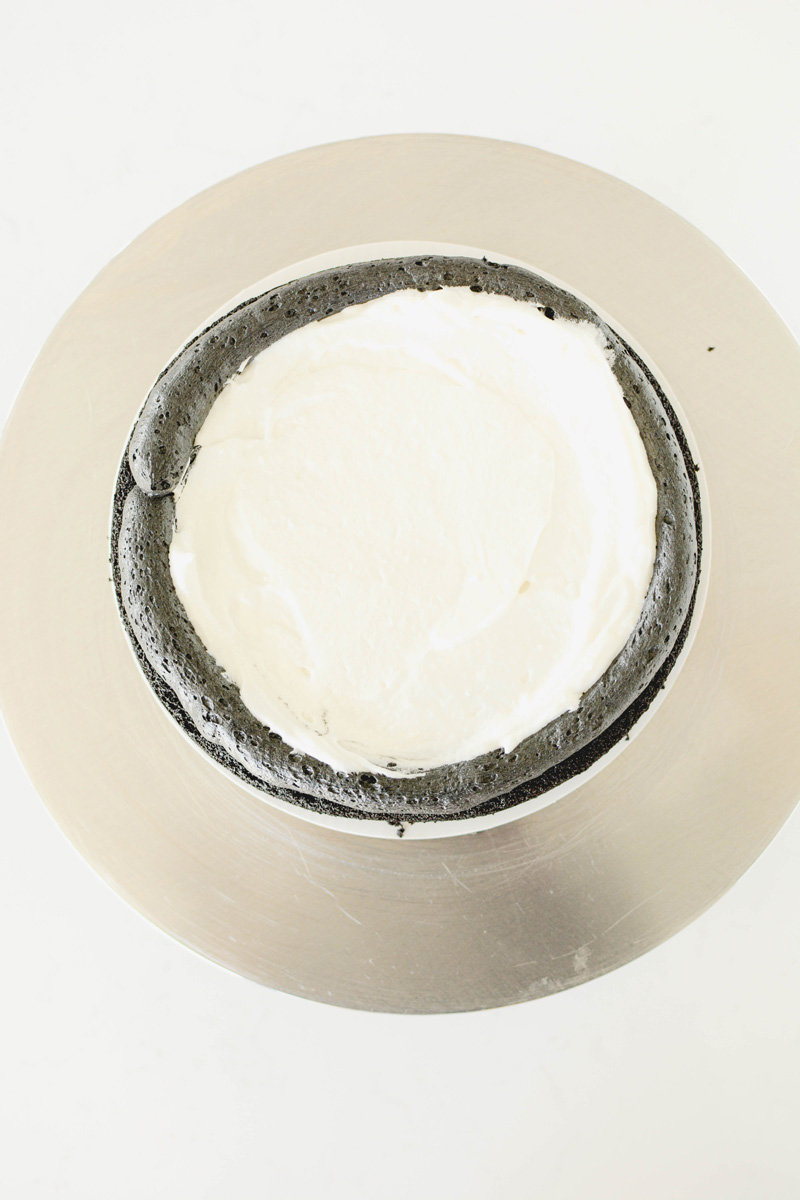
- In the bowl of a stand mixer fitted with the whisk attachment, add the sugar, salt, cream and vanilla extract and mix on medium-low speed for about 1 minute or until the sugar has dissolved. Increase the speed to medium-high and whip until the cream is thick enough to hold firm peaks, about 3 minutes.
ASSEMBLE
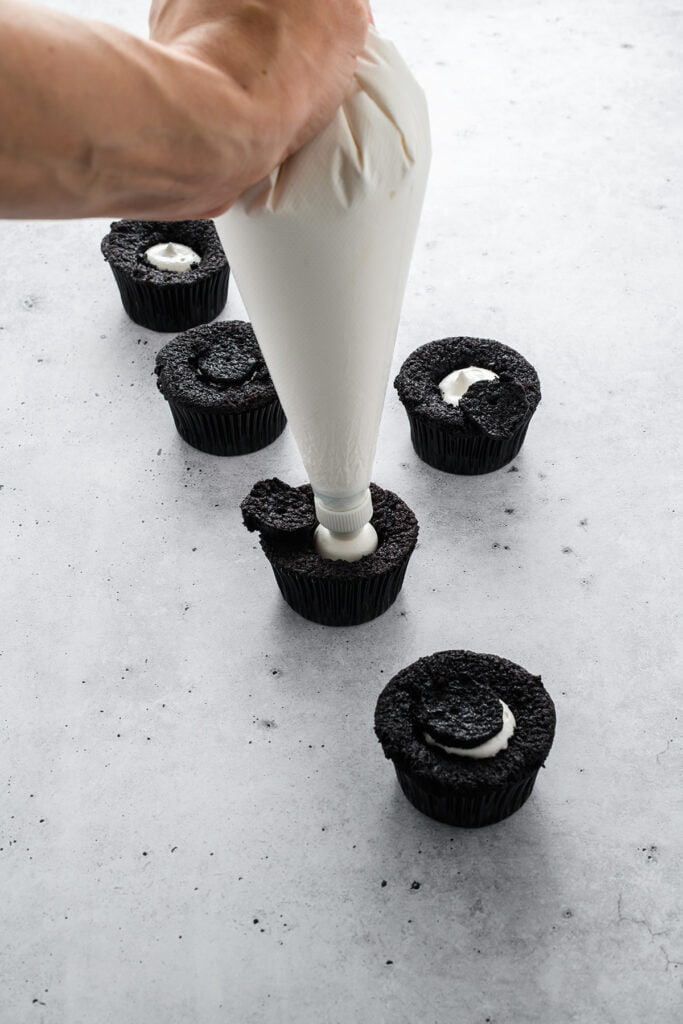
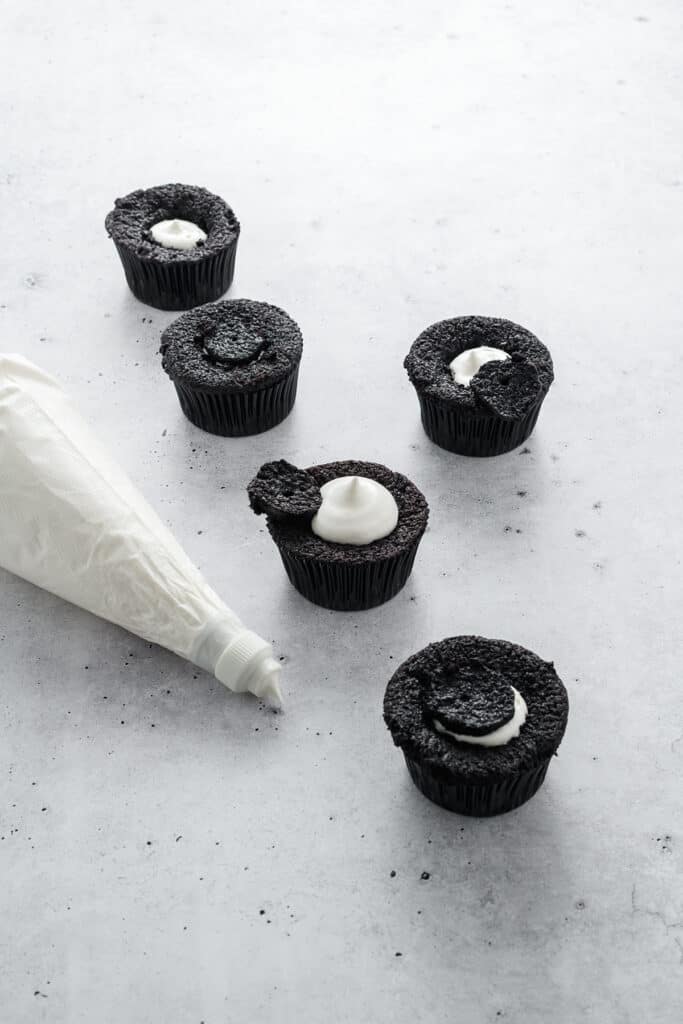
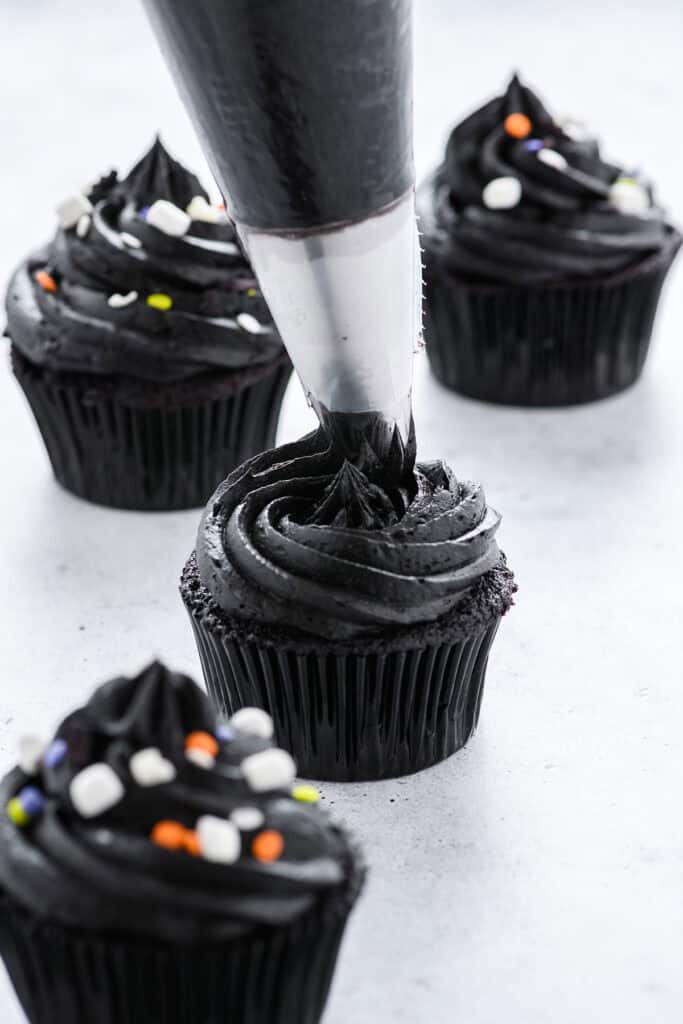
- Fit a #827 Ateco piping tip in a piping bag and fill with buttercream. Pipe a buttercream swirl on top of each cupcake. In another piping bag fitted with a Wilton 1M piping tip fill with whipped cream and pipe a small star on top of the buttercream. Garnish each cupcake with a pie crust garnish and serve immediately.
Notes
STORE: Unfrosted cupcakes can be stored in an airtight cake container at room temperature for up to 3 days. Frosted cupcakes can be stored in the refrigerator in an airtight cake container for up to 3 days. Bring to room temperature before serving. Add whipped cream and pie crust star right before serving for best results.
Buttercream may be stored in an airtight container in the refrigerator for up to 10 days, or in the freezer for up to 2 months. Thaw frozen buttercream in the refrigerator and bring to room temperature before remixing.
Nutrition Information:
Yield: 24 Serving Size: 1Amount Per Serving: Calories: 123Total Fat: 2gSaturated Fat: 1gUnsaturated Fat: 1gCholesterol: 2mgSodium: 29mgCarbohydrates: 23gFiber: 1gSugar: 3gProtein: 3g
*Nutrition information is an estimate and will vary.*