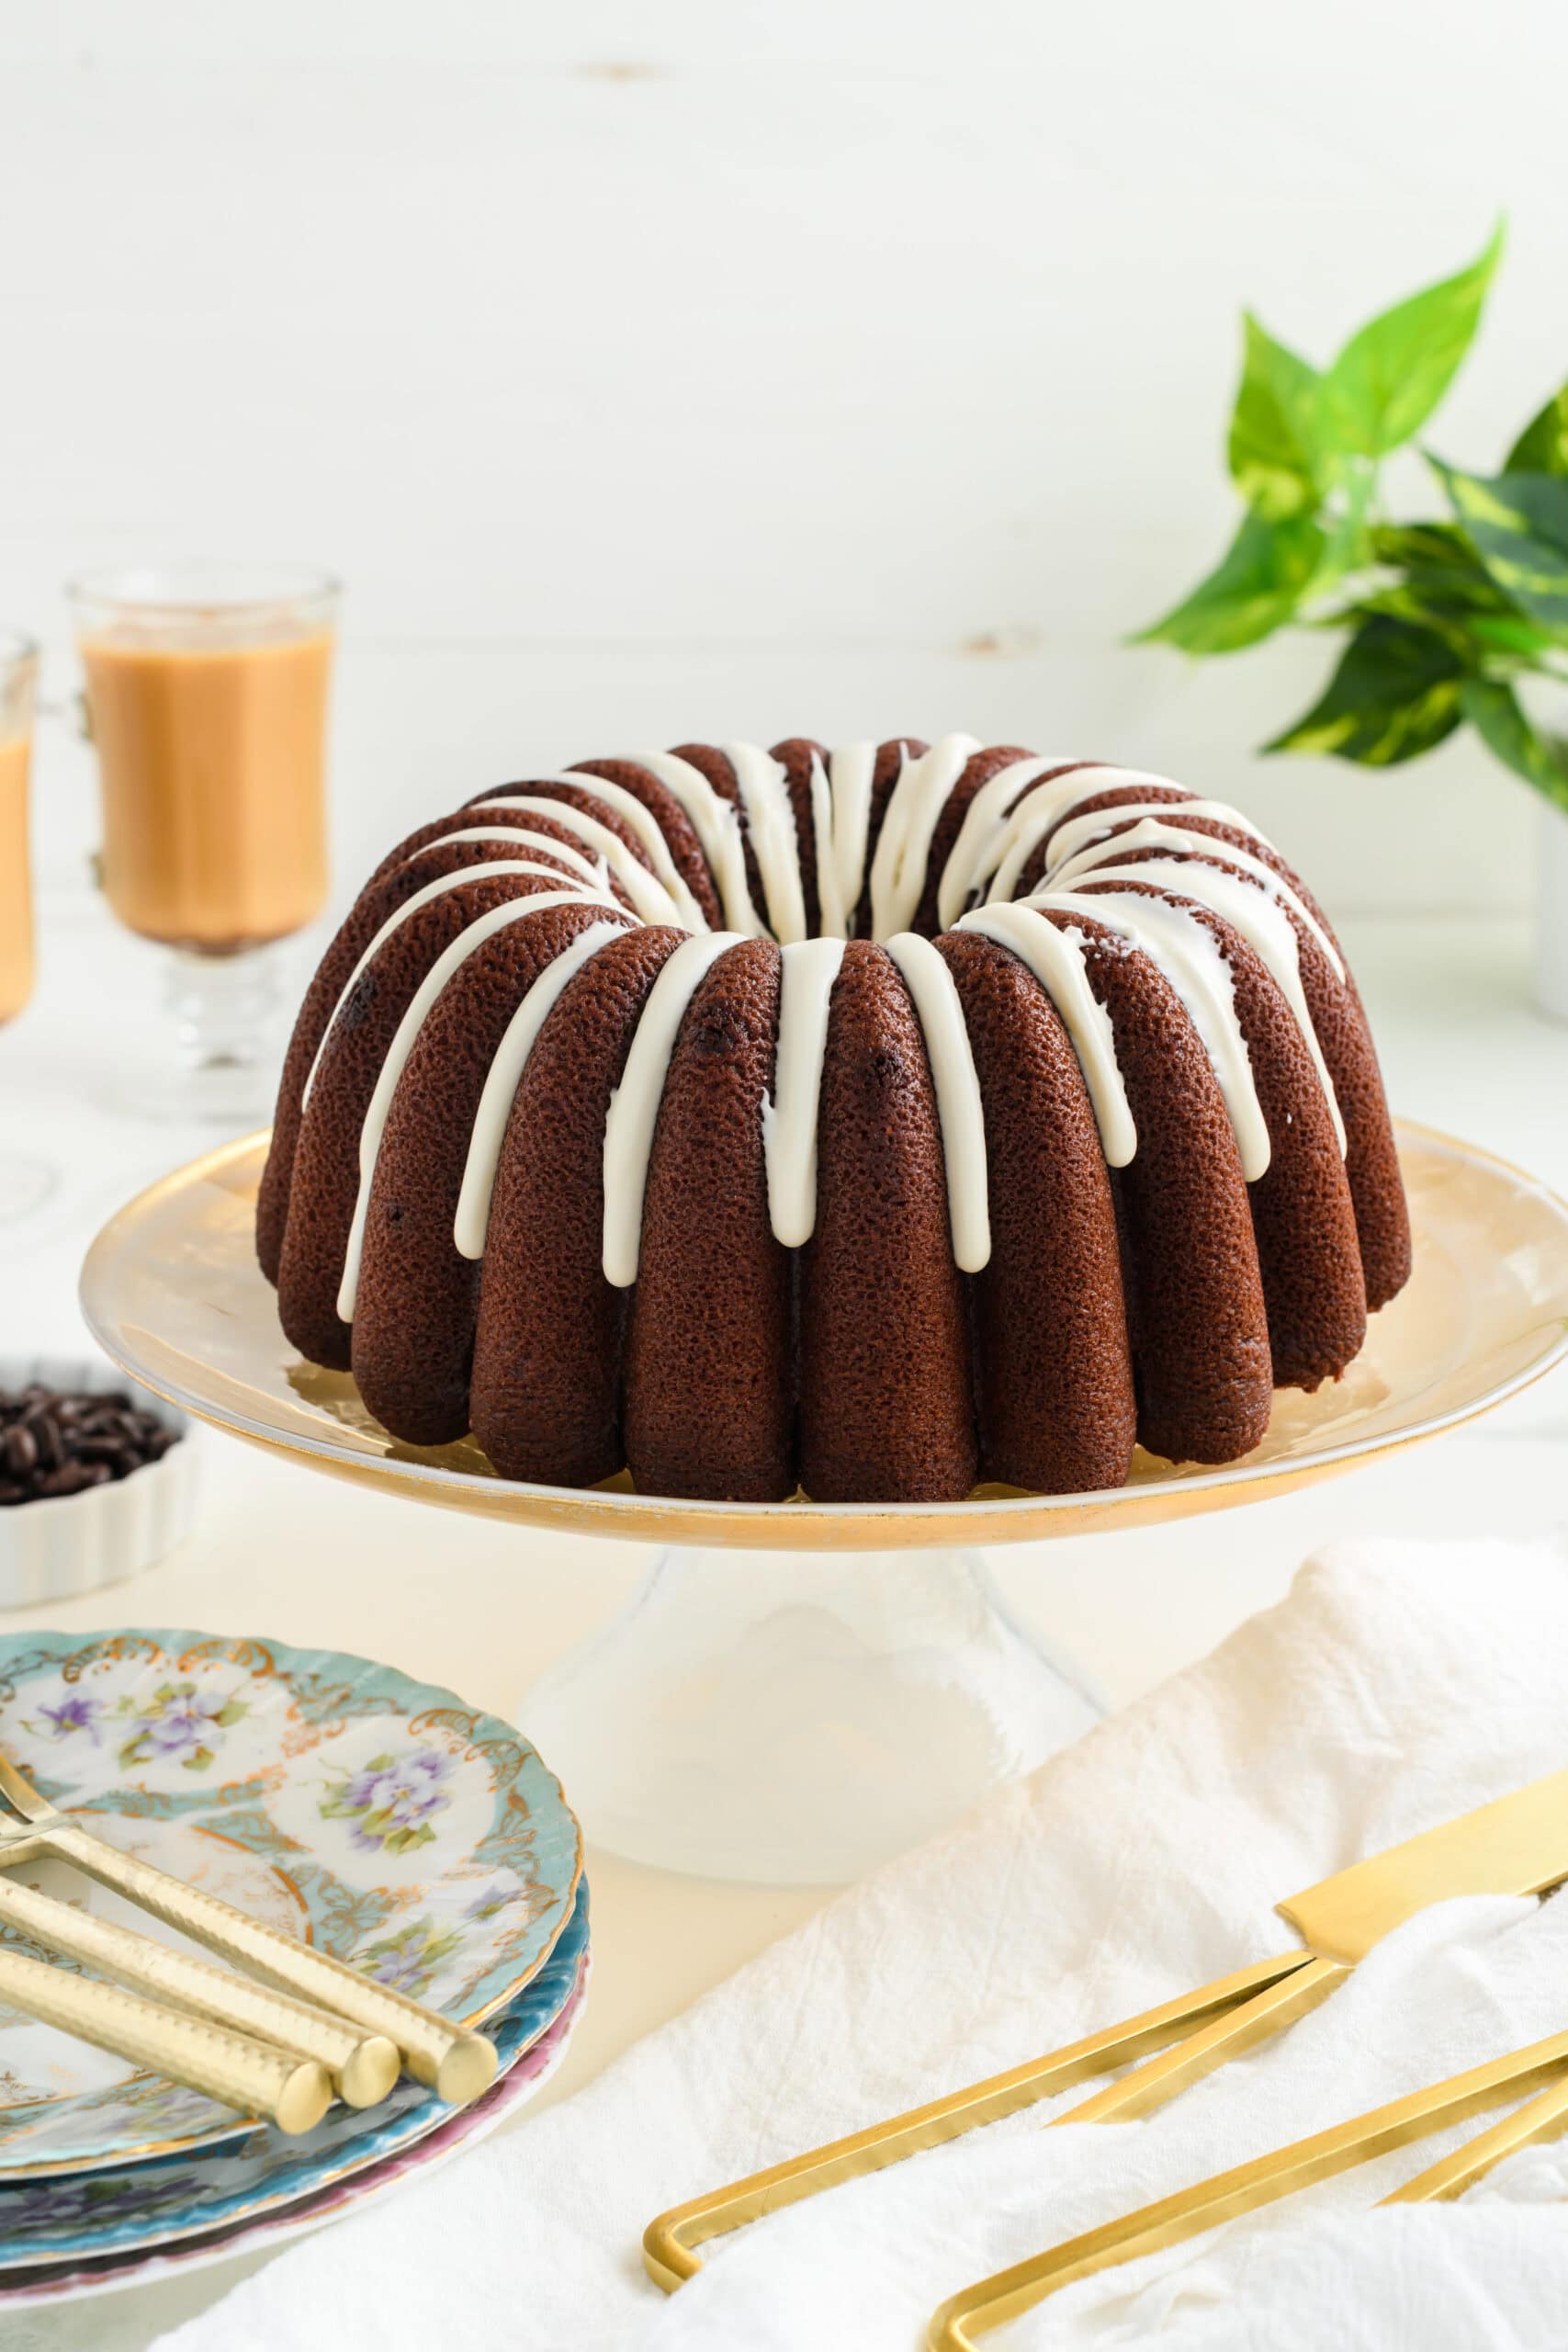
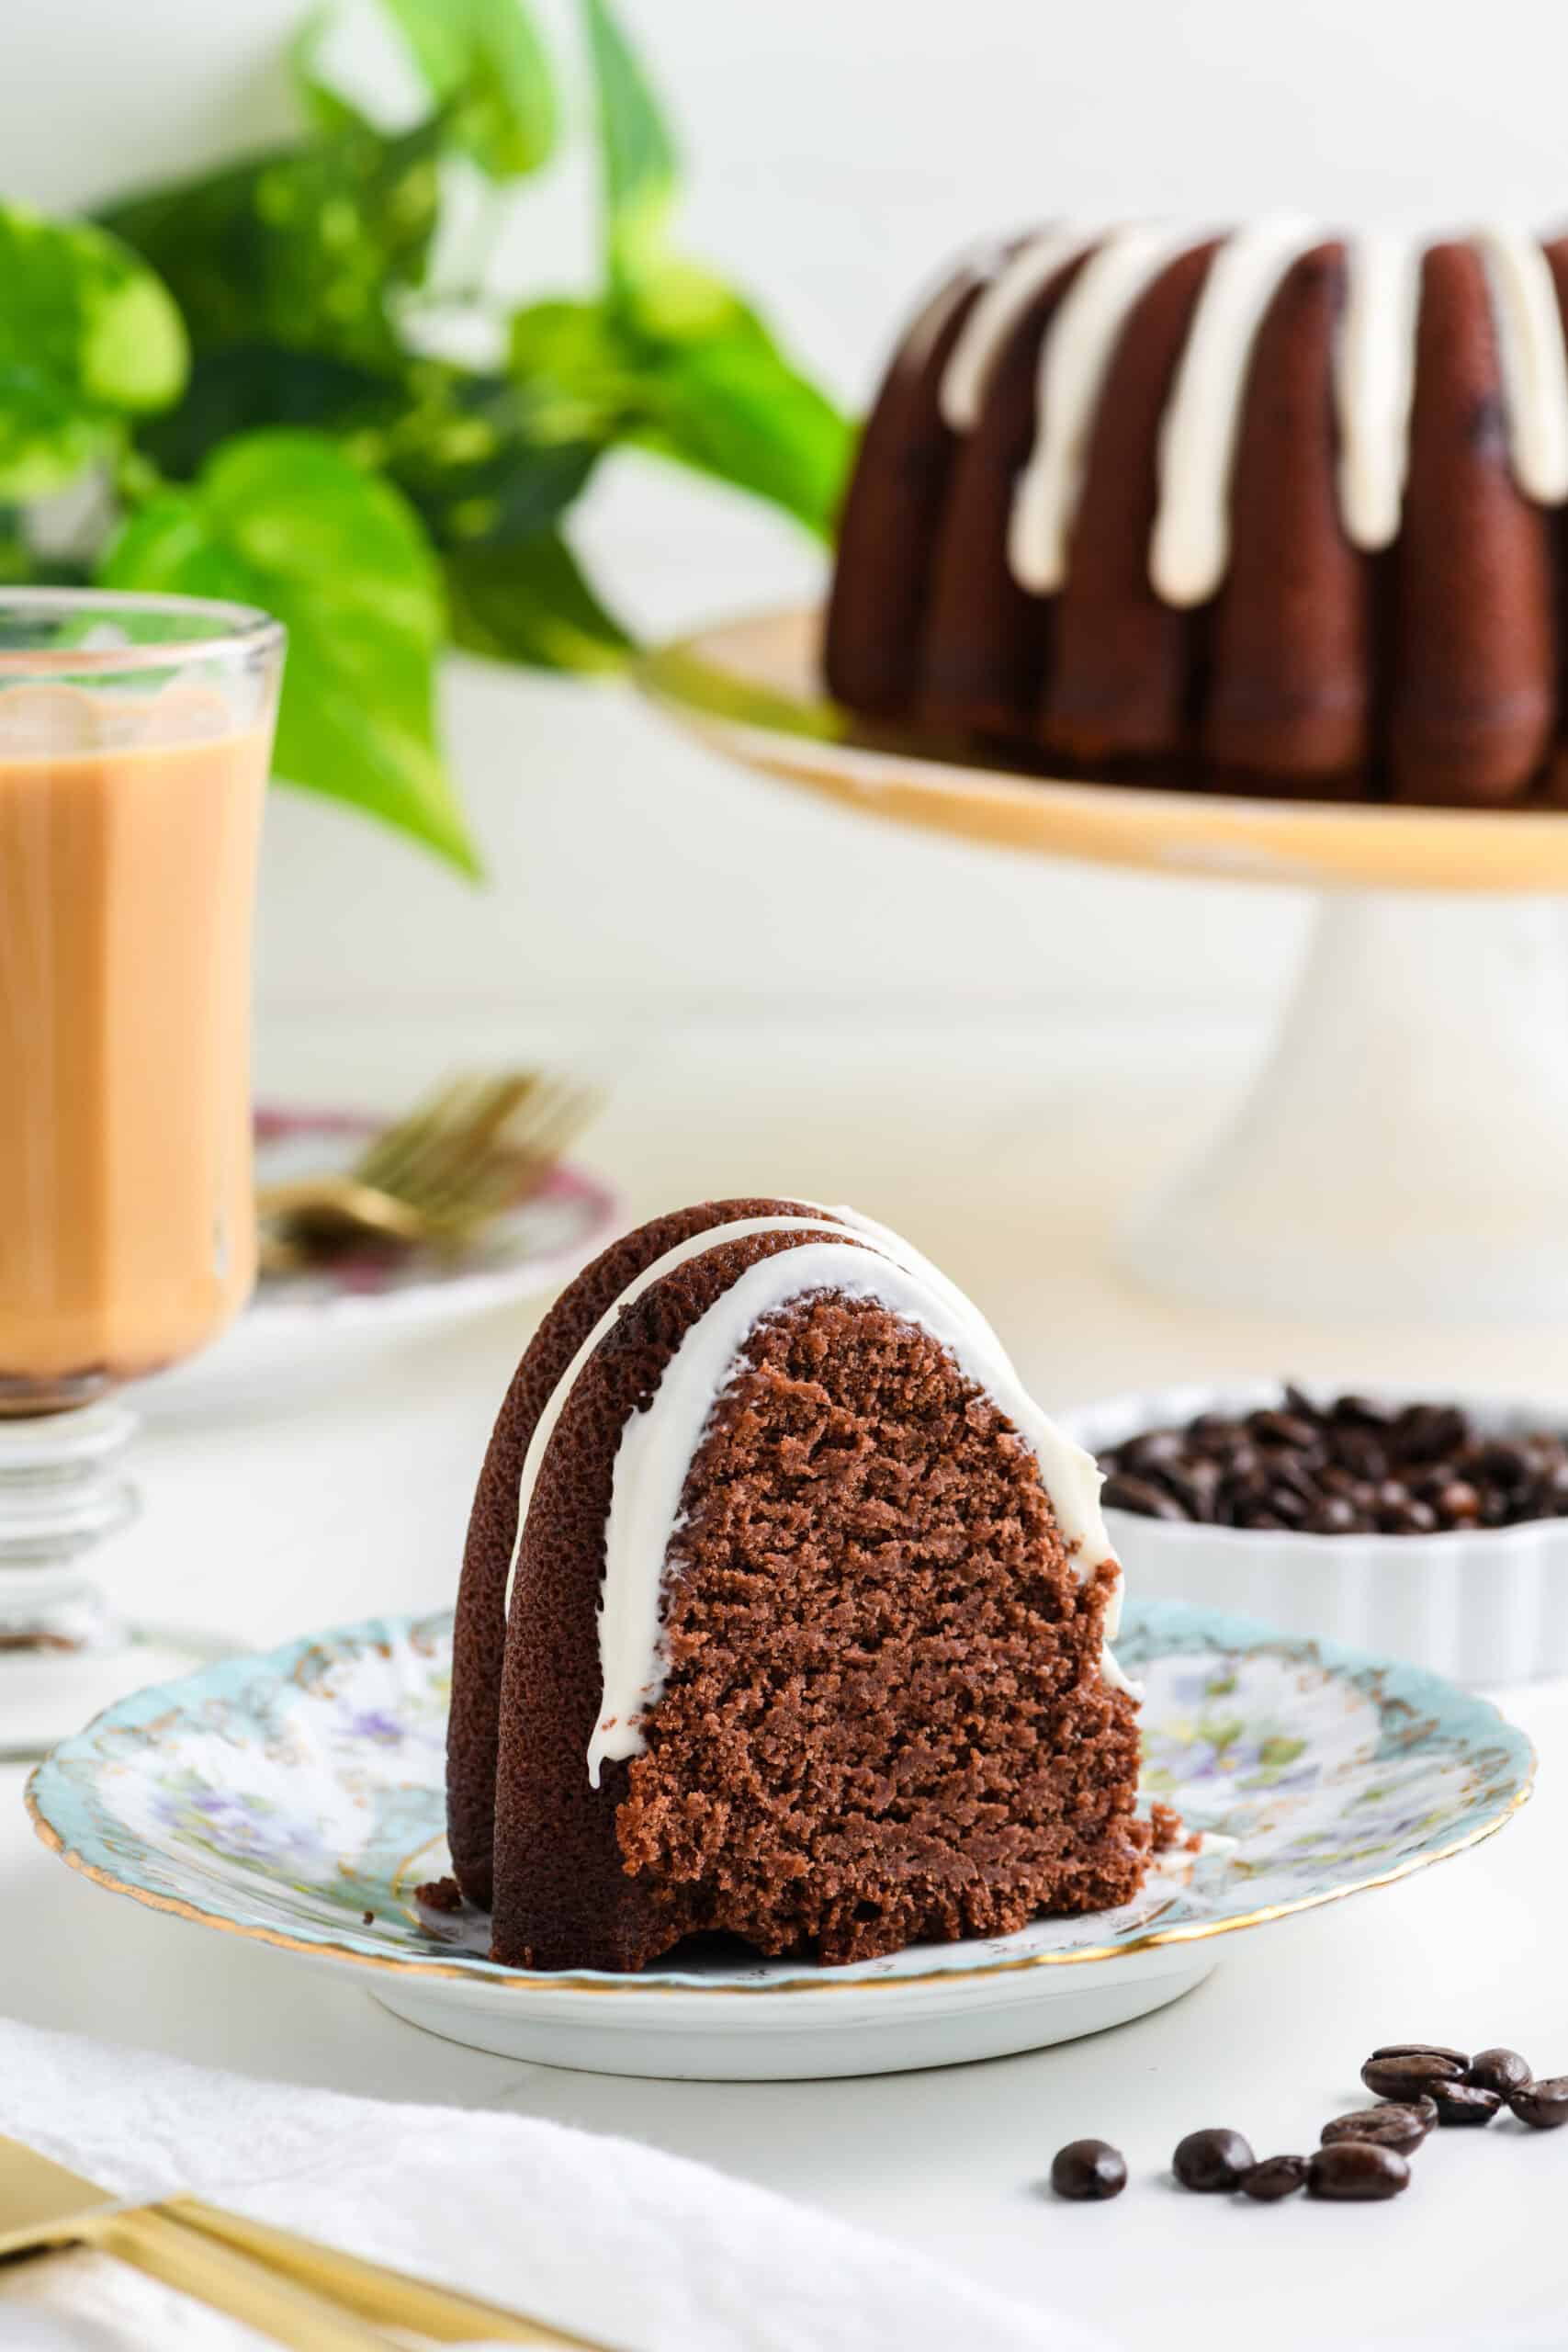
If you love a rich chocolate cake but want something a little more balanced for everyday baking, this Healthier Chocolate Coffee Cake might just become your new go-to. It’s deeply chocolatey, thanks to Dutch-process cocoa, boosted with coffee for extra depth, and baked into a classic Bundt so it feels special without being fussy. This is the kind of cake I love slicing into with my afternoon coffee or serving as a simple dessert when friends drop by.
This recipe leans into smarter ingredient choices and technique to create a tender crumb and bold flavor, without crossing into overly sweet or heavy territory. It’s proof that “healthier” and “indulgent” can absolutely coexist.
As an Amazon Affiliate I earn from qualifying purchases.
Why You’ll Love This Chocolate Coffee Cake
- Deep chocolate flavor without being overly sweet
- Coffee enhances the cocoa (you won’t taste coffee!)
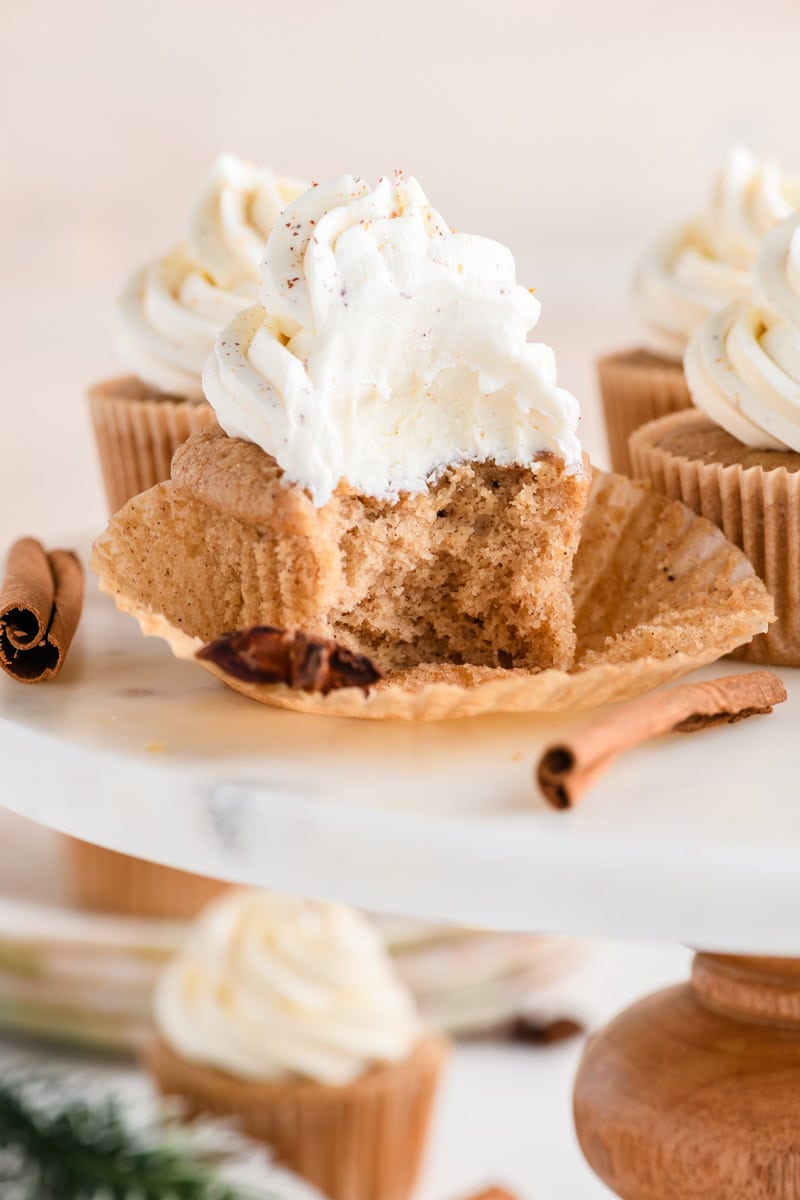
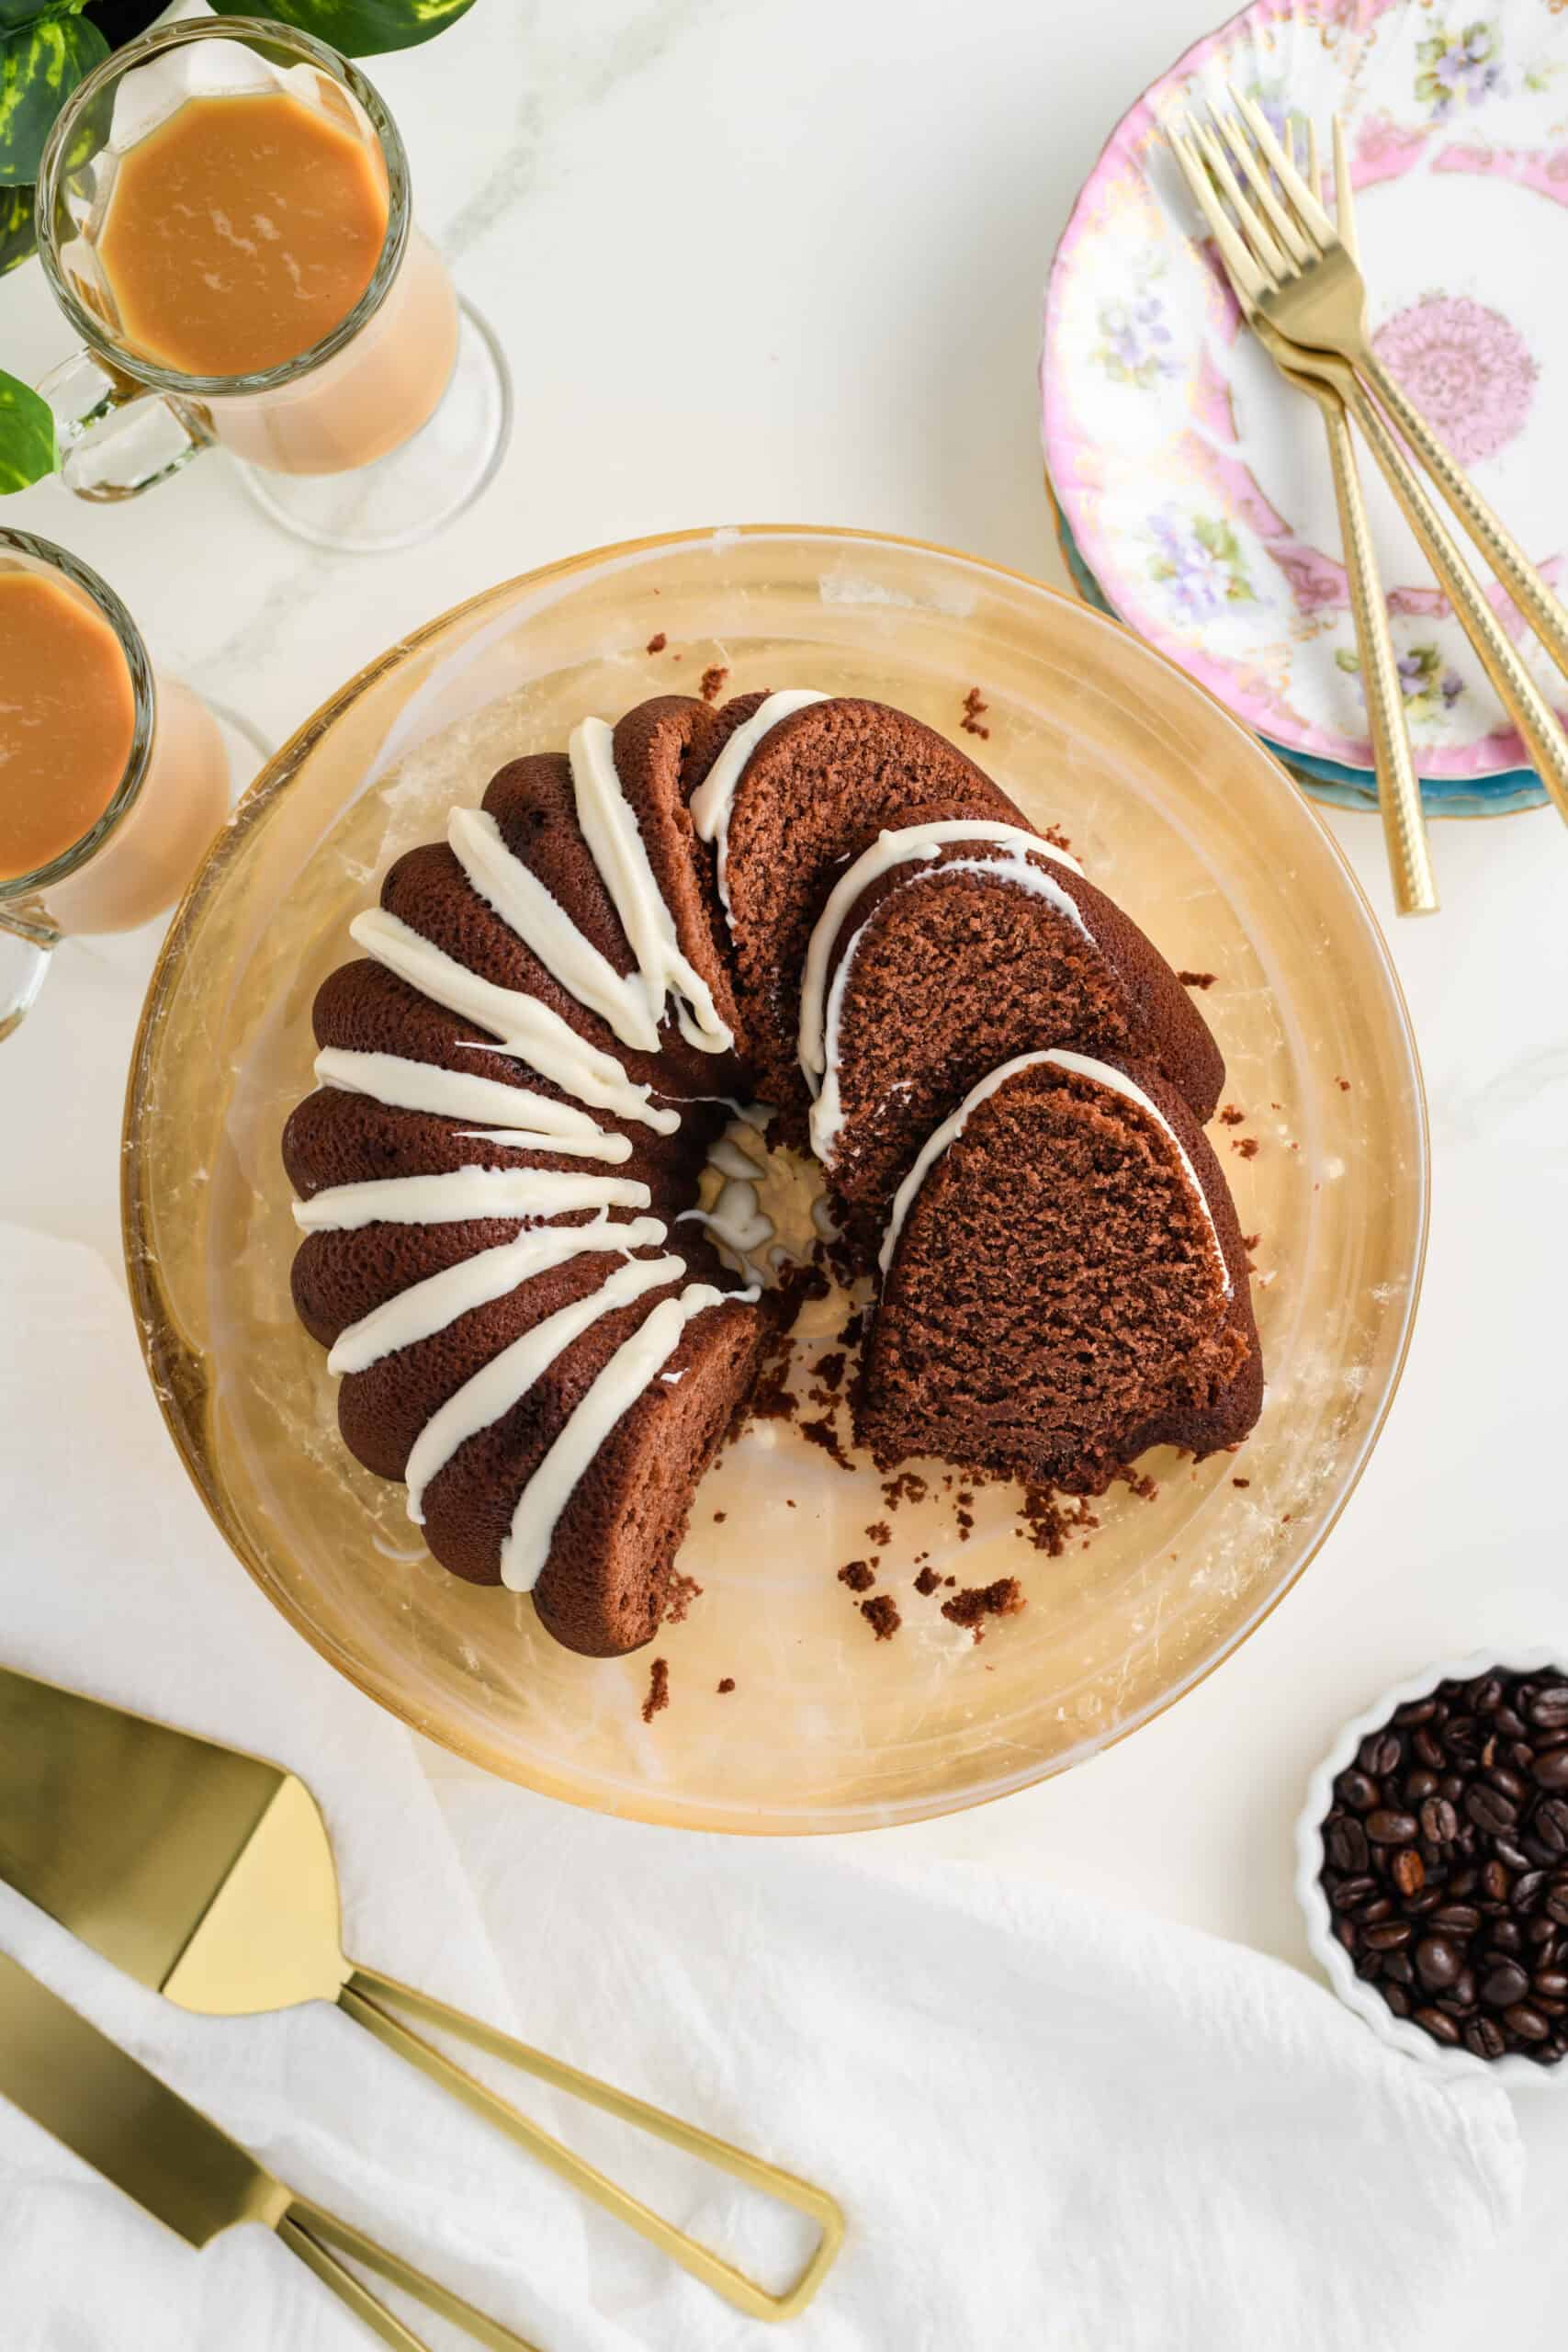
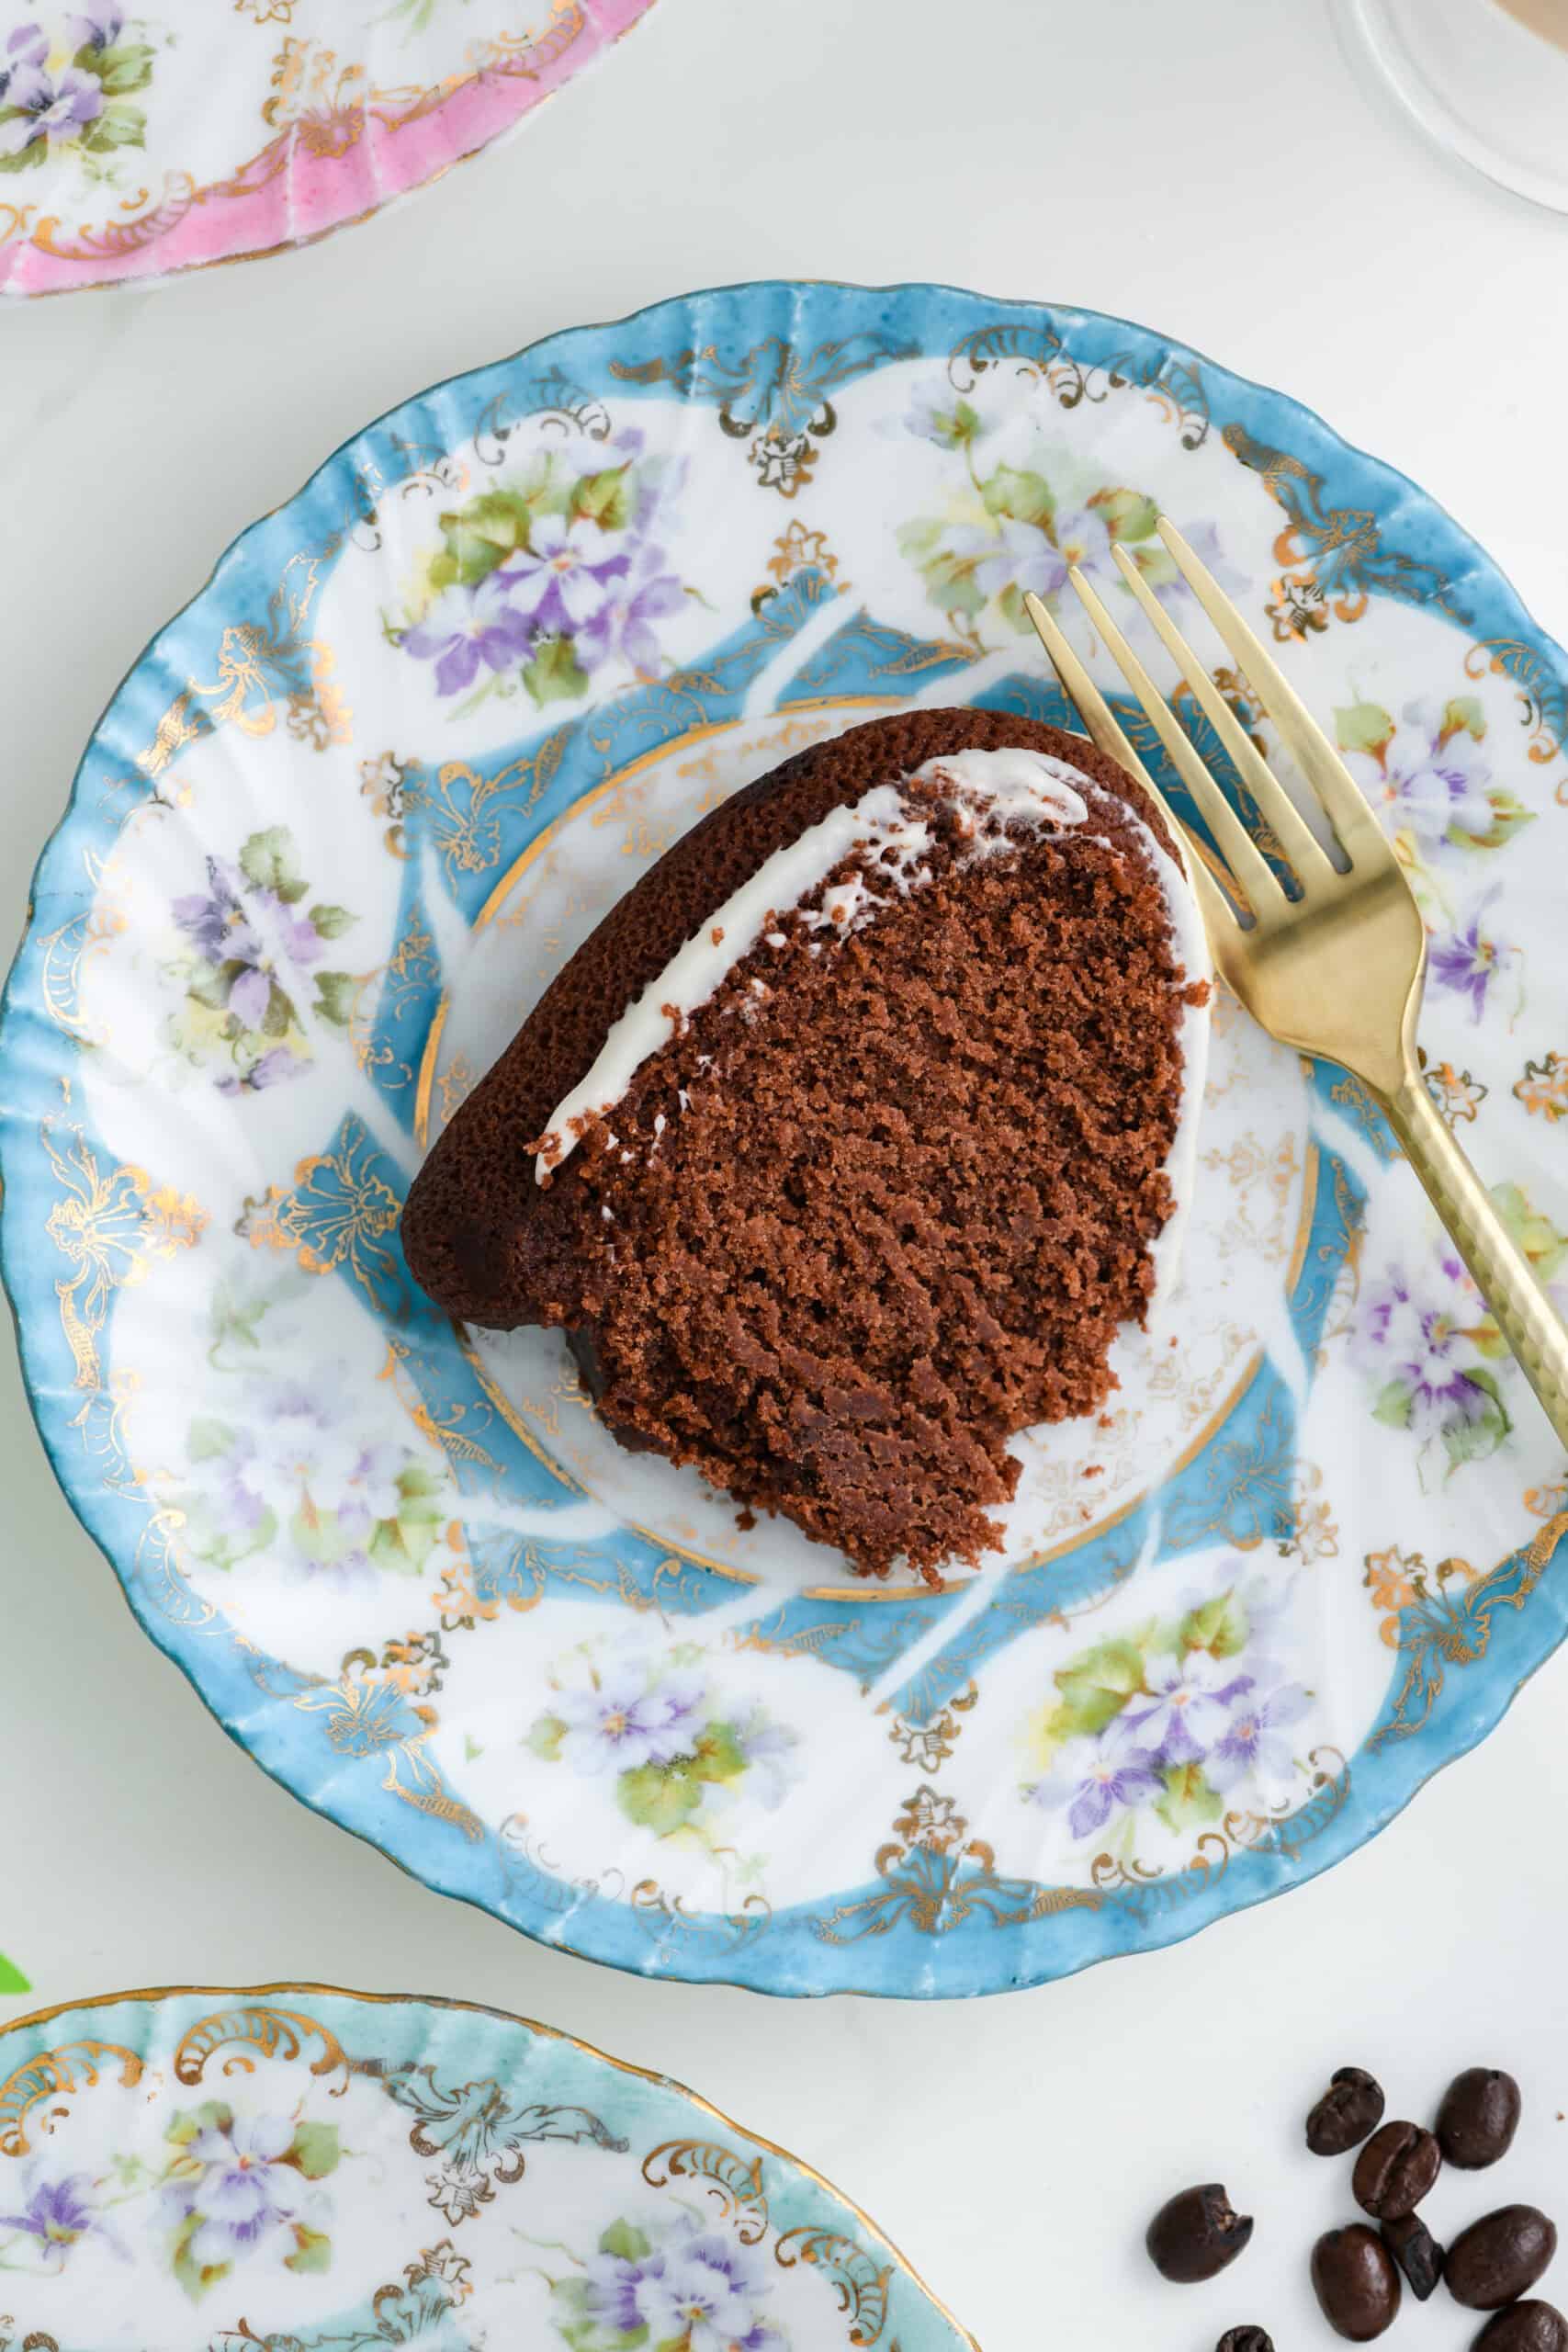
- Moist, tender crumb that slices beautifully
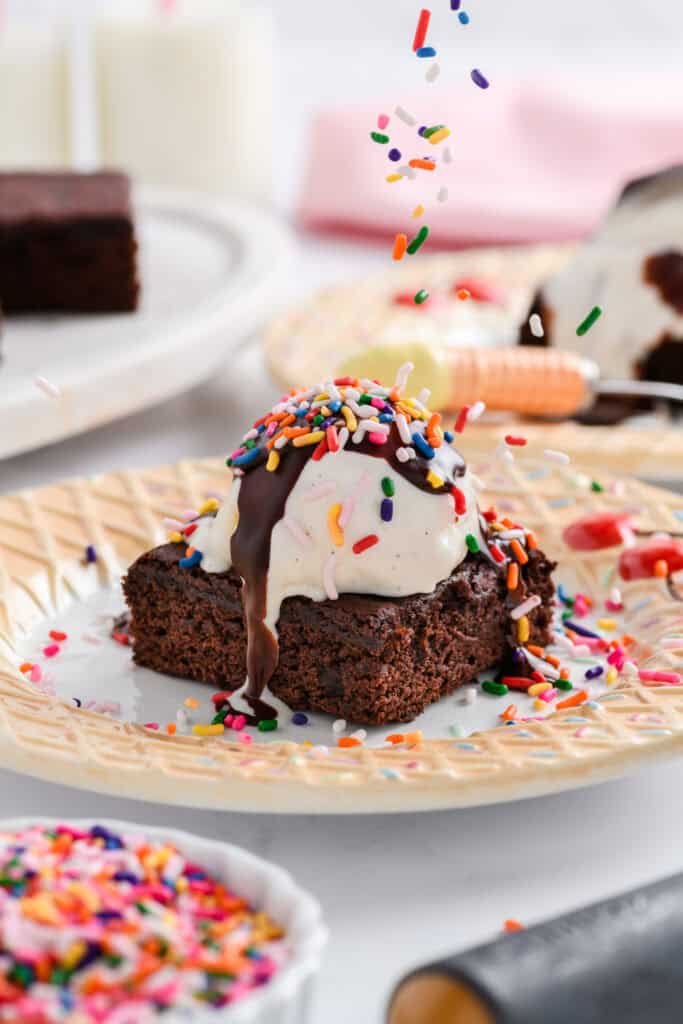
- Perfect for brunch, snacking, or dessert
- Simple optional drizzle for just the right finishing touch
Special Tools
- 10-inch Bundt pan – Ensures even baking and a beautiful presentation
- Baking spray – Helps release every curve of the Bundt cleanly
- Stand mixer – Makes creaming and mixing effortless and consistent
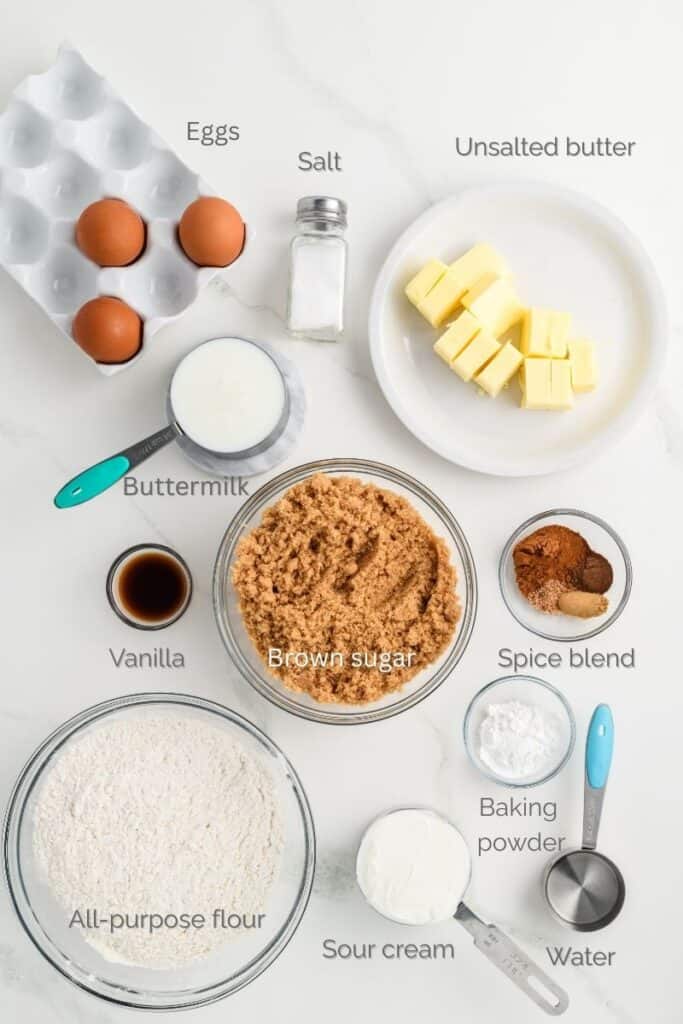
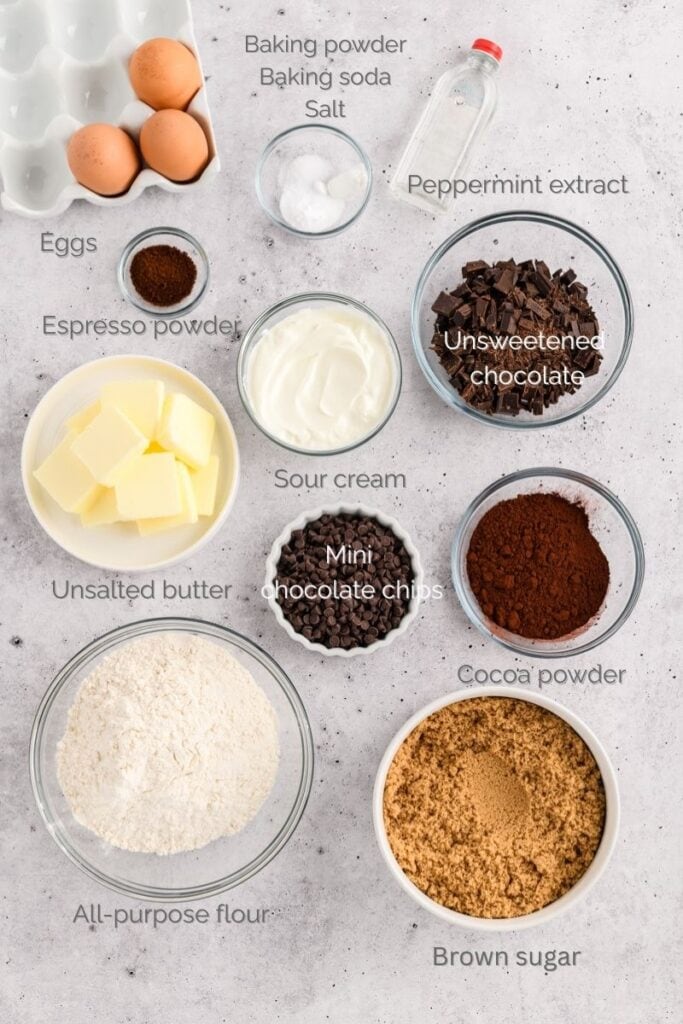
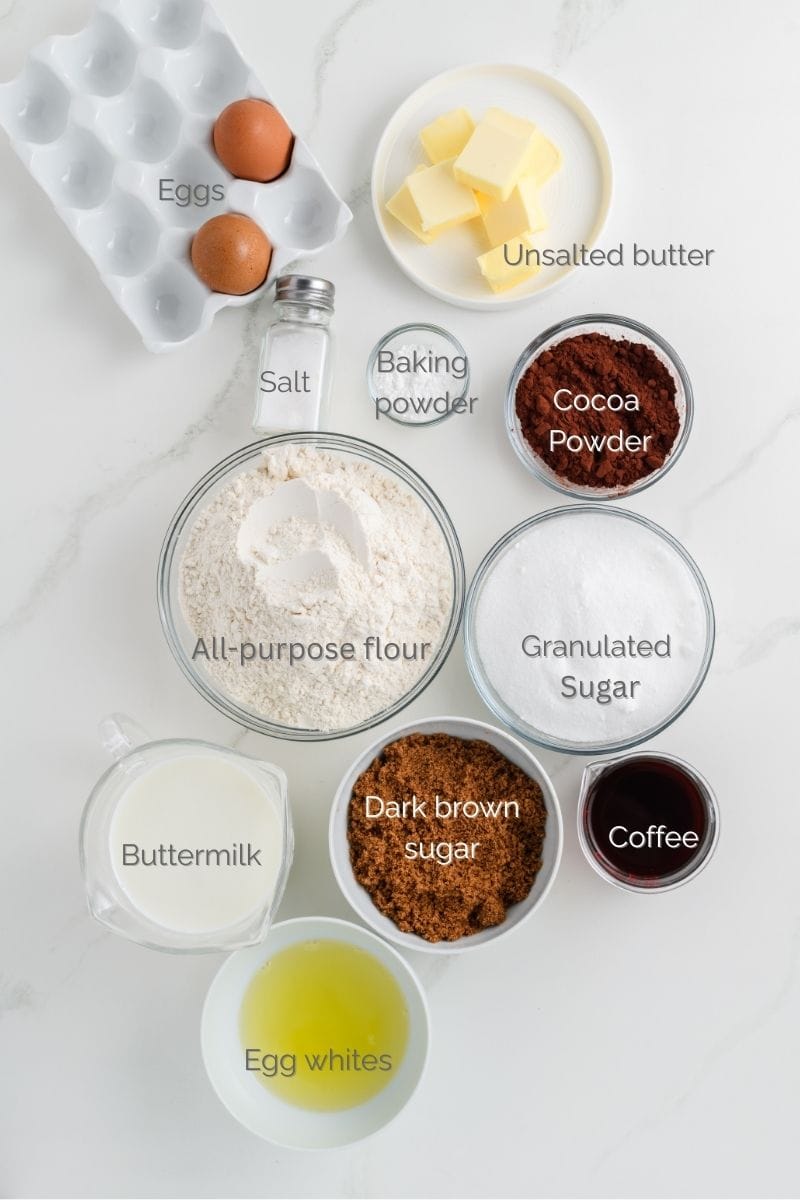
Ingredient Notes
- Dutch-process cocoa powder: Gives a smoother, darker chocolate flavor compared to natural cocoa.
- Cold coffee: Enhances the chocolate without making the cake taste like coffee.
- Buttermilk: Adds moisture and tenderness while balancing the sweetness.
- Egg whites + whole eggs: Keeps the cake light while still rich.
- Dark brown sugar: Adds depth and a subtle molasses note.
Healthier Baking Approach
This cake is designed to feel indulgent while still being mindful. Using a mix of egg whites and whole eggs, balancing sugars, and relying on cocoa and coffee for bold flavor means you don’t need excessive fat or sweetness to make this cake satisfying. It’s a great example of how thoughtful baking techniques can elevate a recipe without sacrificing enjoyment.
How to Make Healthier Chocolate Coffee Cake
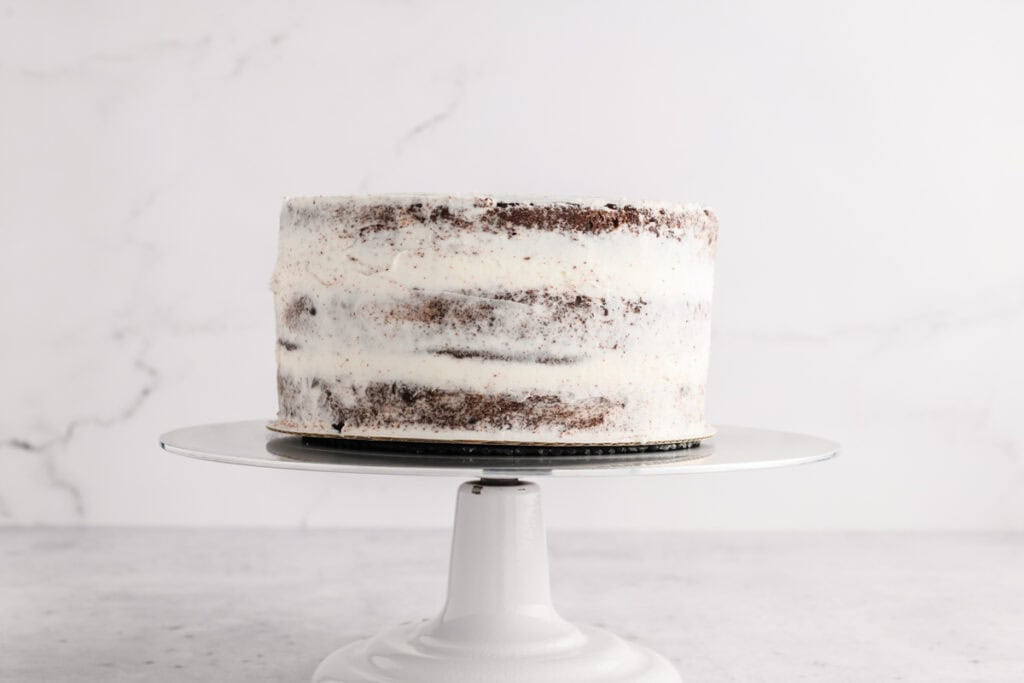
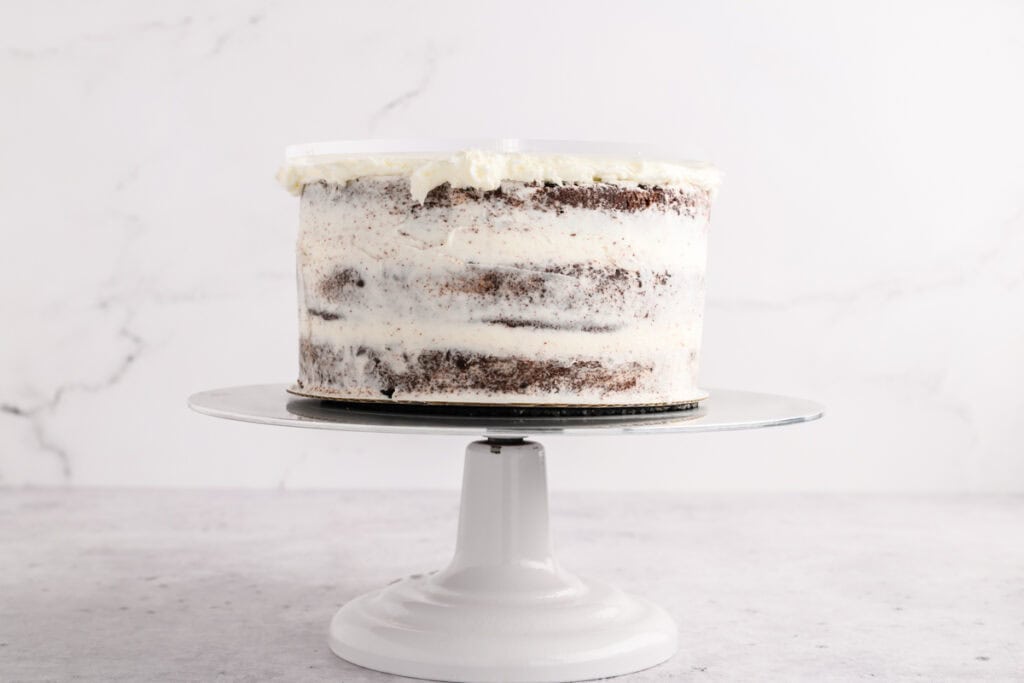
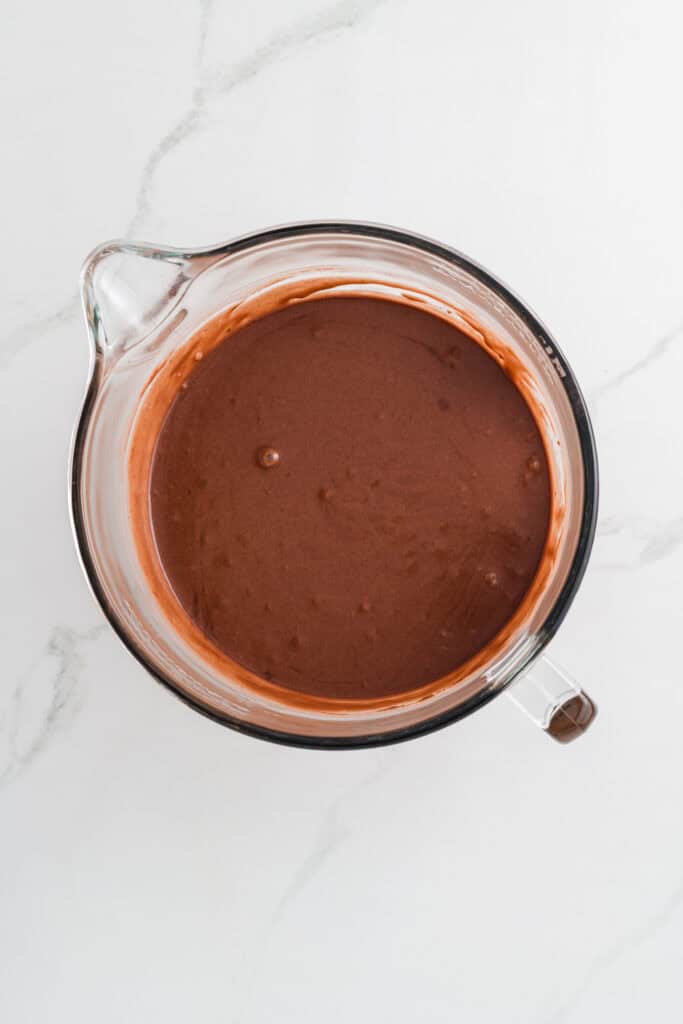
This cake comes together using a classic creaming method and alternating dry and liquid ingredients for a smooth, well-structured batter.
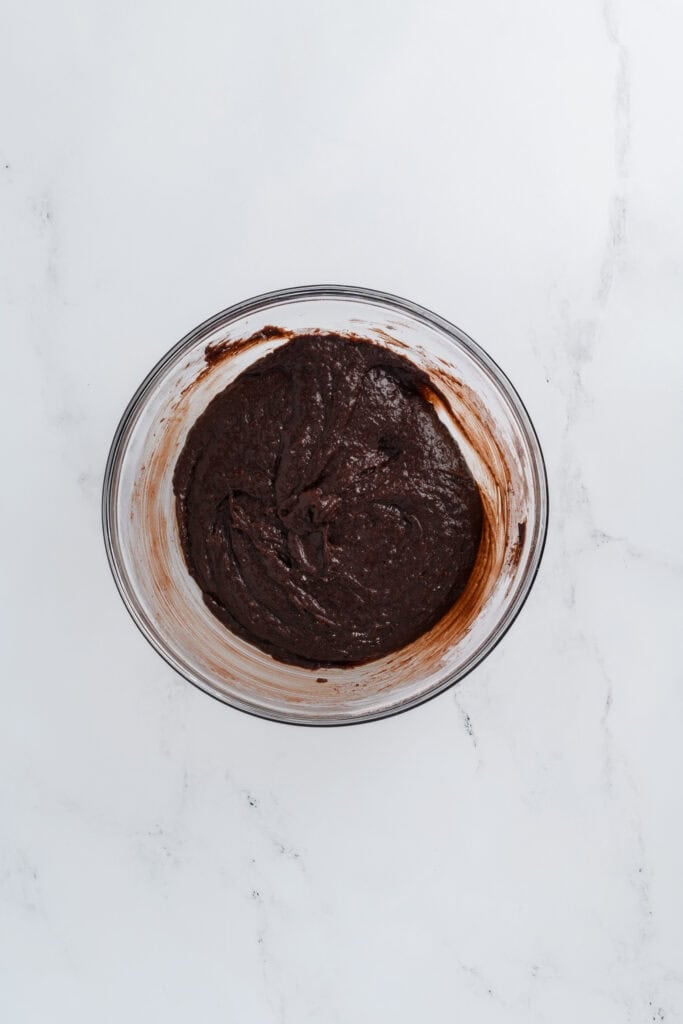
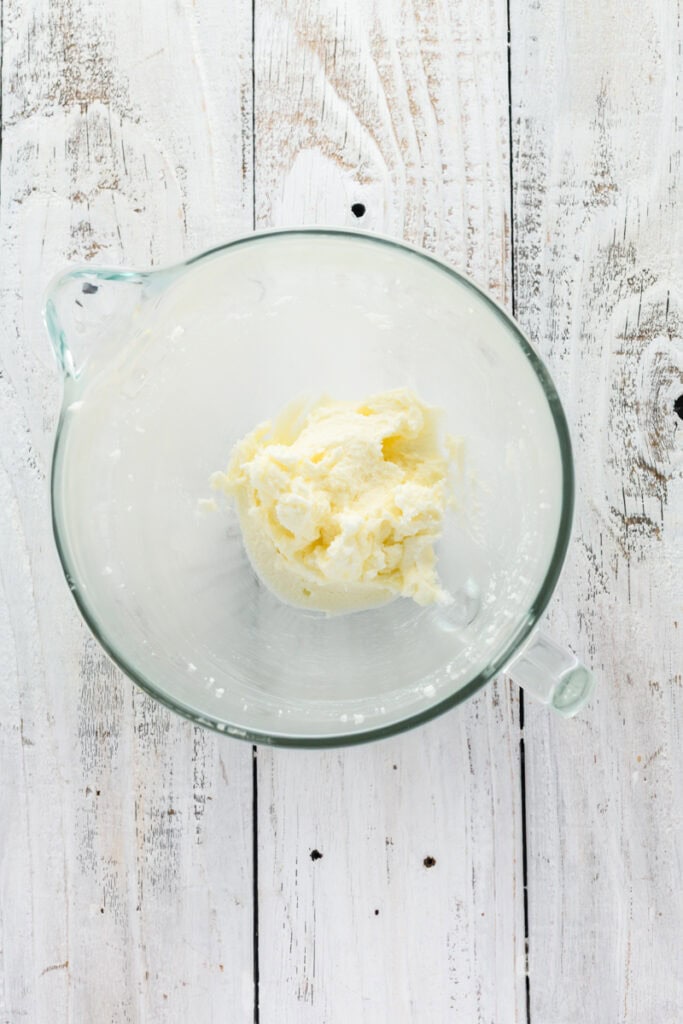
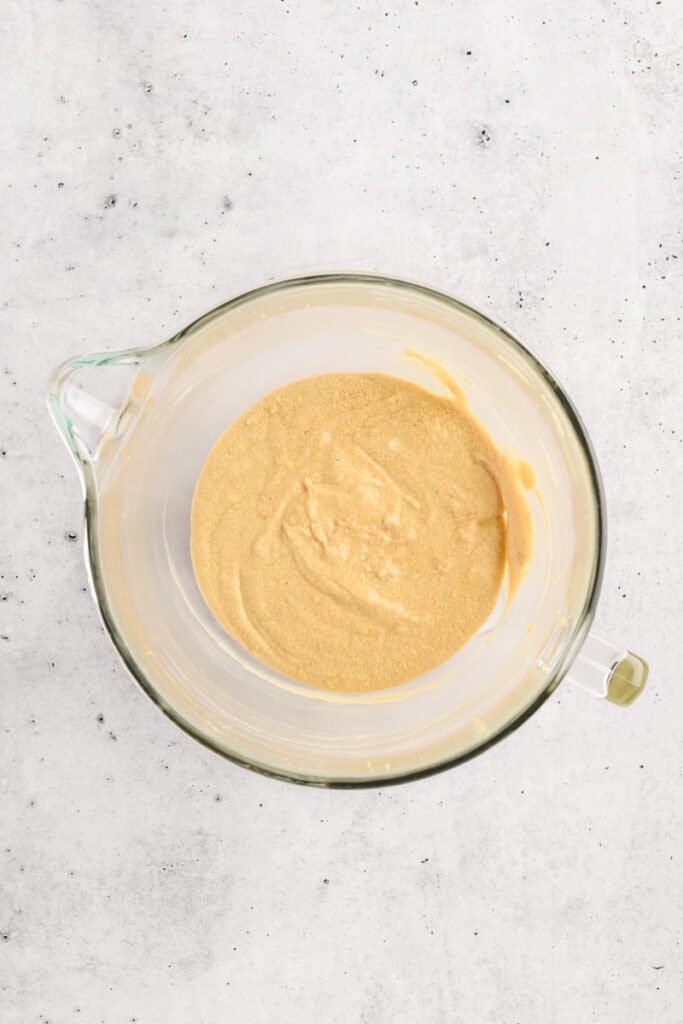
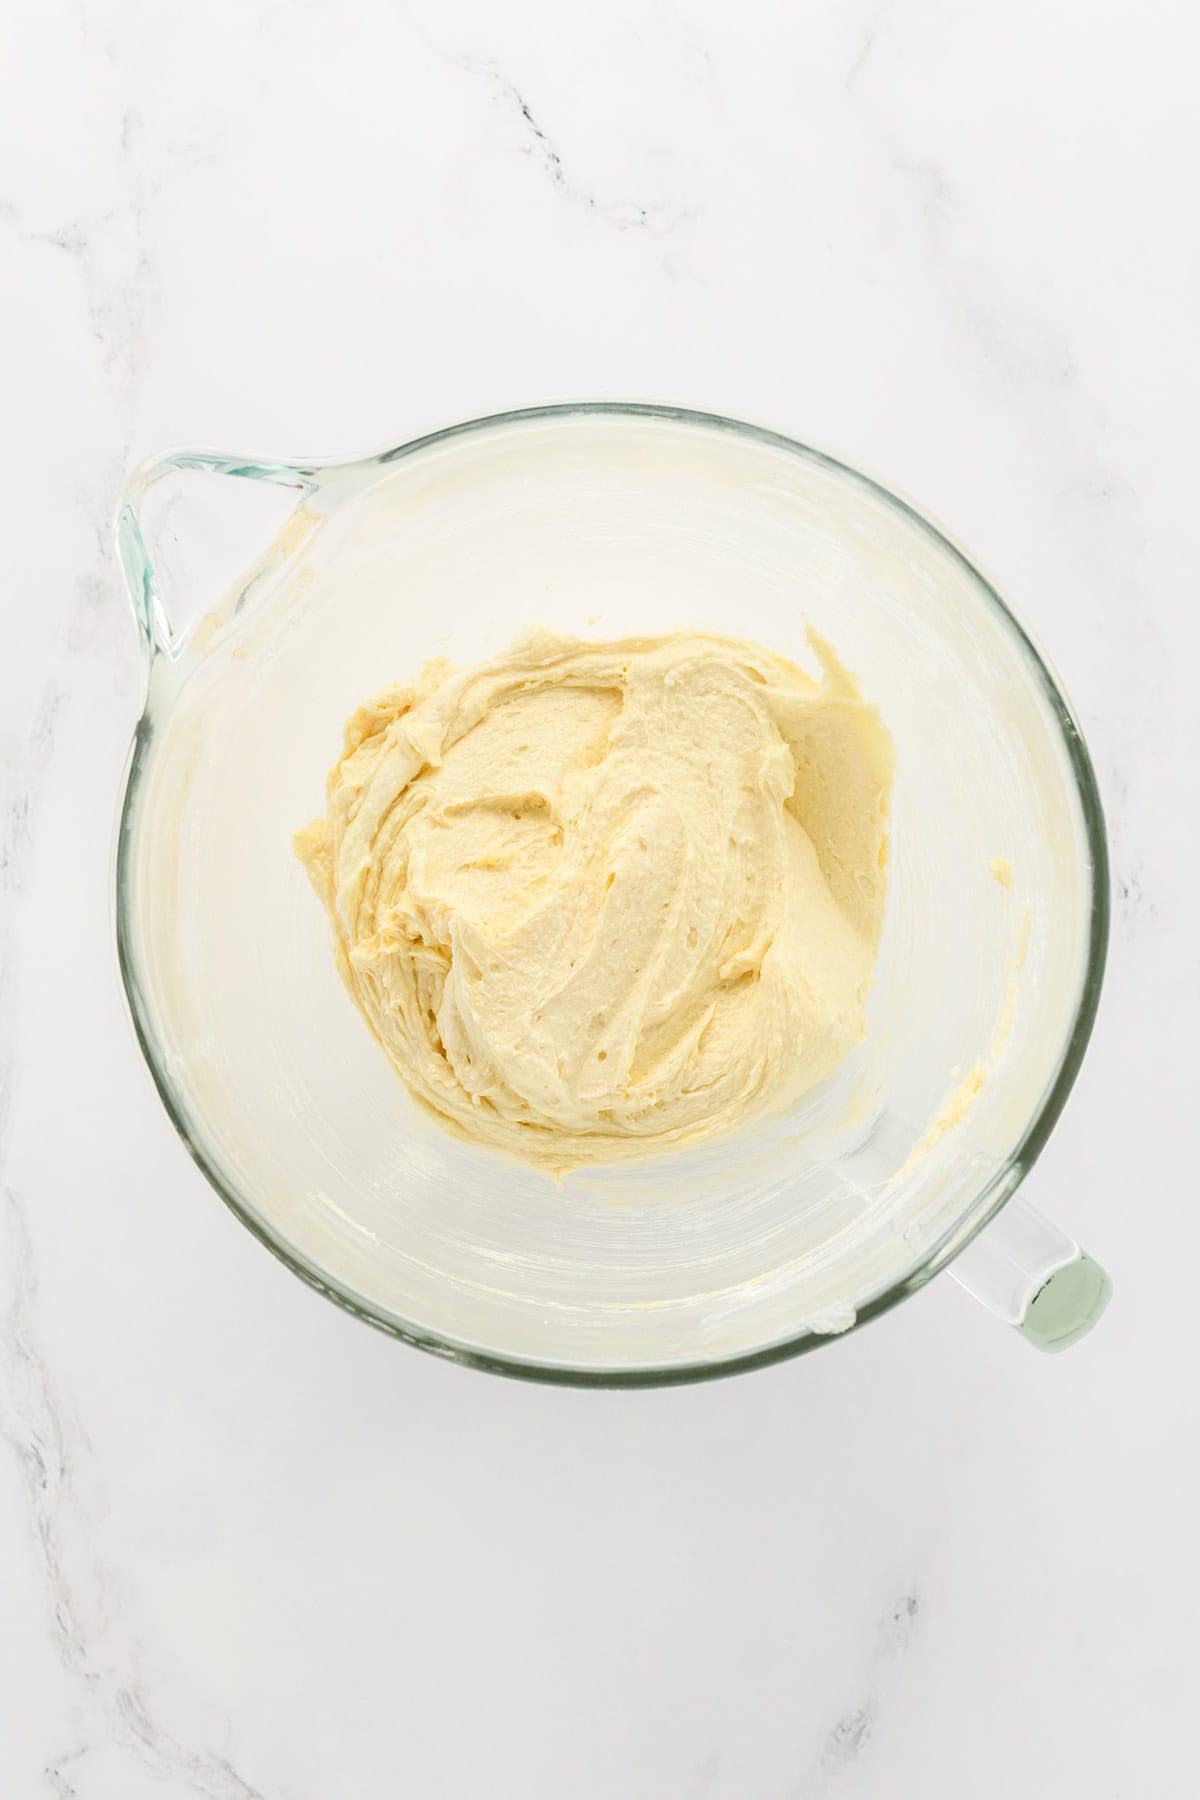
- Cream the butter and sugars until combined
- Add the eggs and egg whites, mixing well
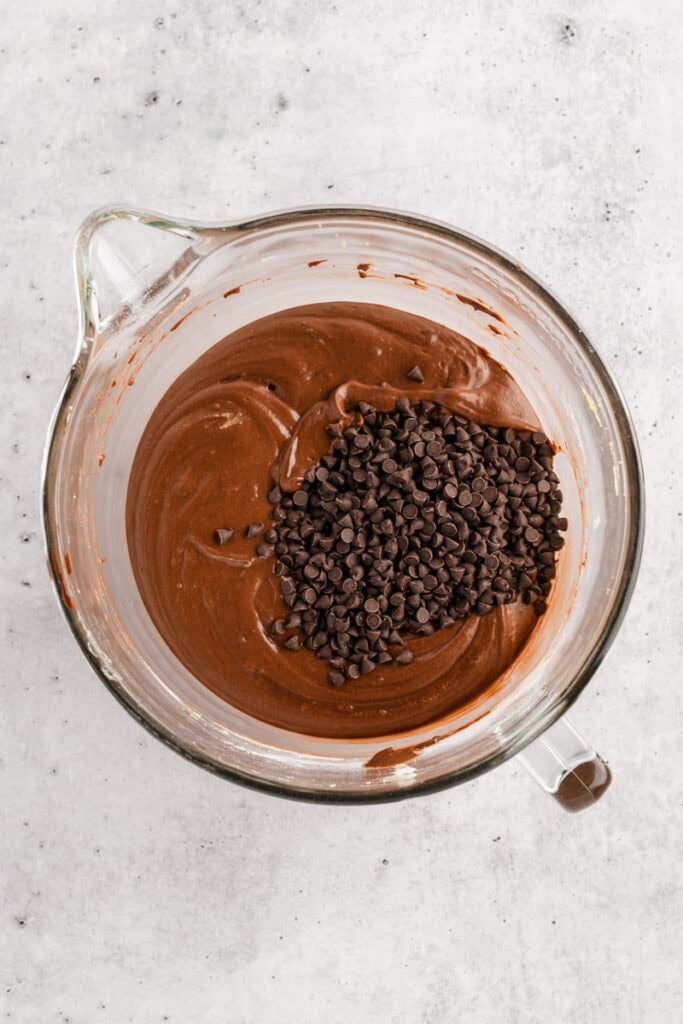
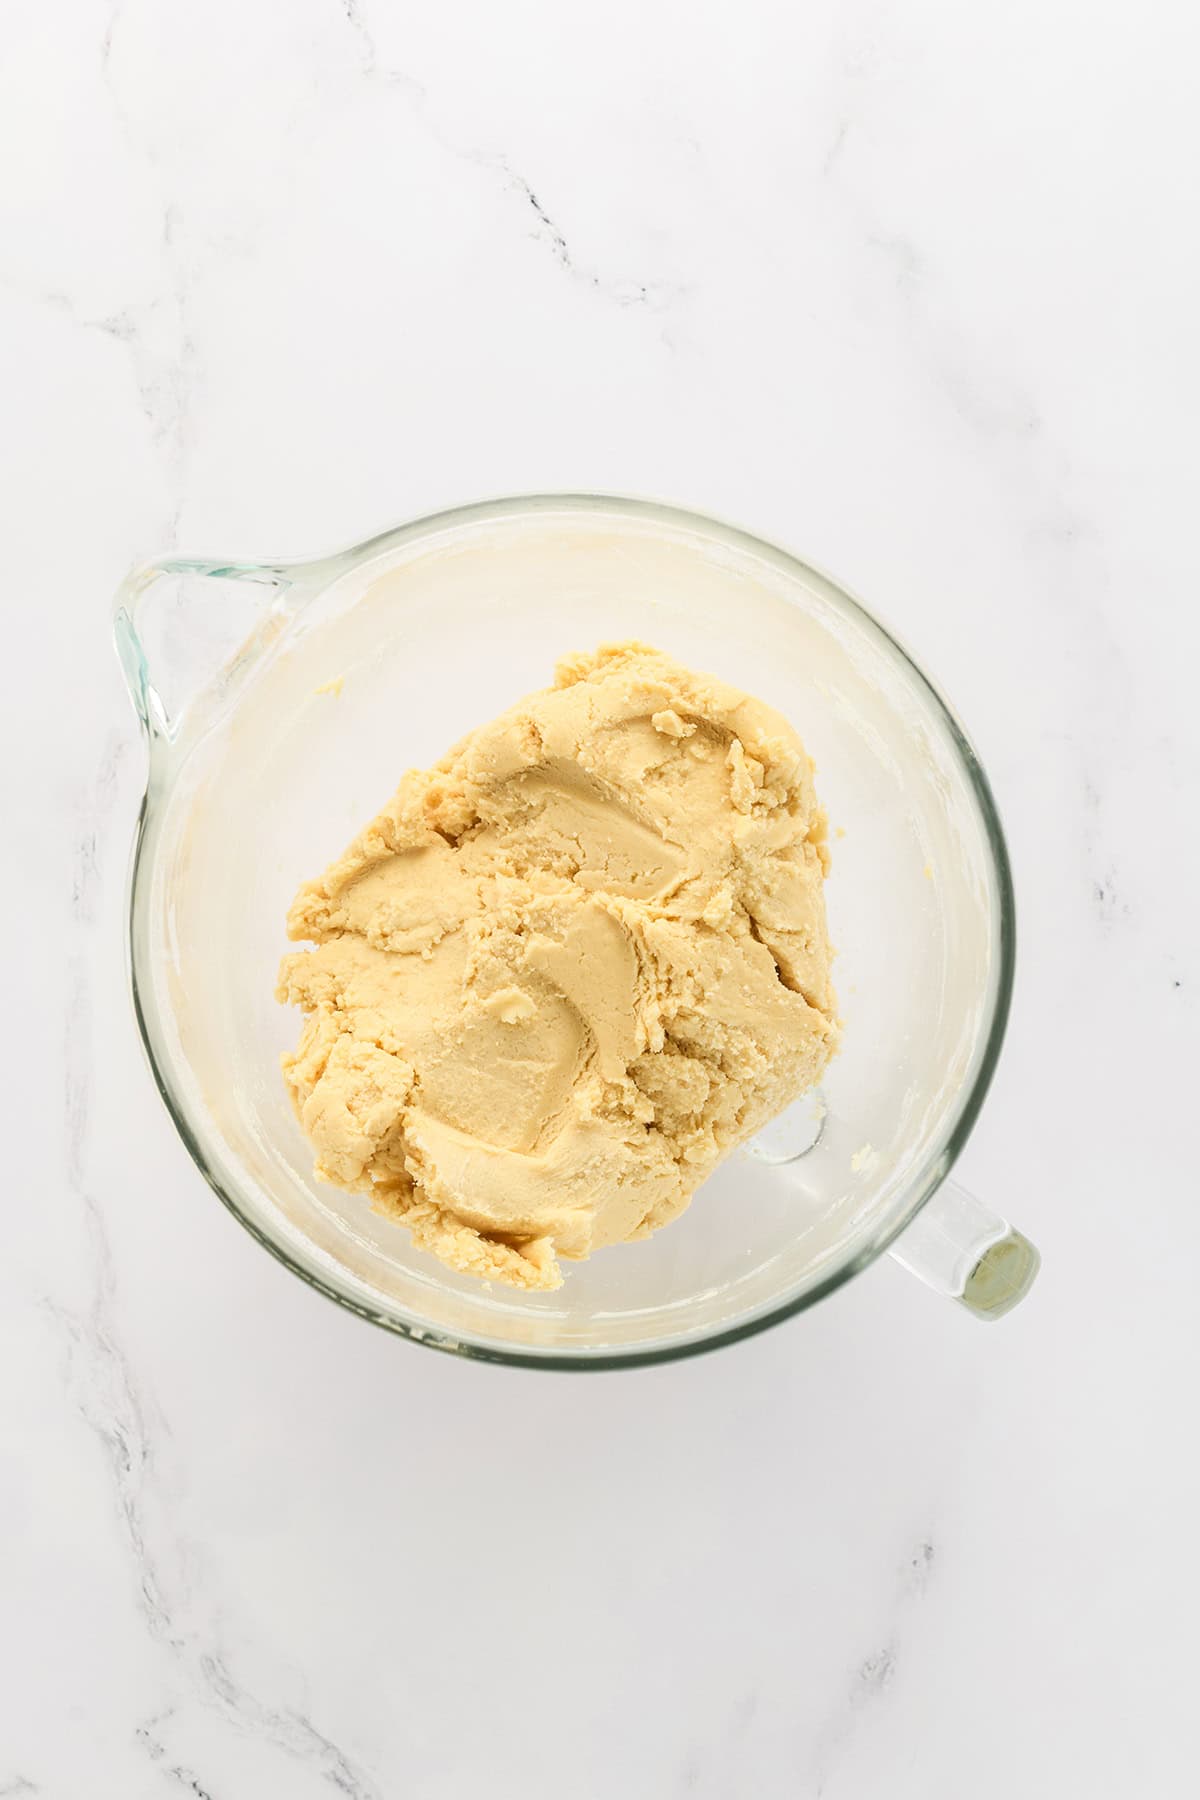
- Alternate adding the dry ingredients with the coffee–buttermilk mixture
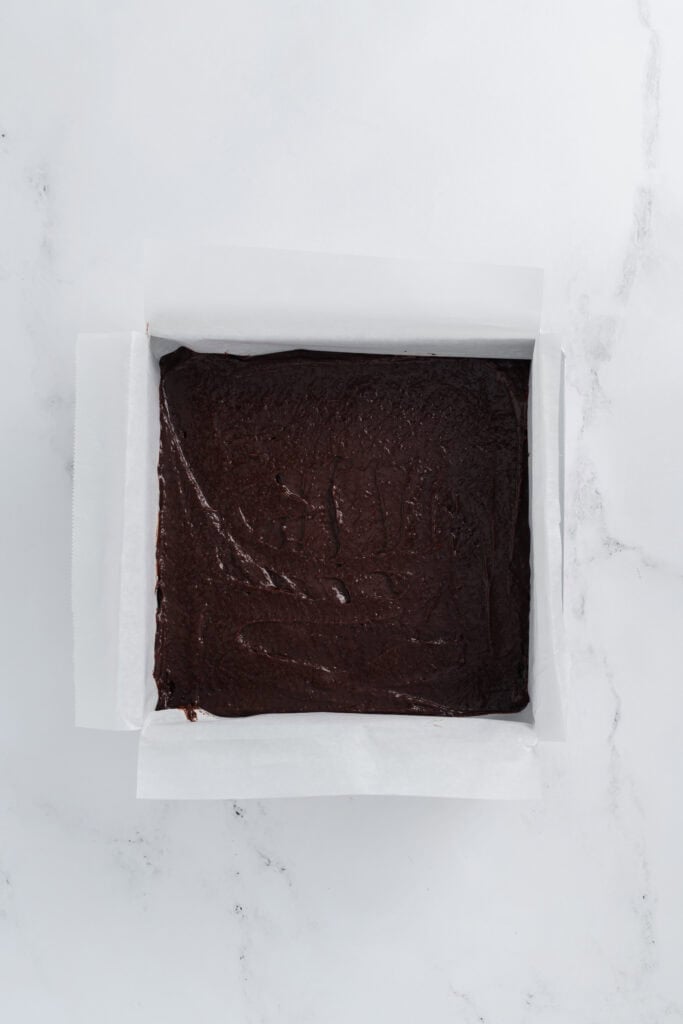
- Bake until set and cool before glazing
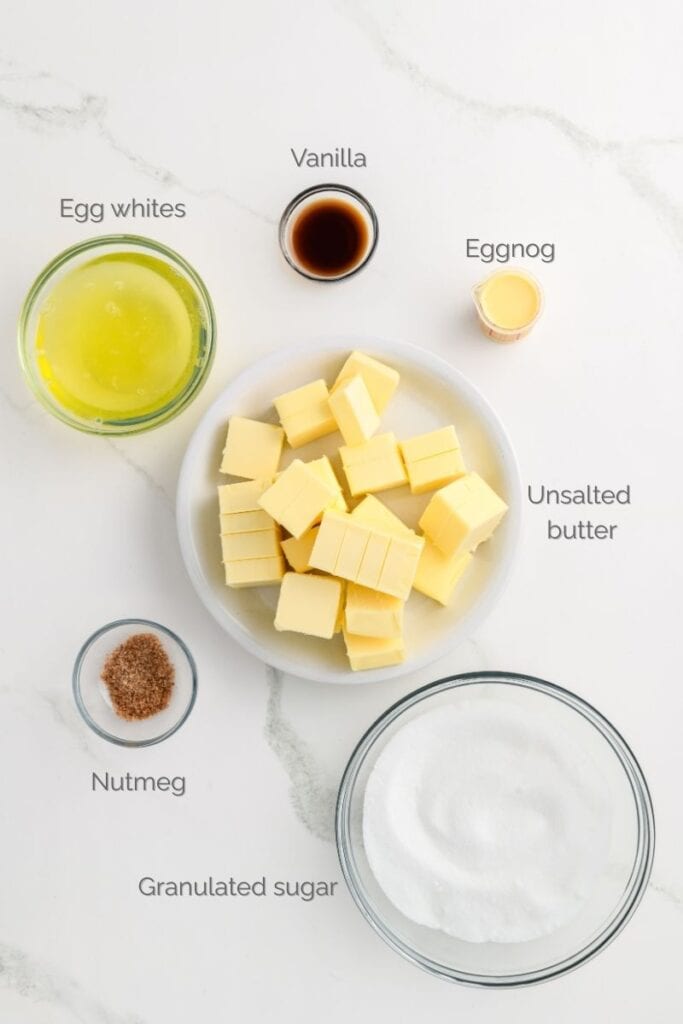
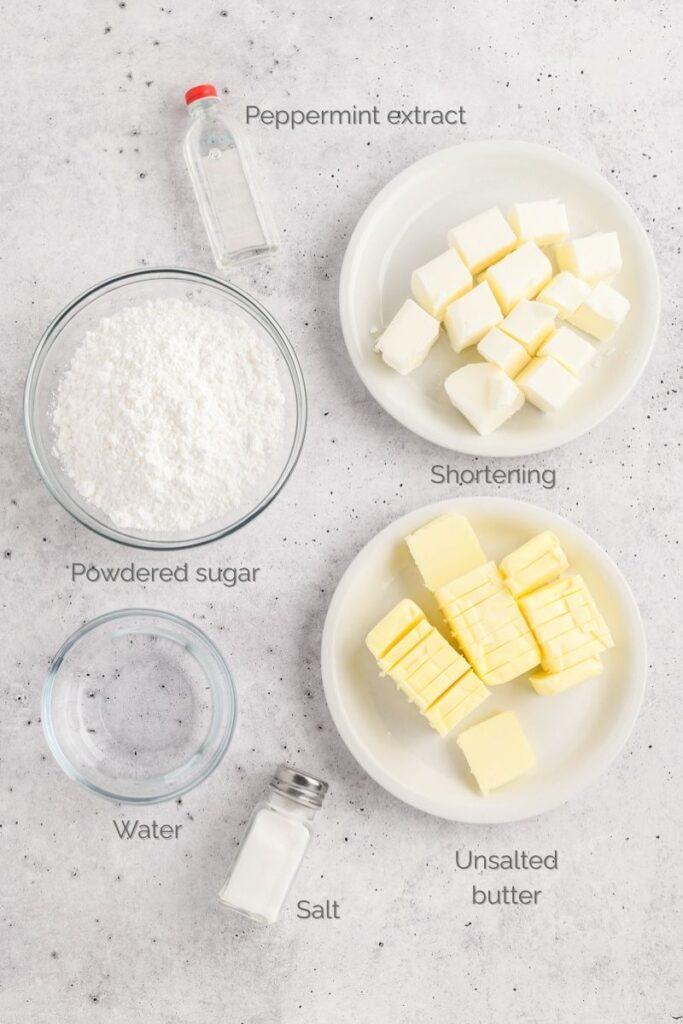
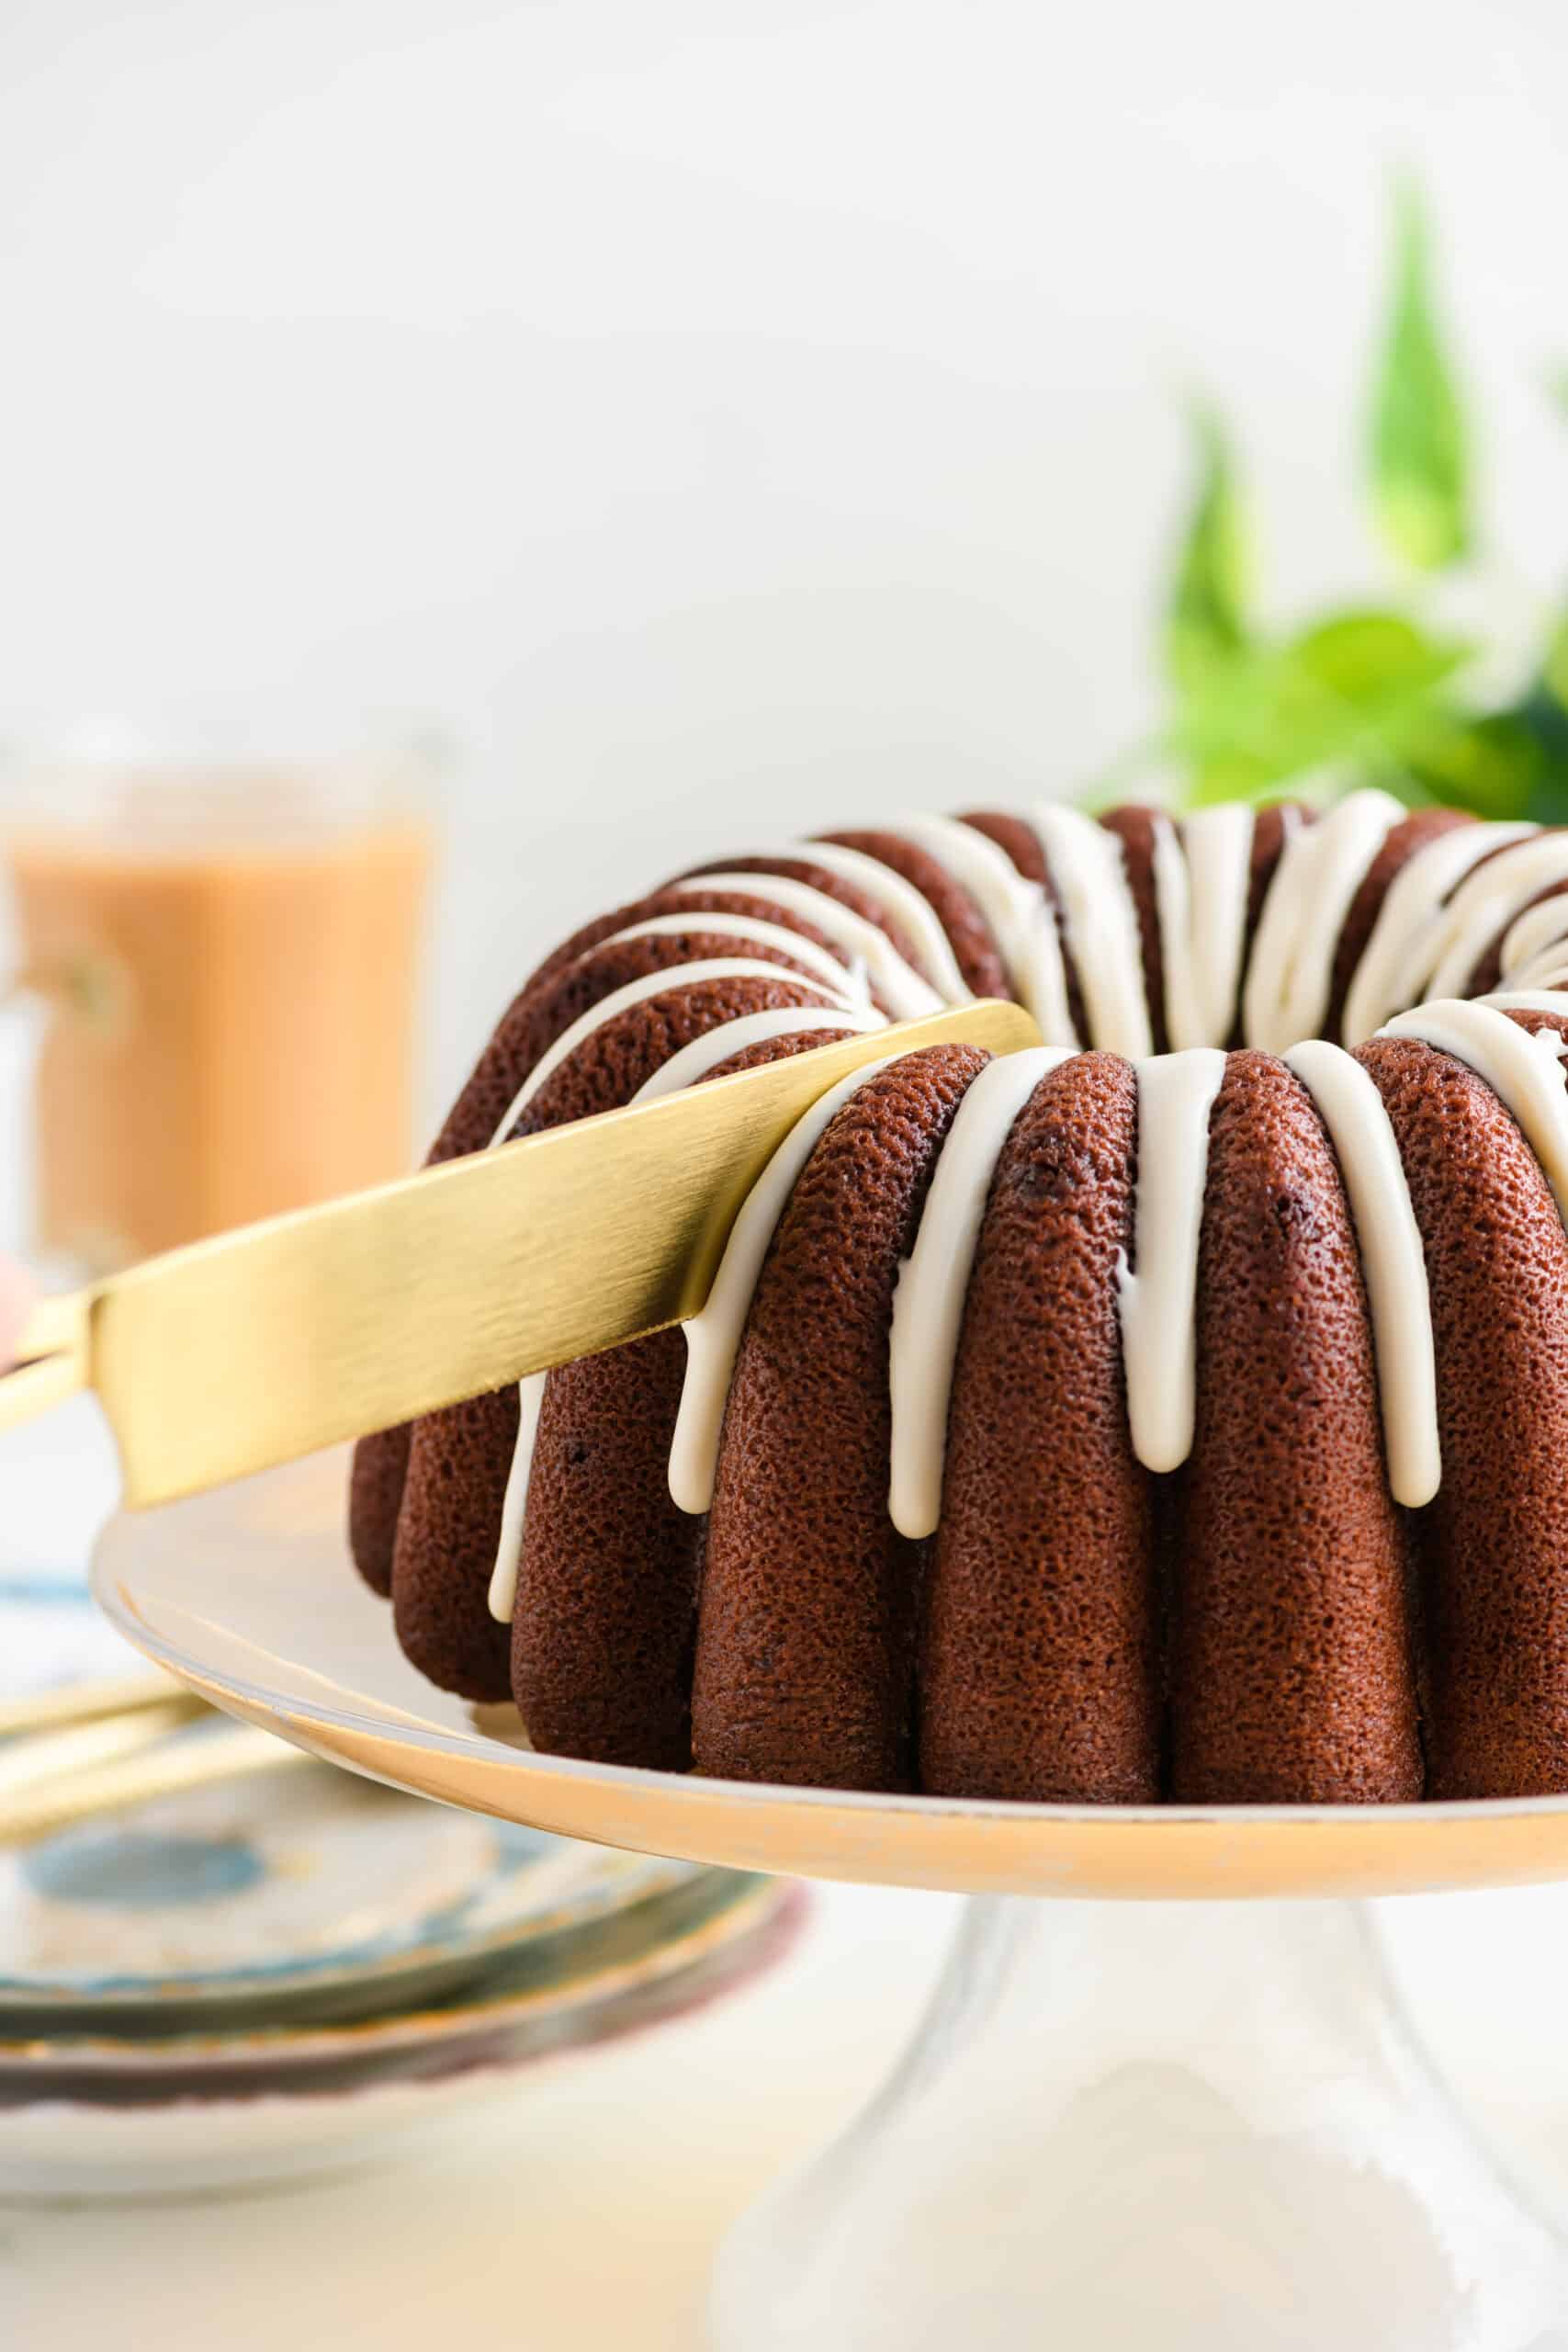
Optional Vanilla Drizzle
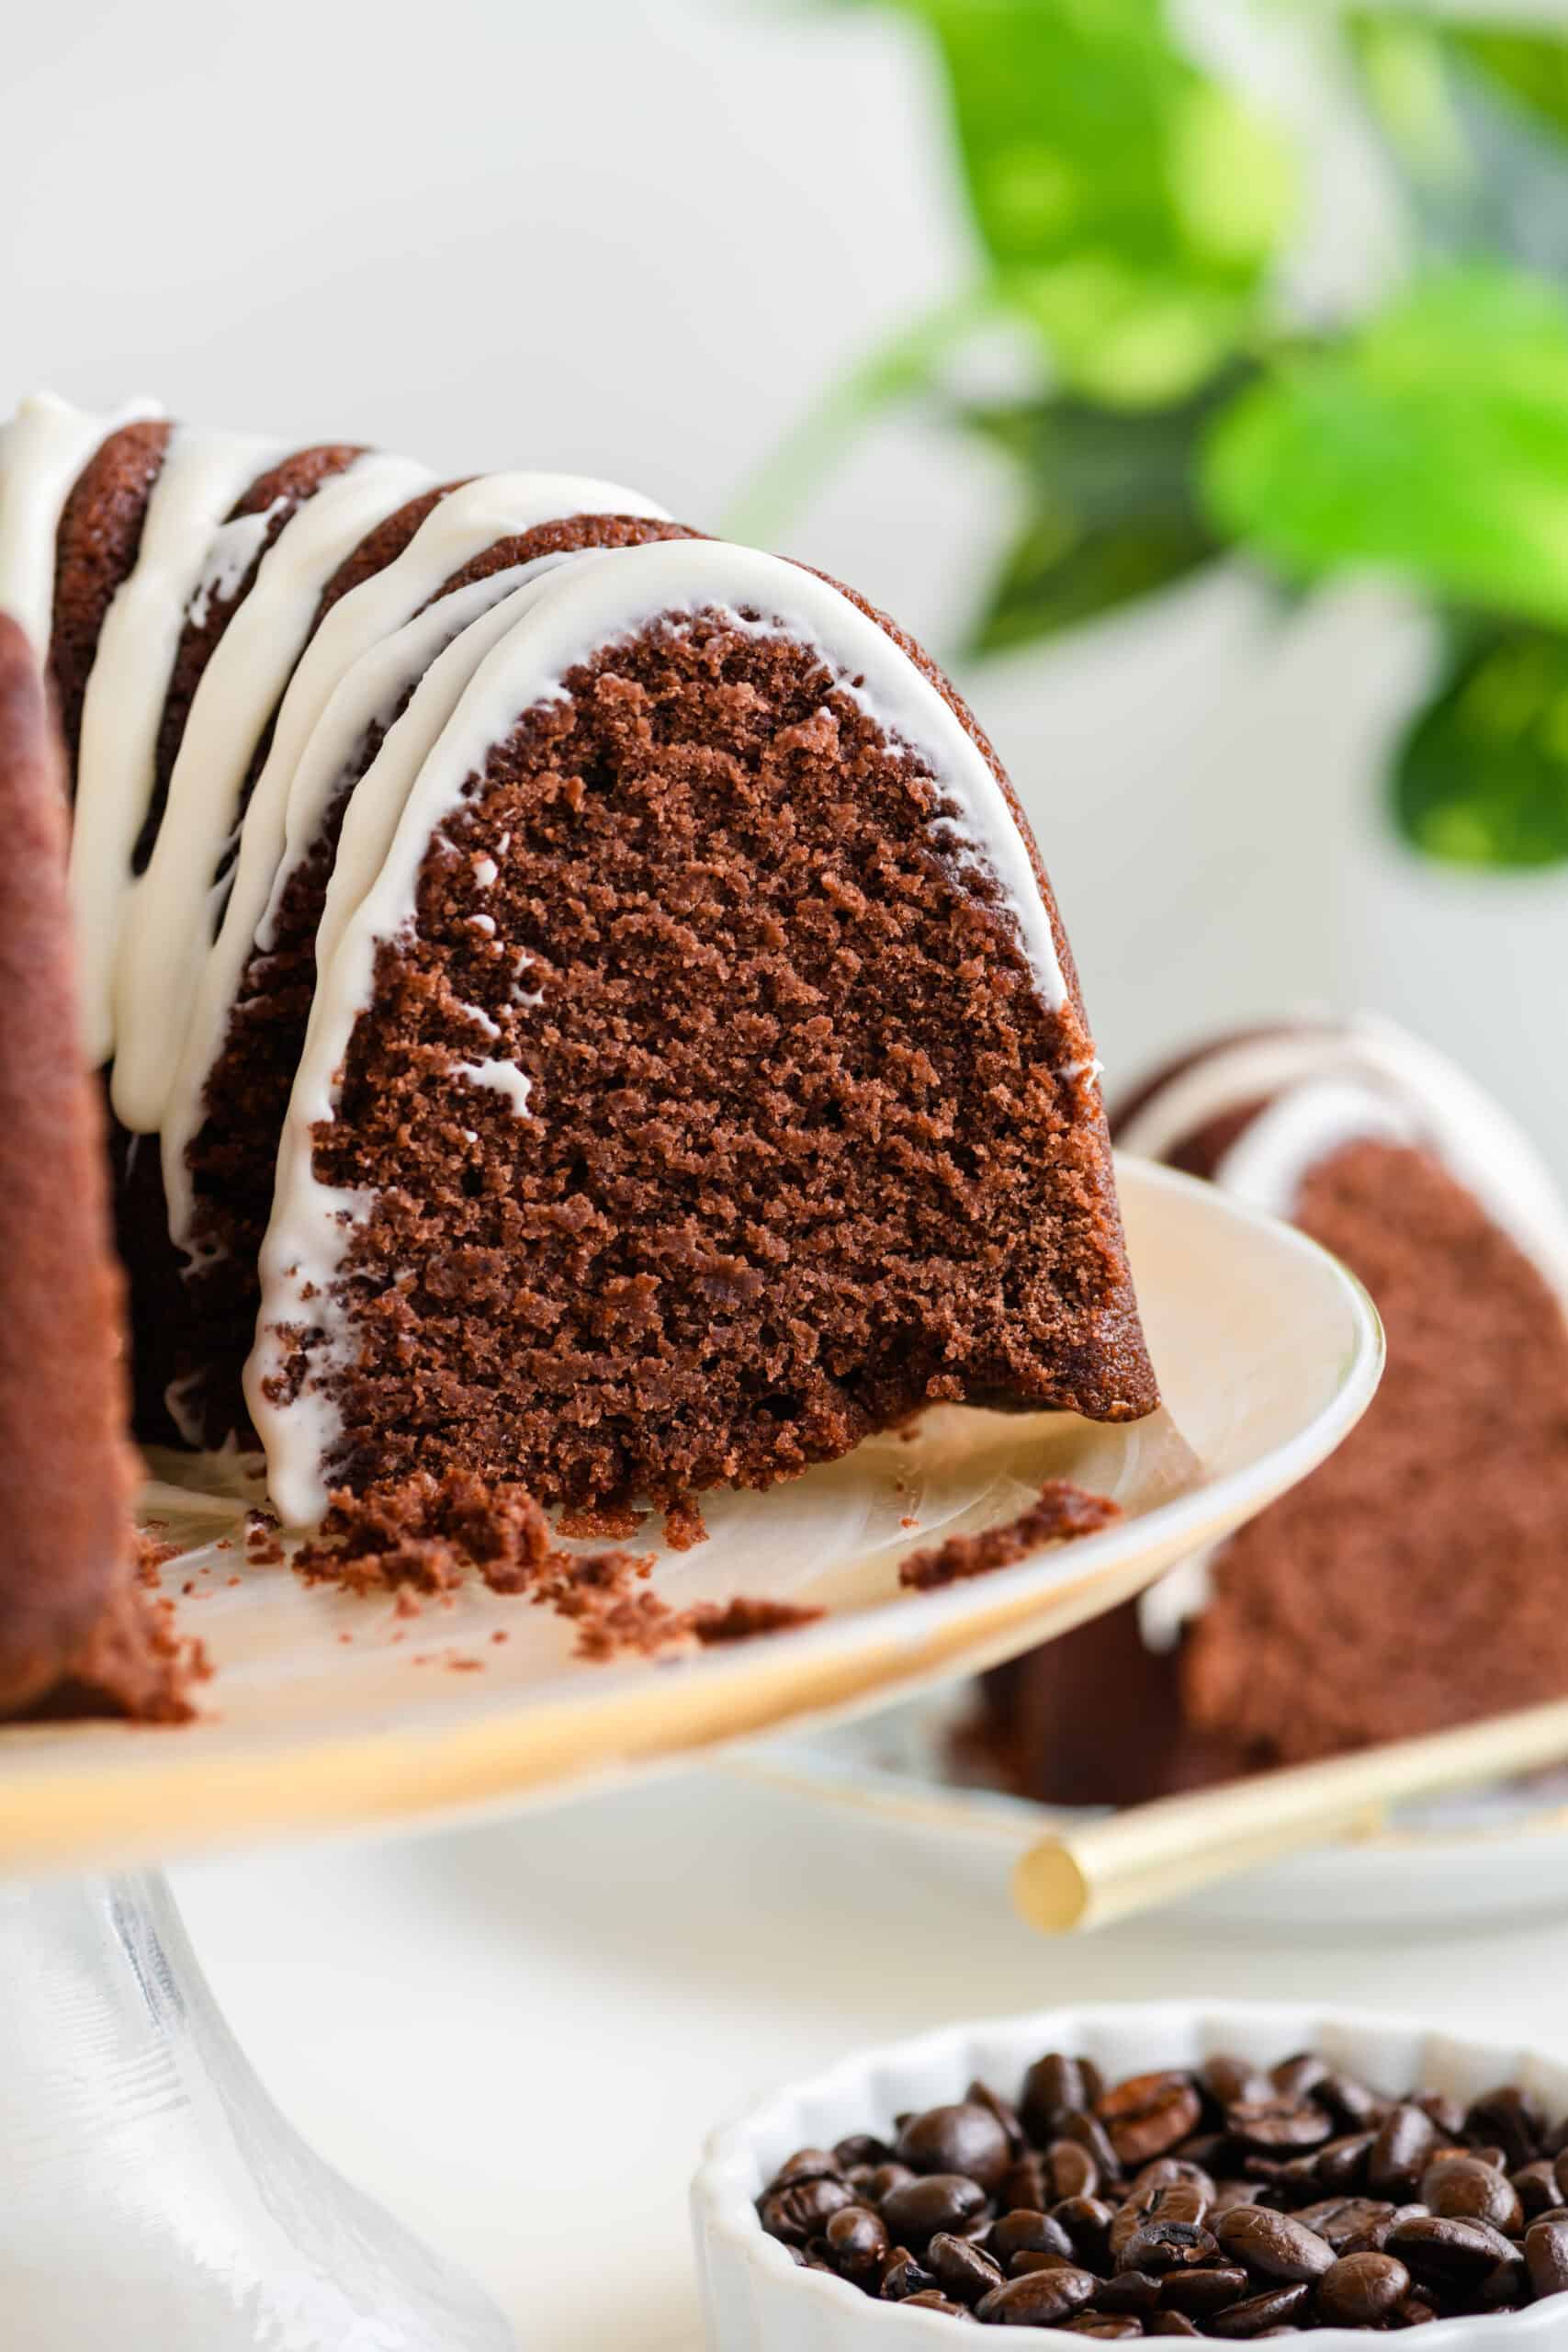
This simple vanilla drizzle adds just the right amount of sweetness and is meant to be lightly piped or drizzled over the cake for a clean, classic finish.
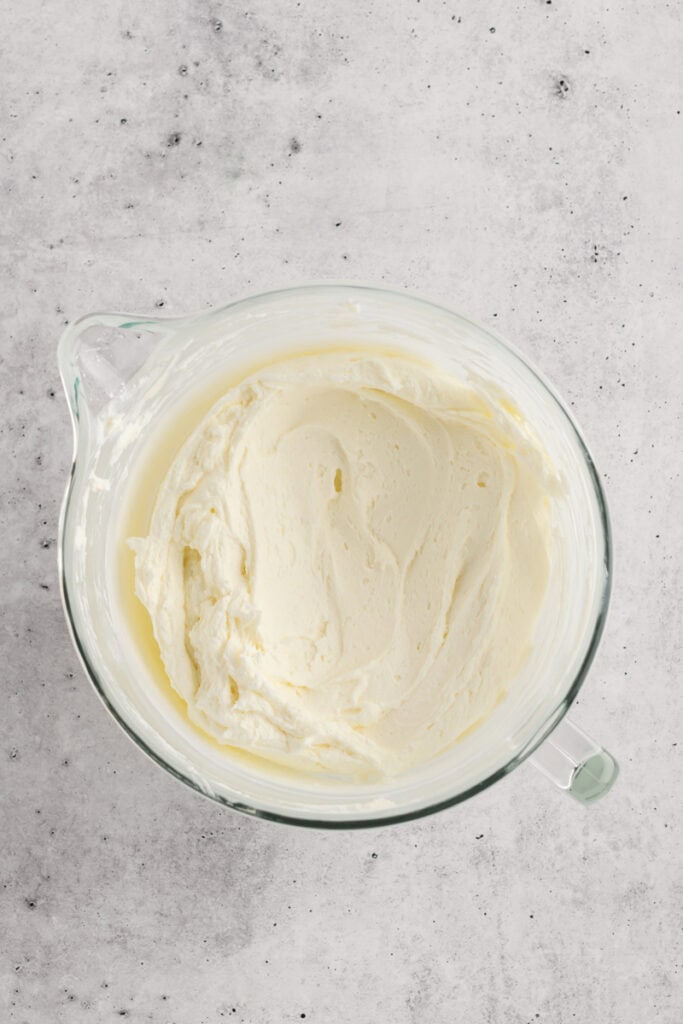
- In a small bowl, stir together the powdered sugar, heavy cream, and vanilla extract until smooth.
- Adjust the consistency with additional cream if needed—the drizzle should be thick but pipeable.
- Transfer to a piping bag with a small snipped tip or a measuring cup with a pour spout.
- Pipe or drizzle over the cooled cake and let set for about 10 minutes before serving.
Tip: Make the drizzle right before serving, as it will firm up as it sits.
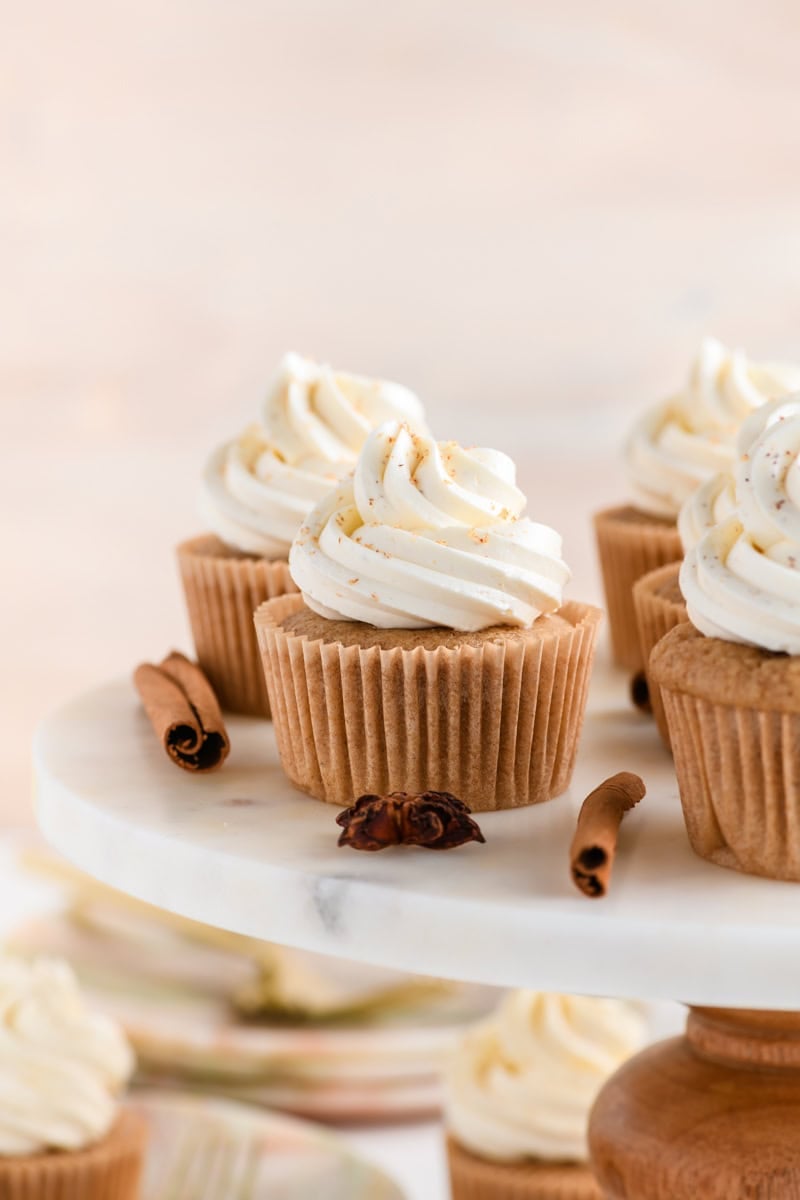
Serving & Storage Tips
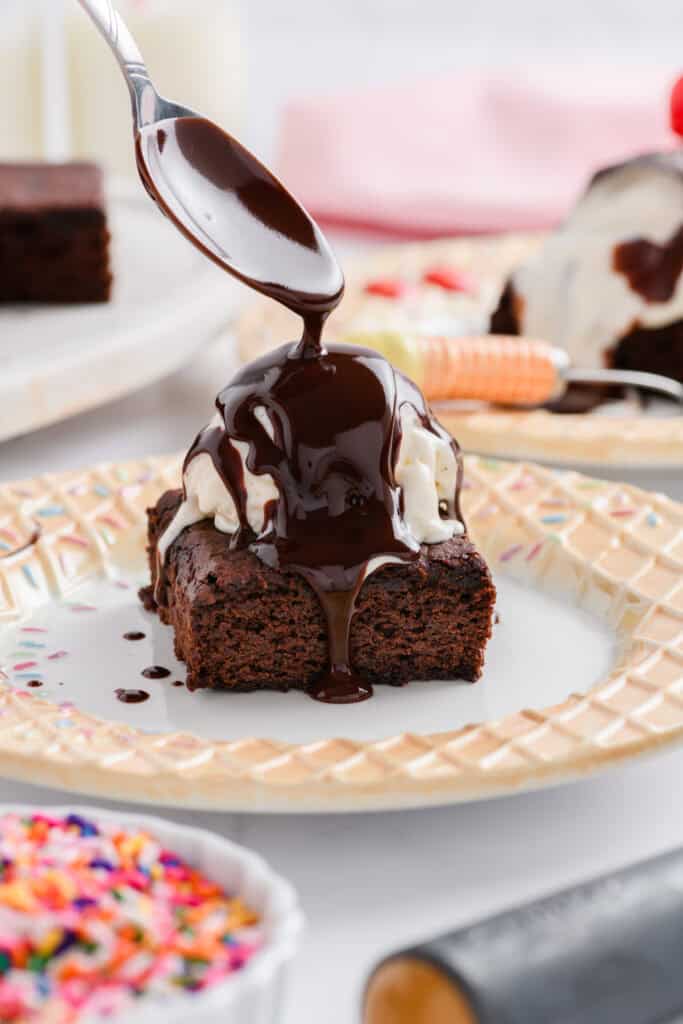
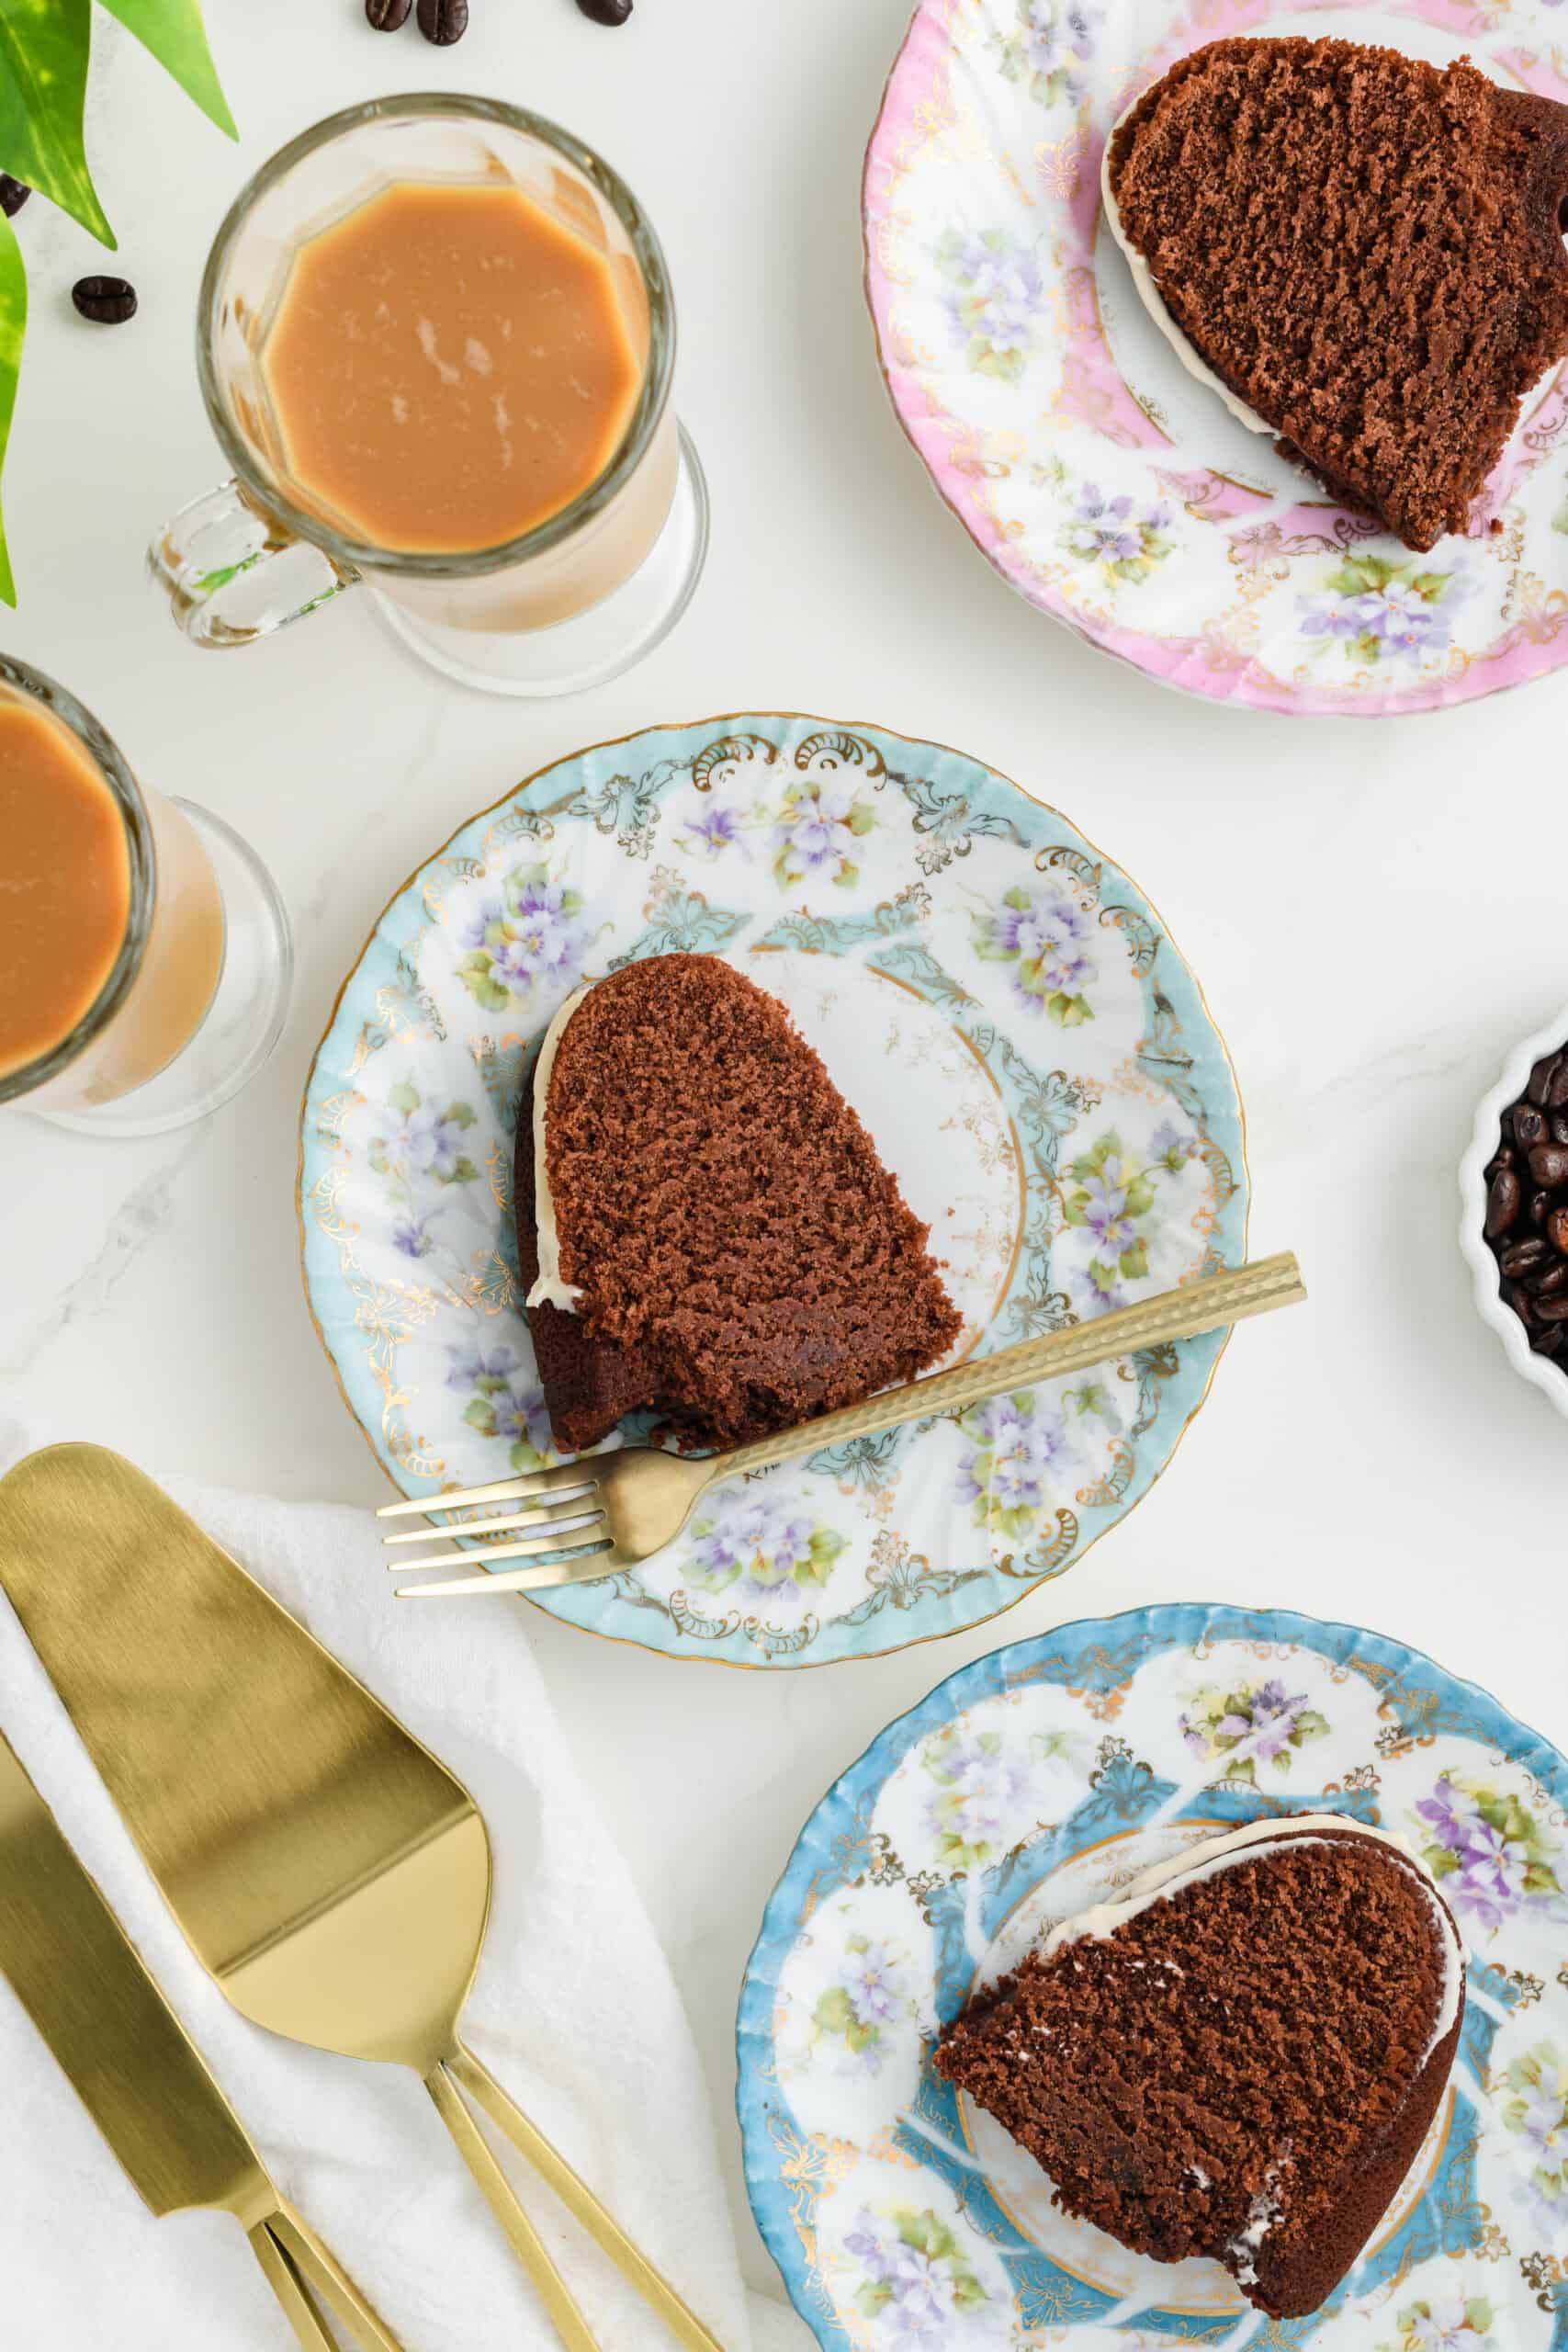
- Serve slightly warm or at room temperature
- Pairs perfectly with coffee or espresso
- Store covered at room temperature for up to 2 days, or refrigerate for up to 5 days
- This cake freezes well (unglazed) for up to 2 months
FAQs
No, coffee simply enhances the chocolate flavor without tasting like coffee.
Yes, a hand mixer will work, but be sure to mix thoroughly for proper structure.
Absolutely. The cake is delicious on its own and perfect for everyday snacking.
It’s a more balanced take on chocolate cake, less sweet, thoughtfully structured, and made to feel good about enjoying a slice.
This recipe is developed specifically for Dutch-process cocoa powder. Natural cocoa powder is more acidic and will not give the same flavor or structure. For best results, stick with Dutch-process cocoa.
Final Thoughts
This Healthier Chocolate Coffee Cake is one of those recipes that quietly becomes a staple. It’s dependable, deeply chocolatey, and versatile enough for casual afternoons or dressed-up gatherings. If you’re looking for a cake that feels both comforting and intentional, this one deserves a spot in your baking rotation.
Happy baking,
The Cake Chica
Let's Connect
Want more behind-the-scenes peeks, recipe drops, and food photography inspo? Come hang out with me on Instagram, Pinterest, Facebook and more. I’d love to connect with you there!
Suggested Recipes

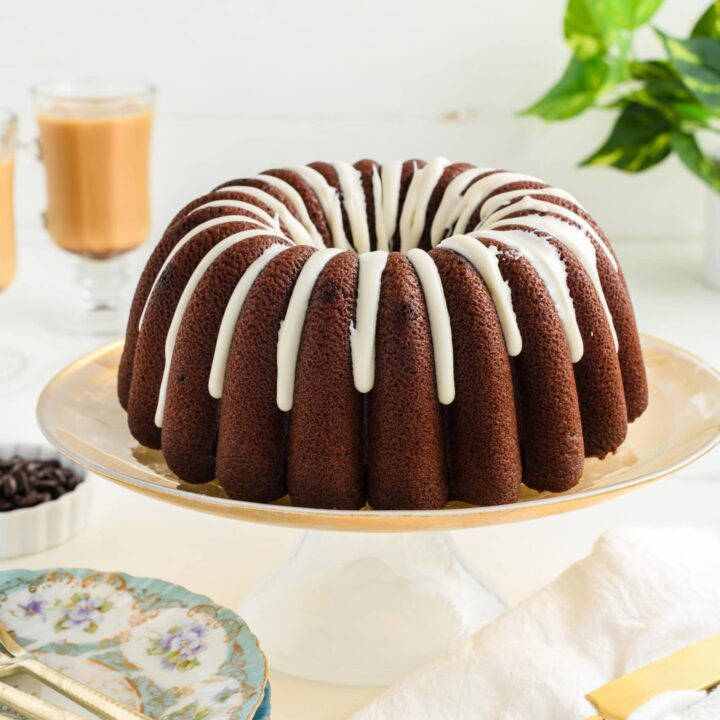
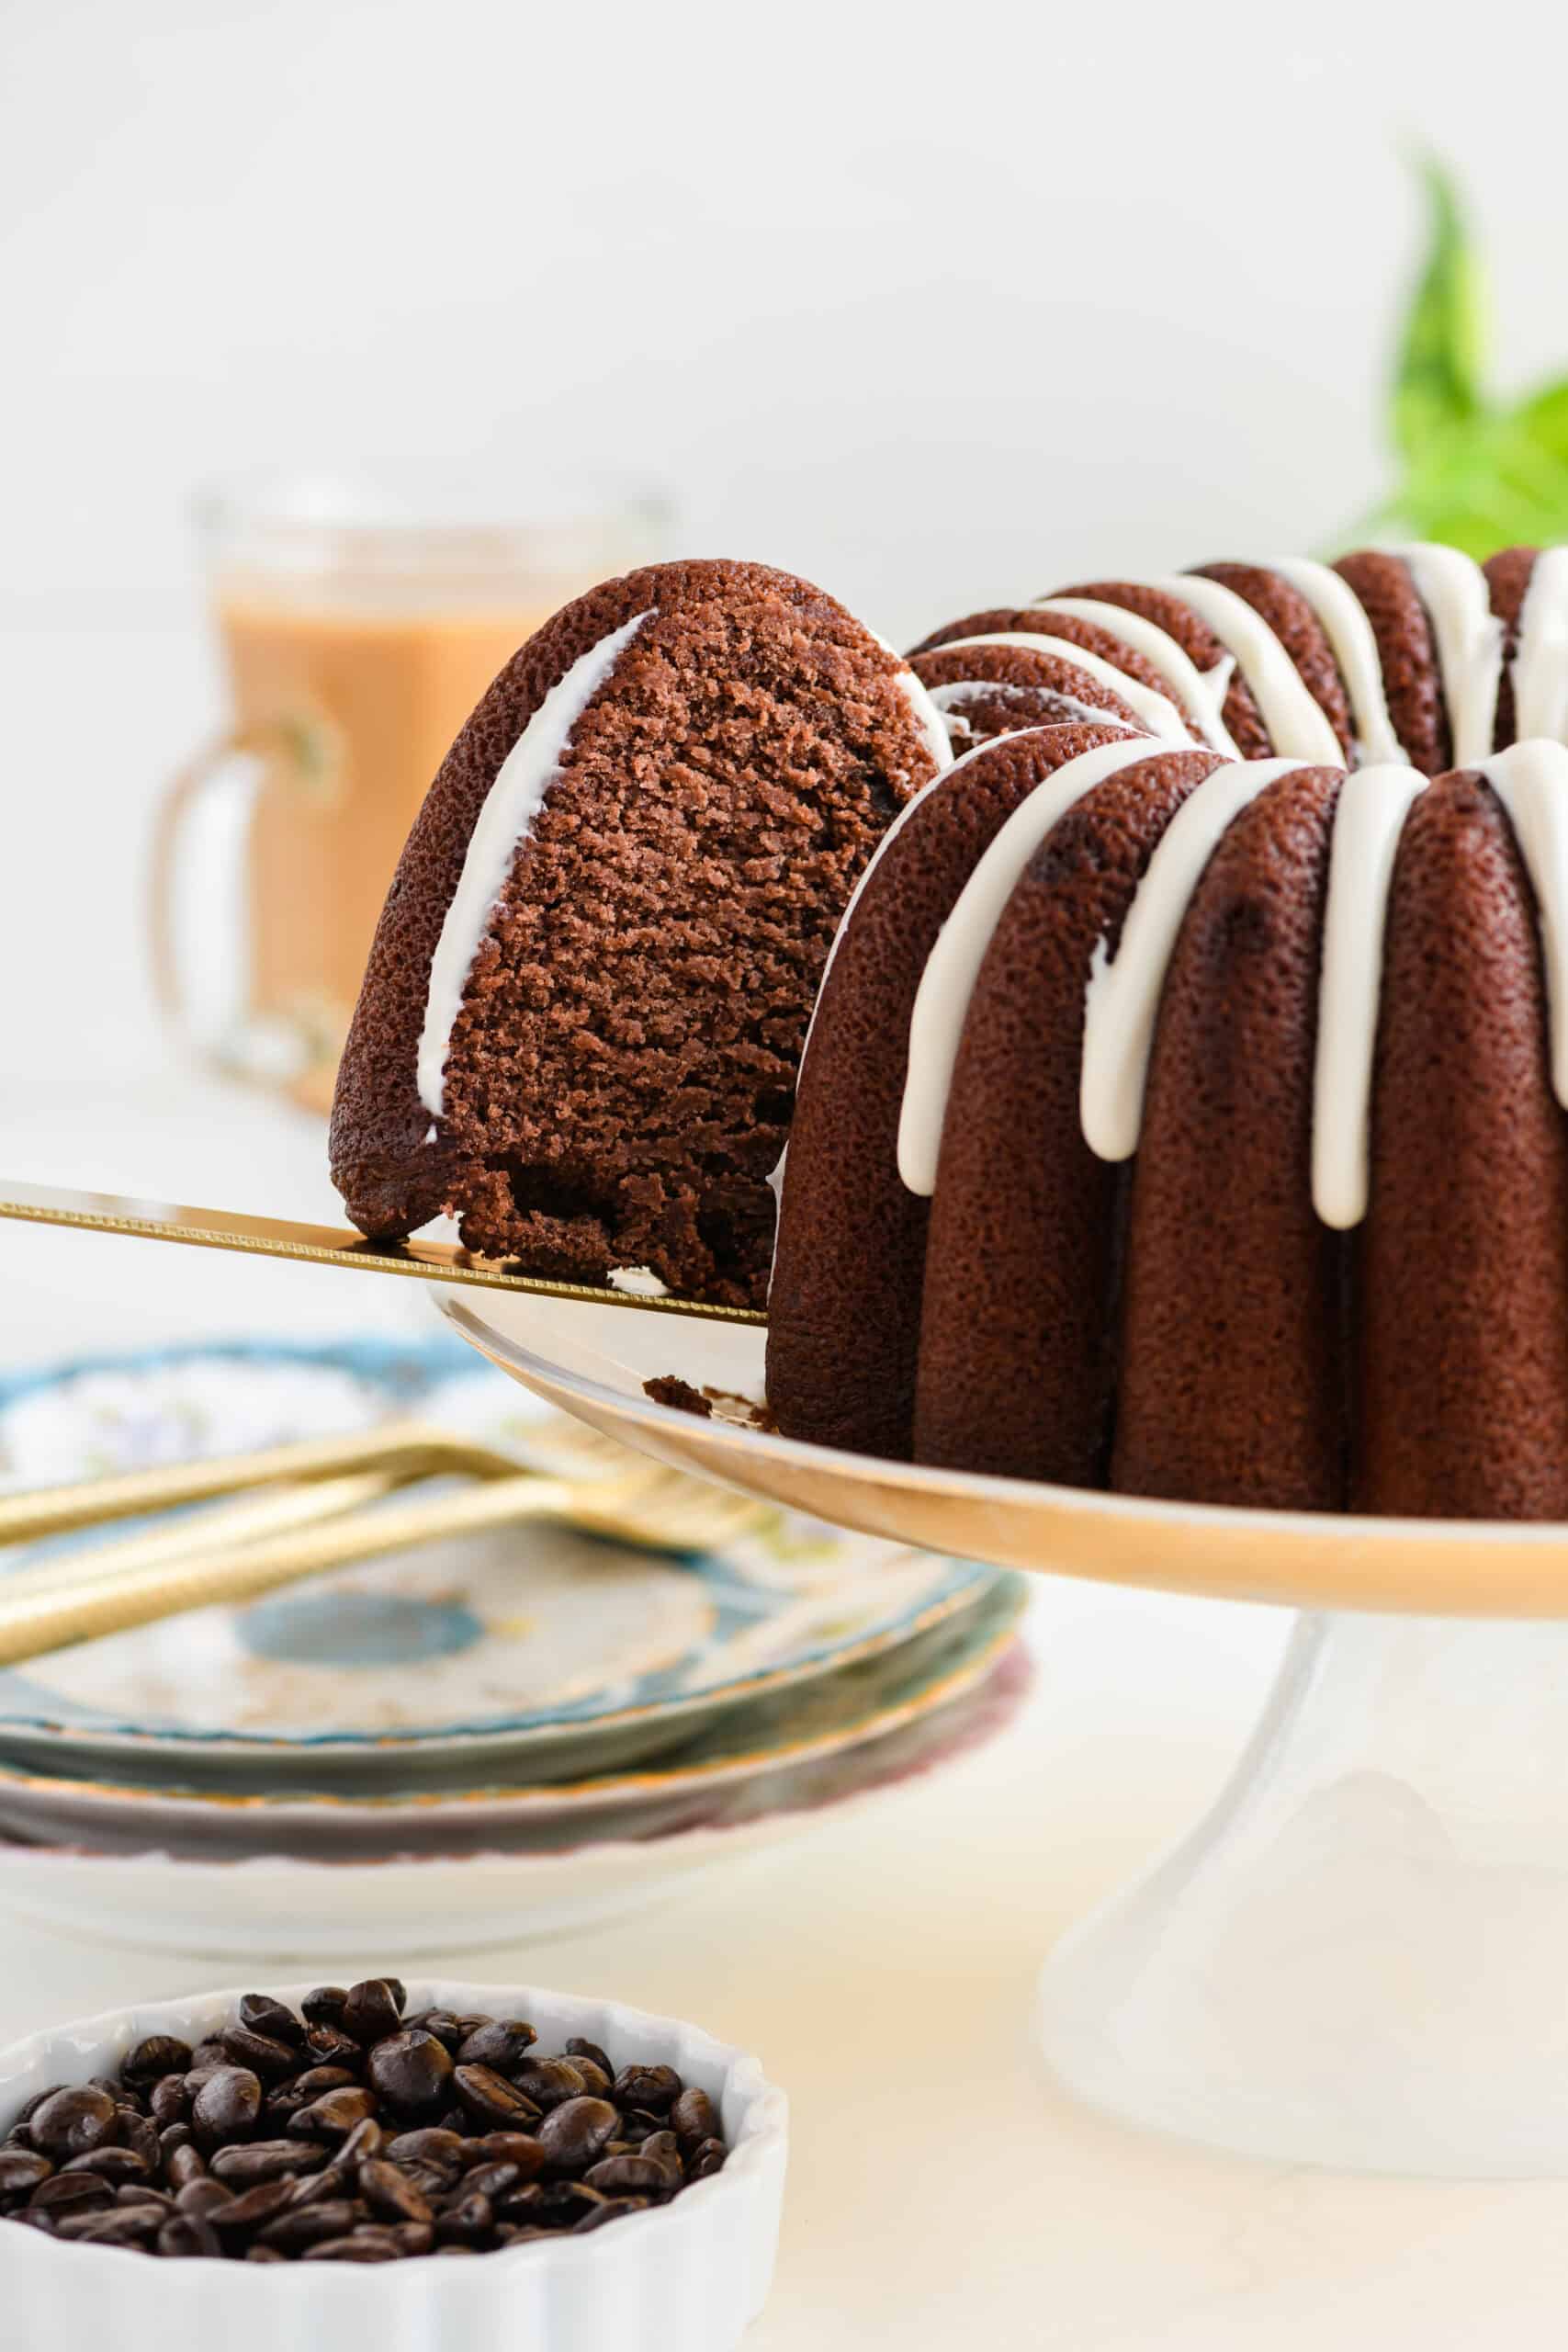
Healthier Chocolate Coffee Cake
This Healthier Chocolate Coffee Cake is deeply chocolatey, perfectly moist, and subtly enhanced with coffee to bring out the cocoa flavor. Baked in a Bundt pan and finished with a simple vanilla drizzle, it’s a balanced, everyday cake that feels just indulgent enough.
Ingredients
SPECIAL TOOLS
- 10-inch bundt pan
- Baking spray
- Stand mixer
CAKE
- 3 cups (15 ounces/426 grams) all-purpose flour
- ½ cup (1.5 ounces/42.5 grams) alkalized Dutch-process cocoa powder
- 1 ½ teaspoons baking powder
- ¼ teaspoon salt
- 8 tablespoons unsalted butter, softened
- 1 ½ cups (10.5 ounces/297 grams) granulated sugar
- ¾ cup (5.25 ounces/148.5 grams) dark brown sugar
- 3 large egg whites
- 2 large eggs
- 1 ½ buttermilk
- 2/3 cup cold coffee
GLAZE (OPTIONAL)
- 1 cup (4 ounces/113 grams) powdered sugar, sifted
- ¼ cup heavy cream
- ½ teaspoon vanilla extract
Instructions
CAKE
- Set oven rack to the lower third position in the oven and heat to 350 degrees. Coat a 10-inch tube or Bundt pan with baking spray and set aside.
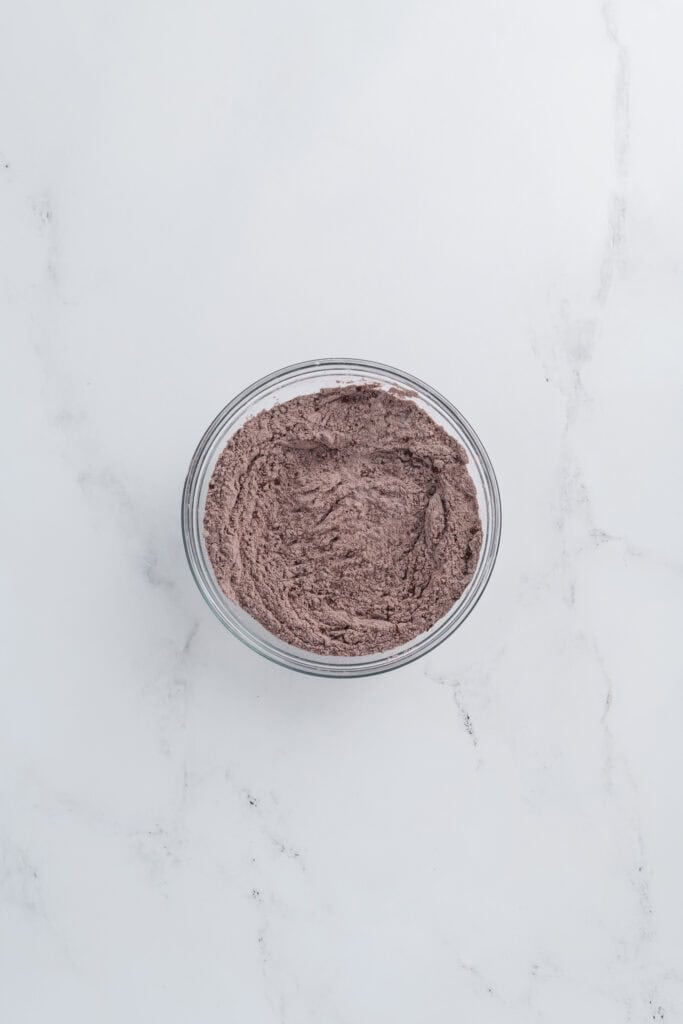
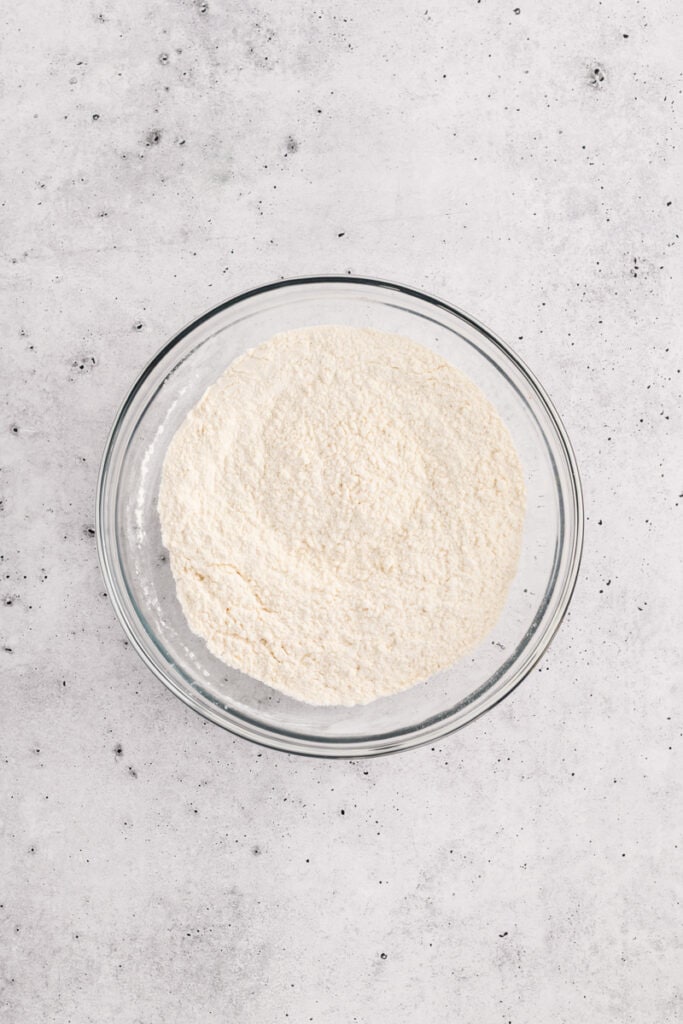
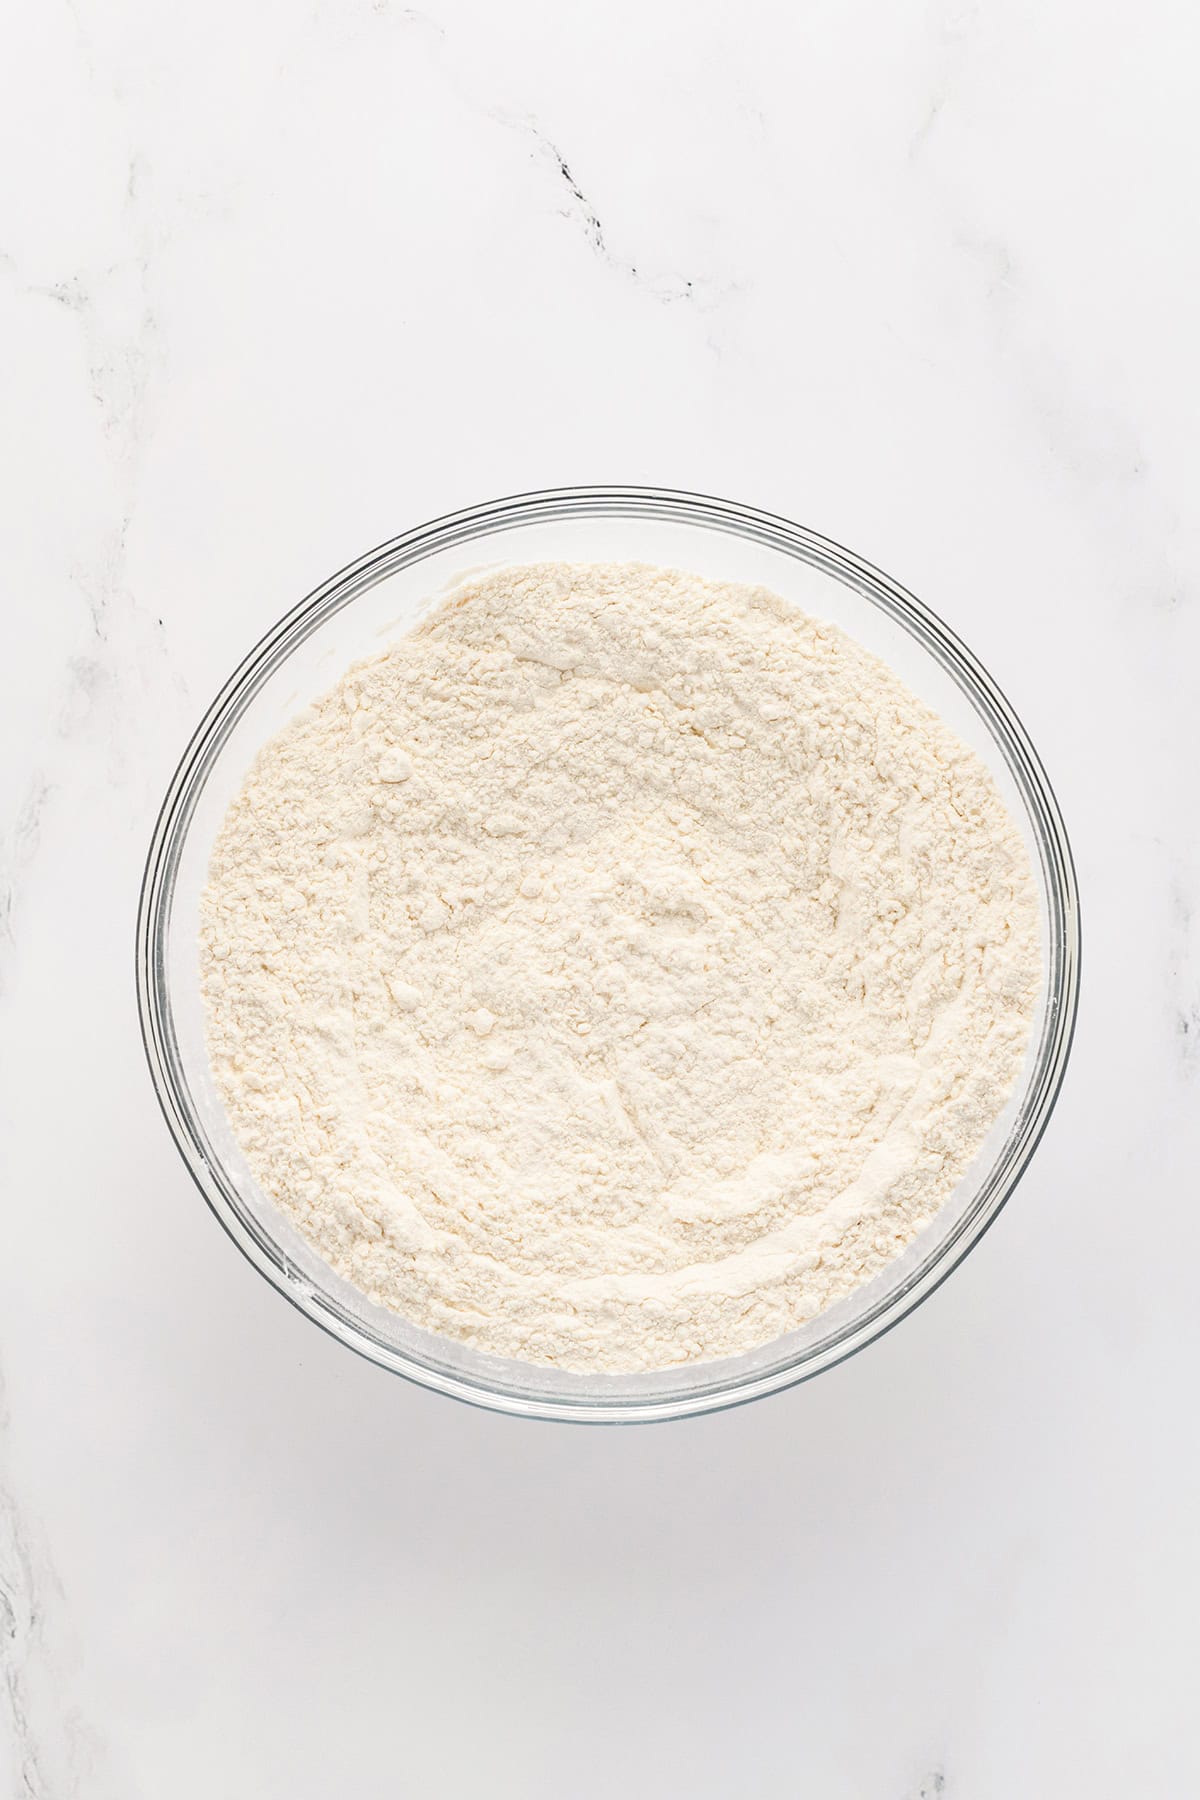
- In a medium-sized mixing bowl, sift the flour, cocoa, baking powder, and salt. Whisk to combine.
- In the bowl of an electric stand mixer, fitted with the paddle attachment, beat butter, granulated sugar and brown sugar together until well combined on medium speed for about 2 minutes. Beat in the egg whites and the eggs, one at a time. Scrape down the sides of the bowl as necessary.
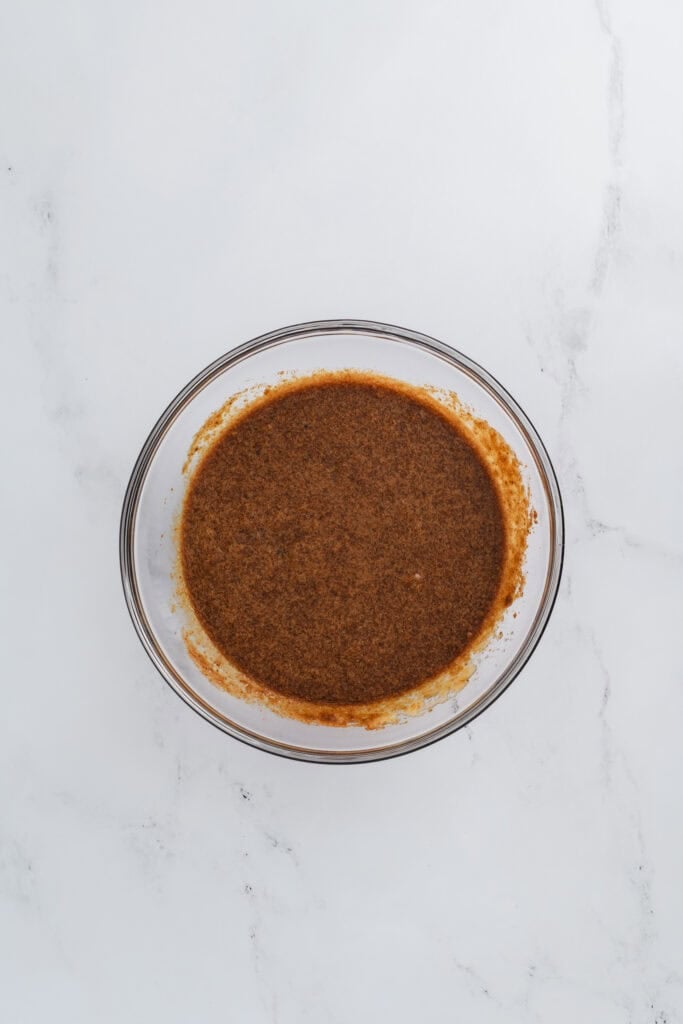
- Whisk together the buttermilk and coffee in a large measuring cup with a pour spout.
- Beat a third of the dry ingredients into the batter on low speed, and then beat in half the coffee-buttermilk mixture. Continue beating until the coffee-buttermilk mixture is absorbed. Then repeat with another third of the dry ingredients and the remaining coffee-buttermilk mixture. Scrape down the bowl and bowl as necessary. And finish with the remaining dry ingredients. Beat batter for about 3 minutes on medium speed.
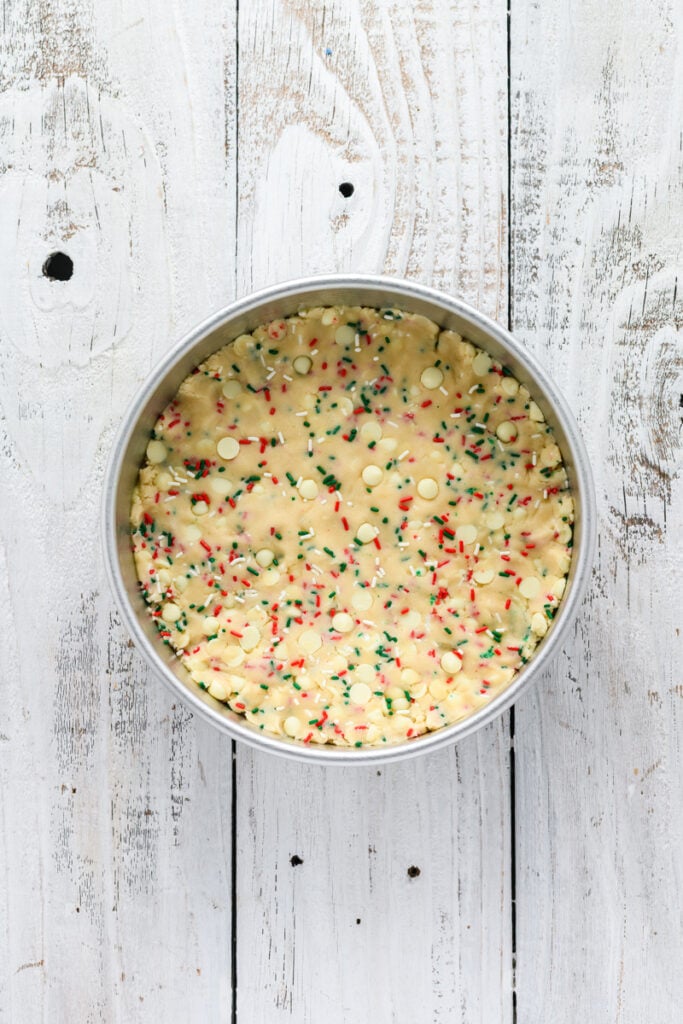
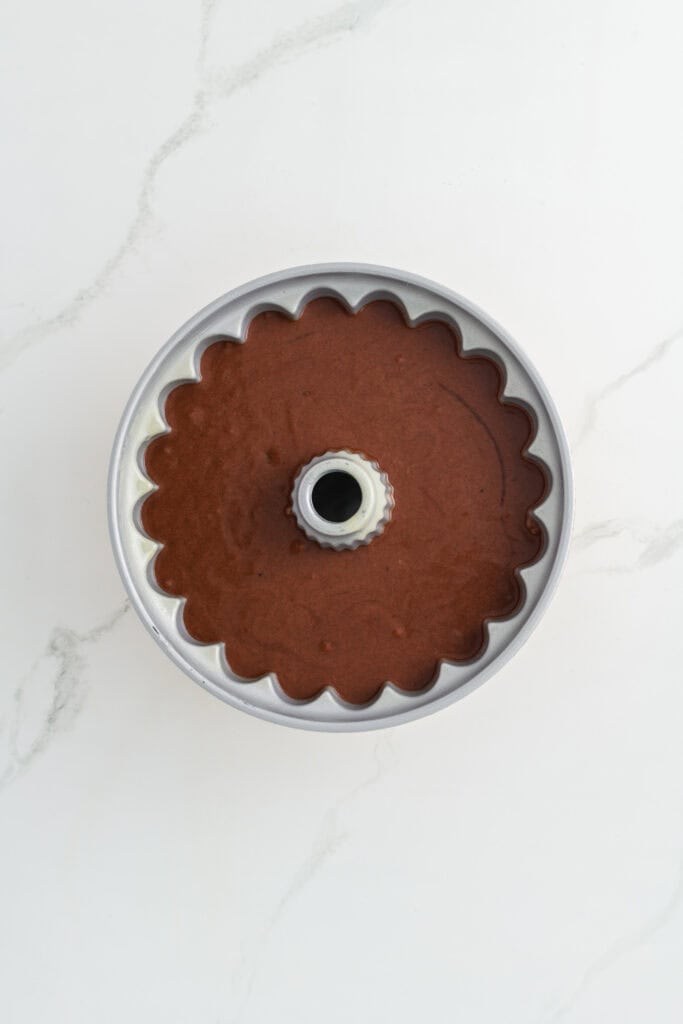
- Pour the batter into the prepared pan and smooth the top with a rubber spatula.
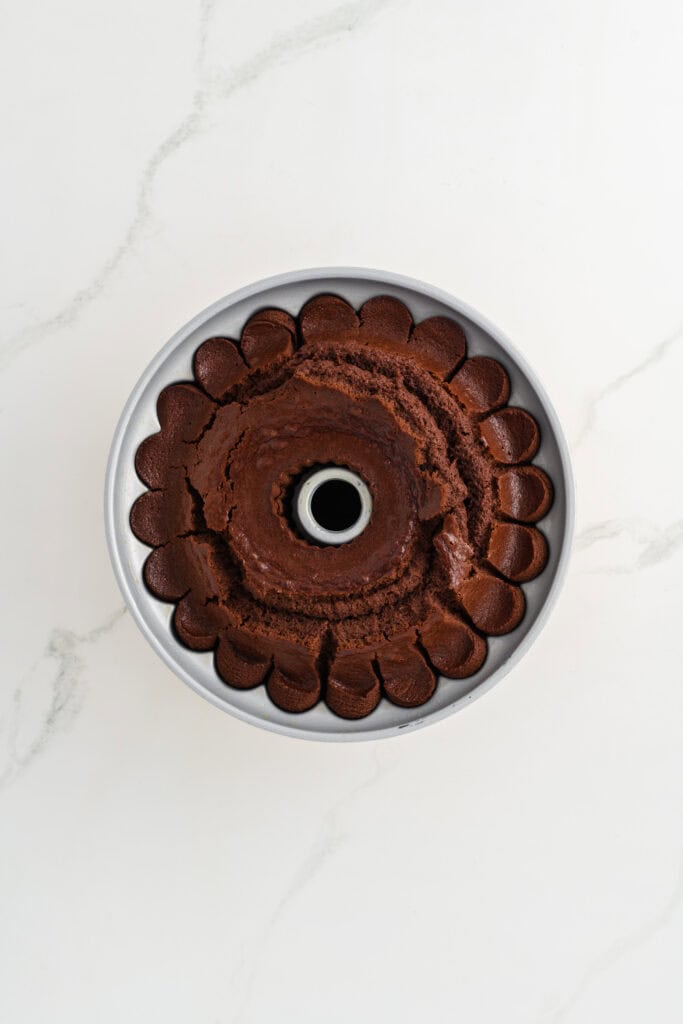
- Bake for 50 to 60 minutes, or until a toothpick inserted in the middle of the cake comes out clean or with a few moist crumbs.
- Cool in the pan for 10chat minutes, and then invert the cake on a cooling rack to cool completely.
GLAZE
- In a small bowl, combine all ingredients and stir vigorously with a rubber spatula until smooth. Adding more cream if necessary.
- Pour the glaze into a measuring cup with a pour spout or a piping bag and snip a tiny hole on the bottom corner. Drizzle the glaze onto the cake and let sit for 10 minutes before serving. Be sure to make this glaze right before serving as the glaze will harden as it stands.
Notes
STORAGE: Store covered at room temperature for up to 2 days or refrigerate for up to 5 days. Bring to room temperature before serving. Freeze unglazed cake for up to 2 months wrapped in plastic wrap, then wrapped in foil. Thaw at room temperature overnight before serving.
Nutrition Information:
Yield: 16 Serving Size: 1Amount Per Serving: Calories: 392Total Fat: 9gSaturated Fat: 5gUnsaturated Fat: 4gCholesterol: 44mgSodium: 119mgCarbohydrates: 68gFiber: 3gSugar: 28gProtein: 9g
*Nutrition information is an estimate and will vary.*
Adapted from Perfect Light Desserts and The Cake Cook