
Spring is my favorite season for baking layer cakes. With all the beautiful blooms and vibrant colors, there’s no shortage of inspiration. While flipping through one of my spring-themed baking cookbooks, Botanical Baking by Juliet Sear, I found just the spark I needed.
The cake, filling, and frosting are all my own creations, but the decoration for this Blooms and Brushstrokes Vanilla Strawberry Cake was inspired by the artistic beauty found in that book.
Why You'll Love This Cake
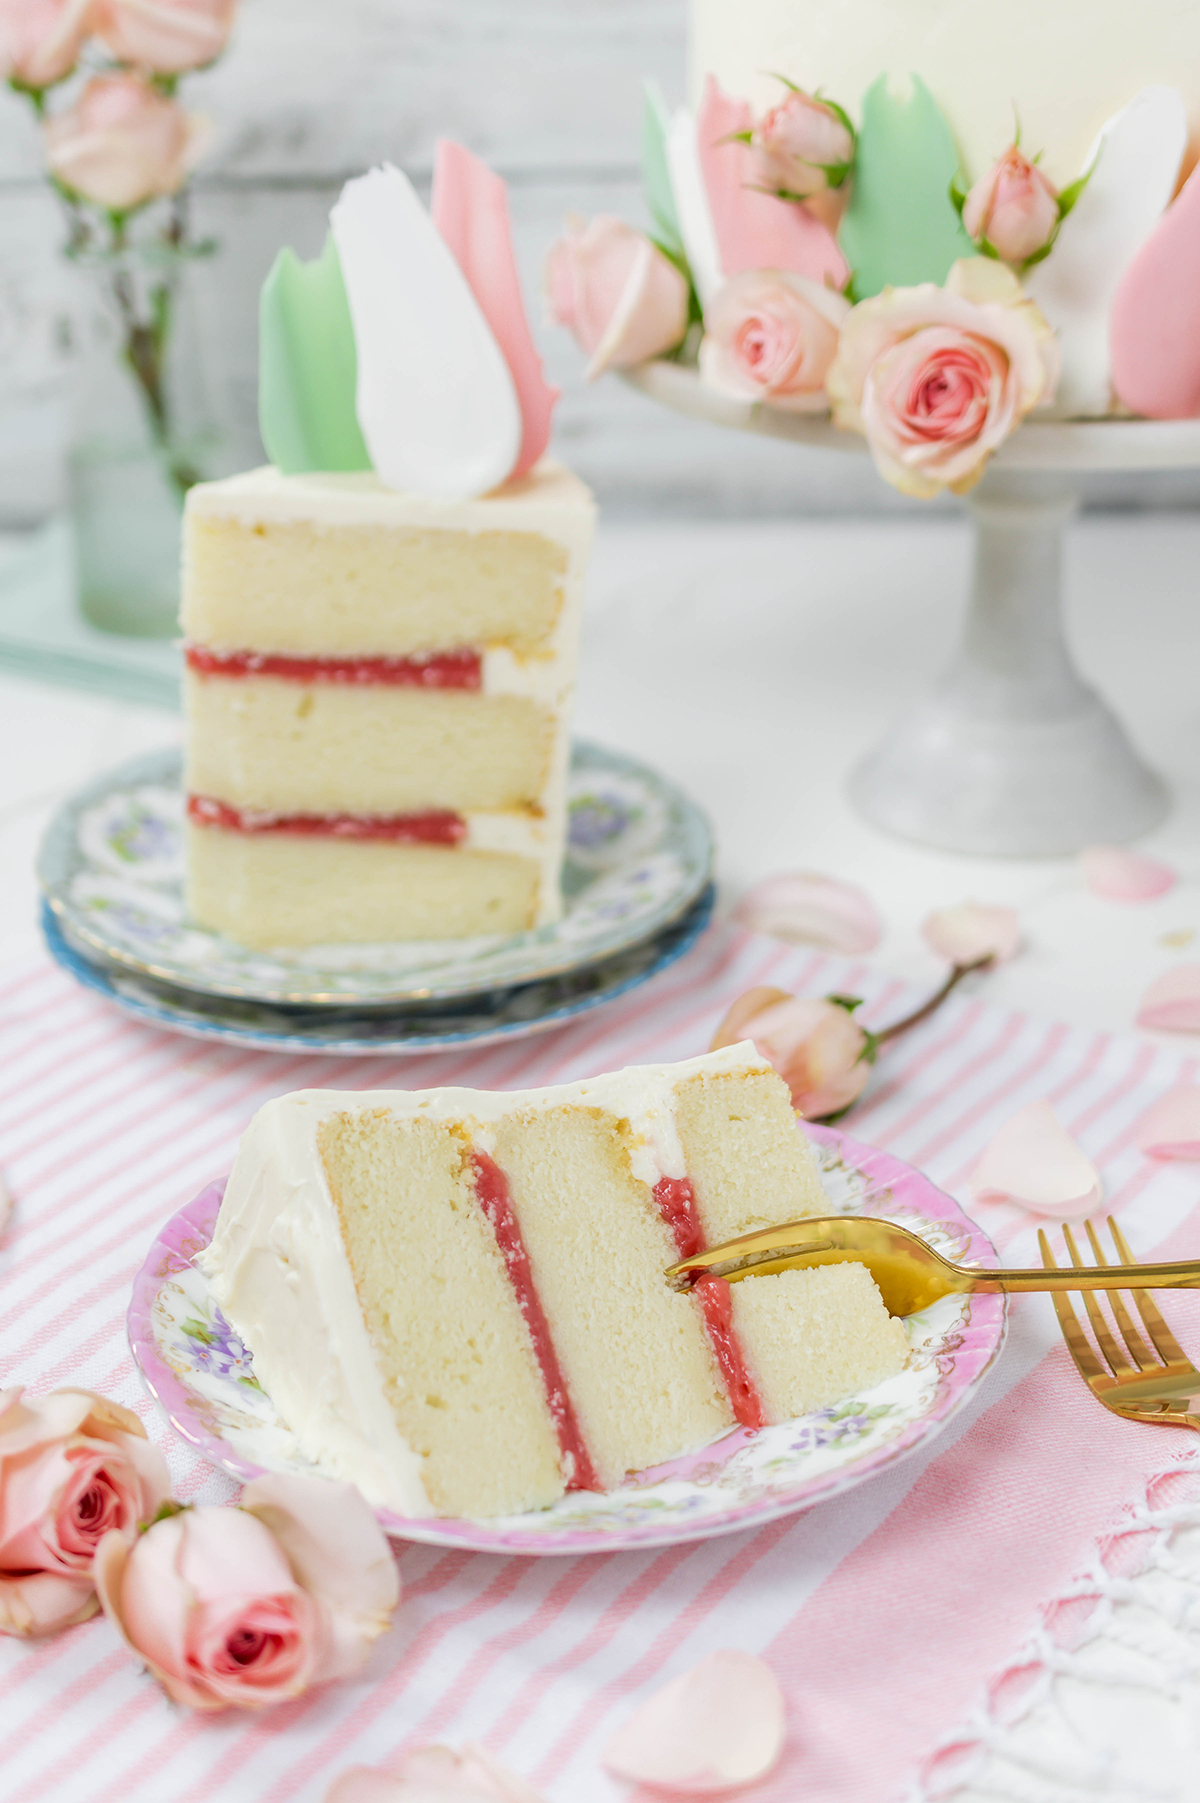
- Light and fluffy vanilla cake layers
- Fresh strawberry filling for a fruity punch
- Smooth bakery-style frosting
- Beautiful fresh flowers and handmade brushstrokes
Vanilla Cake Ingredients
- Whole milk: thins out the batter, generates steam during baking and helps gluten develop when it interacts with the flour.
- Egg whites: this cake uses egg whites instead of whipped egg whites to reduce the holes in the cake layers.
- Vanilla extract: enhances flavor.
- Sour cream: lends a tangy flavor to the cake and creates a moist texture. Tip: Buttermilk or yogurt can be substituted for sour cream.
- Cake flour: also known as soft flour, contains less protein than all-purpose flour. And creates a delicate and fine crumbed cake.
- Granulated sugar: sweetens the cake and easily mixes into cake batter.
- Baking powder: is a mixture of baking soda and cornstarch. Baking powder works twice by coming in contact with liquid and then again when it comes into contact with heat.
- Baking soda: is an alkali and must be used with an acidic ingredient such as sour cream.
- Salt: enhances the cakes flavor.
- Unsalted butter: adds a rich flavor and creates texture in the cake.
Baking and Cake Decorating Tools
- 3 8-inch round cake pans
- Nonstick baking spray
- 4 cup liquid measuring cup
- Stand mixer
- Food processor
- Sieve
- Cake turntable with nonslip mat
- 8-inch round cake board
- Piping bags
- Coupler
- Small offset cake spatula
- Large offset cake spatula
- 8-inch round acrylic disk
- Parchment paper
- Cake scraper
- Toothpicks
- Candy melts: pink, blue, green, and white
Decorating Tips
Place chopped candy melts in a microwave safe bowl. Microwave on 30 second intervals, stirring between each interval until the candy melts are completely melted and smooth.
- You can use a little shortening to help smooth the candy melts if needed. I start with 1 teaspoon. Repeat this process with each color.
- Start with one color and pipe and brush before starting on the next color. You can let the melted candy sit for about 10 to 15 minutes before pouring into a piping bag.
- I added white chocolate melts to the other colors of candy melts to give the brushstrokes more of a pastel color.
- Make as many brushstrokes as you can to account for some breakage when handling. It happens.
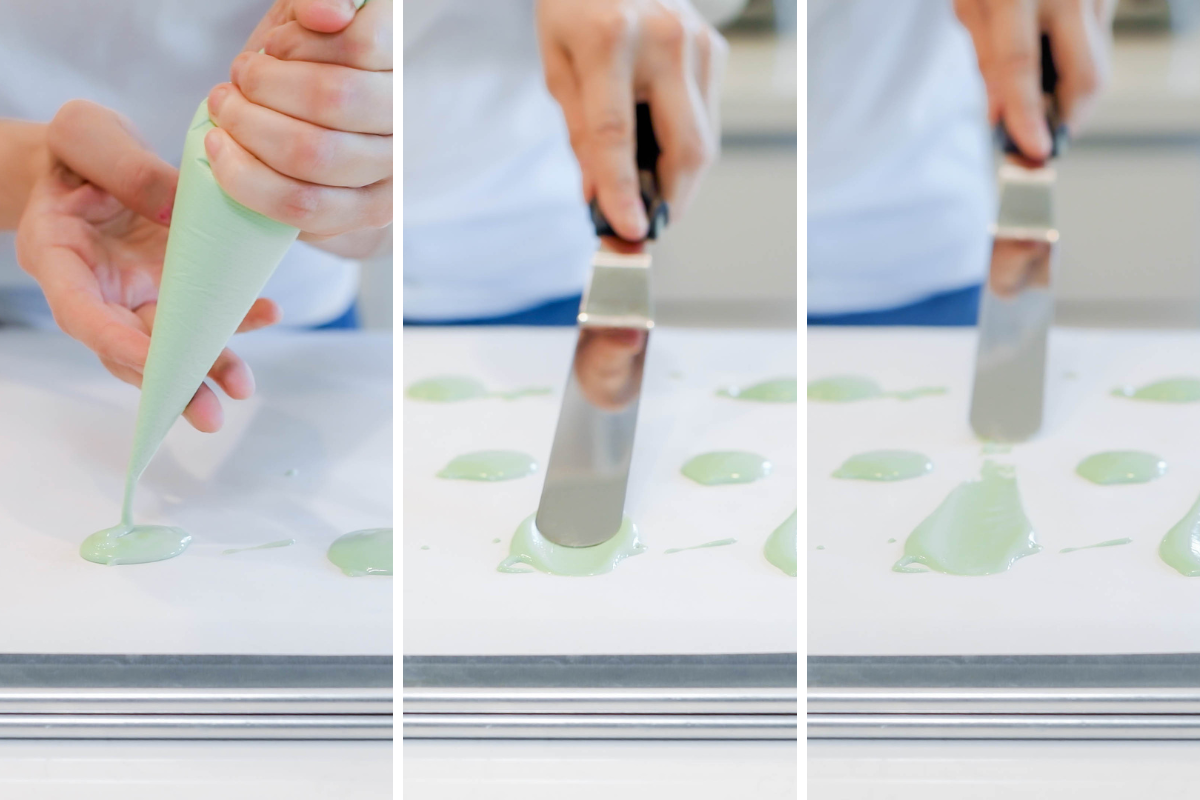
Place the melted candy into a piping bag and snip the corner off with scissors. Pipe a generous amount of melted candy on a piece of parchment paper, about 1 tablespoon. Using a large offset cake spatula, swipe through the mounds of melted candy until strokes are created. Leave the brush strokes to set for at least 15 minutes before moving them. Repeat this process for all colors of candy melts.
Use your remaining frosting to apply the brushstrokes to the cake, sticking them on the top and sides. You can use toothpicks to help prop up the brushstrokes, and hide them with extra frosting. Feel free to remove the toothpicks once the frosting has set.
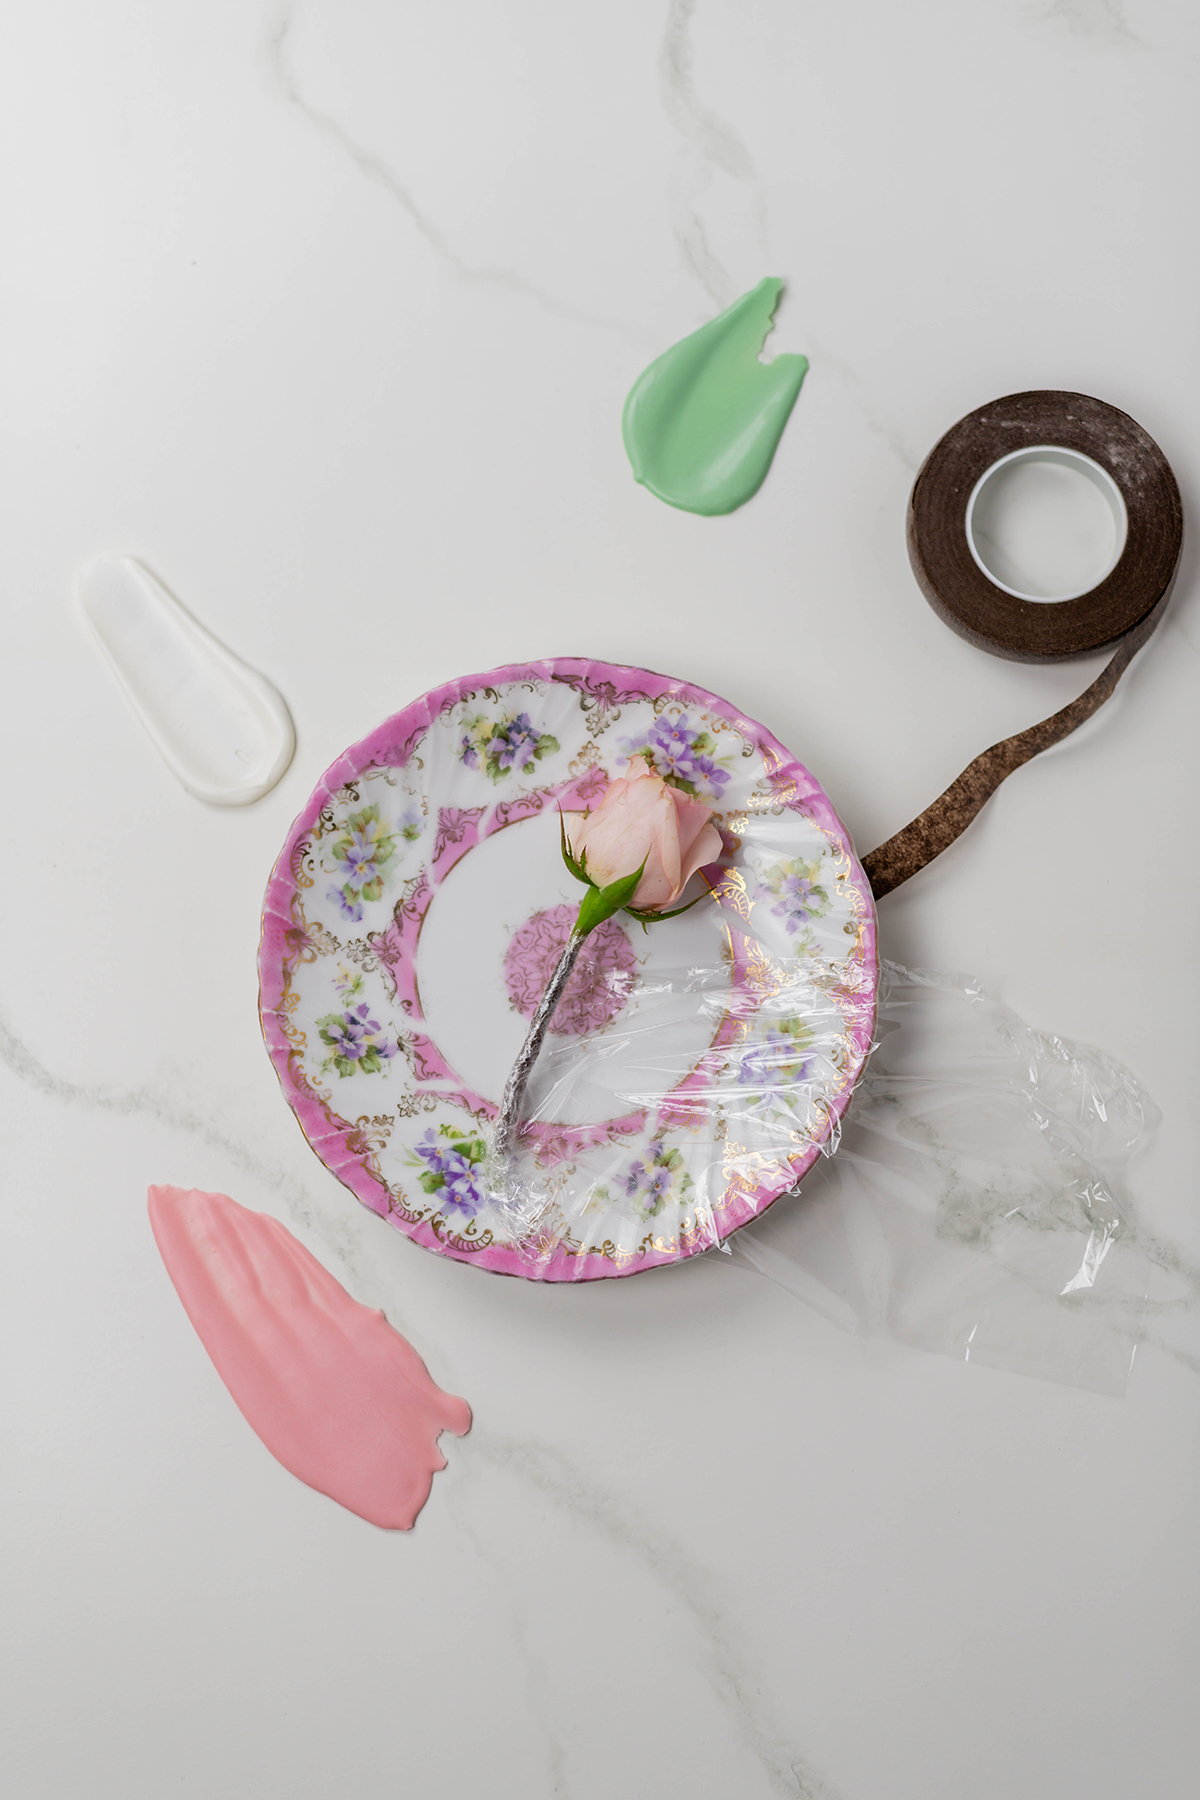
Wrap up the stems of the flowers you’re using with plastic wrap so that the flower stems don’t touch the cake. Gently tuck the flowers in and around the brushstrokes. You may need to add toothpicks to support the flowers.
Baking Schedule
- Day 1: Prepare the brushstrokes. Let them sit overnight
- Day 2: Bake cake layer and make filling
- Day 3: Prepare the frosting, assemble, decorate and serve
Let's Connect
The Cake Chica is on the following social media platforms below. Click subscribe, like and follow! We would love to have you over!
Suggested Recipes
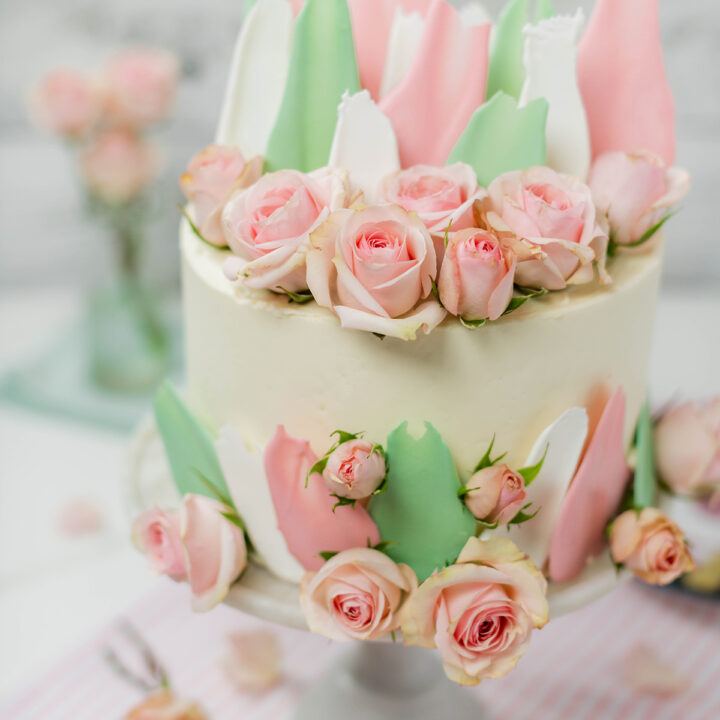
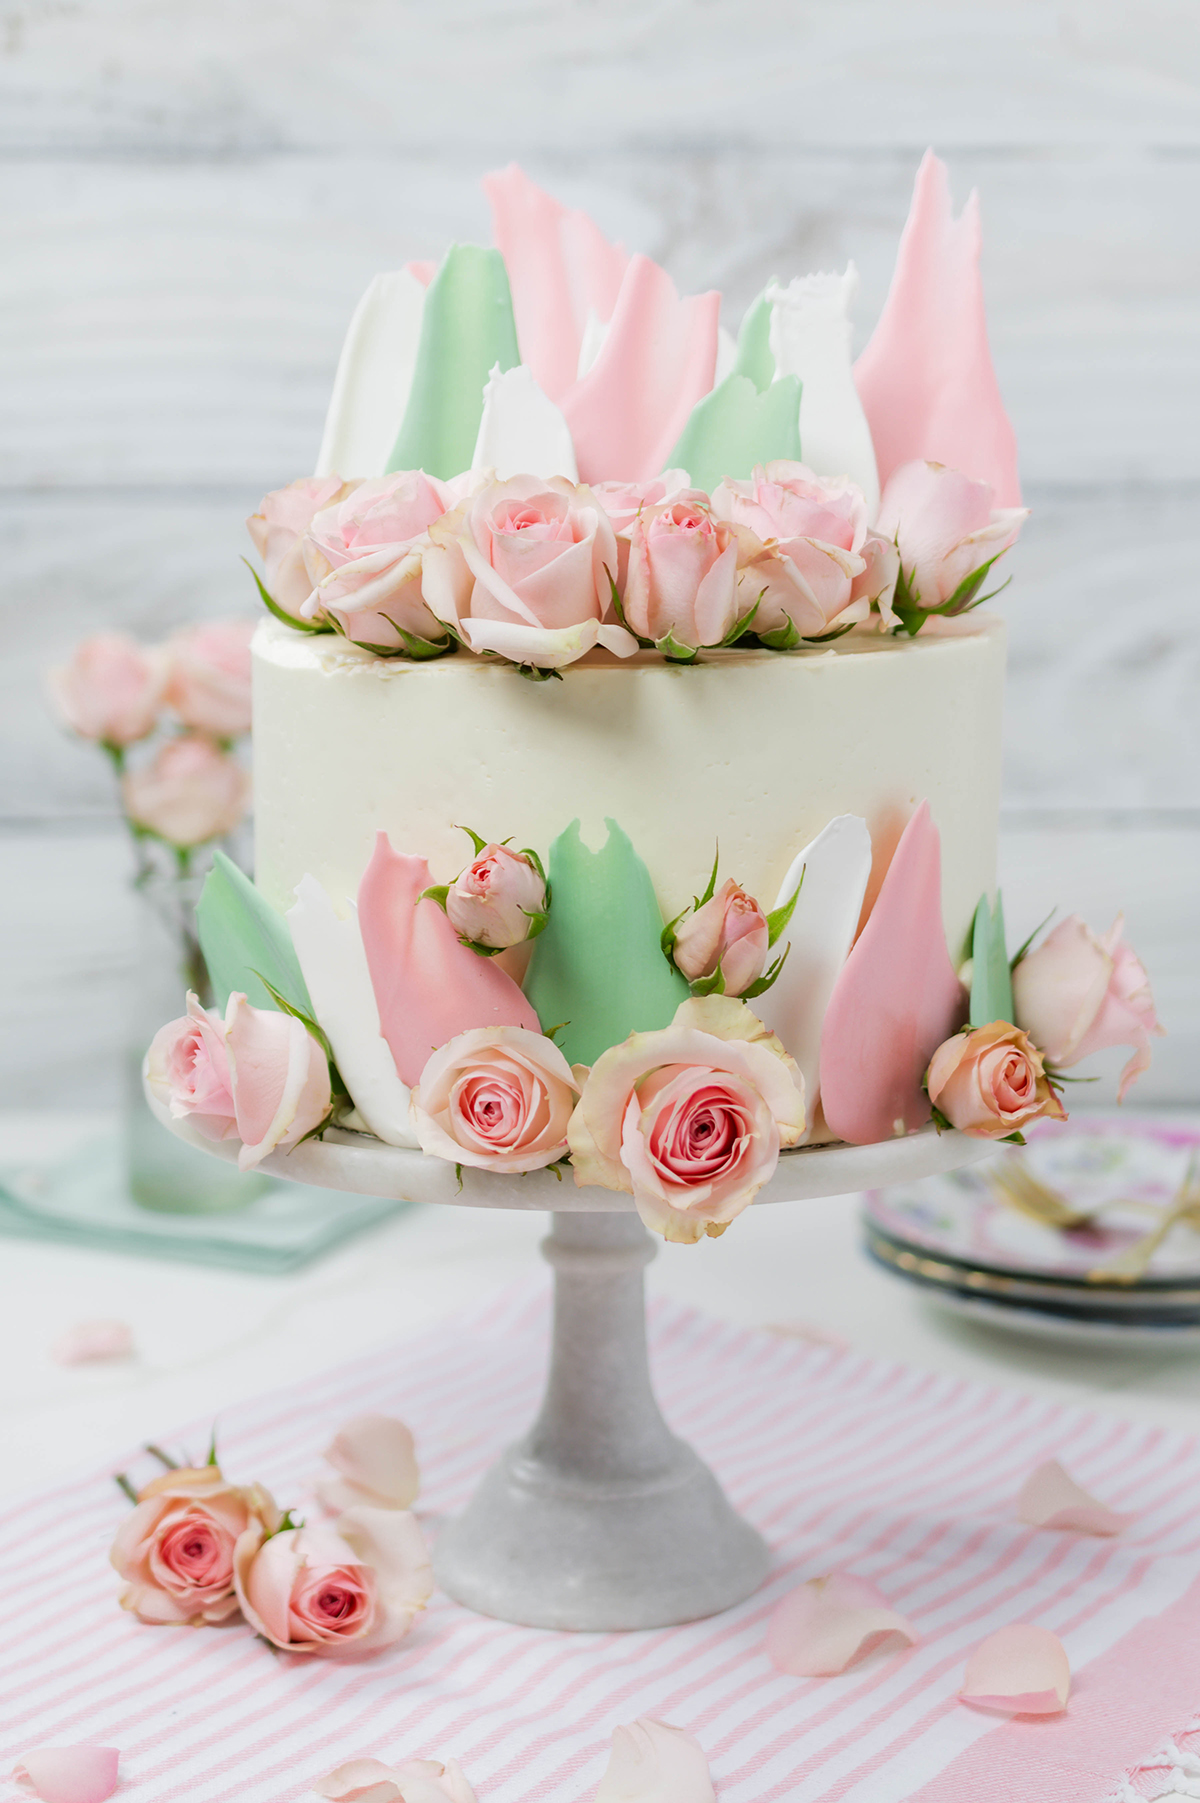
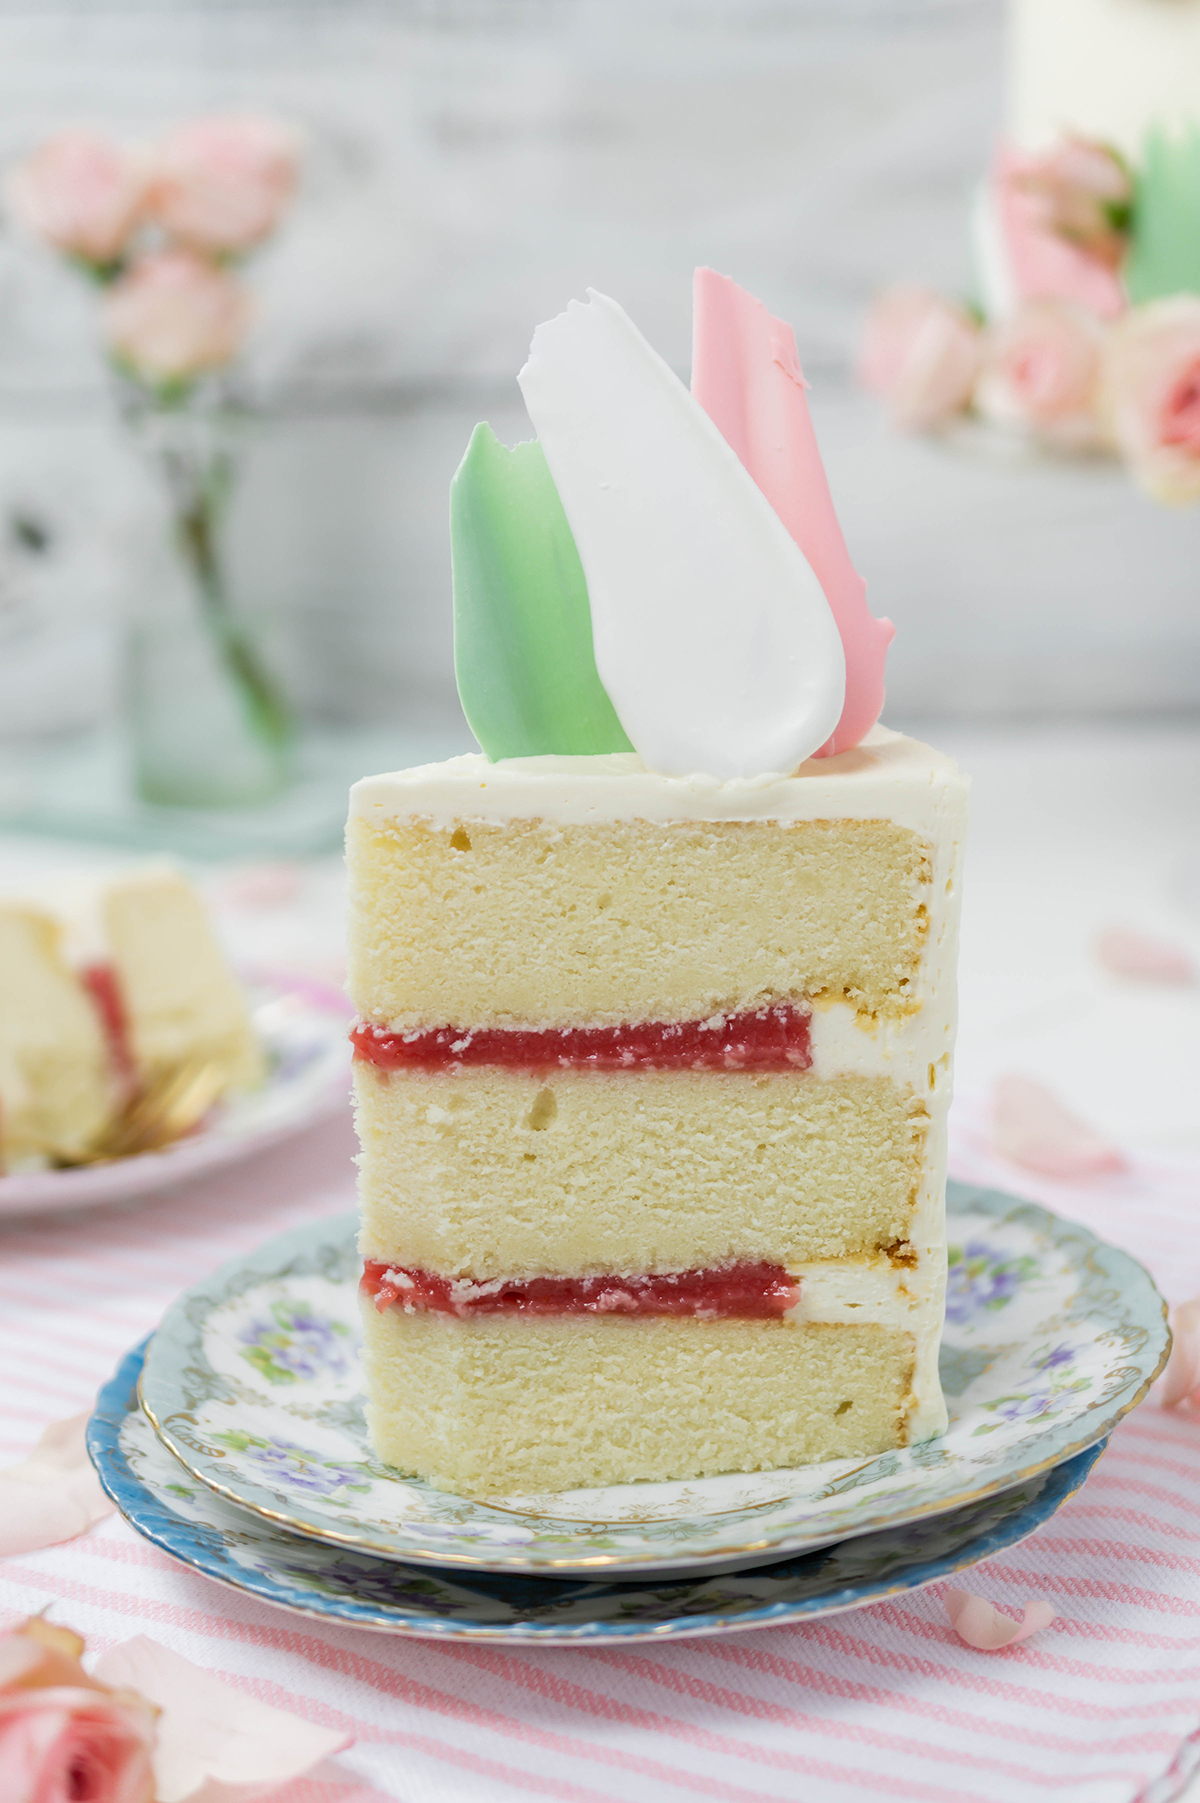
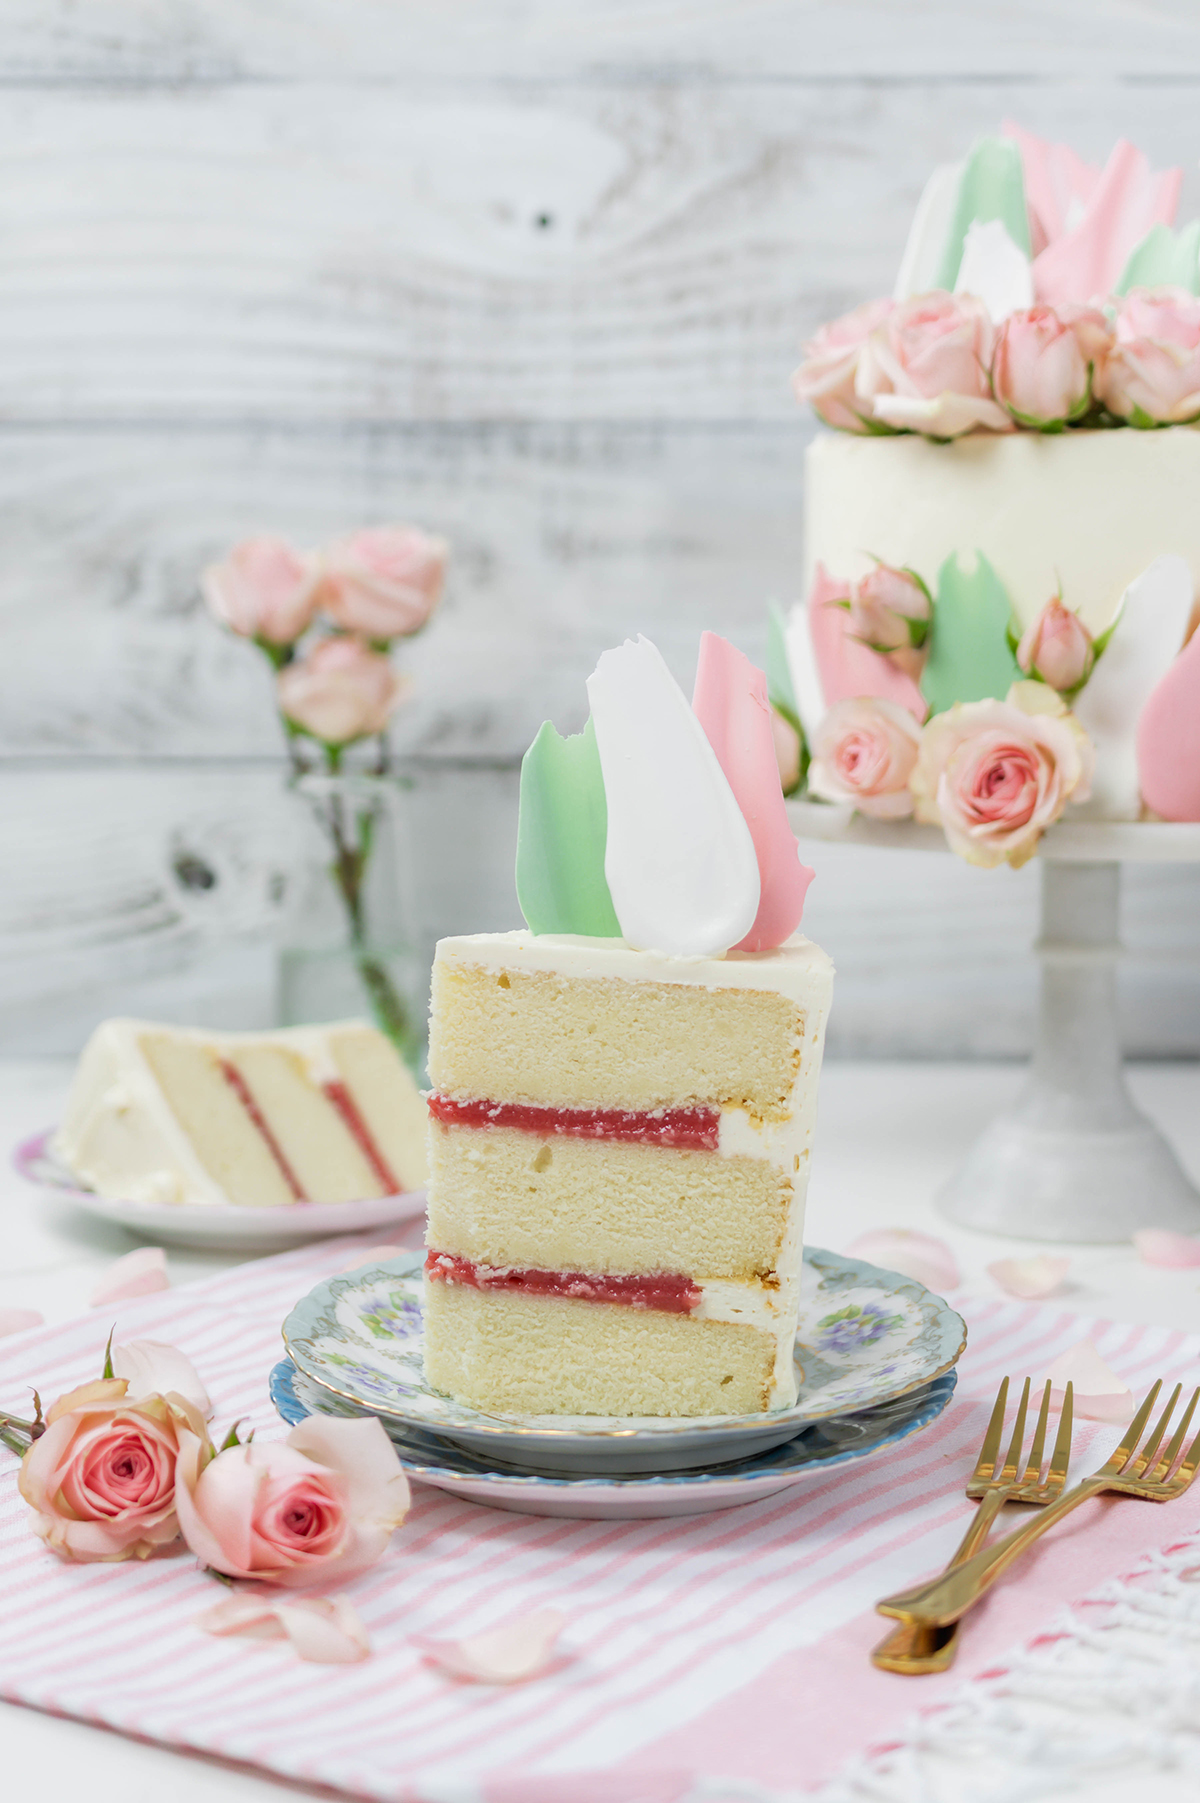
Blooms and Brushstrokes Vanilla Strawberry Cake
Soft vanilla cake layers filled with fresh strawberry filling and frosted with bakery-style buttercream. Finished with brushstroke accents and fresh roses for a beautiful spring-inspired treat.
Ingredients
TOOLS3 8-inch round cake pans
- Nonstick baking spray
- 4 cup liquid measuring cup
- Stand mixer
- Food processor
- Sieve
- Cake turntable with nonslip mat
- 8-inch round cake board
- Piping bags
- Coupler
- Small offset cake spatula
- Large offset cake spatula
- 8-inch round acrylic disk
- Parchment paper
- Cake scraper
- Toothpicks
- Candy melts: pink, blue, green, and white
VANILLA CAKE
- 1 3/4 cups (420g/10.6 ounces) whole milk, at room temperature
- 6 large egg whites
- 1 tablespoon vanilla extract
- 2/3 cup (150 grams/5.3 ounces) sour cream, at room temperature
- 4 1/3 cups (498g/17.3 ounces) cake flour
- 2 1/2 cups (500g/17.7 ounces) granulated sugar
- 1 1/4 teaspoon baking powder
- 1/2 teaspoon baking soda
- 1/2 teaspoon salt
- 1 1/4 cups (282g/10 ounces) unsalted butter, cut into tablespoon sized pieces, at room
- temperature, about 65 degrees
STRAWBERRY FILLING
- 12 ounces frozen strawberries, thawed
- ¼ granulated sugar
- 3 tablespoons cornstarch, mixed with 3 tablespoons cold water
- Fresh lemon juice, to taste
- 3 tablespoons Chambord, optional
BAKERY FROSTING
- 2 cups (454 grams/16 ounces)unsalted butter, at room temperature
- 1/2 cup (8 tablespoons) shortening
- 1/4 teaspoon salt
- 6 1/2 cups (26 ounces/734.5 grams) powdered sugar, sifted
- 1 cup (8 fluid ounces) heavy cream
- 4 teaspoons vanilla extract
- 1/2 teaspoon almond extract
Instructions
VANILLA CAKE
- Adjust an oven rack to the center position and heat oven to 325 degrees. Spray 3 8-inch round cake pans with nonstick baking spray and set aside.
- In a 4 cup liquid measuring cup, whisk together the milk, egg whites, extract, and sour cream.
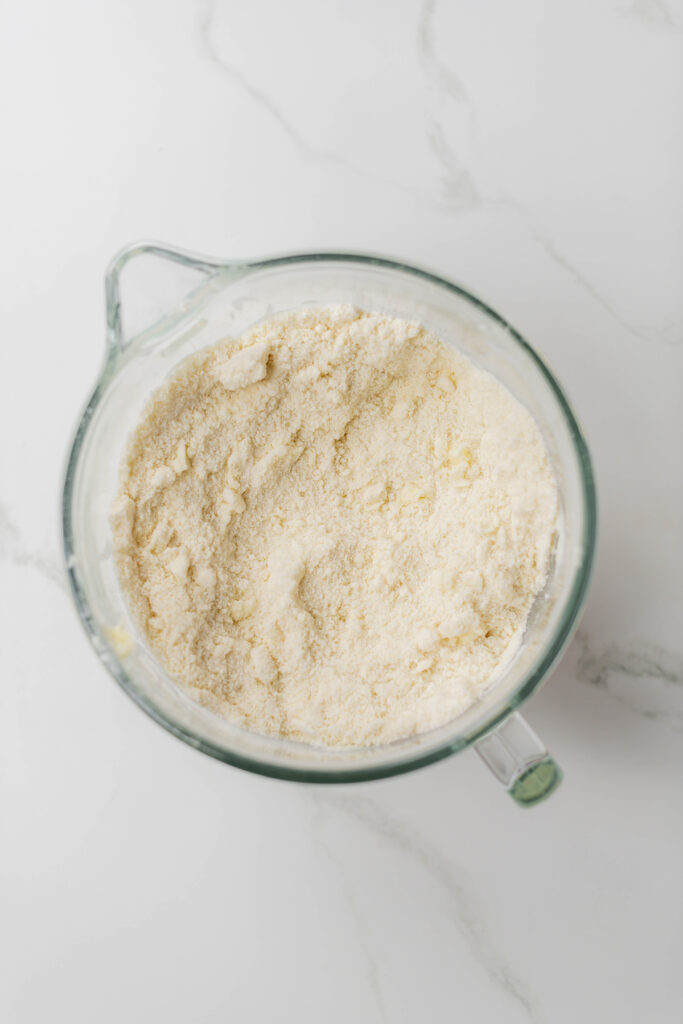
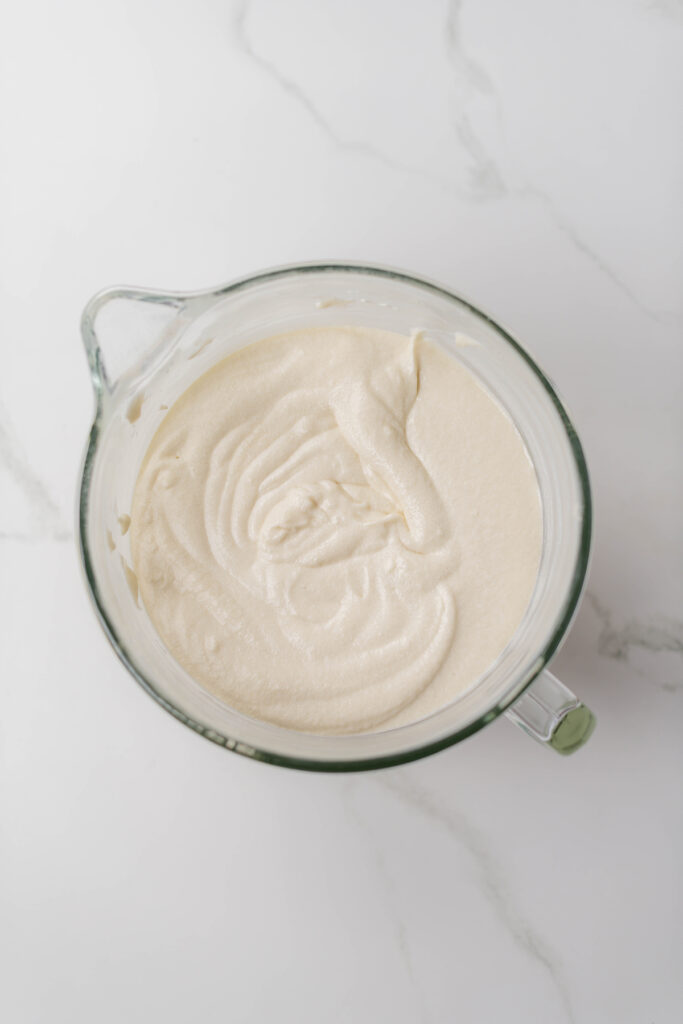
- In the bowl of a stand mixer, with the paddle attachment attached, mix the flour, sugar, baking powder, baking soda, and salt on low speed until combined. Add butter one tablespoon at a time until the mixture forms pea-sized pieces, about 1 minute. Reserve ½ cup of the milk mixture and pour the remaining to the flour mixture and mix on medium-high speed until light and fluffy, about 1 minute. Reduce the mixer speed to medium-low and add the reserved ½ cup milk mixture to the batter and mix until combined, about 30 seconds. Do not over mix. The batter may look curdled. Give the batter a final stir by hand with a rubber spatula.
- Gently tap cake pans on the counter to settle the batter and bake until a toothpick inserted in the centers comes out with a few moist crumbs attached, about 30 to 35 minutes, switching and rotating pans halfway through baking.
- Let cakes cool in their pans for 30 minutes on cooling racks. Then invert on cooling racks to cool completely.
STRAWBERRY FILLING
- Place thawed strawberries in a blender or food processor and puree until smooth. Over a bowl pour strawberry puree over a sieve to remove the solids. The puree will be thick. Use a spoon to stir and press the puree through the sieve.
- Place strawberry puree in a small saucepan over medium-low heat. Add sugar and cornstarch mixture and bring to a simmer, stirring constantly to keep lumps from forming. Once the puree thickens, remove from the heat. Cool for 5 minutes and then add fresh lemon juice and Chambord. Chill for about 2-3 hours in the refrigerator until ready to use.
BAKERY FROSTING
- In the bowl of a stand mixer with the paddle attachment attached, beat the butter, shortening and salt on medium speed until light and fluffy, about 8 minutes. Add the powdered sugar, heavy cream, vanilla and almond extract and slowly mix until combined, about 1 minute.
- Increase the mixer speed to medium-high and beat until light and fluffy, about 6 minutes.
ASSEMBLE CAKE
- Place a nonslip mat on top of your cake turntable. Place an 8-inch cake board on top. Spread a small amount of buttercream in the center of the cake board to act as glue for the cake. Center one cake layer on the cake board. Fit a piping bag with a coupler and fill with frosting. Pipe a frosting border around the edge of the cake. Add half of the strawberry filling on top and spread with a small offset cake spatula in an even layer until it reaches the frosting border.
- Place the second cake layer on top and pipe another frosting border around the edge of the cake and top with the remaining strawberry filling, spreading it out in an even layer until it reaches the frosting border. Place the last cake layer on top (bottom side up).
CRUMB COATING
- Place a small dollop of frosting on top of the cake and using your offset cake spatula, spread a thin layer of frosting over the top and sides of the cake catching any loose crumbs and sealing them in. Refrigerate or freeze the cake for 15 to 30 minutes.
FROSTING THE CAKE
- Spread a generous amount of frosting on the top of the cake and spread it out evenly. You should have some excess frosting hanging off the sides of the cake.
- Line an 8-inch round acrylic disk with parchment paper with a bit of frosting. Line up the acrylic disk with the bottom cake board and gently press on to the top of the cake to adhere. Add more frosting to the sides of the cake, making sure to cover the bottom cake board completely, and gently press a cake scraper against the acrylic disk and bottom cake board. Slowly rotate the cake turntable all the way around to create a smooth finish on the side of the cake. Chill the cake in the refrigerator or freezer for 15 to 30 minutes.
- Insert a small offset spatula under the acrylic disk and rotate the turntable until the disk releases. Peel off the parchment paper. Add more frosting to the top of the cake to fill in any gaps if needed. Smooth out the top of the cake with an offset cake spatula while rotating the turntable.
DECORATING - BRUSHSTROKES
- Place chopped candy melts in a microwave safe bowl. Microwave on 30 second intervals, stirring between each interval until the candy melts are completely melted and smooth. Repeat this process with each color. TIP: Start with one color and pipe and brush before starting on the next color.
- Place the melted candy into a piping bag and and snip the corner off with scissors. Pipe a generous mount of melted candy on a piece of parchment paper, about 1 tablespoon. Using a large offset cake spatula, swipe through the mounds of melted candy until strokes are created. Leave the brush strokes to set for at least 15 minutes before moving them. Repeat this process for all colors of candy melts.
DECORATING - APPLYING THE BRUSHSTROKES
- Use your remaining frosting to apply the brushstrokes to the cake, sticking them on the top and sides. You can use toothpicks to help prop up the brushstrokes, and hide them with extra frosting.
- Wrap up the stems of the flowers you’re using with floral tape, and then with plastic wrap so that the flower stems don’t touch the cake. Gently tuck the flowers in and around the brushstrokes. You may need to add toothpicks to support the flowers. Transfer to a cake pedestal and serve.
Notes
STORAGE: Strawberry Filling can be made up to 5 days in advance, stored in an airtight container in the refrigerator. Cake Layers can be baked up to 3 days ahead, wrapped in plastic wrap, stored in the refrigerator. Frosting is best made the day of assembly but can be made up to 3 day in advance, stored in an airtight container in the refrigerator. (If you've colored the frosting before storing the color will deepen the longer it sits.)
ASSEMBLED CAKE: Cake can be stored in an airtight container in the refrigerator for up to 3 days.
Nutrition Information:
Yield: 24 Serving Size: 1Amount Per Serving: Calories: 207Total Fat: 6gSaturated Fat: 3gTrans Fat: 0gUnsaturated Fat: 3gCholesterol: 21mgSodium: 193mgCarbohydrates: 32gFiber: 1gSugar: 11gProtein: 5g
*Nutrition information is an estimate and will vary.*


Leave a Reply