
As an Amazon Associate, I earn from qualifying purchases.
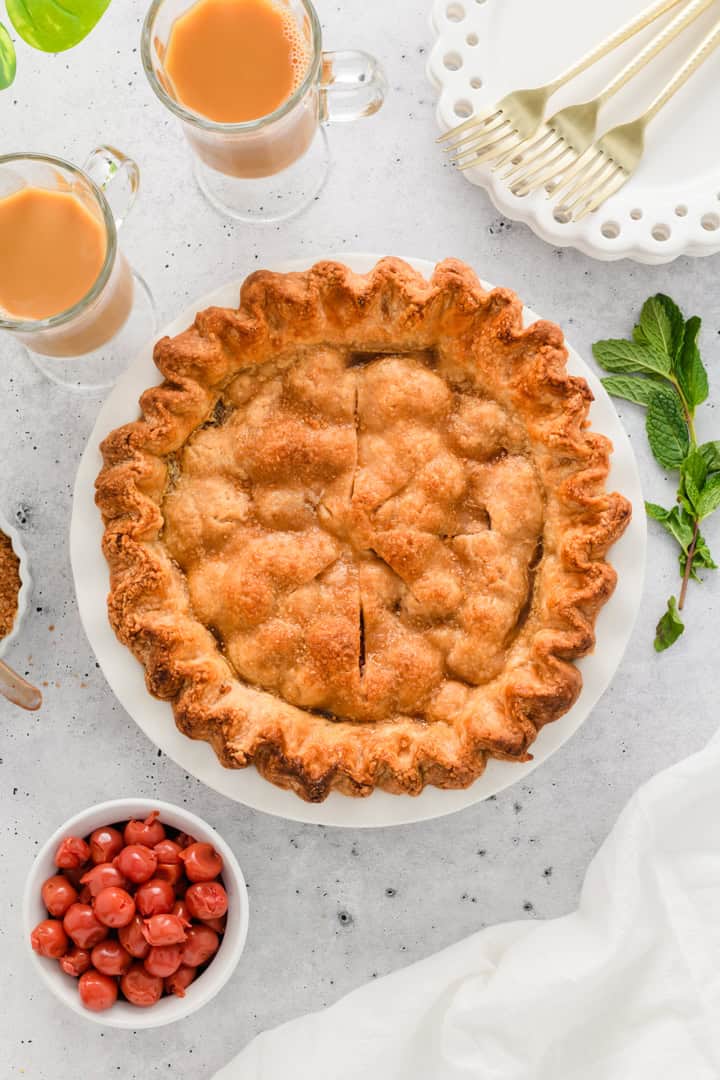
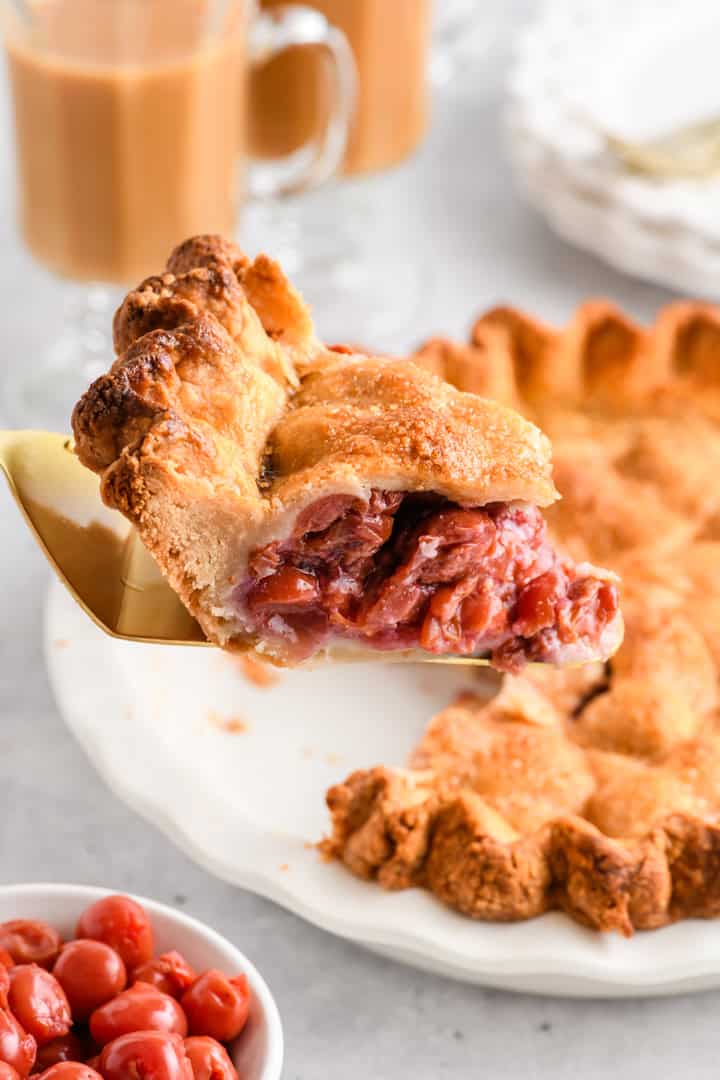
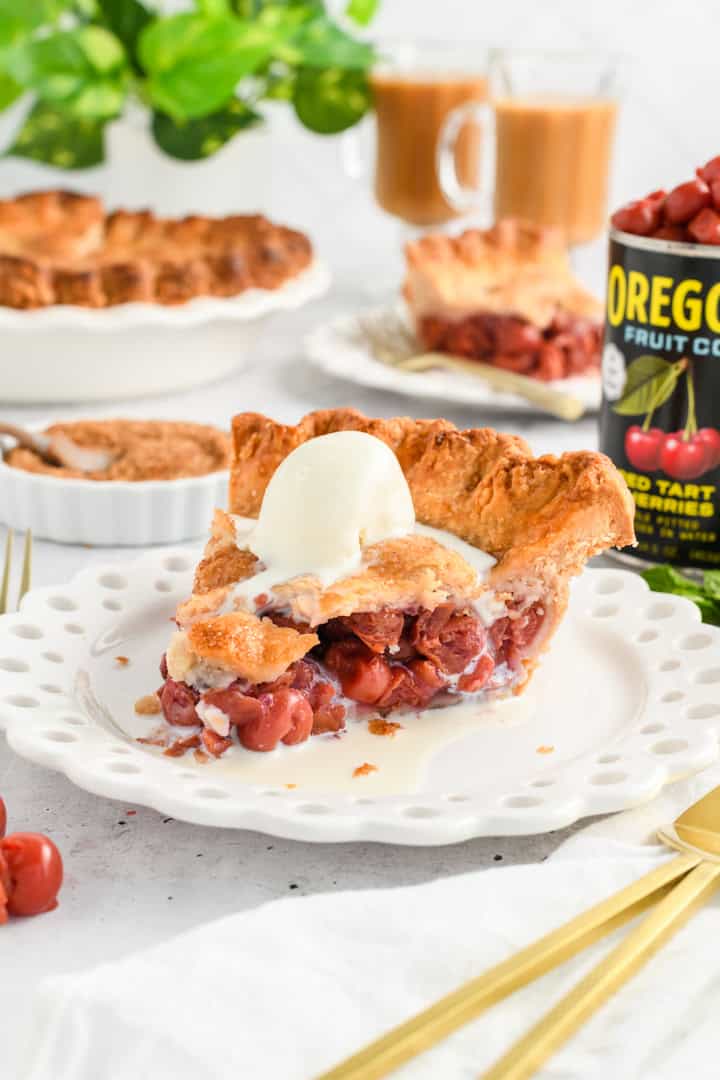
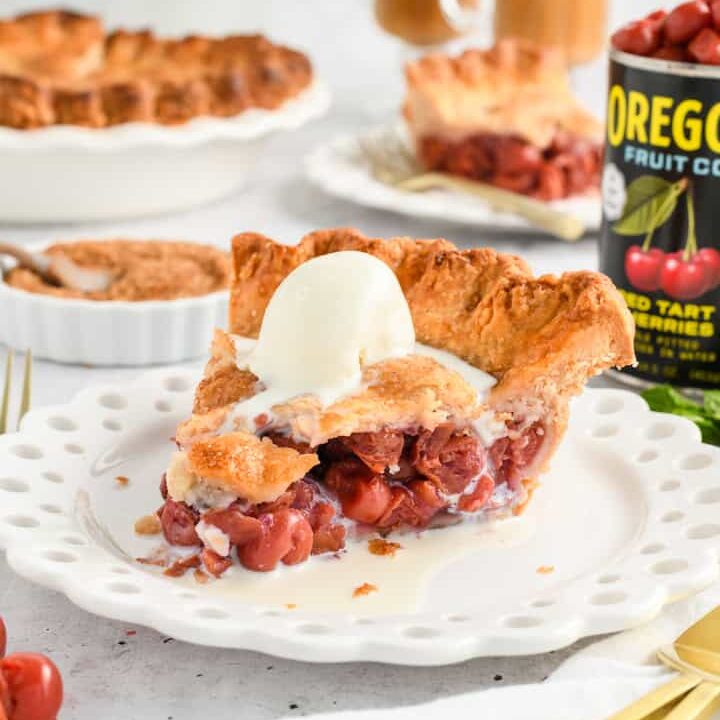
If you’re looking for a classic cherry pie that’s simple, reliable, and full of flavor, this Easy Cherry Pie is it. Made with canned tart cherries, this recipe takes the guesswork out of seasonal baking while still delivering a beautifully balanced sweet-tart filling and a crisp, golden crust.
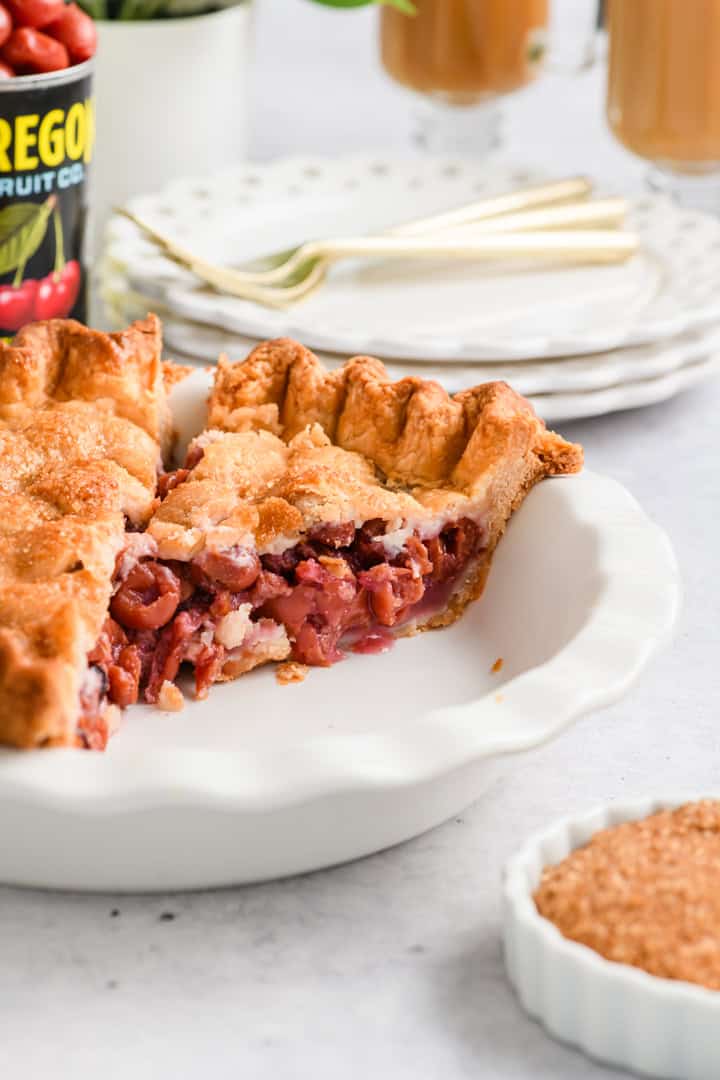
There’s no lattice to fuss with here, just a classic double crust that bakes up flaky and golden. With a few smart techniques, you’ll get a thick, sliceable filling and a bottom crust that stays crisp.
Why This Recipe Works
This recipe is designed to give you consistent results every time.
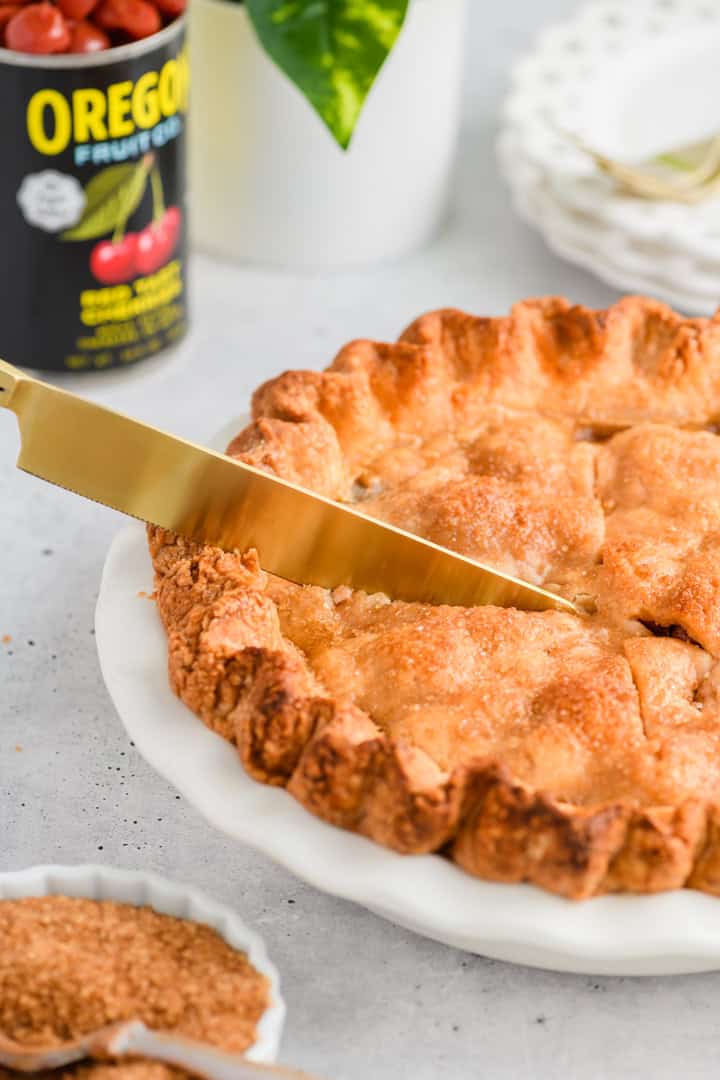
- Canned tart cherries provide reliable flavor and texture year-round
- Draining the cherries after resting removes excess liquid, preventing a runny pie
- Instant tapioca thickens the filling without making it cloudy
- A simple moisture barrier helps keep the bottom crust from getting soggy
Ingredients Overview
Here are a few key ingredients that make this pie stand out:
- Canned tart cherries: Convenient and consistent, with the perfect balance of sweet and tart
- Instant tapioca: Ground into a powder for a smooth, stable filling
- Cherry liqueur (optional): Adds depth and enhances the cherry flavor
- Almond extract: A small amount brings out the natural cherry notes
How to Make Easy Cherry Pie
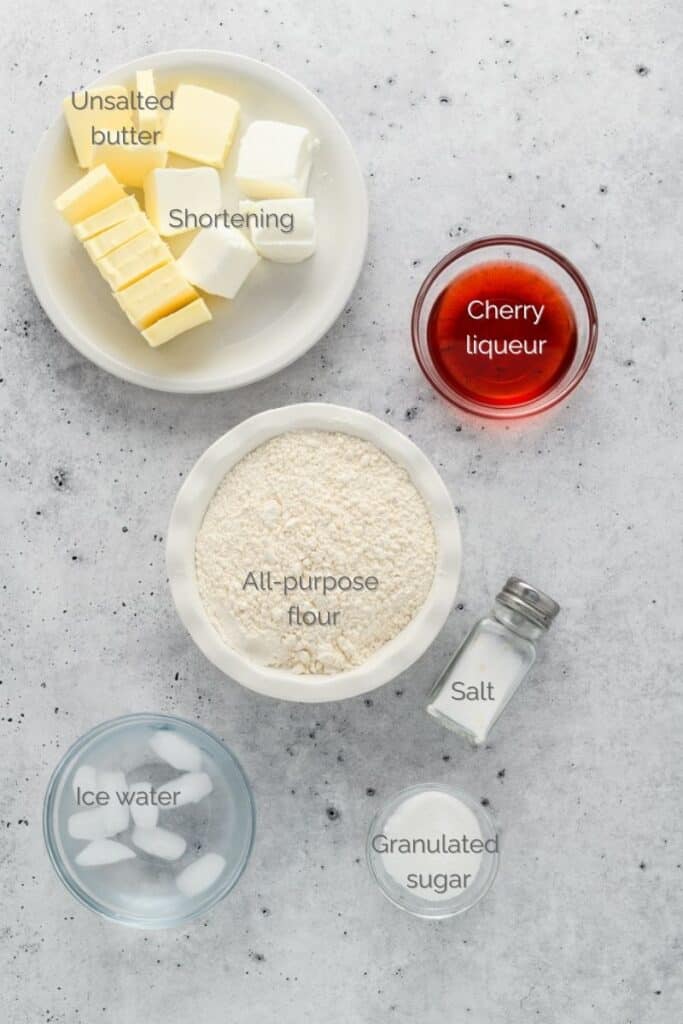
Pie Dough
Start by preparing your pie dough and chilling it well.
Cherry Filling
Combine the sugar, flour, tapioca, and cinnamon, then toss with the cherries, almond extract, and cherry liqueur if using. Let the mixture sit to draw out excess moisture, then drain the liquid. This step ensures your filling sets properly.
Assemble the Pie
Roll out your bottom crust and fit it into your pie plate. Sprinkle a thin layer of breadcrumbs or almond flour over the base to absorb excess juices.
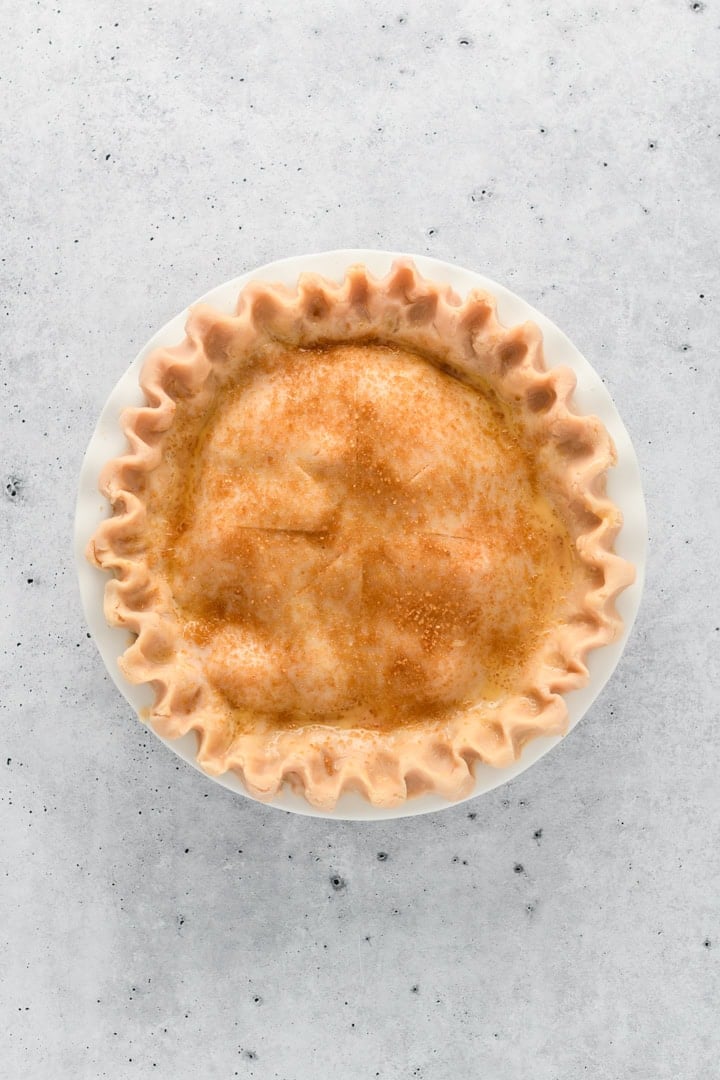
Add the filling, dot with butter, and top with the second crust. Seal, crimp, and freeze the assembled pie before baking.
Bake
Start baking at a higher temperature, then reduce the heat to finish baking. This helps set the crust and cook the filling evenly.
Bake until the crust is deeply golden and the filling is bubbling thickly.
Pro Tips for Success
- Dry the cherries well: Excess moisture leads to a runny filling
- Don’t skip the draining step: This is key for a thick, sliceable pie
- Keep your dough cold: Chill before rolling and before baking
- Use a preheated baking sheet: Helps the bottom crust bake evenly and stay crisp
Storage
Store the fully cooled pie loosely covered at room temperature for up to 2 days, or refrigerate for up to 5 days. For longer storage, freeze the pie tightly wrapped for up to 3 months.
Reheat in a 350°F oven to warm through and re-crisp the crust.
Baking Tools
- Food processor
- Plastic wrap
- Rolling pin
- 9-inch pie plate
- Rimmed baking sheet(s)
- Parchment paper
- Foil
- Spice grinder for tapioca
Frequently Asked Questions
This recipe is developed for canned cherries for consistency. Fresh cherries will require adjustments to the sugar and liquid.
This usually happens if the cherries aren’t drained properly or the pie hasn’t cooled long enough before slicing.
Yes, it’s optional. The pie will still have great flavor without it.
Yes. You can bake the pie a day in advance and store it at room temperature.
Let's Connect
Want more behind-the-scenes peeks, recipe drops, and food photography inspo? Come hang out with me on Instagram, Pinterest, Facebook and more. I’d love to connect with you there!


Easy Cherry Pie
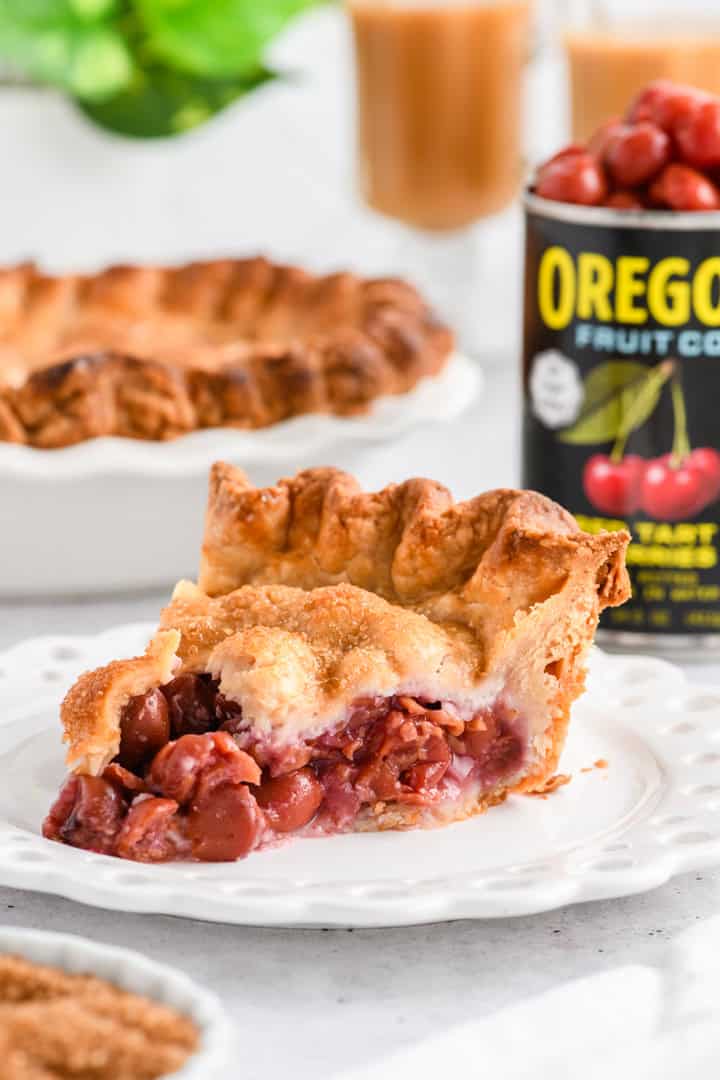
This Easy Cherry Pie is a timeless dessert made simple! With a buttery, flaky crust and a sweet-tart cherry filling, this pie comes together with minimal effort but delivers bakery-worthy results. Perfect for holidays, summer gatherings, or any time you’re craving a classic fruit pie, it’s as beautiful as it is delicious. Serve it warm with a scoop of vanilla ice cream for the ultimate treat!
Ingredients
SPECIAL TOOLS
- Food processor
- Plastic wrap
- Rolling pin
- 9-inch pie plate
- Rimmed baking sheet(s)
- Parchment paper
- Foil
- Spice grinder for tapioca
PIE DOUGH
- 2 1/2 cups (12.5 ounces) all-purpose flour, divided
- 2 tablespoons granulated sugar
- 1 teaspoon salt
- 12 tablespoons unsalted butter, cut into tablespoon-sized pieces and chilled
- 8 tablespoons vegetable shortening, cut into 4 pieces and chilled
- 1/4 cup cherry liqueur
- 1/4 cup ice water
EGG WASH
- 1 large egg
- 1 tablespoon water
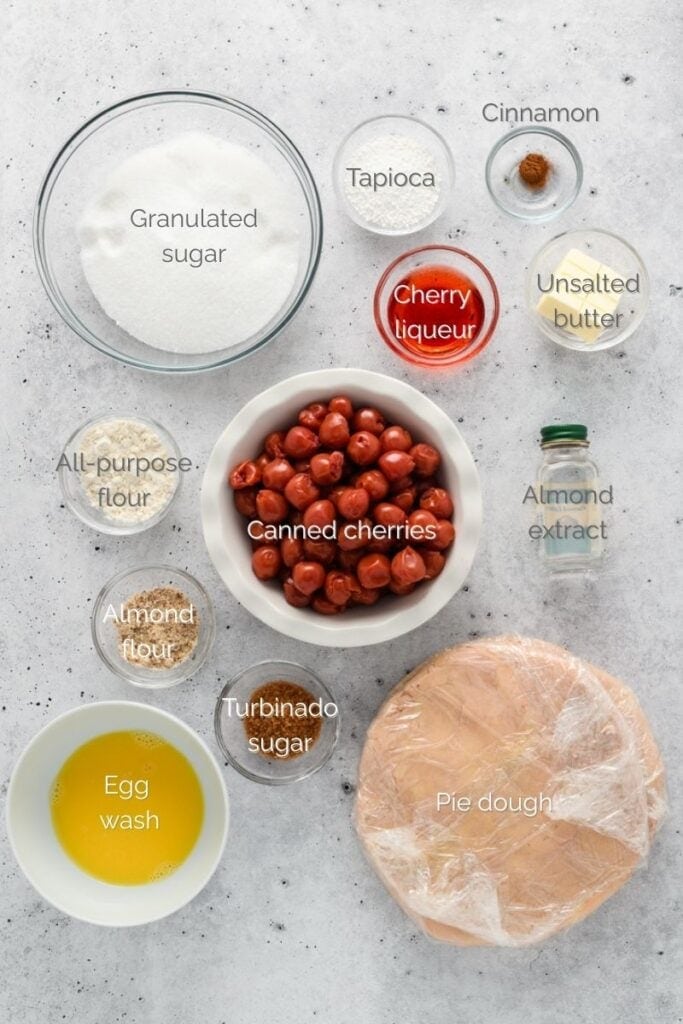
CHERRY FILLING
- 1 1/3 cups (9.6 ounces) granulated sugar
- 2 tablespoons all-purpose flour
- 2 1/2 tablespoons instant tapioca, finely ground into a powder (use spice grinder)
- 1/8 teaspoon ground cinnamon (optional)
- 1/4 teaspoon almond extract
- 2 tablespoons cherry liqueur (optional)
- 3 (14.5-ounce) cans red tart cherries, well drained and gently dried with paper towels (do not rinse)
- 2 tablespoons unsalted butter, cut into cubes
- 1 tablespoon turbinado sugar
- Moisture Barrier
- 1 tablespoon fine breadcrumbs OR almond flour
Instructions
PIE DOUGH
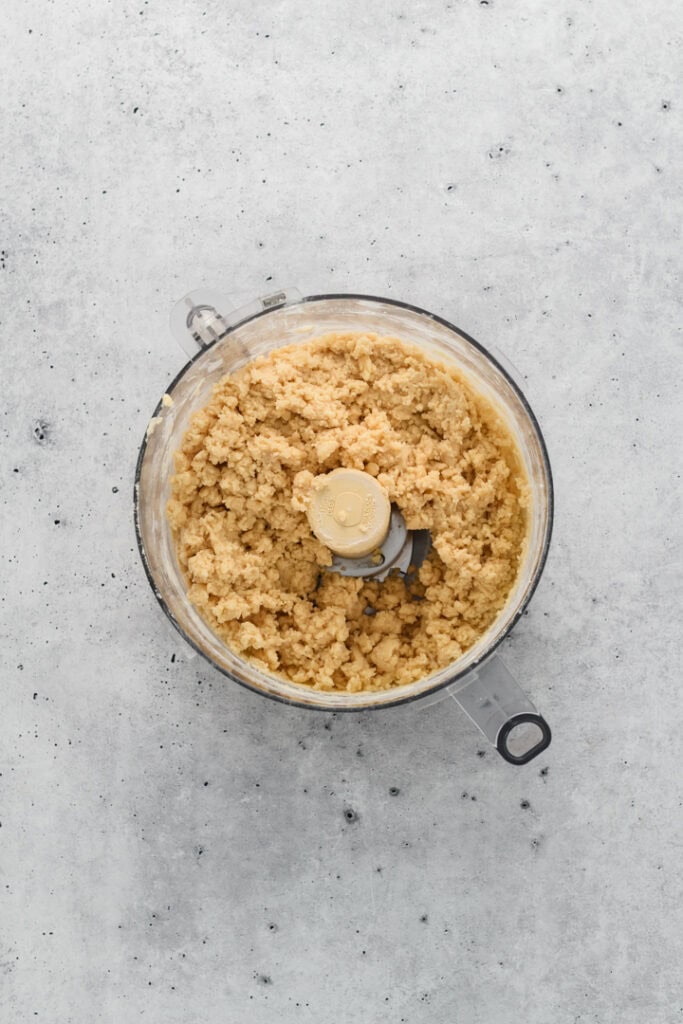
- In the bowl of a food processor, process 1 1/2 cups flour, sugar, and salt until combined, about 5 seconds. Add the chilled butter and shortening and process until incorporated and the mixture forms uneven clumps with no floury bits remaining, about 15 seconds.
- Scrape down the bowl and redistribute the dough evenly. Sprinkle the remaining 1 cup flour over the mixture and pulse until the dough breaks into evenly distributed pieces, about 4 to 6 pulses.
- Transfer the mixture to a large bowl. Sprinkle the cherry liqueur and ice water over the dough. Stir and press the dough together with a stiff rubber spatula until the dough begins to stick together. The dough will be wetter than most pie doughs. If the dough feels too sticky to handle, sprinkle in additional flour 1 tablespoon at a time. It’s okay if your dough has a little color from the liqueur. It won’t show after baking, but you can also use a clear cherry liqueur in its place.
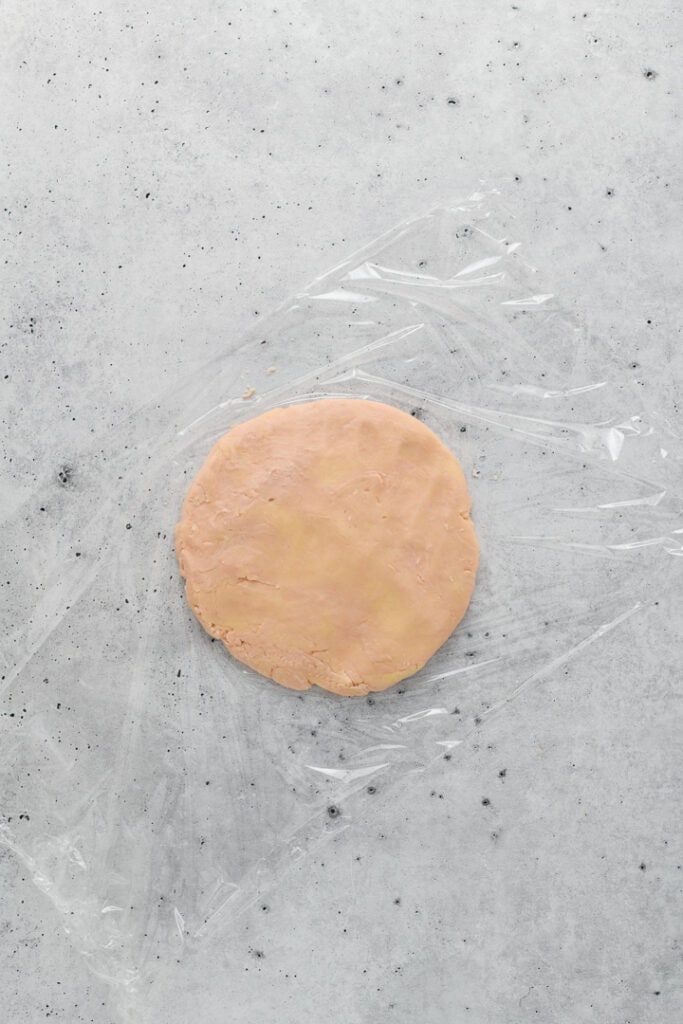
- Divide the dough into 2 equal portions. Flatten each into a 4-inch disk, wrap tightly in plastic wrap, and refrigerate for at least 1 hour. Roll one disk of dough on a lightly floured surface into a 12-inch circle. Transfer it to a 9-inch pie plate, easing the dough into the plate without stretching. Let the excess dough hang over the edge.
- Place the pie plate on a rimmed baking sheet, loosely cover with plastic wrap, and refrigerate for 30 minutes.
- Roll the second dough disk into a 12-inch circle and place on a parchment-lined baking sheet. Refrigerate until firm, about 30 minutes.
EGG WASH
- Whisk together the egg and water in a small bowl and set aside.
CHERRY PIE FILLING
- Adjust an oven rack to the lowest position. Place a foil-lined rimmed baking sheet on the rack and heat the oven to 400°F.
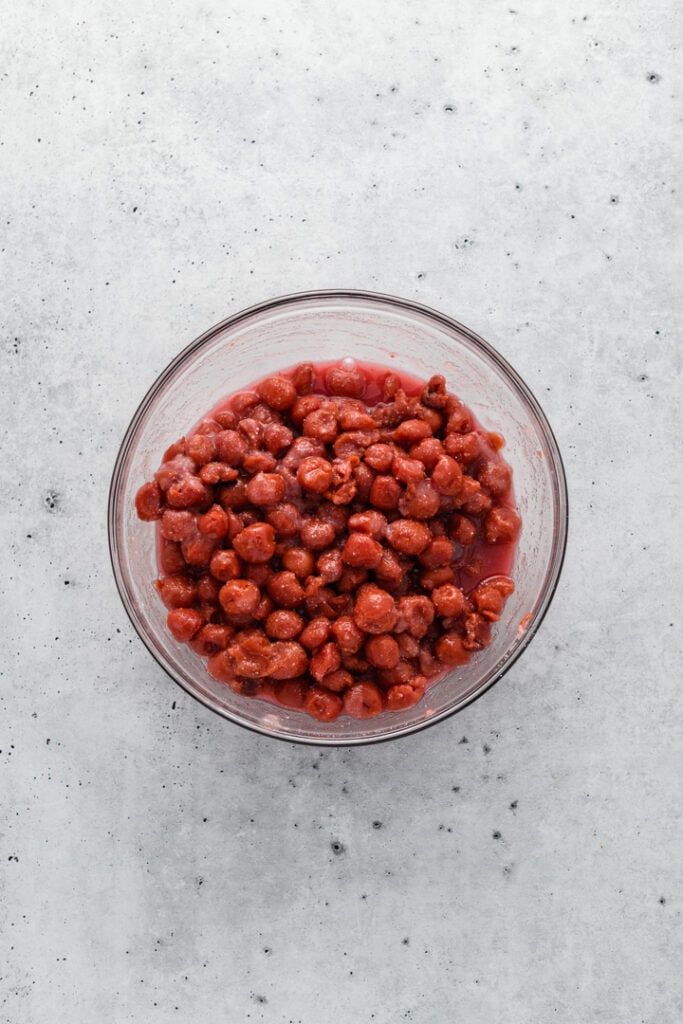
- In a large bowl, combine the sugar, flour, tapioca powder, and cinnamon.
- Add the almond extract, cherry liqueur (if using), and drained cherries. Toss gently until evenly coated.
- Let sit for 30 minutes to allow the sugar and tapioca to draw out excess moisture.
- Drain the cherries again through a sieve and discard the liquid (this step prevents a runny filling). Return cherries to the bowl.
Assemble the Pie
- Remove the chilled pie crust from the refrigerator.
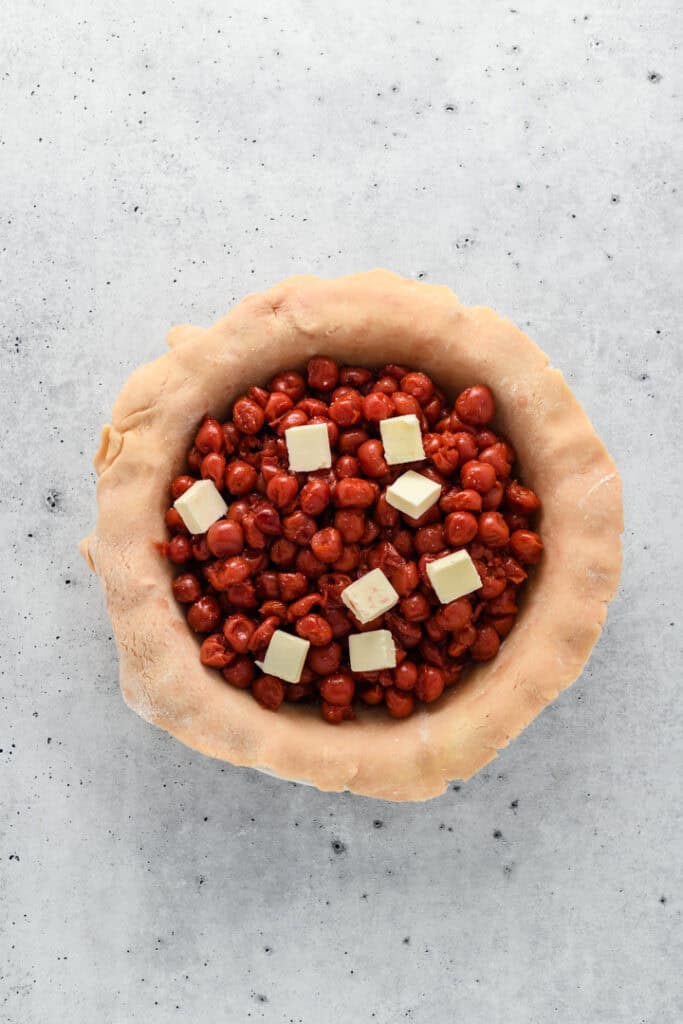
- Sprinkle 1 tablespoon fine breadcrumbs (or almond flour) evenly over the bottom crust. This thin layer absorbs the first juices released by the cherries and helps keep the bottom crust crisp.
- Pour the cherry filling into the crust and scatter the butter cubes over the top.
- Roll the second dough round onto a rolling pin, then unroll it over the filling.
- Press the top and bottom crusts together and trim the overhang to 1/2 inch beyond the pie plate edge. Tuck the edges under and crimp.
- Freeze the assembled pie for 30 minutes.
- Cut several vent slits in the top crust. Brush with egg wash and sprinkle with turbinado sugar.
Bake
- Place the pie directly on the preheated baking sheet.
- Bake until the crust begins to turn light golden, about 30 minutes.
- Reduce the oven temperature to 350°F, rotate the pie, place foil loosely on top and continue baking until the crust is deep golden brown and the filling is thickly bubbling, about 30–40 minutes longer.
Cool
- Cool for at least 4 hours (or overnight) before slicing to allow the filling to fully set. Serve with whipped cream or vanilla ice cream.
Notes
Storage: At room temperature: Store the fully cooled pie loosely covered at room temperature for up to 2 days. This helps maintain a crisp crust.
Refrigerator: For longer storage, cover and refrigerate for up to 4–5 days. Note that the crust will soften slightly.
Freezer: Wrap the fully cooled pie tightly in plastic wrap and foil, then freeze for up to 3 months. Thaw overnight in the refrigerator before reheating.
Nutrition Information:
Yield: 8 Serving Size: 1Amount Per Serving: Calories: 257Total Fat: 15gSaturated Fat: 6gTrans Fat: 0gUnsaturated Fat: 8gCholesterol: 45mgSodium: 179mgCarbohydrates: 25gFiber: 1gSugar: 4gProtein: 6g
*Nutrition information is an estimate and will vary.*


Leave a Reply