As an Amazon Associate, I earn from qualifying purchases.
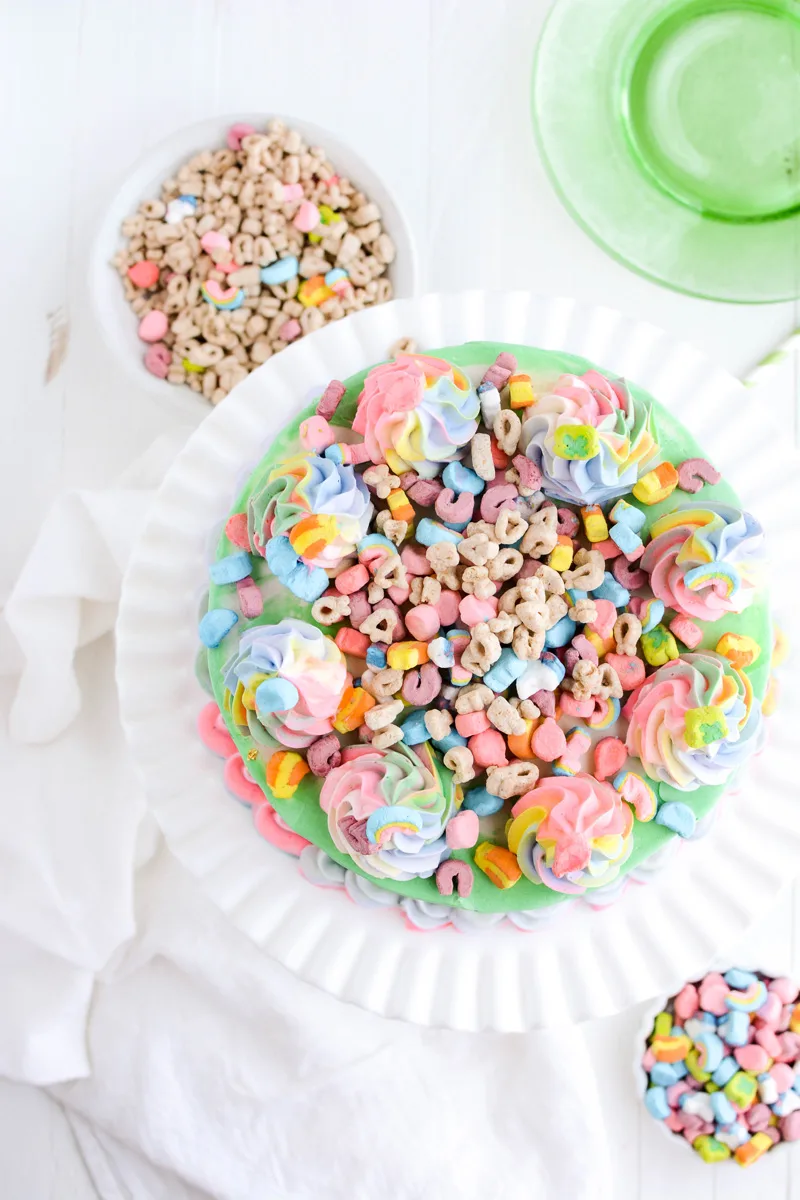
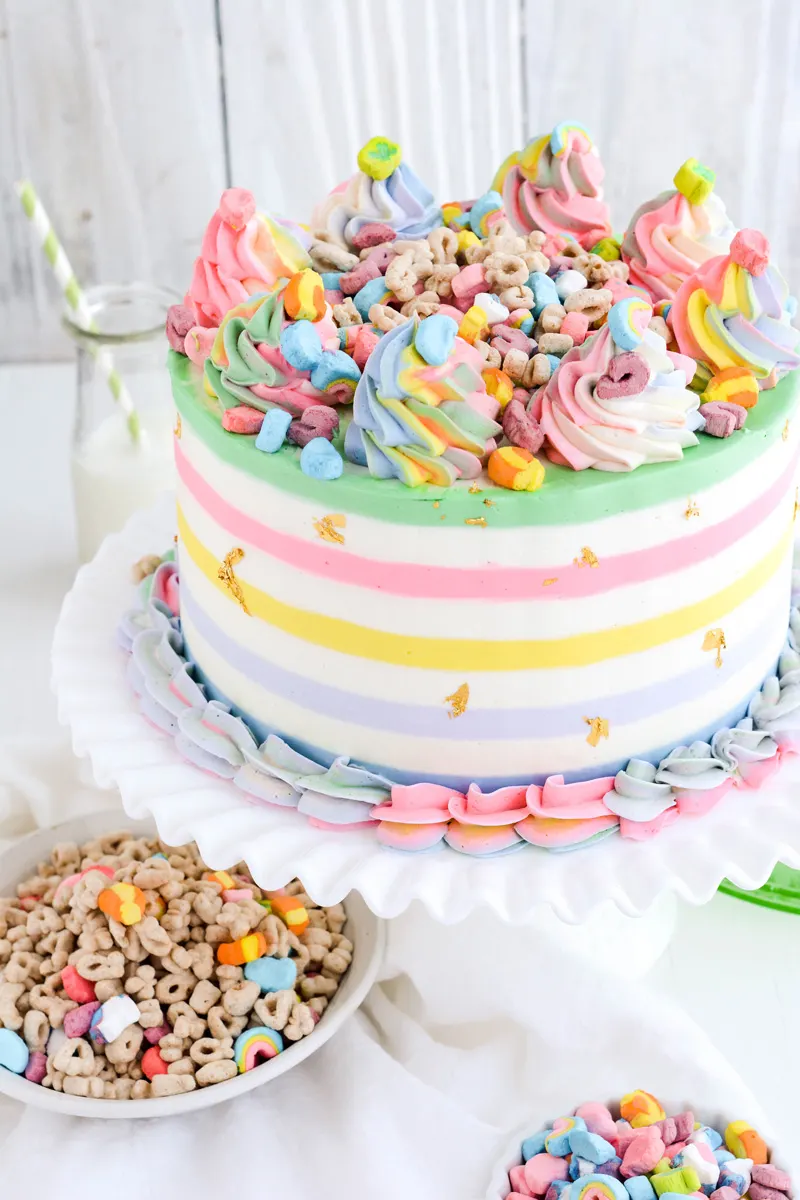
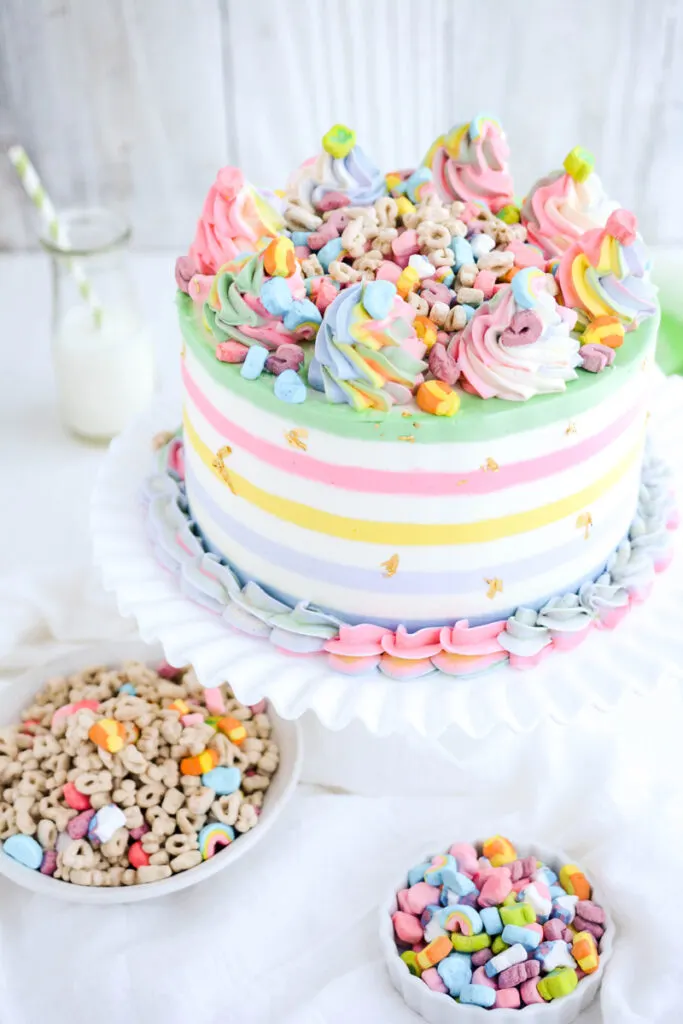
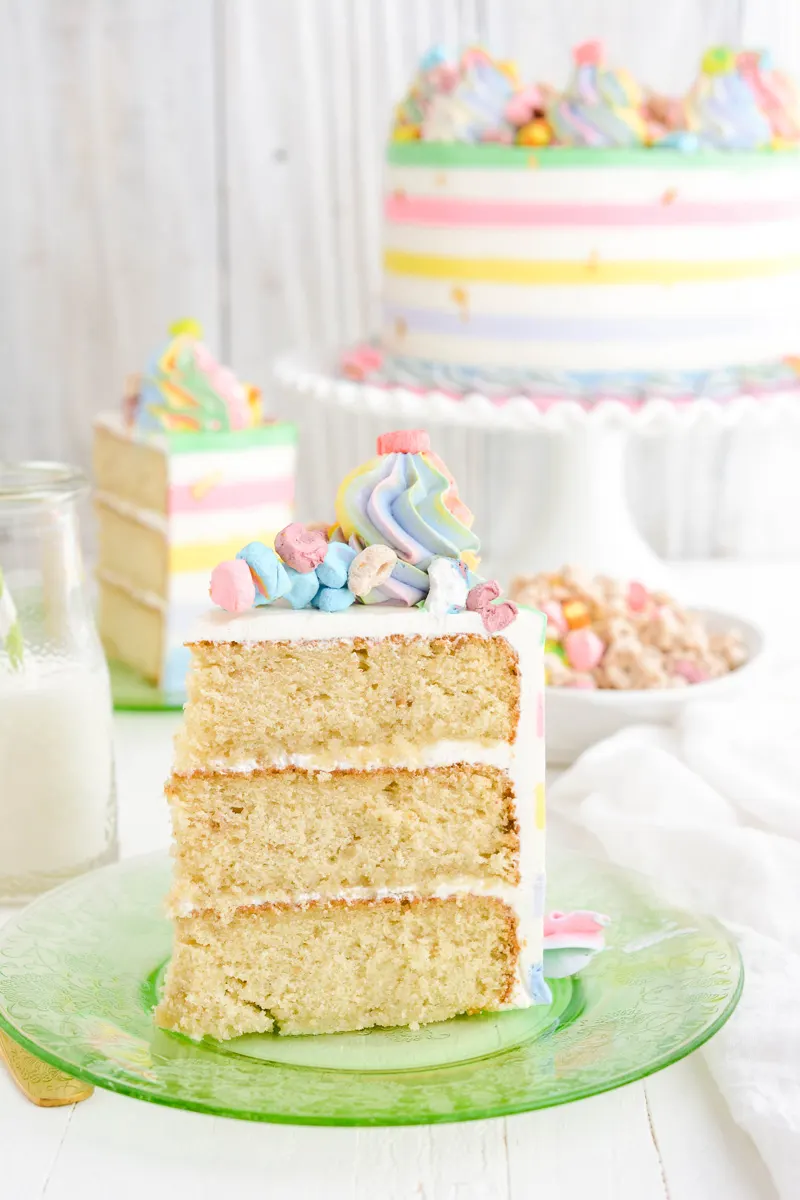
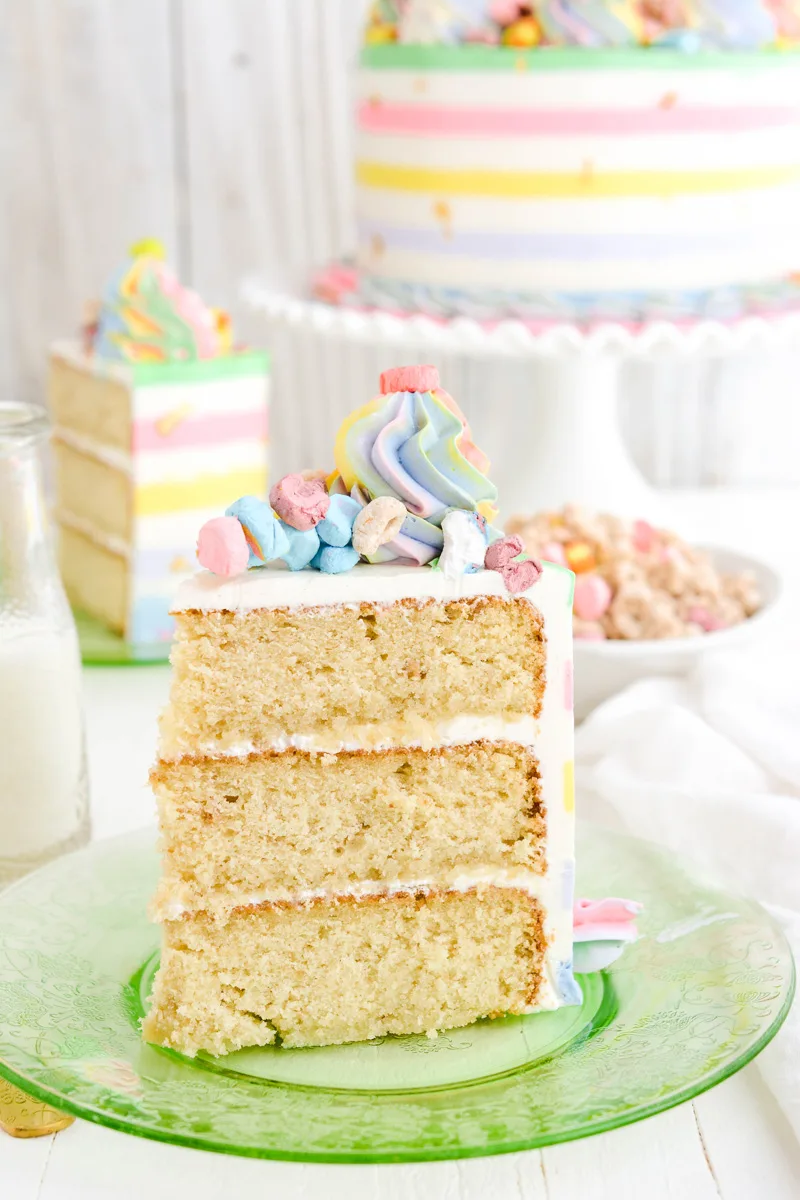
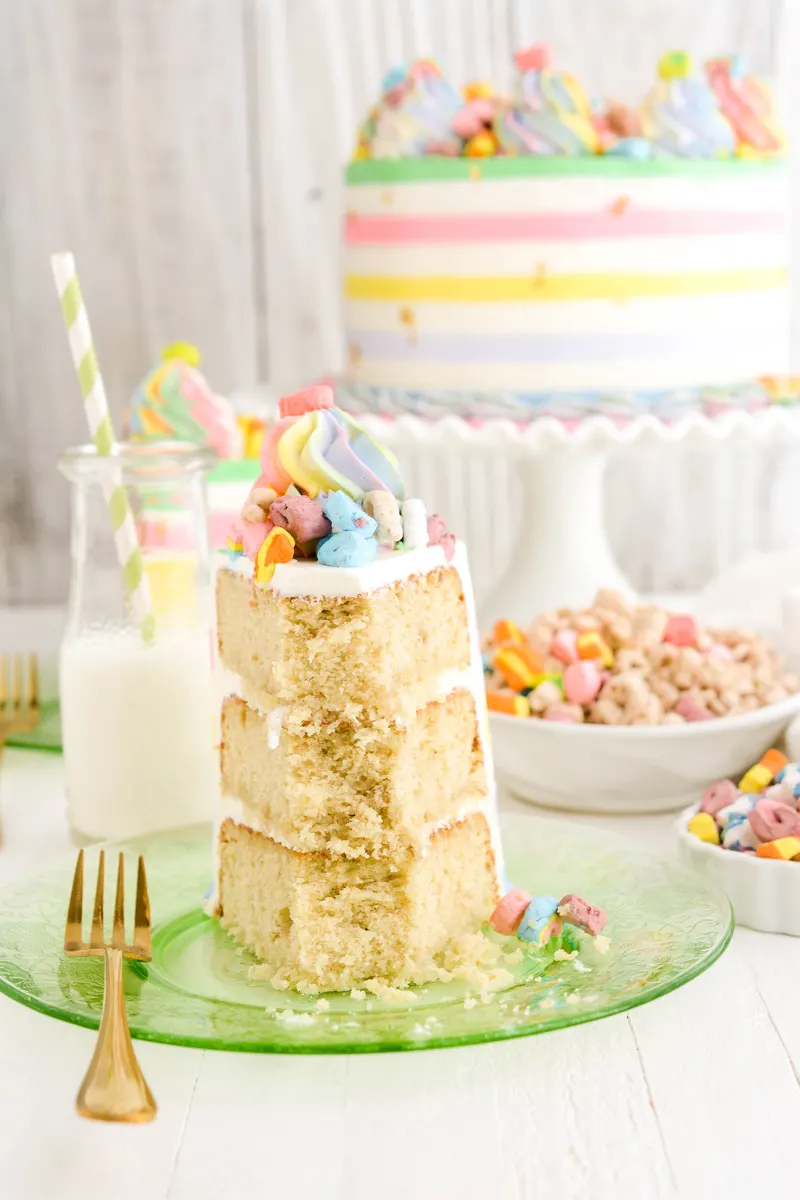
Here’s one of my favorite childhood cereals in cake form. My version of Lucky Charms Layer Cake has three moist and fluffy layers of Lucky Charms cake, filled with marshmallow filling.

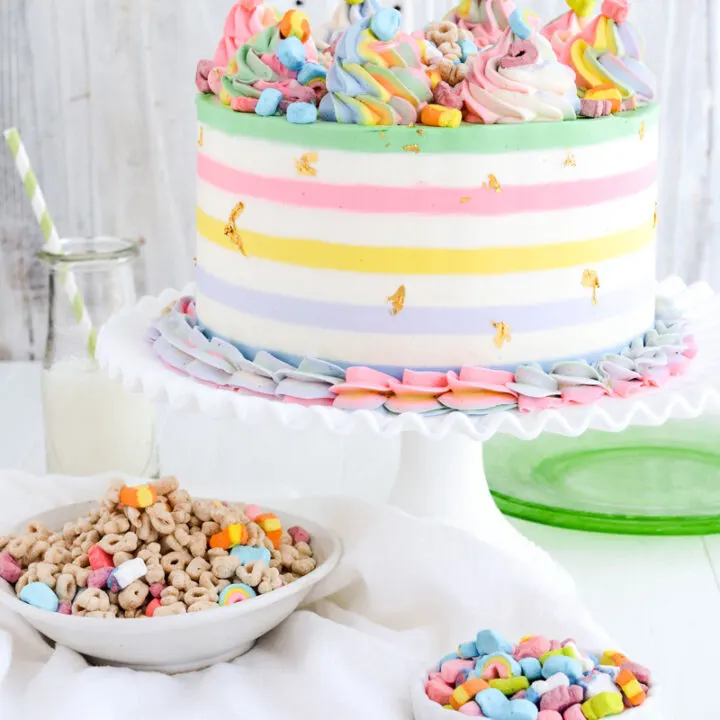
For the cake decoration I used a marshmallow flavored bakery-style frosting and colored some of the frosting with gel food colors to match the marshmallows in the cereal.
Reverse Creaming
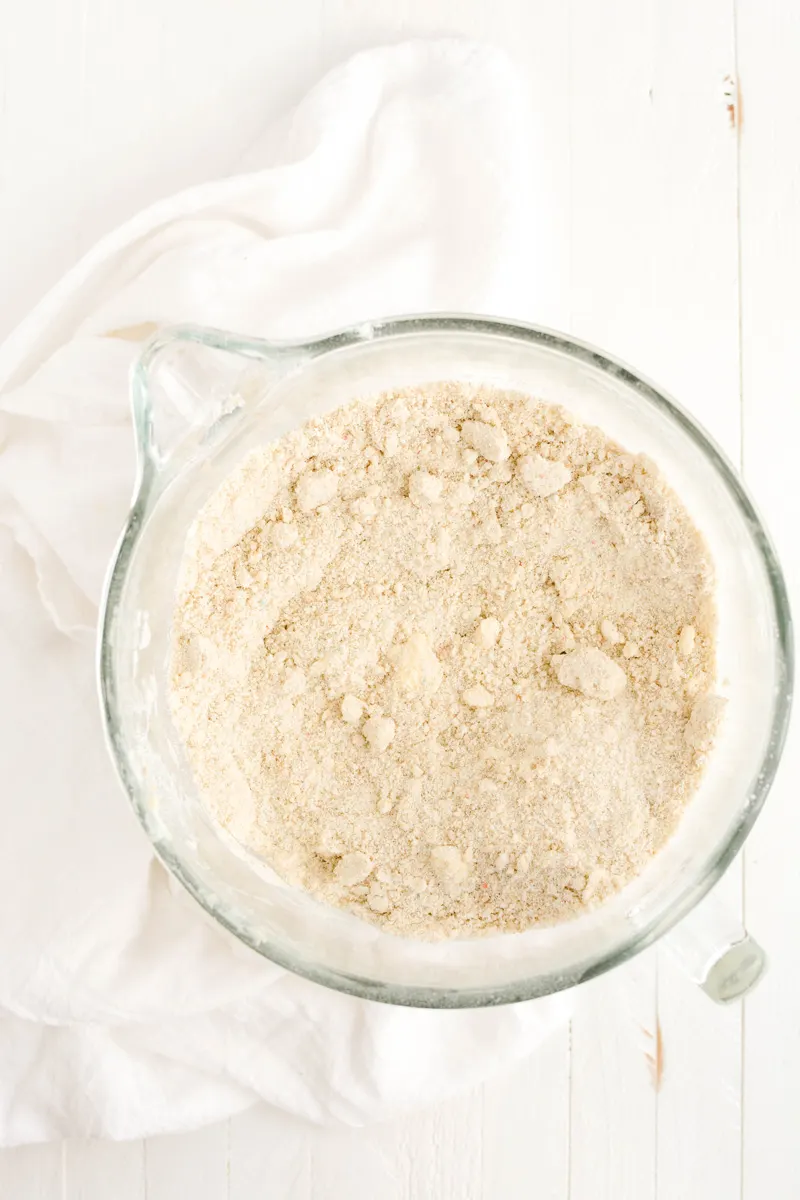
For this cake I opted for the reverse creaming method. Reverse creaming is when you combine all the dry ingredients together first, then add the softened butter in next. Lastly, the wet ingredients are added. This method creates a tender but sturdy cake with an ultra fine cake crumb.
Cake Assembly Tips
- Trim cake layers so they are level.
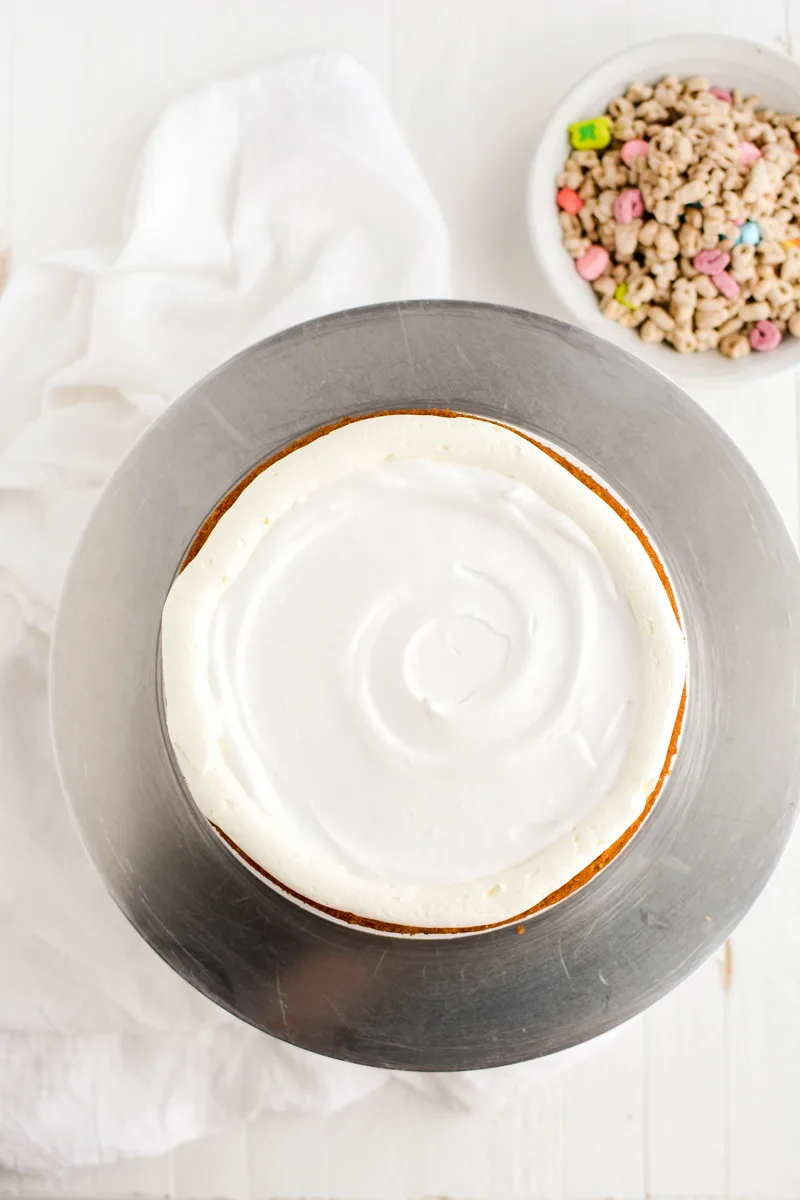
- Use a frosting dam to keep filling inside of the cake.
- Don’t overfill your cake. The marshmallow filling in this cake can get slippery if overfilled. I used 1/2 cup marshmallow filling in each layer.
- Make sure your cake layers are centered on the cake board. This is super important for frosting the cake using the acrylic disc method.
- Use a crumb coat and chill.
Frosting Colors
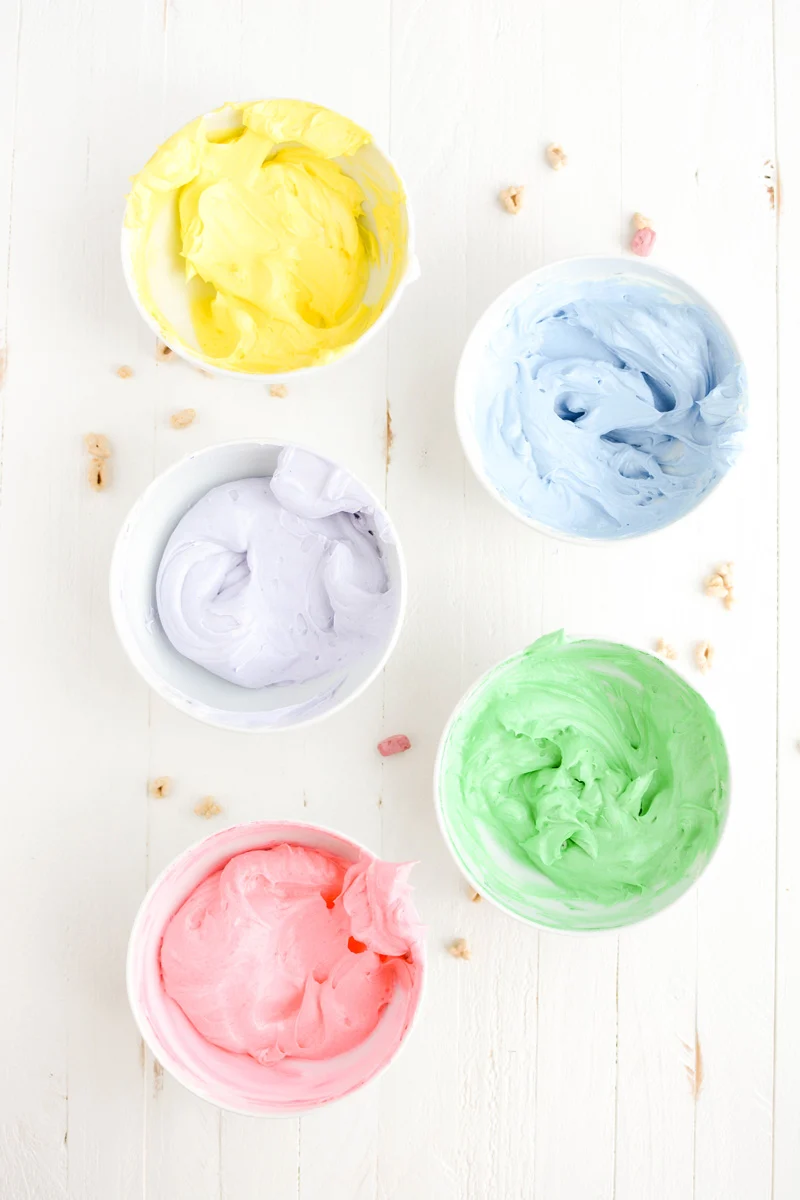
I used Americolor gel food colors for this cake. Gel colors are helpful because they add rich color without adding liquid which can change the consistency of your frosting.
Cake Decorating Tips
- Start with a well chilled crumb coated cake.
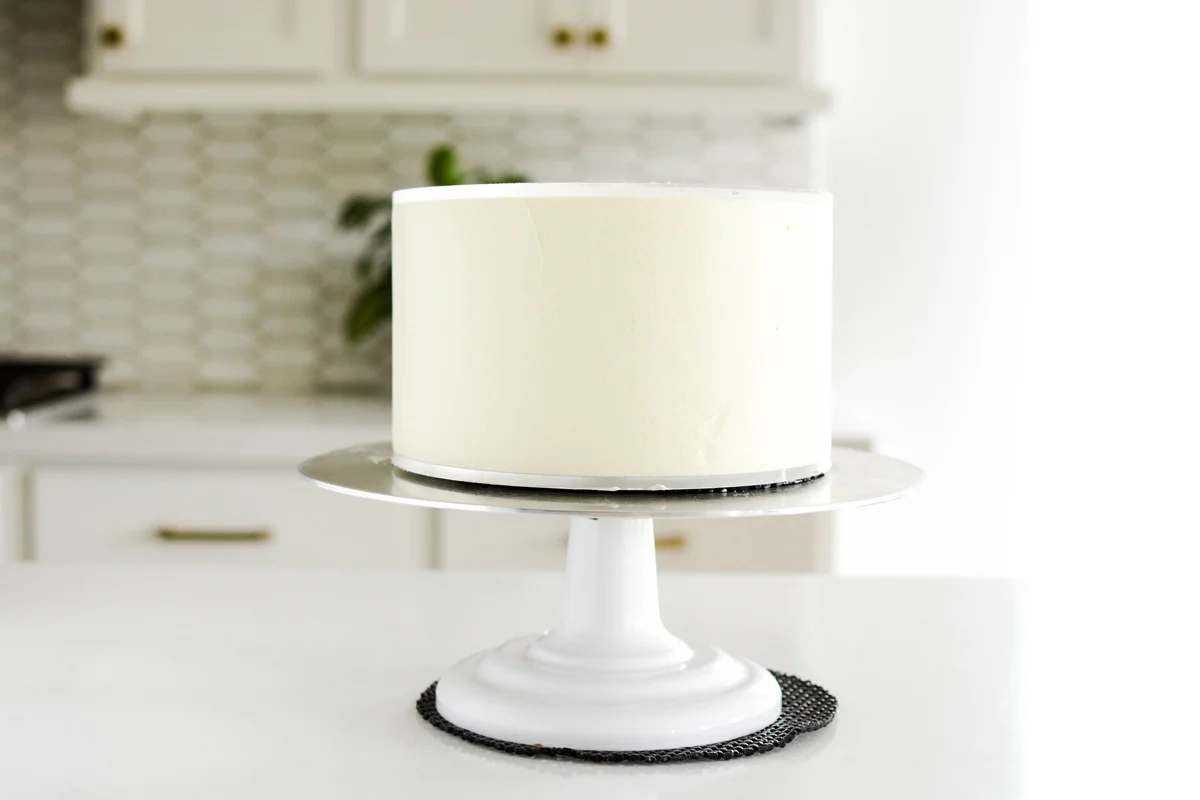
- Use 2 8.25-inch round acrylic discs to create a smooth and evenly frosted cake.
- Chill the cake for a few minutes before removing the top acrylic disc.
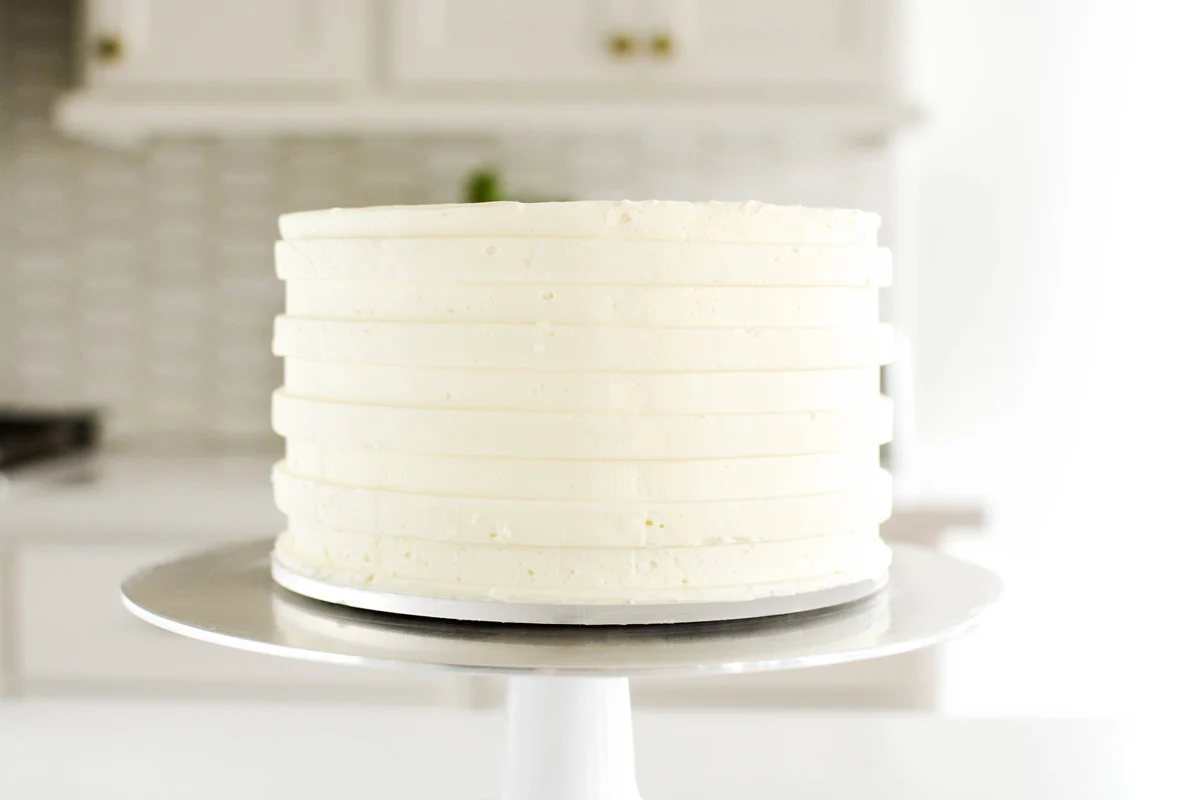
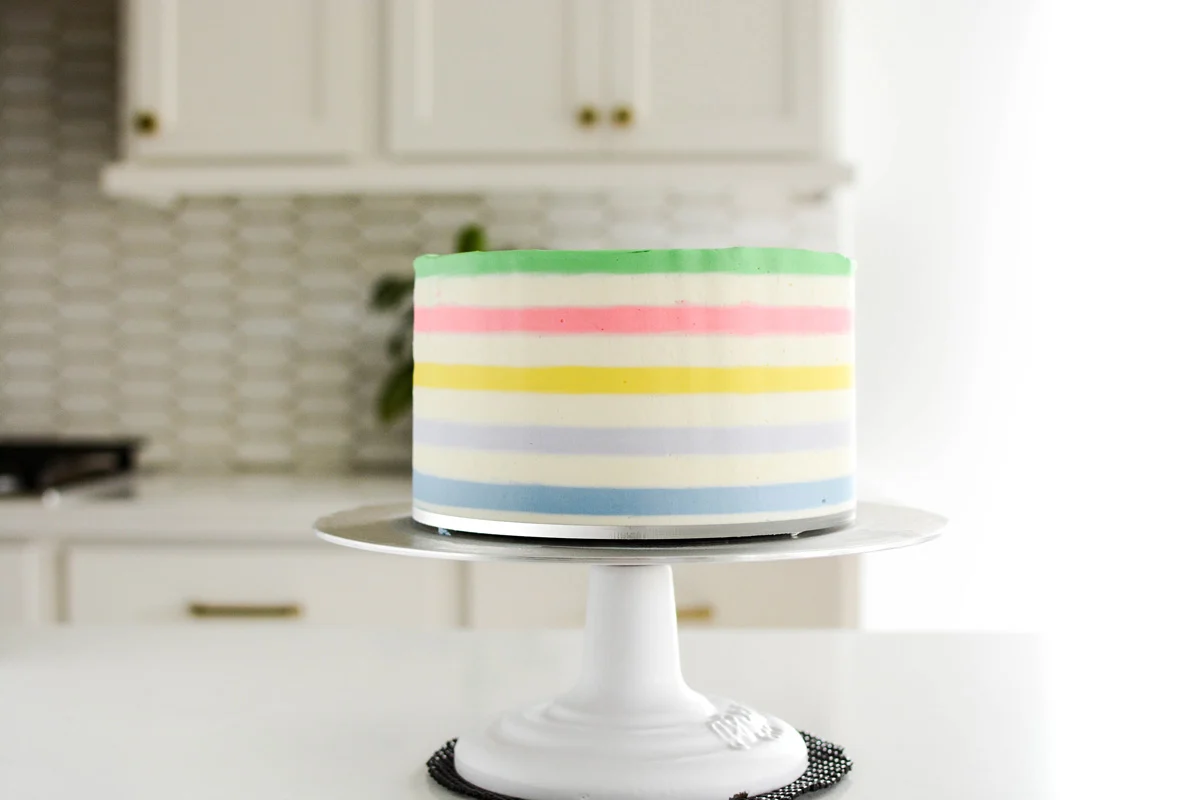
- Use a cake comb to etch in frosting rows where the colored frostings will be piped in.
- Chill the cake well before piping colored frosting into the rows.
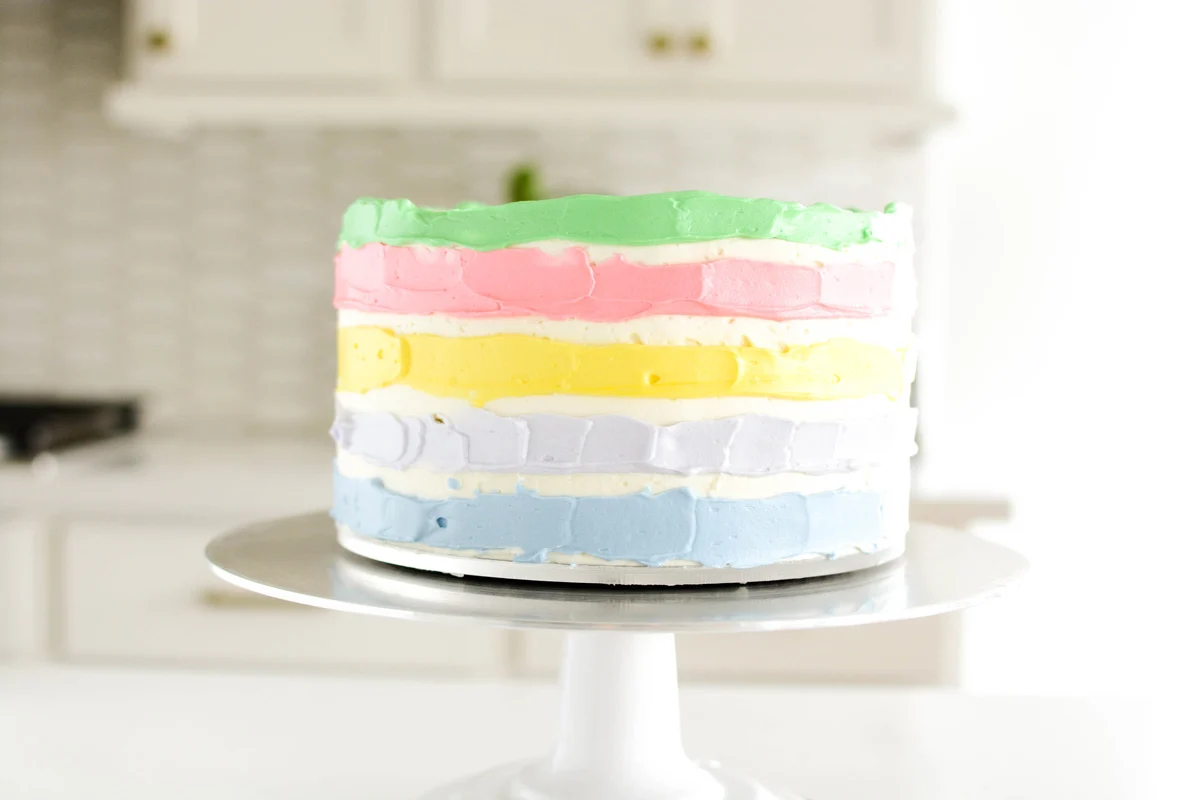
- Pipe colored frosting into the etched rows. Then gently press in the colored frostings into the rows with a clean small offset spatula to reduce air bubbles.
- Use a cake scraper to smooth out the frostings. Clean your cake scraper with every scrape. Fill in any gaps with more frosting and scrape again until the frosting is smooth. Be careful with how many scrapes you do. The more you scrape, the more the frostings will run together.
Cake Decorating Tools
- Nonslip mat (for cake turntable)
- Cake turntable
- 8-inch round cake board
- Piping bags
- Couplers (6)
- Small offset cake spatula
- 2 8.25-inch acrylic disc
- Parchment paper
- Cake comb
- Smooth cake scraper
- Gel food color
- Ateco piping tip #828
Lucky Charms Layer Cake Baking Schedule
- Day 1: Bake cake layers and prepare simple syrup.
- Day 2: Make filling and prepare frosting, assemble, decorate and serve.
Make Ahead
- Simple syrup can be made up to 1 week in advance, stored in an airtight container in the refrigerator.
- Cake layers can be made up to 3 days in advance, wrapped in plastic wrap in an airtight container in the refrigerator.
- Marshmallow filling is best made the day of assembly.
- Frosting is best made the day of assembly.
Cake Storage
Assembled cake can be store in an airtight container in the refrigerator for up to 3 days. Bring to room temperature before serving.
Let’s Connect
The Cake Chica is on the following social media platforms below. Click subscribe, like and follow! We would love to have you over!
Suggested Recipes
Adapted from Sugar & Sparrow
Lucky Charms Layer Cake
Three moist and fluffy layers of Lucky Charms Cake filled with marshmallow filling and decorated with colorful frosting stripes and Lucky Charms cereal.
Ingredients
SPECIAL TOOLS
- Sieve
- 3 8-inch round cake pans
- Nonstick baking spray
- Stand mixer
- 4 cup liquid measuring cup
- Candy thermometer
- Nonslip mat (for cake turntable)
- Cake turntable
- 8-inch round cake board
- Piping bags
- Couplers (6)
- Small offset cake spatula
- 2 8.25-inch acrylic disc
- Parchment paper
- Cake comb
- Smooth cake scraper
- Americolor gel food color: Periwinkle, Soft Pink, Lemon Yellow, Lilac and Leaf Green
- Ateco piping tip #828
CEREAL MILK
- 2 cups whole milk
- 2 cups (3 ounces/72 grams) Lucky Charms cereal
CAKE
- 3 cups (4.5 ounces/108 grams) Lucky Charms cereal, finely processed in a food processor (should equal 1 cup ground cereal, but measure for accuracy and discard extra grounds)
- 3 3/4 cups (15 ounces/398 grams) cake flour
- 2 cups (14 ounces/396 grams) granulated sugar
- 1 tablespoon baking powder
- 3/4 teaspoon baking soda
- 1 1/2 teaspoons salt
- 1 1/8 cups (18 tablespoons) unsalted butter, cut into tablespoon sized pieces, at room temperature
- 5 large eggs, at room temperature
- 1 tablespoon vanilla extract
- 1 teaspoon marshmallow flavoring
- 1/2 cup sour cream
- 1 1/2 cups Cereal Milk
SIMPLE SYRUP
- 1/2 cup (3.5 ounces) granulated sugar
- 1/2 cup water
- 2 tablespoons cake flavored vodka (optional)
MARSHMALLOW FILLING
- 1/2 cup (3.5 ounces) granulated sugar
- 1/8 teaspoon cream of tartar
- 1/4 cup water
- 2 large egg whites
- Pinch salt
- 1 teaspoon vanilla extract
BAKERY-STYLE BUTTERCREAM
- 2 cups (32 tablespoons/450 grams) unsalted butter, at room temperature
- 1/2 cup (100 grams) shortening
- Pinch of salt
- 6 1/2 cups (26 ounces/820 grams) powdered sugar, sifted
- 1 cup heavy cream
- 1/2 teaspoon marshmallow flavoring
Instructions
CEREAL MILK
- Pour the milk over the cereal and let sit for 15 minutes. Strain out the cereal with a sieve and reserve the milk for the cake.
CAKE
- Adjust an oven rack to the center position and heat oven to 350 degrees. Spray 3 8-inch round cake pans with nonstick baking spray and set aside.
- In the bowl of a stand mixer fitted with the paddle attachment, combine the ground cereal, flour, sugar, baking powder, baking soda and salt.
- Add the butter into the dry ingredients by tablespoon sized pieces and mix until combined. Mixture should resemble wet sand.
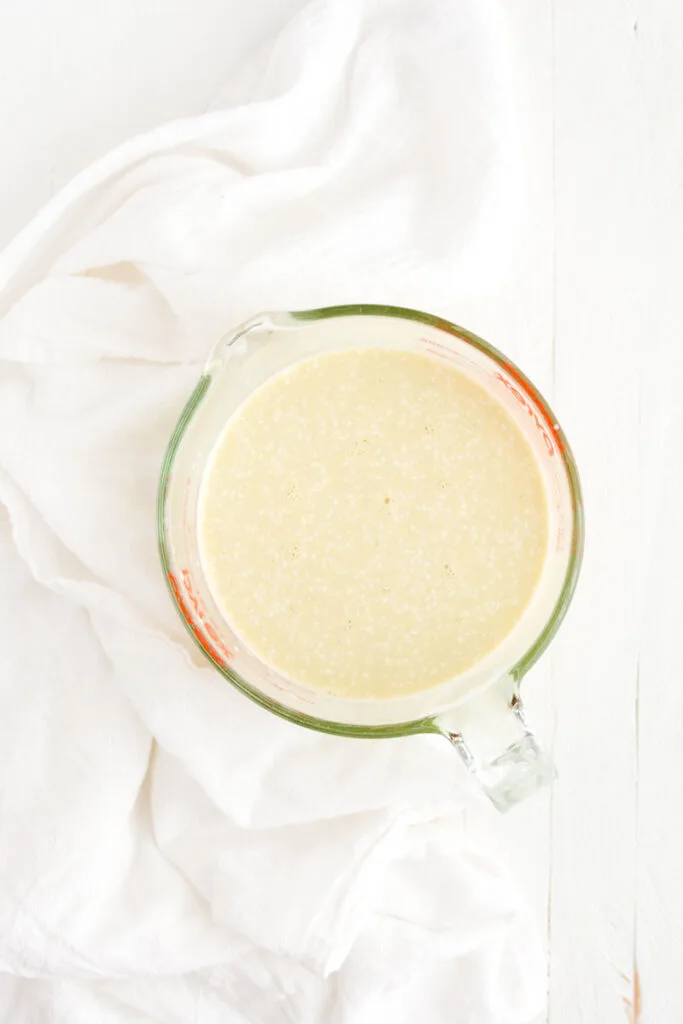
- In a 4 cup liquid measuring cup combine the eggs, vanilla extract, marshmallow flavoring, sour cream and Cereal Milk. Pour half of the egg mixture into the dry ingredients and beat on medium-high speed for 1 minute. Pour the remaining egg mixture into the mixer bowl and mix on low speed for 30 seconds. Don’t over mix.
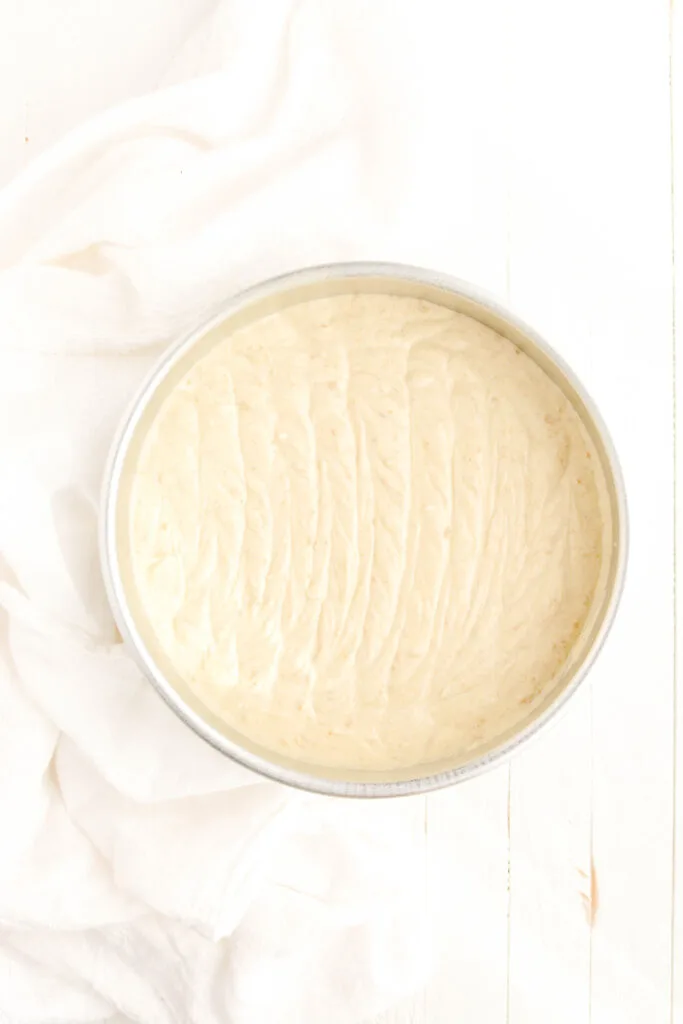
- Divide the cake batter between prepared cake pans and bake for 35 to 40 minutes, or until a toothpick inserted in the center comes out with a few moist crumbs attached.
- Let cakes cool in their pans for 10 minutes, then invert onto cooling racks to cool completely.
SIMPLE SYRUP
- In a small saucepan over medium heat, bring the sugar and water to a boil.
- Cook until all the sugar has dissolved and syrup begins to thicken, about 2 minutes. Remove the pan from the heat and stir in flavored vodka it using. Let syrup cool completely.
MARSHMALLOW FILLING
- In a small saucepan combine the sugar, cream of tartar, and water and bring to a boil over medium heat. Cover the saucepan with a lid and continue to cook for 2 minutes. Uncover the saucepan and continue to boil the sugar until the syrup reaches 242 degrees on a candy thermometer.
- While the sugar syrup is coming to temperature, combine the egg whites and salt in the bowl of a stand mixer fitted with the whisk attachment. Beat on low speed, gradually increasing the speed to medium-high speed. Continue to beat the egg whites until soft peaks form. If your syrup is close to reaching 242 degrees, continue to whip the eggs whites to firm peaks. If your syrup is not close to reaching temperature then let the egg whites wait at soft peaks before whipping them to firm peaks as the syrup approaches temperature.
- Once the sugar syrup has reaches 242 degrees and the egg whites have been whipped to firm peaks, run the mixer at medium-high speed while slowly pouring the syrup down the inside of the mixer bowl. Continue whipping until the frosting has become thick and holds stiff peaks, about 5 minutes. Add vanilla extract and marshmallow flavoring and whip to combine.
BAKERY-STYLE FROSTING
- In the bowl of a stand mixer with the paddle attachment attached, beat the butter, shortening and salt on medium speed until light and fluffy, about 8 minutes. Add the powdered sugar, heavy cream, and marshmallow flavoring and slowly mix until combined, about 1 minute.
- Increase the mixer speed to medium-high and beat until light and fluffy, about 6 minutes.
ASSEMBLE CAKE
- Trim the cake tops so they are level. Brush cake layers with Simple Syrup and let the cakes sit for 15 minutes to absorb the syrup.
- Place a nonslip mat on top of your cake turntable. Place an 8.25-inch acrylic disc on top and attach an 8-inch cake board on top of the acrylic disc with a bit of frosting. Spread a small amount of frosting in the center of the cake board to act as glue for the cake. Center one cake layer on the cake board.
- Fit a piping bag with a coupler and fill the piping bag with about 1 cup frosting. Pipe a frosting dam around the edge of the cake. Spread about 1/2 cup marshmallow filling over the top with an offset cake spatula, smoothing the frosting out all the way to the frosting dam.
- Place the second cake layer on top and pipe another frosting dam around the edge. Spread another 1/2 cup marshmallow filling on top in an even layer, spreading it all the way to the frosting dam. Place the last cake layer on top (bottom side up) and gently press down to adhere.
CRUMB COATING
- Pipe the remaining frosting in the piping bag on to the top of the cake and with an offset cake spatula, spread a thin layer of frosting over the top and sides of the cake, catching any loose crumbs and sealing them in. Freeze the cake for 15 minutes or refrigerate for 30 minutes.
FROSTING AND DECORATING
- Apply a large dollop of frosting on top of the cake and spread out evenly. Line an 8.25-inch round acrylic disc with parchment paper, attaching the paper with a bit of frosting. Line up the acrylic disc with the bottom acrylic disc and gently press on to the top of the cake to adhere (parchment side down).
- Add more frosting to the sides of the cake, making sure to cover the bottom disc completely, and gently press a flat sided cake scraper against the top and bottom acrylic disc. Slowly rotate the cake turntable all the way around to smooth the sides of the cake. Chill the cake in the freezer for 10 minutes or refrigerator for 20 minutes. Carefully insert an offset spatula under the acrylic disc but over the parchment paper and slowly rotate the cake turntable until the disc releases. Peel off the parchment paper. Using a cake comb, gently touch the bottom and top acrylic disc with the cake comb and carefully rotate the cake turntable to create indentations for the colored strip frosting. Freeze or refrigerate the cake while you prepare the colored frostings and piping bags.
- Set aside 5 prep bowls and place about 3/4 cup of frosting in each. Color each bowl of frosting with a AmeriColor gel colors: Periwinkle, Soft Pink, Lilac, Lemon Yellow and Leaf Green.
- Fit 5 piping bags with couplers or round piping tips and fill with colored buttercream. After your cake is well chilled, pipe colored frosting in the indentations on the side of the cake, alternating the colors. Use a clean small offset cake spatula to push in each colored frosting into the indentations to reduce air bubbles. Apply a straight edge cake scraper against the bottom acrylic disc and top acrylic disc and rotate the turntable to smooth out the colored frostings. Apply more frosting to fill in any gaps and rotate the turntable with the cake scraper to smooth and stripes appear. You’ll only get a few rounds of this before the frosting starts to run together.
- Apply all remaining colors of frosting into one piping bag fitted with Ateco piping tip #827 and pipe swirls on top. Add festive sprinkles and marshmallows on top for decoration. Carefully transfer to a cake pedestal and serve.
Nutrition Information:
Yield: 12 Serving Size: 1Amount Per Serving: Calories: 594Total Fat: 26gSaturated Fat: 11gTrans Fat: 0gUnsaturated Fat: 13gCholesterol: 154mgSodium: 524mgCarbohydrates: 77gFiber: 3gSugar: 29gProtein: 13g
*Nutrition information is an estimate and will vary.*

