
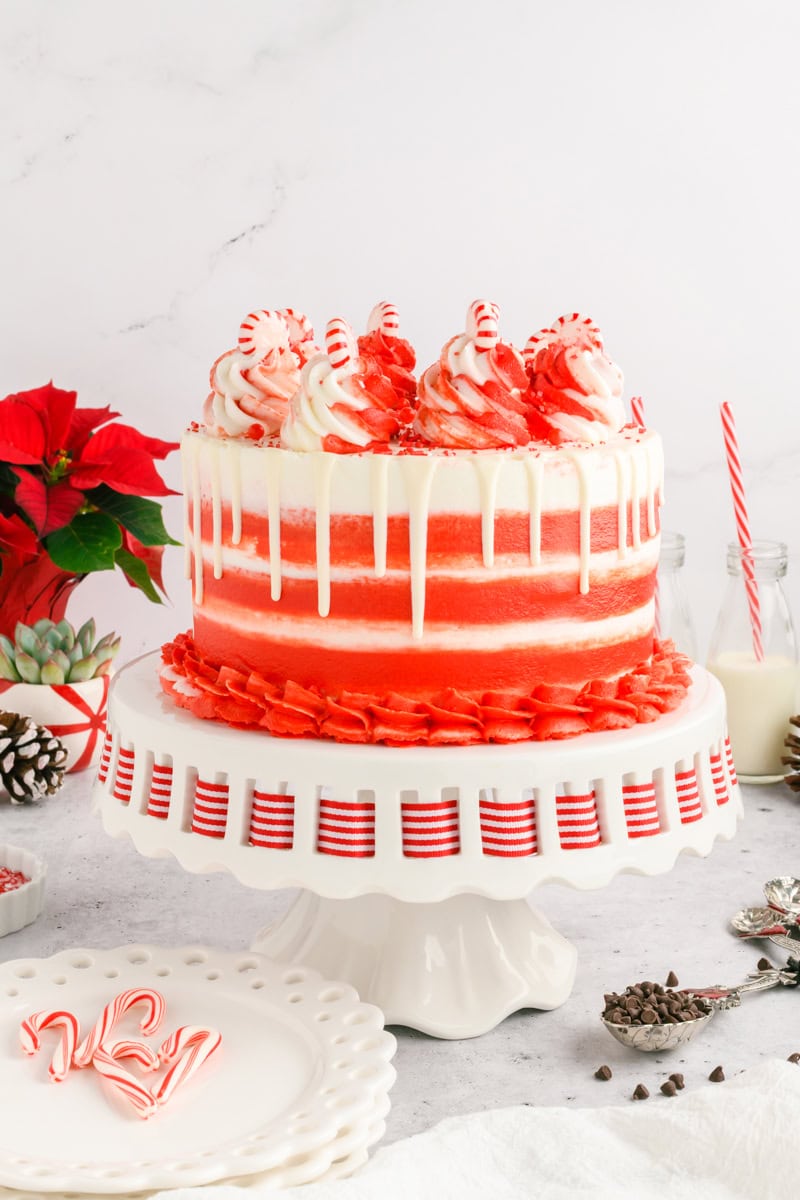
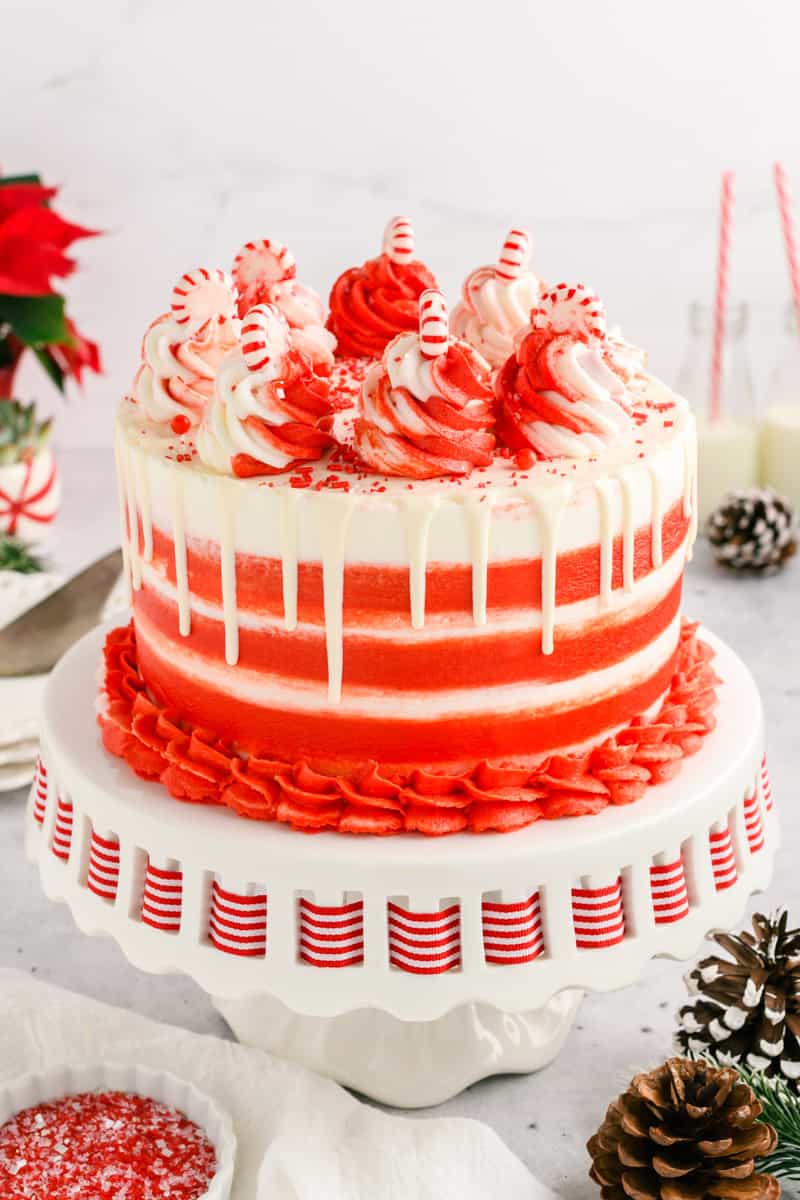
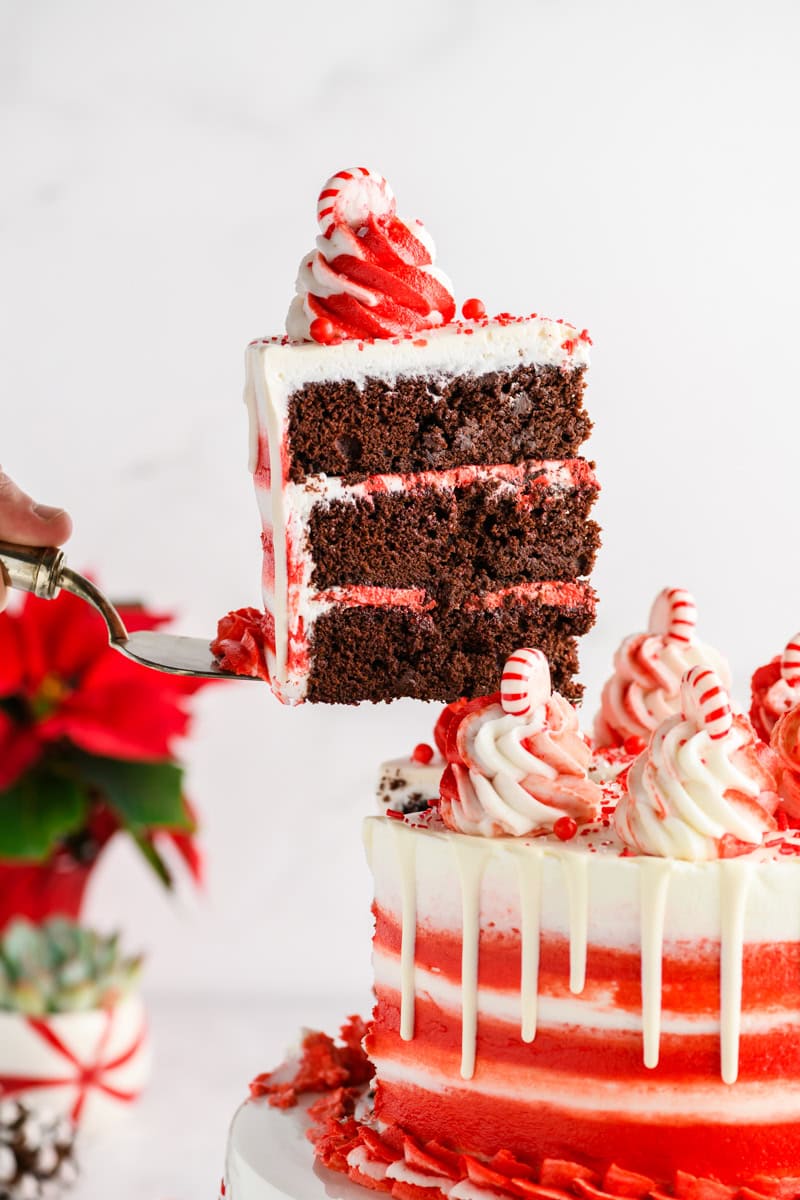
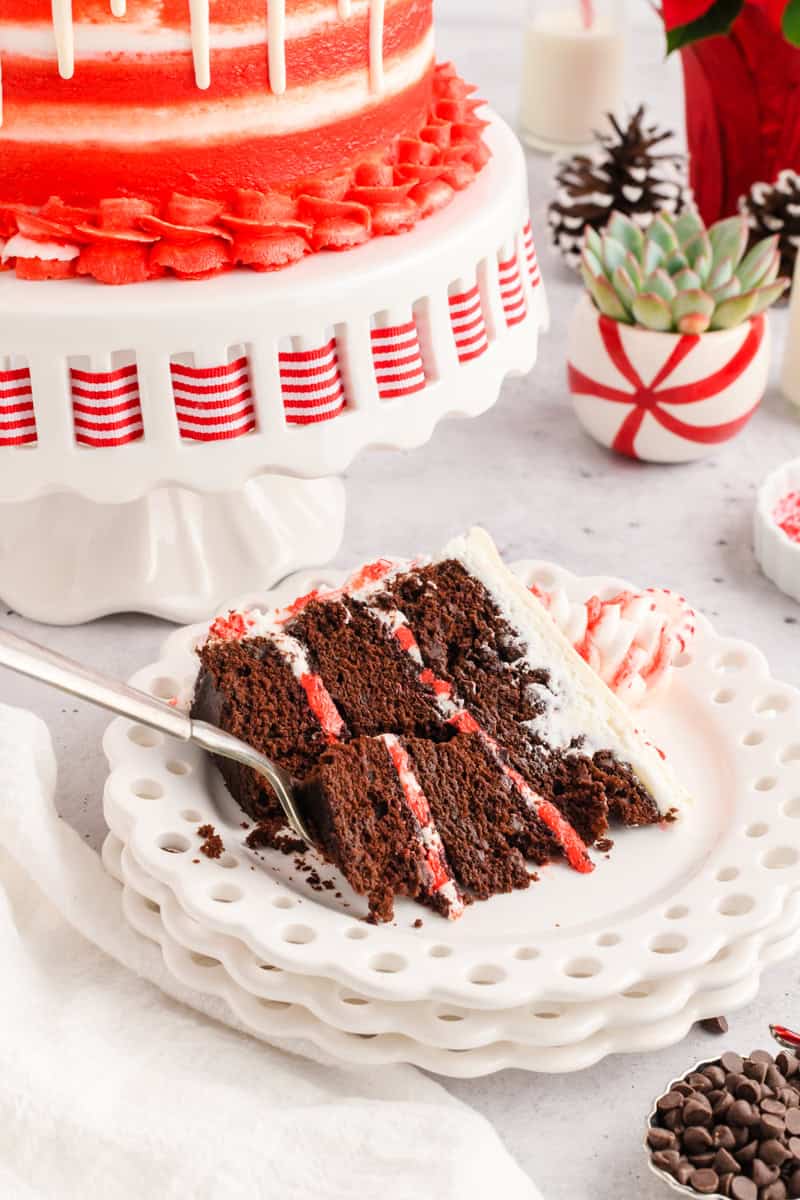
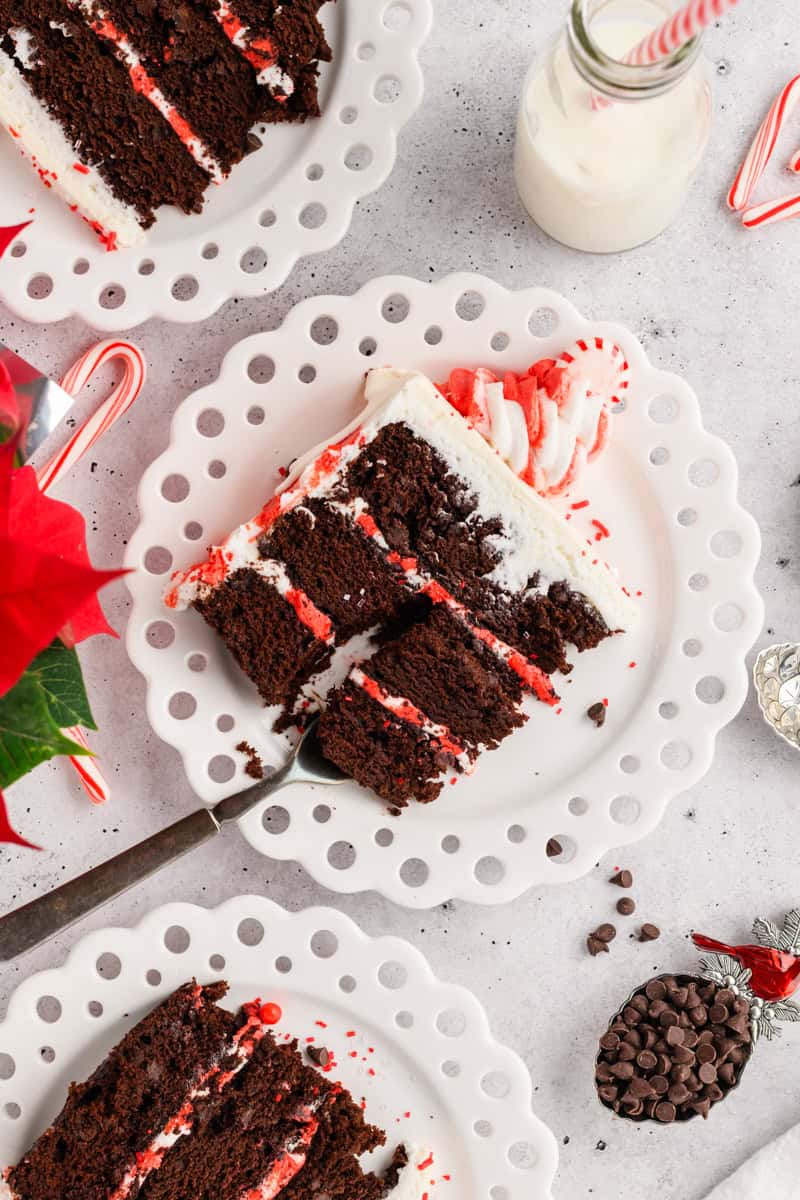
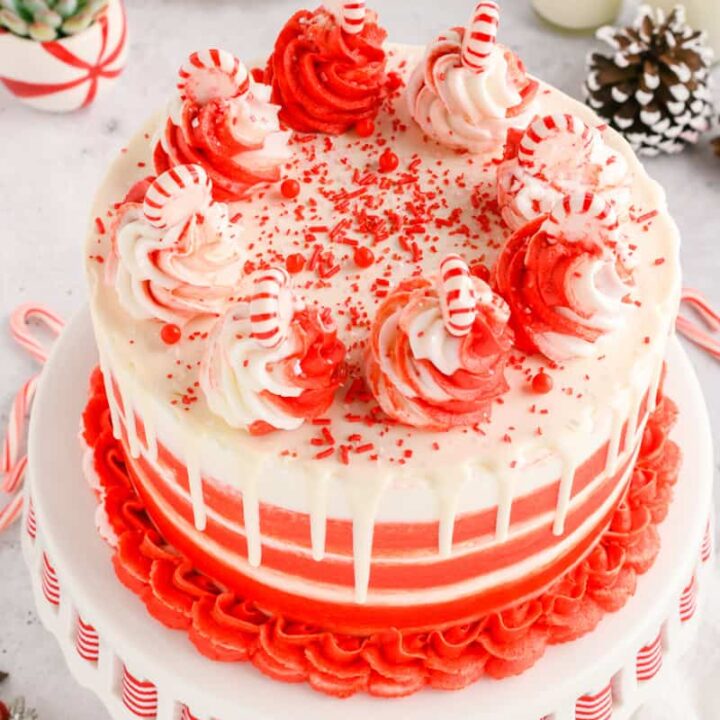
This Chocolate Peppermint Layer Cake is holiday cheer in dessert form. Three rich dark chocolate layers filled with mini chocolate chips, a cool and creamy peppermint buttercream that crusts like a dream, and a glossy white chocolate drip to finish it off. It’s festive, elegant, and perfect for bakers ready to tackle a cake with a little more skill and flair. If you’re looking to impress this season, this is the cake!
AS AN AMAZON ASSOCIATE I EARN FROM QUALIFYING PURCHASES.
Jump to:
Why You'll Love This Recipe
- Holiday friendly flavors
- Make-ahead options
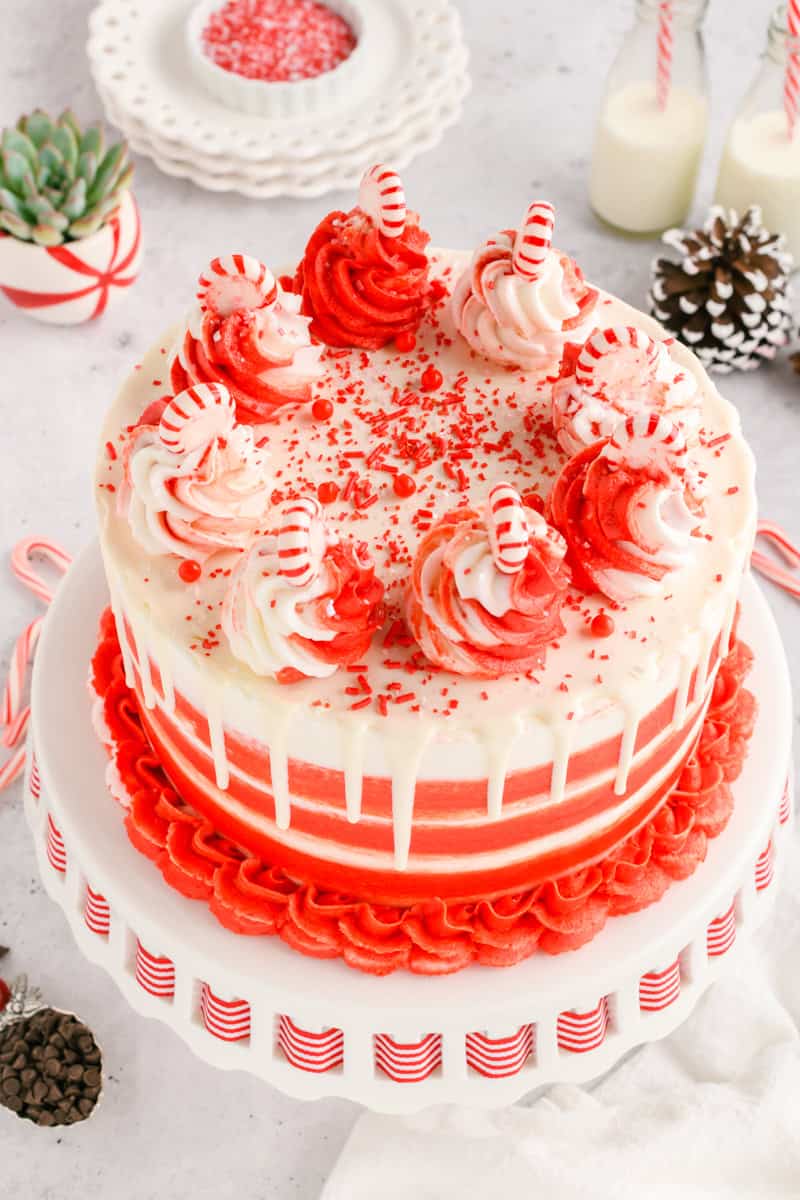
- Stunning presentation
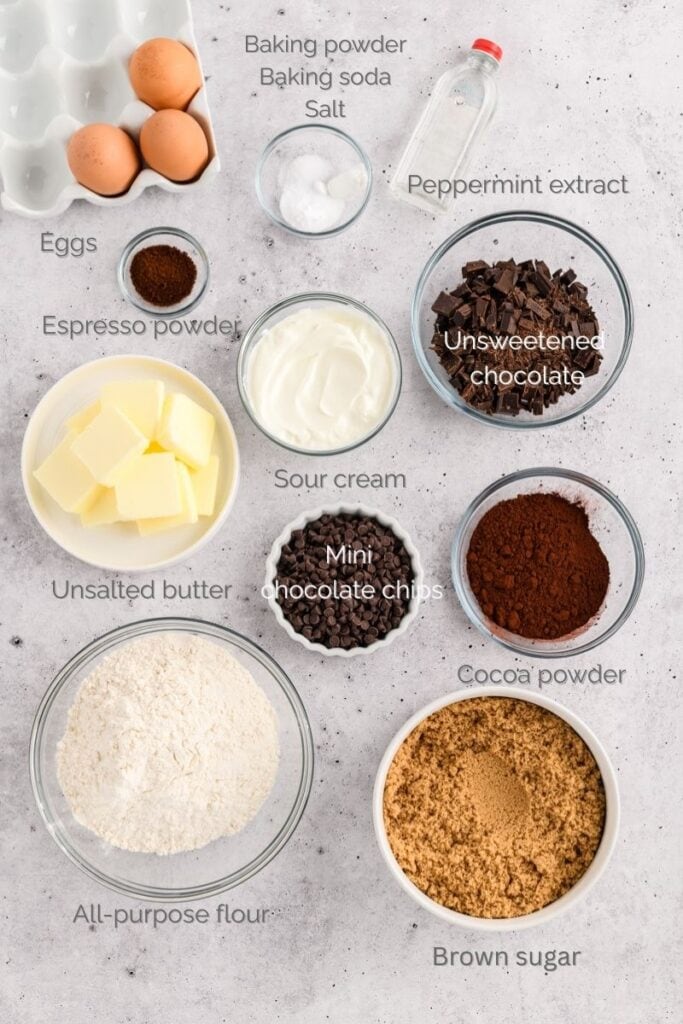
Ingredients Overview
- Dark and rich chocolate cake layers
- Sweet and fluffy peppermint American buttercream
- White chocolate drip
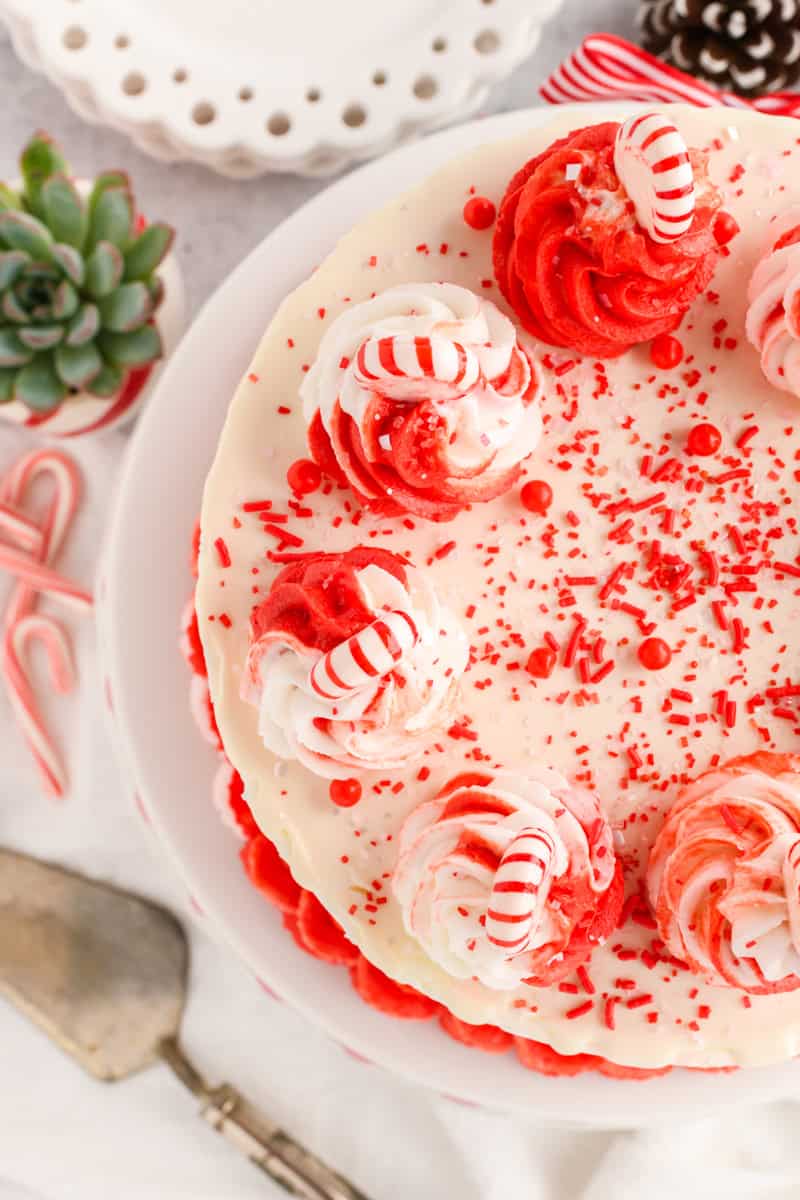
- Festive peppermint decorations
Step-By-Step Instructions
Step 1: Make the Chocolate Cake
- Start with room temperature ingredients
- Don't over mix or over bake for the best texture
Step 2: Make the Peppermint Buttercream
- Peppermint extract is strong, just use a little.
- You can't substitute peppermint extract for mint. It's a completely different flavor.
Step 3: Fill & Assemble the Cake
- The cake layers should be chilled before assembling for best results.
- Make sure your filling is level.
- Be sure to apply a crumb coat and chill the cake before decorating.
Baking Schedule
- Day 1: Bake cake layers
- Day 2: Make buttercream, assembled cake and serve.
Baking and Cake Decorating Tools
Recipe Tips & Tricks
- Having your ingredients all at room temperature helps reduce over mixing.
- Keep a close eye on the cake while it's baking to make sure it doesn't over bake.
- A little peppermint extract goes a long way. Don't use too much.
- It's helpful to use an icing smoother and an acrylic disc to help get nice straight edges.
- Use fresh white chocolate melts for the white chocolate drip. The older the melts the color starts to tarnish and it may have problems melting smoothly.
- Be sure to chop your melts as finely as possible for a smooth chocolate drip.
Cake Storage
Cake layers can be made up to 5 days in advance, wrapped in plastic wrap and stored in an airtight container in the refrigerator. Cake layers can also be frozen for up to one month, wrapped in plastic wrap and then in foil. Thaw cakes at room temperature.
Assembled cake can be stored in the refrigerator for up to 3 days in an airtight container or at room temperature for 1 day.
FAQ's
Yes! The cake bakes beautifully with or without them. If you prefer a smoother crumb, simply omit the chips. You can also swap in finely chopped chocolate for a softer melt.
They shouldn’t. The batter is thick enough to hold them in place.
You can, but the frosting will be softer and less stable—especially for stacking or piping. The 50/50 blend helps the frosting crust properly, hold clean edges, and stay bright white.
No. The butter provides richness, and the peppermint extract balances out the flavor. Once combined, the buttercream tastes creamy, sweet, and refreshing, without a noticeable shortening aftertaste.
Because this is a crusting buttercream, it performs best when made right before assembling and decorating the cake. You can make it a couple of hours ahead, but for best texture and crusting performance, mix it fresh.
Yes! Gel food coloring works best because it won’t thin the frosting. Keep it bright white, tint it light pink, or use red striping in the piping bag for a candy cane effect.
Rewarm the white chocolate drip in the microwave until it is a cool but pourable consistency.
Yes, but melts are more predictable for drip consistency. If using white chocolate chips or bars, add a teaspoon of neutral or coconut oil so it melts smoothly.
Yes!
Cake layers: Make 2–3 days ahead or freeze for up to 1 month.
Buttercream: Best made fresh before decorating because it crusts.
Assembled cake: Once decorated, it can sit refrigerated for up to 24 hours.
Yes. Freeze uncovered for 1 hour to firm the frosting, then wrap well and freeze up to 1 month. Thaw overnight in the fridge, then bring to room temp before serving.
Place slices in an airtight container in the refrigerator for up to 5 days. Bring to room temperature before serving so the chocolate layers and buttercream soften to the ideal texture.
Let's Connect
Want more behind-the-scenes peeks, recipe drops, and food photography inspo? Come hang out with me on Instagram, Pinterest, Facebook and more. I’d love to connect with you there!
Suggested Recipes

Inspired by Cake Confidence by Mandy Merriman from Baking with Blondie
Chocolate Peppermint Layer Cake
Three rich chocolate layers with mini chocolate chips, frosted in cool peppermint buttercream, and finished with a silky white chocolate drip. A festive holiday showstopper.
Ingredients
SPECIAL TOOLS
- 3 8-inch round cake pans
- Nonstick baking spray
- Red gel food coloring
- 8-inch round cake board
- Cake turntable
- 3 Piping bags
- 2 Wilton #12 piping tips
- Icing smoother
- Small offset cake spatula
- Ateco piping tip #827
- Festive sprinkles, for garnish
- Peppermint candies, for garnish
DARK CHOCOLATE PEPPERMINT CAKE
- 1 ½ cups (7.5 ounces) all-purpose flour
- 1 teaspoon baking soda
- ½ teaspoon baking powder
- ¼ teaspoon salt
- 1 ¼ cups boiling water
- 4 ounces unsweetened chocolate, chopped
- ½ cup (1.5 ounces) Dutch processed cocoa powder
- 1 teaspoon instant espresso powder or instant coffee
- 10 tablespoons unsalted butter, softened
- 1 ½ cups (10.5 ounces)packed light brown sugar
- 3 large eggs, at room temperature
- ½ cup sour cream, at room temperature
- 1 teaspoon peppermint extract
- 3/4 cup mini chocolate chips
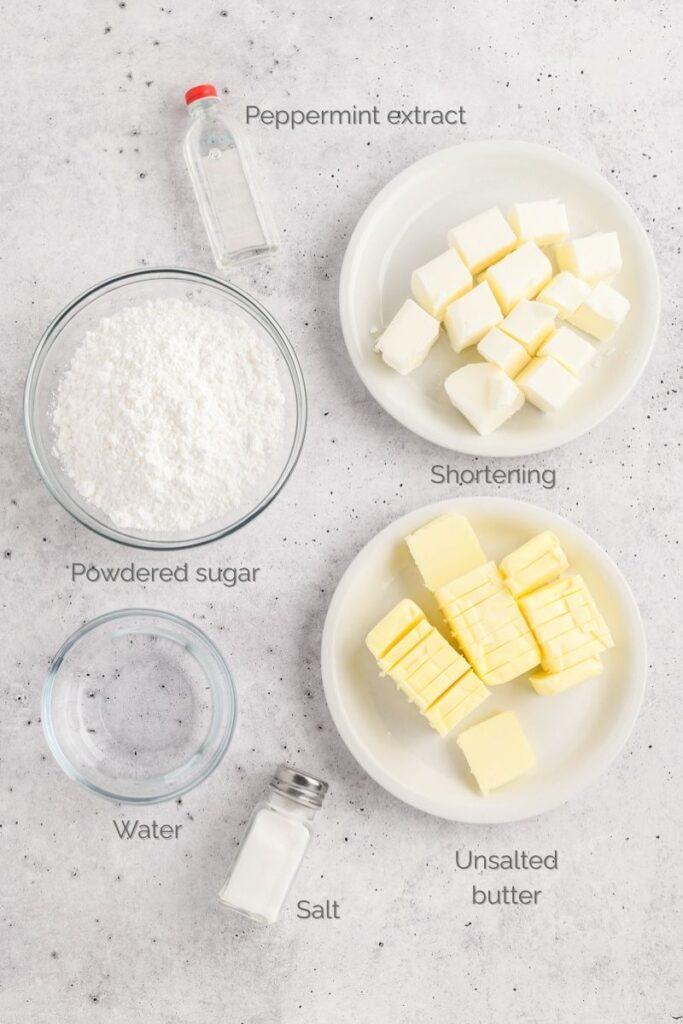
PEPPERMINT BUTTERCREAM
- 1 1/2 cups (3 sticks) unsalted butter, at room temperature
- 1 1/2 cups vegetable shortening
- 2 teaspoons peppermint extract
- 7 tablespoons (plus more if needed) water
- 3/4 teaspoon salt
- 3 pounds (12 cups) powdered sugar
WHITE CHOCOLATE DRIP
- 180 grams (1 cup) Wilton Very White chocolate candy melts
- 1/4 cup heavy cream
Instructions
DARK CHOCOLATE PEPPERMINT CAKE
- Adjust your oven rack to the center position and heat the oven to 350 degrees. Spray 3 8-inch round cake pans with non-stick baking spray and set aside.
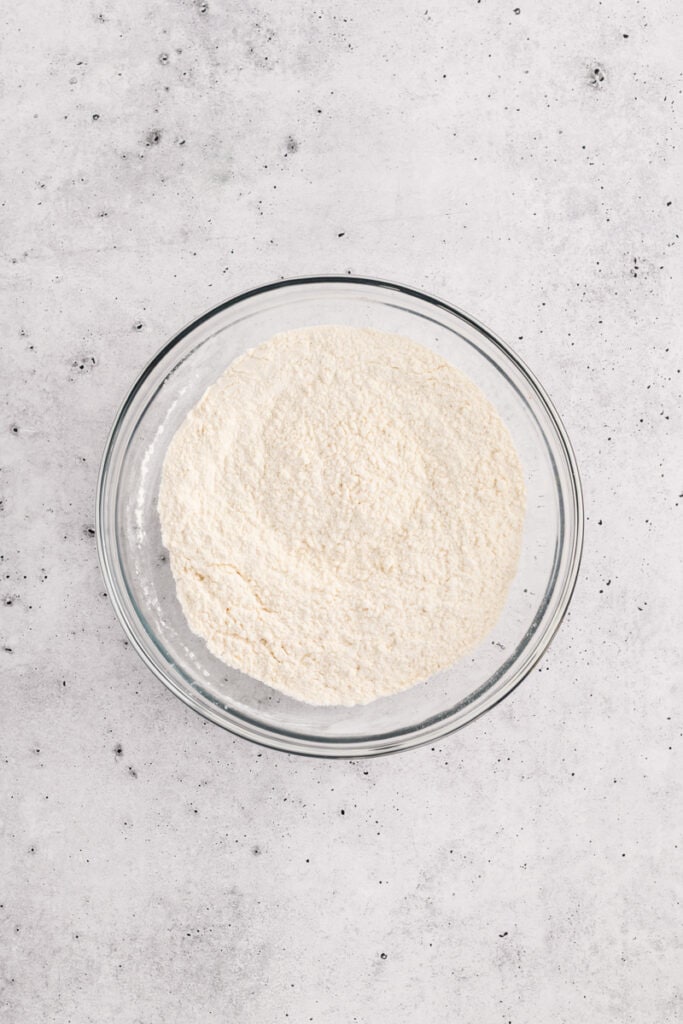
- In a large bowl, add flour, baking soda, baking powder and salt and whisk to combine. In a medium bowl add the boiling water, chocolate, cocoa powder and instant espresso powder, whisk until smooth.
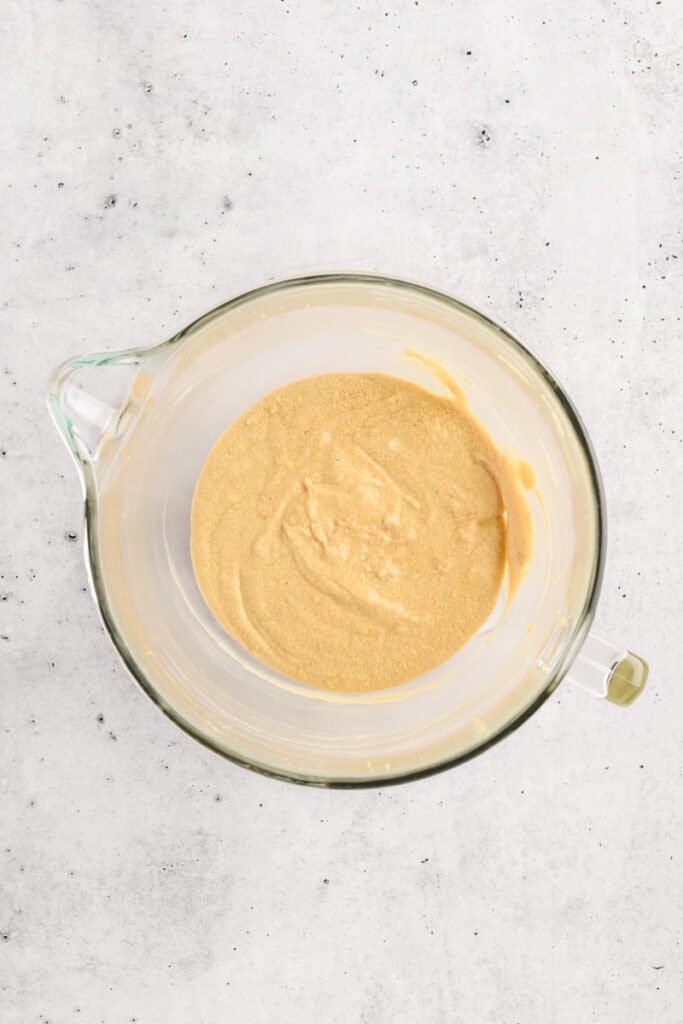
- Attach the paddle attachment to a stand mixer and beat the butter and sugar together on medium speed until light and fluffy, about 5 to 6 minutes. Add eggs one at a time beating after each addition until combined. Beat in sour cream and peppermint extract until incorporated.
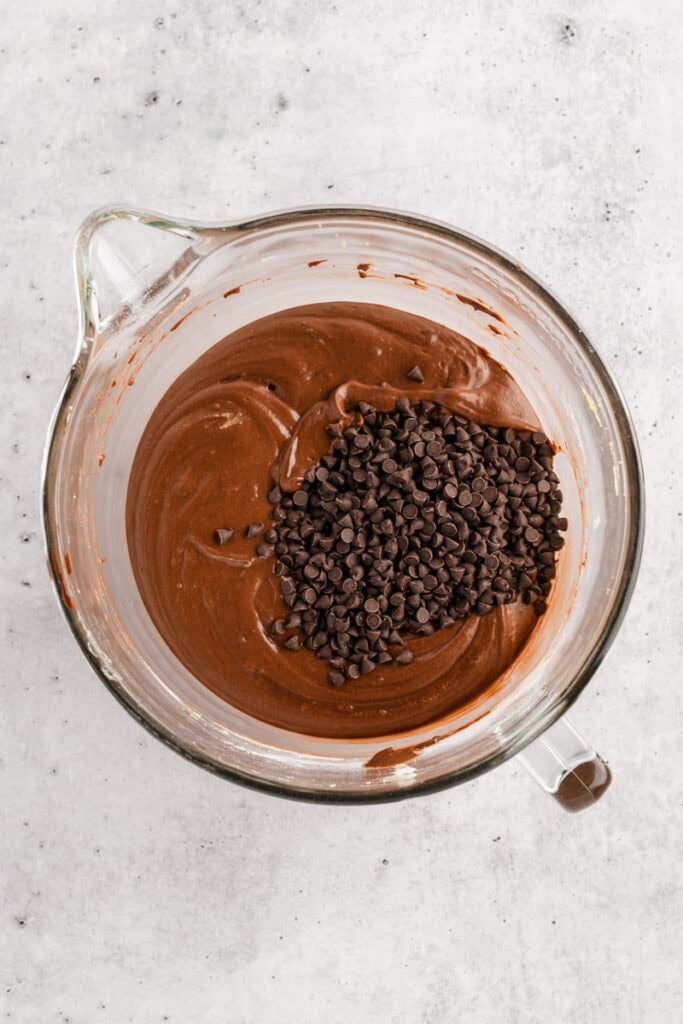
- With the mixer speed on low, add the flour mixture in 3 additions, alternating with the chocolate mixture in 2 additions. Mix until just combined. Do not over mix. Add the mini chocolate chips and give the batter a few final stirs by hand.
- Divide the batter evenly among the prepared cake pans and smooth the tops with an offset cake spatula or rubber spatula. Gently tap the cake pans on the counter to release air bubbles. Bake for 15 to 20 minutes, or until a toothpick inserted into the center of the cake comes out with a few moist crumbs attached. Rotate cake pans twice through baking.
- Let cakes cool in their pans on wire racks for 10 minutes. Invert cakes on to wire racks to cool completely, about 2 hours.
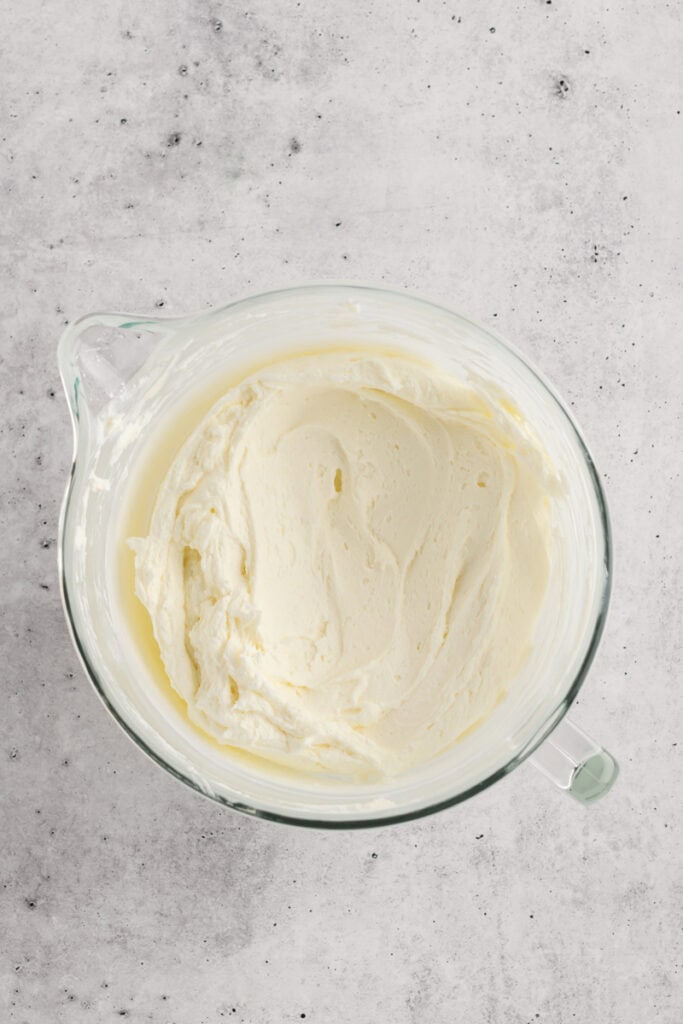
PEPPERMINT BUTTERCREAM
- In the bowl of a stand mixer, fitted with the paddle attachment beat the butter, shortening and extract on medium speed until smooth and creamy, about 3 minutes.
- Add the water, and peppermint extract, and half of the powdered sugar and mix until combined. Scrape down the sides of the bowl as necessary.
- On low speed, slowly add the remaining powdered sugar and more water if needed to achieve the desired consistency. Use frosting immediately or cover with a damp cloth, as the frosting will start to harden as it sits.
ASSEMBLE
- Reserve about 2 cups of the frosting to use for your crumb coat.
- Reserve about 3 cups frosting in a separate bowl and color with red gel food color.
- Fit two piping bags with Wilton #12 piping tips. Place white frosting in one piping bag and red frosting in the other piping bag.
- Place one cake layer on a cake board and place on a cake turntable.
- Create a stripped candy effect by piping a silver dollar sized circle in the center of the cake layer that’s on the cake turntable with red buttercream. Them trace that circle with white buttercream, followed by another layer of red and another layer of white, until you reach the edge of the cake. It should look like a target. Repeat this process with the second cake layer.
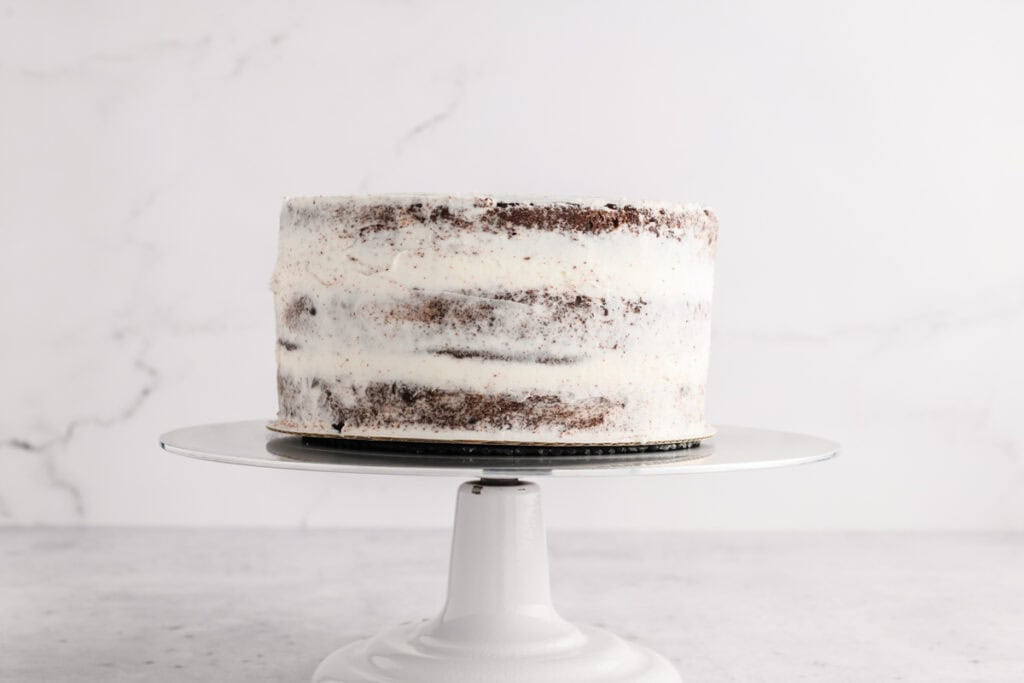
- Place the last cake layer on top, (bottom side up) and use the reserved frosting for your crumb coat to apply a thin layer of frosting over the top and sides of the cake to catch any loose crumbs. Once your crumb coat has been applied, chill the cake in the refrigerator for at least 30 minutes or in the freezer for 15 minutes.
STRIPPED FROSTING
- While the cake is chilling, line an 8-inch acrylic disc with parchment paper, attaching the paper with a small amount of frosting.
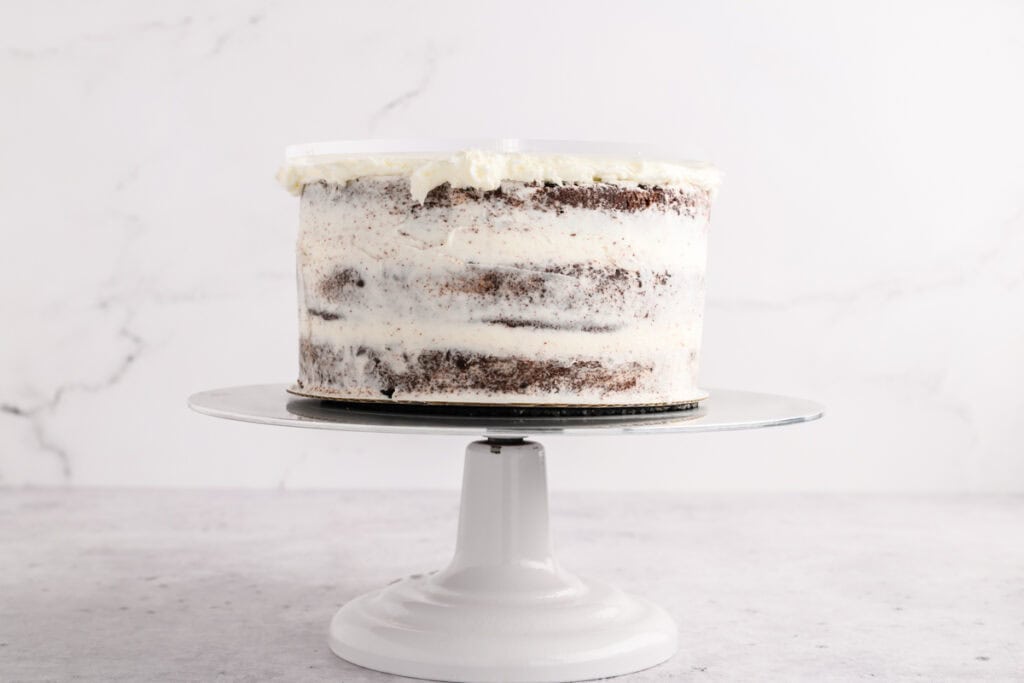
- Apply a generous amount of white frosting on top of the chilled cake and smooth out the top with a small offset cake spatula. You should have some frosting hanging off the edge of the cake.
- Place the lined acrylic disc on top of the cake, lining the disc up to the bottom cake board.
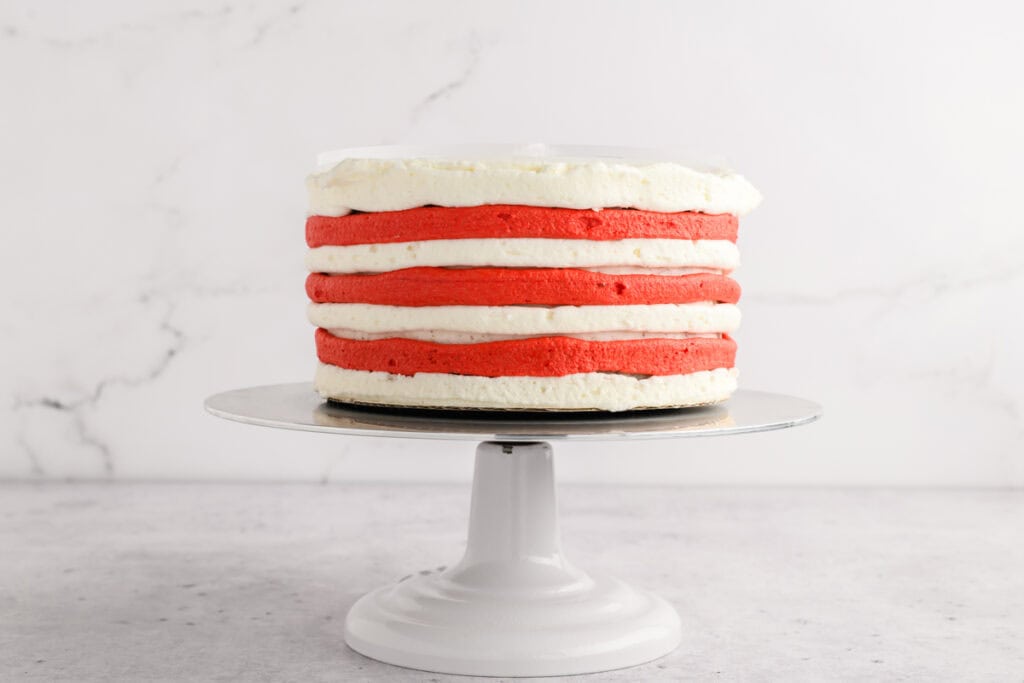
- Refill your piping bags with frosting and remove the piping tips so you’re just using the couplers to pipe.
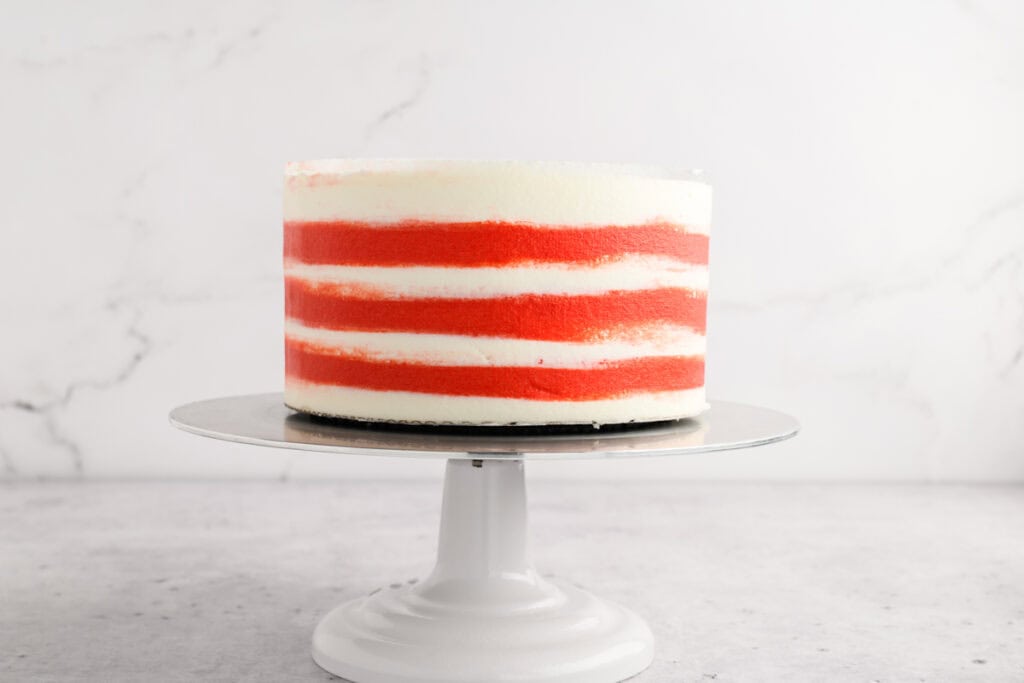
- Starting at the bottom of the cake, pipe a ring around the cake with white frosting, followed by the red frosting and work your way up, alternating with the frostings.
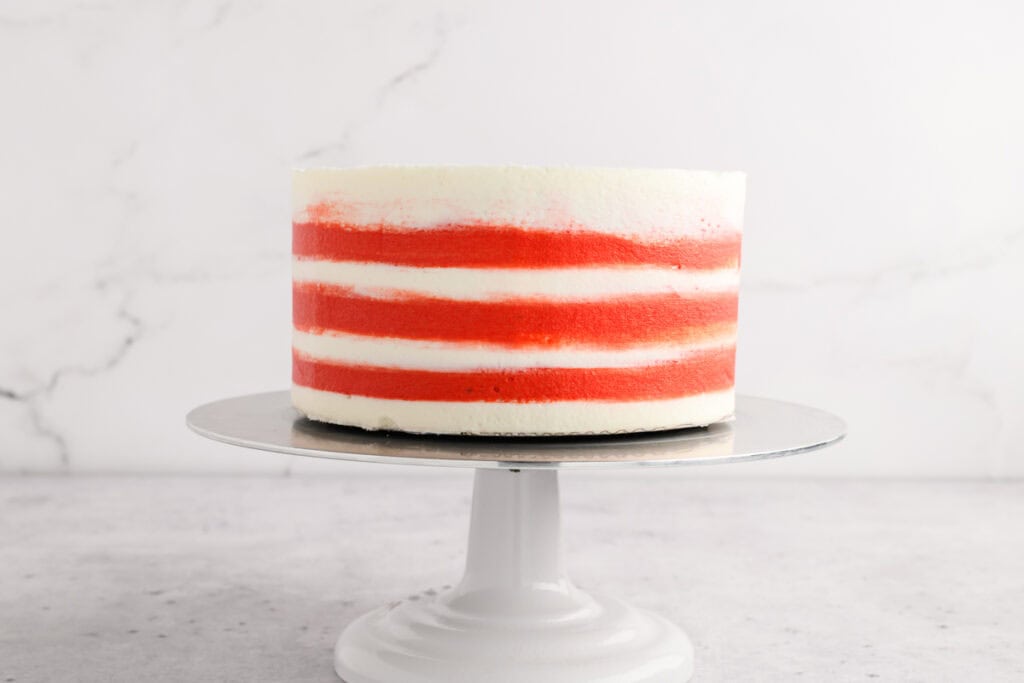
- With an icing smoother, smooth the sides of the cake rotating the cake on the turntable one rotation at a time. Check to see if you need to fill in any gaps with red or white frosting and with a clean icing smoother, smooth the frosting one more time. The more you smooth the cake the more the frosting will blend together, so don’t over smooth.
- Chill the cake in the refrigerator for 30 minutes or in the freezer for 15 minutes before removing the disc. While the cake is chilling, prepare the White Chocolate Drip.
WHITE CHOCOLATE DRIP
- In a microwavable bowl combined candy melts and heavy cream and microwave for 20 second intervals, stirring between each interval until melted.
- Let chocolate cool slightly before applying the drips. Do a test drip on the back of the cake to test. The drip should still be fluid but not hot enough to melt the frosting.
- Add chocolate drip to a squeeze bottle, piping bag or use a spoon to apply to the sides of the cake. Pour remaining white chocolate drip in the center of the cake and spread to meet the edges of the dripped chocolate.
- Chill the cake in the refrigerator for 1 hour so the chocolate drip can set before adding additional decoration.
- Fit a piping bag with Ateco piping tip #827. Cut the couplers off of the piping bags used to create the striped effect on the sides of the cake. Place both of those piping bags in the one piping bag.
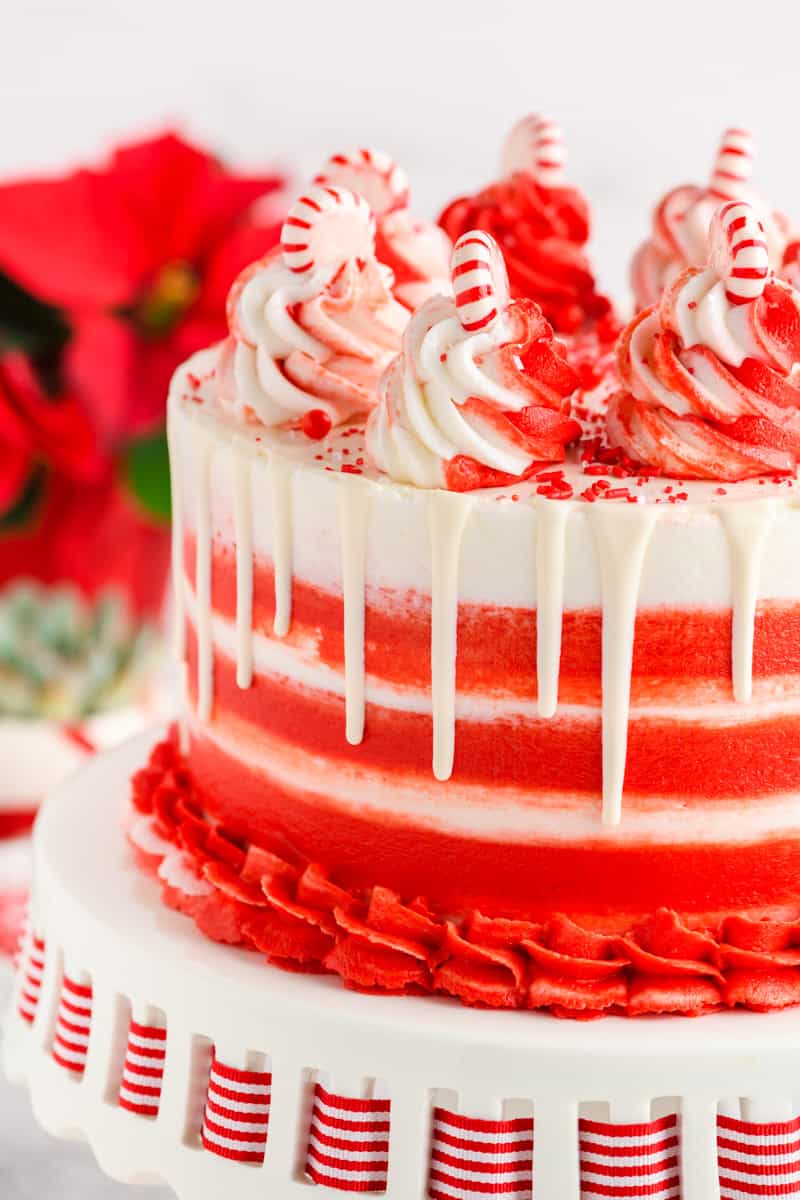
- Pipe swirls on the top edges of the cake and top with festive sprinkles and peppermint candies.
Notes
Storage: Cake layers can be made up to 5 days in advance, wrapped in plastic wrap and stored in an airtight container in the refrigerator.Cake layers can also be frozen for up to one month, wrapped in plastic wrap and then in foil. Thaw cakes at room temperature.Assembled cake can be stored in the refrigerator for up to 3 days in an airtight container or at room temperature for 1 day.
Nutrition Information:
Yield: 24 Serving Size: 1Amount Per Serving: Calories: 727Total Fat: 45gSaturated Fat: 23gUnsaturated Fat: 22gCholesterol: 92mgSodium: 216mgCarbohydrates: 79gFiber: 3gSugar: 68gProtein: 4g
*Nutrition information is an estimate and will vary.*


Leave a Reply