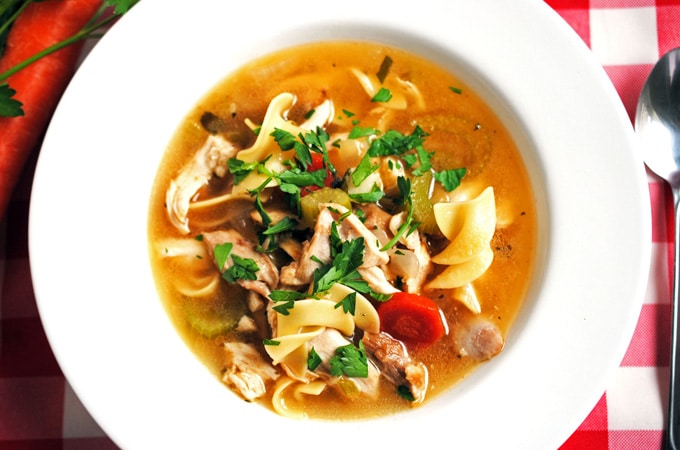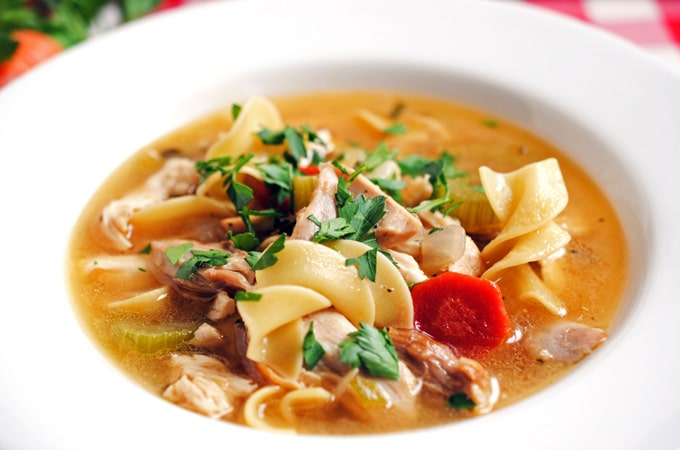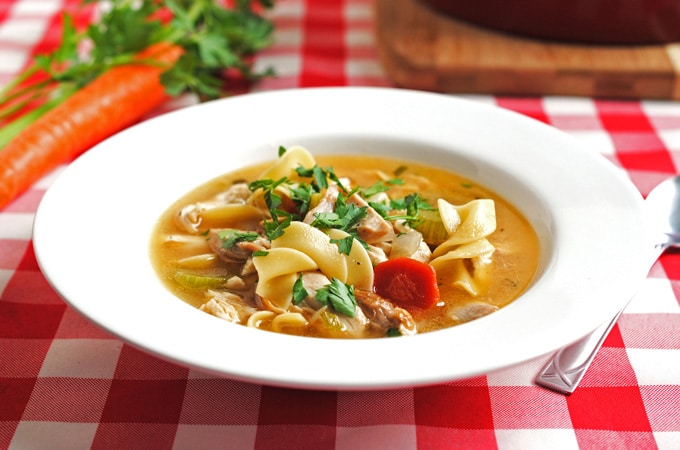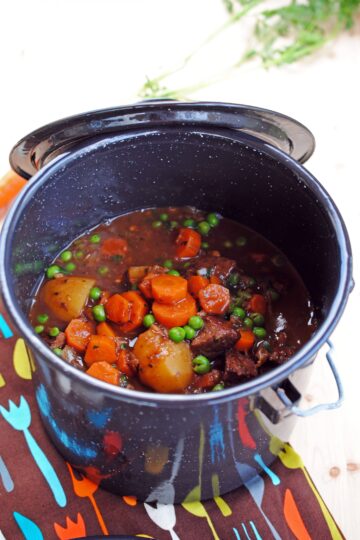
So I don’t know if you have heard but Texas is getting pounded with rain right now. Here in the Houston area we had a storm come through last night and it took its sweet time blowing through as well. Thunder… lightning… hail… wind, we had it all! Thankfully I live in a suburb of Houston and didn’t experience much of the flooding that the city did. I turned on the TV this morning to hear people were stranded on freeways all night due to flooding. It’s just a little crazy right now. But in the short time it wasn’t raining this weekend I had the chance to make this amazing beef stew. It’s a pretty easy process just takes a little time to slow cook that beef to make it nice and tender. Craig said this was the best beef stew he has ever had! Give this one a try and I think you will agree!


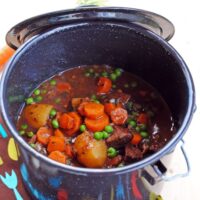
Old-Fashioned Beef Stew
Ingredients
- 1 3 pound boneless beef chuck-eye roast, pulled apart at the silver skin, trimmed and cut into 1 1/2 inch pieces
- 1 1/2 teaspoon kosher salt
- 1 teaspoon pepper
- 3 tablespoons vegetable oil
- 2 onions, roughly chopped
- 3 garlic cloves, minced
- 3 tablespoons all-purpose flour
- 1 cup Cabernet Sauvignon or other full bodied red wine
- 2 cups low sodium chicken broth
- 2 bay leaves
- 1 teaspoon dried thyme
- 1 pound small red potatoes, peeled and halved
- 4 large carrots, peeled and sliced 1/4 inch thick
- 1 cup frozen peas, thawed
- 1/4 cup parsley, chopped
Instructions
- Preheat oven to 300 degrees. Pat beef dry and season with 1 1/2 teaspoons salt and 1 teaspoon pepper, toss to coat. Heat 2 tablespoons oil over medium-high heat in a Dutch oven. Brown meat on all sides in 2 batches , about 5 minutes per batch, add remaining 1 tablespoon oil if necessary. Remove meat and set aside. Add onions to now-empty pot and cook until almost softened about 4 to 5 minutes. Reduce heat to medium heat and add garlic, cook until fragrant about 30 seconds. Stir in flour and cook until lightly colored, about 1 to 2 minutes. Add wine, scraping up browned bits on bottom of pot. Add broth, bay leaves, and thyme and bring to simmer. Add meat and return to a simmer. Cover and place in preheated oven and simmer for 1 hour.
- Remove pot from oven. Add potatoes and carrots, cover pot and return to oven. Simmer until meat is just tender, about 1 hour. Remove stew from oven.
- Stir in peas and let stand about 5 minutes. Stir in parsley and season with salt and pepper to taste and serve.
Nutrition Information:
Serving Size: 1Amount Per Serving: Calories: 535Total Fat: 21gSaturated Fat: 7gCholesterol: 156mgSodium: 735mgCarbohydrates: 32gFiber: 6gSugar: 8gProtein: 52g
Adapted from Cooks Illustrated Cookbook