As an Amazon Associate, I earn from qualifying purchases.
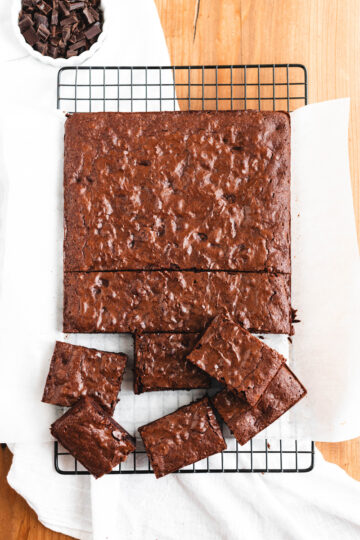
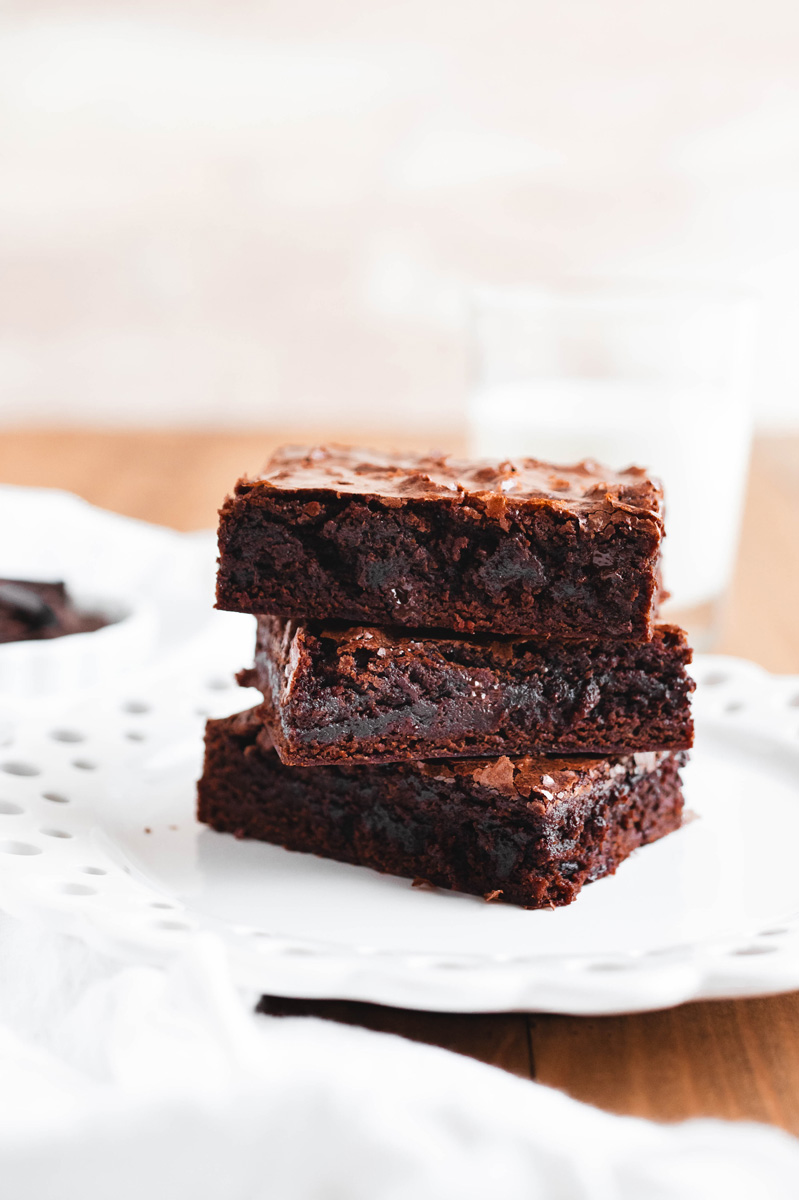
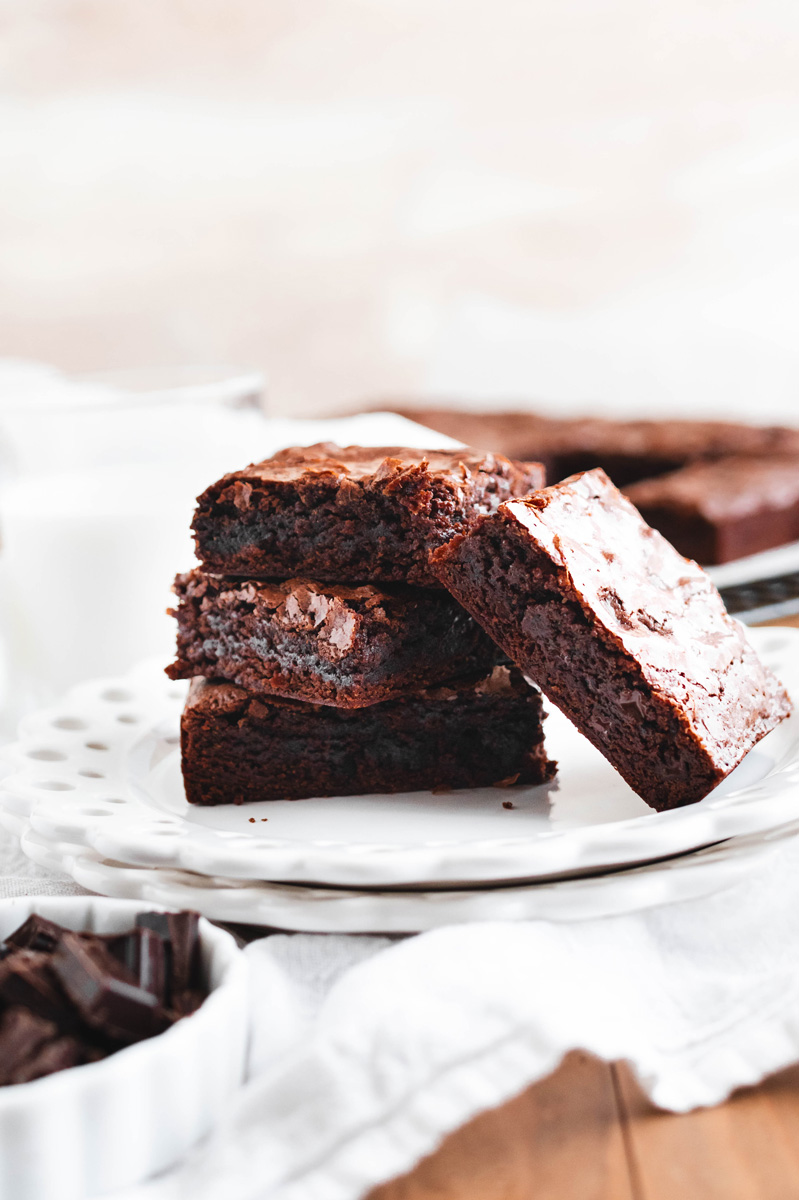
Who can resist the urge to bite into a perfectly baked, rich, chocolatey, and chewy brownie? I certainly can't! These chewy brownies have become a staple in my family. They’re quick to bake and perfect for serving a crowd. Plus, you'll love the delightful pockets of melted chocolate chunks in every bite.

What Makes These Brownies So Chewy And Flavorful?
- The use of both liquid and solid fat help give these brownies their chewy texture.
- Adding egg yolks helps reduce the greasiness of the brownies thanks to the emulsifiers in the egg yolks.
- The addition of espresso powder brings out the flavor in the chocolate.
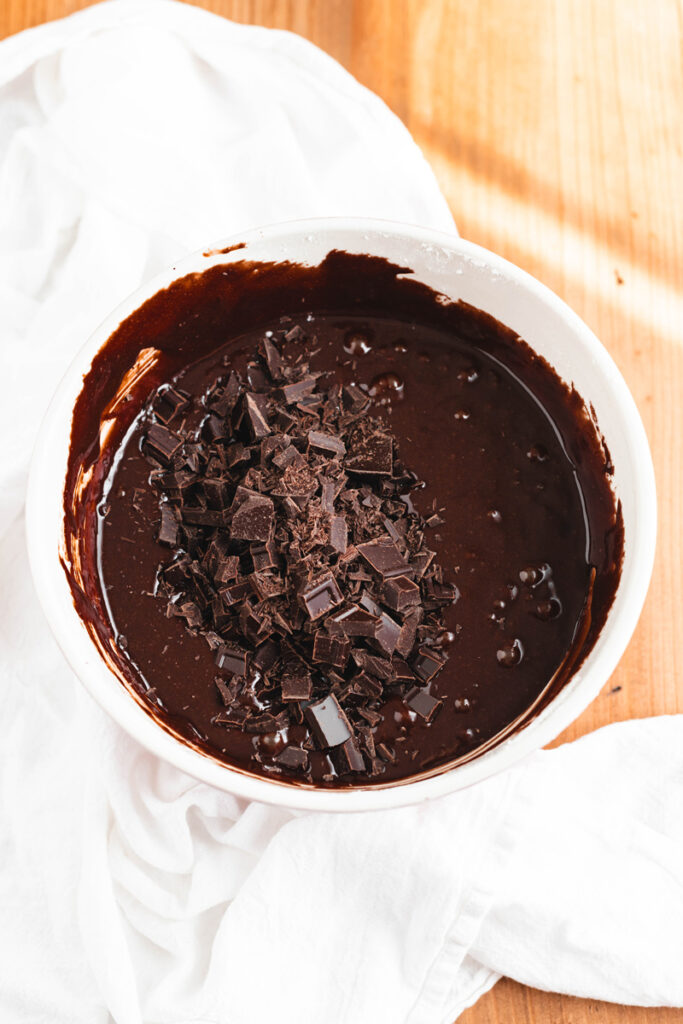
- Chocolate chunks also give these Chewy Brownies awesome texture and of course chocolate flavor.


Chewy Brownie Baking Tips
- To get an accurate measurement of boiling water, boil a saucepan of water (more than the required amount in the recipe) and then measure out the boiling water before adding into the brownie batter.
- Bake sure the brownies are well cooled before cutting into for the best texture.
- If you're using a glass baking dish, only cool the baked brownie in the baking dish for 10 minutes and then remove to a cooling rack. Glass retains heat and can lead to over-baking.
Baking Tools
- 1 13x9x2 inch metal baking pan
- Parchment paper
- Baking spray
- Large mixing bowl
- Whisk
- Rubber spatula

Brownie Storage
Brownies can be stored in an airtight container on the counter for up to 3 days.
Let's Connect
The Cake Chica is on the following social media platforms below. Click subscribe, like and follow! We would love to have you over!

Suggested Recipes

Adapted from Cook's Illustrated

Chewy Brownies
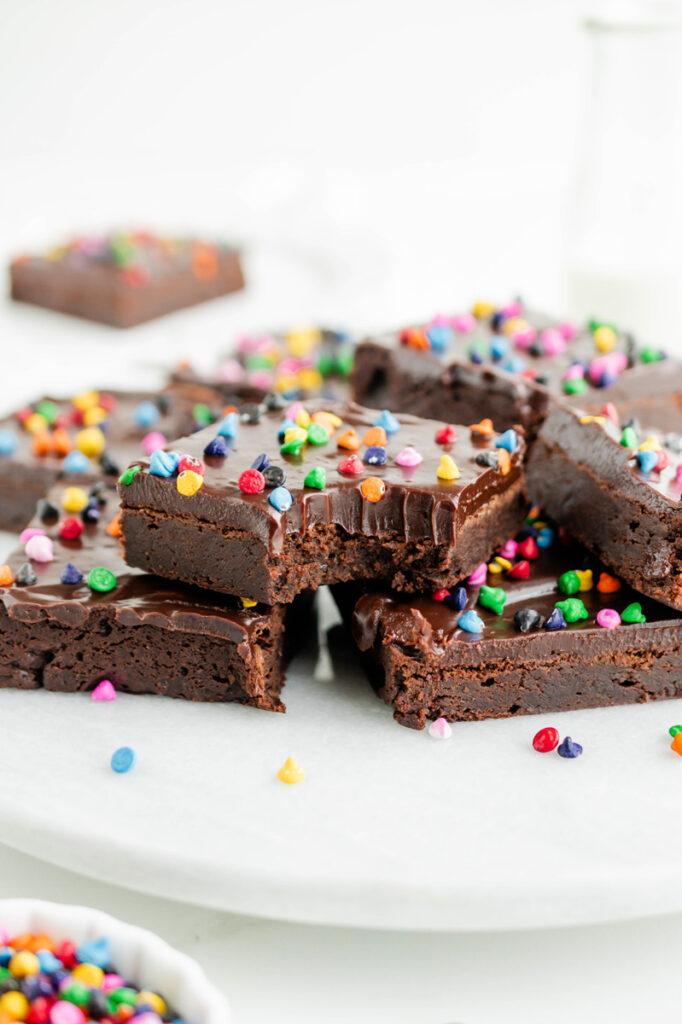
Indulge in these homemade chocolate brownies, perfectly baked with a rich and chewy texture. Each bite is loaded with luscious chocolate chunks, ensuring a melt-in-your-mouth experience that chocolate lovers will adore.
Ingredients
TOOLS
- 1 13x9x2 inch metal baking pan
- Parchment paper
- Baking spray
- Large mixing bowl
- Whisk
- Rubber spatula
BROWNIES
- 1/3 cup (1 ounce/35 grams) Dutch-processed cocoa
- 1 1/2 teaspoons instant espresso powder
- 1/2 cups, plus 2 tablespoons boiling water
- 2 ounces unsweetened chocolate, chopped fine
- 1/2 cup plus 2 tablespoons vegetable oil
- 4 tablespoons unsalted butter, melted
- 2 large eggs
- 2 large egg yolks
- 2 teaspoons vanilla extract
- 2 1/2 cups (17 1/2 ounces/495 grams)granulated sugar
- 1 3/4 cups (8 3/4 ounces/248.5 grams)all-purpose flour
- 3/4 teaspoon table salt
- 6 ounces bittersweet chocolate, cut into ½-inch pieces
Instructions
- Adjust your oven rack to the lowest position and heat the oven to 350 degrees. Line a 13x9x2 inch baking pan by placing 2 sheets of parchment paper in the pan, one sheet horizontal and one vertical. Be sure to leave excess paper on each side to create handles to help pull the brownies out of the pan when they have finished baking. Spray the parchment paper with baking spray and set aside.
- Whisk cocoa, espresso powder, and boiling water together in a large bowl until smooth. Add unsweetened chocolate and whisk until chocolate is melted. Whisk in the oil and melted butter. Mixture will look curdled. Add the eggs, egg yolks and vanilla and continue to whisk until smooth. Whisk in the sugar until fully combined. Whisk in the flour and salt. With a rubber spatula, fold in bittersweet chocolate pieces.
- Transfer the batter into the prepared pan; spread the batter into the corners of the pan and smooth out the surface. Bake until a toothpick inserted in the center of the brownies comes out with a few moist crumbs attached, about 30 to 35, rotating the pan halfway through baking. Transfer the pan to a wire rack and let cool for 1 1/2 hours. (For the chewiest texture, be sure to cool the brownies thoroughly before cutting.) If you have baked in a glass baking dish let the brownies cool for 10 minutes, then; remove promptly from the pan, otherwise the heat retention of the glass can lead to over-baking.
- Remove the brownies from the pan using the excess parchment paper. Return the brownies to a wire rack and let cool completely, about 1 hour. Cut the brownies in 2 inch squares and serve.
Notes
Brownies can be stored in an airtight container at room temperature for up to 3 days.
TIP: If you are using a glass baking pan, be sure to remove the brownies from the pan after 10 minutes of cooling. Glass retains heat and could lead to over baking the brownies.