
Recipe Update: 6/24/2022 the recipe for the cake layers, filling and frosting remain the same. The only update I made was to the cake decorating and I've added more process shots of the recipe.
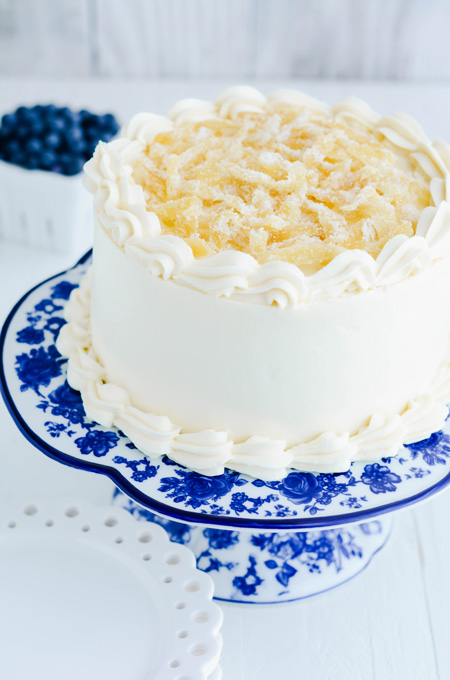
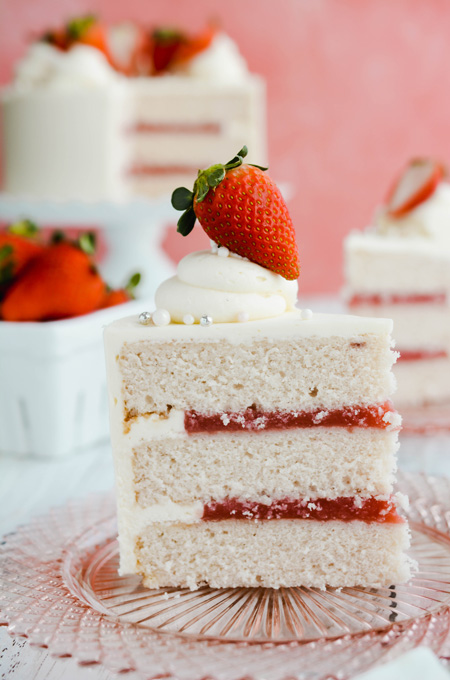
You're going to love this Lemon Blueberry Layer Cake. It's based off my White Cake with Strawberry Filling recipe. It uses the same white cake with lemon flavoring and lemon zest added to the cake batter.
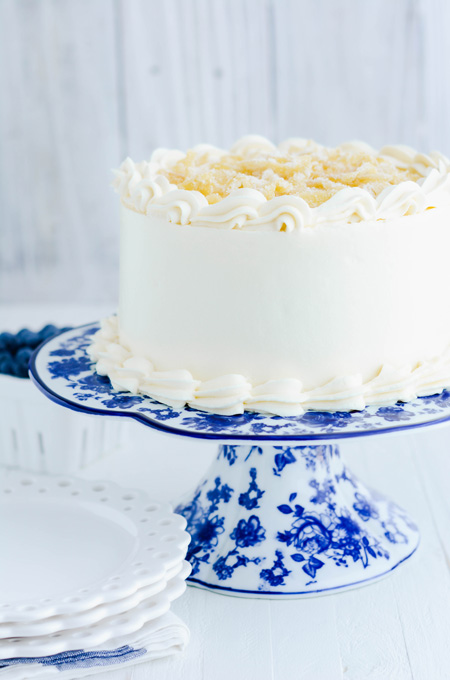
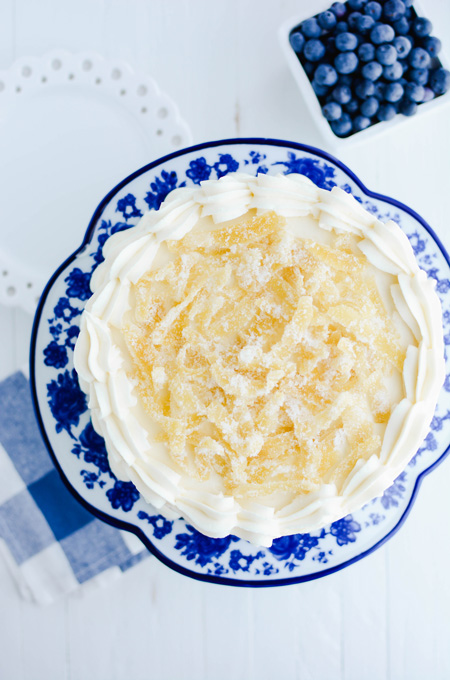
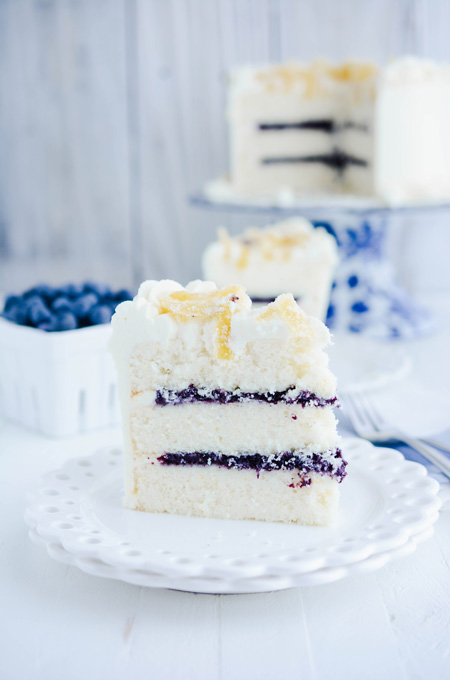
To enhance the lemon flavor I opted for a sweet blueberry filling and frosted the cake with a fluffy lemon cream cheese frosting. Lastly, I garnished the cake with candied lemon peel.
How To Make Candied Lemon Peel
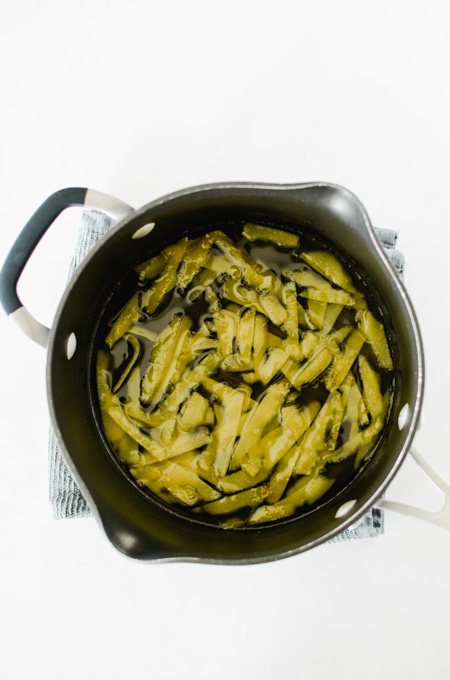
- Half fill a medium saucepan with water and bring to a boil. Add the zest strips and reduce the heat to low and simmer for 15 minutes.
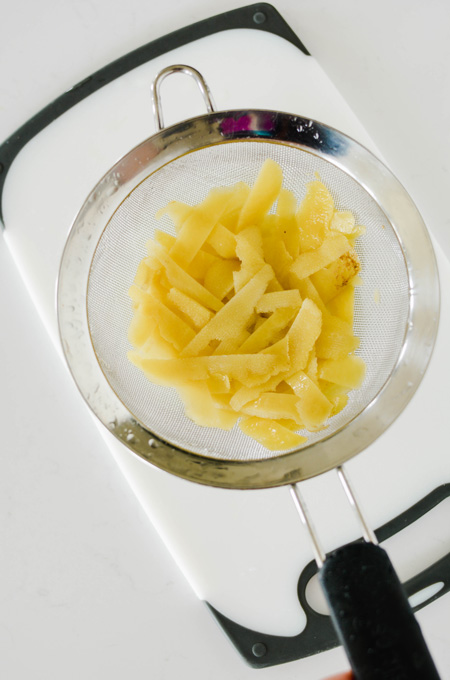
- Drain and rinse the zest.
- In the same saucepan, combine sugar, water and cream of tartar and bring to a boil, stirring constantly to dissolve the sugar.
- Add the zest, cover the saucepan and reduce the heat to low. Let the zest simmer for another 15 minutes.
- Remove the pan from the heat and drain zest.
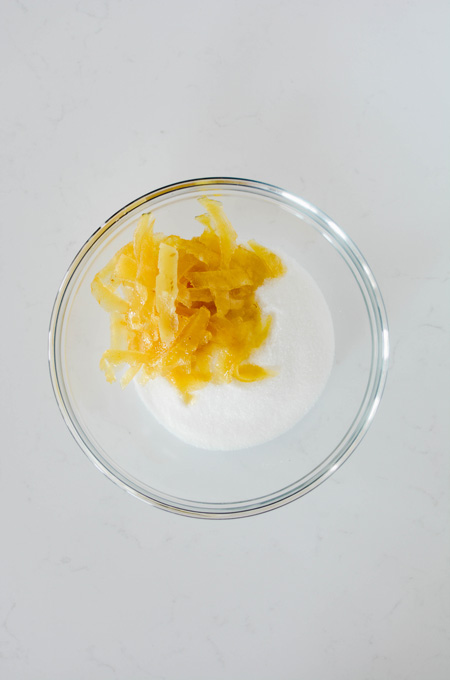
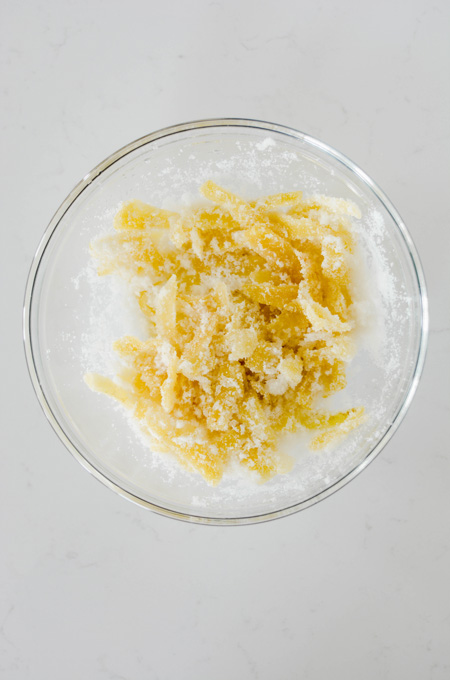
- Toss zest with 1/2 cup sugar, breaking up any lumps of sugar with your hands.
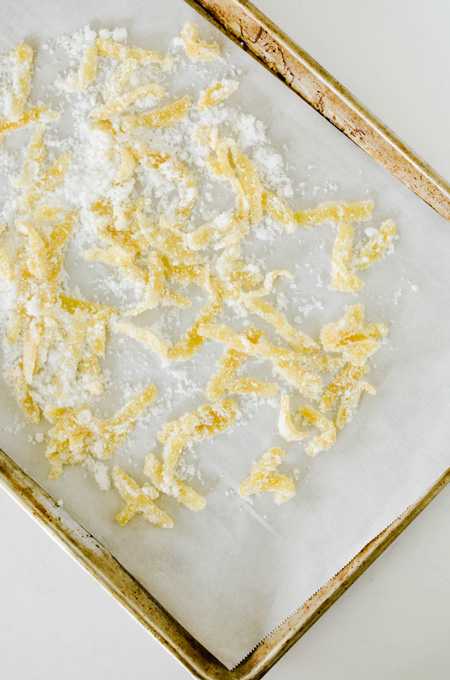
- Spread the zest onto a rimmed baking sheet to let dry at room temperature for about 2 hours before using.

How To Make Blueberry Filling
This filling recipe is easy to adapt to your favorite fruit filling. Simply switch out the frozen blueberries for another frozen fruit and proceed with the recipe.
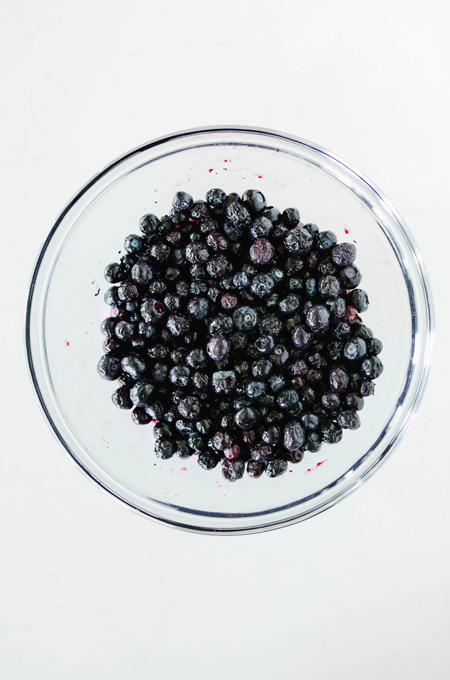
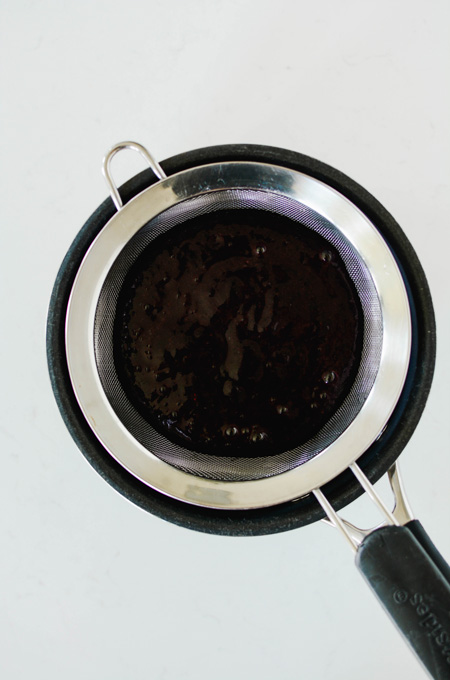
- Place thawed blueberries in a blender or food processor and puree until smooth.
- Over a bowl pour blueberry puree over a sieve to remove the solids. The puree will be thick. Use a spoon to stir and press the puree through the sieve.
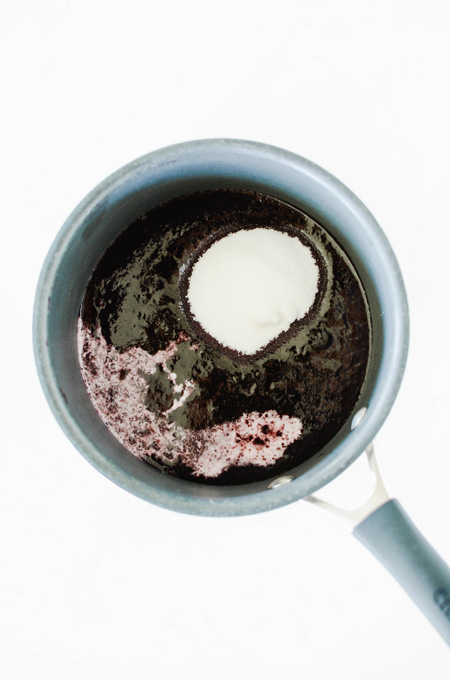
- Place blueberry puree in a small saucepan over medium-low heat. Add sugar and cornstarch mixture and bring to a simmer, stirring constantly to keep lumps from forming.
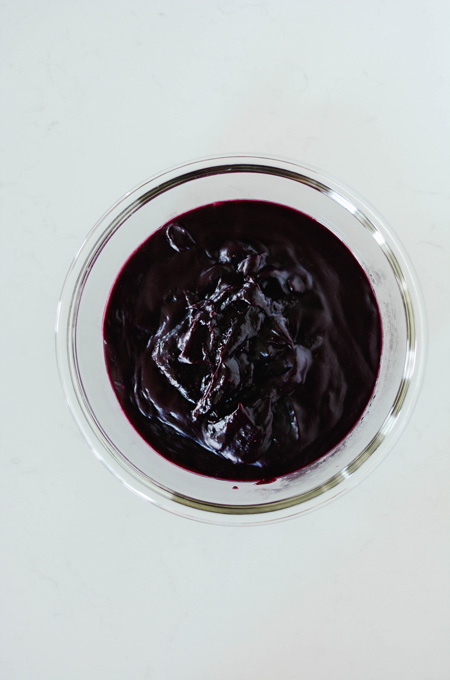
- Once the puree thickens, remove from the heat. Cool for 5 minutes and then add fresh lemon juice and chill for about 2-3 hours in the refrigerator until ready to use.
Why I Prefer The Reverse Creaming Method
- It creates a cake crumb that is tender, sturdy and ultra fine.
- During reverse creaming the butter coats the flour particles, minimizing gluten development for a tender and fine crumb.
- Since the butter isn't beaten with the sugar, less air gets incorporated in to the batter which creates a sturdier cake with less rise.
- Reverse creaming also produces a flat top. No cake domes when using this method.
Why I Use Lemon Emulsion
- It's water based and not alcohol based like most extracts are.
- You can easily substitute 1 teaspoon of lemon extract with 1 teaspoon of lemon emulsion.
- The flavor of lemon emulsion is more robust than lemon extract.
- Plus the lemon flavor will not bake out when exposed to heat.
Lemon Emulsion Substitution
If you don't have lemon emulsion on hand you can substitute it with 3 tablespoons freshly squeezed lemon juice added into the wet ingredients. And add one more tablespoon of lemon zest for a total of 2 tablespoons in to the flour mixture when making this Lemon Blueberry Layer Cake.
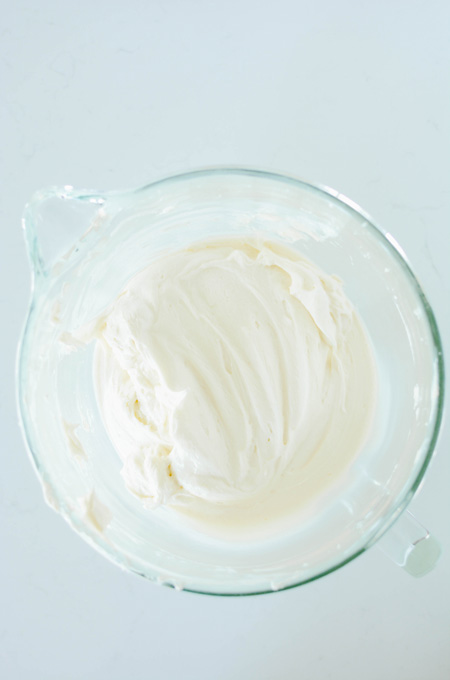
Tips For Making Super Smooth And Fluffy Cream Cheese Frosting
- Make sure your butter is at room temperature.
- Your ingredients should be beaten very well before adding in the cream cheese.
- Dice your cream cheese so that it blends easily when added.
- Cream cheese should be added in last.
- Do not over beat the frosting after the cream cheese has been added or the frosting will turn soupy.
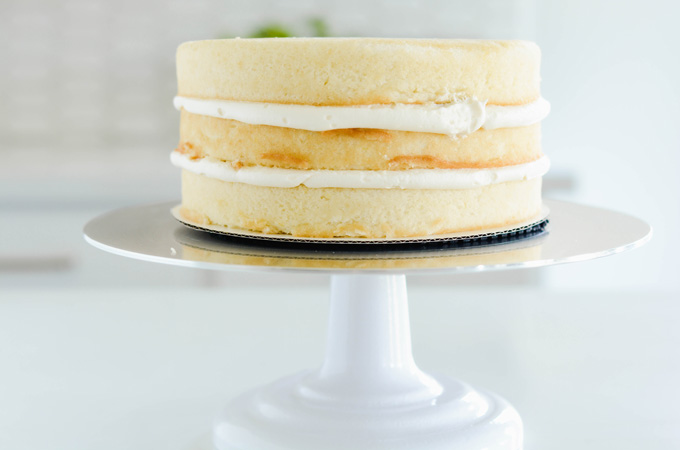
Filling The Cake
- Fit a piping bag with a round piping tip or coupler and fill the piping bag with about 1 cup buttercream.
- Pipe a buttercream dam around the outer edge of the cake.
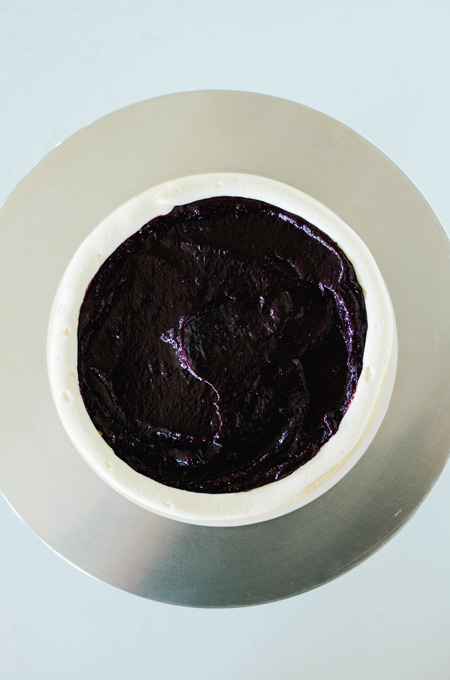
- Fill the center with half of the filling and spread out in an even layer with a small offset cake spatula.
- Place the second cake layer on top and gently press to adhere to the bottom cake layer.
- Pipe a buttercream dam around the outer edge and spread the remaining filling out in an even layer until it reaches the buttercream dam.
- Add the third and final cake layer (bottom side up) on top and gently press to adhere.
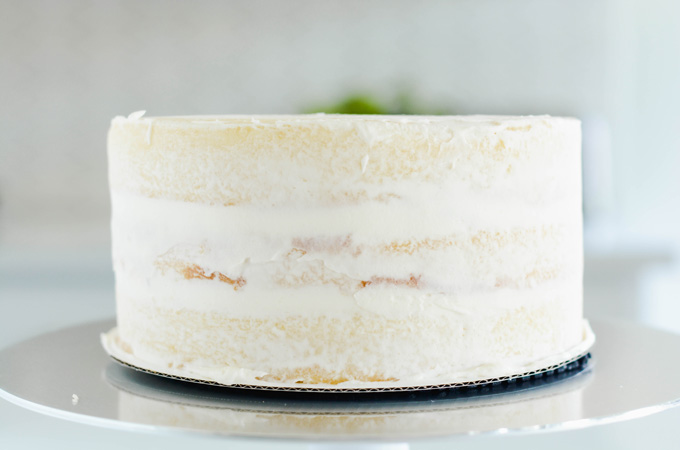
What Is A Crumb Coat?
It's a thin layer of frosting that seals in any stray crumbs before adding the second layer of buttercream to the cake.
How To Apply A Crumb Coat
- Place a medium dollop of frosting on top of the cake.
- Using a small offset spatula, start spreading the frosting out.
- Continue to spread frosting on the sides of the cake. The frosting does not have to be perfectly smooth.
- Refrigerate the cake uncovered for at least 15 minutes to set before adding the final coat of frosting.
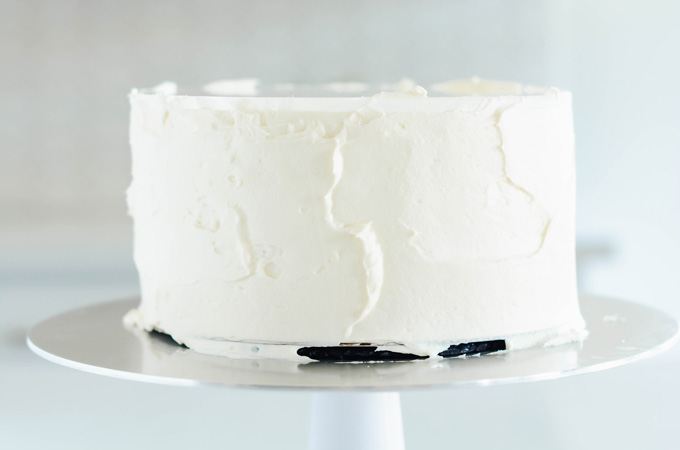
Icing The Cake
Line an 8-inch acrylic disc with parchment paper. Center the disc (parchment side down) on the top of the cake, making sure the disc and the bottom cake board line up. Apply frosting to the sides of the cake, covering up the bottom cake board completely. Using a cake scraper, smooth the frosting by rotating the cake turntable, cleaning your scraper with each rotation. Once the sides are smooth, place the cake back in the refrigerator for 15 minutes before removing the acrylic disc.

Cake Decorating Tools
- Nonslip mat
- Cake turntable
- 8-inch cake board
- Piping bags
- Coupler or round piping tip
- Small offset spatula
- 8-inch acrylic disc
- Parchment paper
- Cake scraper
- Wilton piping tip #1M
Lemon Blueberry Layer Cake Baking Schedule
Day 1: Prepare candied lemon peel.
Day 2: Bake cake layers and prepare blueberry filling.
Day 3: Make frosting, assemble, decorate and serve.
Make Ahead And Storage
Candied lemon peel can be made up to 7 days in advance, stored in an airtight container at room temperature.
Blueberry filling can be made up to 5 days in advance, stored in an airtight container in the refrigerator.
Cake layers can be made up to 3 days in advance, wrapped in plastic, stored in an airtight container in the refrigerator.
Assembled cake can be stored in an airtight container in the refrigerator for up to 3 days. Bring to room temperature before serving.

Sign Up!
Get recipes, tips, baking schedules and more when you subscribe to The Cake Chica's Weekly Report!
Suggested Recipes

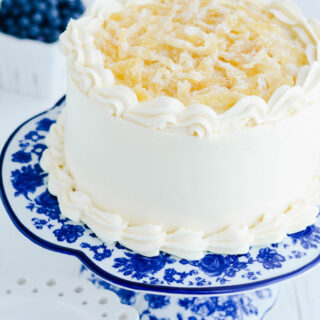
Lemon Blueberry Layer Cake
Three layers of lemon cake filled with blueberry filling and frosted with fluffy cream cheese frosting and garnished with candied lemon peel..
Ingredients
SPECIAL TOOLS
- Rimmed baking sheet
- 3 8-inch round cake pans
- Nonstick baking spray
- 4 cup liquid measuring cup
- Stand mixer
- Food processor or blender
- Sieve
- Nonslip mat
- Cake turntable
- 8-inch cake board
- Piping bags
- Coupler or round piping tip
- Small offset spatula
- 8-inch acrylic disc
- Parchment paper
- Cake scraper
- Wilton piping tip #1M
CANDIED LEMON PEEL
- 5 lemons, scrubbed
- 1 cup (7 ounces) granulated sugar
- ¾ cup water
- ¼ teaspoon cream of tartar
- ½ cup (3.5 ounces) granulated sugar
LEMON CAKE
- 1 cup (8 ounces) whole milk, at room temperature
- 6 large egg whites, at room temperature
- 1 1/2 teaspoons lemon emulsion
- 2 1/4 cups (9 ounces) cake flour
- 1 3/4 cup (12 1/4 ounces) granulated sugar
- 4 teaspoons baking powder
- 1 teaspoon salt
- 1 tablespoon fresh lemon zest
- 12 tablespoons unsalted butter, cut into tablespoon sized pieces, at room temperature
BLUEBERRY FILLING
- 12 ounces frozen blueberries, thawed
- ¼ (1.75 ounces) granulated sugar
- 3 tablespoons cornstarch, mixed with 3 tablespoons cold water
- Fresh lemon juice, to taste
LEMON CREAM CHEESE FROSTING
- 1 cup unsalted butter, at room temperature
- 3 cups (12 ounces) powdered sugar, sifted
- 1 teaspoons vanilla extract
- 1 tablespoon fresh lemon juice
- Pinch of salt
- 16 ounces cream cheese, cut into cubes, at room temperature
- 1 tablespoon freshly grated lemon zest
Instructions
CANDIED LEMON PEEL
- Half fill a medium saucepan with water and bring to a boil. Add the zest strips and reduce the heat to a simmer and simmer for 15 minutes. Drain and rinse the zest.
- In the same saucepan, combine sugar, water and cream of tartar and bring to a boil, stirring constantly to dissolve the sugar. Add the zest, cover the saucepan and reduce the heat to low. Let the zest simmer for another 15 minutes. Remove the pan from the heat and drain zest. Toss zest with 1/2 sugar, breaking up any lumps of sugar with your hands. Spread the zest onto a rimmed baking sheet to let dry at room temperature for about 2 hours before using.
LEMON CAKE
- Adjust an oven rack to the center position and heat oven to 350 degrees. Spray 3 8-inch round cake pans with nonstick baking spray and set aside.
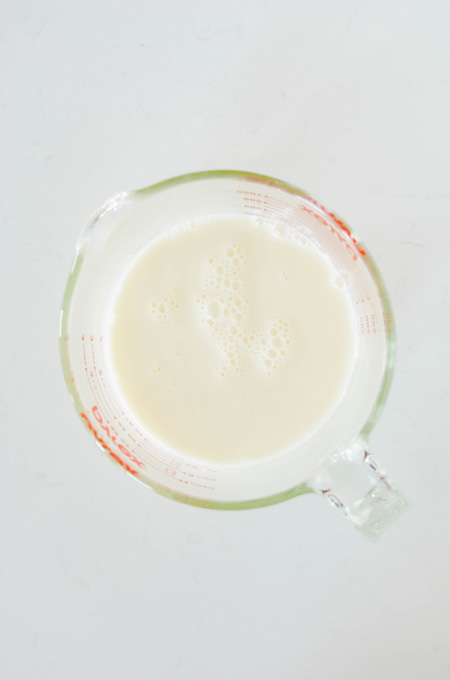
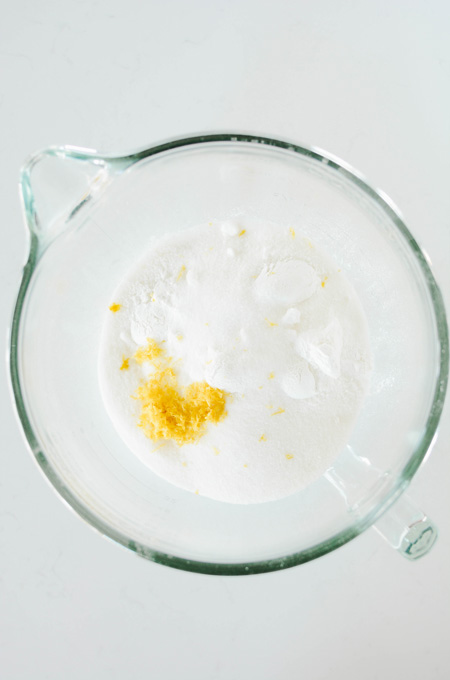
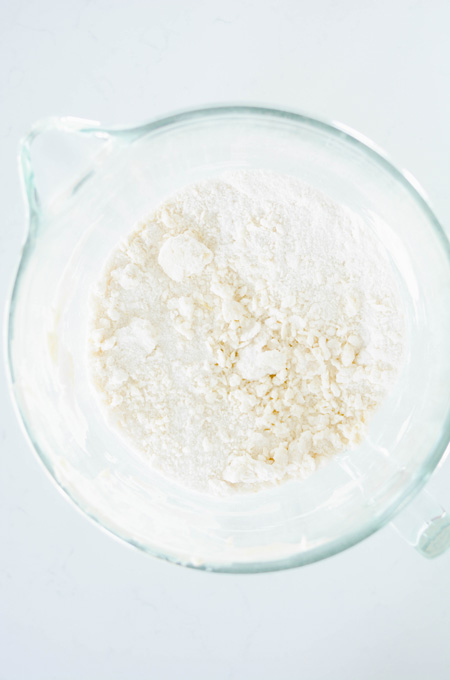
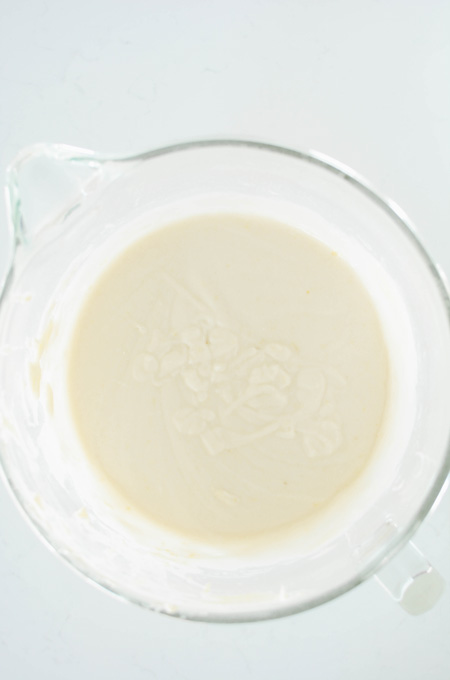
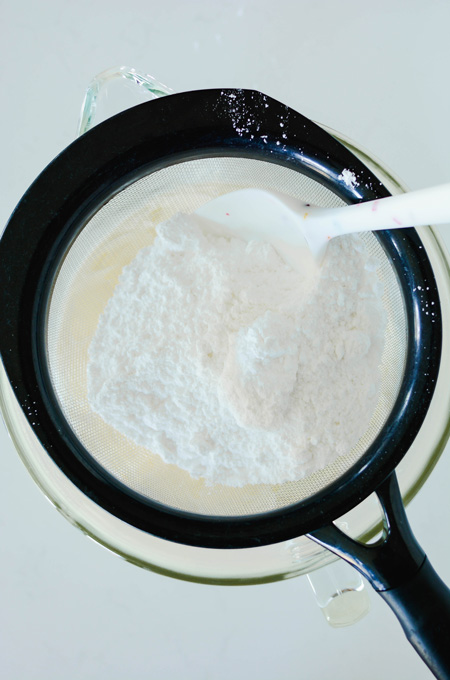
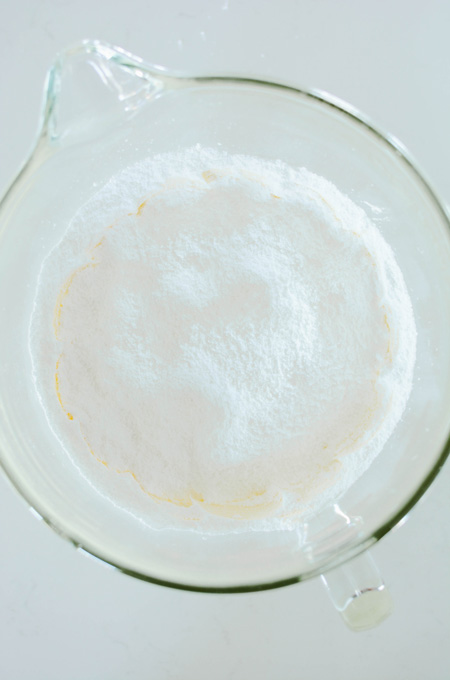
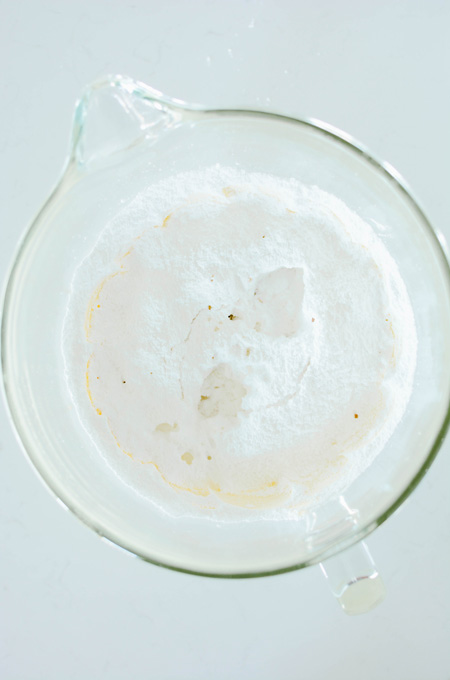
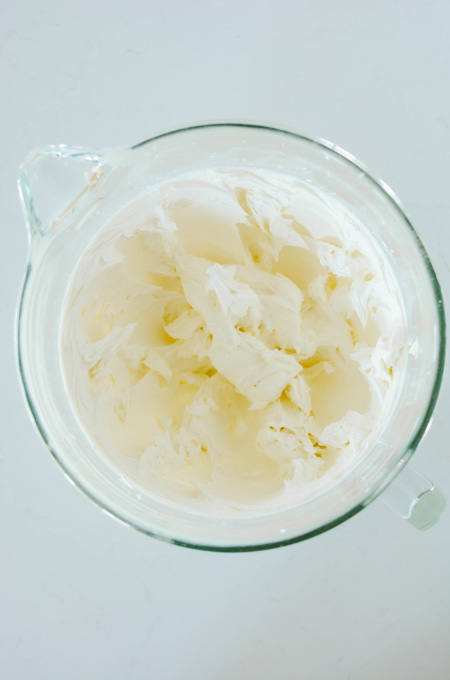
- In a bowl or a 4 cup liquid measuring cup, whisk together milk, egg whites and lemon emulsion. In the bowl of a stand mixer, with the paddle attachment attached, mix the flour, sugar, baking powder and salt on low speed until combined. Add butter one tablespoon at a time until the mixture forms pea-sized pieces, about 1 minute. Reserve ½ cup of the milk mixture and pour the remaining to the flour mixture and mix on medium-high speed until light and fluffy, about 1 minute. Reduce the mixer speed to medium-low and add the reserved ½ cup milk mixture to the batter and mix until combined, about 30 seconds. Do not over mix. The batter may look curdled. Give the batter a final stir by hand with a rubber spatula.
- Divide the batter evenly between the prepared cake pans and smooth tops with a rubber spatula. Gently tap cake pans on the counter to settle the batter and bake until a toothpick inserted in the centers comes out with a few moist crumbs attached, about 20 to 25 minutes, switching and rotating pans halfway through baking.
- Let cakes cook in their pans on wire racks for 10 minutes. Invert cakes on to wire racks to cool completely, about 2 hours.
BLUEBERRY FILLING
- Place thawed blueberries in a blender or food processor and puree until smooth. Over a bowl pour blueberry puree over a sieve to remove the solids. The puree will be thick. Use a spoon to stir and press the puree through the sieve.
- Place blueberry puree in a small saucepan over medium-low heat. Add sugar and cornstarch mixture and bring to a simmer, stirring constantly to keep lumps from forming. Once the puree thickens, remove from the heat. Cool for 5 minutes and then add fresh lemon juice and chill for about 2-3 hours in the refrigerator until ready to use.
LEMON CREAM CHEESE FROSTING FROSTING
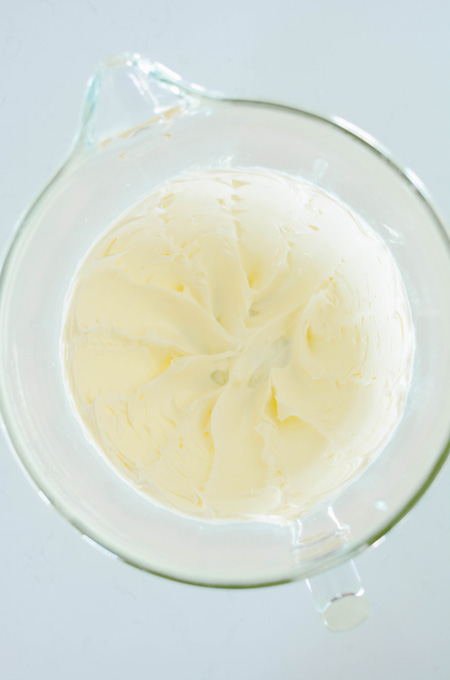
- In the bowl of a stand mixer fitted with the paddle attachment, beat the butter on medium speed for 5 minutes. Add the sifted powdered sugar, vanilla extract, lemon juice and salt. Reduce the speed to low and beat for 1 minute.
- Increase the speed to medium and beat until fluffy, about 4 minutes. Reduce the speed to medium-low and add the cream cheese and beat until smooth, about 1 minute. Mix in lemon zest. Do not over beat or the frosting will become soupy.
ASSEMBLE
- Place a nonslip mat on top of a cake turntable and place an 8-inch cake board on top. Center the first cake layer on top of the cake board, making sure there's even spacing from all around the edges. Fit a piping bag with a round piping tip or coupler and fill the piping bag with about 1 cup frosting. Pipe a frosting dam around the outer edge of the cake. Fill the center with half of the filling and spread out in an even layer with a small offset cake spatula. Place the second cake layer on top and gently press to adhere to the bottom cake layer. Pipe a frosting dam around the outer edge and spread the remaining filling out in an even layer until it reaches the frosting dam. Add the third and final cake layer (bottom side up) on top and gently press to adhere.
CRUMB COAT
- Apply a thin layer of frosting over the top and sides of the cake, creating a crumb coat.
Chill the crumb coated cake in the refrigerator for 30 minutes.
DECORATING
- Line an 8-inch acrylic disc with parchment paper. Center the disc (parchment side down) on the top of the cake, making sure the disc and the bottom cake board line up. Apply frosting to the sides of the cake, coving up the bottom cake board completely. Using a cake scraper, smooth the frosting by rotating the cake turntable, cleaning your scraper with each rotation. Once the sides are smooth, place the cake back in the refrigerator for 15 minutes before removing the acrylic disc.
- Carefully remove the acrylic disc by inserting a small offset cake spatula under the disc and rotate the turntable until it releases.
- Smooth the top of the cake, adding more frosting if needed. Fit a piping bag with Wilton piping tip #1M and fill with frosting. Pipe a shell border around the top edge of the cake. Sprinkle the candied lemon peel in the center of the cake. Carefully transfer the cake to a cake pedestal and pipe another shell border around the bottom edge of the cake and serve.
Notes
Candied lemon peel can be made up to 7 days in advance, stored in an airtight container at room temperature.
Blueberry filling can be made up to 5 days in advance, stored in an airtight container in the refrigerator.
Cake layers can be made up to 3 days in advance, wrapped in plastic, stored in an airtight container in the refrigerator.
Assembled cake can be stored in an airtight container in the refrigerator for up to 3 days. Bring to room temperature before serving.
Nutrition Information:
Yield: 12 Serving Size: 1Amount Per Serving: Calories: 654Total Fat: 47gSaturated Fat: 26gTrans Fat: 0gUnsaturated Fat: 18gCholesterol: 136mgSodium: 602mgCarbohydrates: 53gFiber: 3gSugar: 23gProtein: 9g
*Nutrition information is an estimate and will vary.*


Leave a Reply