
As an Amazon Associate, I earn from qualifying purchases.
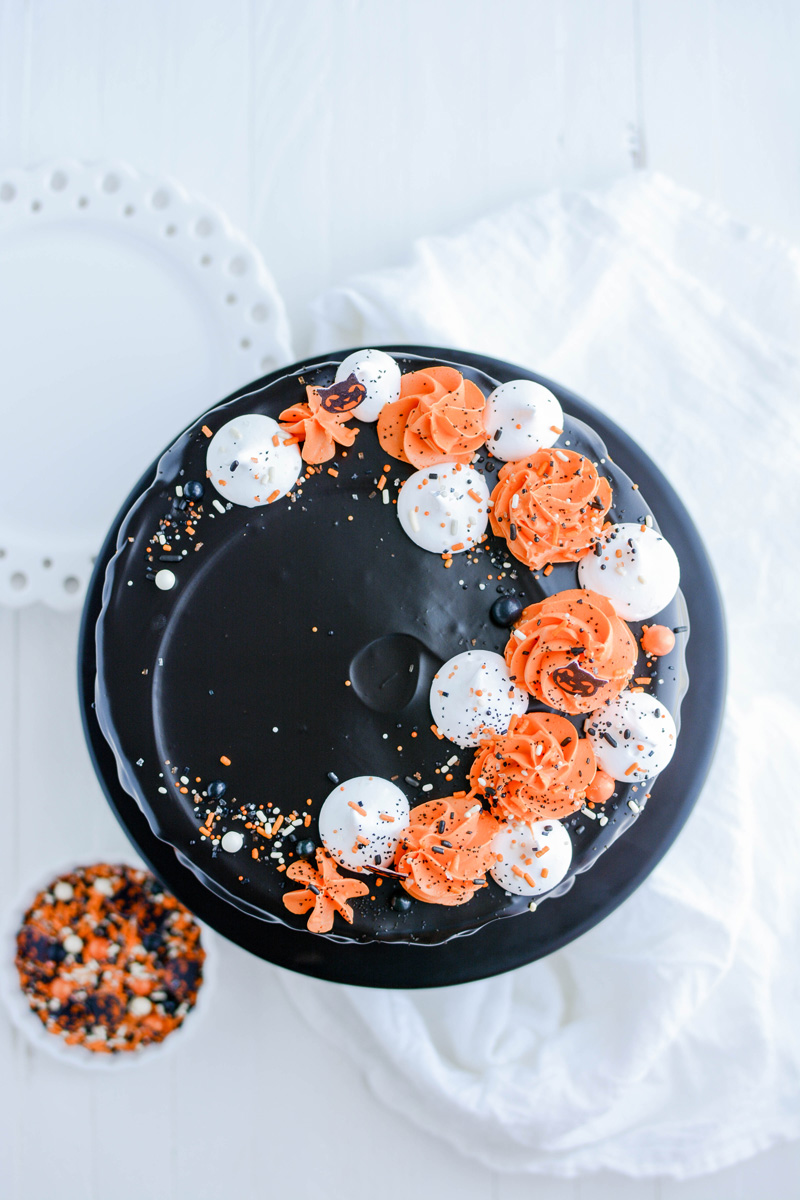
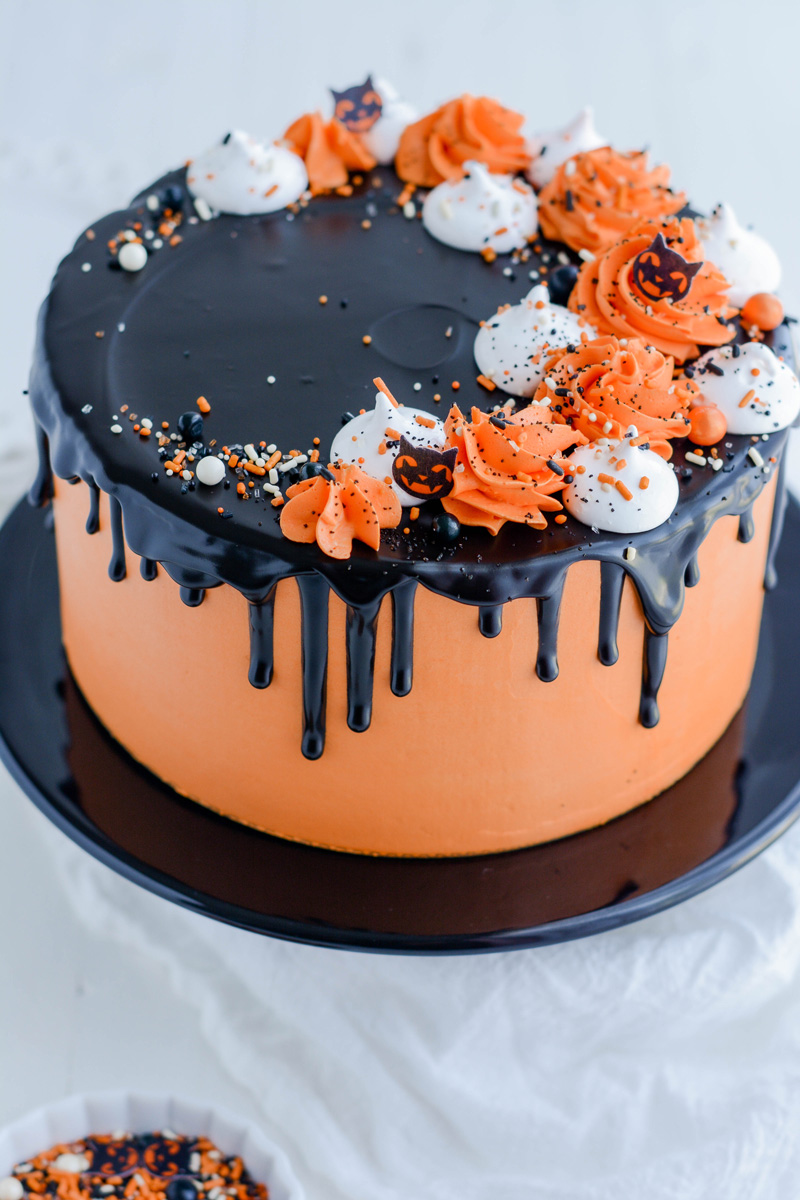
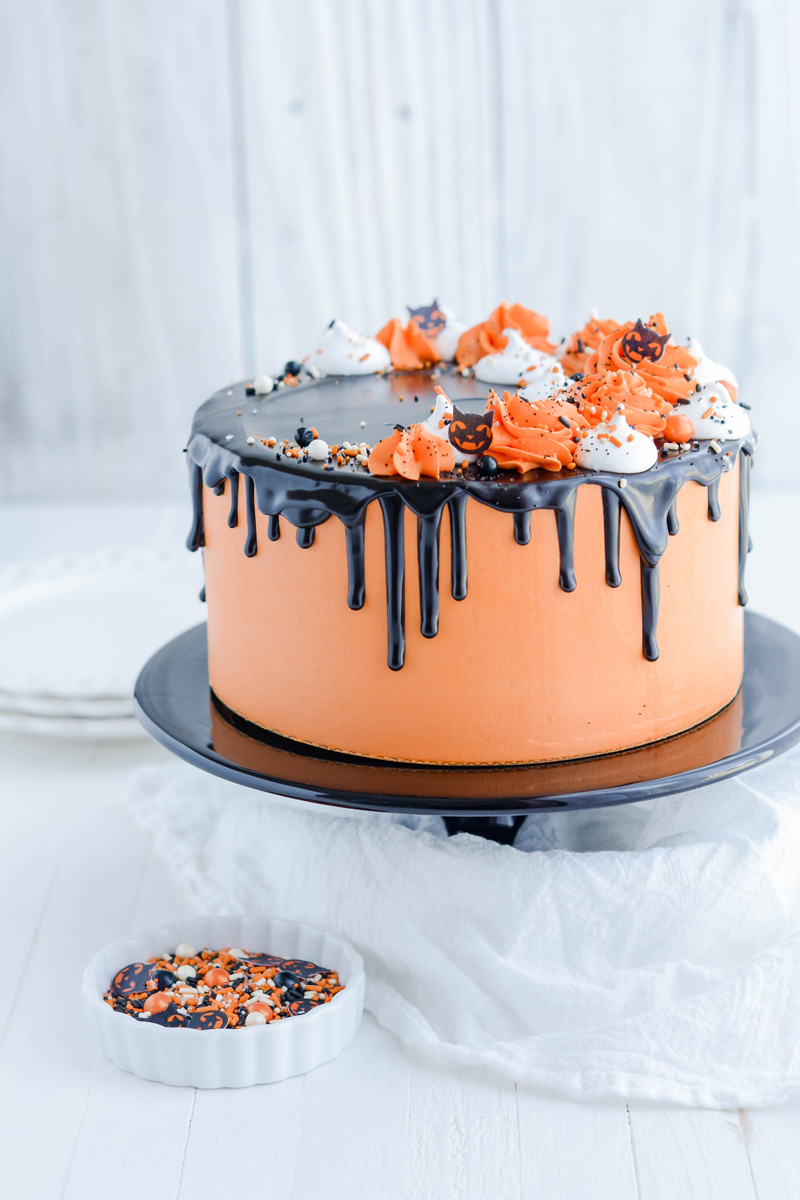
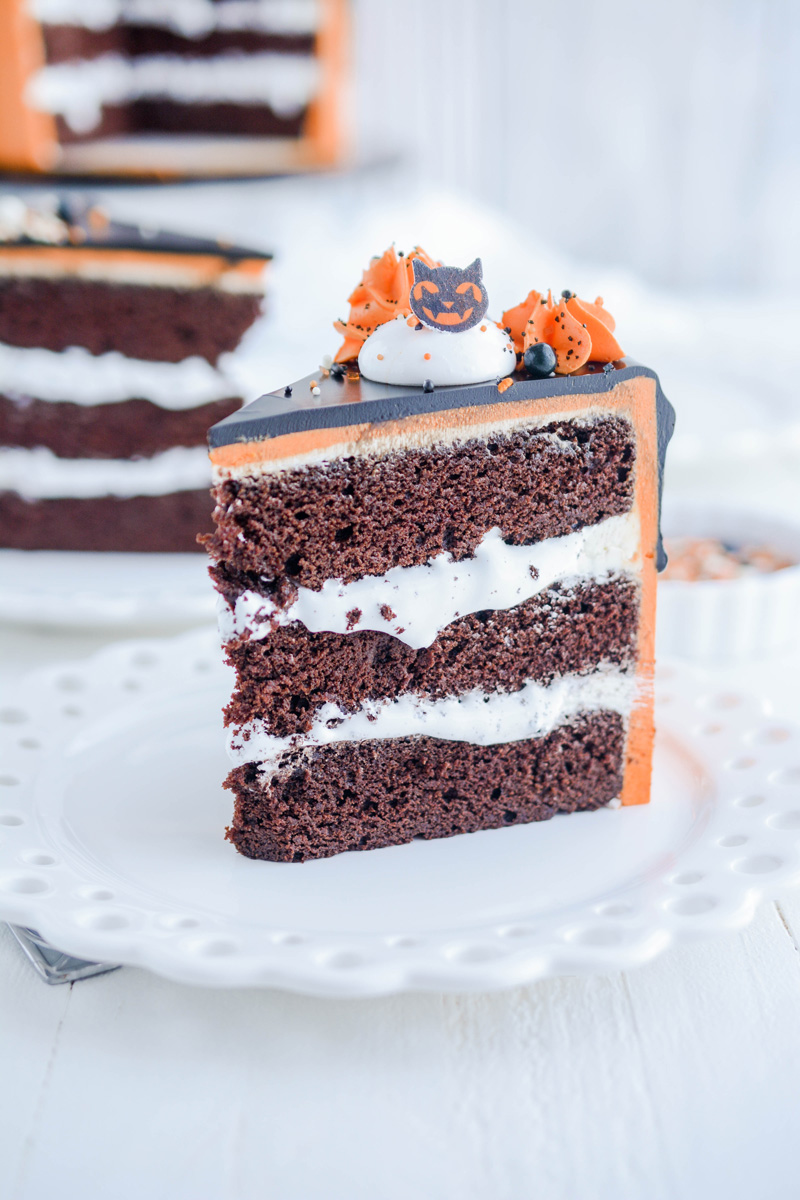
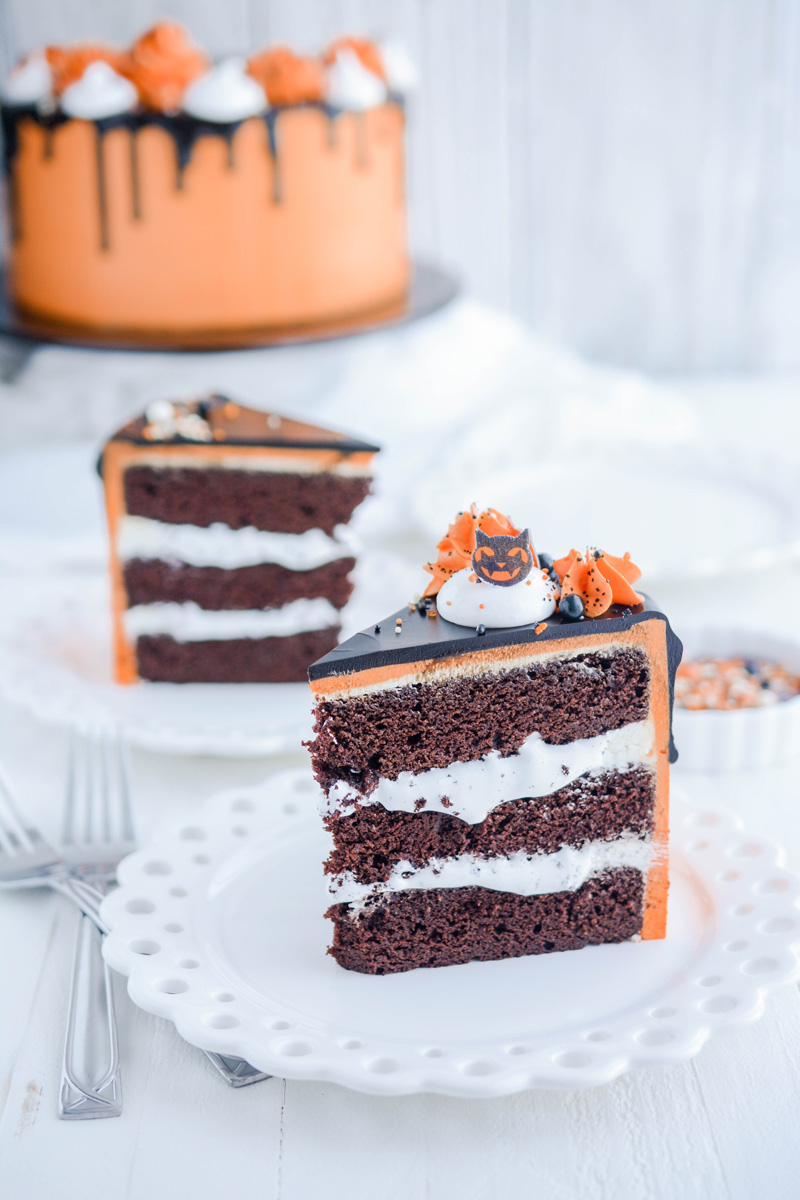
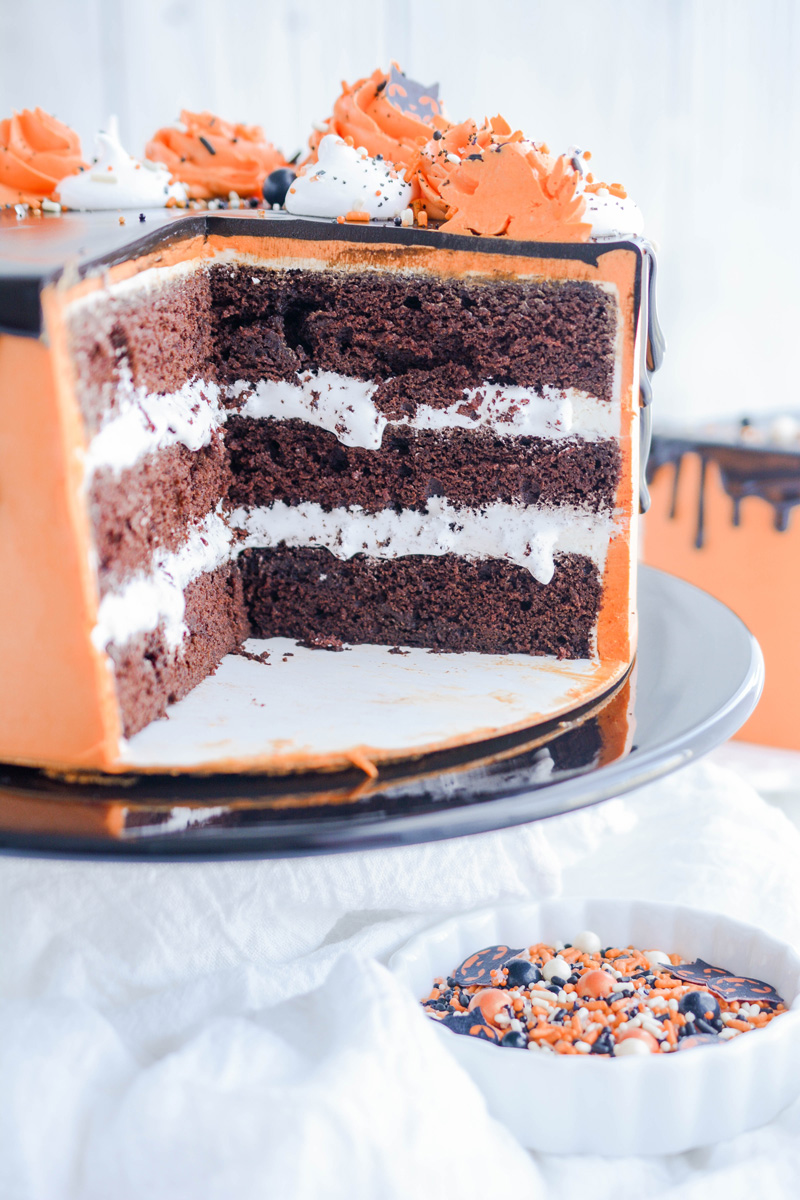
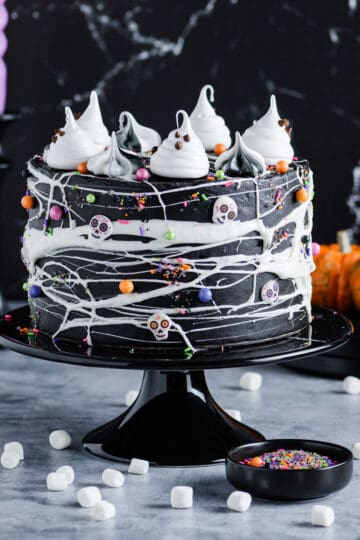
To celebrate the upcoming holiday I created this festive and tasty Devil’s Food Halloween Cake made with dark chocolate cake layers, filled with marshmallow filling, and frosted with bakery-style frosting and black chocolate drip.
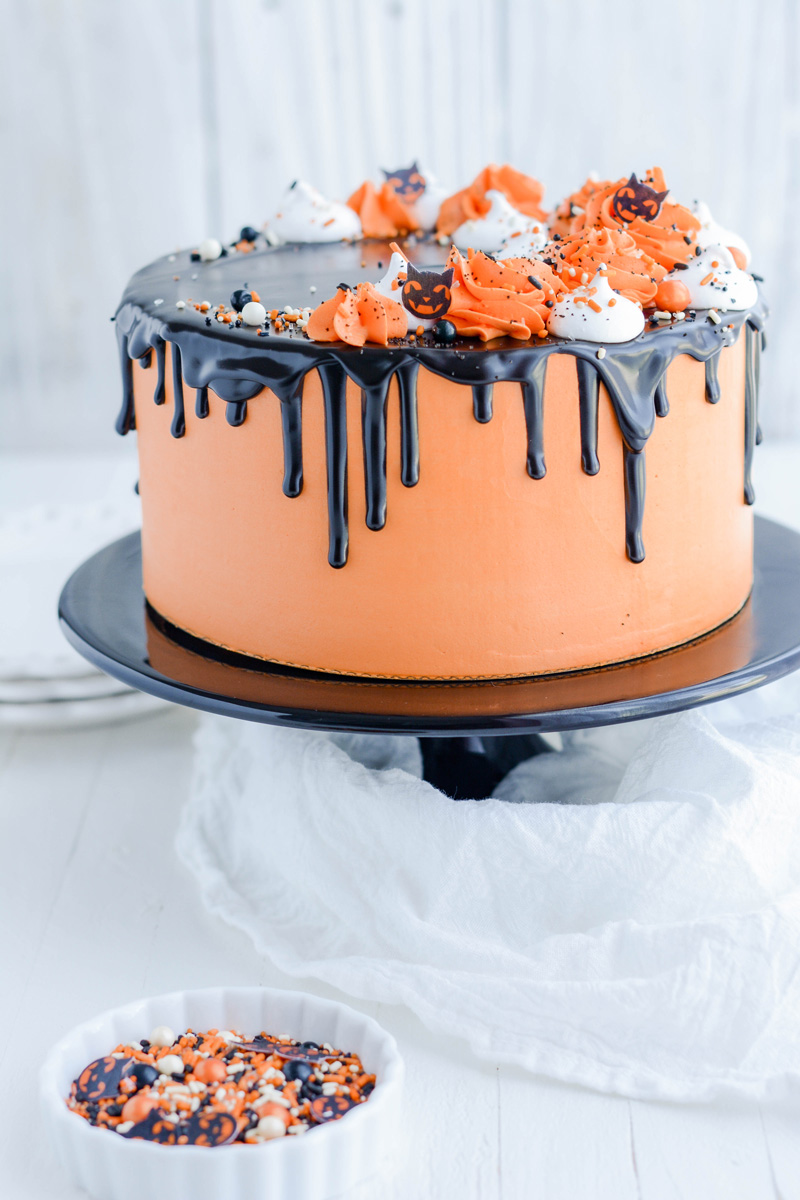
The inspiration for this cake came from Sprinkle Pop’s Vintage Halloween Sprinkle Mix. When I saw those kitty cat jack-o-lanterns I knew I had to create a cake just for those kitty cats!
Devil’s Food Cake Ingredients
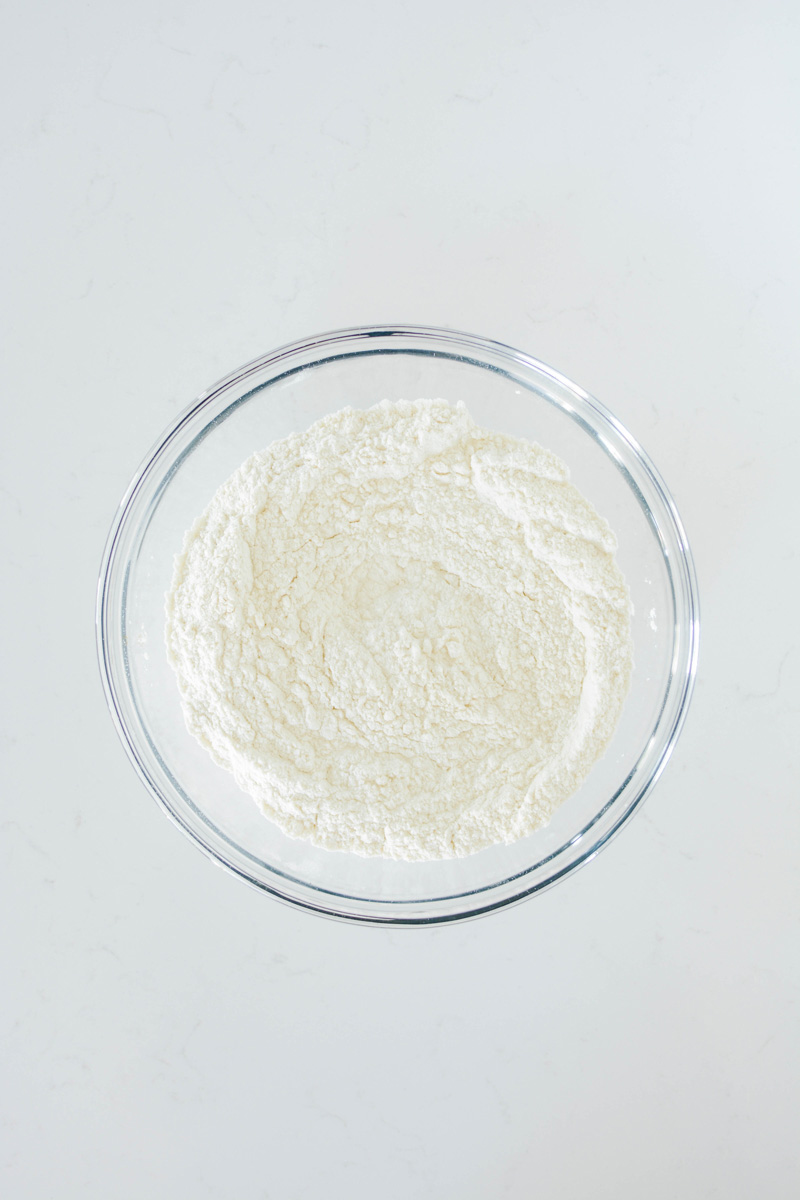
- All-purpose flour: is very versatile for baking and is great for things that require a little extra structure.
- Baking soda: is a leavener and works with acidic ingredients like sour cream to produce carbon dioxide.
- Baking powder: is a mixture of cornstarch and baking soda. Baking powder reacts twice, when it comes into contact with liquid and when it comes into contact with heat, creating bubbles in the batter that help give the cake its structure.
- Salt: helps bring out the flavor.
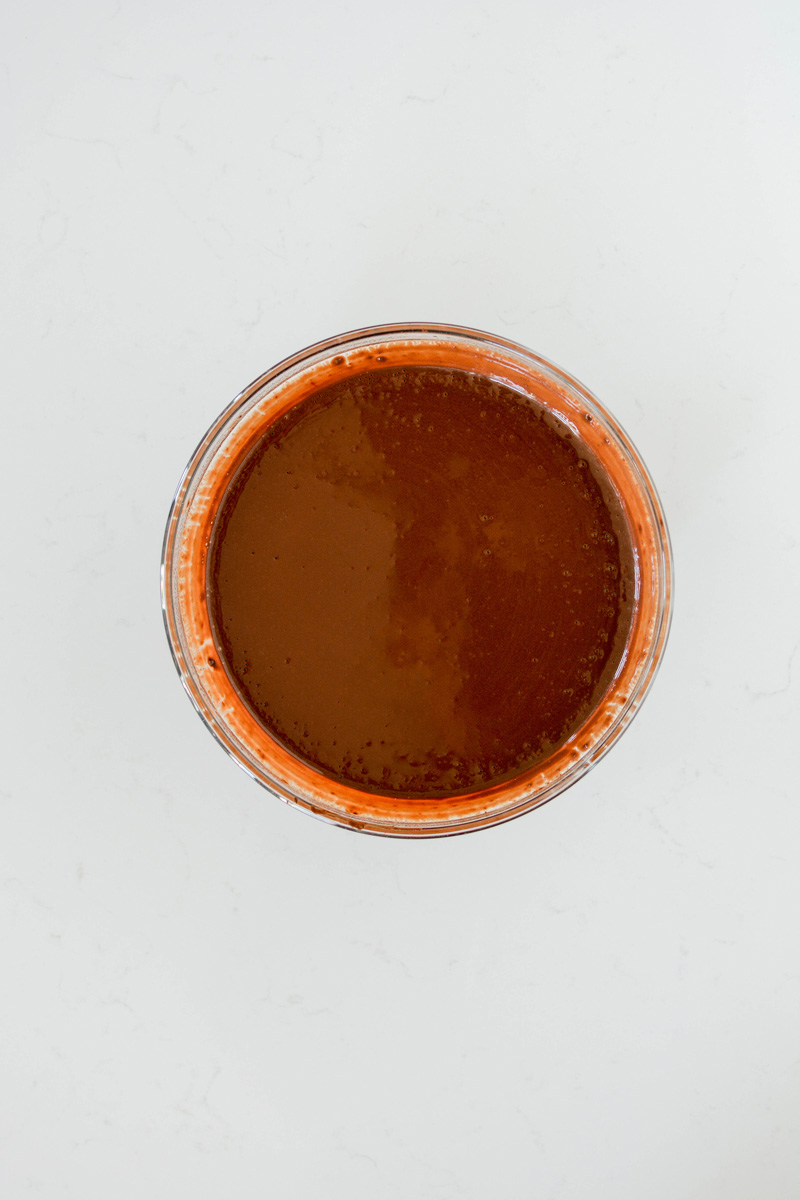
- Boiling water: is used in this recipe to melt the chocolate. The use of water instead of milk helps the chocolate flavor come through. To accurately measure boiling water, bring the water to a boil, then pour into a heatproof liquid measuring cup.
- Unsweetened chocolate: is the traditional choice for recipes that produce a bold chocolate flavor.
- Dutch-processed cocoa powder: is less acidic than natural cocoa powder and enhances browning.
- Instant espresso powder: intensifies the chocolate flavor.
- Unsalted butter: is a fat that is rich in flavor and helps determine the texture of the cake.
- Light brown sugar: helps bring out the chocolate flavor in the cake.
- Eggs: bind thicken and emulsifies. I always use large eggs for consistency sake.
- Sour cream: is an acidic ingredient that works with the baking soda to leaven the cake. Sour cream also helps produce a tender cake. Buttermilk and yogurt can be substituted for sour cream in most cakes.
- Vanilla extract: helps bring out the flavors of the cake.
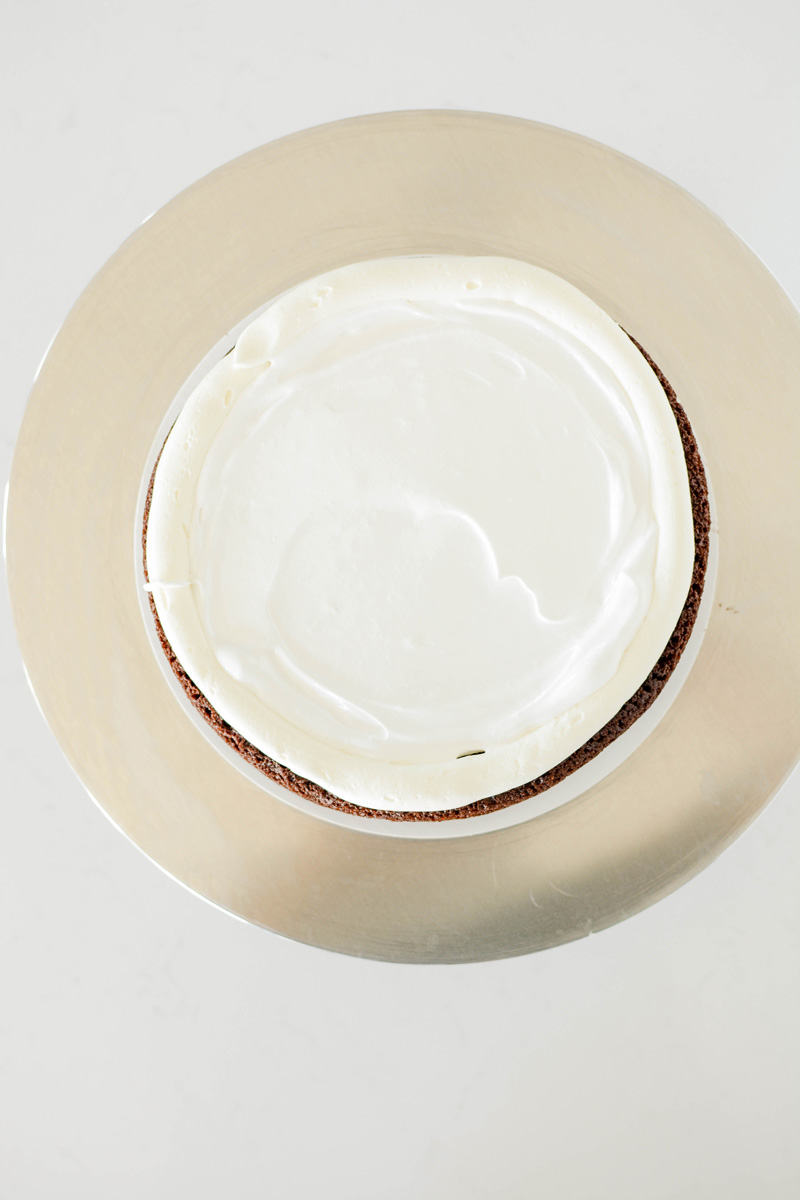
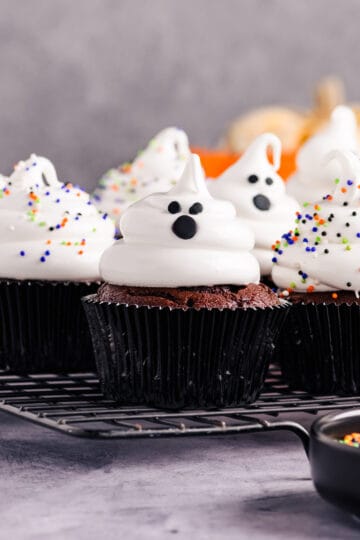
Marshmallow Filling
Marshmallow filling pairs well with this dark chocolate cake. The filling is light and airy and drips down perfectly when sliced. The Cake Chica’s Tip: I also used some of the leftover filling in a piping bag to decorate the cake.
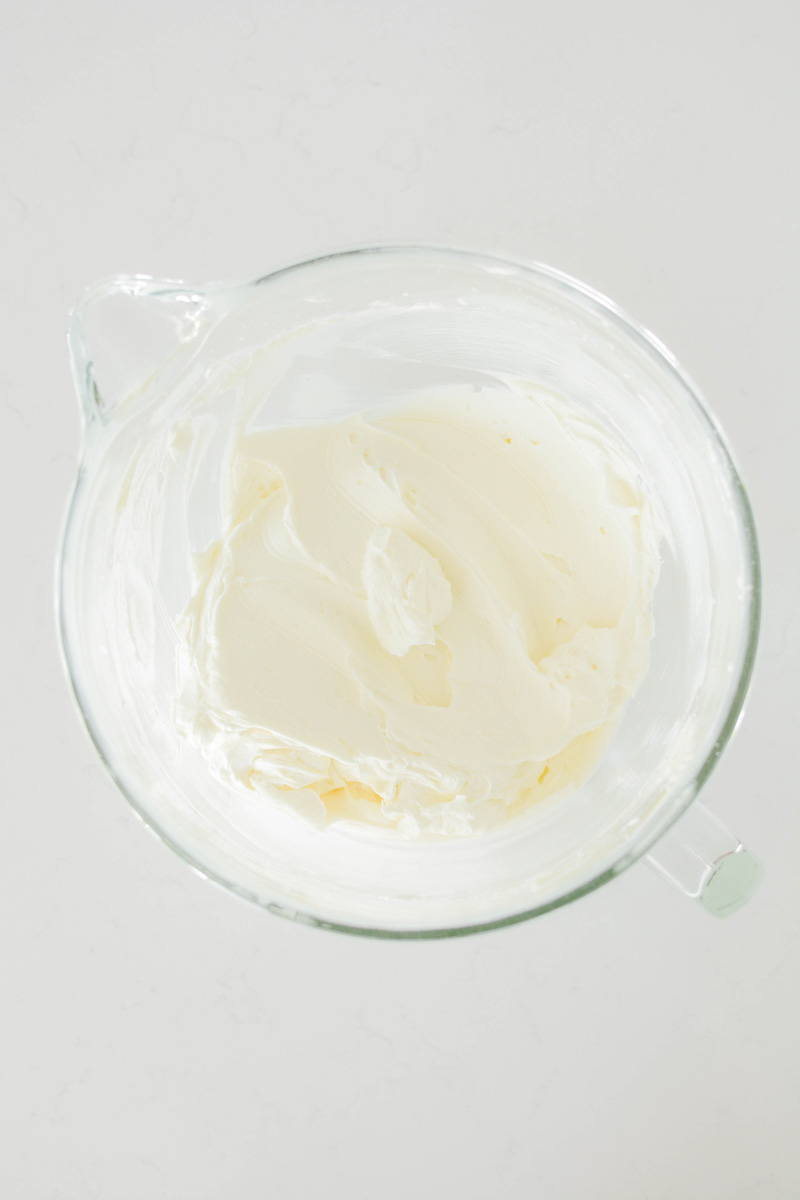
Bakery-Style Frosting
I’ve got a secret to share with you! There’s a secret ingredient that I use in this frosting that always has people asking me “what is that flavor in the frosting, it’s so good”! Well, my not-so-secret-ingredient is something called Princess Cake and Cookie Baking Emulsion. This emulsion adds another dimension of flavor, that little something extra, you know. Vanilla extract can always be used as a substitute in equal parts.
How To Fill A Cake
I use a frosting dam around the edge of the cake to help keep fillings neatly inside and keep the cake bulge to a minimum. I typically use anywhere from 1/2 cup to 3/4 cup filling in my cakes. Depending on the type of filling will determine the unit of measurement that I’ll use. Since Marshmallow Filling can be a bit slippery I make sure not to over fill the cake. Otherwise the cake layers will start to slip and slide. I recommend 2/3 cup filling for this particular cake.
Crumb Coating
Crumb coating helps catch any loose crumbs and seals the cake in and keeps it fresh. It also gives you a good base to frost and decorate the cake.

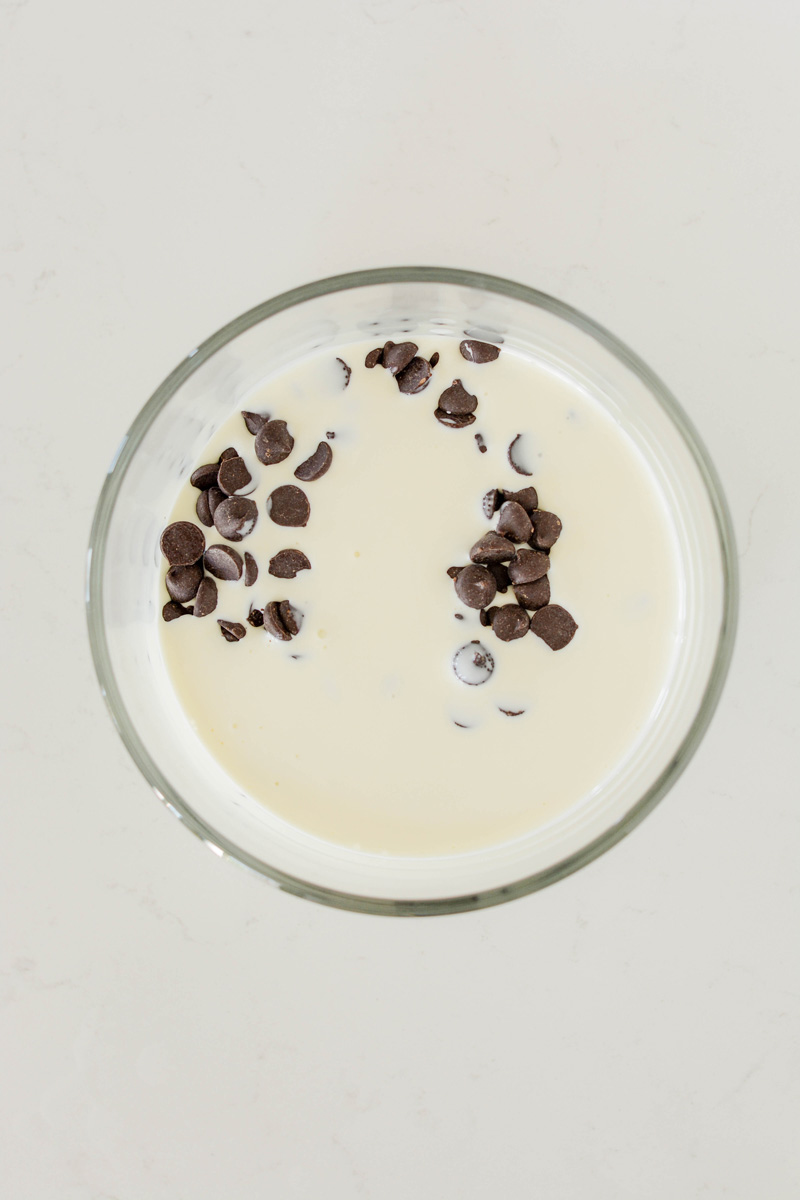
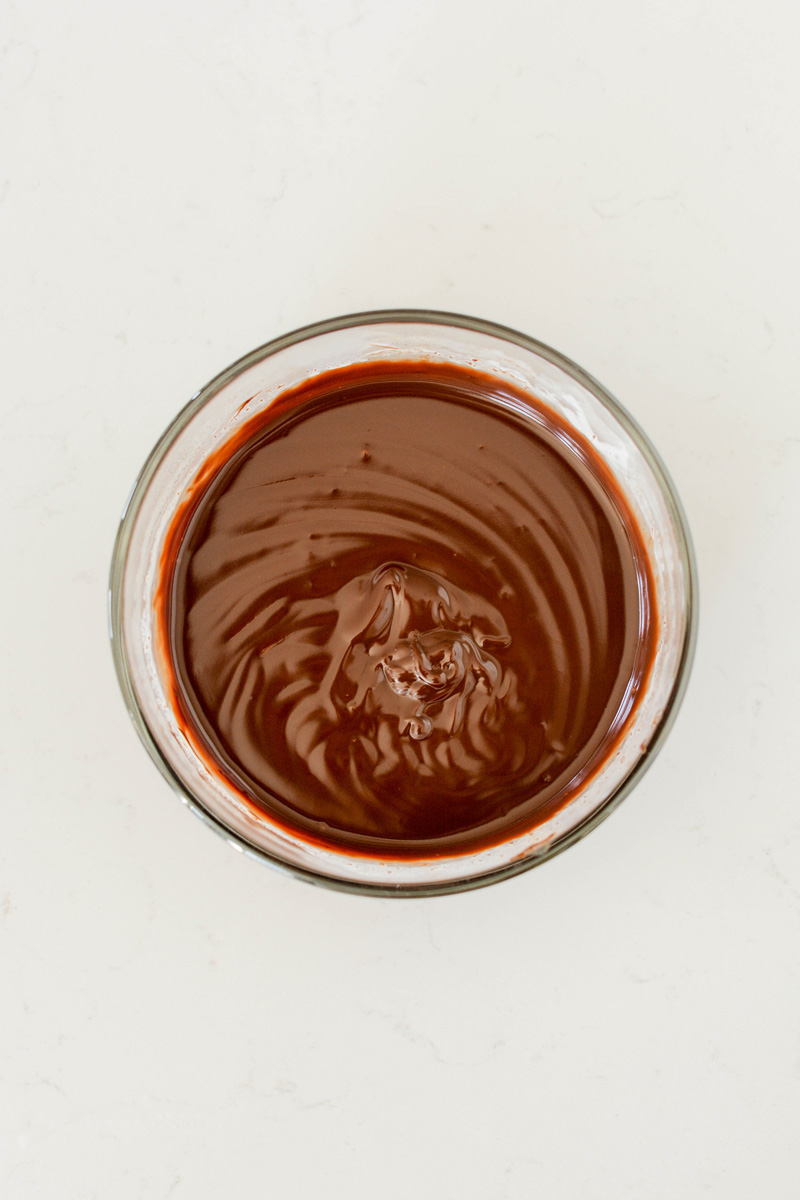
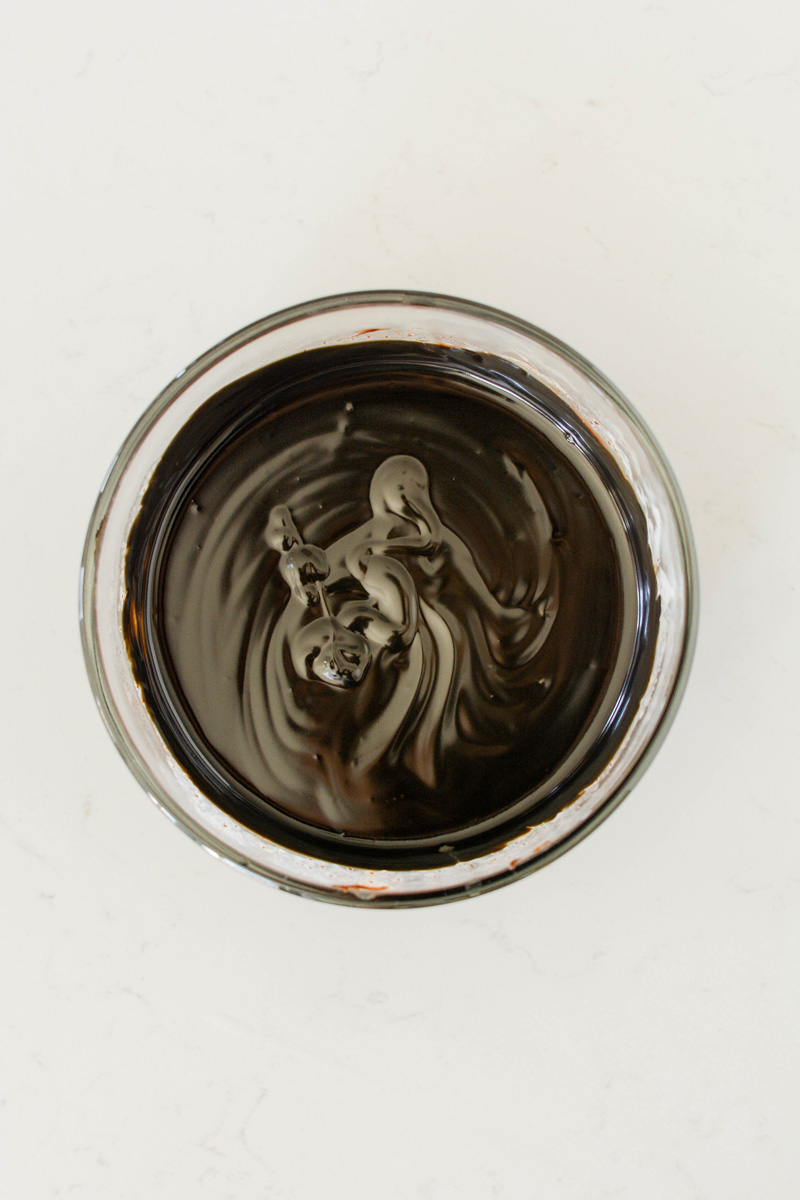
How To Make Black Chocolate Drip
- Start with dark chocolate chips
- Melt the chocolate chips with cream in a microwave until melted and combined.
- Add a few drops of black gel food color.
Devil’s Food Halloween Cake Baking Schedule
- Day 1: Bake cake layers.
- Day 2: Make filling, frosting, chocolate drip, assemble and serve.
Cake Decorating Tools
- Nonslip mat
- Cake turntable
- 8-inch round cake board
- Piping bag(s)
- Round tip our coupler
- Small offset cake spatula
- Americolor Electric Orange gel food color
- 8-inch round acrylic disc
- Parchment paper
- Cake scraper
- Wilton piping tip #1M
- Ateco piping tip #808
- Sprinkle Pop Vintage Halloween Sprinkle Mix
Make Ahead
- Cake layers can be made up to 3 days in advance, wrapped in plastic wrap, stored in an airtight container in the refrigerator.
- Marshmallow filling is best used the day it is prepared.
- Frosting is best used the day it is prepared.
- Chocolate drip is best used the day it is prepared.
Storage
- Cake layers can be made up to 3 days in advance, wrapped in plastic wrap, stored in an airtight container in the refrigerator.
- Assembled cake can be stored at room temperature for up to 1 day or in the refrigerator for up to 2 days. Bring to room temperature before serving.
Let’s Connect
The Cake Chica is on the following social media platforms below. Click subscribe, like and follow! We would love to have you over!
Suggested Recipes

Devil's Food Halloween Cake
Devil's Food Cake filled with homemade marshmallow filling, frosted with bakery-style frosting and topped with black chocolate drip and bespoke sprinkles.
Ingredients
SPECIAL TOOLS
- 3 8-inch round cake pans
- Nonstick baking spray
- Stand mixer
- Candy thermometer
- Nonslip mat
- Cake turntable
- 8-inch round cake board
- Piping bag(s)
- Round tip our coupler
- Small offset cake spatula
- Americolor Electric Orange gel food color
- 8-inch round acrylic disc
- Parchment paper
- Cake scraper
- Wilton piping tip #1M
- Ateco piping tip #808
- Sprinkle Pop Vintage Halloween Sprinkle Mix
CAKE
- 1 ½ cups (7 ½ ounces) all-purpose flour
- 1 teaspoon baking soda
- ½ teaspoon baking powder
- ¼ teaspoon table salt
- 1 ¼ cups boiling water
- 4 ounces unsweetened chocolate, chopped
- ½ cup (1 ½ ounces) cocoa Dutch processed cocoa powder
- 1 teaspoon instant espresso powder or instant coffee powder
- 10 tablespoons unsalted butter, cut into tablespoon sized pieces, at room temperature, about 65-67 degrees)
- 1 ½ cups (10 ½ ounces) packed light brown sugar
- 3 large eggs, at room temperature
- ½ cup sour cream
- 1 teaspoon vanilla extract
MARSHMALLOW FILLING
- 4 large egg whites
- 1 1/4 cups (8.75 ounces/250 grams) granulated sugar
- 1 tablespoon light corn syrup
- 1/4 teaspoon cream of tartar
- Pinch of salt
- 1 teaspoon vanilla extract
- 1/4 teaspoon marshmallow flavoring, optional
BAKERY-STYLE FROSTING
- 1 cup (16 tablespoons/225 grams) unsalted butter, at room temperature
- 1/4 cup (50 grams) shortening
- Pinch of salt
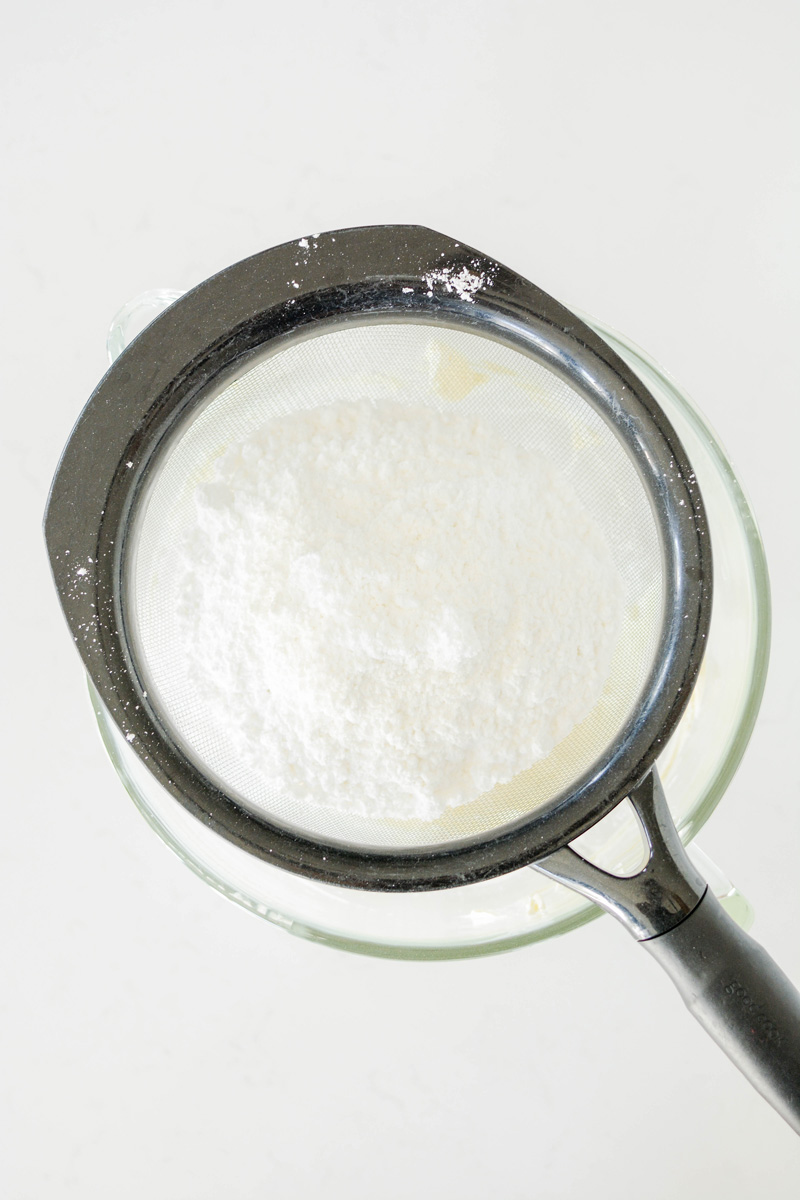
- 3 1/4 cup (13 ounces/410 grams) powdered sugar, sifted
- 1/2 cup heavy cream
- 2 teaspoons Princess Cake and Cookie Emulsion
DARK CHOCOLATE DRIP
- 1 cup (170 grams) dark chocolate chips
- 3/4 cup heavy cream
- Black gel food coloring, optional
Instructions
CAKE
- Adjust an oven rack to the center position and heat oven to 350 degrees. Spray 3 8-inch round cake pans with non stick baking spray and set aside.
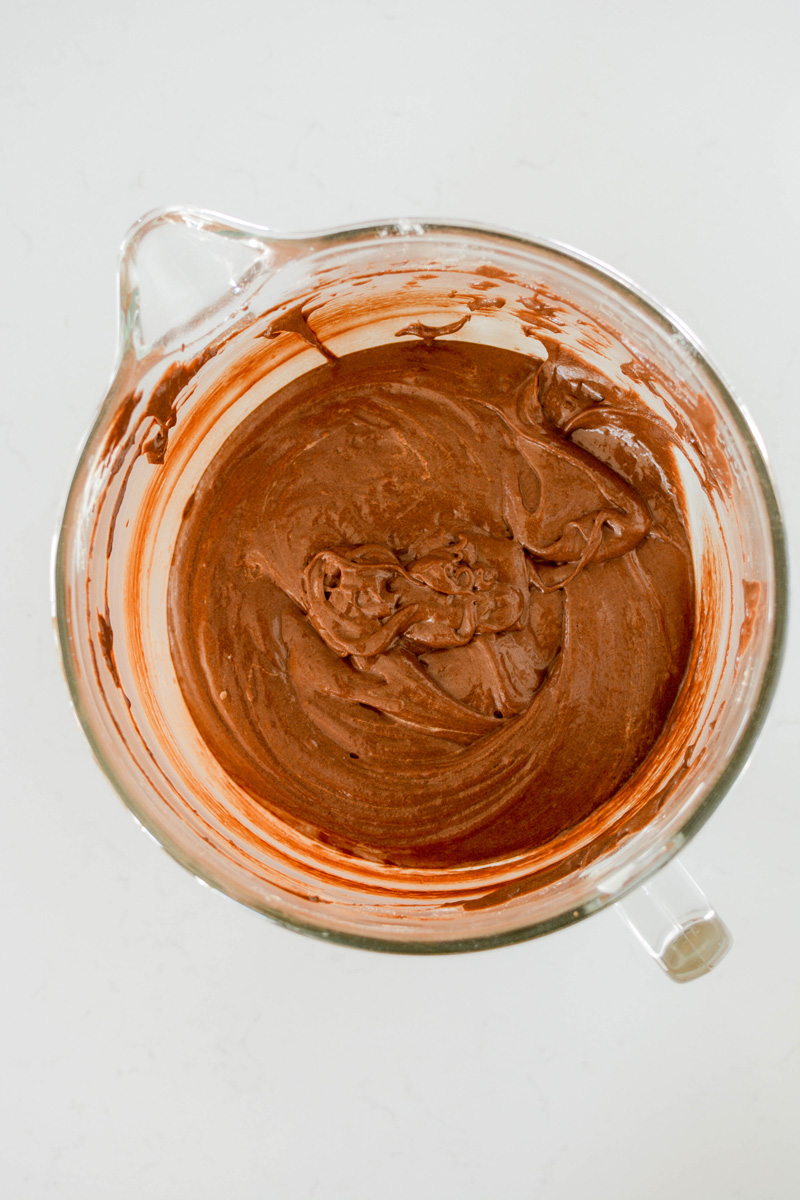
- In a large bowl, whisk together the flour, baking soda, baking powder and salt. In another bowl whisk boiling water, chocolate, cocoa powder, and espresso powder until smooth and combined.
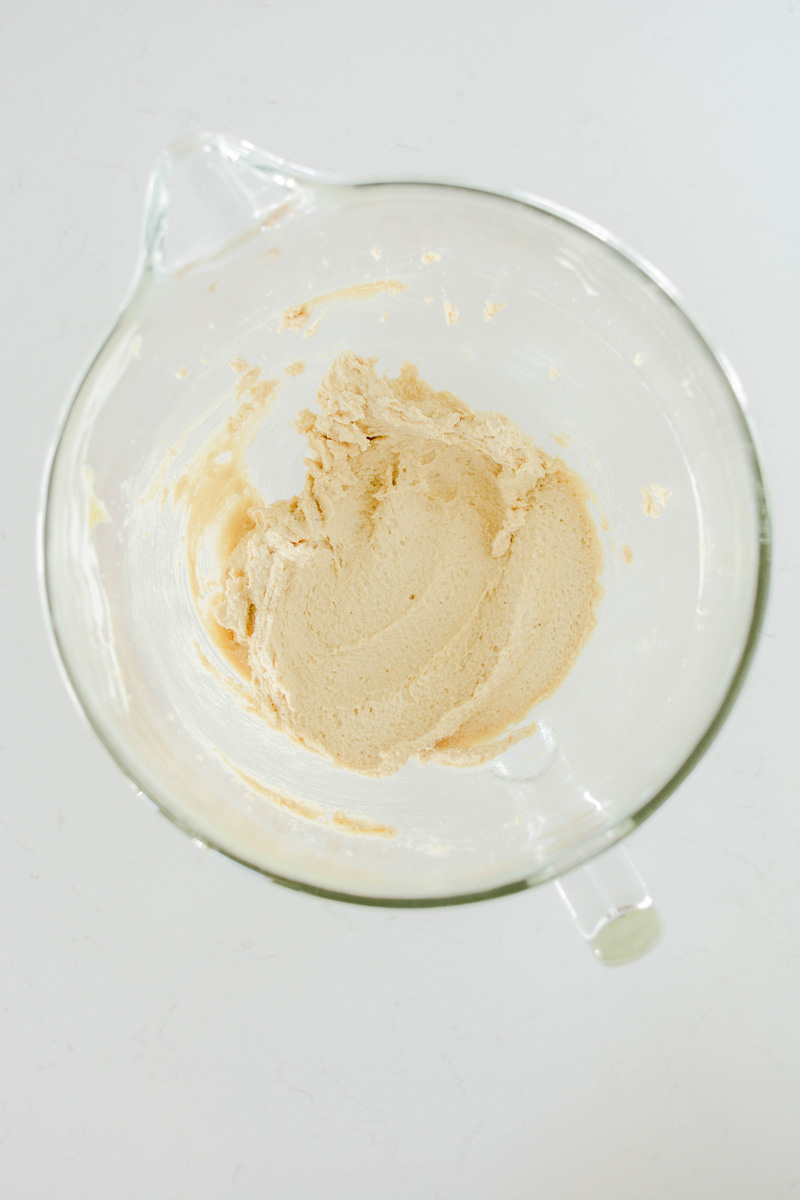
- In the bowl of a stand mixer, fitted with the paddle attachment, beat the butter and sugar on medium-high speed until light and fluffy, about 3 minutes. Reduce the mixer speed to medium-low and add in eggs one at a time, beating until just combined after each addition. Add in the sour cream, and vanilla extract mix until combined. Reduce the speed to low, and add the flour mixture in 3 additions, alternating with the chocolate mixture in 2 additions. Scrape down the sides of the bowl as needed and give the batter a final stir by hand.
- Divide the cake batter evenly among the prepared pans and smooth out the batter with a small offset spatula and tap pan gently on the counter to settle the batter. Bake for 18 to 22 minutes, (rotating pans halfway through baking) or until a toothpick inserted in the center comes out with a few moist crumbs attached.
- Let cakes cool in their pans for 10 minutes, then invert the cakes from their pans onto a cooling rack to cool completely (about 2 hours).
MARSHMALLOW FILLING
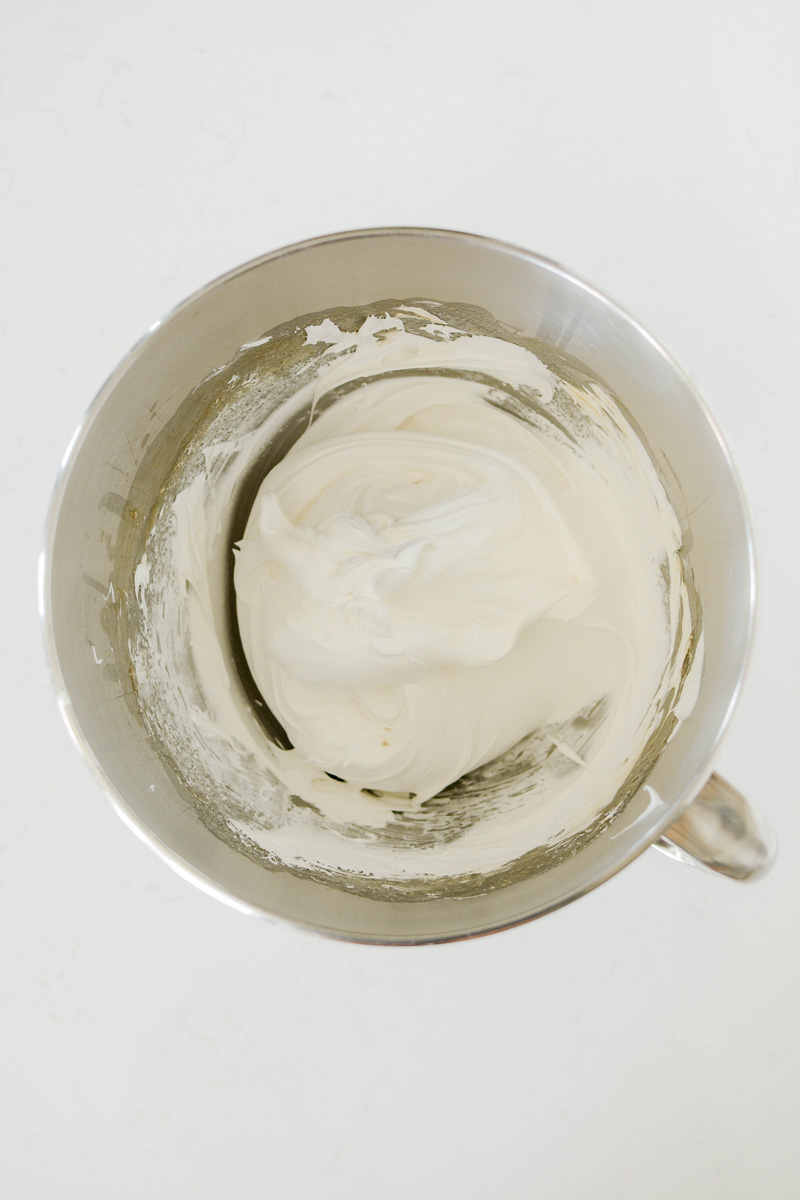
- In the stainless steel bowl of a stand mixer, with the whisk attachment attach, combine the egg whites, sugar, corn syrup, cream of tartar and salt. Place the bowl of a saucepan of simmering water, being sure the bottom of the mixer bowl does not touch the simmering water. Whisking frequently, cook the egg white mixture until it reaches 130 degrees on a candy thermometer, about 10 minutes.
- Carefully transfer to the mixer stand and beat on low speed for 2 minutes. Increase the mixer speed to medium and beat for another 2 minutes. Increase the speed to high and continue to beat for 5 minutes until the egg white mixture is thick and glossy. Add the vanilla extract and marshmallow filling and mix to combine.
BAKERY-STYLE FROSTING
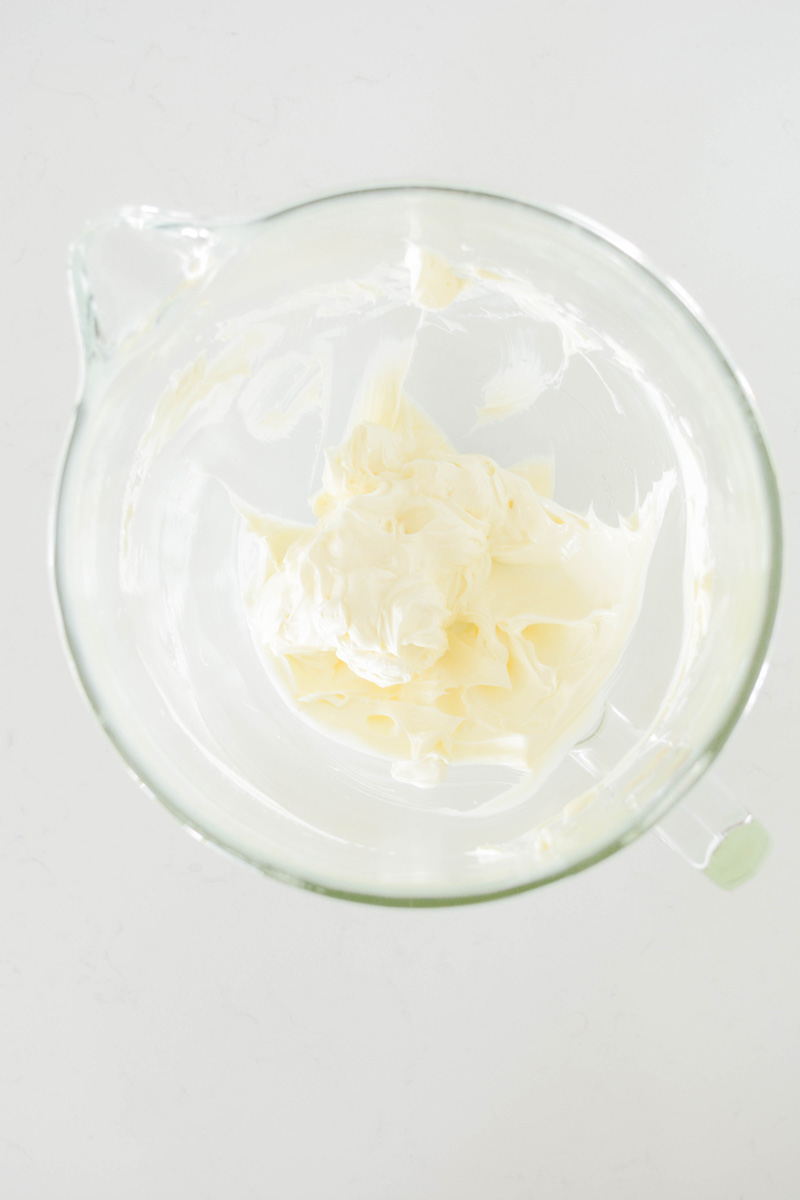
- In the bowl of a stand mixer with the paddle attachment attached, beat the butter, shortening and salt on medium speed until light and fluffy, about 8 minutes. Add the powdered sugar, heavy cream, and emulsion and slowly mix until combined, about 1 minute.
- Increase the mixer speed to medium-high and beat until light and fluffy, about 6 minutes.
ASSEMBLE CAKE
- Place a nonslip mat on top of your cake turntable. Place an 8-inch cake board on top. Spread a small amount of frosting in the center of the cake board to act as glue for the cake. Center one cake layer on the cake board. Fit a piping bag with a round tip or coupler and fill the piping bag with about 1 cup frosting. Pipe a frosting dam around the edge of the cake. Spread about 2/3 cup filling over the top with an offset cake spatula, smoothing the frosting out all the way to the frosting dam.
- Place the second cake layer on top and pipe another frosting dam around the edge. Spread another 2/3 cup filling on top in an even layer, spreading it all the way to the frosting dam. Place the last cake layer on top (bottom side up) and gently press down to adhere.
CRUMB COATING
- Pipe the remaining frosting in the piping bag on to the top of the cake and with an offset cake spatula, spread a thin layer of frosting over the top and sides of the cake, catching any loose crumbs and sealing them in. Refrigerate or freeze the cake for 15 to 30 minutes.
FROSTING THE CAKE
- Add orange gel food coloring to the remaining frosting in your mixer bowl. Mix on low speed to combine the food coloring. Keep adding orange gel coloring until the frosting is the desired color.
- Apply a large dollop of orange frosting on top of the cake and spread out evenly. Line an 8-inch round acrylic disc with parchment paper with a bit of frosting. Line up the acrylic disc with the bottom cake board and gently press on to the top of the cake to adhere. Add more frosting to the sides of the cake, making sure to cover the bottom cake board completely, and gently press a cake scraper against the acrylic disc and bottom cake board. Slowly rotate the cake turntable all the way around to create a smooth finish on the side of the cake. Chill the cake in the refrigerator or freezer for 15 to 30 minutes.
- Insert a small offset spatula under the acrylic disc and rotate the turntable until the disc releases. Peel off the parchment paper. Add more frosting to the top of the cake to fill in any gaps if needed. Smooth out the top of the cake with an offset cake spatula while rotating the turntable. Place the cake back in the freezer or refrigerator while you prepare the chocolate drip.
DARK CHOCOLATE DRIP
- Place chocolate and heavy cream in a microwavable bowl. Microwave on 30 second intervals, stirring between intervals until the chocolate is smooth and completely melted. Add a few drops of black gel food coloring and stir to combine. Cool chocolate for 15 to 20 minutes before adding drips to the sides and top of the cake.
- Using a spoon, carefully drip chocolate off the sides of the cake. Pour remaining chocolate on the center of the cake and using a small offset spatula, spread the chocolate out until it meets the chocolate drips and is smooth. Return the cake to the freezer or refrigerator for about 15 minutes so the chocolate drips can set before adding additional decoration to the cake.
DECORATING
- Fit a piping bag with Wilton piping tip #1M and fill remaining frosting. Pipe a few small swirls along one side of the cake and with another piping bag fitted with Ateco piping tip #808. Pipe remaining marshmallow filling in dollops between the frosting swirls. Sprinkle the cake with festive bespoke sprinkles. Carefully transfer the cake to a cake pedestal and serve.
Notes
Cake layers can be made up to 3 days in advance, wrapped in plastic wrap, stored in an airtight container in the refrigerator.
Assembled cake can be stored at room temperature for up to 1 day or in the refrigerator for up to 2 days. Bring to room temperature before serving.
Nutrition Information:
Yield: 12 Serving Size: 1Amount Per Serving: Calories: 559Total Fat: 37gSaturated Fat: 19gTrans Fat: 0gUnsaturated Fat: 15gCholesterol: 138mgSodium: 366mgCarbohydrates: 51gFiber: 3gSugar: 28gProtein: 8g
*Nutrition information is an estimate and will vary.*


Leave a Reply