
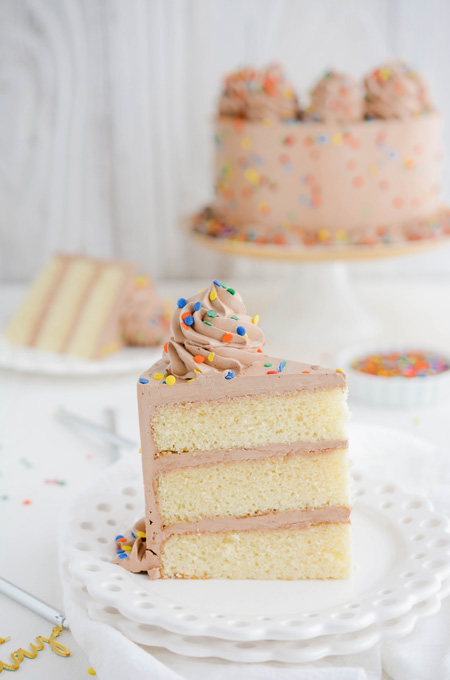
If you're looking for an easy, no frills basic cake recipe that's easy to make but also delicious, then look no further! I made this simple Yellow Birthday Cake with Chocolate Buttercream recipe for my husbands birthday this year.
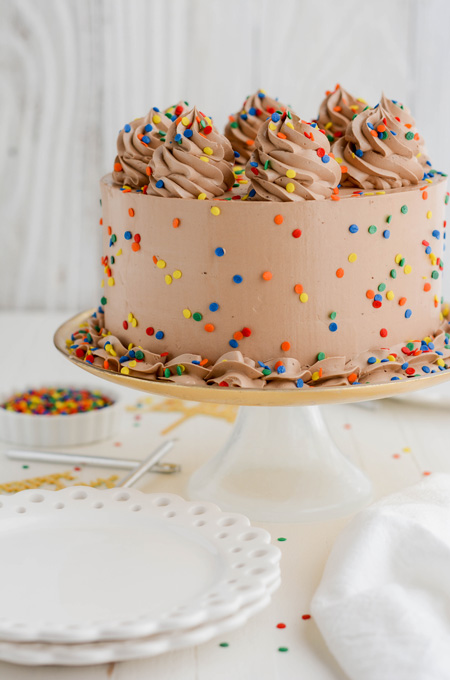
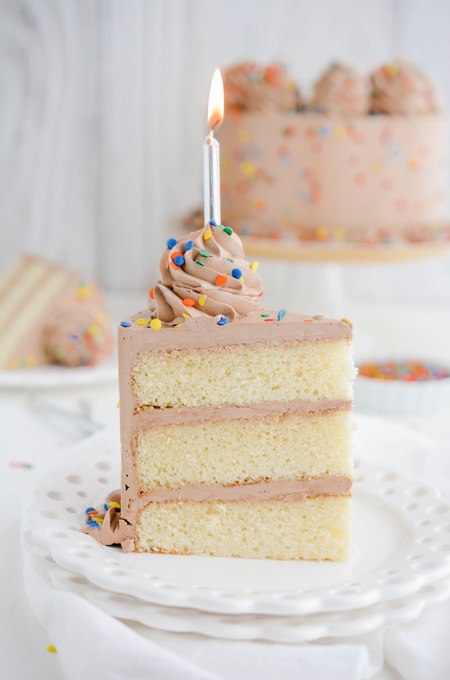
Sometimes you just want a simple cake with fluffy yellow cake layers, a luscious chocolate Swiss meringue buttercream and of course, birthday sprinkles!

Fluffy Yellow Cake Ingredients
- Cake flour: has a lower protein content than all-purpose flour which helps create a delicate crumb.
- Baking powder: is a leavener that contains baking soda and cornstarch. Baking soda reacts twice. The first is when it comes into contact with liquid and then when it is heated. Baking soda can’t be used as a substitute for baking powder.
- Baking soda: in combination with baking powder gives the cake extra support and lightens the cake's crumb.
- Salt: helps bring out the sweetness in the cake.
- Granulated sugar: Sugar not only sweetens the cake but it also helps tenderize, leavens and browns.
- Buttermilk: helps create a fine crumb.
- Melted unsalted butter: tenderizes, moistens, leavens, browns, and flavors.
- Egg yolks: helps give the cake a golden yellow color.
- Whipped egg whites: creates high volume and light texture. Do not use liquid egg whites, they won't achieve the same volume as fresh egg whites.
- Vegetable oil: helps keep the cake moist.
- Vanilla extract: helps balance the flavors.
- Cream of tartar: gives stability and strength to whipped egg whites by the acid helping to firm the proteins in the egg whites, allowing them to hold maximum shape and volume.


Swiss Meringue Buttercream Tips
- Your mixer bowl should be completely dry and clean before use.
- There should be no grease residue on the bowl and your egg whites should be free of egg yolks.
- Whisk together the sugar and egg whites well, or the eggs may start to cook on their own.
- Make sure the double boiler stays at a simmer.
- Your butter should be room temperature before using.
- Add your butter by tablespoon to the meringue.
- The buttercream should be as smooth as possible.
- To help remove air bubbles, run the mixer on low speed for one minute.
Swiss Meringue Buttercream Trouble Shooting
- If the buttercream looks curdled in the final stages then the butter was probably too cold when added to the meringue. Keep mixing longer until it comes together.
- If the buttercream looks soupy but not separated, then the meringue was probably too warm when the butter was added. Place the mixer bowl in the refrigerator for 15 to 20 minutes and beat until the buttercream comes together.

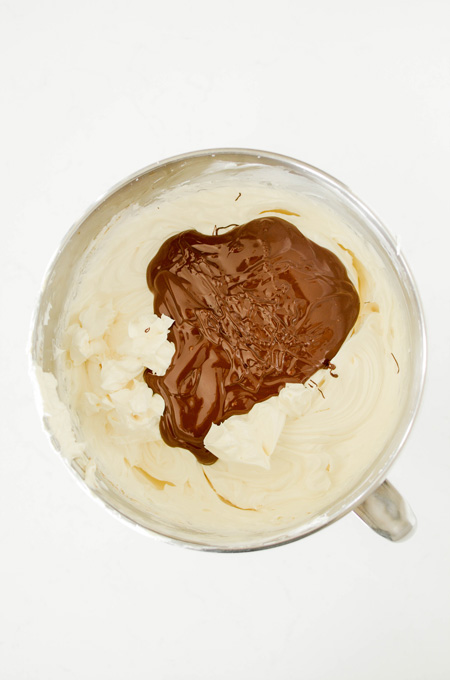
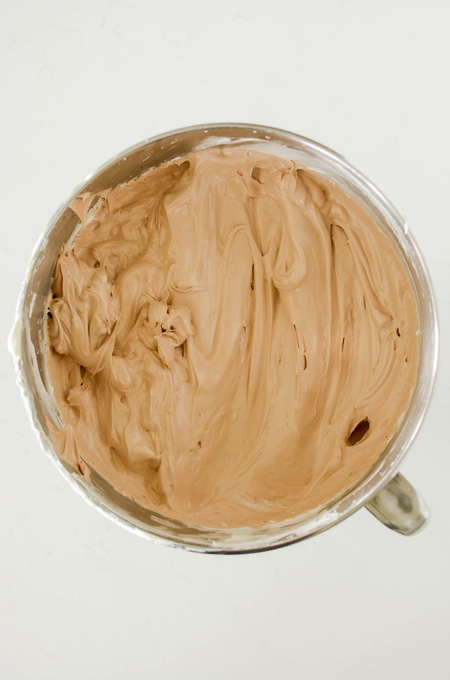
How To Make Chocolate Swiss Meringue Buttercream
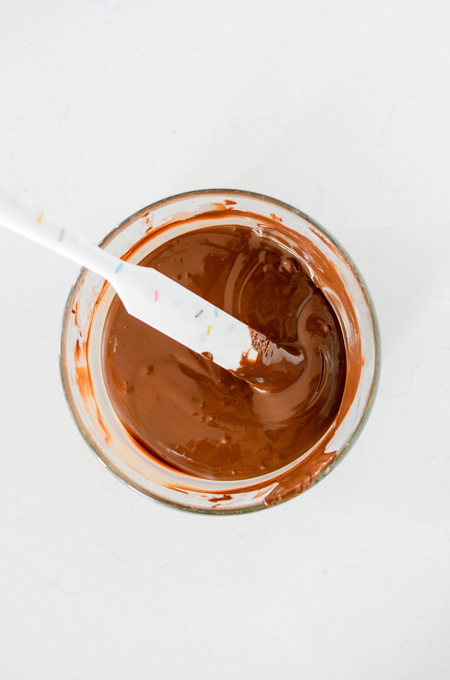
Once you've made your Swiss meringue buttercream, add melted and cooled chocolate to the buttercream and mix to combine. You can use semi sweet chocolate or bittersweet chocolate. The Cake Chica's Tip: While your egg whites are whipping, microwave the chocolate until melted in 30 second intervals. By the time your egg whites have whipped up into meringue, your chocolate should be cool enough to add to your finished Swiss meringue buttercream.
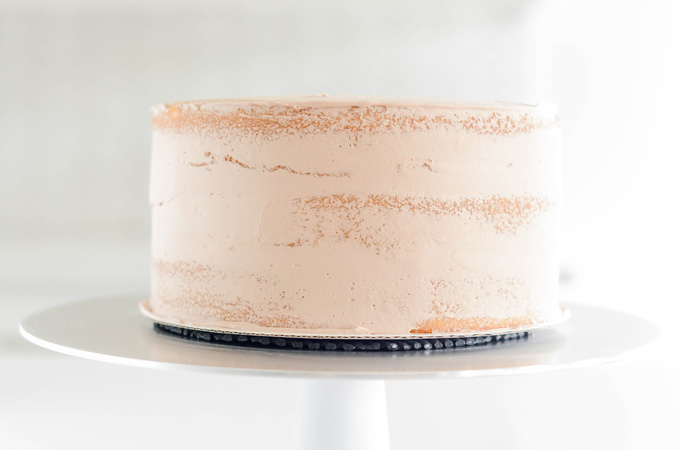
What Is A Crumb Coat?
A crumb coat is a thin layer of frosting that holds in the loose crumbs and seals the cake.
How To Apply A Crumb Coat
- Place a medium dollop of buttercream on top of the cake.
- Using a small offset spatula, start spreading the buttercream out.
- Continue to spread buttercream on the sides of the cake. The buttercream does not have to be perfectly smooth.
- Refrigerate the cake uncovered for at least 15 minutes to set before adding the final coat of buttercream.
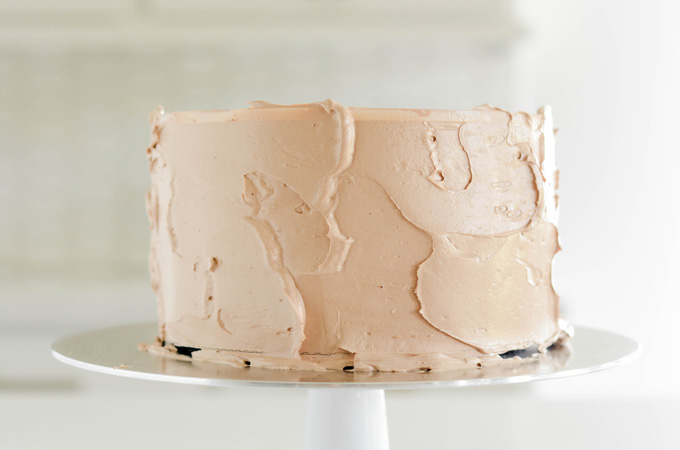
Icing The Cake
- Apply a large dollop of chocolate buttercream on top of the cake and spread out evenly.
- Line an 8-inch round acrylic disc with parchment paper with a bit of chocolate buttercream. Line up the acrylic disc with the bottom cake board and gently press on to the top of the cake to adhere.
- Add more buttercream to the sides of the cake and gently press a cake scraper against the acrylic disc and bottom cake board and slowly rotate the cake turntable all the way around to create a smooth finish on the side of the cake. Chill the cake in the refrigerator for at least 15 minutes.
- Insert a small offset spatula under the acrylic disc and rotate the turntable until the disc releases. Peel off the parchment paper. Add more buttercream to the top of the cake to fill in any gaps if needed.
- Smooth out the top of the cake with an offset cake spatula while rotating the turntable.

Cake Decorating Tools
- Nonslip mat
- Cake turntable
- 8-inch round cake board
- Offset cake spatula
- 8-inch round acrylic disc or 8-inch round cake board
- Parchment paper
- Cake scraper
- Piping bags (2)
- Ateco piping tip #827
- Wilton piping tip #1M

Yellow Birthday Cake with Chocolate Buttercream Baking Schedule
- Day 1: Bake the cake layers.
- Day 2: Make chocolate buttercream, assemble, decorate and serve.
Let's Connect
The Cake Chica is on the following social media platforms below. Click subscribe, like and follow! We would love to have you over!
Suggested Recipes


Yellow Birthday Cake with Chocolate Buttercream
Homemade fluffy yellow cake layers filled and frosted with chocolate Swiss meringue buttercream and topped with festive sprinkles.
Ingredients
SPECIAL TOOLS
- 3 8-inch round cake pans
- Nonstick baking spray
- 4 cup liquid measuring cup
- Stand mixer
- Rubber spatula
- Candy thermometer
- Nonslip mat
- Cake turntable
- 8-inch round cake board
- Offset cake spatula
- 8-inch round acrylic disc
- Parchment paper
- Cake scraper
- Piping bags
- Ateco piping tip #827
- Wilton piping tip #1M
YELLOW CAKE
- 2 1/2 cups (10 ounces) cake flour
- 1 1/4 teaspoons baking powder
- 1/4 teaspoon baking soda
- 3/4 teaspoon salt
- 1 3/4 cups (12 1/4 ounces) granulated sugar, divided
- 1 cup buttermilk, room temperature
- 10 tablespoons unsalted butter, melted and cooled
- 3 large eggs, separated, plus 3 large egg yolks, at room temperature
- 3 tablespoons vegetable oil
- 2 teaspoons vanilla extract
- 1/8 teaspoon cream of tartar
CHOCOLATE SWISS MERINGUE BUTTERCREAM
- 1 cup egg whites (from about 8 large eggs)
- 2 cups (14 ounces) granulated sugar
- 3 cups (6 sticks) unsalted butter, cut into tablespoon sized pieces, at room temperature.
- 1 tablespoon vanilla extract
- 8 ounces semi sweet chocolate, chopped, melted and cooled
Instructions
YELLOW CAKE
- Adjust an oven rack to the center position and heat to 350 degrees. Spray 3 8-inch round cake pans with nonstick baking spray and set aside.
- In a large bowl whisk together flour, baking powder, baking soda, salt and 1 1/2 cups granulated sugar.
- In a 4 cup liquid measuring cup, whisk together buttermilk, melted butter, egg yolks (6), oil and vanilla extract.
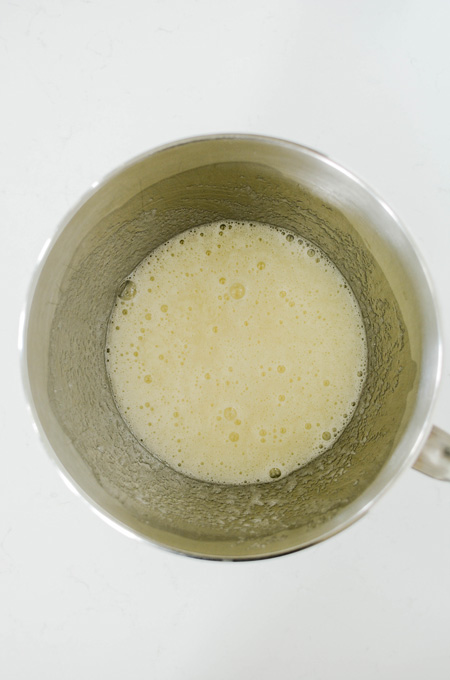
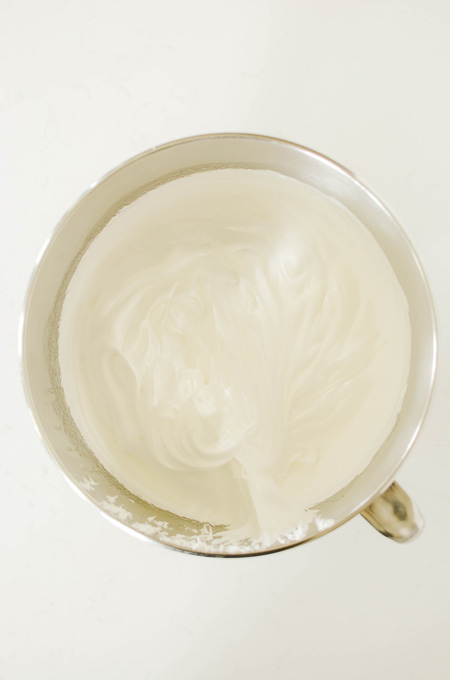
- In the bowl of a stand mixer with the whisk attachment attached, whip egg whites (3) and cream of tartar on medium-low speed for 1 minute until foamy. Increase the mixer speed to medium-high and whip whites for 1 more minute, until soft and billowy. Gradually add the remaining 1/4 cup sugar and whip until the egg whites are stiff and glossy, about 3 minutes and transfer to a bowl.
- Add the dry ingredients to the now empty mixer bowl and switch out the whisk attachment for the paddle attachment. Mix on low speed while gradually adding in the buttermilk mixture until just combined, about 15 seconds. Scrape down the sides of the bowl and increase the mixer speed to medium-low and mix for 15 seconds more.
- With a rubber spatula, fold in one third of the egg whites into the batter. Gently fold in the remaining whites into the batter until no white streaks remain. Divide batter evenly between prepared cake pans, smooth out the tops and gently tap on the counter to release any air bubbles. Bake for 15 to 20 minutes or until a toothpick inserted in the center comes out with a few moist crumbs attached, rotating cake pans when cakes are at least halfway through baking.
- Cool cakes in their pans for 10 minutes on wire racks, then invert cakes on to racks to cool completely.
CHOCOLATE SWISS MERINGUE BUTTERCREAM
- In the bowl of a stand mixer fitted with the whisk attachment, pour in the egg whites and sugar and whisk by hand until combined. Fill a medium saucepan with about 2 inches of water and bring to a simmer. Place mixer bowl on top, being sure the bottom of the bowl does not touch the water and attach a candy thermometer.
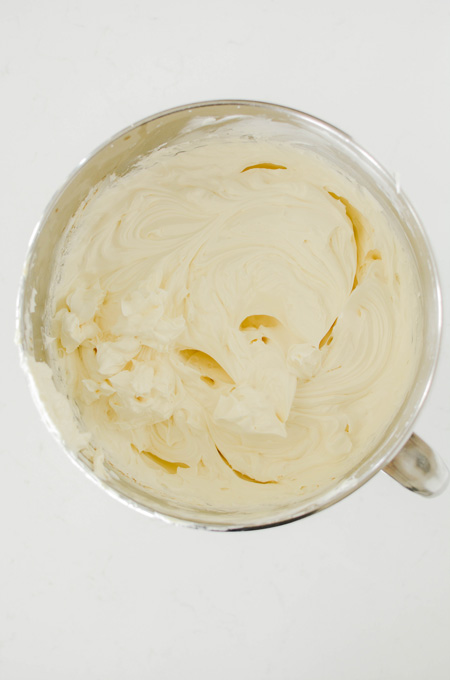
- Whisking occasionally, heat the egg mixture until the temperature reaches 160 degrees. Once the mixture reaches 160 degrees, transfer to a stand mixer and beat the mixture on high speed for 10 minutes or until medium-stiff peaks form. At this point the outside of the mixer bowl should be room temperature. Switch out the whisk attachment with the paddle attachment and with the mixer on low speed, add the butter one tablespoon at a time, and then add the vanilla extract. Once combined, turn up the mixer speed to medium-high and beat until the buttercream is smooth about 5 minutes. Pour in the melted chocolate and mix until combined.
ASSEMBLE
- Place a nonslip mat on top of a cake turntable and place a cake board on top. Center the first cake layer on top of the cake board, making sure there's even spacing from all around the edges. Spread about 3/4 cup chocolate buttercream over the top of the cake in an even layer with a small offset spatula. Place the second cake layer on top and gently press to adhere to the bottom cake layer. Spread another 3/4 cup buttercream over the top of the cake in an even layer. Add the third and final cake layer (bottom side up) on top and gently press to adhere.
CRUMB COAT
- Apply a thin layer of frosting over the top and sides of the cake, creating a crumb coat. Chill the crumb coated cake in the refrigerator for 30 minutes.
DECORATING
- Apply a large dollop of chocolate buttercream on top of the cake and spread out evenly. Line an 8-inch round acrylic disc with parchment paper with a bit of chocolate buttercream. Line up the acrylic disc with the bottom cake board and gently press on to the top of the cake to adhere. Add more buttercream to the sides of the cake and gently press a cake scraper against the acrylic disc and bottom cake board and slowly rotate the cake turntable all the way around to create a smooth finish on the side of the cake. Chill the cake in the refrigerator for at least 15 minutes.
- Insert a small offset spatula under the acrylic disc and rotate the turntable until the disc releases. Peel off the parchment paper. Add more buttercream to the top of the cake to fill in any gaps if needed. Smooth out the top of the cake with an offset cake spatula while rotating the turntable.
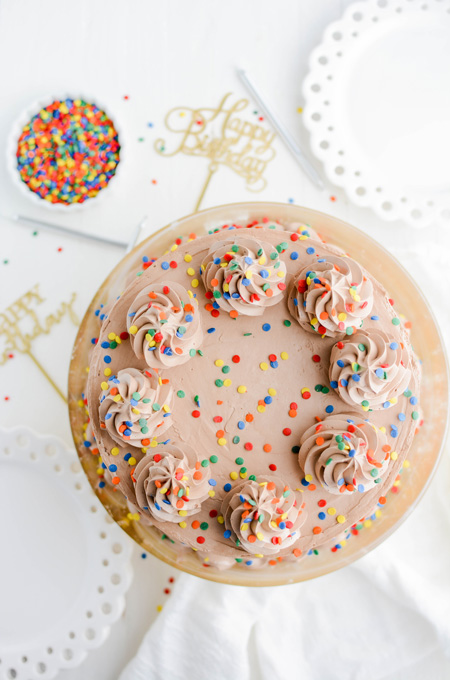
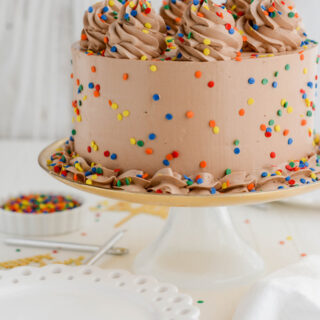
- Fit a piping bag with Ateco piping tip #827 and fill with buttercream. Pipe 8 swirls on the top edge of the cake. Sprinkle the swirls and the cake with sprinkles. Attach Wilton piping tip 1M to another piping bag and fill with remaining buttercream. Carefully transfer the cake to a cake pedestal and pipe a shell border on the bottom edge. Add more sprinkles and serve.
Notes
Cake layers can be made up to 3 days in advance, wrapped in plastic wrap, stored in an airtight container in the refrigerator.
Assembled cake can be stored in an airtight container at room temperature for 2 days or in the refrigerator for 3 days. Bring to room temperature before serving.
Nutrition Information:
Yield: 12 Serving Size: 1Amount Per Serving: Calories: 550Total Fat: 32gSaturated Fat: 14gTrans Fat: 0gUnsaturated Fat: 16gCholesterol: 172mgSodium: 450mgCarbohydrates: 57gFiber: 2gSugar: 30gProtein: 11g
*Nutrition information is an estimate and will vary.*


Leave a Reply