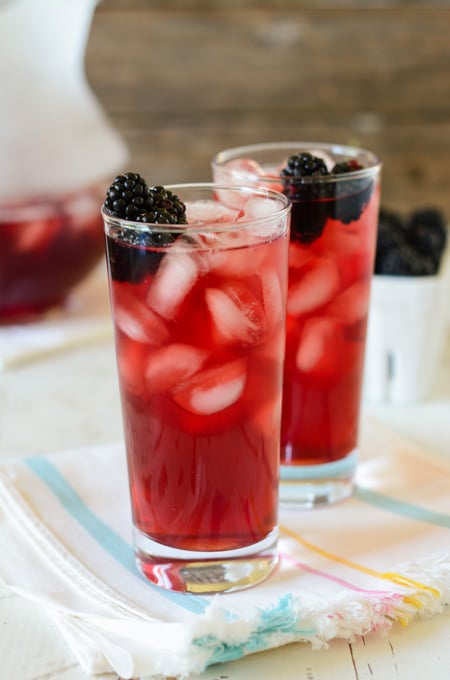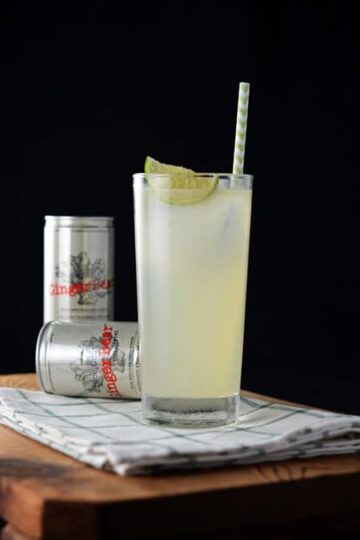
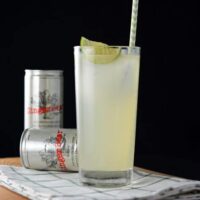
Moscow Mule
A Moscow Mule is a quick drink you can whip up after a long days work!

It's a simple cocktail that only has 3 ingredients in it; vodka, fresh lime juice, and ginger beer.
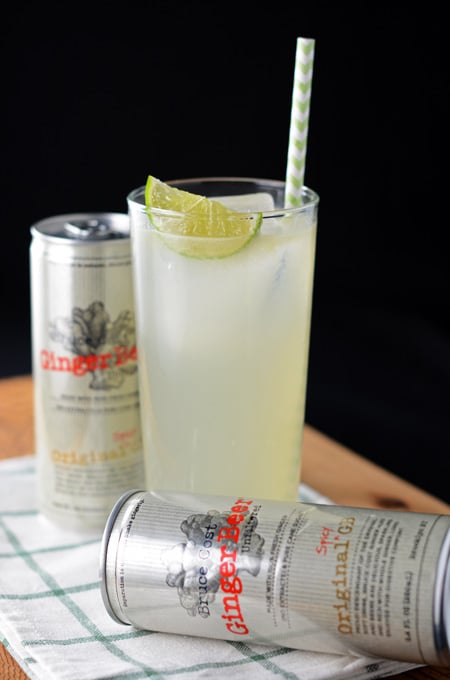
You can use any ginger beer you can find but what I especially like about Bruce Cost Ginger Beer is it's made with 100% fresh ginger, no extracts of flavorings. And had just four simple ingredients: carbonated water, pure cane sugar, fresh ginger and citric acid.
After the first sip this Moscow Mule has quickly become one of my favorite cocktails. It's a great mixer for simple craft cocktails. Don't forget to follow me on Facebook, Instagram, and Pinterest.
You May Also Like:
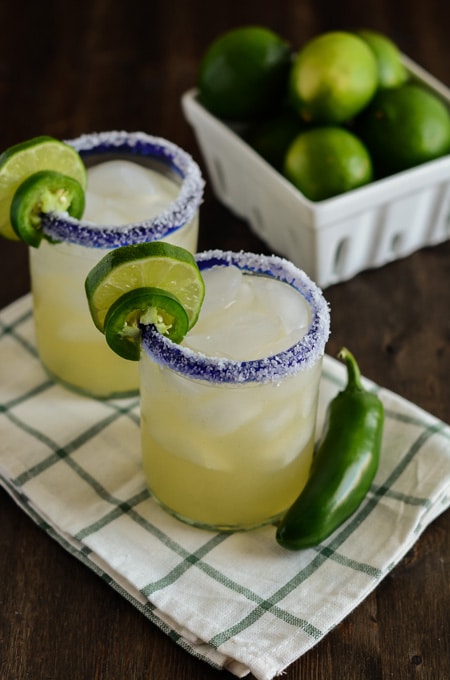
Jalapeno Margaritas
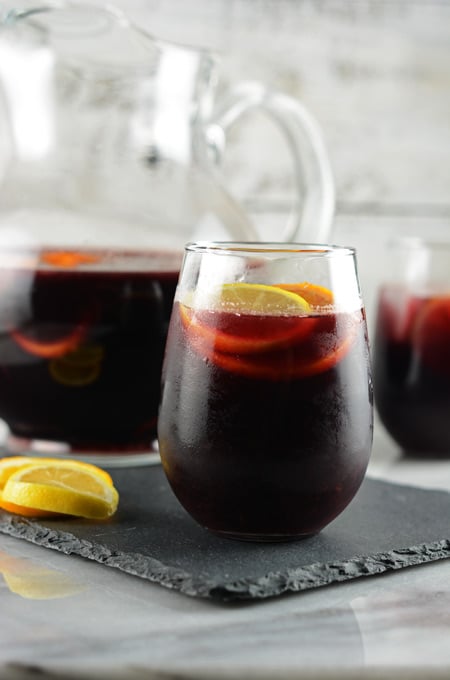
Simple Sangria
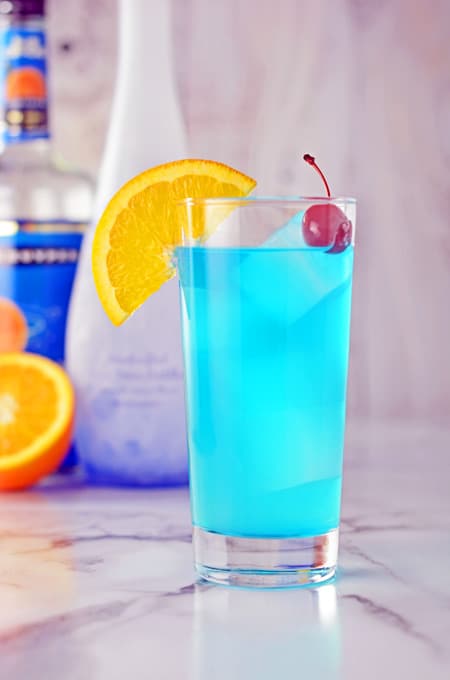
Blue Lagoon Cocktail
Moscow Mule
A simple cocktail made with fresh lime juice, ginger beet and vodka.
Ingredients
- 2 ounces vodka
- 1 ounce fresh lime juice
- 6 ounces ginger beer
- Lime wedges for garnish
Instructions
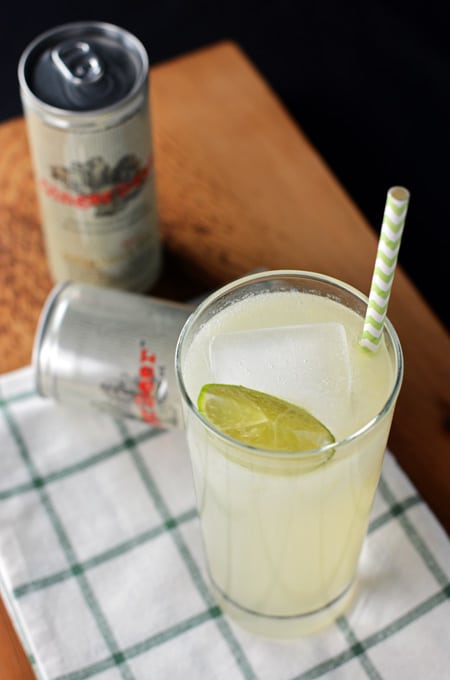
- In a chilled highball glass full of ice, pour in vodka, lime juice, and ginger beer. Garnish with a lime wedge. It's that simple!
Nutrition Information:
Yield: 1 Serving Size: 1Amount Per Serving: Calories: 250Total Fat: 0gSaturated Fat: 0gTrans Fat: 0gUnsaturated Fat: 0gCholesterol: 0mgSodium: 15mgCarbohydrates: 34gFiber: 2gSugar: 26gProtein: 1g
*Nutrition information is an estimate and will vary.*
Did you make this recipe? I’d love to see it! Tag The Cake Chica on Instagram @thecakechica1 #thecakechica1