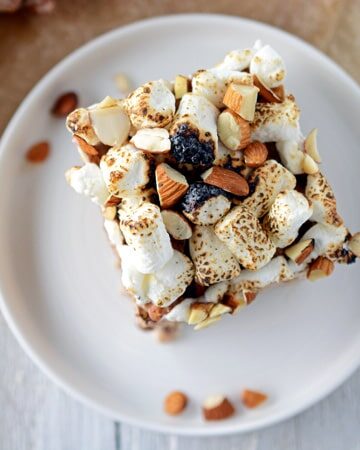
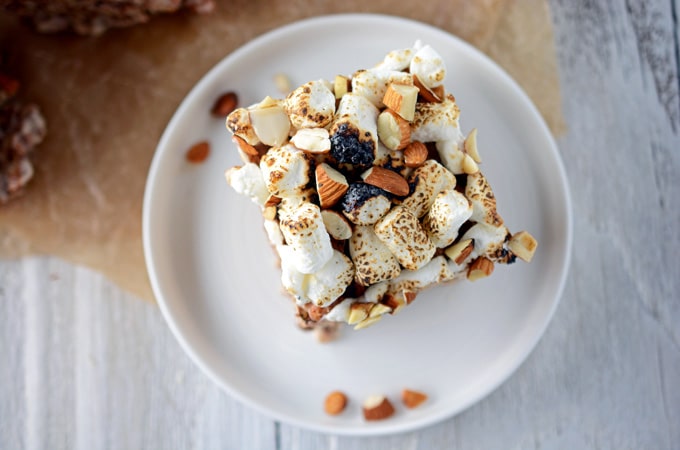
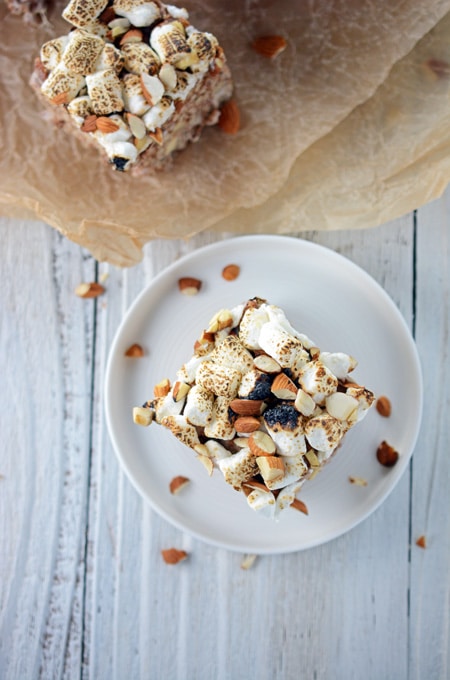
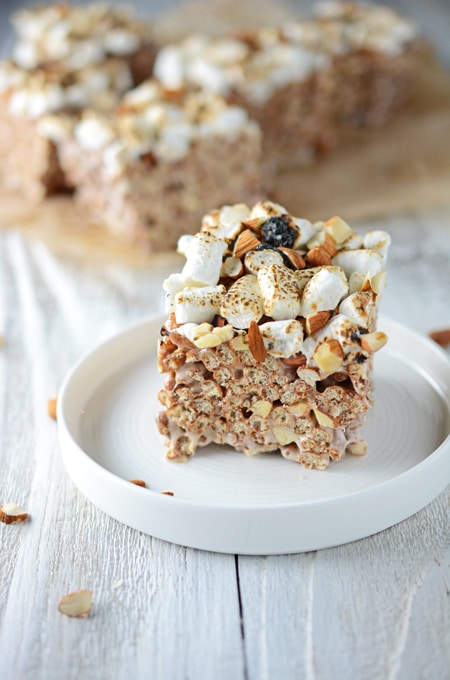
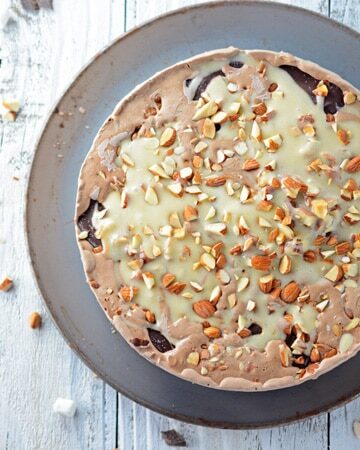
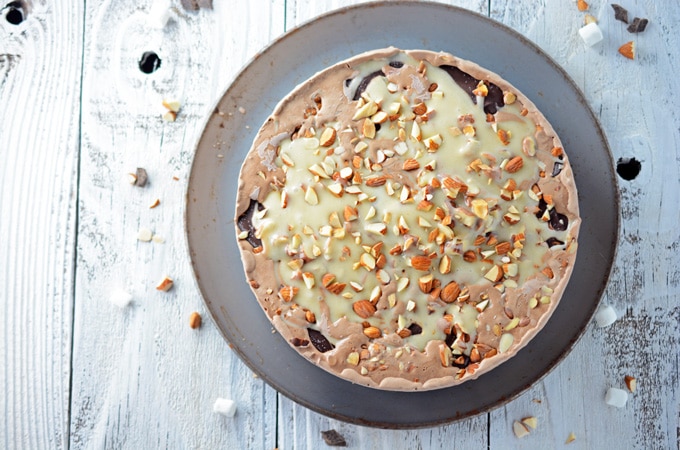
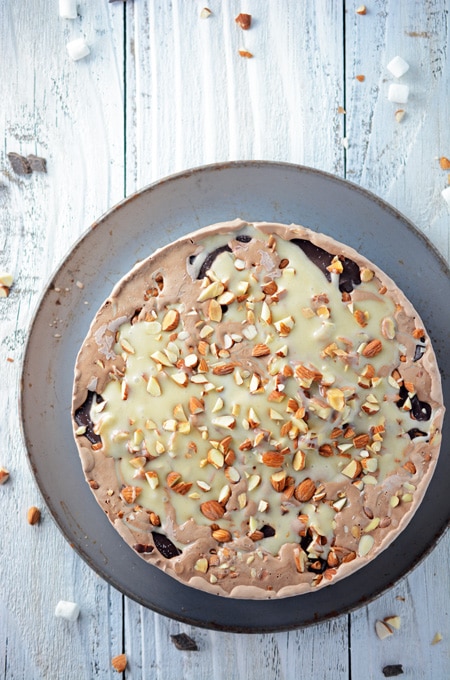
Looking for a sweet treat that won't completely wreck your diet? Well I think I might have the answer for you with these Rocky Road Brown Rice Crispy Treats!
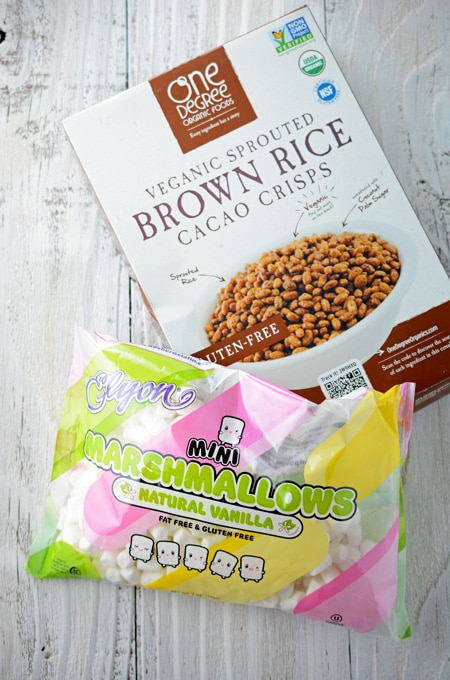
Instead of the usual crispy rice cereal, I used One Degree Organic Foods Veganic Sprouted Brown Rice Cereal. Ingredients in this are: organic sprouted brown rice, organic coconut palm sugar, organic cocao, organic sunflower oil, sunflower lecithin, unrefined salt, and tocopherols (Vitamin E).
I also found these cute little Elyon Mini Marshmallows. They are fat free, gluten free and the ingredients are as follows: sugar, corn syrup, water, kosher fish gelatin (from Nile Perch or Tilapia), corn starch and natural flavors.
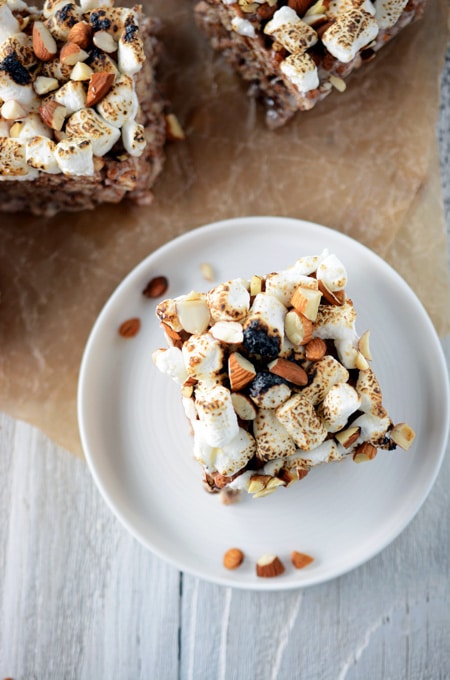
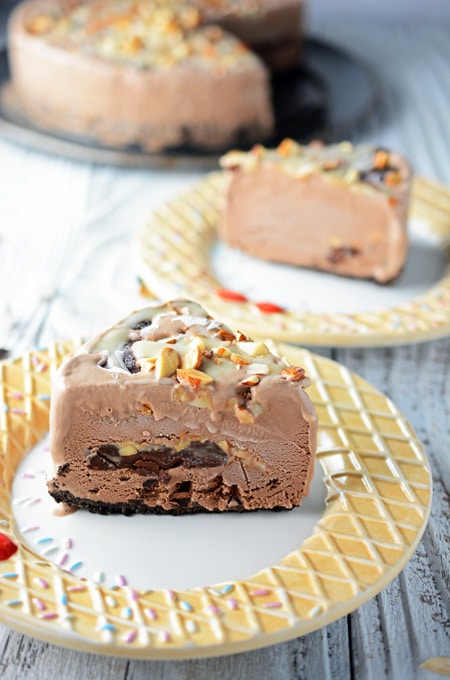
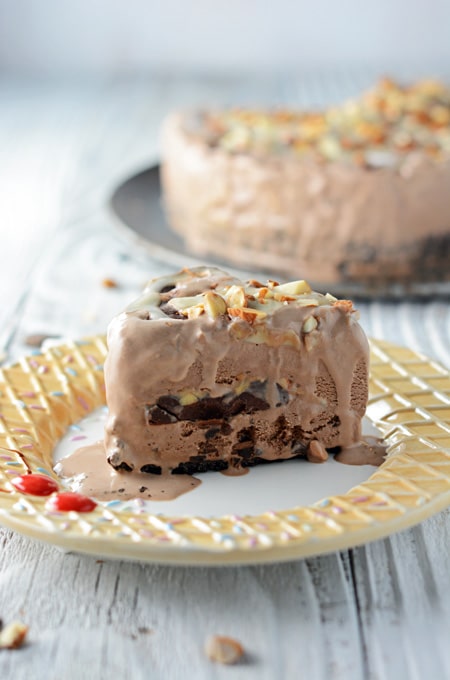
I like to live a balanced lifestyle. You will never see me cut out sugars completely or anything like that (I love sweets!) but I firmly believe you have to eat these treats in moderation, clean or not. So cut off a decent sized piece (your call on what a decent size is) of these Rocky Road Brown Rice Crispy Treats and give the rest away! And do it quickly. I found myself going back for more even when I thought I had enough. They're addicting. Fair warning.
You can find the brown rice cereal and marshmallows used in this recipe at Whole Foods or you can check out Thrive Market. Thrive Market is an online resource that sells Non-GMO pantry foods, and cater to those with specific diets such as gluten-free, paleo, raw, vegan and organics. I have been using them since February of this year and love them! Not only do they offer great products but they are at wholesale prices too! I don't recommend anything that I don't use myself and love! Not only do they carry food items, they also carry vitamins, makeup, skin care products and pet items too! I could go on and on but just check them out for yourself. Click the banner below to find out more details and how you can start your 30-day free trial.
Be sure to follow me on social media: Facebook, Instagram, and Pinterest. For recipes like this one check out Rocky Road Protein Crisp, Rocky Road Sundae Pie and Espresso Rocky Road Oatmeal Cookies.
...


 ...
...


 ...
...