
White Almond Cake
This recipe has been updated. I originally had a very basic White Almond Cake recipe posted with buttercream frosting. But, I wanted to take this recipe up a notch, because it's definitely deserved it.
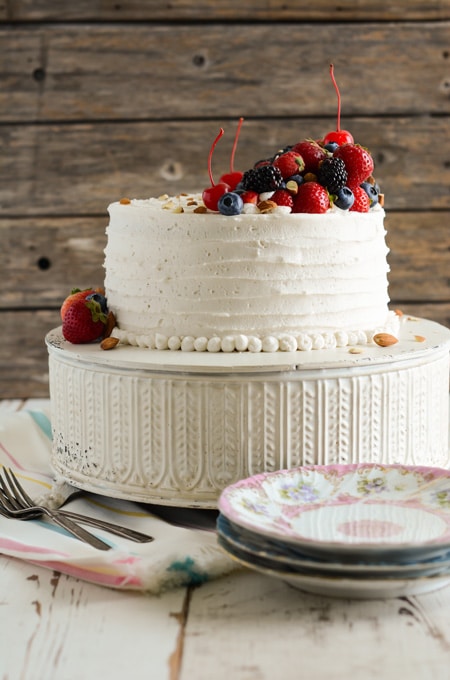
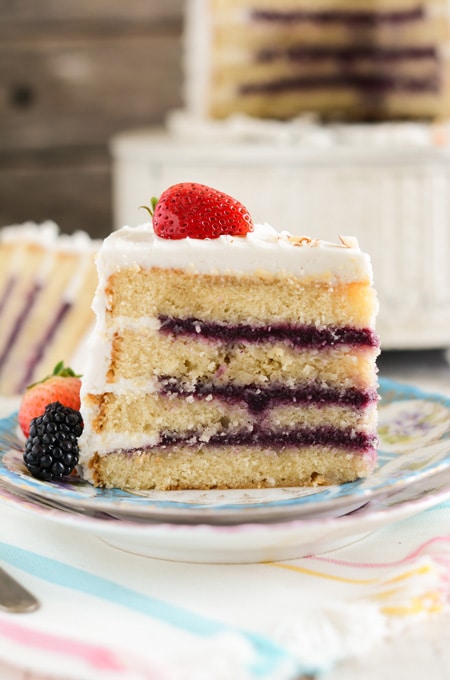
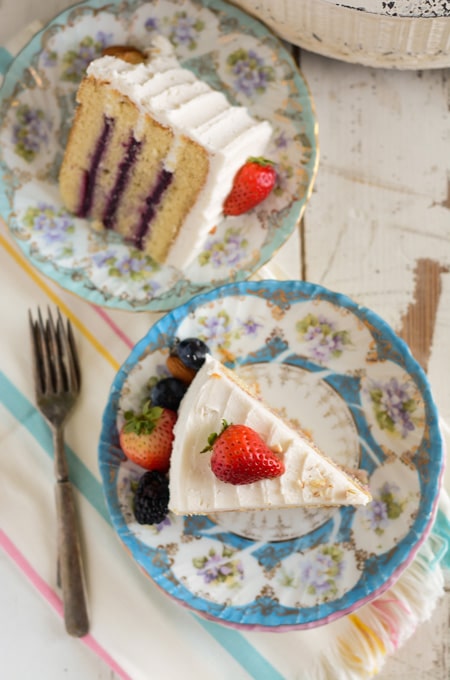
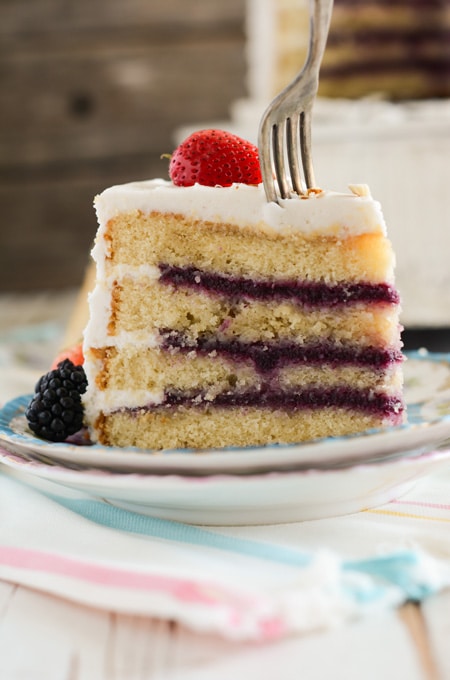
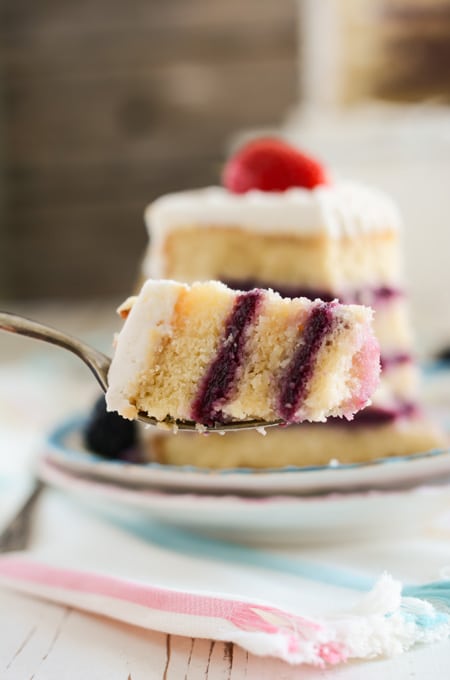
I wanted to be sure this White Almond Cake was as beautiful on the inside, as it is on the outside.
My updated recipe now includes a mixed berry filling! Honestly this wasn't my first choice, my first choice was cherry filling, however; they didn't have frozen cherries at my grocery store, so I picked up the next best thing, mixed berries. This includes strawberries, blueberries, black berries, dark sweet and Montmorency sour cherries!!!
Be careful not to over-bake this cake or it can become dry. As a backup plan, I sometimes like to use simple syrup to add a little moisture to the cake. However, it is optional and not necessary. this cake baked up wonderfully for me and even though the syrup was not needed this time around, I still used it. I made it after all, so why not?
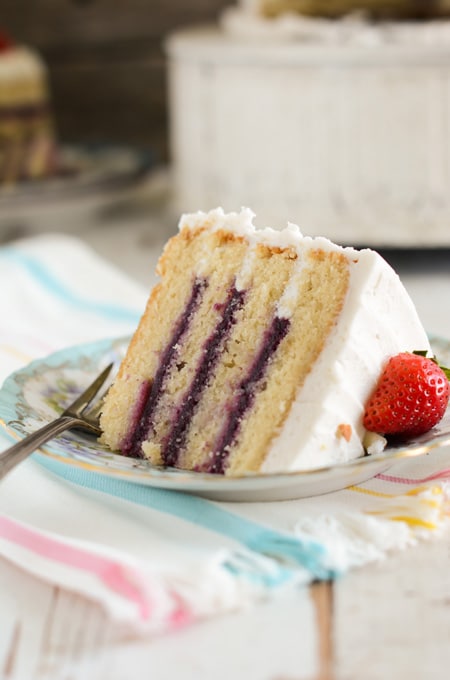
Let's talk about that filling. It's easy to customize by switching out your favorite frozen fruit. I also like to add a couple of tablespoons of Chambord to bring the flavor of the berries out, but you can omit the liqueur and just use fresh lemon juice if you'd like.
The filling sets up nicely and is pretty thick so you shouldn't have a problem with filling oozing out of the sides of you cake, however if you use a different filling (maybe one not as thick) be sure to have a good cake dam set up on the edges of your cake.
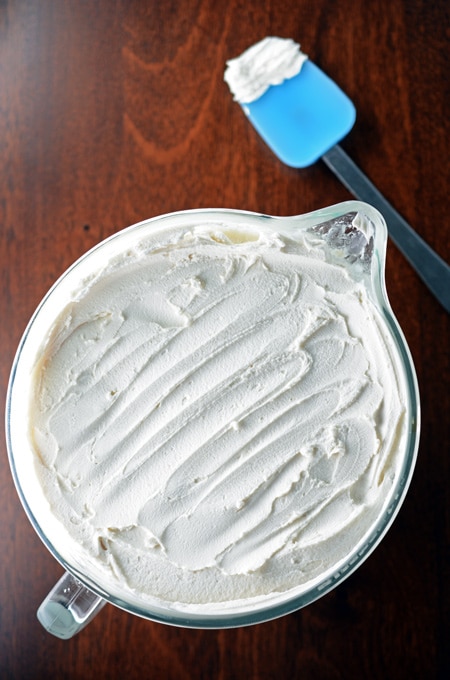
On to the frosting! This frosting is my favorite decorator's buttercream. The original recipe comes from Sharon Zambito and is used for custom cakes mostly. I stopped doing custom cakes years ago but this recipe is still one of my favorites.
I switched a couple of ingredients used by most professional bakers out for ones you can easily find at your local grocery store. Take note that this buttercream requires a 5 quart Kitchenaid stand mixer. It's important that the frosting come all the way up to the top of the bowl and the paddle attachment is completely covered to get the frosting smooth and creamy.
Change up the flavor of this buttercream by changing the extracts and powdered coffee creamer flavor. I use an amaretto flavored powdered coffee creamer for this one.
Follow The Cake Chica on social media: Facebook, Instagram, Twitter, and Pinterest.
You May Also Like:
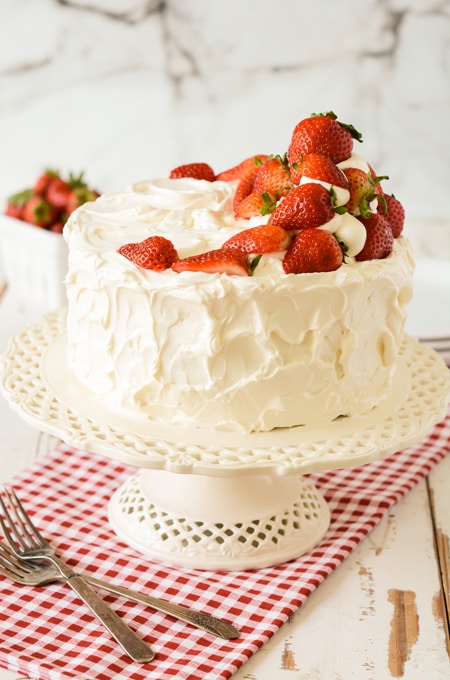
White Cake with Strawberry Filling
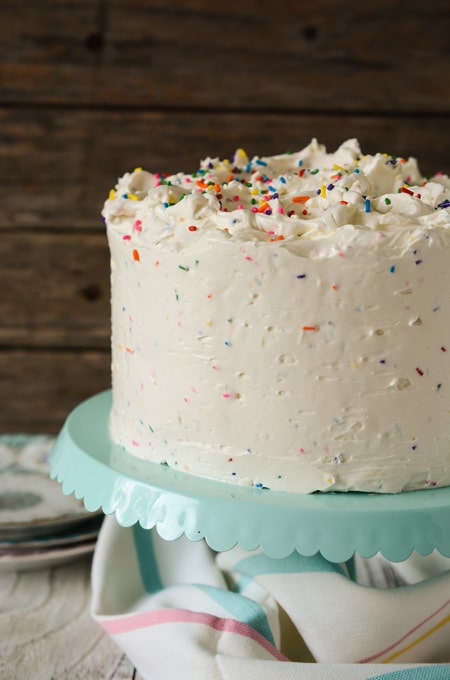
Confetti Cake with Buttercream Frosting
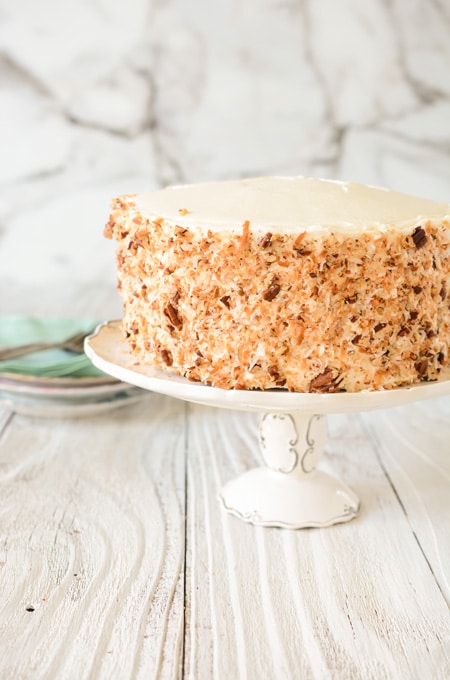
Italian Cream Cake
Adapted from Cakes to Dream On and Sharon Zambito and Melysa from Cake Central
White Almond Cake
A homemade White Almond cake made with almond paste and a mix of all purpose flour and cake flour, filled with mixed berry filling and frosted with decorator's buttercream.
Ingredients
CAKE
- 8 ounces all-purpose flour
- 8 ounces cake flour
- 2 teaspoons baking powder
- 1 teaspoon salt
- 2 sticks (8 ounces) unsalted butter at room temperature
- 10 ounces packed brown sugar
- 11 ounces granulated sugar
- ½ cup almond paste
- 2 teaspoons vanilla extract
- 1-2 teaspoons almond extract
- 1 cup egg whites, at room temperature
- 1 ½ cups milk, at room temperature
FILLING
- 12 ounces frozen cherries, thawed
- ¼ cup granulated sugar
- 3 tablespoons cornstarch, dissolved in 3 tablespoons cold water
- Fresh lemon juice, to taste
- 3 tablespoons Chambord
- ½ cup granulated sugar
- ½ cup water
- 1-2 tablespoons Chambord liqueur
BUTTERCREAM
- 1 cup water
- 1 cup powdered coffee creamer
- 5 cups shortening
- 5 pounds powdered sugar
- 3 tablespoons vanilla extract
- 1 tablespoon almond extract
Instructions
CAKE
- Preheat your oven to 325 degrees. Spray two (2) 8-inch or 9-inch round cake pans with nonstick baking spray and set aside.
- In the bowl of a stand mixer fitted with the paddle attachment, beat together the butter, sugars and almond paste until light and fluffy, about 3 minutes. Scrape down the sides of the mixer bowl as necessary. Add the extracts and egg whites and continue to mix on medium speed until fluffy, about 1 minute. Add flour mixture in 3 additions alternating with the milk in 2 additions on low speed. Mix each addition until just combined. Do not over mix.
- Pour the batter into the prepared cake pan about ¾ full. Do not over fill the cake pans. You may have some extra batter. Bake cakes for about 30 to 35 minutes, or until a toothpick inserted into the center comes out with a few moist crumbs attached. Let cakes cool in their pans for 10 minutes, then invert onto cooling racks to cool completely.
MIXED BERRY FILLING
- Place thawed berries in a blender or food processor and puree until smooth. Over a bowl pour berry puree over a sieve to remove the solids. The puree will be thick. Use a spoon to stir and press the puree through the sieve.
- Place berry puree in a small saucepan over medium-low heat. Add sugar and cornstarch mixture and bring to a simmer, stirring constantly to keep lumps from forming. Once the puree thickens, remove from the heat. Cool for 5 minutes and then add fresh lemon juice and Chambord. Chill for about 2-3 hours in the refrigerator until ready to use.
SOAKING SYRUP
- In a small saucepan combine the sugar and water. Bring to a boil over medium-high heat. Continue to stir until all the sugar has dissolved and syrup is clear. Remove from the heat add Chambord and set aside.
FROSTING
- Pour 1 cup water in a 2 cup glass liquid measuring cup. Microwave about 5 minutes or until just boiling. Mix 1 cup powdered coffee creamer into the hot liquid and stir until combined.
- On low speed, cream the shortening, extracts and 11 to 12 tablespoons hot liquid coffee creamer into a 5 quart stand mixer bowl. Cover the mixer with a kitchen towel to keep the ingredients from coming out of the bowl. Continue to mix on low speed until combined. Once combined, turn the mixer up to medium speed and beat until creamy. Pour the first 3 pounds of powdered sugar into the mixer bowl, with mixer running on low speed. When the frosting starts to come together, stop the mixer and scrape down the sides of the mixer bowl. Pour in the last 2 pounds of powdered sugar and mix on low speed. When combined, turn the mixer up to high speed and let it beat for 5 to 7 minutes until very smooth. Scrape down the sides of the bowl frequently while the mixer is going.
- You want the icing to completely fill the mixer bowl. It should be covering the paddle attachment entirely. There should be no air gaps around the sides of the bowl. If your frosting makes a sucking sound, you will need to add a few more drops of the hot coffee creamer while scraping down the sides of the bowl. The frosting should completely cover the bowl side to side and all the way up the top of the paddle to the spring. The icing should be smooth. Store left over coffee creamer in the refrigerator and heat up before your next use.
ASSEMBLY
- Trim domes of the cakes to create a flat surface on top. Cut each layer of cake horizontally, creating 4 thin layers of cake.
- Place first cake layer down on a cake board and place on a turntable (cut side up). Brush about ¼ cup of the soaking syrup on top with a pastry brush. With a pastry bag fitted with a round piping tip, pipe a border around the edge of the cake to help hold the filling in. Place about 1/3 cup of the cherry filling on top of the cake and spread to the edge of the cake dam. Place the second layer of cake on top, and repeat the above process until you have reached the 4th and last layer of cake. Brush more soaking syrup on top of the 4th cake layer (cut side down). Spread a generous amount of frosting on top and carefully spread the frosting to the edges and down the sides of the cake, making sure your cake spatula does not touch the cake, only the frosting should touch the cake. If your cake spatula touches the cake it could pull crumbs into your frosting. Smooth frosting over the entire cake removing access frosting as necessary.
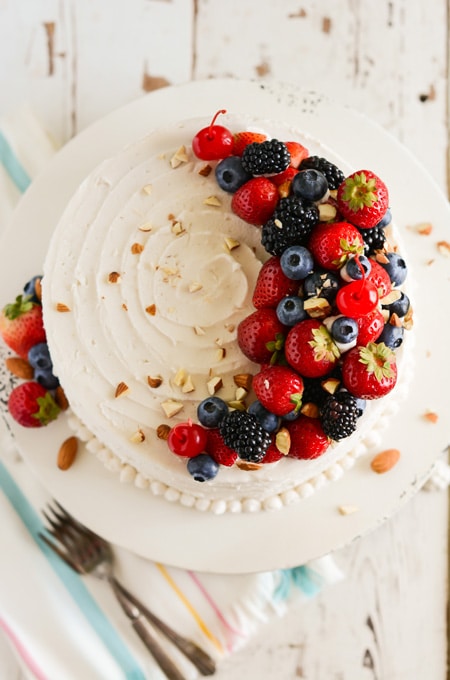
- Once your cake is smooth and completely frosted; hold a small cake spatula horizontally on the side of the cake. Starting from the bottom, gently touch the frosting with the spatula and turn the cake turntable around to create the rippled effect into the frosting, cleaning off the access frosting from the spatula as needed. Do this all the way up the sides of the cake. For the top, make a swirl design staring from the outside working into the center while turning the turntable around.
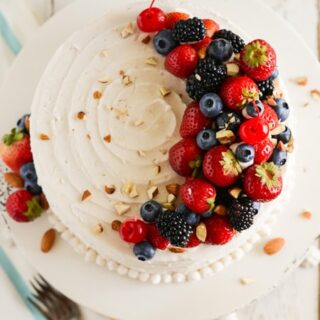
- You’ll have plenty of frosting to get creative. Have fun with different piping tips and gel colors to add some additional flare. Or add fresh berries like I did.
- Place cake on a serving plate of cake pedestal and serve.
Notes
STORE: Cake can be left on the counter in an air tight container for 3 days.
STORE: Save any remaining frosting in an air tight container at room temperature for another use.
Nutrition Information:
Yield: 12 Serving Size: 1Amount Per Serving: Calories: 2051Total Fat: 93gSaturated Fat: 38gTrans Fat: 0gUnsaturated Fat: 51gCholesterol: 55mgSodium: 353mgCarbohydrates: 297gFiber: 2gSugar: 256gProtein: 8g
*Nutrition information is an estimate and will vary.*


Jess@CookingisMySport says
These simple cakes with simple, clean flavors are my all-time favorite. This cake looks lovely, good job!
gail says
is this a moist cake?
Mary says
I would say this one is more dense than moist. It has a nice structure for decorating and stacking. Hope this helps.