
"This post is sponsored by CreateMyCookbook; however, all thoughts and opinions are my own."
If you've followed my blog for a while then you know I'm always baking something. It's my job and I love it! However, I still get tired of standing up in the kitchen baking and decorating cakes all day, so when it comes to dinner, I want something fast but also appetizing.
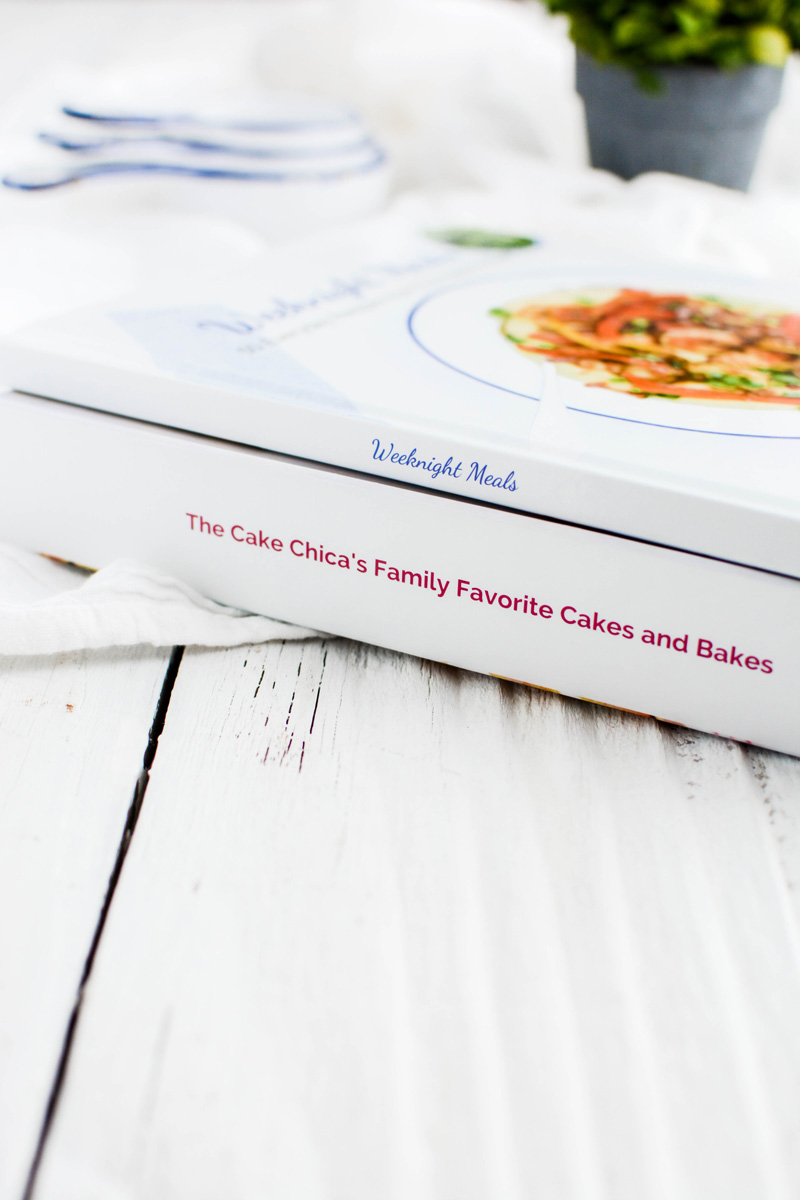
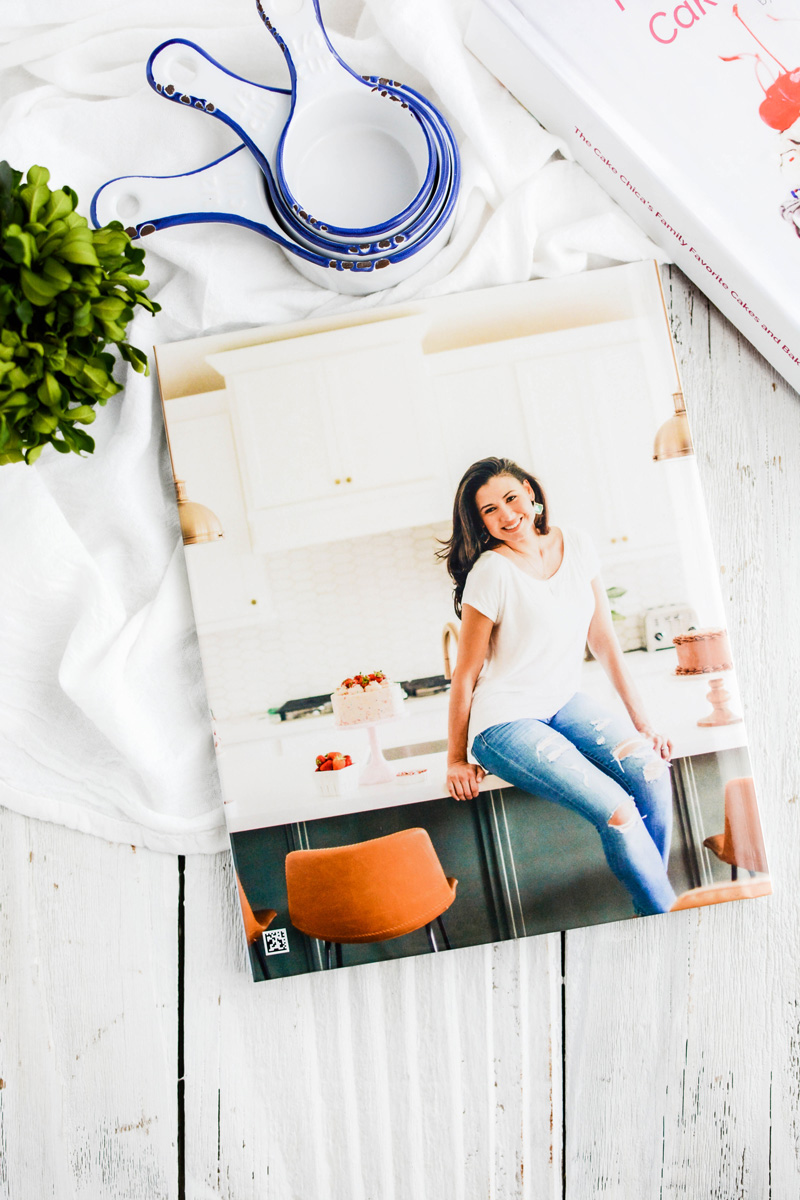
Over the years my husband and I have created some of our favorite weeknight meals and it's about time we compiled them in a family cookbook titled Weeknight Meals: 50 Everyday Recipes from The Hatton House with CreateMyCookbook.

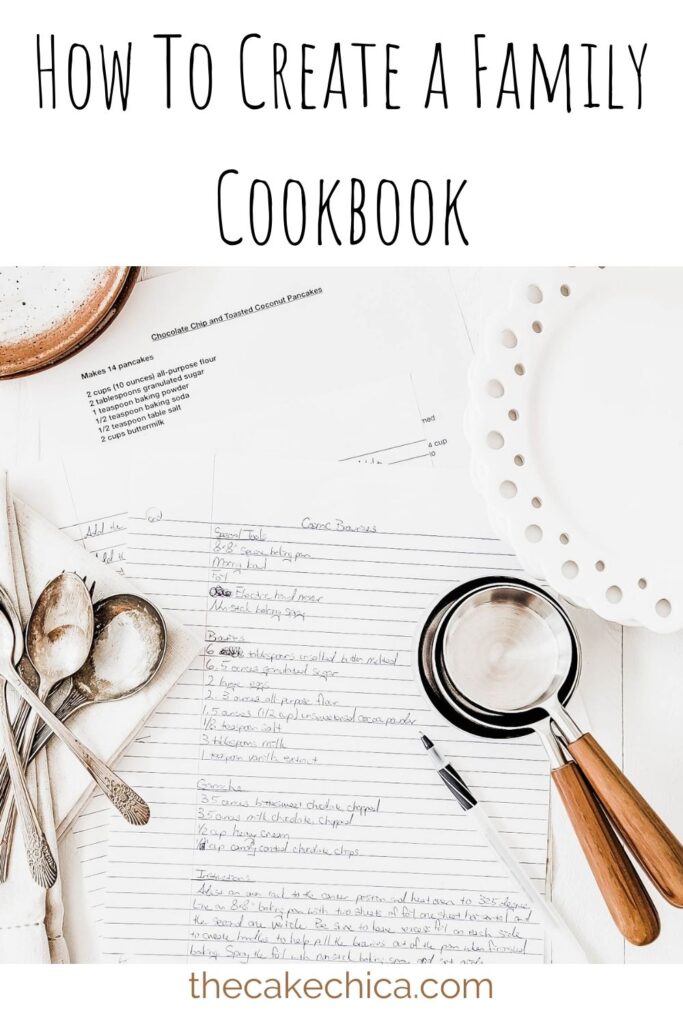
In this post I will run through my organization process for creating my cookbook in hopes this will be a quick go-to guide when creating your very own family cookbook.
Make A Spreadsheet
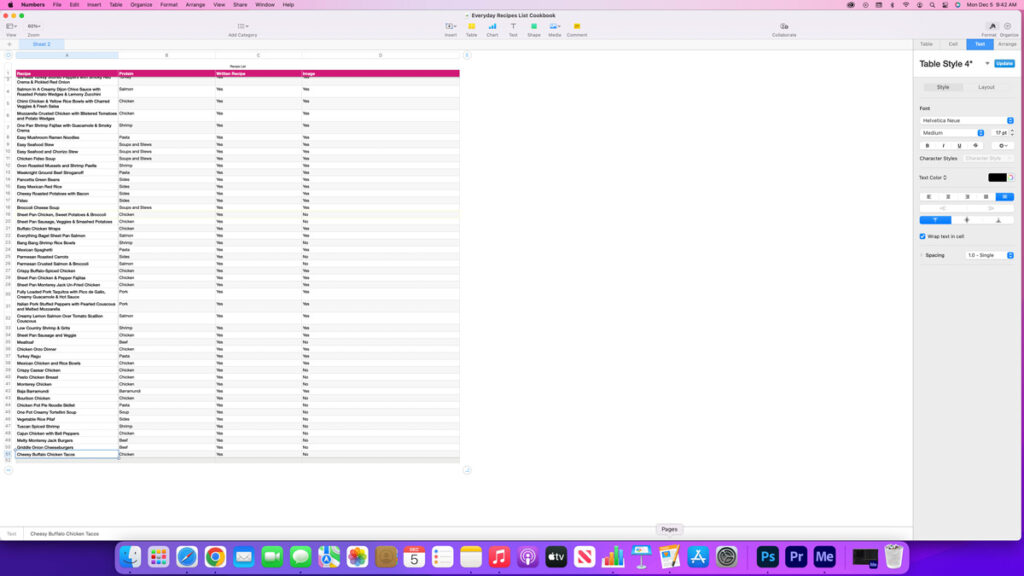
Create a spreadsheet in Excel or Pages and create columns for Recipe Name, Protein, Written Recipe, and Photo. These are my categories, but you can switch them up to whatever suites you best. This spreadsheet does not have to be complicated. I've kept mine pretty simple.
How To Use The Spreadsheet
- Type out the recipes you plan to put into your cookbook under the Recipe Name column.
- In the Protein column list if it's Chicken, Beef or Seafood etc.
- As a food blogger I have most of my favorite recipes already typed up but if you don't, be sure to type "Yes" or "No" under the Written Recipe column.
- Under the Photo column type "Yes" or "No" if you have an image ready for the selected recipe or if you need to take a photo of it. TIP: You don't have to have an image for every recipe.
- Once you start gathering this information and loading it into your spreadsheet, you can gray out the rows once you've completed all the details for that one recipe. This will help highlight the recipes that still need some work before adding into your cookbook.
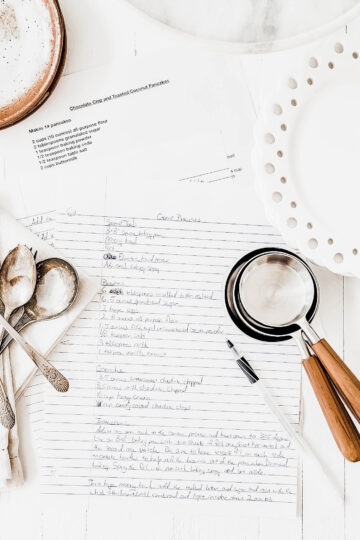
Gathering The Recipes
First I made my spreadsheet, then I created a folder on my computer titled Weeknight Meals. Under that folder I created 2 additional folders, one for the recipe and one for the images.
Once you have typed up your recipes be sure to file them in your file folder. TIP: CreateMyCookbook has an option called WeTypeIt so you don't have to.
Collecting The Images
I didn't have all the images I need for each one of my recipes, and for time purposes I couldn't have a picture for each recipe, but that's okay. Select the recipes you do want to photograph and mark each recipe with a "Yes" or "No" under the Photo column.
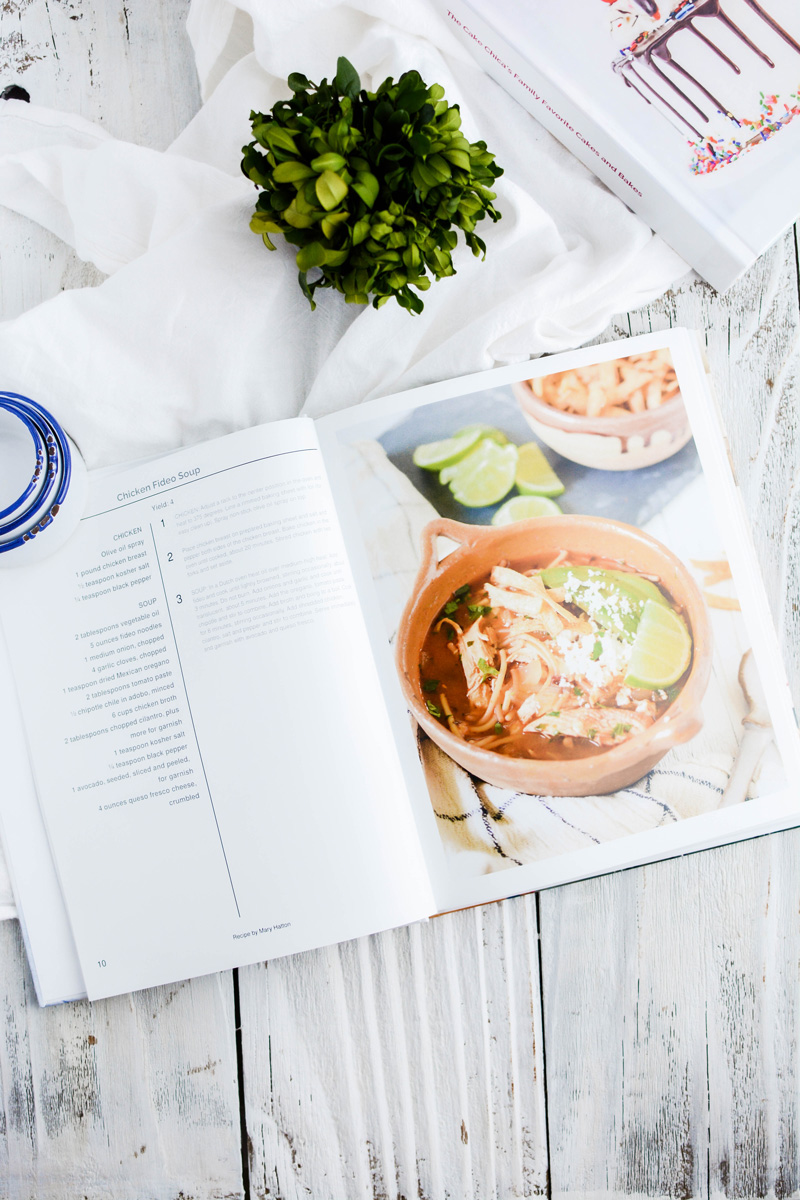
Feel free to take a peek at my first cookbook I created with CreateMyCookbook for some quick photo tips!
Create Your Account With CreateMyCookbook
Once you have all the recipes and images sorted out for your cookbook it's time to upload them into your account.
- Sign up with CreateMyCookbook
- Select your package or book style. (I selected Hardback Casebound.)
- Select a theme. I selected the "Blank" theme but they also have options for Family Heirloom, Wedding, Family Reunion, Fundraising, or Corporate.
- Upload recipes and images into your cookbook. Select from various page layouts and start designing!
Discount Code!
Get 10% off when you purchase a Family Cookbook Kit with code CHICA10. (Code is good through 12/24/2022)
Leave a Reply