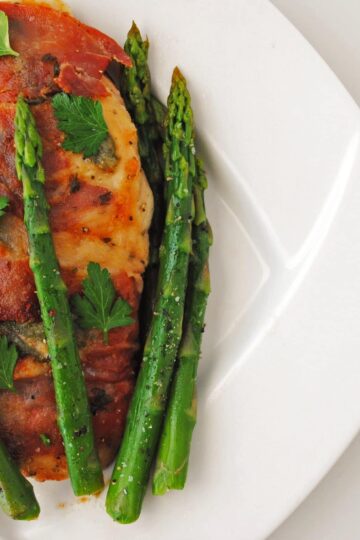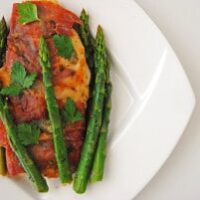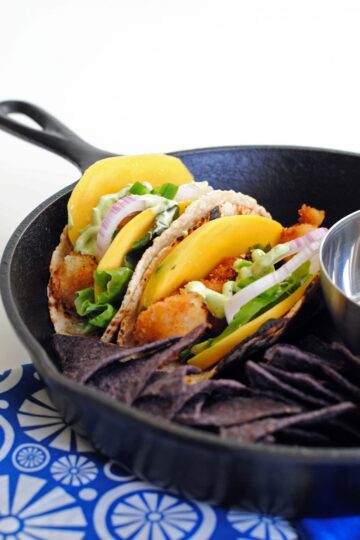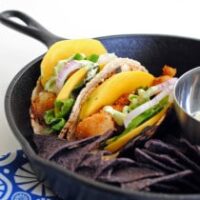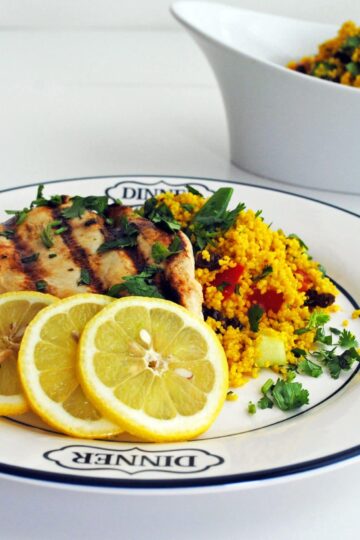
This is the perfect summer time meal. You can’t go wrong with grilled lemon chicken, or grilled anything for that matter. Grill up your favorite protein and pair it with this Moroccan couscous salad and you’ve got a meal! The Moroccan couscous salad is great for potluck meals, as it travels well and is best eaten at room temperature. Enjoy!
Grilled Lemon Chicken and Moroccan Couscous Salad
Yield:
6
Ingredients
COUSCOUS
- 2 cups reduced sodium chicken broth
- 2 tablespoons extra-virgin olive oil, divided
- 1 tablespoon ground ginger
- 2 garlic cloves pressed
- 2 teaspoons kosher salt, divided
- 1 teaspoons ground turmeric
- 1/2 teaspoon ground cinnamon
- 1/4 teaspoon ground cumin
- 1 10-ounce box plain couscous
- 1/2 cup raisins
- 1 cucumber, peeled, seeded, and cut into ½-inch cubes (about 1 1/2 cups)
- 1 large red bell pepper, cut into 1/2 inch cubes (about 1 1/2 cups)
- 1 large carrot, peeled, quartered lengthwise, thinly sliced crosswise
- 1 cup thinly sliced green beans or trimmed sugar snap peas
- 2 teaspoons finely grated lemon peel
- 1/4 cup fresh lemon juice
- 3/4 cup fresh cilantro, chopped
- 1/2 cup chopped almonds, toasted
CHICKEN
- 3 tablespoons extra-virgin olive oil, plus more for drizzling
- 2 tablespoons fresh lemon juice
- 1/2 teaspoon kosher salt
- 1/2 teaspoon black pepper
- 6 boneless, skinless chicken breast, pounded to about 1/2-inch thickness, about 3 pounds total
- 1/3 cup loosely packed fresh cilantro, chopped
- 1 lemon, cut into 6 wedges
Instructions
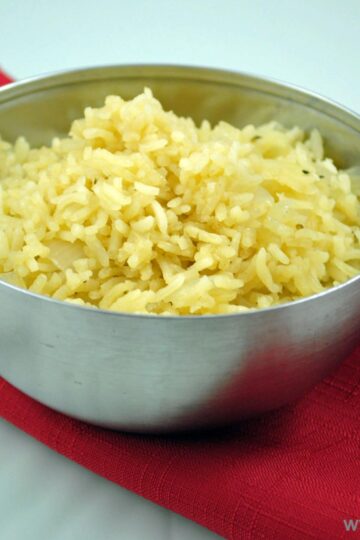
COUSCOUS
- Bring the chicken broth, 1 tablespoon oil, ginger, garlic, 1 teaspoon salt, turmeric, cinnamon and cumin to a boil over medium-high heat in a heavy large saucepan. Stir in the couscous and remove from the heat. Scatter raisins over, cover and let stand until couscous softens, about 10 minutes. Fluff couscous with a fork. Break up any clumps of couscous with your fingertips. Transfer the couscous to a large bowl. Add the cucumber, red bell pepper, carrot, green beans and lemon peel to the couscous. Whisk the remaining 1 tablespoon oil, 1 teaspoon salt, and lemon juice in a small bowl. Add to the couscous and toss to coat. Stir 3/4 cup chopped cilantro into couscous and sprinkle almonds over, if desired.
CHICKEN
- Place 3 tablespoons oil, lemon juice, 1/2 teaspoon salt and 1/2 teaspoon pepper in a large resealable bag. Add the chicken and seal bag releasing any air and turn several times to coat. Let stand at room temperature for 30 minutes (or chill for 1-3 hours and bring to room temperature before continuing .
- Prepare an oiled grill pan over high heat. Transfer chicken from bag to the grill pan with some marinade still clinging and grill until slightly charred and just cooked through about 4-5 minutes per side. Transfer chicken to a platter and rest for about 10 minutes.
- Drizzle chicken with oil, sprinkle 1/3 cup chopped cilantro over and garnish with lemon wedges. Serve with couscous.
Nutrition Information:
Serving Size: 1Amount Per Serving: Calories: 702Total Fat: 28gSaturated Fat: 3gCholesterol: 145mgSodium: 1122mgCarbohydrates: 54gFiber: 5gSugar: 12gProtein: 59g
Adapted from Bon Appetit August 2008 issue.