Okay, I'm feeling a little guilty today. Here I am about to tell you how brown rice has more vitamins than white rice, and that it's a healthier choice than white rice, but I just ate BBQ with a loaded baked potato on the side. I did ask for only lean cuts of brisket and all the fixin's on the side of that baked potato so I tried my best. But as they say, one bad meal won't make you fat, just like one good meal won't make you lean. Most of my recipes are pretty healthy (see my About page for my definition of healthy), but I make no promises when it comes to desserts.
Today's healthy recipe is Brown Rice Pilaf. Enjoy.
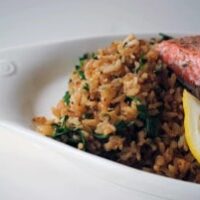
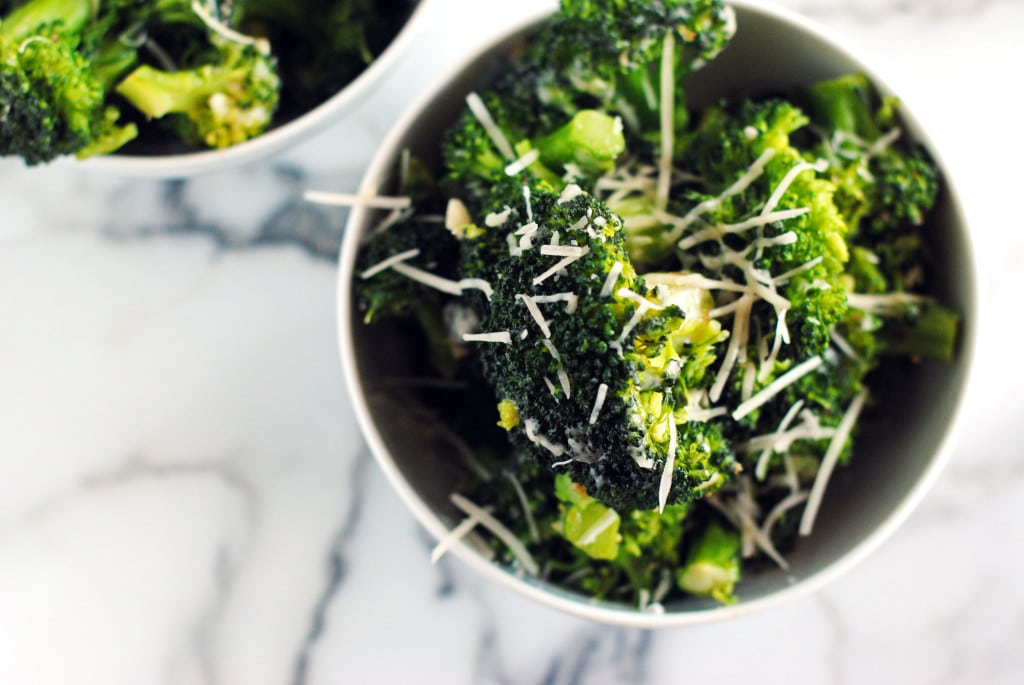
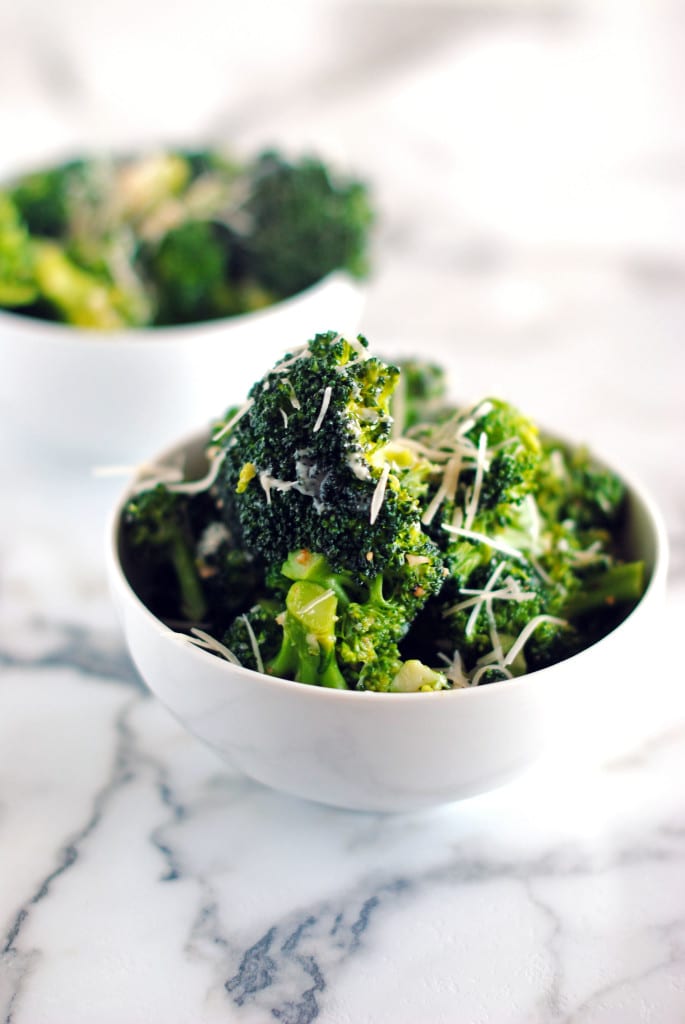
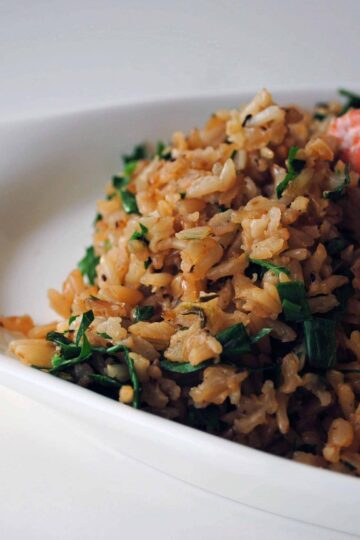
Brown Rice Pilaf
Yield:
3
Ingredients
- 1 tablespoon unsalted butter
- 1 shallot, chopped
- 1 cup long grain brown rice
- 2 cups reduced sodium chicken broth
- 1 garlic clove, chopped
- Leaves off 2 sprigs of fresh thyme
- 3 tablespoons flat leaf parsley
- 3 scallions, thinly sliced
- ¼ teaspoon kosher salt
- 1/8 teaspoon black pepper
Instructions
- Melt the butter in a large skillet over medium heat. Add the shallot and cook for about 5 minutes until tender. Add the rice and stir well. Cook until rice is browned.
- Stir in the chicken broth, garlic and thyme. Cover with a tight fitting lid and simmer for 40 minutes. Fluff rice with a fork and stir in the parsley and scallions. Season with salt and pepper.
Nutrition Information:
Serving Size: 1Amount Per Serving: Calories: 288Total Fat: 5gSaturated Fat: 3gCholesterol: 10mgSodium: 505mgCarbohydrates: 52gFiber: 3gSugar: 1gProtein: 8g