• Skip to primary navigation
  • Skip to main content
  • Skip to primary sidebar
  • About
  • Recipe
    • Listicle
    • Kitchen Staples
    • Drinks
      • Cocktails
      • Non-Alcoholic
      • Smoothies
    • Breakfast
      • Eggs
      • Muffins and Baking
      • Pancakes and Waffles
    • Sweet
      • Brownies and Bars
      • Cakes and Frostings
        • Beginner Cake Recipes
        • Intermediate Cake Recipes
        • Advanced Cake Recipes
      • Cheesecake
      • Cobblers & Fruit Desserts
      • Cookies and Candies
      • Custards & Trifles
      • Pies & Tarts
    • Savory
      • Appetizers
      • Easy Weeknight Meals
      • Beef and Pork
      • Chicken and Turkey
      • Fish and Shellfish
      • Grains and Beans
      • Pasta and Rice
      • Potatoes
      • Quinoa
      • Soups & Stews
      • Vegetables
    • On The Lighter Side
  • Resources
  • Contact
  • Work With Me
  • Privacy Policy

The Cake Chica

menu icon
go to homepage
  • Recipe Index
  • About
  • Work With Me
  • Contact

subscribe
search icon
Homepage link
  • Recipe Index
  • About
  • Work With Me
  • Contact

×
Home

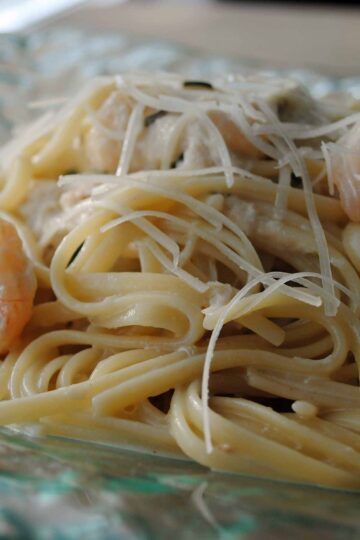
Seafood Linguine

April 1, 2013

Seafood Linguini

Here is a healthier alternative to the usual high in calories cream sauced pastas! You can file this one under your favorites. I know you're going to love it!

Seafood Linguine

Seafood Linguine

No Ratings

Ingredients

  • 1 pound uncooked linguine
  • 2 tablespoons unsalted butter
  • 1 cup chopped green onions
  • 4 garlic cloves, minced
  • 1 pound medium shrimp, peeled
  • 1 pound sea scallops
  • 2 cups half and half
  • 1/2 teaspoon kosher salt
  • 1/4 teaspoon pepper
  • 1/2 pound lump crab meat, shell pieces removed
  • 1 cup shredded Parmesan cheese
  • 1/4 cup chopped fresh parsley

Instructions

  1. Cook the pasta according to package directions.
  2. While the pasta cooks, melt the butter in a 12 inch nonstick skillet over a medium high heat. Add onions and garlic and sauté for 1 minute or until tender. Add the shrimp and scallops and sauté for 3 minutes or until done. Reduce the heat to medium low. Add the next 4 ingredients; cook for about 3 minutes or until thoroughly heated, stirring constantly (do not boil). Sprinkle 1 cup of cheese over seafood mixture stirring constantly; cook for 1 minute; stirring constantly.
  3. Remove from the heat. Combine the pasta and seafood mixture in a large bowl. If there is a lot of liquid, try simmering on low for about 5 minutes to let the sauce thicken a bit. Garnish with shredded Parmesan and parsley.
Nutrition Information:
Serving Size: 1
Amount Per Serving: Calories: 630Total Fat: 23gSaturated Fat: 14gCholesterol: 228mgSodium: 1266mgCarbohydrates: 62gFiber: 3gSugar: 6gProtein: 44g
Did you make this recipe?

Tag @thecakechica1 on Instagram and hashtag #thecakechica1

© Mary
Category: Main


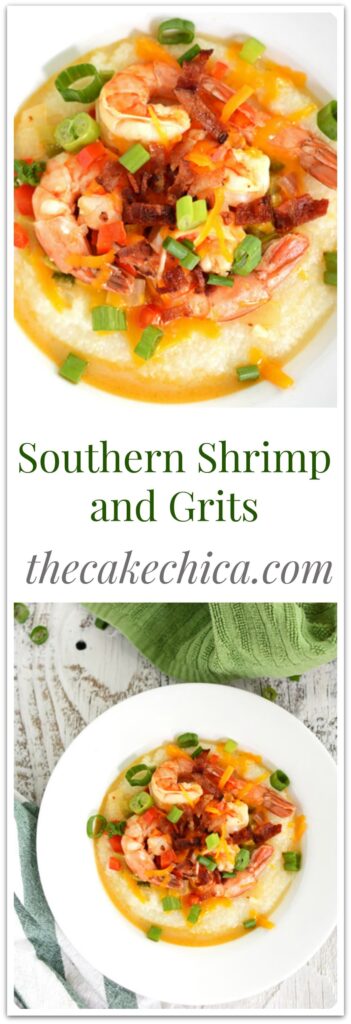
Southern Shrimp and Grits

March 25, 2013

Southern Shrimp and Grits
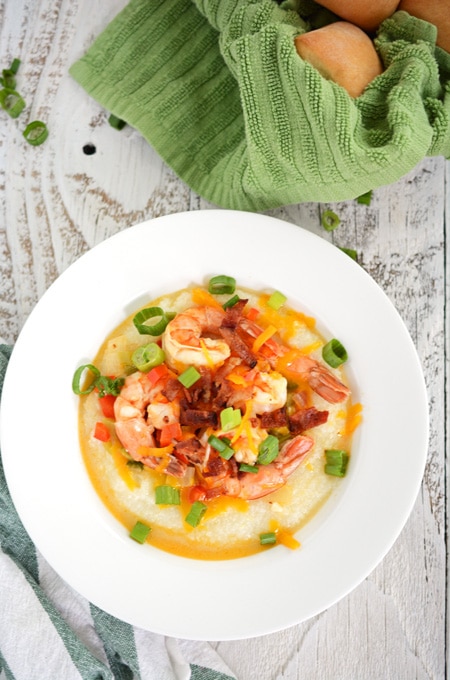
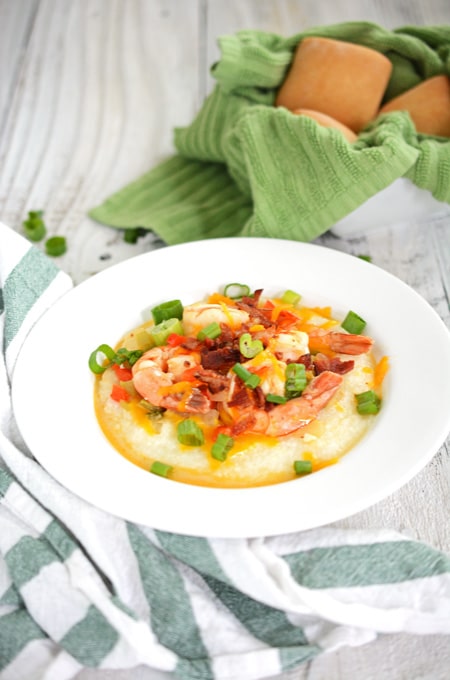
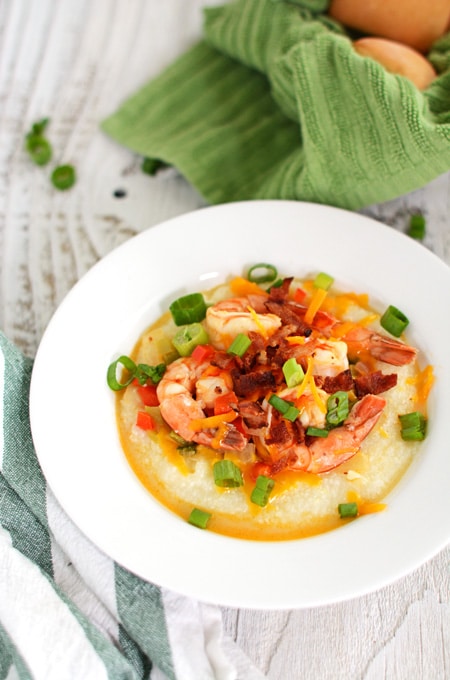
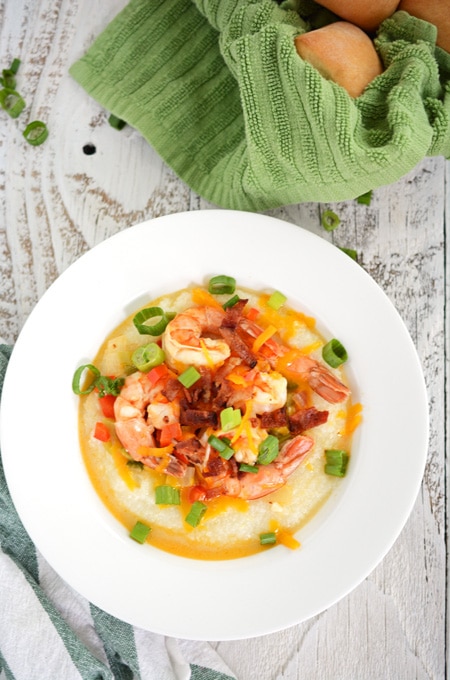
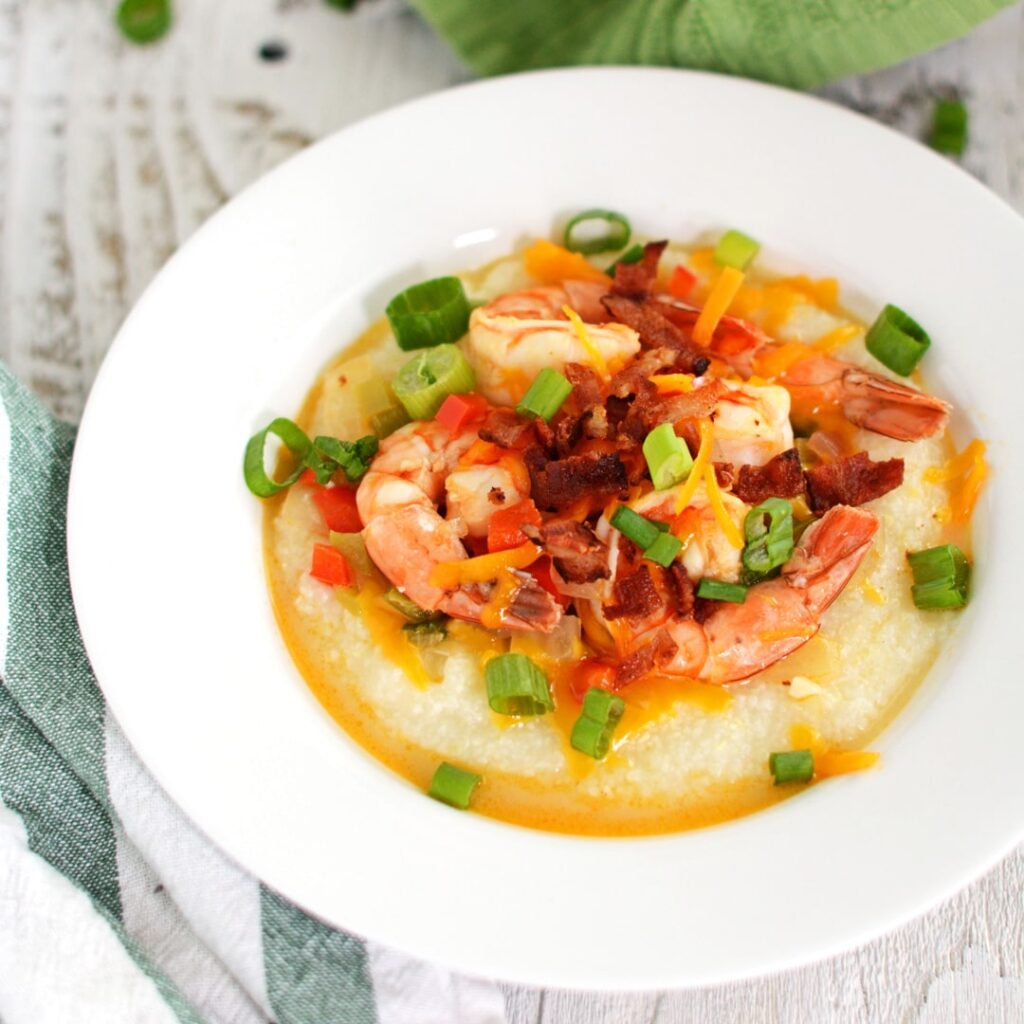
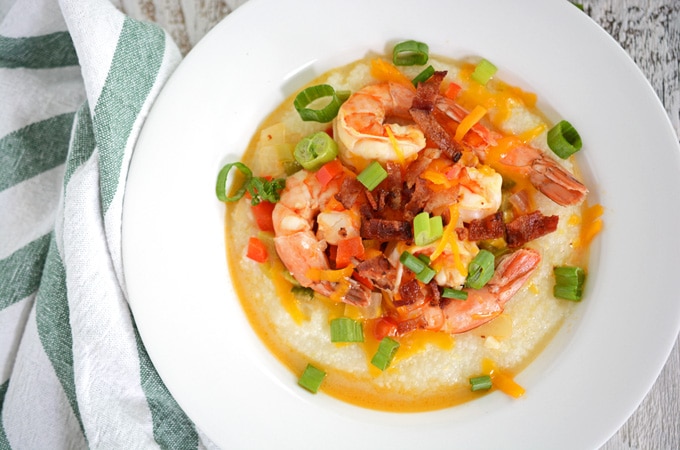
This is an update to an old favorite, Southern Shrimp and Grits. What I like about this dish is that its quick and easy to make, mouthwatering-delicious and its a bit of a lightened up version of shrimp and grits.
Southern Shrimp and Grits
I found the original recipe in Cooking Light. And while the original recipe makes 6 servings, Craig and I usually get 4 servings out of it, but, we usually eat a little more than most people probably would. So just know there is a little wiggle room in your portion size, and you could get this amazing Southern Shrimp and Grits for right around 500 calories if you divide it up between 5 or 6 servings.
Southern Shrimp and Grits
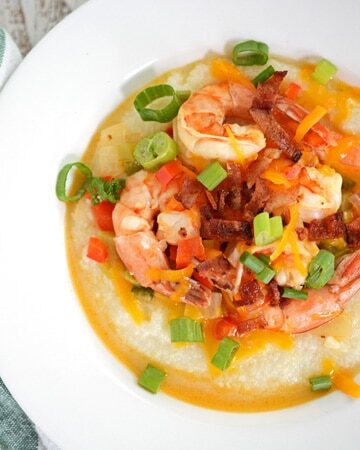
Not watching your calorie intake and looking for a little indulgence? If so, then head over to my Shrimp and Grits recipe.
Southern Shrimp and Grits
 
Southern Shrimp and Grits

Southern Shrimp and Grits

Yield: 4
Prep Time: 15 minutes
Cook Time: 20 minutes
Total Time: 35 minutes

A southern classic lightened up a bit. Shrimp and Grits made with bacon, veggies and cheese. And easy enough to make on a weeknight.

No Ratings

Ingredients

  • 3 tablespoons fresh lemon juice
  • ½ teaspoon hotsauce
  • 2 pounds large shrimp, deveined and peeled
  • 4 slices bacon
  • 1 cup onion, chopped
  • 1 green bell pepper, chopped
  • 1 red bell pepper, chopped
  • 2 cloves garlic, chopped
  • 1 cup reduced sodium chicken broth
  • ½ cup green onions, chopped and divided
  • 5 cups water
  • 1 ½ cups uncooked quick-cooking grits
  • 1 tablespoon unsalted butter
  • 1 teaspoon kosher salt
  • ¾ cup shredded Cheddar cheese

Instructions

  1. Combine first 3 ingredients, set aside.
  2. Cook bacon in a large nonstick skillet over medium heat until crisp. Place bacon on papertowels to drain. Add onion, bell peppers, and garlic to drippings the pan; cook 5 minutes or until tender, stirring occasionally. Stir in shrimp mixture, broth, and ¼ cup green onions; cook for 5 minutes or until shrimp are done. Do not over cook or the shrimp will become rubbery. Remove from the heat.
  3. Bring water to a boil in a medium saucepan; gradually add grits; stirring constantly. Reduce heat to low; simmer uncovered for about 5 minutes or until thick, stirring constantly. Simmer; covered for 5 minutes or until thick, stirring occasionally. Stir in butter and salt. Chop bacon. Serve shrimp over grits, sprinkle with cheese, bacon and green onions.
Nutrition Information:
Yield: 4 Serving Size: 1
Amount Per Serving: Calories: 526Total Fat: 18gSaturated Fat: 8gTrans Fat: 0gUnsaturated Fat: 8gCholesterol: 519mgSodium: 3181mgCarbohydrates: 24gFiber: 2gSugar: 6gProtein: 64g

*Nutrition information is an estimate and will vary.*

Did you make this recipe?

Tag @thecakechica1 on Instagram and hashtag #thecakechica1

© Mary | The Cake Chica
Cuisine: American / Category: Main

Did you make this recipe? I’d love to see it! Tag The Cake Chica on Instagram @thecakechica1 #thecakechica1

You May Also Like:

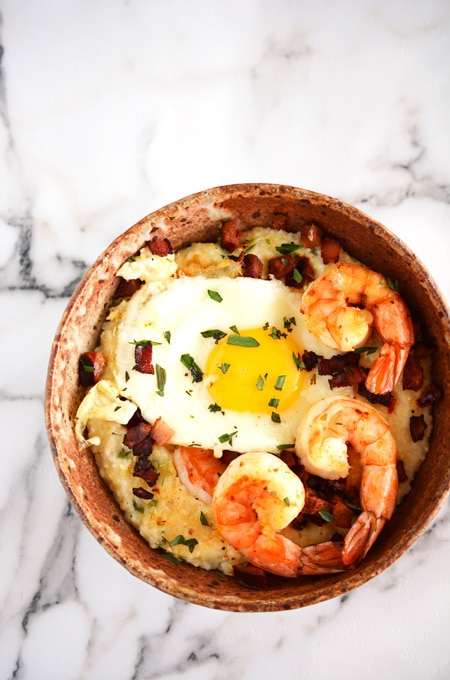
Shrimp and Grits

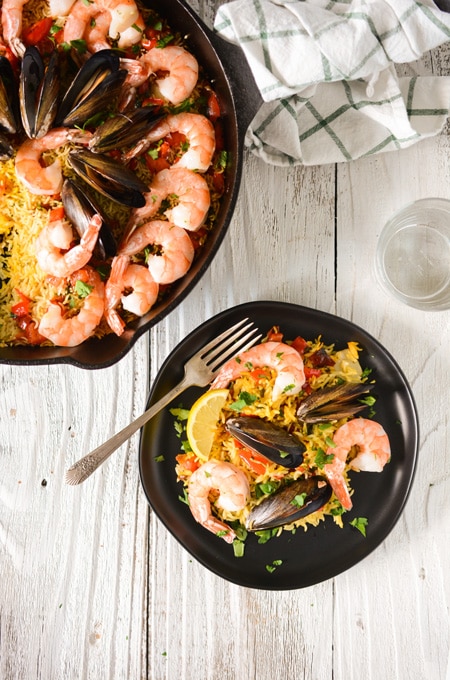
Oven Roasted Mussels and Shrimp Paella

Oven Roasted Mussels and Shrimp Paella


<Southern Shrimp and Grits

 
<Southern Shrimp and Grits


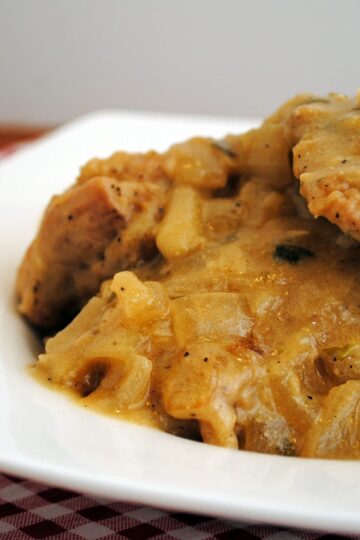
Chicken with Tarragon and White Wine

January 26, 2013

Chicken with Tarragon and White Wine

Here is another one from Weeknights with Giada. I changed mine just a little by using all chicken thighs. The original uses a mix of chicken breast and chicken thighs. Since I normally cook with chicken breast I thought it might be a nice change from the usual. Another change I made was using whole wheat flour to dust the chicken versus the all purpose flour. This makes a lot of sauce so I paired mine with quinoa. Feel free to check out the original version, or my version below.

 
Chicken with Tarragon and White Wine

Chicken with Tarragon and White Wine

Yield: 4
No Ratings

Ingredients

  • 2 tablespoons olive oil
  • Boneless, skinless chicken thighs, about 2 pounds
  • 3 tablespoons whole wheat flour, divided
  • 1 large yellow onion
  • 1 ½ teaspoons kosher salt, divided
  • ½ and ¼ teaspoon ground black pepper, divided
  • ½ cup white wine
  • 1 cup plus 2 tablespoons chicken stock, divided
  • ¼ cup plus 2 tablespoons fresh tarragon, chopped
  • ¼ cup Dijon mustard
  • 1 tablespoon unsalted butter

Instructions

  1. In a Dutch oven or large saucepan, heat the oil over high heat. Season the chicken with 1 teaspoon salt and ½ teaspoon black pepper and dust with 2 tablespoons whole wheat flour. Cook the chicken, turning occasionally, until browned on all sides, about 5 minutes. Remove the chicken and set aside on a large plate.
  2. Heat the same pan used for the chicken over medium-high heat. Add the onion and season with 1/2 teaspoon salt and ¼ teaspoon pepper. Cook, stirring frequently, for 4 minutes, until softened. Add the garlic and cook for 30 seconds, until aromatic. Increase the heat to high. Add the wine and scrape up the browned bits that cling to the bottom of the pan with a wooden spoon. Return the chicken pieces to the pan. Add 1 cup chicken stock and ¼ cup fresh tarragon. Bring the mixture to a boil. Reduce the heat, cover the pan, and simmer for 30 minutes, until the chicken is cooked through. Remove the chicken pieces to a platter and tent with foil to keep warm.
  3. In a small bowl, whisk together the remaining 2 tablespoons chicken stock and the remaining 1 tablespoons whole wheat flour until smooth. Whisk together the flour mixture into the simmering cooking juices. Whisk in the mustard. Bring the mixture to a boil and cook for 5 minutes. Remove from the heat and stir in the 1 tablespoon unsalted butter until smooth. Season to taste with salt and pepper. Serve sauce over the chicken and garnish with the remaining tarragon.
Nutrition Information:
Serving Size: 1
Amount Per Serving: Calories: 429Total Fat: 15gSaturated Fat: 4gCholesterol: 138mgSodium: 1286mgCarbohydrates: 10gFiber: 2gSugar: 3gProtein: 49g

Did you make this recipe?

Tag @thecakechica1 on Instagram and hashtag #thecakechica1

© Mary
Category: Main
 

Gingerbread Dough

December 27, 2012

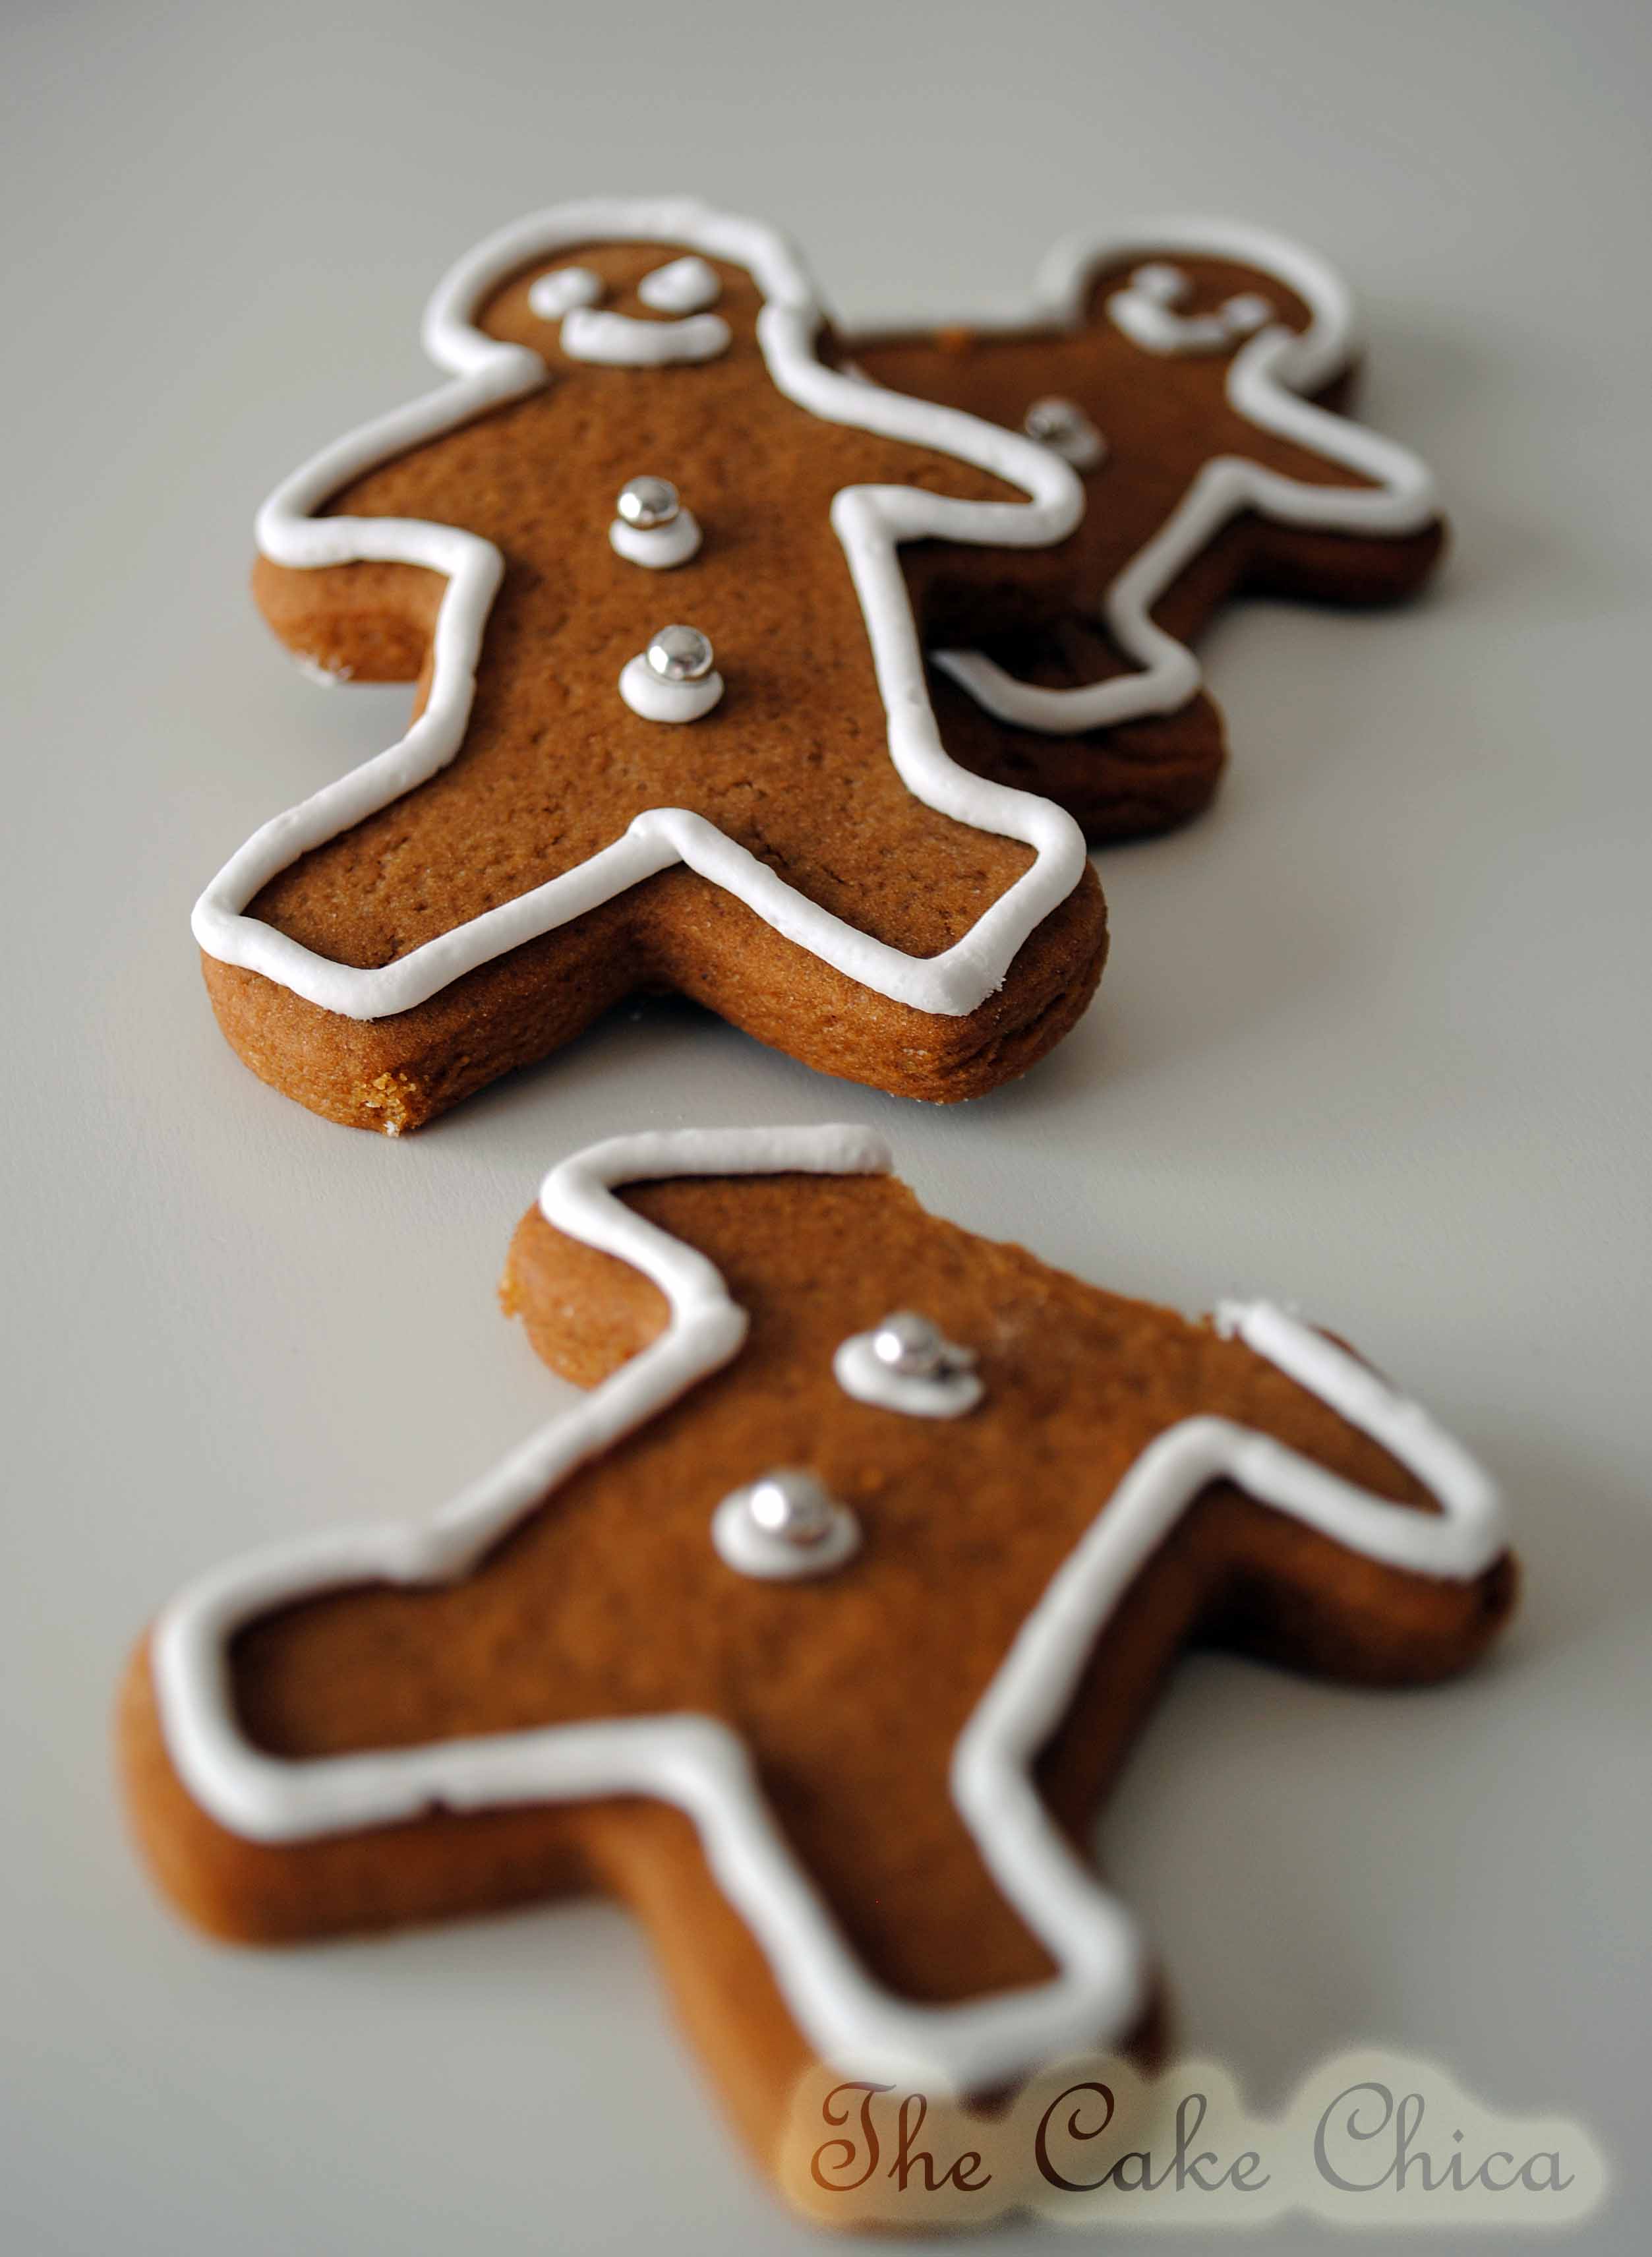
Gingerbread Cookie Dough

I have never been a fan of gingerbread, but this recipe helped change my mind. Two years ago a made a gingerbread house for a work place contest, and I thought it would be a good idea to also have cookies made for my co-works so they would know what the gingerbread house tastes like. They loved them. And so did I. Crisp on the outside, and soft and chewy on the inside. I even had some co-works say they weren’t fans of gingerbread either but really liked this gingerbread cookie.

Gingerbread Cookies

Gingerbread Dough

Gingerbread Dough

Yield: 3 1/2 pounds
No Ratings

Ingredients

  • 1 cup vegetable shortening
  • 1 cup sugar
  • 2 teaspoon baking powder
  • 2 teaspoons ground ginger
  • 1 teaspoons baking soda
  • 1 teaspoon salt
  • 1 teaspoon ground cinnamon
  • ½ teaspoon ground cloves
  • 1 cup dark molasses
  • 2 large eggs
  • 2 tablespoons white vinegar
  • 5 cups unbleached all-purpose flour

Instructions

  1. In a bowl of a large stand mixer fitted with the paddle attachment, combine the shortening and sugar with an electric mixer on medium-high speed until well combined.
  2. Add the baking powder, ginger, baking soda, salt, cinnamon, and cloves and beat until incorporated.
  3. Add the molasses, eggs, and vinegar and beat until smooth, scraping down the sides of the bowl once or twice as necessary.
  4. Add the flour, 1 cup at a time, and mix on low until smooth.
  5. Scrape the dough onto a sheet of plastic wrap and press into a rough square. Wrap tightly and refrigerate for at least 3 hours and up to 3 days.
  6. Preheat your oven to 375 F. Depending on what size your cookie shapes are will depend on your cooking time. I put my gingerbread man cookies in for 8 minutes.
  7. Happy Baking!!!

Notes

You will need to have a stand mixer for this dough. If you don’t, you can half the recipe.

Did you make this recipe?

Tag @thecakechica1 on Instagram and hashtag #thecakechica1

© Mary
Category: Dessert


Cajun Meatloaf

December 21, 2012

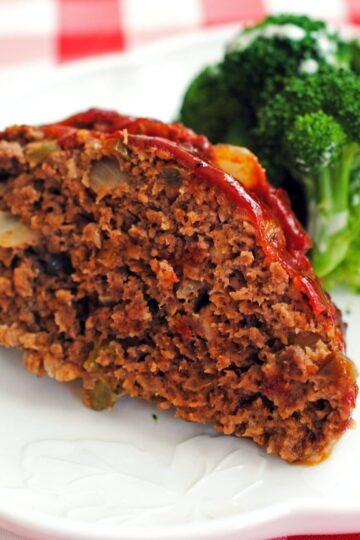
Cajun Meatloaf

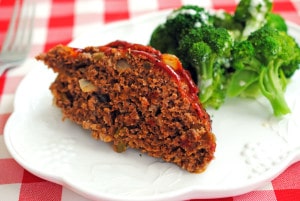
A few days ago I had the urge to take a look at some of my older posts on my blog. I went back to when I first started blogging, and yikes, talk about some cringe worthy photos. I spotted this one and I felt that I needed to do this recipe justice and retake the photo. It’s still one of my favorite meatloaf recipes. I have tried several throughout the years and this one is still my favorite, and it is so easy!

Cajun Meatloaf 7

Cajun Meatloaf 4  

Cajun Meatloaf 6

Cajun Meatloaf

Cajun Meatloaf

Yield: 6
No Ratings

Ingredients

  • 4 tablespoons unsalted butter
  • 1 large onion, chopped
  • 1 green bell pepper, chopped
  • 2 teaspoons kosher salt
  • 1 teaspoons cayenne pepper
  • 2 teaspoons ground cumin
  • Ground black pepper
  • 2 pounds lean ground beef
  • 2 eggs, beaten
  • 1 cup fine dry breadcrumbs
  • 1 cup ketchup, divided

Instructions

  1. Heat oven to 375 degrees. Melt butter in heavy medium sized skillet over medium-low heat. Add onion, bell pepper, salt, cayenne pepper and cumin. Sauté until vegetables are tender, about 10 minutes, and sprinkle with pepper.
  2. Combine meat, egg, breadcrumbs and 1/2 cup ketchup in large bowl and blend well. Mix in sautéed vegetables. In a 11x9x2 glass baking dish form meat mixture into 3 inch high and 5 inches wide loaf. Bake 20 minutes. Spread top with remaining ketchup and bake until cooked through, about 40 minutes longer. Let stand on counter for 10 to 15 minutes before serving.
Nutrition Information:
Serving Size: 1
Amount Per Serving: Calories: 532Total Fat: 26gSaturated Fat: 12gCholesterol: 147mgSodium: 1477mgCarbohydrates: 26gFiber: 1gSugar: 12gProtein: 45g

Did you make this recipe?

Tag @thecakechica1 on Instagram and hashtag #thecakechica1

© Mary
Category: Main


Adapted from Bon Appetit Fast Easy Fresh Cookbook

Pepper and Coriander Coated Salmon Fillets

December 21, 2012

Pepper and Coriander Coated Salmon Filets
Pepper and Coriander Coated Salmon Fillets
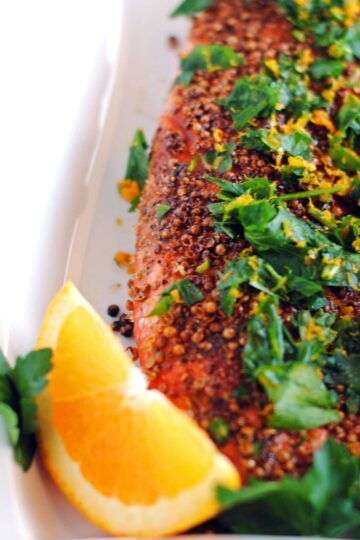
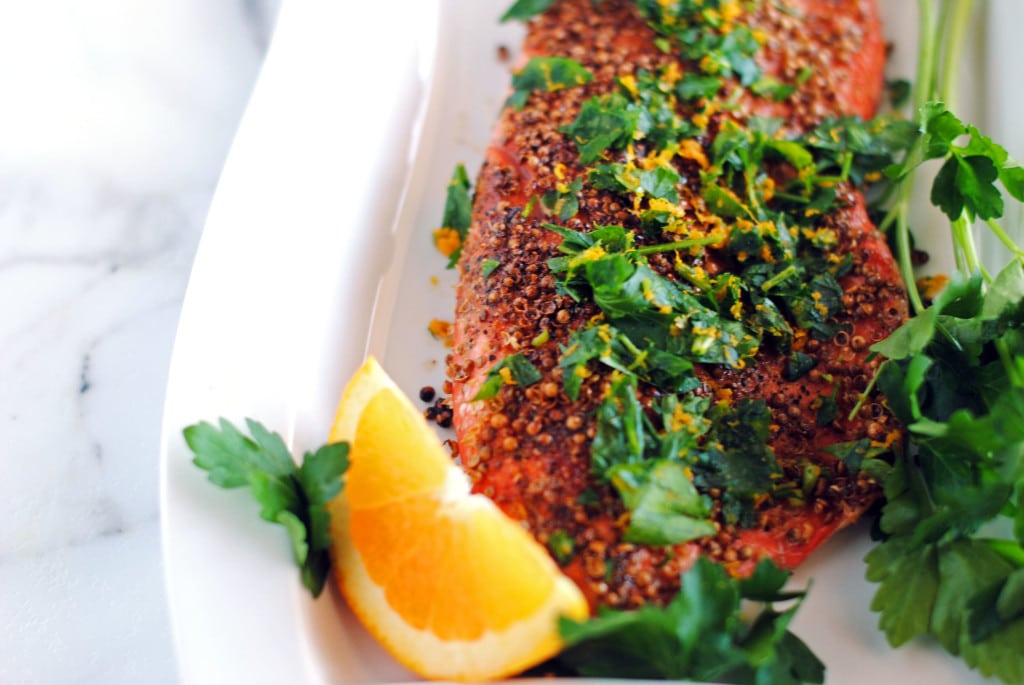
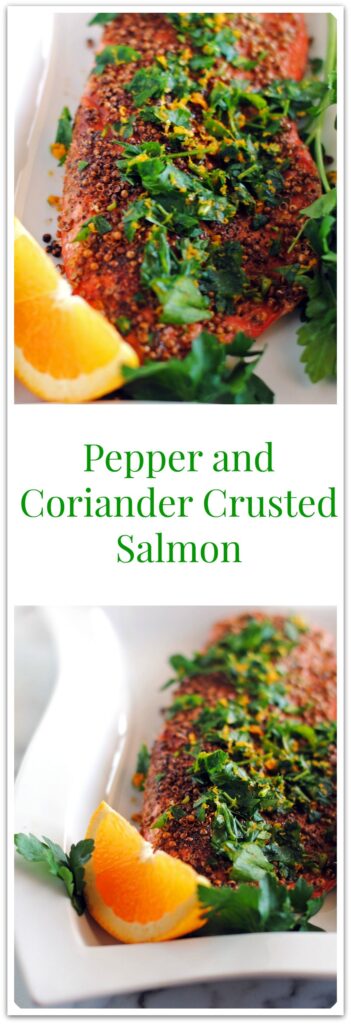
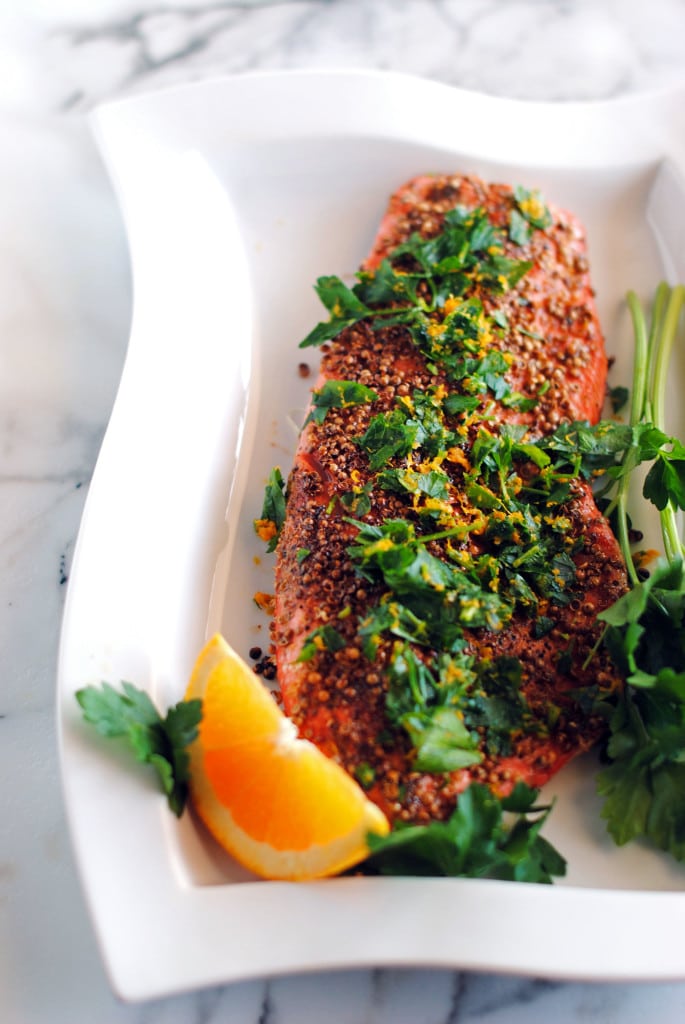
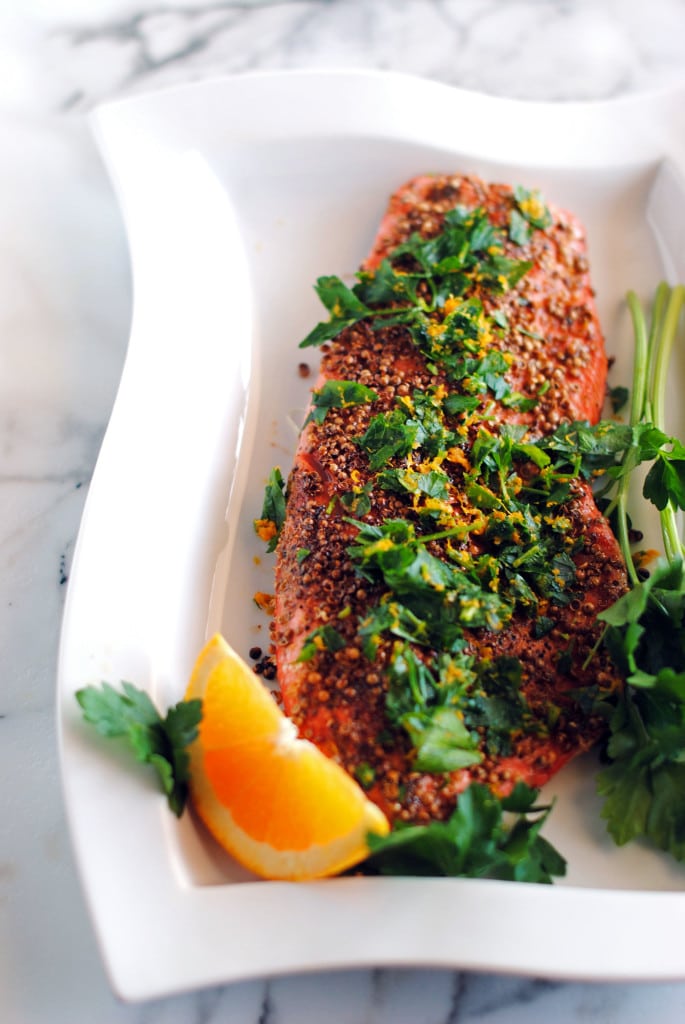
UPDATE 3/2016: Another recipe update! This week its Pepper and Coriander Coated Salmon Fillets. If you've noticed I have been taking on a pattern lately. Every Wednesday I update an old favorite recipe with some new food porn. This one goes back to December of 2012. Back before I knew how to work with my camera. I still have a lot to learn but I am pretty excited that just this year I began shooting in Manual mode with my camera. Making progress!
I found this recipe in The Bon Appetit Fast Easy Fresh Cookbook I cooked out of this book for at least a month straight! I still haven't found a recipe in this cookbook that I didn't like. It's full of easy, quick  and mostly healthy meals you can make on a weeknight. Definitely one to add to your cookbook library.
 Pepper and Coriander Coated Salmon Fillets
 
Pepper and Coriander Coated Salmon Fillets

Pepper and Coriander Coated Salmon Fillets

Yield: 4
No Ratings

Ingredients

  • 3 tablespoons chopped fresh Italian Parsley
  • 3 tablespoons finely grated orange peel
  • ¼ cup coriander seeds, coarsely crushed
  • 1 tablespoon packed dark brown sugar
  • 2 teaspoons coarsely ground black pepper
  • 4 6-ounce wild salmon fillets
  • 1 tablespoon butter, divided
  • 1 tablespoon canola oil, divided

Instructions

  1. Mix parsley and orange peel in a small bowl. Mix coriander, brown sugar, and black pepper in medium bowl.
  2. Sprinkle salmon with salt. Coat salmon on all sides with spice mixture. Melt ½ tablespoon butter and ½ tablespoon oil in heavy large skillet over medium-high heat. Add 2 salmon fillets. Cook fish until crust is golden and center is just opaque, about 4 minutes per side. Transfer fish to a platter. Tent with foil to keep warm. Wipe skillet. Repeat with remaining butter, oil and salmon. Spoon parsley mixture on top of salmon.
Nutrition Information:
Serving Size: 1
Amount Per Serving: Calories: 444Total Fat: 27gSaturated Fat: 6gCholesterol: 116mgSodium: 102mgCarbohydrates: 3gSugar: 3gProtein: 44g

Did you make this recipe?

Tag @thecakechica1 on Instagram and hashtag #thecakechica1

© Mary
Category: Main
Pepper and Coriander Crusted Salmon Fillets

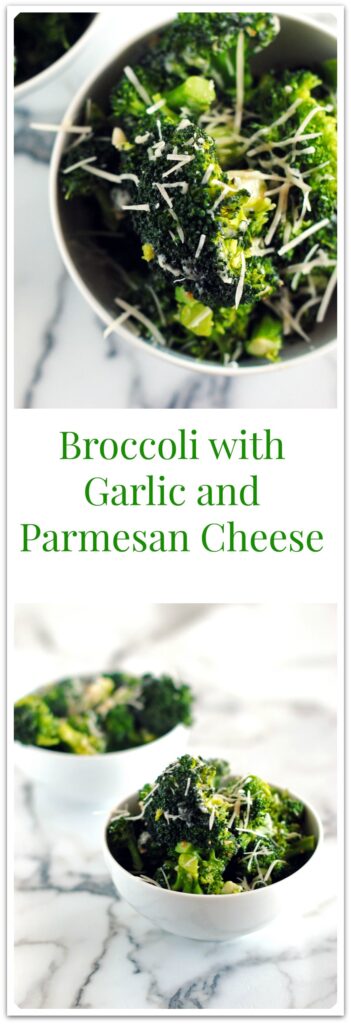
Broccoli with Garlic and Parmesan Cheese

December 21, 2012

Broccoli with Garlic and Parmesan Cheese

Broccoli with Garlic and Parmesan Cheese

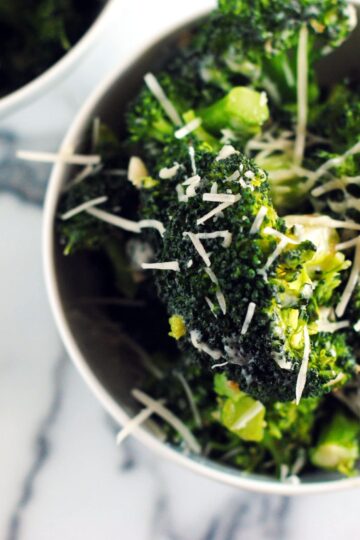
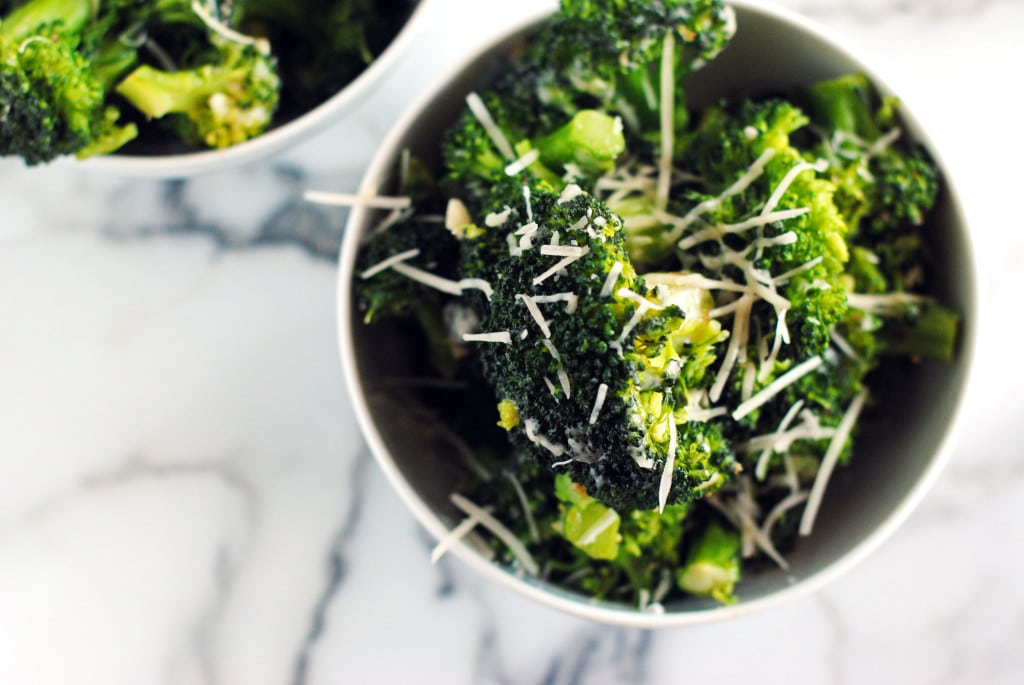
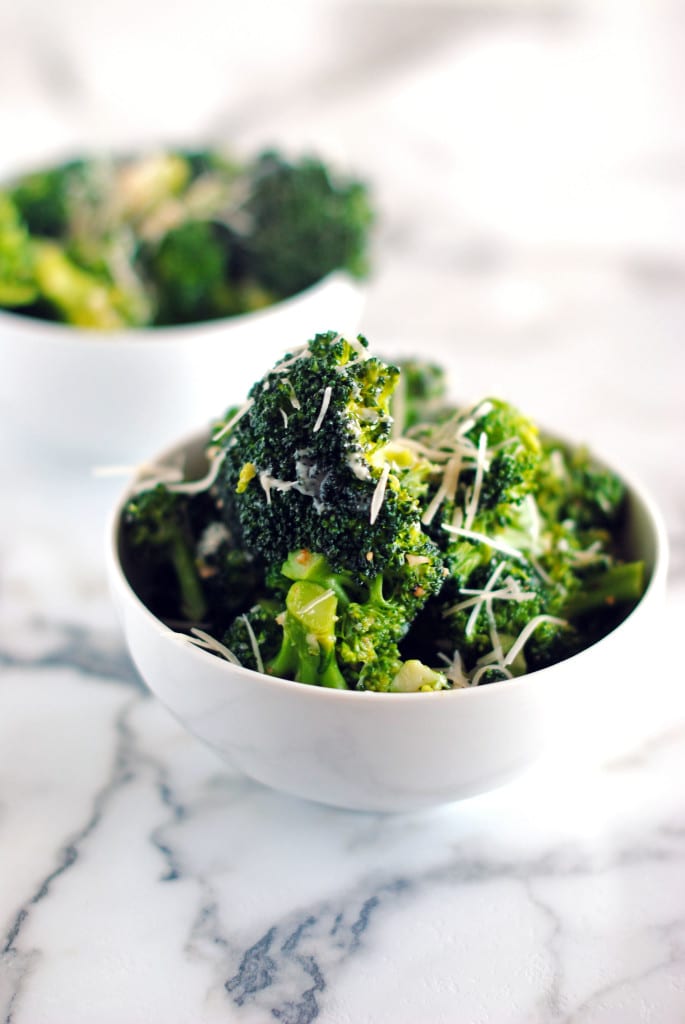
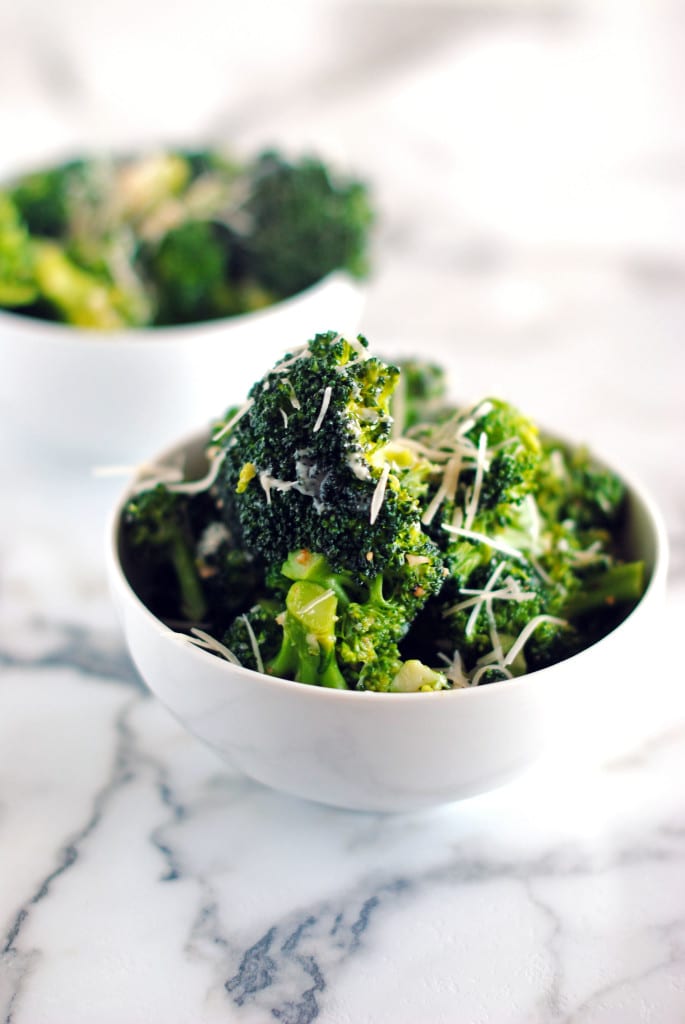
Here is a favorite of mine, and I think it will be a favorite of yours too! This Broccoli with Garlic and Parmesan Cheese is a quick and easy side dish you can prepare on a weeknight. Like tonight! With just a few ingredients and about 15 minutes you've got yourself a healthy and tasty side dish for your weeknight meal.

Broccoli with Garlic and Parmesan Cheese

 
Broccoli with Garlic and Parmesan Cheese

Broccoli with Garlic and Parmesan Cheese

Yield: 4
No Ratings

Ingredients

  • 2 tablespoons olive oil
  • 6 garlic cloves, chopped
  • 2 teaspoons finely grated lemon peel
  • 3 pounds broccoli florets
  • ½ cup water
  • ½ cup Parmesan cheese

Instructions

  1. Heat oil in a large skillet over high heat. Add garlic and lemon peel and stir 30 seconds. Add broccoli and toss to coat. Add ½ cup water. Cover skillet and cook until broccoli is crisp and water evaporates, about 5 minutes. Add cheese and toss to coat. Season to taste with salt and pepper.
Nutrition Information:
Serving Size: 1
Amount Per Serving: Calories: 168Total Fat: 11gSaturated Fat: 3gCholesterol: 10mgSodium: 178mgCarbohydrates: 13gFiber: 5gSugar: 4gProtein: 10g

Did you make this recipe?

Tag @thecakechica1 on Instagram and hashtag #thecakechica1

© Mary
Category: Side
<Broccoli with Garlic and Parmesan Cheese
Adapted from Bon Appetit Fast Easy Fresh


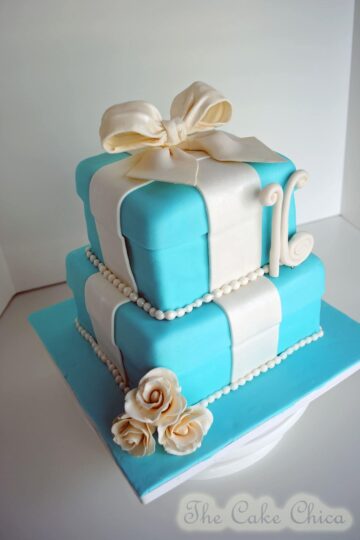
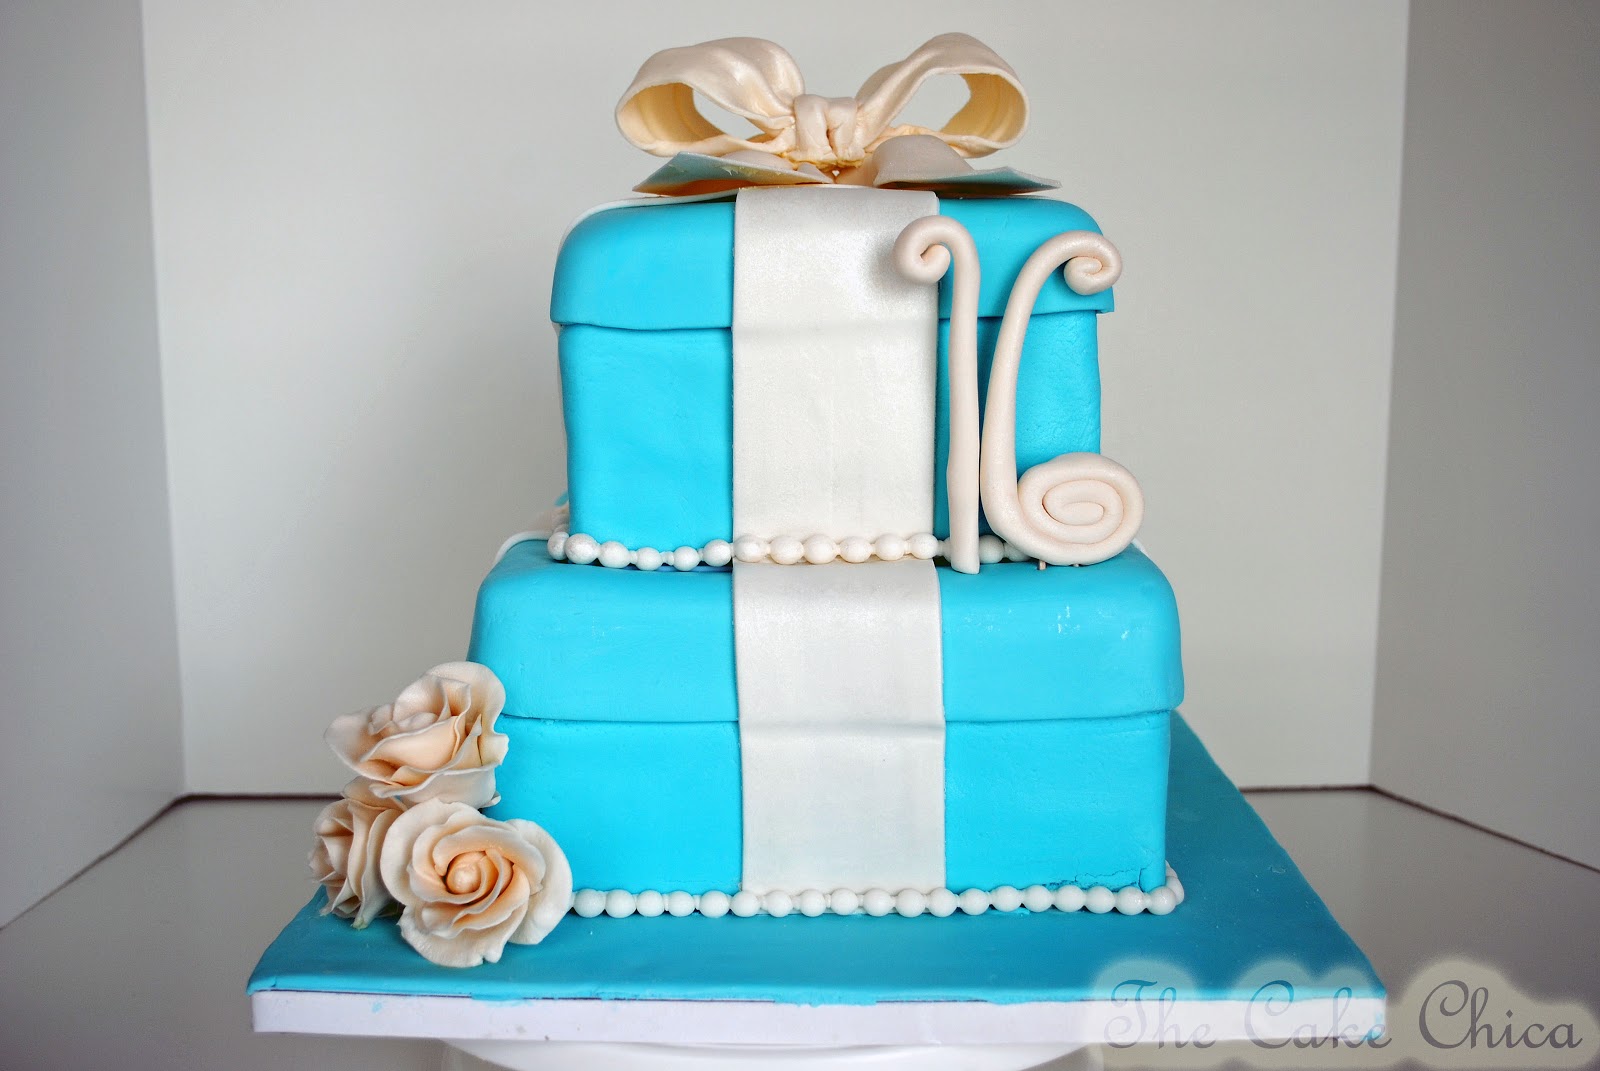
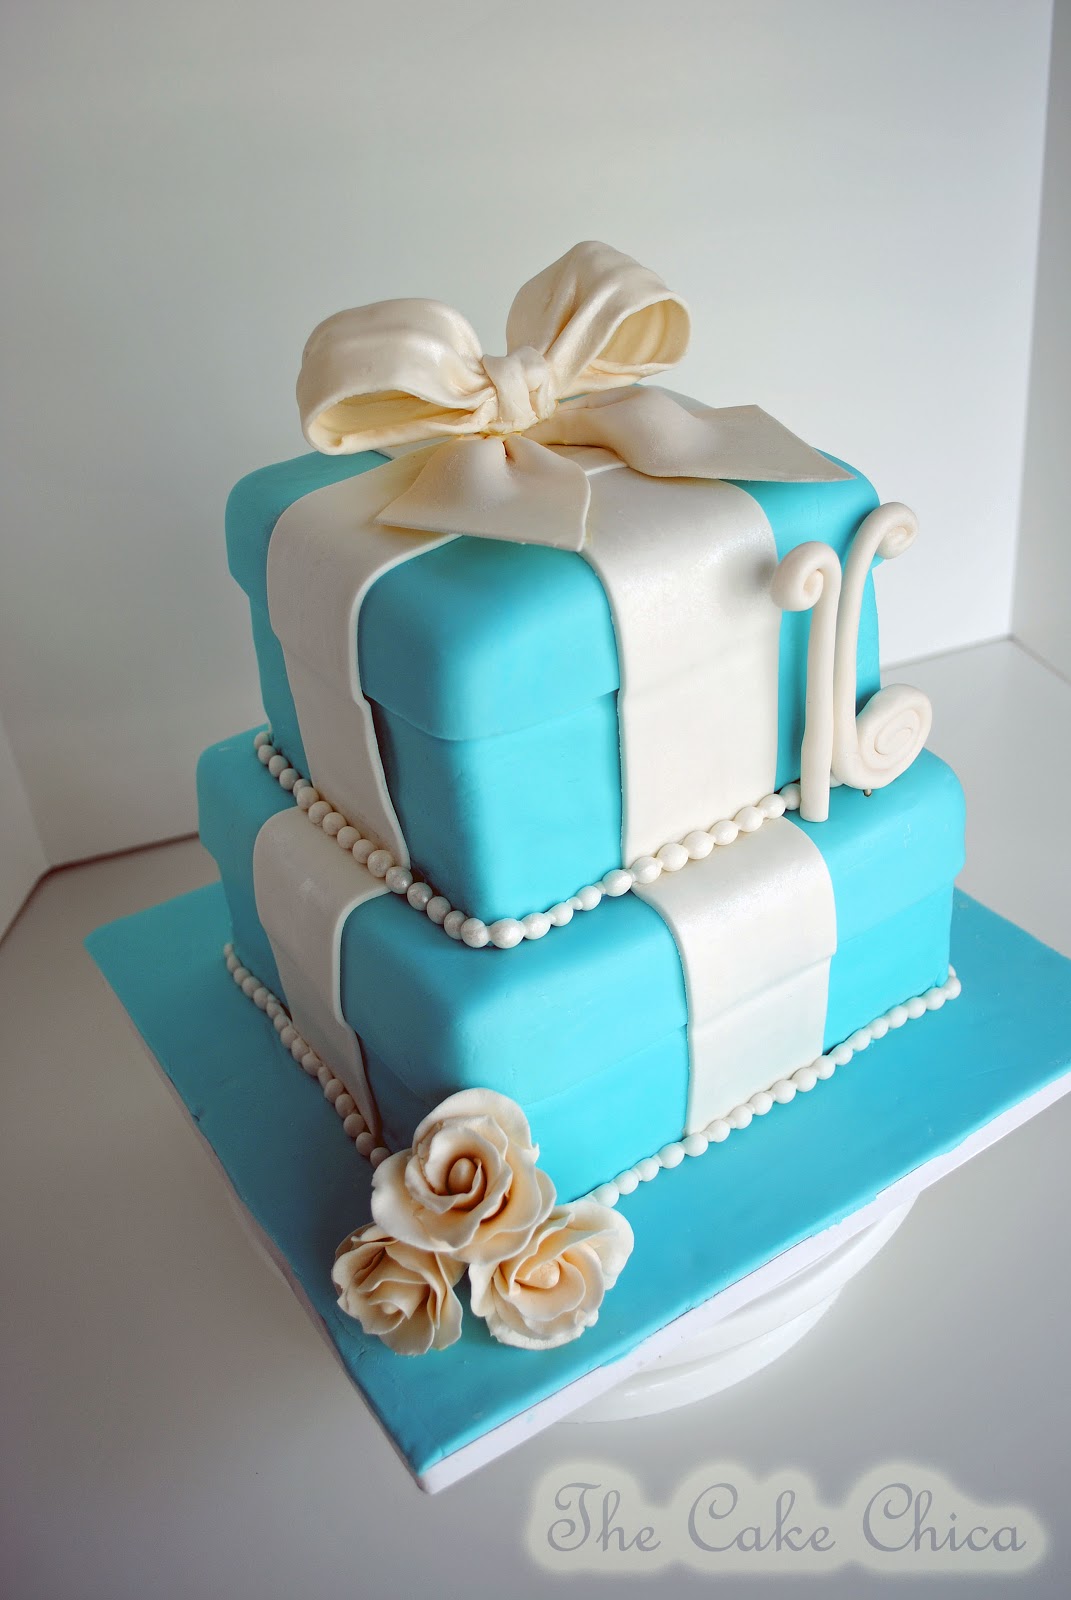
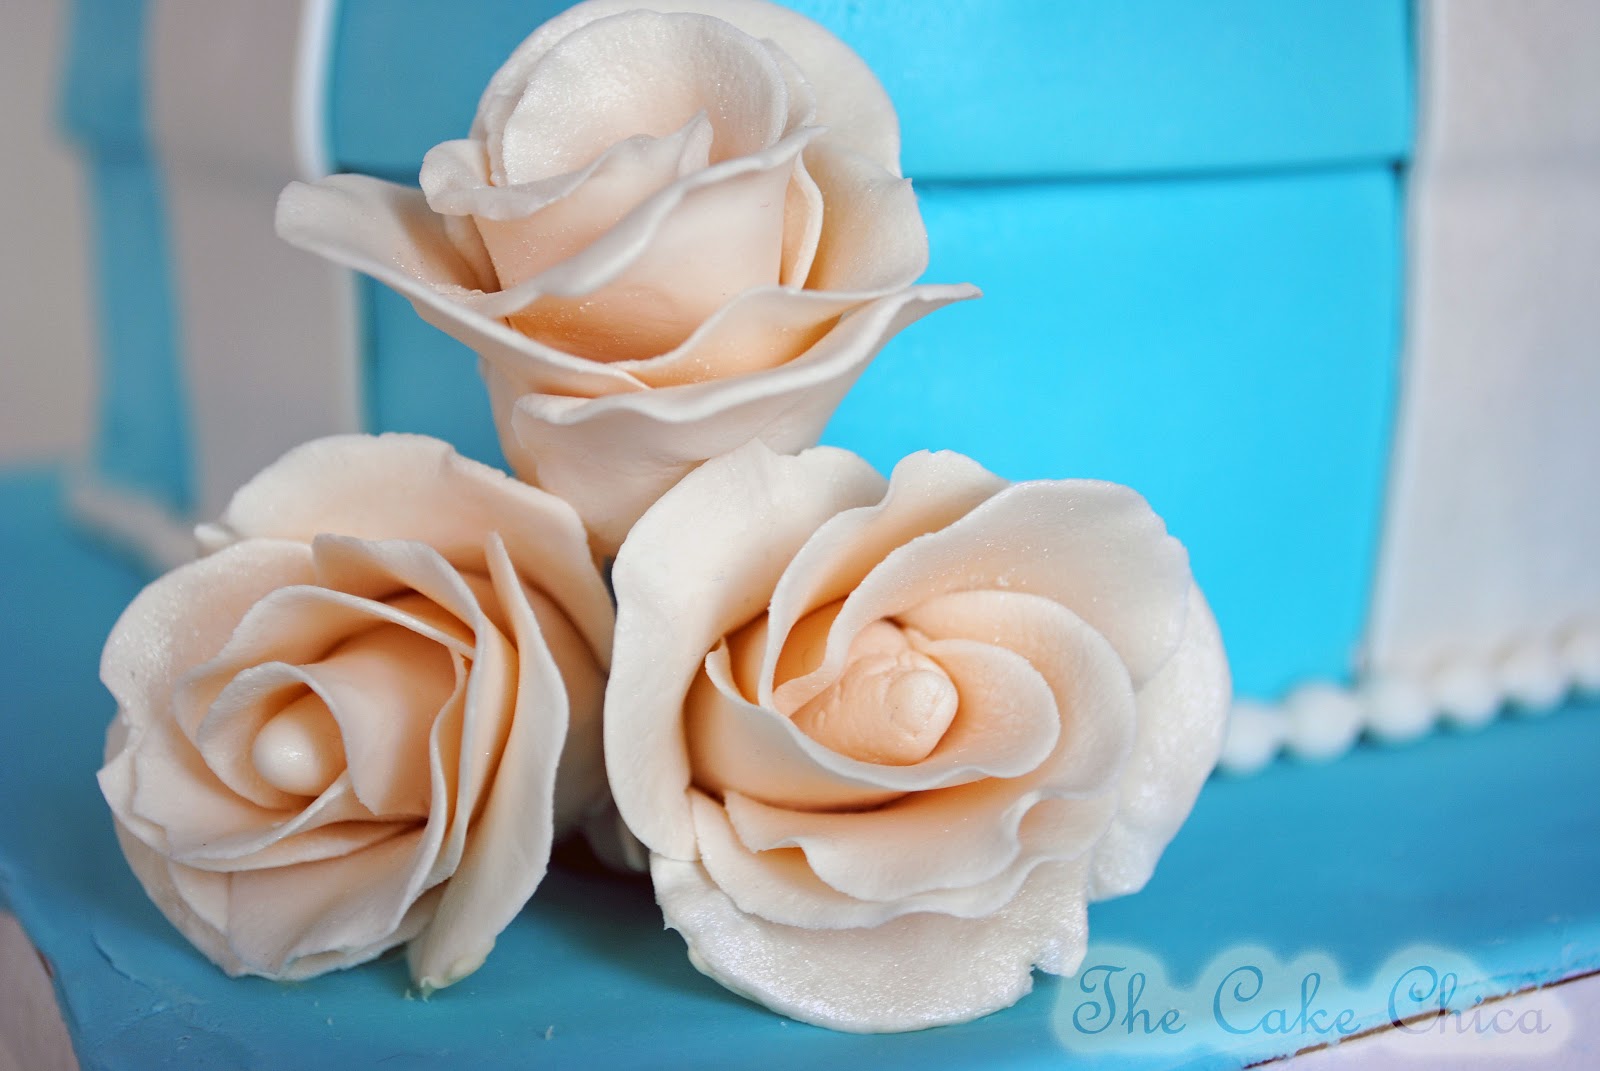
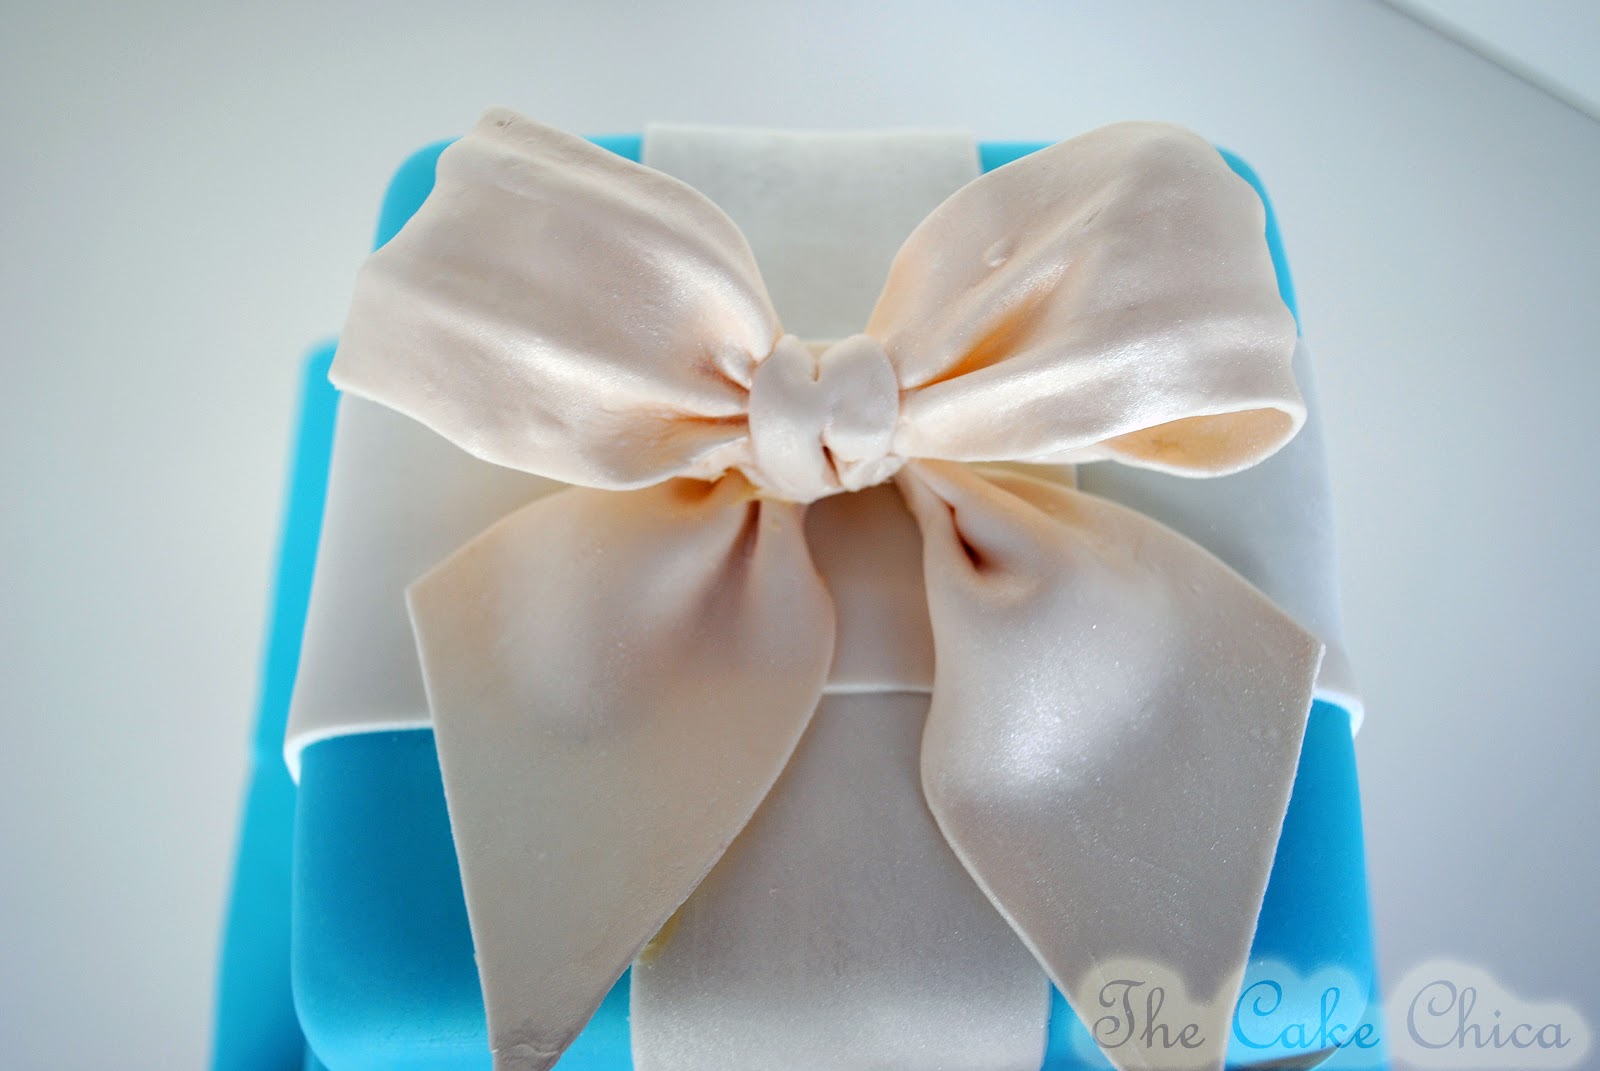
Sweet 16 Tiffany Box Cake

December 10, 2012

Tiffany Cake

I always get super excited when I get to do a custom cake like this. I don't get to do very many because they aren't cheap. This one was a gift to my niece who was turning 16 so I was more than happy to do one for her as a gift.

I get lots of inquiries from my co-workers about ordering cakes like this but they never actually buy them. I know it's because of cost, but that's just how much they are. There is a lot of work involved and I thought I would show just a little bit of what is involved when I do a custom cake. There are still plenty of things I still need to learn but this is the way I do my cakes right now. And each time I do one I learn a lot. That means I will only get better with practice, and practice makes perfect.

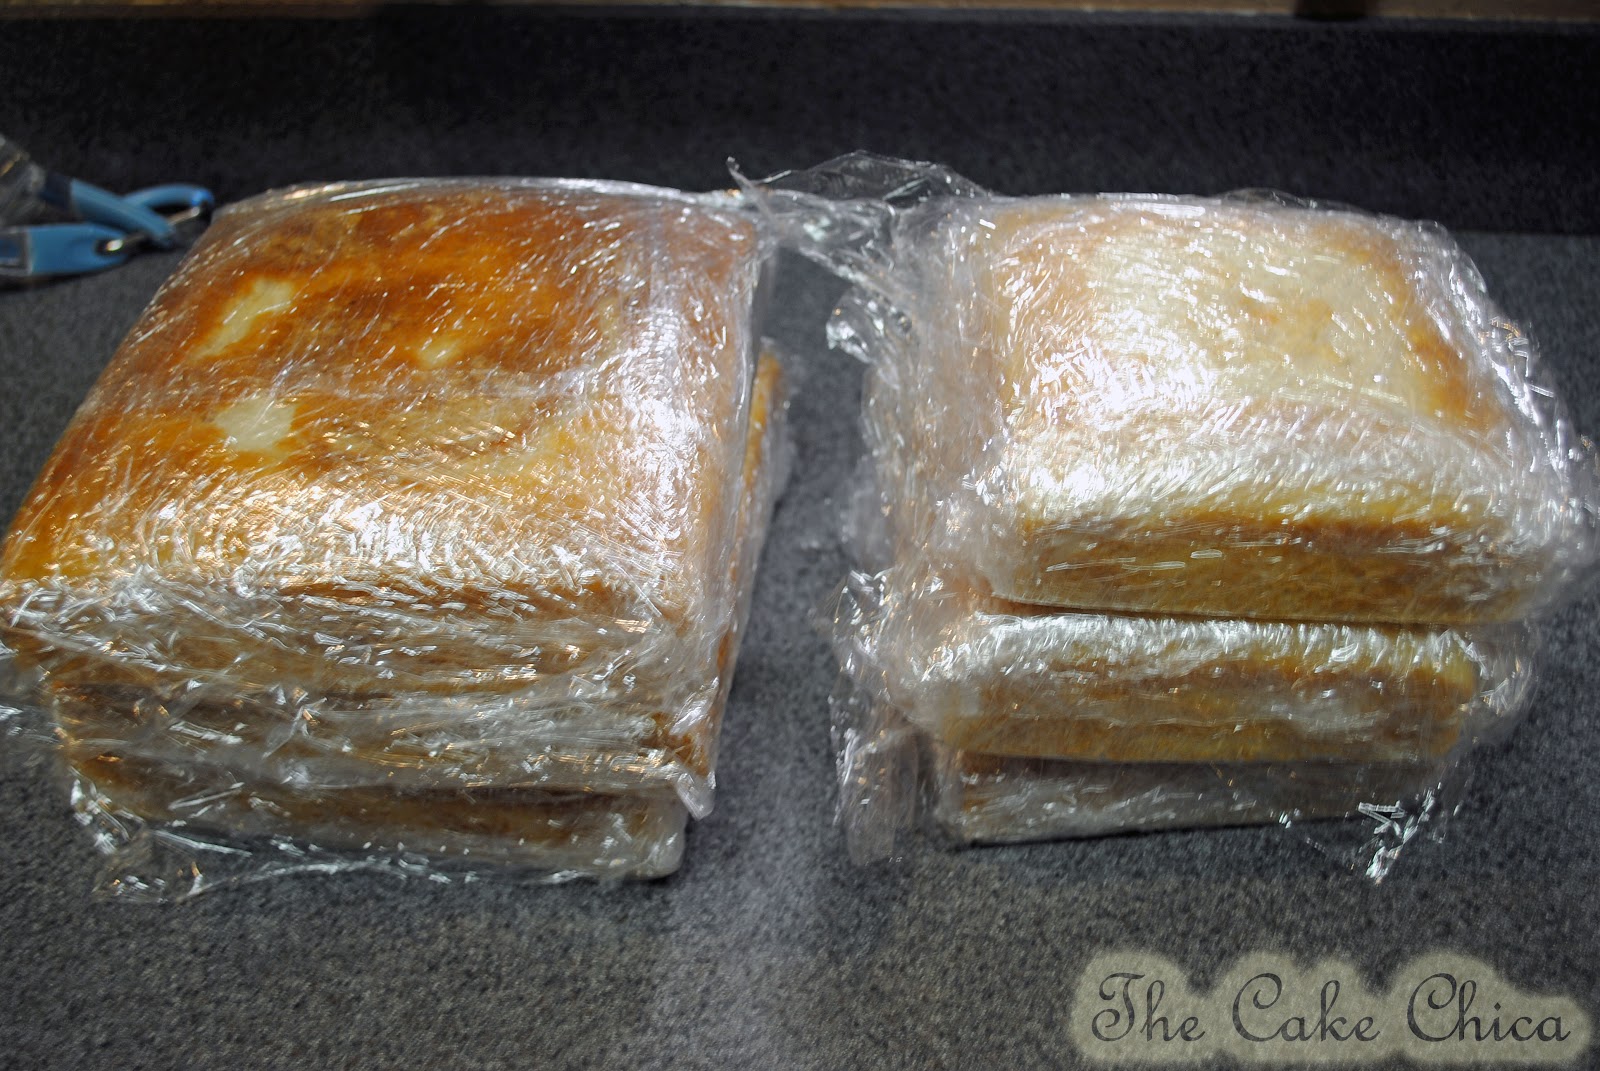
First thing I do is bake the cakes. Planning is everything when I do a custom cake, especially since I work full time. I'll usually plan on taking one day just to do the baking.
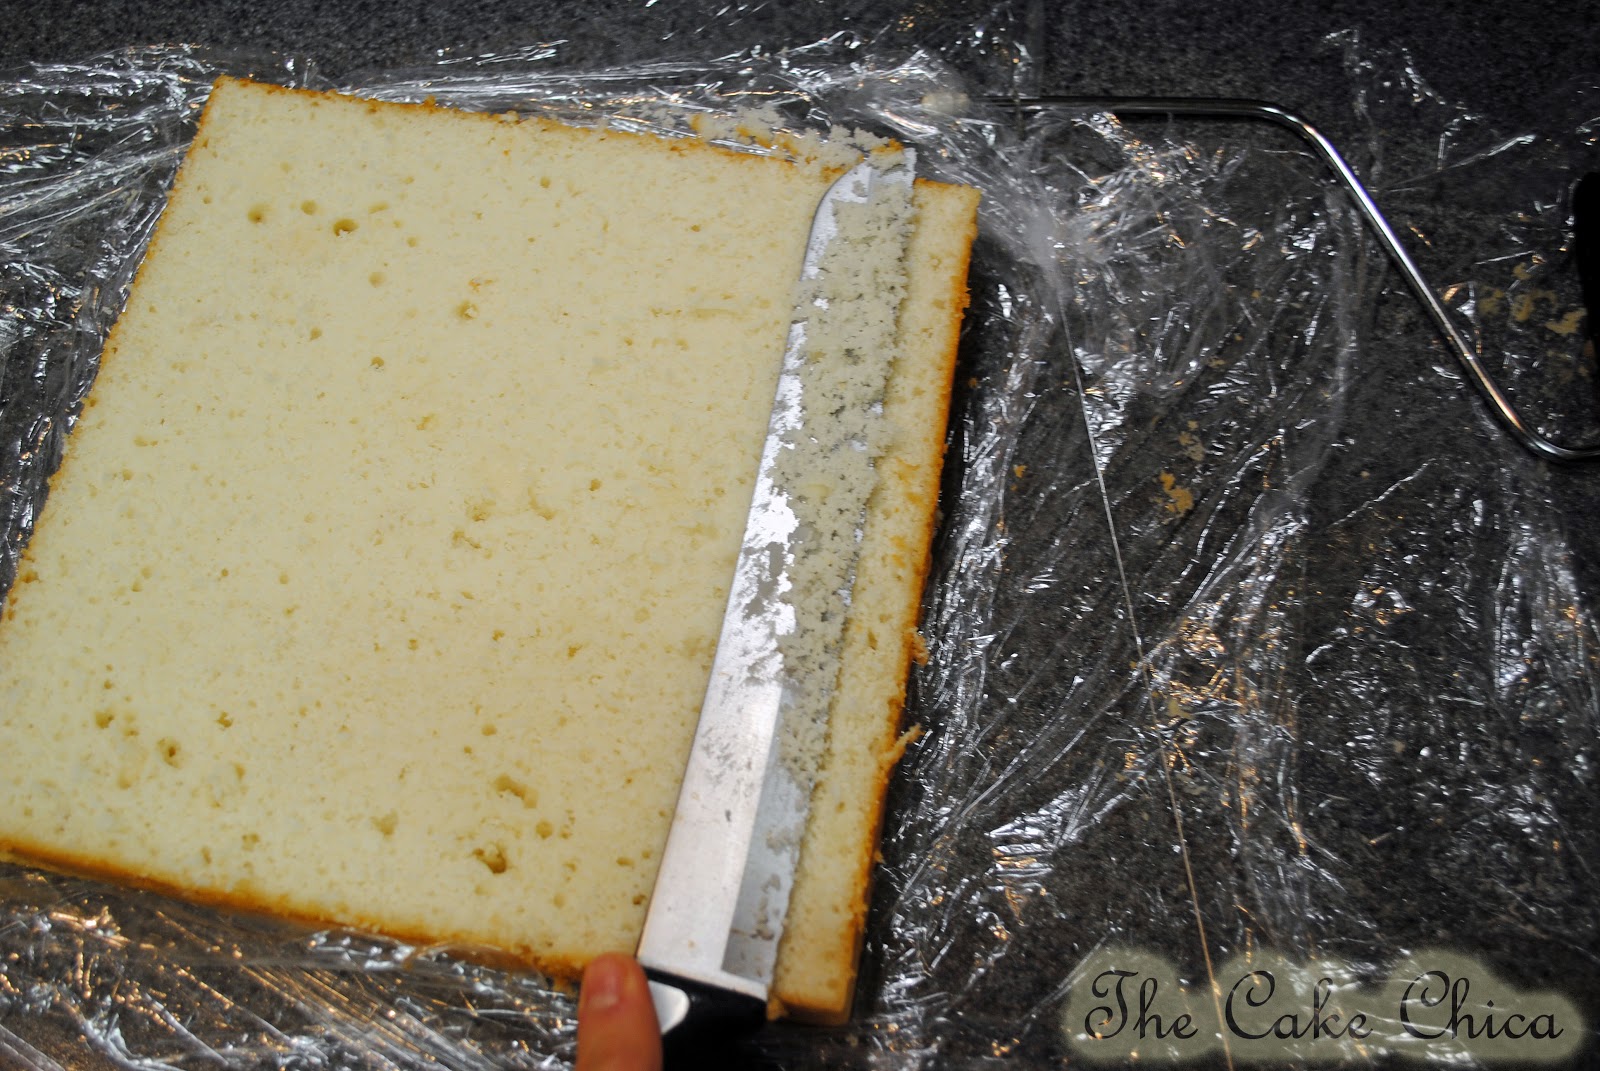
Now that I have the cakes baked, it's now time to trim them up. I usually take off the cake tops, or cake domes to make the cakes nice and flat on top.
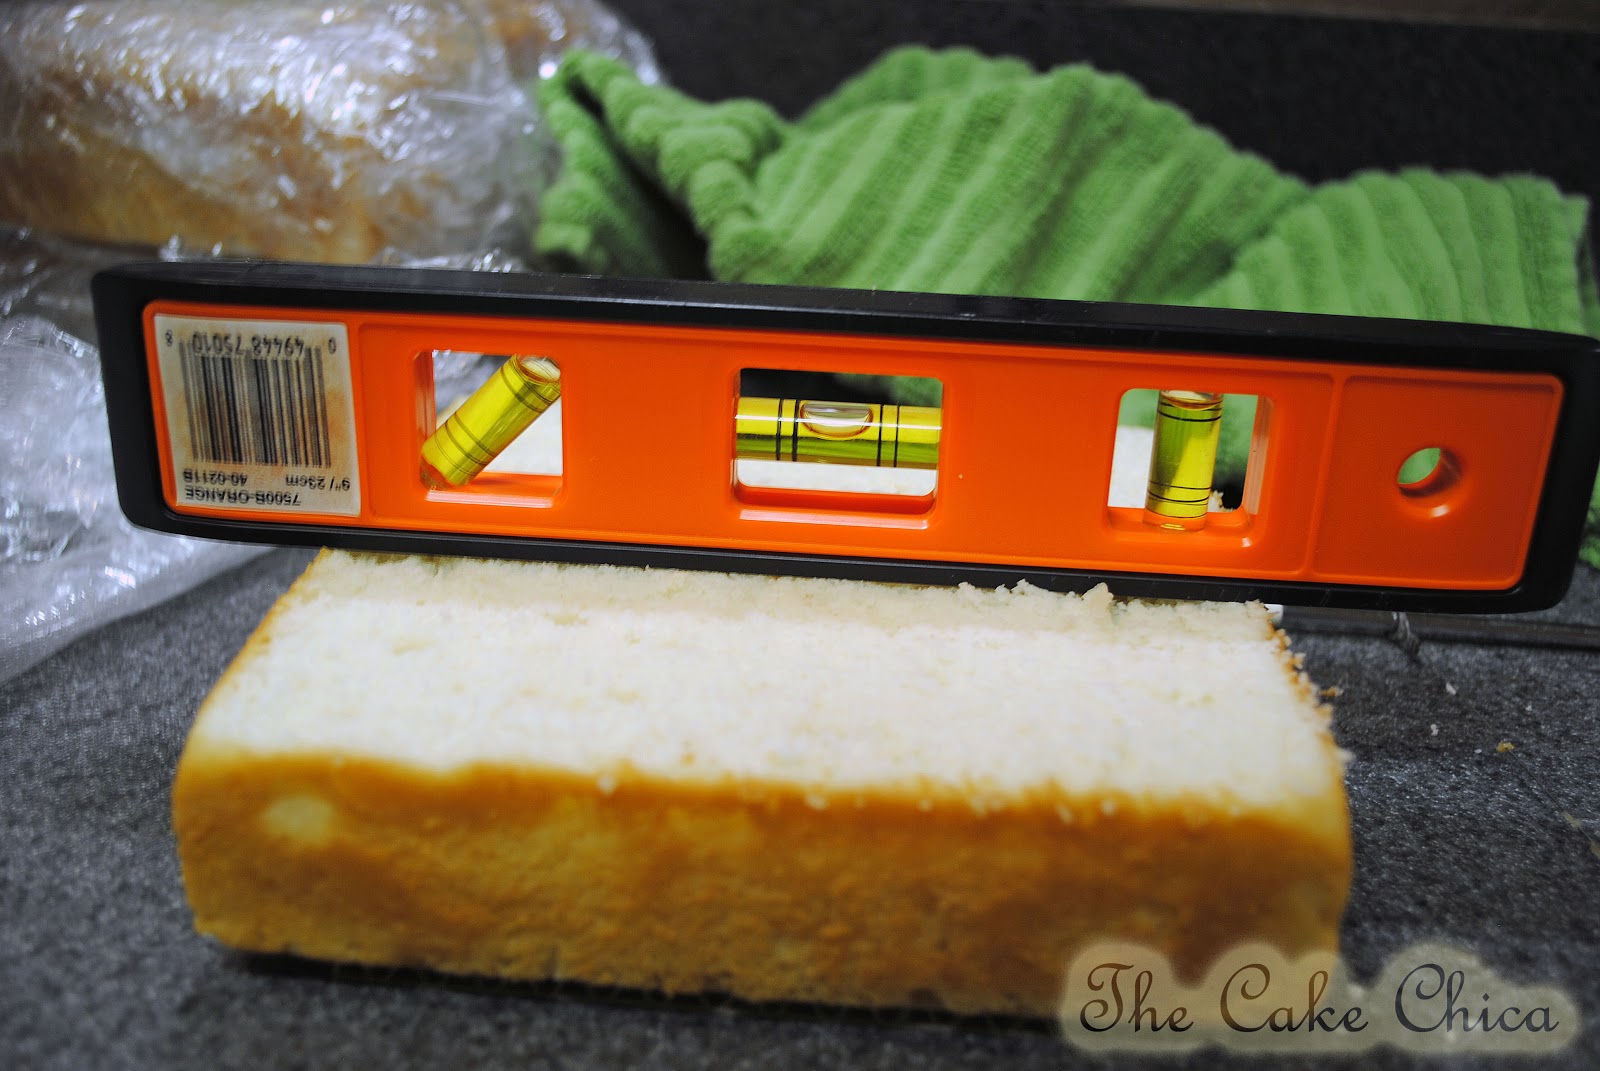
I have a cake cutter that helps take off the cake tops but it doesn't always get it even so sometimes I will have to go behind it and level it myself.

I'll try to get it as level as I can.

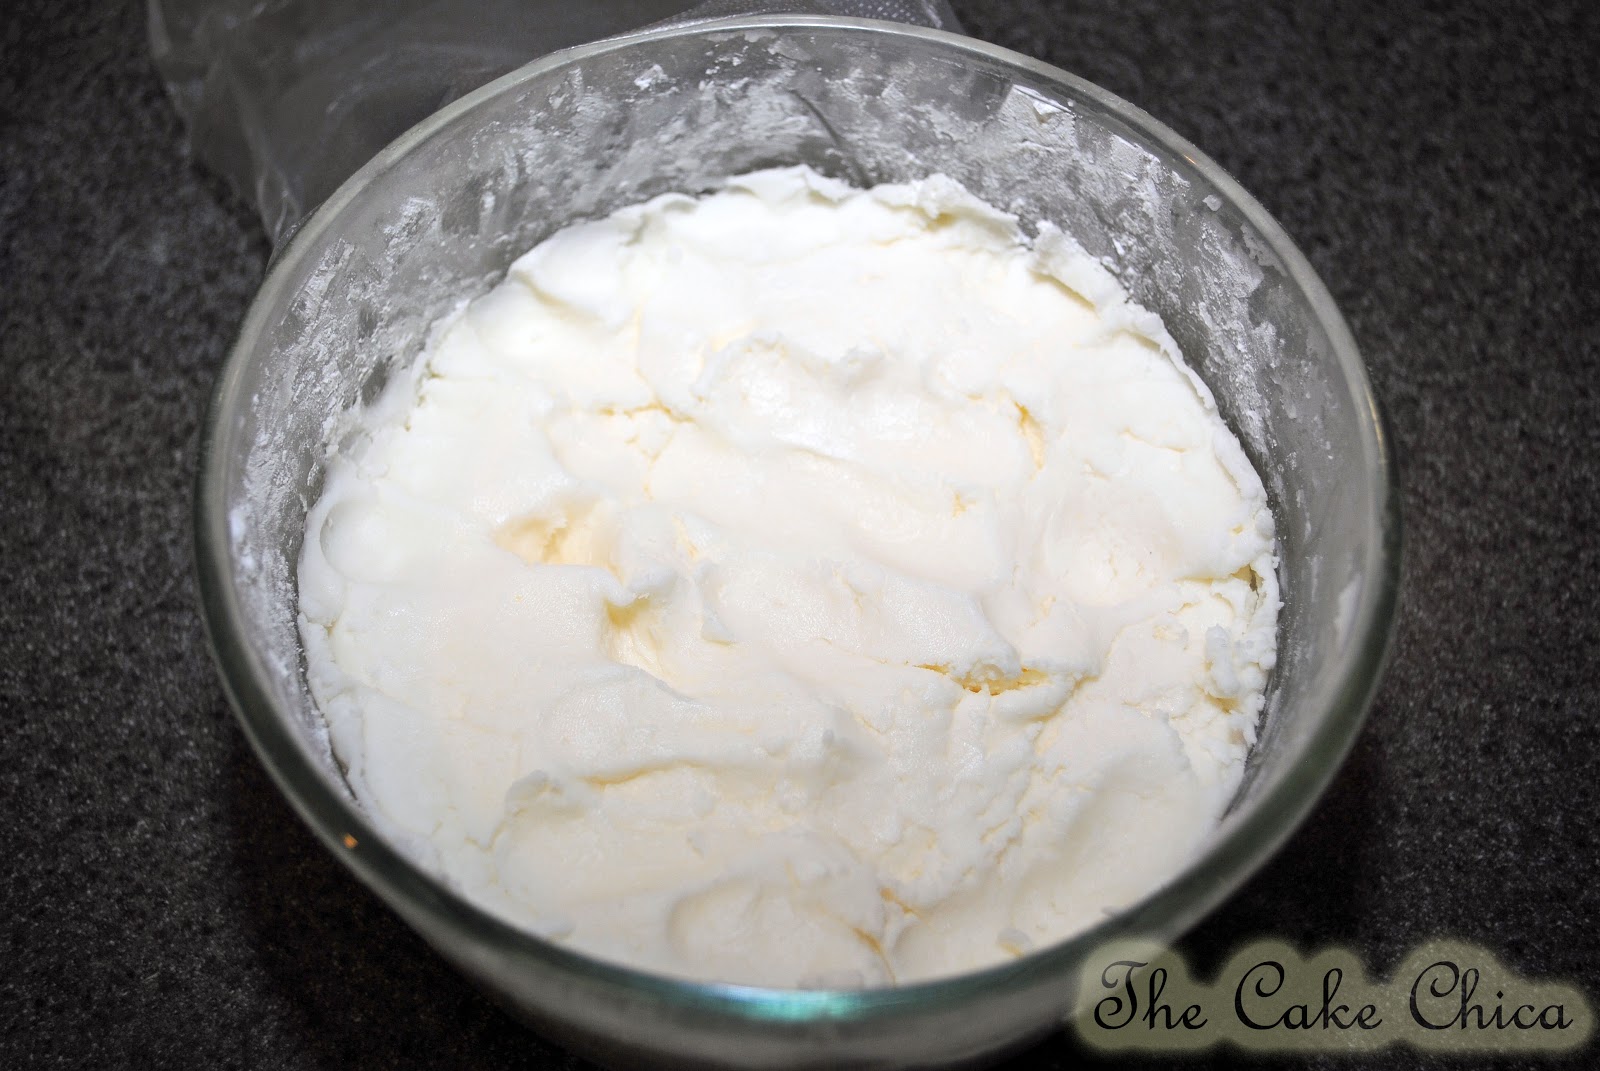
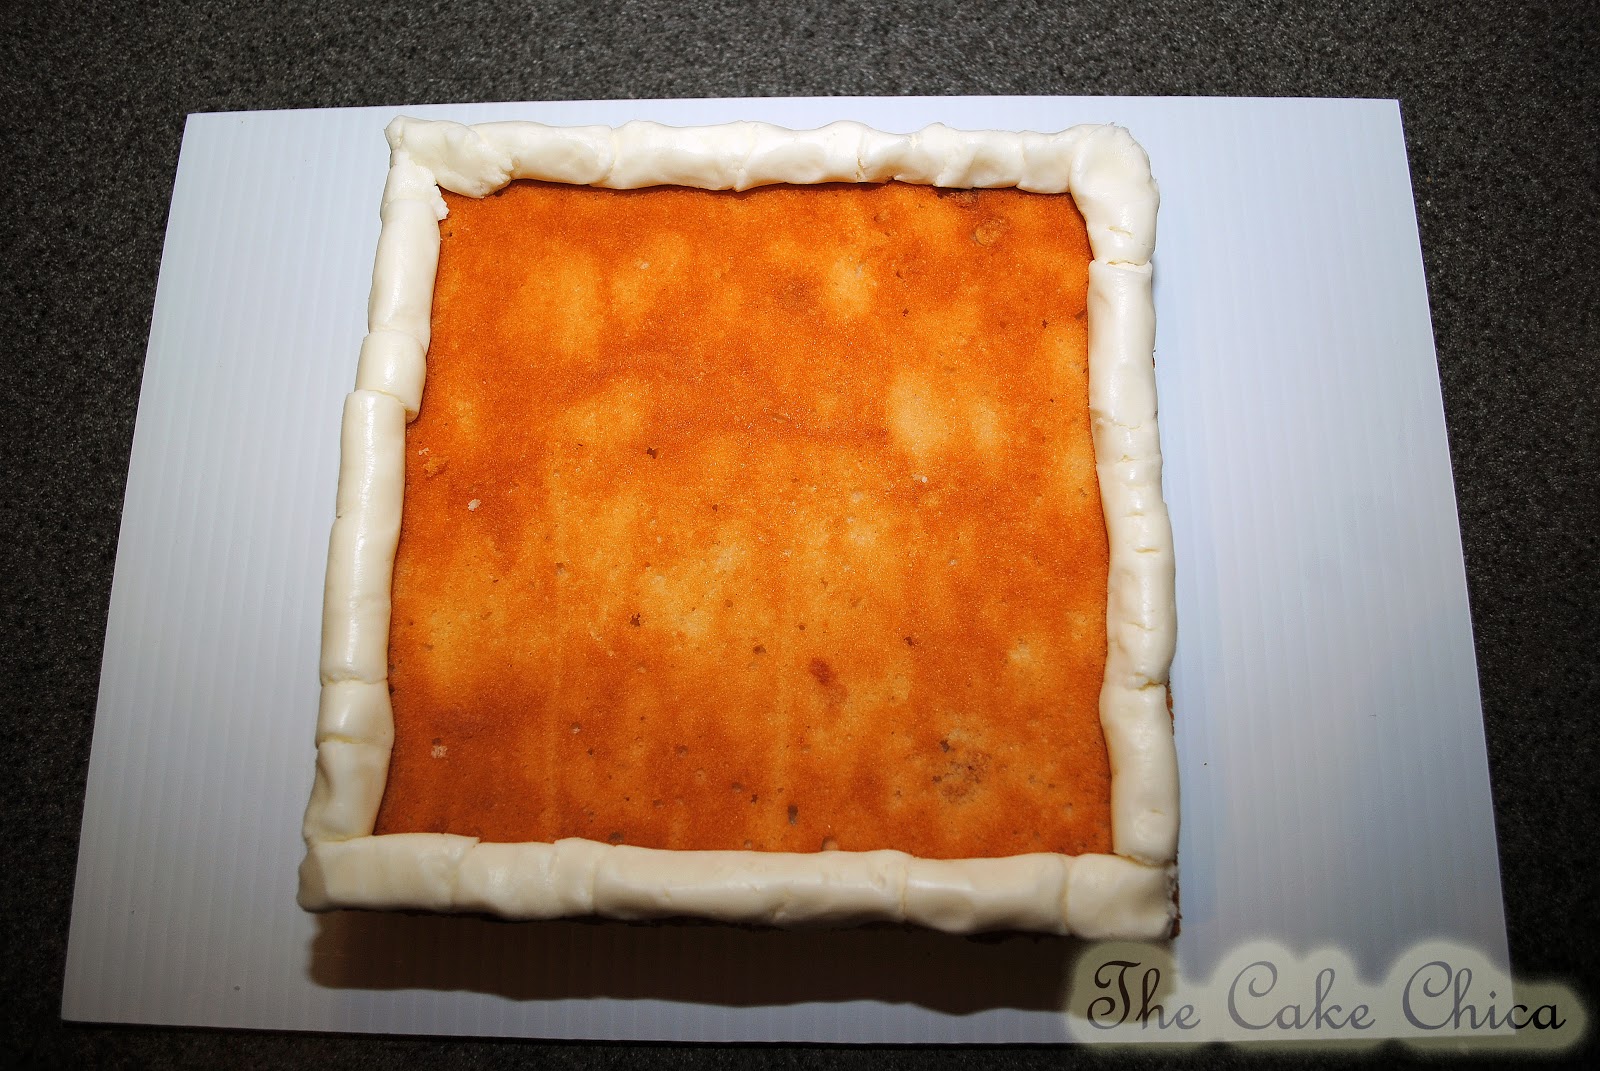
Once I have all my cakes level I prepare to fill my cakes. I use a super thick buttercream dam to hold my filling in. To do this I add a lot of cornstarch to make it more of a putty like consistency.
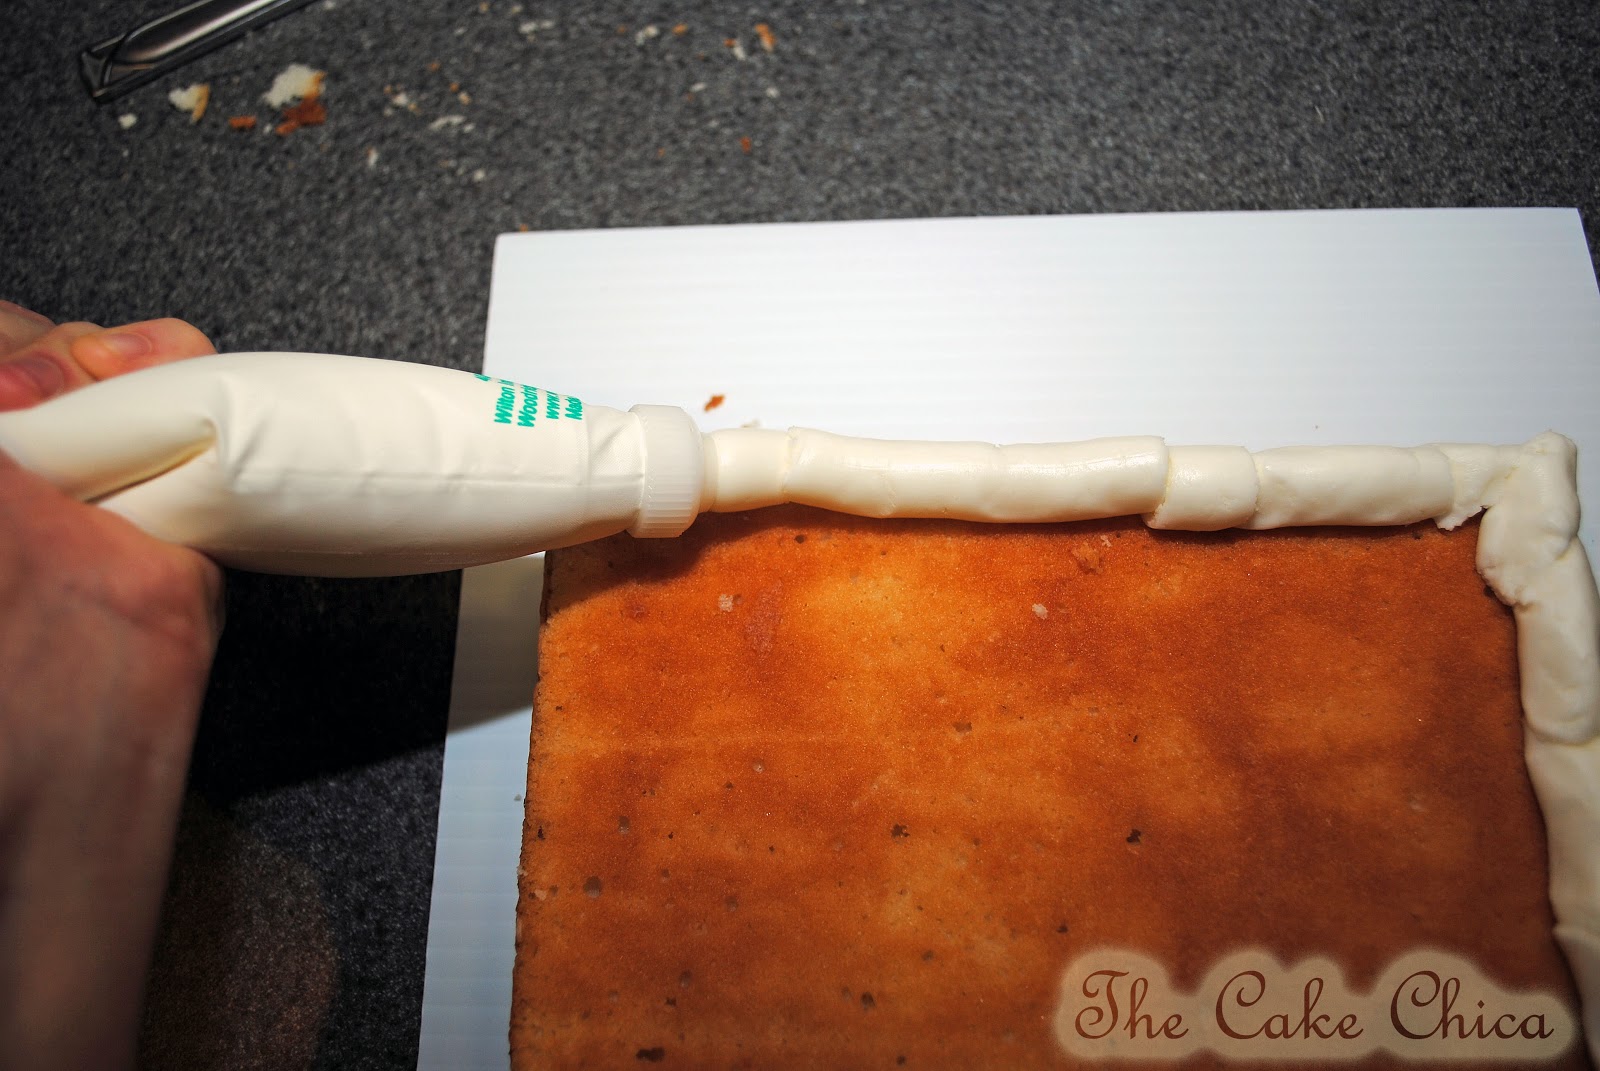
I use a piping bag to pipe out the stiffened buttercream.
For square cakes I make sure I get the buttercream at the very edge of the cakes. The corners have a tendency to slope down and create a droopy effect on the final out come of the cake and I don't like that so I make sure the corners are full of buttercream.
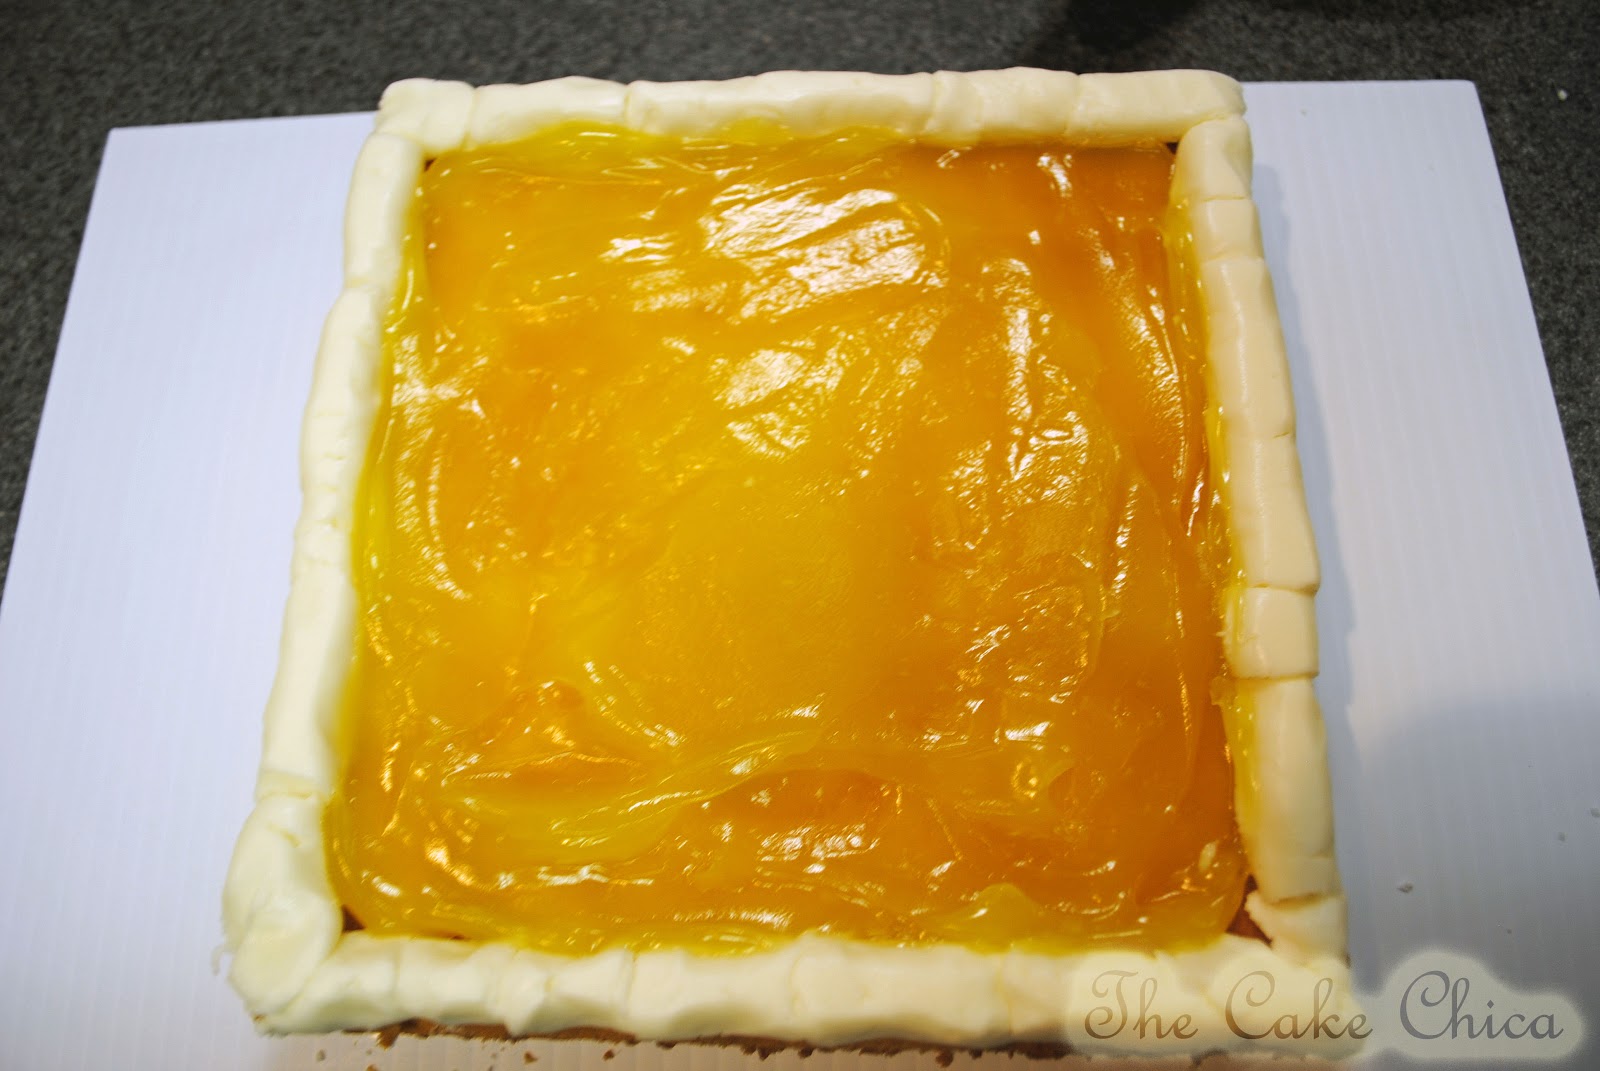
Once my buttercream dam is up I pour in my filling. Lemon this time.( I also made a mental note that I could have put a little more filling in so I will remember that next time. )
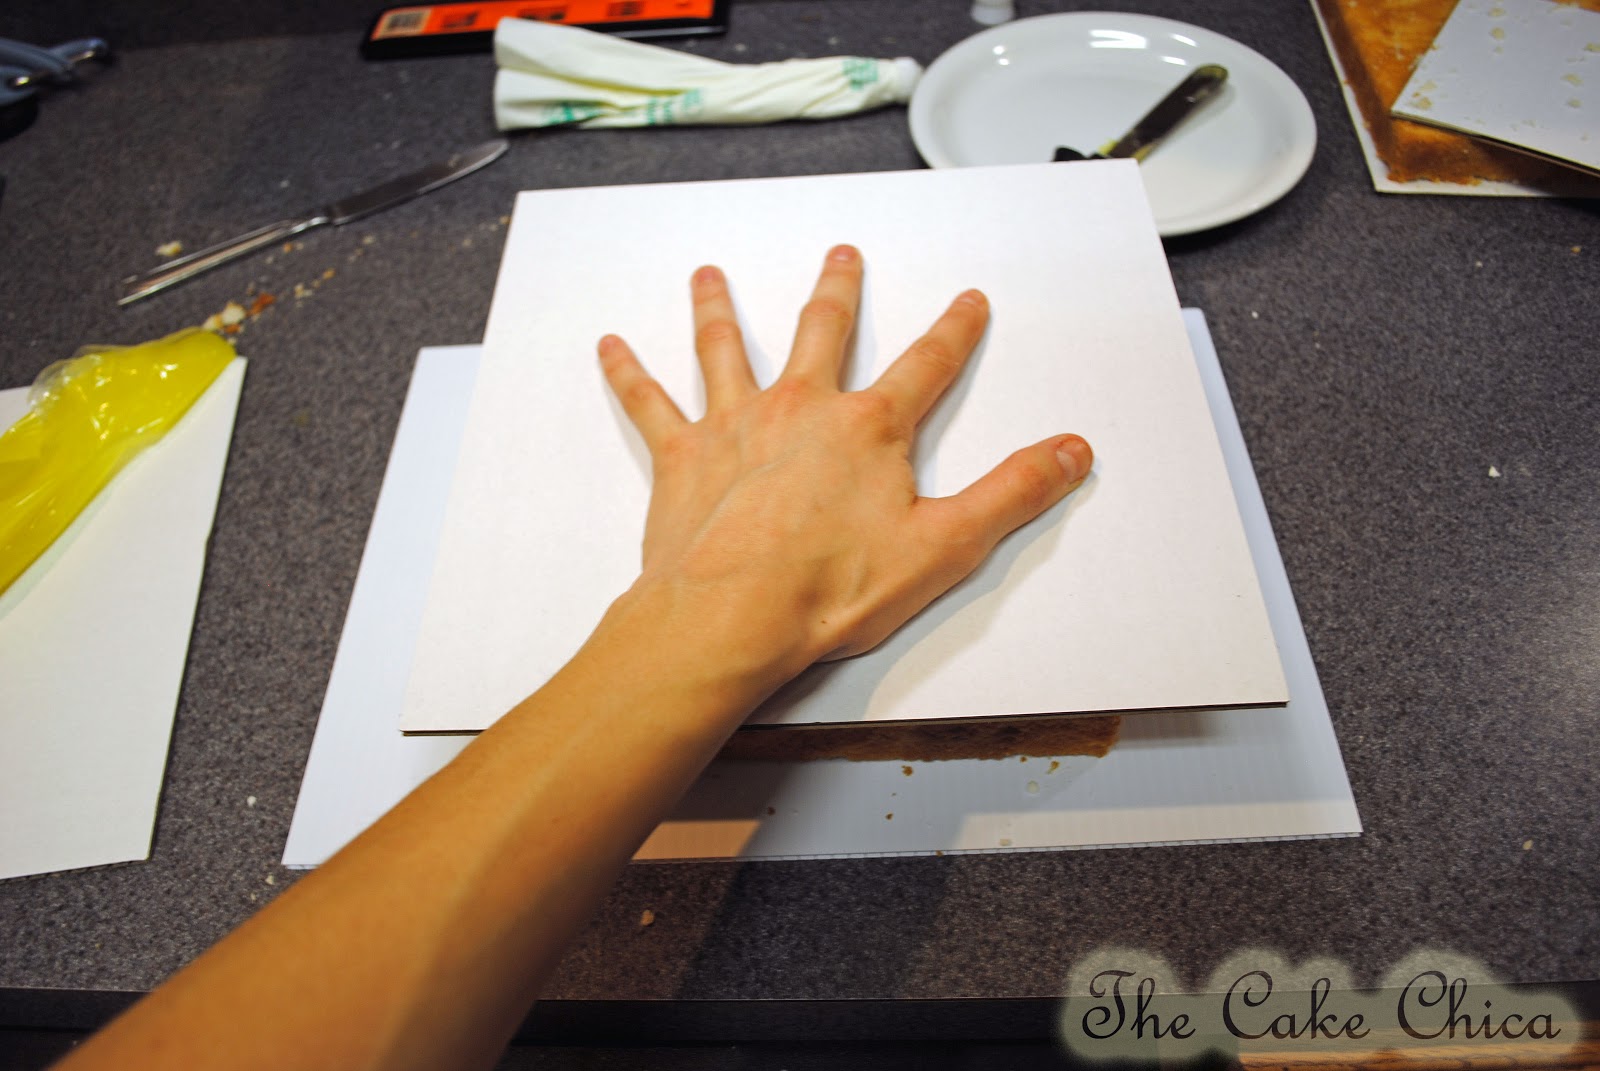
From here I will stack the cake layers pressing down just a little and repeating this process for all my cake layers.
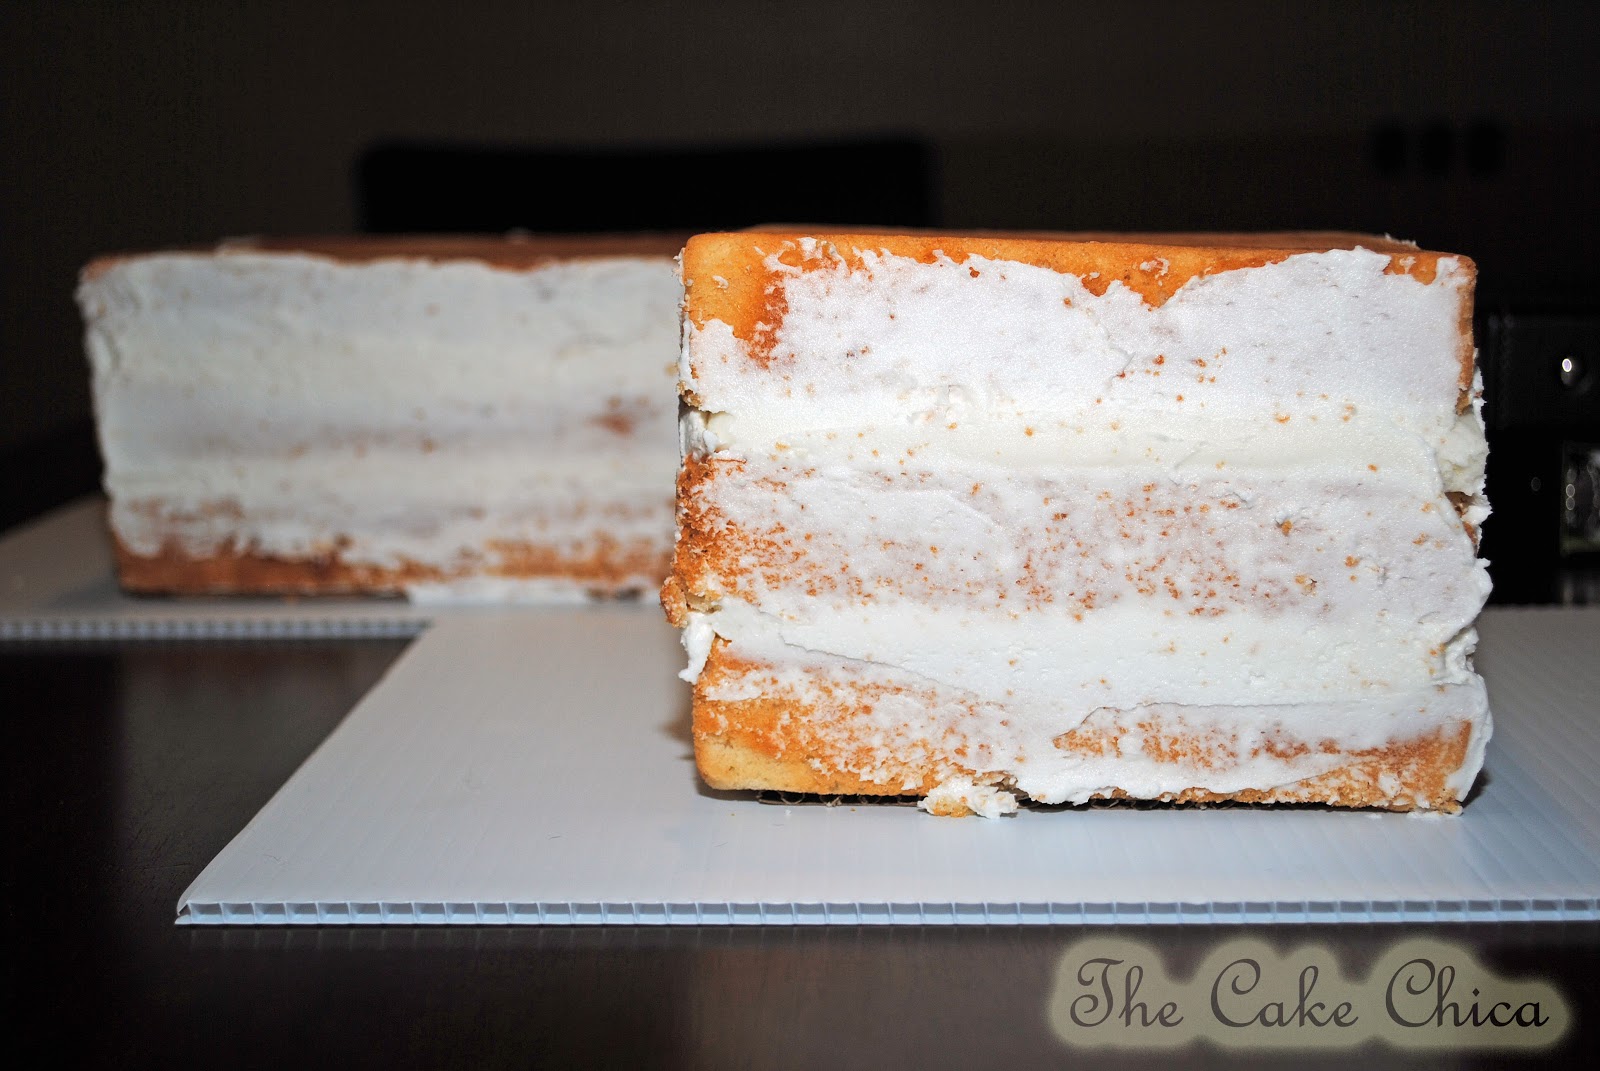
I spread some buttercream on the sides of the filling edges and let the cake set for a few hours to settle.
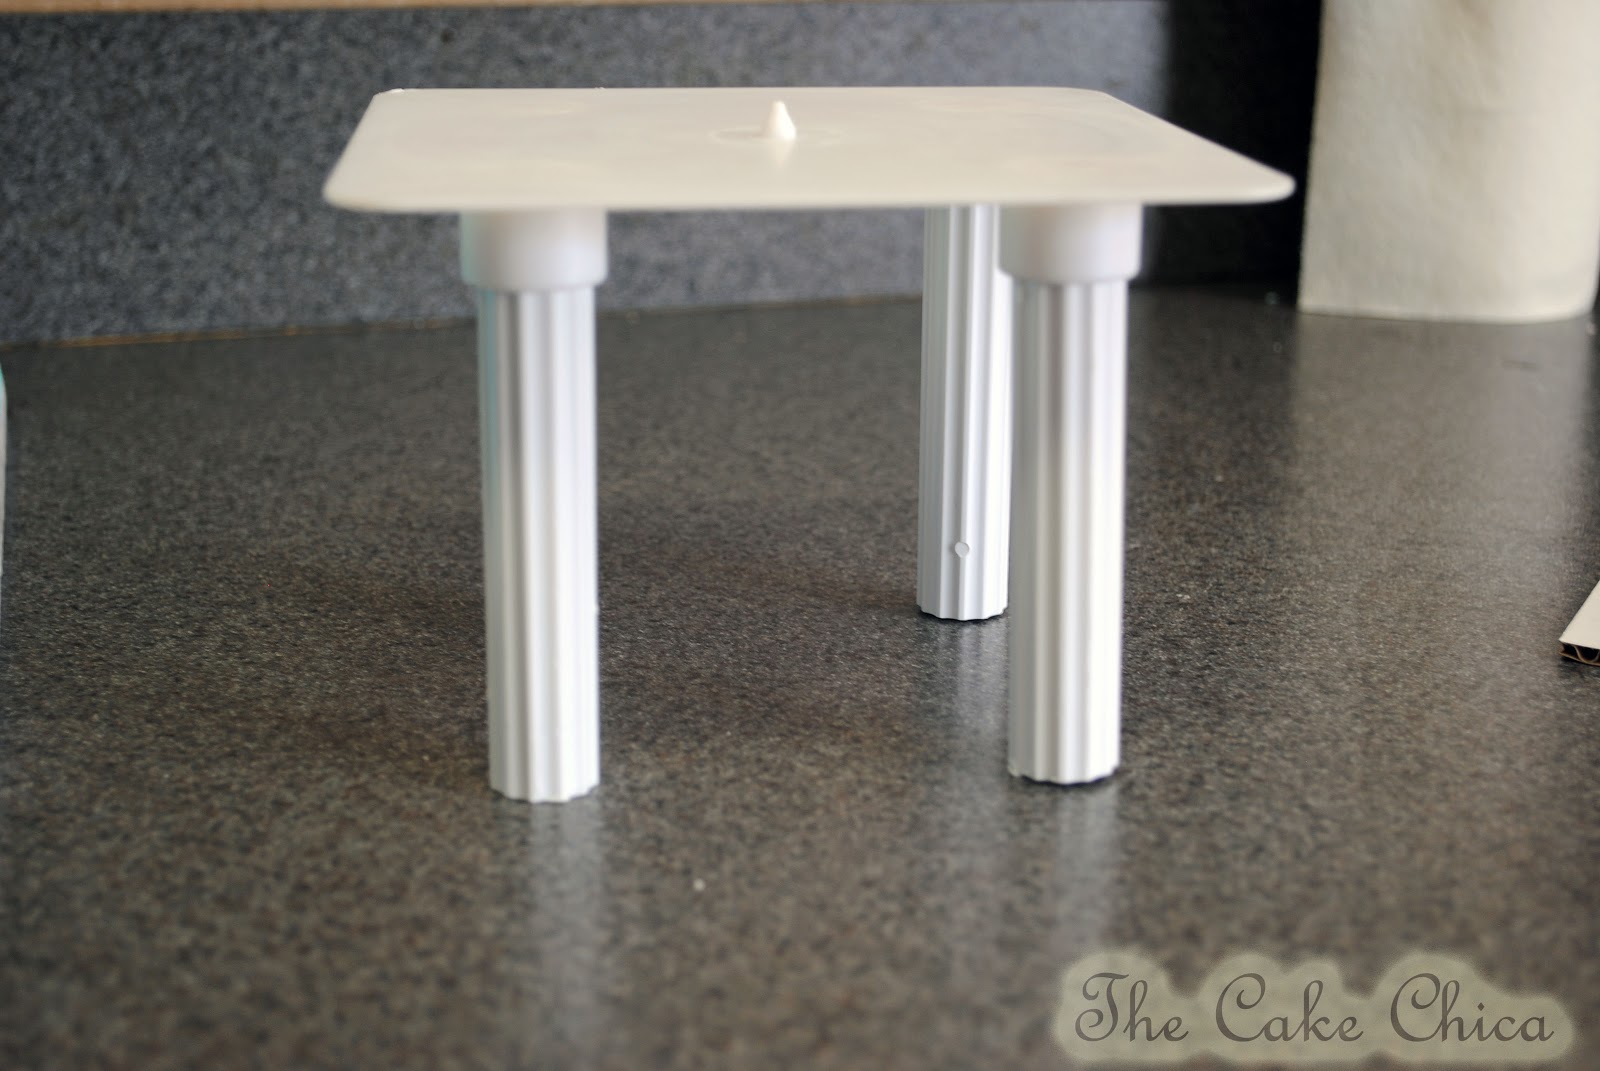
While the cakes set, I prepare my support system. I use a special support system called SPS. No stacked cakes leave my house without this support system!!! It's pretty much fool proof and this also allows my clients to come pick up their cake instead of me delivering it. This way customers can save a little money. This support system was made just for that purpose.
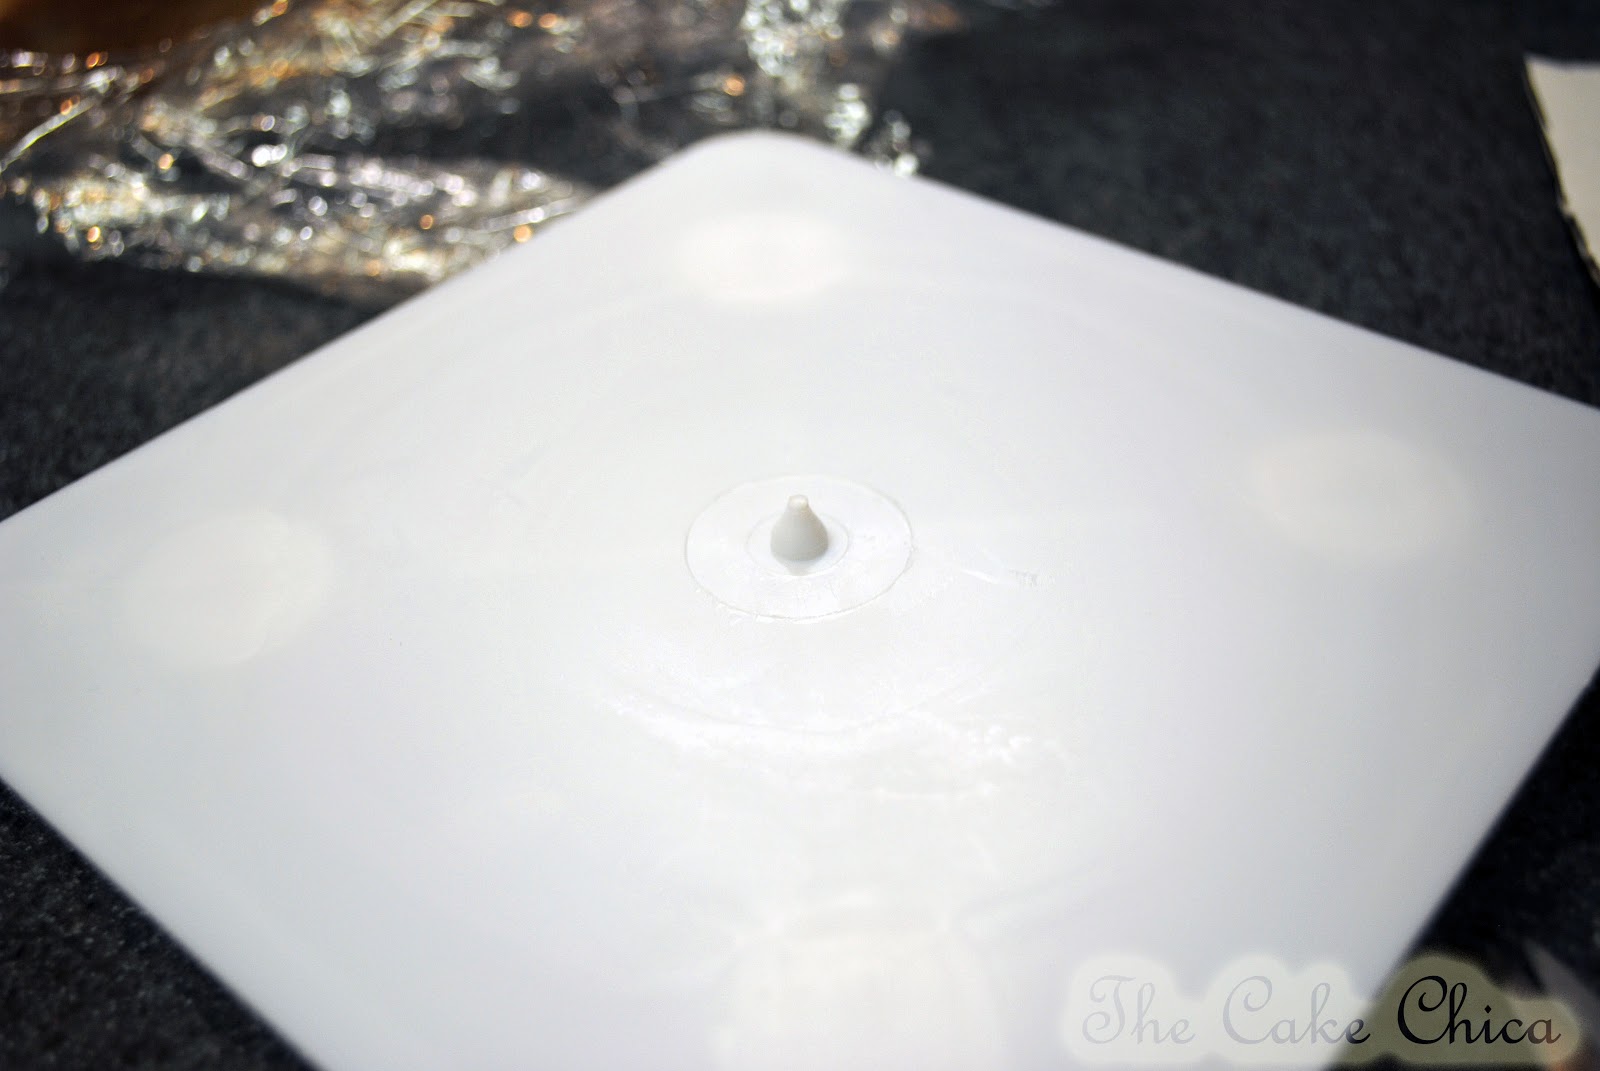
Since my cakes need to be stacked right on top of each other I first need to take off those little rings on the back side of the cake plate.
Now that I have those off I can turn the cake plate over and continue getting the support system ready.
The notch on the top of the cake plate helps the cake stay in place. No middle dowel required.
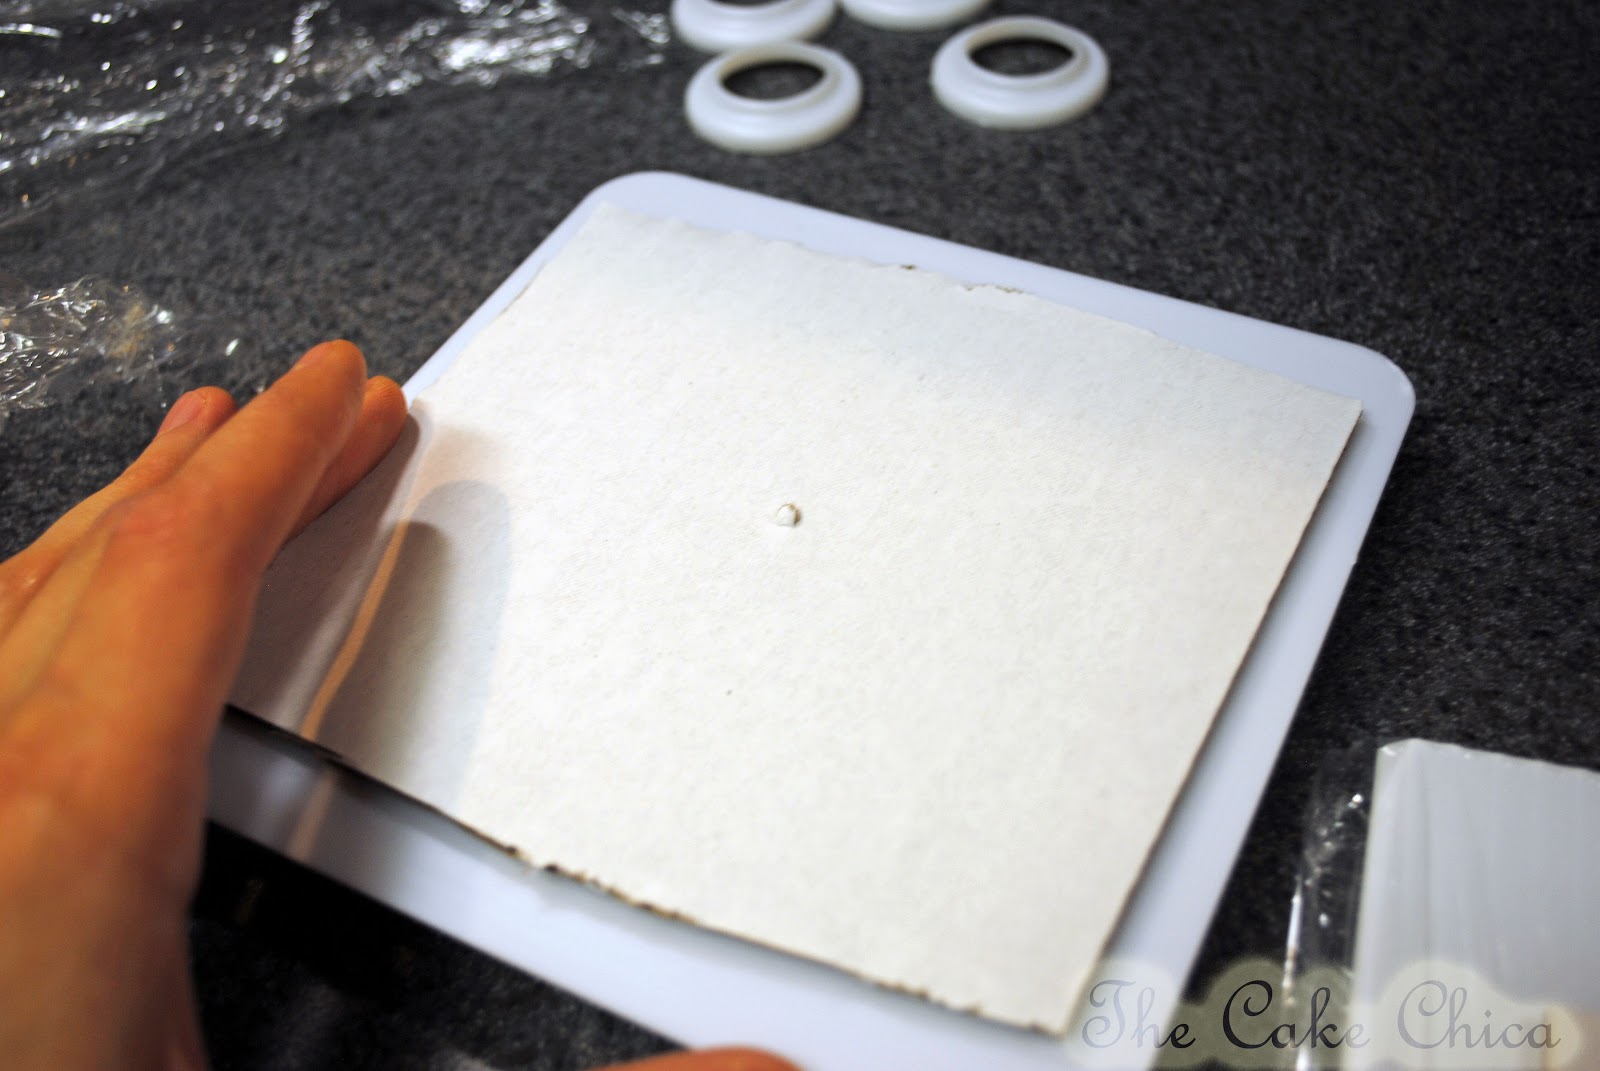
Just pop the cake board on top of the notch, and when it's time to stack the cake, I'll just place it on the preset hole. You'll also see I have trimmed my cake board. My cakes tend to shrink a bit. Sometimes I will have to cut the cake plate as well but I did not have to do that this time since the fondant covered the edges of the cake plate this time.
After the cakes have settled I then take a knife and even everything out. Everything has to be straight.
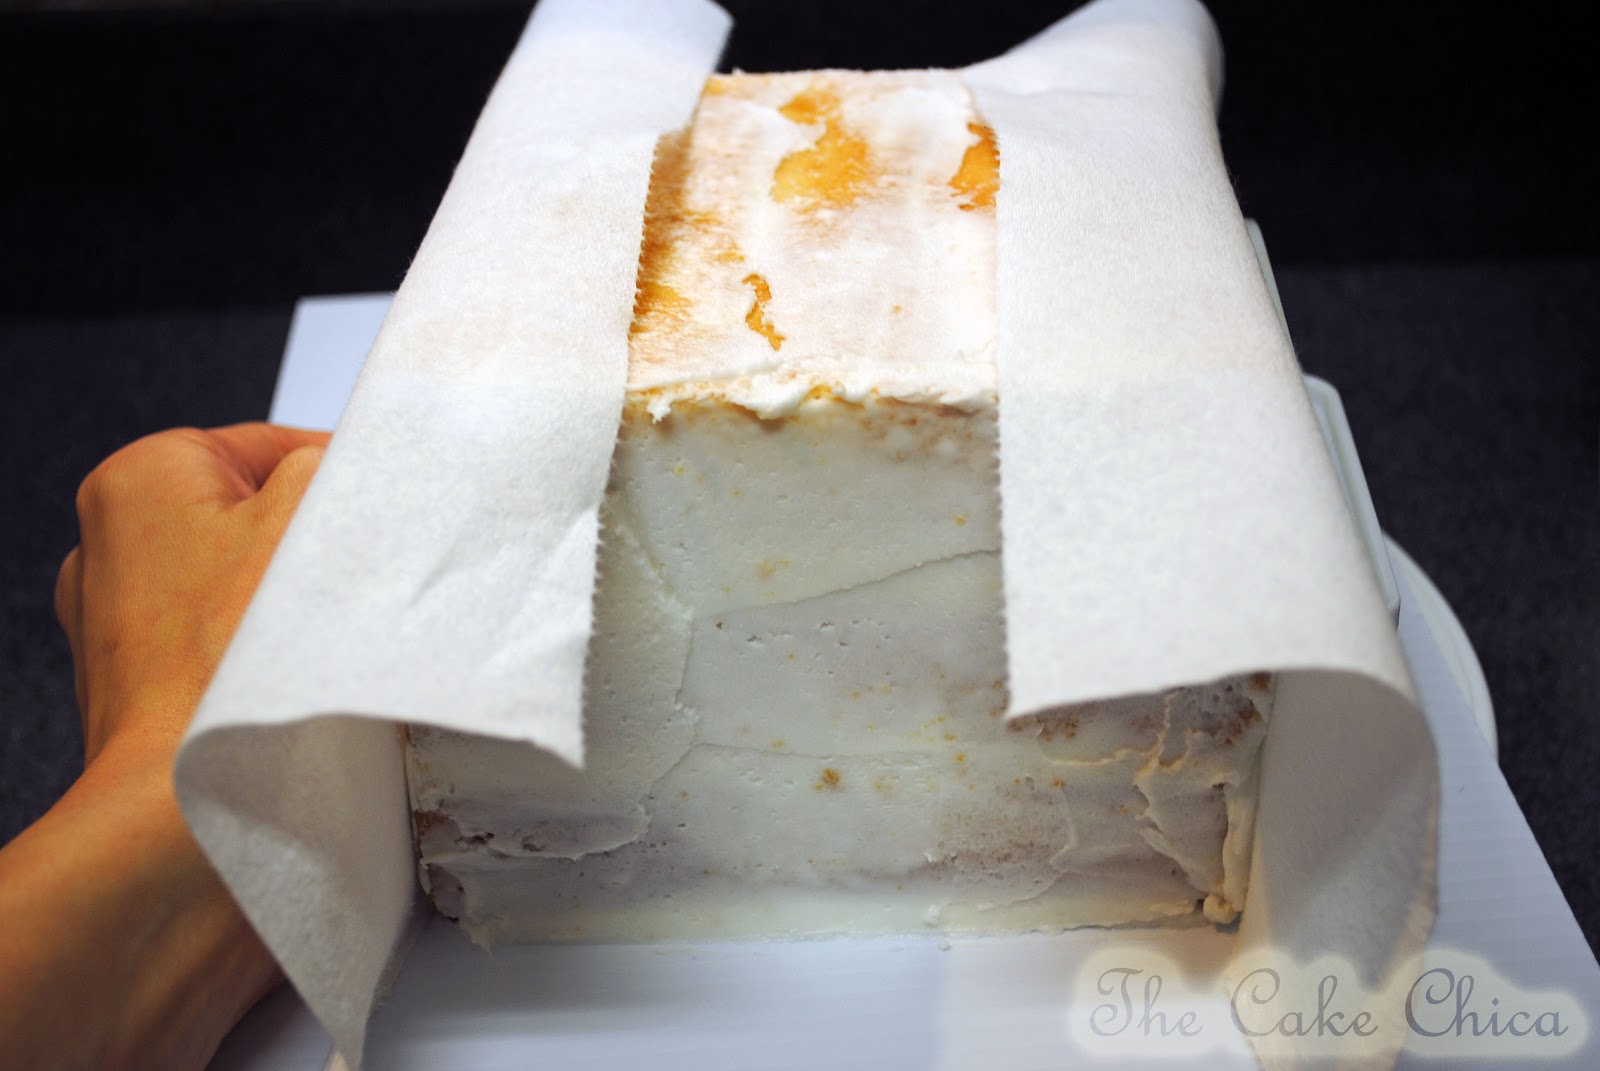
 From there it's time for the crumb coat. (which I didn't have enough buttercream to do it properly so I made another mental note for next time) Once the crumb coat has crusted I take my Viva paper towels and my fondant smoothers and I smooth out everything.
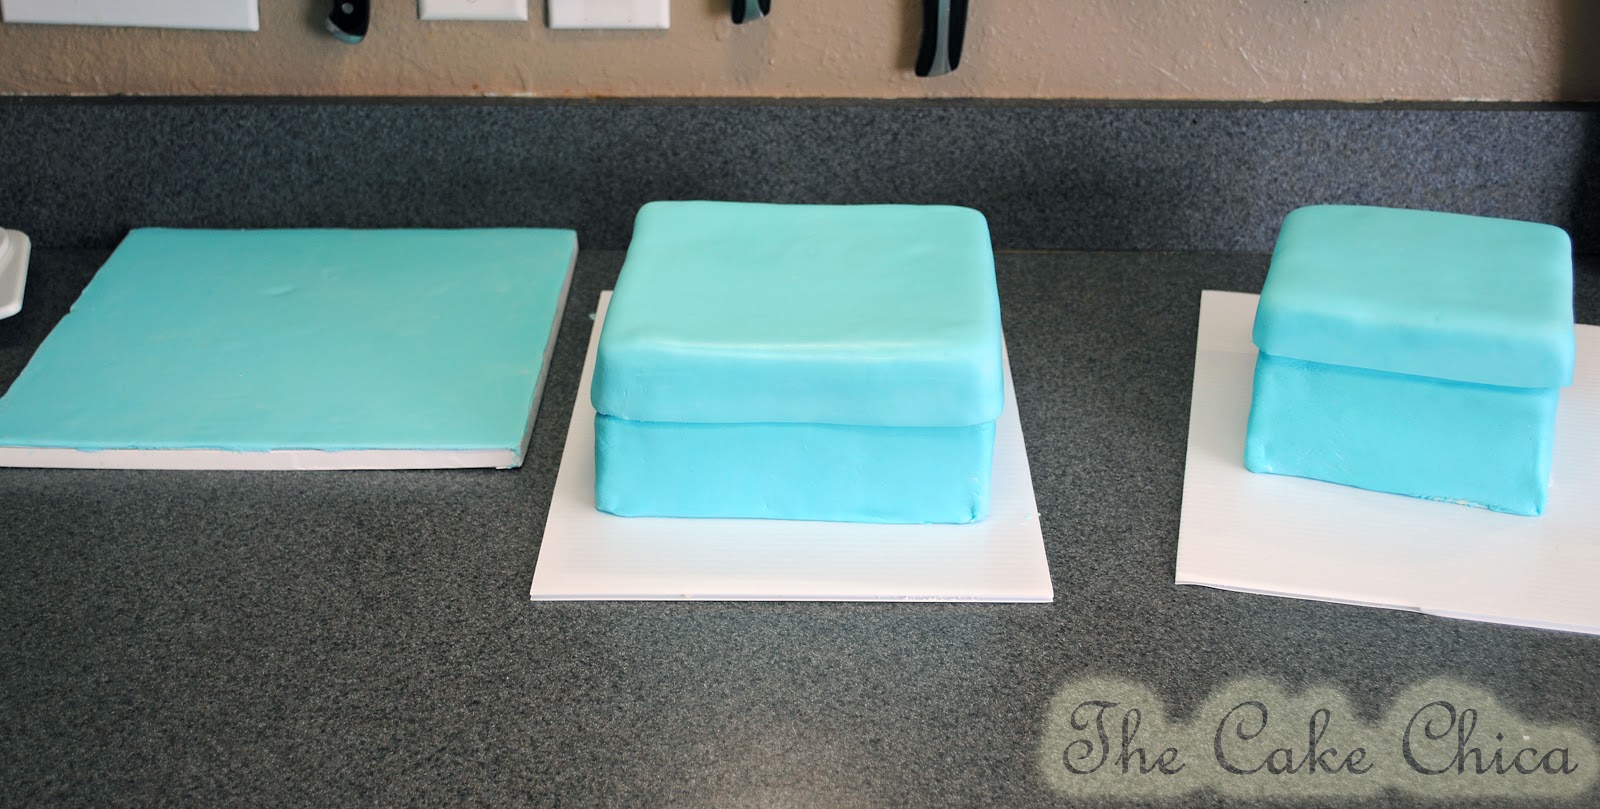
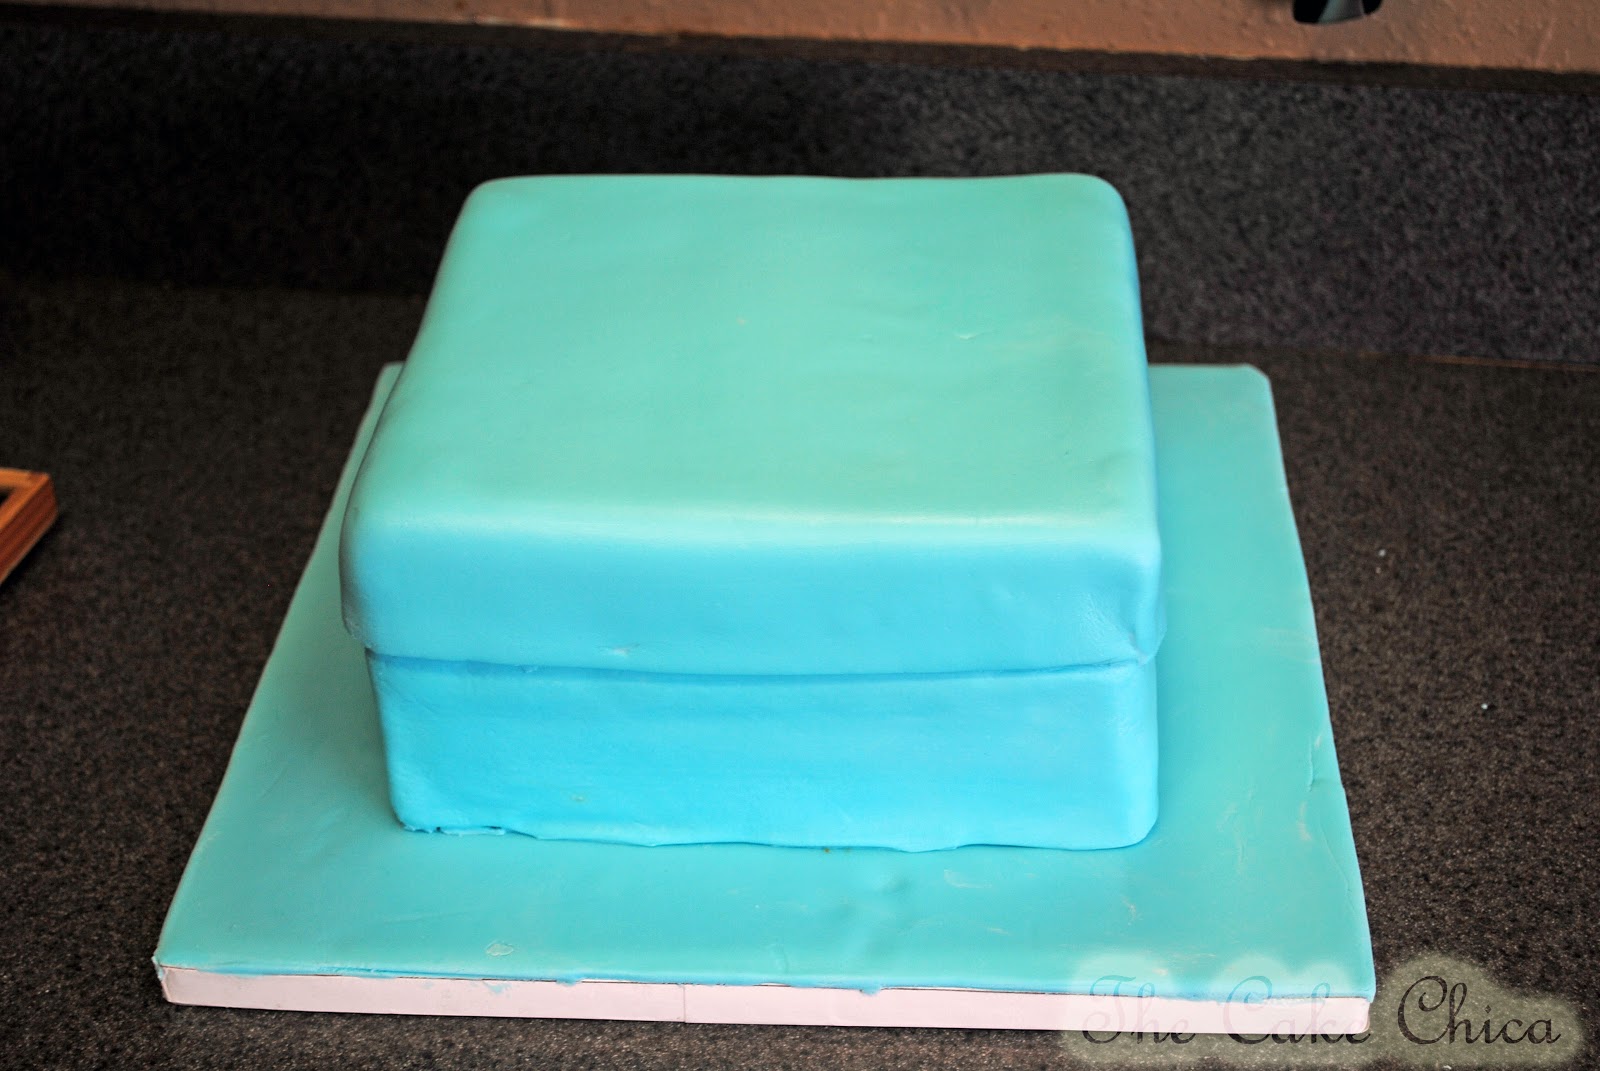
I set the crumb coated cakes in the refrigerator for about 8 minutes, just enough time to get the buttercream set so when I lay the fondant on top it would mess up the cake.
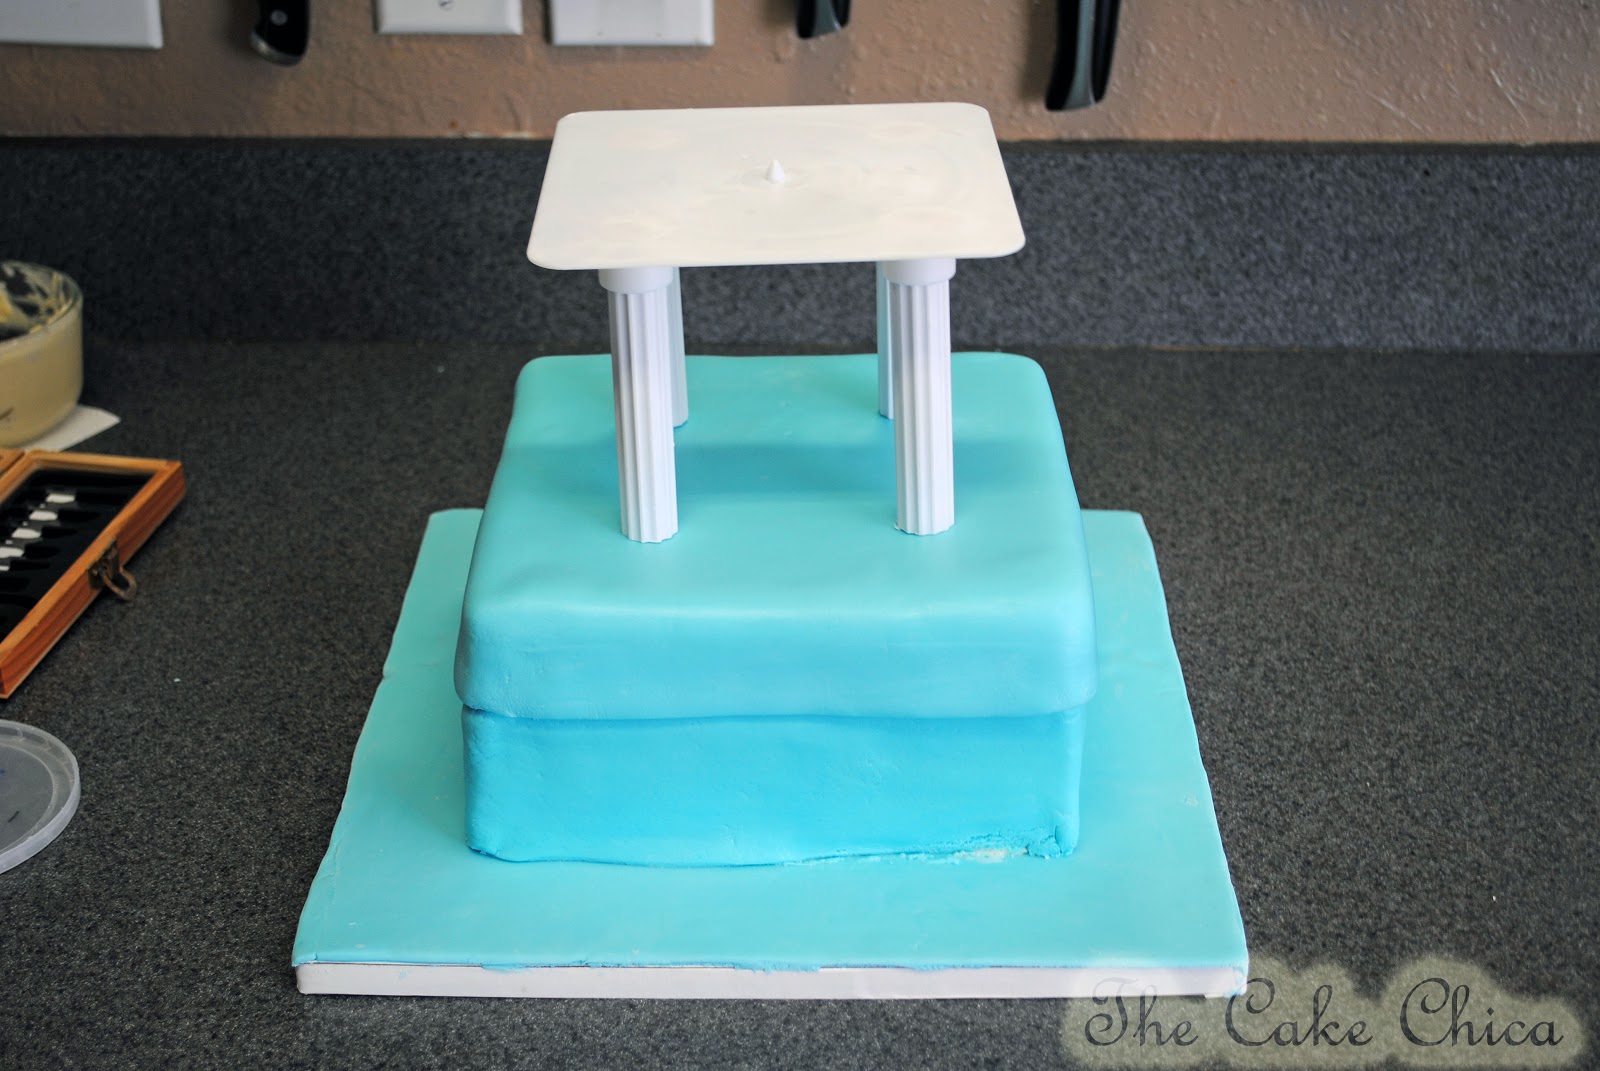
Now that all the cakes are covered, it's now time to stack.
I then have to measure to make sure the columns are the correct size so the cakes set flush against each other.
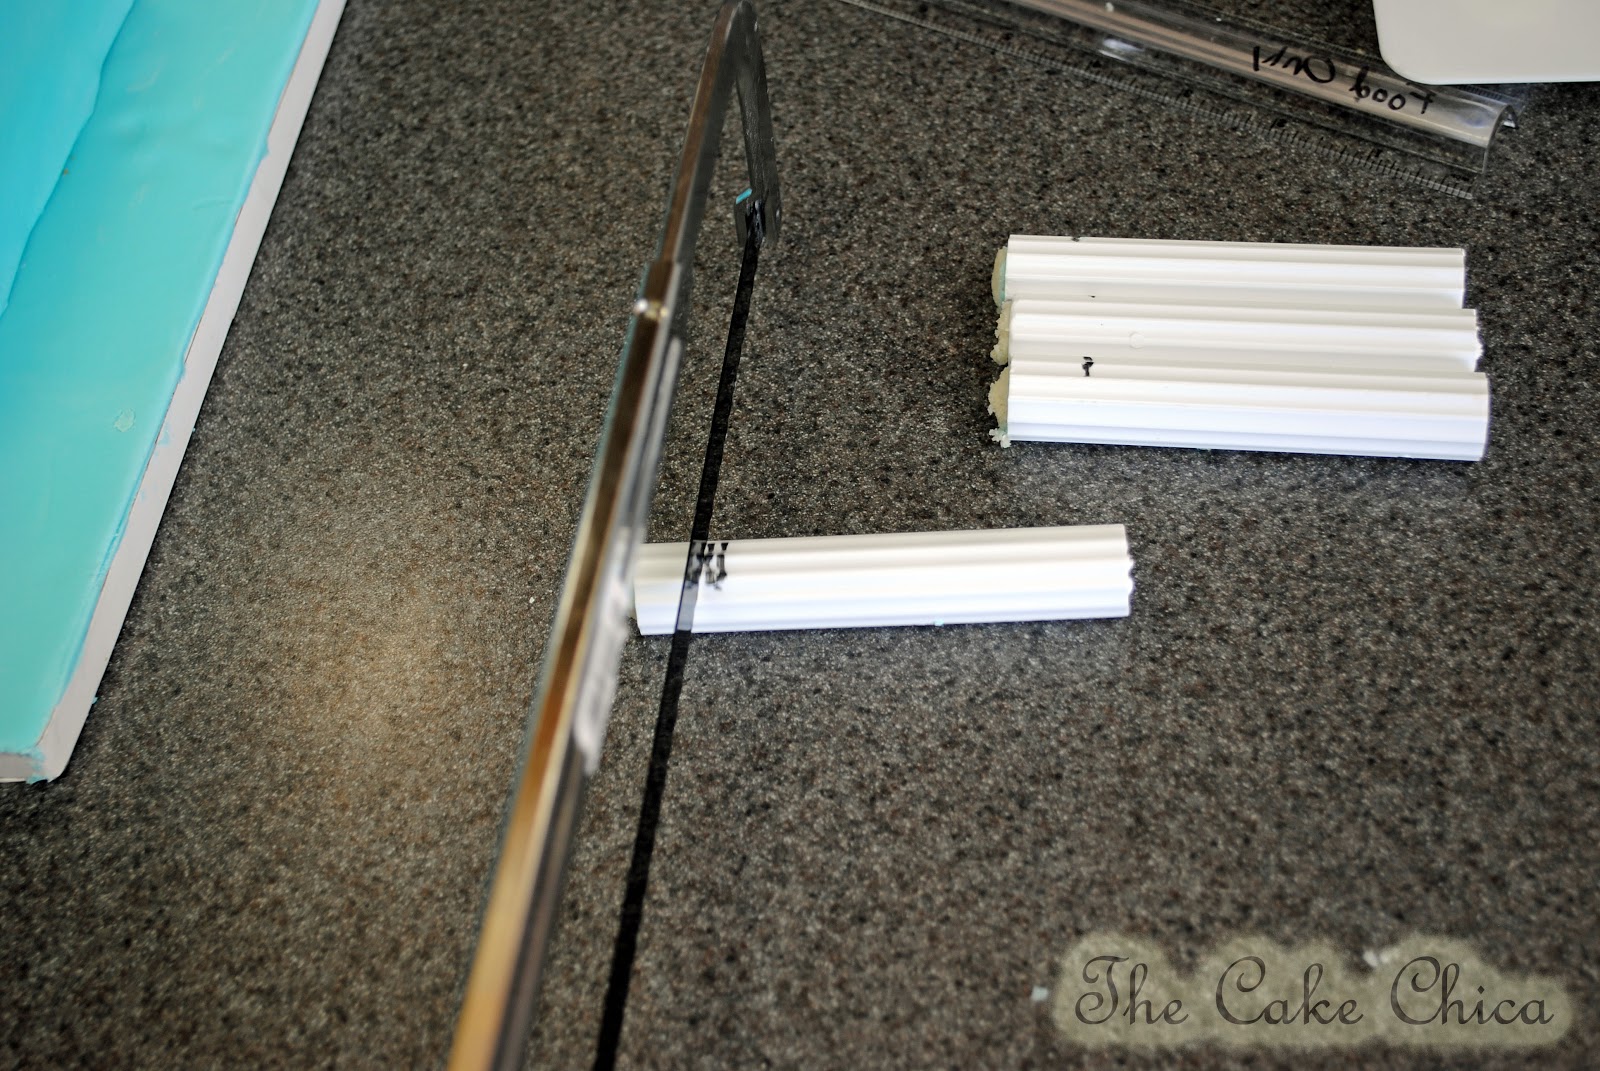
I just push down the columns and there was a gap so that means it's time to get the hack saw out. I take a measurement and mark my columns to get them ready to saw.
This takes a little more work then cutting wooden dowels, but trust me, this cake will go nowhere when it's all set and done. I like not having to worry if a cake will fall because of the type of supports I use.
Once everything is all measured out and ready to go I melt a little white chocolate and spread a little on the cake board for my cake to attach to.
From here I stack the cakes on top of each other and then the fun stuff comes. DECORATING!!!
But that's for another blog post.
Thanks for checking out my blog. If you like what you see please follow. Thanks!

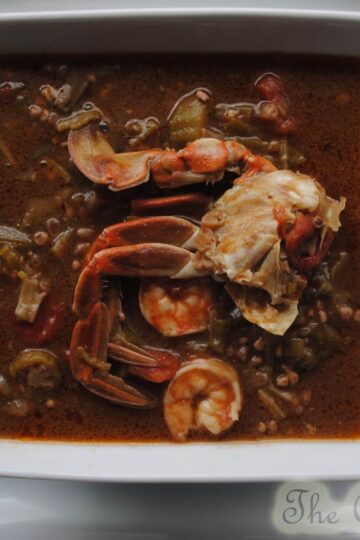
Seafood Okra Gumbo

December 9, 2012

Seafood Okra Gumbo
I had been waiting for a cold day to make this. But here in Houston Texas we don’t get many days like that. It also has been unseasonably warm down here even for Houston so it was now or never. I had been dying to make this gumbo ever since I picked up this cook book Crescent City Collection: A Taste of New Orleans when my husband and I visited New Orleans just a few months ago.
My husband had to go to a conference for work in New Orleans and I was happy to catch some R&R while he was at work. I think my favorite thing about New Orleans was the food! The gumbo here was excellent, anywhere you go its excellent! It’s nothing like “gumbo” here at say Pappadeaux’s and other restaurants that serve gumbo. I learned from our culinary tour we took in New Orleans that gumbo isn’t even supposed to be spicy. I think I have officially turned into a gumbo snob.  I just won’t order it unless I am in Louisiana and if I am not, then I’ll just have to make it myself. And that’s just what I did here. Actually it was my husband that made it, but anyway it was good!
I have never cared for okra in my gumbo, I just never cared for all the slime that it produces but this recipe has you cook all that slime out before adding it to the gumbo and that really made all the difference. I thought this recipe could have used more seafood so next time I’ll add 1 more pound of shrimp and a jar of lump crab meat.
Seafood Okra Gumbo

Seafood Okra Gumbo

Yield: 6
No Ratings

Ingredients

  • 3 pounds fresh or frozen uncooked head-on shrimp
  • 2 quarts water
  • 2 small fresh or frozen crabs
  • 1 quart water
  • 2 tablespoons vegetable oil
  • 1 quart fresh or frozen okra, cut into ½ inch slices
  • 2/3 cup vegetable oil
  • ½ cup flour
  • 2 cups chopped onions
  • 1 cup chopped green bell pepper
  • ½ cup chopped celery
  • 1 teaspoon minced garlic
  • 1 16 oz. can diced tomatoes
  • 2 bay leaves
  • 2 teaspoons salt, or to taste
  • ½ teaspoon black pepper, or to taste
  • ½ teaspoon white pepper, or to taste
  • ¼ teaspoon cayenne pepper, or to taste
  • 1 pound lump crab meat

Instructions

  1. Peel, devein and remove heads from the shrimp, reserving shells and heads. Cover and chill the shrimp. Rinse the shells and heads and place in a nonreactive saucepan with 2 quarts water. Bring to a boil, reduce the heat and simmer for 30 to 45 minutes. Strain the stock and reserve. Discard shells and heads. Rinse the crabs well and place in a nonreactive saucepan with 1 quart water. Bring to a boil, reduce the heat and simmer for 20-30 minutes. Strain, and reserve stock and crabs. When the crabs are cool enough to handle, snap off both claws and break the body in half. Set aside.
  2. Heat 2 tablespoons oil in a heavy skillet over medium high heat. Add the okra and sauté for 10-20 minutes or until all “stringiness” is gone. Heat 2/3 cup oil in a 8 quart heavy saucepan over medium high heat. Add the flour and stir until the roux is dark brown in color.
  3. Add the onions, bell pepper, celery, and garlic and sauté until the vegetables are tender. Allow the vegetables to stick to the bottom of the saucepan occasionally so that they caramelize. Add the bay leaves, tomatoes, black pepper and white pepper and cayenne pepper. Saute for 10 minutes , allowing the tomatoes to stick to the bottom of the pan occasionally so that they caramelize. Add the cooked okra and cook for 10 minutes, stirring constantly. Add the crab and half the shrimp stock. Bring the mixture to a boil, stirring constantly. Reduce the heat, cover partially and simmer for 30 minutes, stirring occasionally.
  4. Add additional shrimp stock if the gumbo is too thick. Season with salt and pepper. Add the broken crabs and simmer for 10 minutes. Add the peeled shrimp and lump crab meat. Return to a boil, reduce the heat and simmer for 5 minutes or until the shrimp are firm and pink. Discard the bay leaves. Serve over rice in large bowls.

Notes

As with most gumbos, this one also benefits from being made early in the day or the day before to allow time for the flavors to blend. Cover and chill. Reheat gently before serving.

Nutrition Information:
Serving Size: 1
Amount Per Serving: Calories: 748Total Fat: 36gSaturated Fat: 4gCholesterol: 520mgSodium: 1522mgCarbohydrates: 32gFiber: 6gSugar: 11gProtein: 67g

Did you make this recipe?

Tag @thecakechica1 on Instagram and hashtag #thecakechica1

© Mary
Category: Main

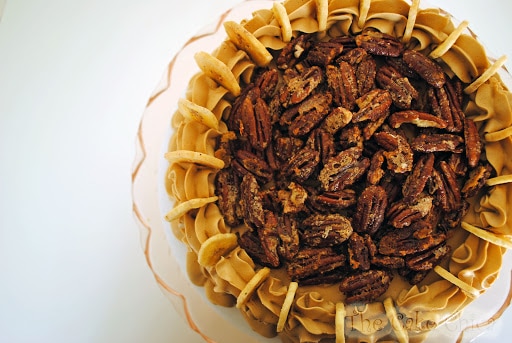
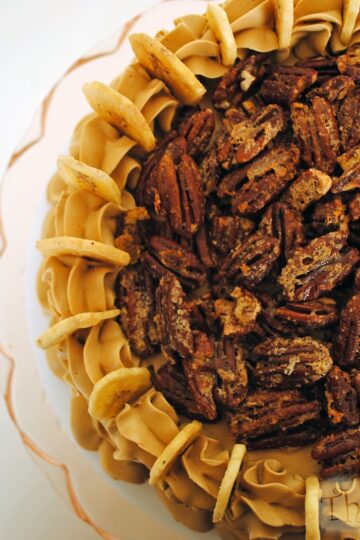
Banana Cake with Caramel Espresso Frosting

November 19, 2012

Banana Cake with Caramel Espresso Frosting
My favorite part if making this cake was making the caramel for the frosting! I couldn’t resist eating it when it should have been putting it into the frosting.
 
Banana Cake with Caramel Espresso Frosting

Banana Cake with Caramel Espresso Frosting

Yield: 12
No Ratings

Ingredients

  • 1 ¼ cups firmly packed dark brown sugar

CARAMEL ESPRESSO BUTTERCREAM

  • 1 ¼ cups heavy cream
  • ½ cup light corn syrup
  • ¼ teaspoon salt
  • 4 large eggs
  • 1 pound unsalted butter, softened
  • 2 teaspoons vanilla
  • 1 tablespoon espresso powder, dissolved in 1 tablespoon hot water

BANANA CAKE

  • 2 ½ cups cake flour
  • 1 ½ teaspoon baking soda
  • ¼ teaspoon salt
  • 2 teaspoons ground cinnamon
  • ¼ teaspoon ground cardamom
  • 1 ½ cups pureed or well smashed very ripe bananas
  • ½ cups sour cream
  • 11 tablespoons unsalted butter, softened
  • 6 tablespoons safflower oil or neutral vegetable oil
  • 1 cup granulated sugar
  • ½ cup firmly packed dark brown sugar
  • 3 large eggs
  • 1 ½ teaspoons vanilla extract
  • 1 cup coarsely chopped pecans
  • Store bought banana chips

SUGARED PECANS

  • 1 large egg white
  • 1 ½ cups pecan halves
  • 2 tablespoons granulated sugar

Instructions

BUTTERCREAM

  1. In a medium saucepan, combine the sugar, heavy cream, corn syrup, and salt and cook over medium-high heat, stirring constantly, just until the sugar is dissolved. Stop stirring, and increase the heat to high.
  2. Meanwhile, in the bowl of an electric mixer fitted with the whisk attachment, begin beating the eggs at medium speed. When the sugar syrup reaches 225 F on a candy thermometer, increase the speed of the mixer to high. Continue to cook the sugar syrup until it reaches 238 F.
  3. Remove the pan from the heat and, with the mixer off, immediately pour about ¼ cup of the hot syrup over the beaten eggs. Beat at high speed for another 10 seconds. (Don’t worry if the syrup look like it has hardened, keep beating and eventually it will smooth out.) Turn the mixer off and add another ¼ cup syrup. Beat at high speed for another 10 seconds. Repeat this process until all of the syrup is used. Using a rubber spatula, scrape down the sides of the bowl, then beat at medium-speed until the egg mixture is completely cool, about 5 minutes.
  4. At medium speed, beat in the softened butter 1 tablespoon at a time. Add the vanilla extract and coffee mixture, increase the speed a to medium-high, and beat the buttercream until it is smooth and shiny, about 4 minutes.

CAKE

  1. Position a rack in the center of the oven and preheat the oven to 350F. Grease the bottom and sides of two 9 inch cake pans. Dust the pans with flour and tap out the access.
  2. Sift together the cake flour, baking soda, salt, cinnamon and cardamom into a medium bowl. Whisk to combine and set aside.
  3. In a small bowl, combine the bananas with the sour cream; set aside.
  4. In the bowl of an electric mixer, using the paddle attachment, beat the butter at medium-high speed until creamy, about 30 seconds. Add the safflower oil, granulated sugar, and brown sugar and beat at high speed until creamy and light, about 3 minutes. At medium speed, add the eggs one at a time, beating well after each addition and scraping down the sides of the bowl as necessary. Beat in the vanilla extract. At low speed, add the flour mixture in three additions, alternating it with the banana mixture in two additions and mixing just until blended.
  5. Remove the bowl from the mixer stand and stir in the pecans by hand. Scrape the batter into the prepared pans, dividing it evenly.
  6. Bake the cakes for 25-30 minutes, until a toothpick inserted into the center comes out clean or with just a few moist crumbs on it. Cool the cakes in the pans on a wire rack for 10 minutes.
  7. Invert the cakes onto the racks and let cool completely.
  8. Set aside about 2/3 cup of buttercream for garnishing. Place one of the cake layers upside down on a cake board or cake plate. Using a small offset metal spatula, spread about 1 cup of the buttercream over the top of the layer. Top with the other cake layer, upside down. Spread the remaining buttercream over the sides and top of the cake. Place the reserved buttercream in a pastry bag with a medium star tip, and pipe rosettes or shells around the edge and top of the cake. Garnish with pecans and banana chips

SUGARED PECANS

  1. Position a rack in the center of the oven and preheat the oven to 325 F. Lightly butter a baking sheet.
  2. Place the egg white in a medium bowl, add the nuts, and stir to coat the pecans evenly. Sprinkle over the sugar and toss the pecans to coat evenly with the sugar.
  3. Spread the nuts in an even layer on the baking sheet. Bake, tossing pecans twice, for 20-25 minutes, until lightly browned. Cool completely.
  4. Store pecans in an airtight container at room temperature.

Notes

Store the frosting in an airtight container at room temperature for up to 6 hours, or refrigerate for up to a week. Bring to room temperature before using.

Did you make this recipe?

Tag @thecakechica1 on Instagram and hashtag #thecakechica1

© Mary
Category: Dessert

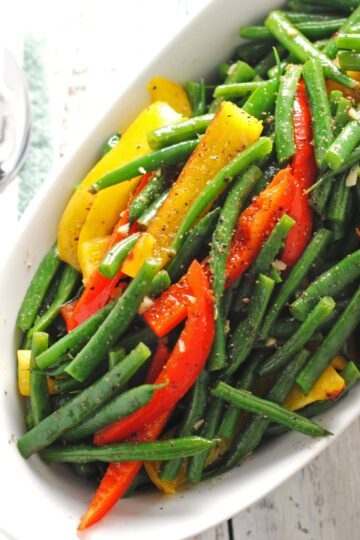
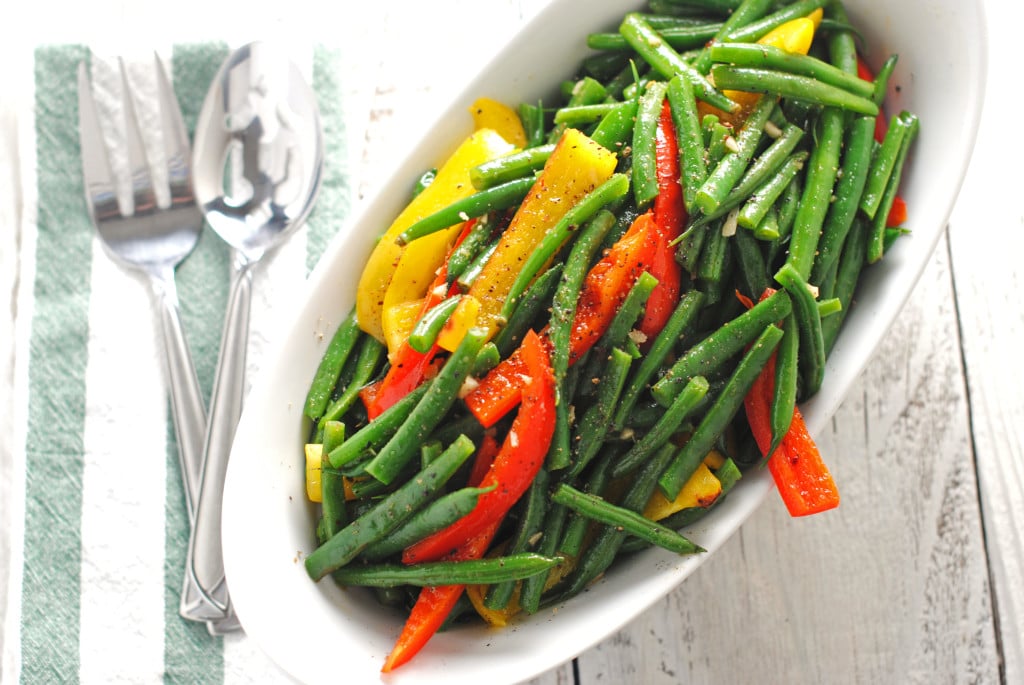
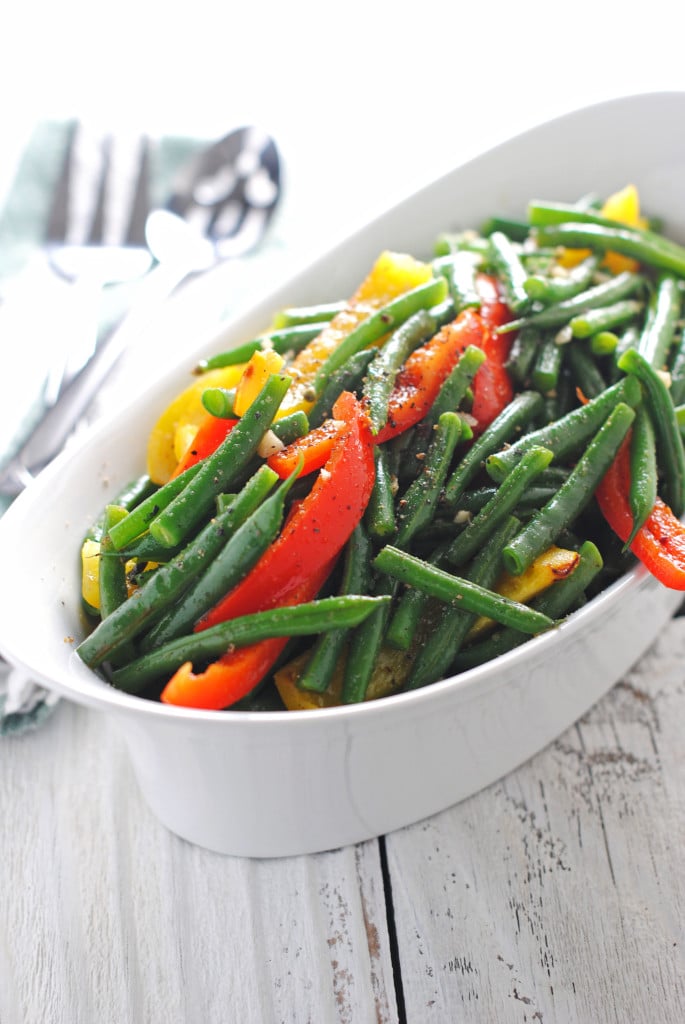
Zesty Green Beans

August 14, 2012

Zesty Green Beans
Zesty Green Beans

UPDATE Feb. 2016: Just thought I would update this old recipe with a photo more deserving of this deliciously awesome low-carb side dish. What's so awesome about it you might ask: Well it's easy, fast, tasty and healthy! And it just happens to be one of my favorite green bean recipes. Definitely an oldie but a goodie.


Zesty Green Beans

...

Read More

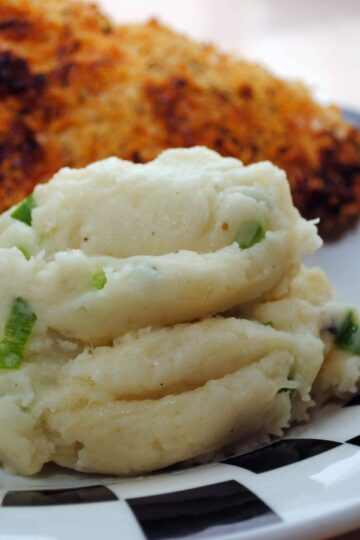
Mashed Potatoes with Green Onions and Parmesan

August 12, 2012

Mashed Potatoes with Green Onions and Parmesan
My husband and I ended up quadrupling this recipe by accident. I originally planned on just doubling the recipe. The original recipe serves just 2 and I like to be sure to have leftovers for lunch the next day. I bought 2 packs of 4 potatoes, one pack for this recipe, the other pack for another. It was my husband’s job to make the mashed potatoes while I worked on the baked chicken.  But my sweetie ended up cutting up all 8 potatoes! Well I just said we will quadruple it and that’s that. It ended up being a happy accident. The mashed potatoes were quite delicious.  I didn’t even mind having 5 containers full of mashed potatoes in my fridge. They are great for easy side dishes throughout the week.
The original recipe was found in Bon Appétit Fast Easy Fresh cookbook
Mashed Potatoes with Green Onions and Parmesan

Mashed Potatoes with Green Onions and Parmesan

Yield: 4
No Ratings

Ingredients

  • 4 large russet potatoes, peeled, cut into chunks
  • 4 tablespoons unsalted butter, divided
  • 4 tablespoons milk
  • 2 bunches green onions (about 10), chopped
  • 1 ½ cups freshly grated Parmesan cheese
  • Salt and pepper, to taste

Instructions

  1. Cook potatoes in large pot of boiling salted water until tender, about 15 minutes. Drain well. Return to pot and mash. Mix in 3 tablespoons butter, then milk.
  2. Melt remaining 1 tablespoon butter in a heavy skillet over medium-high heat. Add green onions and sauté until wilted, about 1 minute. Add potatoes. Add Parmesan and mix gently. Season to taste with salt and pepper.
Nutrition Information:
Serving Size: 1
Amount Per Serving: Calories: 395Total Fat: 19gSaturated Fat: 11gCholesterol: 56mgSodium: 554mgCarbohydrates: 43gFiber: 4gSugar: 3gProtein: 18g

Did you make this recipe?

Tag @thecakechica1 on Instagram and hashtag #thecakechica1

© Mary
Category: Main
  • « Go to Previous Page
  • Page 1
  • Interim pages omitted …
  • Page 32
  • Page 33
  • Page 34
  • Page 35
  • Page 36
  • Interim pages omitted …
  • Page 40
  • Go to Next Page »

Primary Sidebar

Welcome!

Hi, I’m Mary. The self-taught baker, food stylist, and photographer behind The Cake Chica. If you love creating bakery-style desserts from scratch and want a peek behind the scenes of how they’re styled and captured, you’re in the right place.
More about me

Popular

  • Toasted Coconut Caramel Layer Cake on marble cake pedestal.
    Toasted Coconut Caramel Layer Cake
  • Cover image for Best Big Fat Chewy Chocolate Chip Cookies.
    Best Big Fat Chewy Chocolate Chip Cookie
  • Key Lime Pie Layer Cake cover photo.
    Key Lime Pie Layer Cake
  • White Cake with Strawberry Filling
    White Cake with Strawberry Filling

Seasonal

  • Banana Cream Pie
  • Chocolate Root Beer Float Cake
  • Cotton Candy Layer Cake
  • Strawberry Ice Cream Pop Cake

Footer

↑ back to top

About

  • The Cake Chica
  • Recipe Index
  • Work With Me

Legal

  • Privacy Policy

Contact

  • Contact

As an Amazon Associate I earn from qualifying purchases.

Copyright © 2025 The Cake Chica