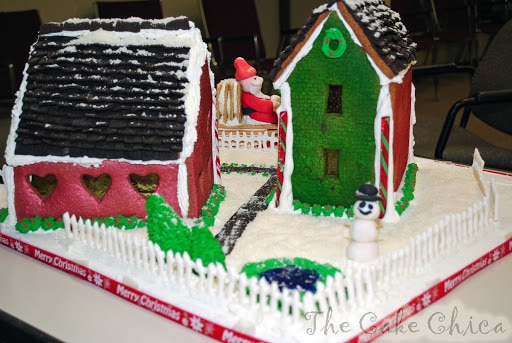
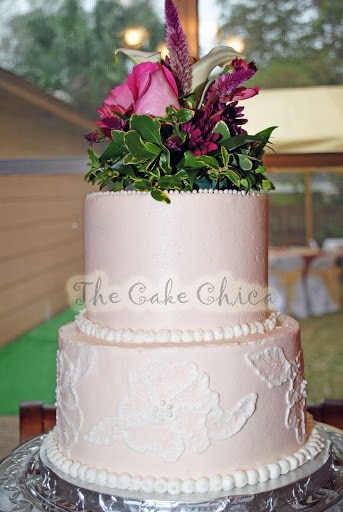
A few weeks ago my mother got married and she asked me to make her cake. So here it is!
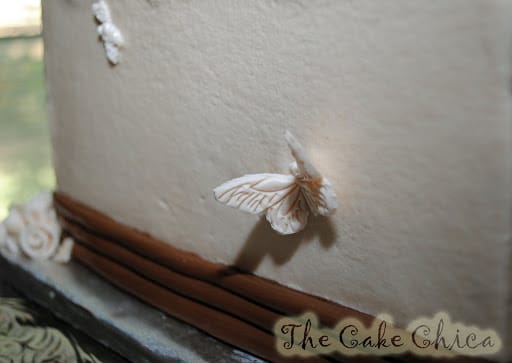
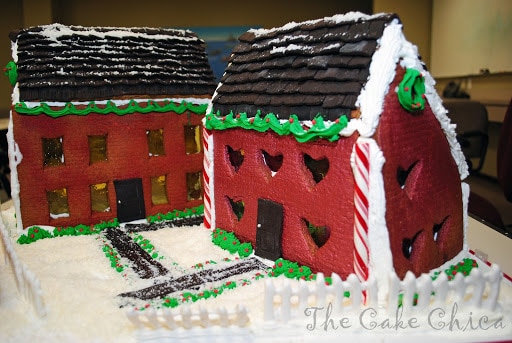
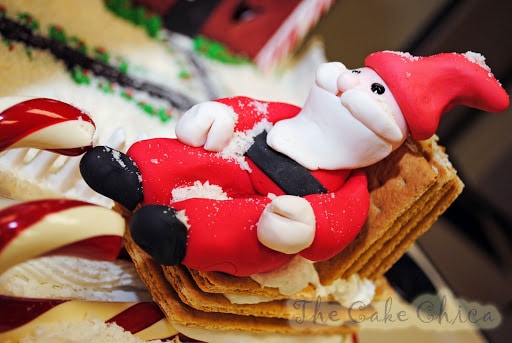
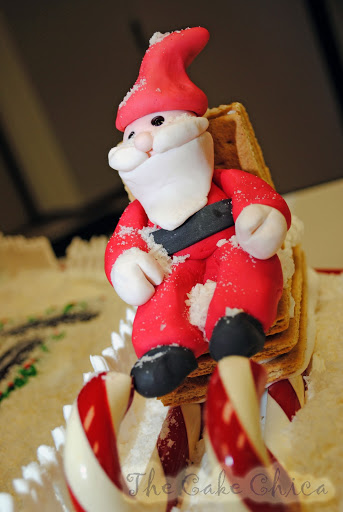
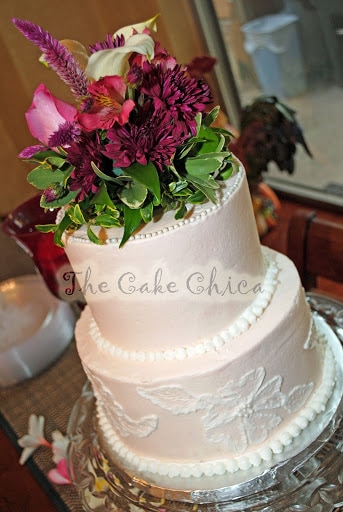
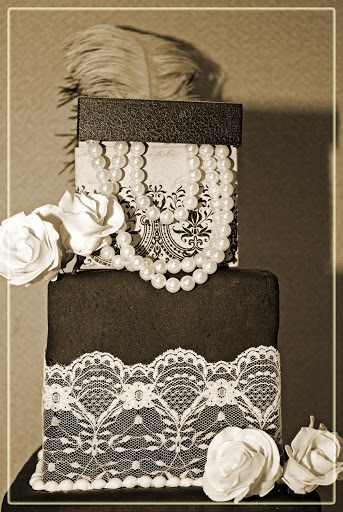
I wasn't sure what I was going to do at first as far as the design. My mom just gave me several ideas and I decided I would design her cake after her champagne classes. A few days later she gave me the cake topper and the champagne glass idea was scrapped. It would not match the cake topper she gave me so I decided to design the cake after her cake topper. I looked and looked online for some designs but couldn't find anything I liked. So I took it upon myself to create the design. And I couldn't have been happier. I really loved the way it turned out.
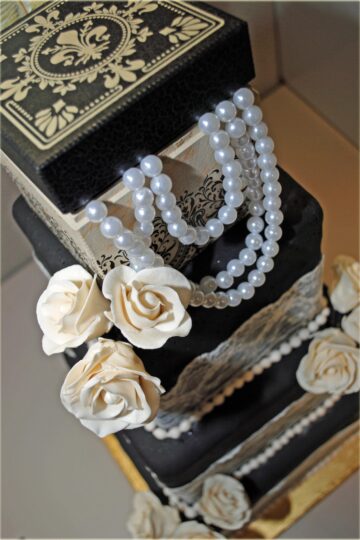
I didn't really have any trouble with this cake. The only thing I noticed was I need more practice on frosting square cakes but that's about it. I am happy to say every cake I do gets a little easier.
I made White Almond Amaretto cake with Raspberry filling and Vanilla Buttercream. I really enjoyed it and so did the bride.