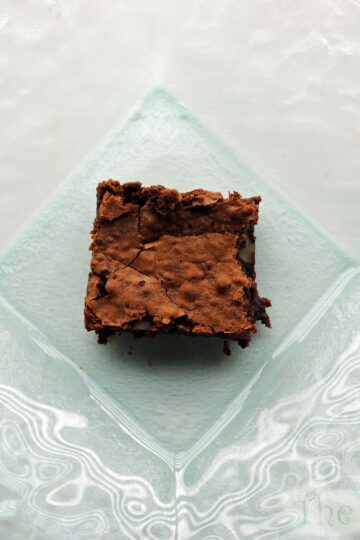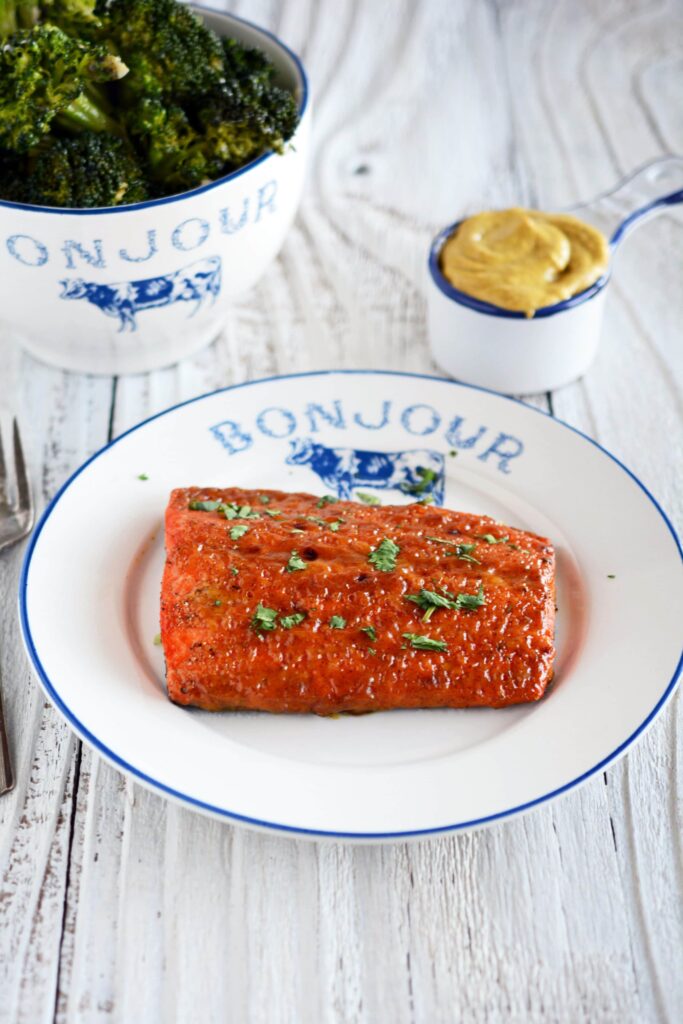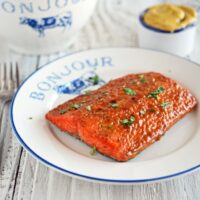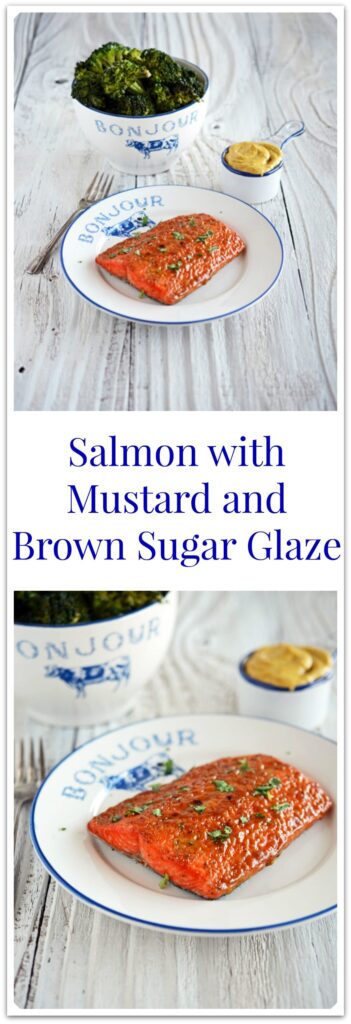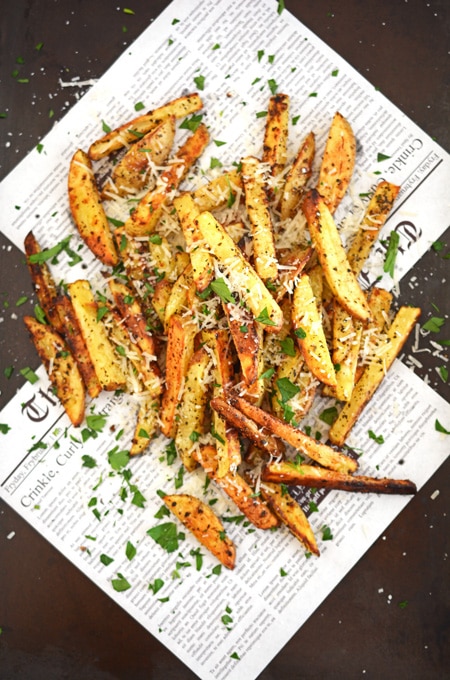
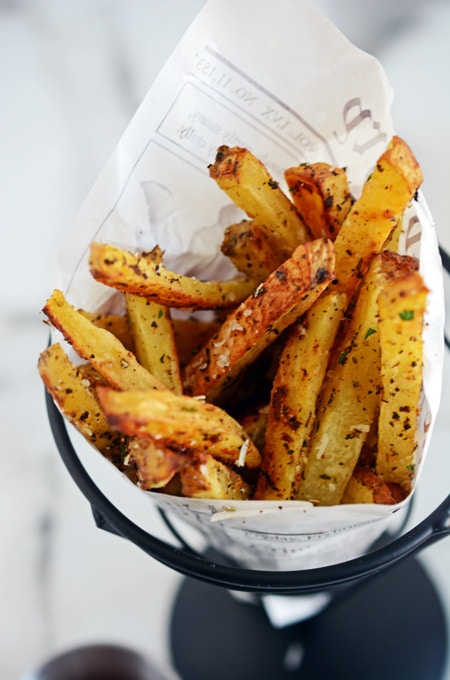
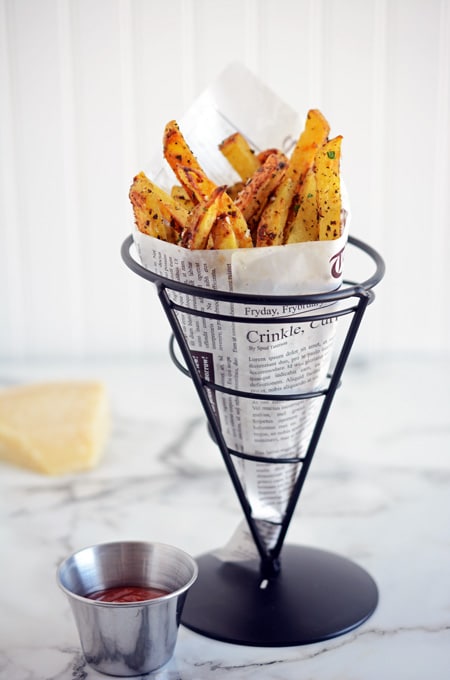
These Baked Parmesan Fries are a great healthier option to the usual fried fries. What I love most about them though is that they are easy to make and oh so easy to prepare!
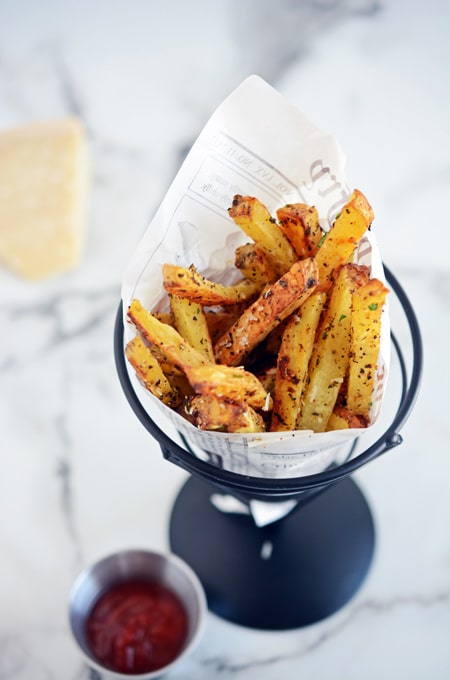
I found this recipe in the June 2011 Clean Eating Magazine. I kept it pretty much the same and just doubled up the portions. Like to eat a lot 🙂
If you make this recipe I'd love to hear your comments below. Talk with you soon.
Don't forget to follow me on social media: Facebook, Instagram, Twitter, Pinterest and Yummly. You can also signup to The Weekly Recap, my weekly newsletter where I'll send one email per week with the latest recipe link, as well as what's coming up next. Plus some other fun stuff. And as a thank you for signing up, you'll receive my ebook The Cake Chica's Top 10 Recipes for 2016 with Step-by-Step Photos for free! All you have to do is use the form below this post and sign up!
...