• Skip to primary navigation
  • Skip to main content
  • Skip to primary sidebar
  • About
  • Recipe
    • Listicle
    • Kitchen Staples
    • Drinks
      • Cocktails
      • Non-Alcoholic
      • Smoothies
    • Breakfast
      • Eggs
      • Muffins and Baking
      • Pancakes and Waffles
    • Sweet
      • Brownies and Bars
      • Cakes and Frostings
        • Beginner Cake Recipes
        • Intermediate Cake Recipes
        • Advanced Cake Recipes
      • Cheesecake
      • Cobblers & Fruit Desserts
      • Cookies and Candies
      • Custards & Trifles
      • Pies & Tarts
    • Savory
      • Appetizers
      • Easy Weeknight Meals
      • Beef and Pork
      • Chicken and Turkey
      • Fish and Shellfish
      • Grains and Beans
      • Pasta and Rice
      • Potatoes
      • Quinoa
      • Soups & Stews
      • Vegetables
    • On The Lighter Side
  • Resources
  • Contact
  • Work With Me
  • Privacy Policy

The Cake Chica

menu icon
go to homepage
  • Recipe Index
  • About
  • Work With Me
  • Contact

subscribe
search icon
Homepage link
  • Recipe Index
  • About
  • Work With Me
  • Contact

×
Home » Sweet » Cakes and Frostings

December 10, 2012

Sweet 16 Tiffany Box Cake

21 shares
  • Share
  • X

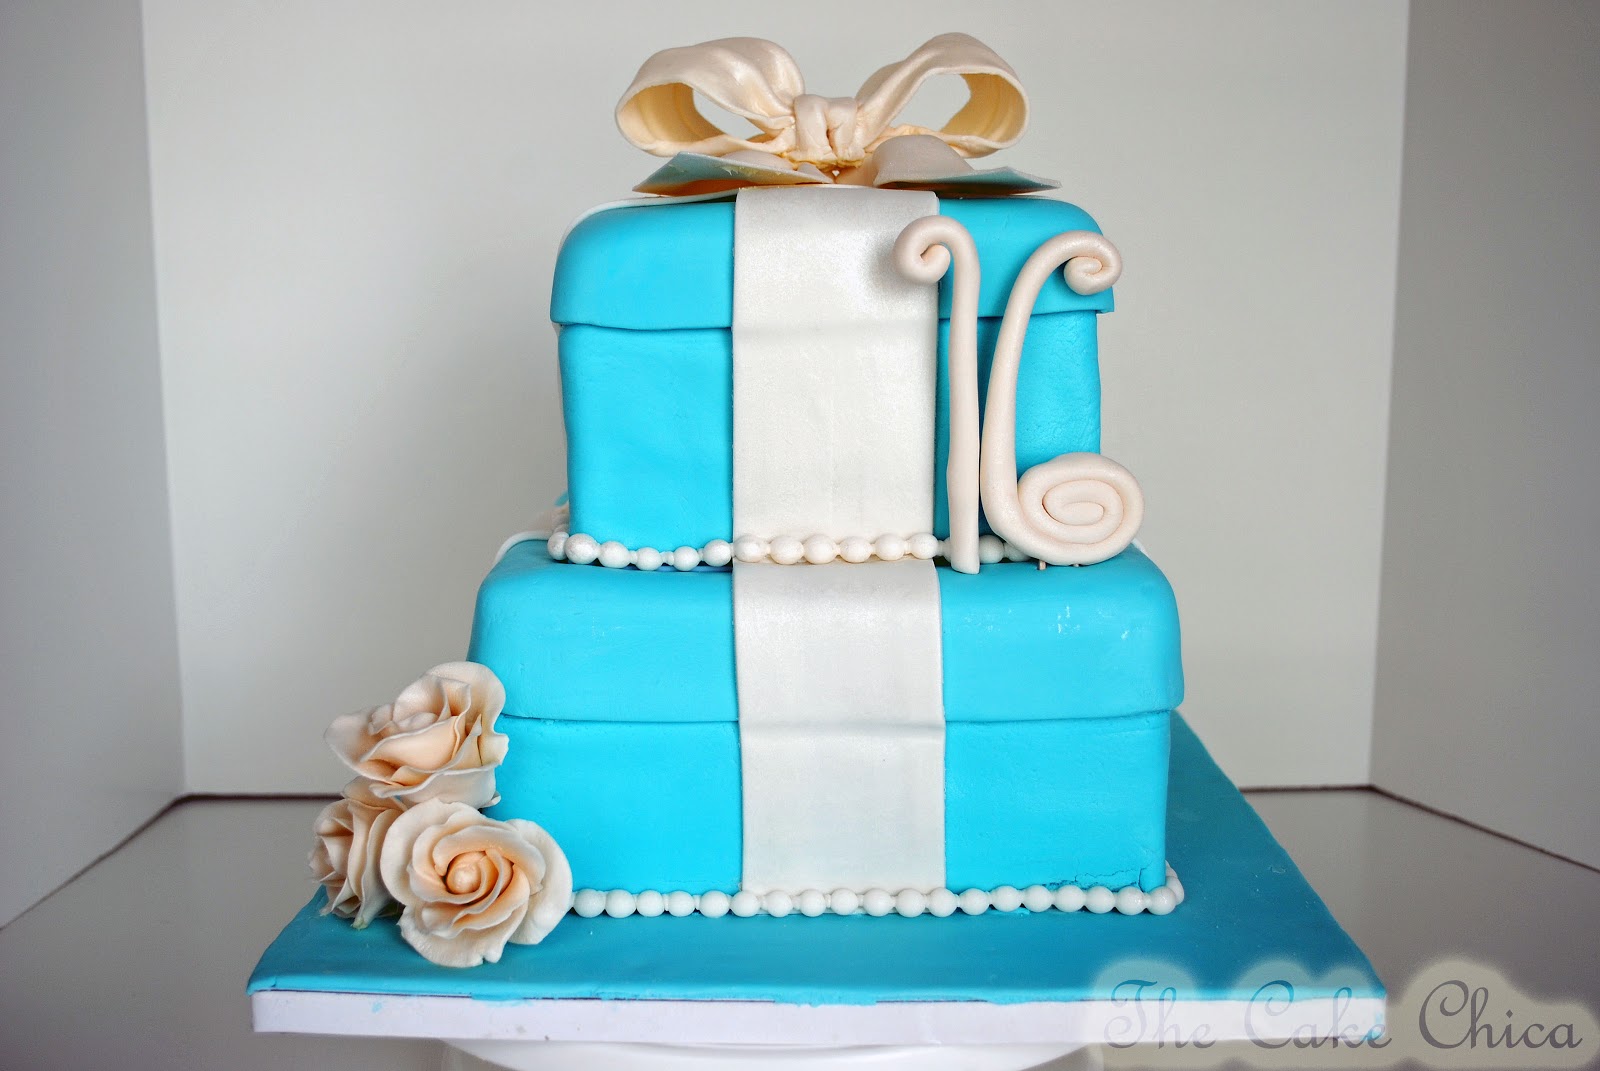
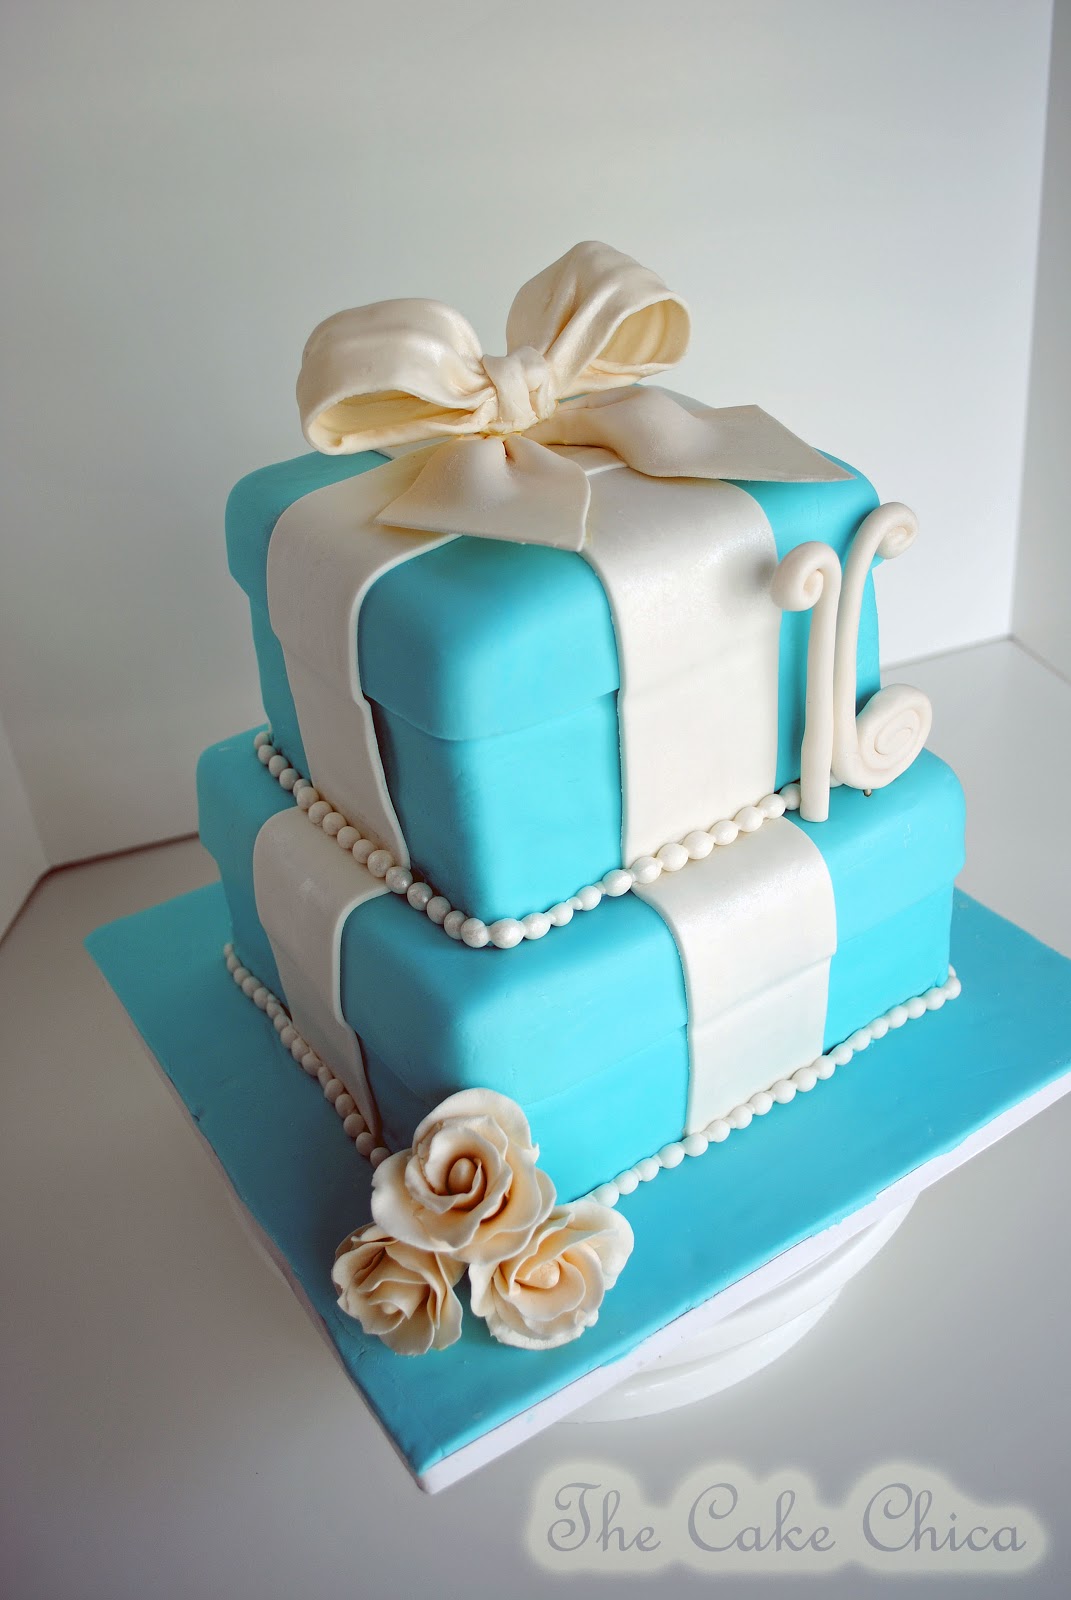
I always get super excited when I get to do a custom cake like this. I don't get to do very many because they aren't cheap. This one was a gift to my niece who was turning 16 so I was more than happy to do one for her as a gift.

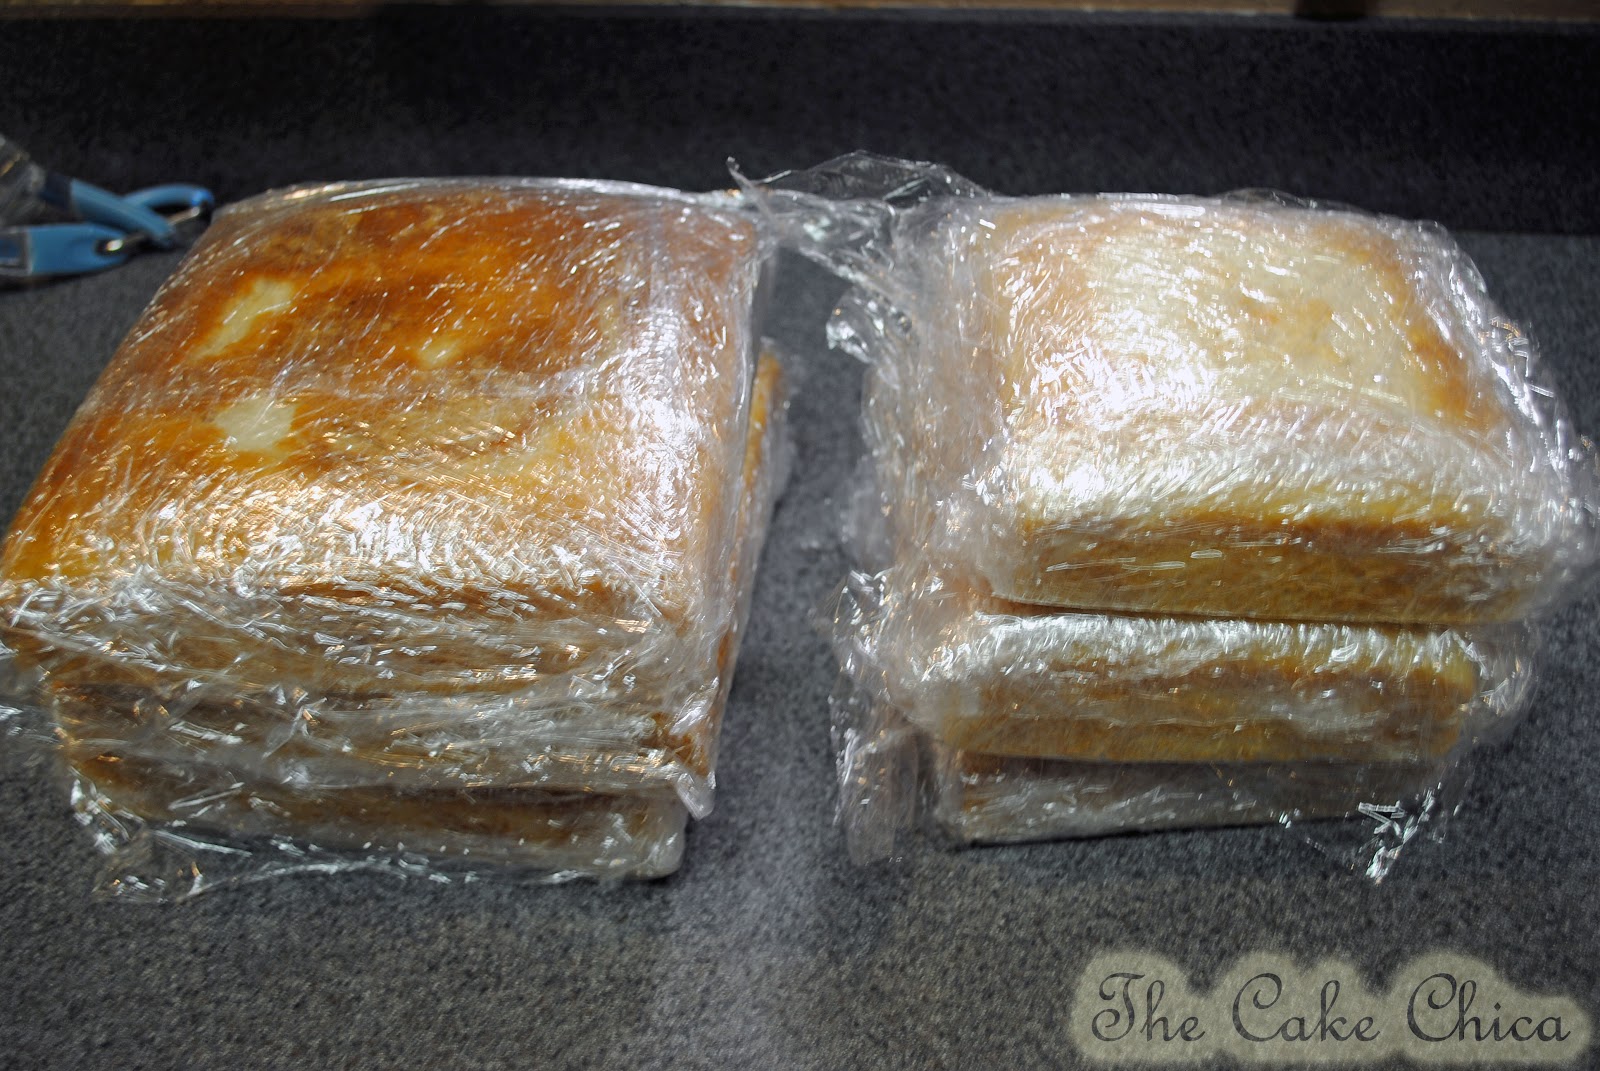
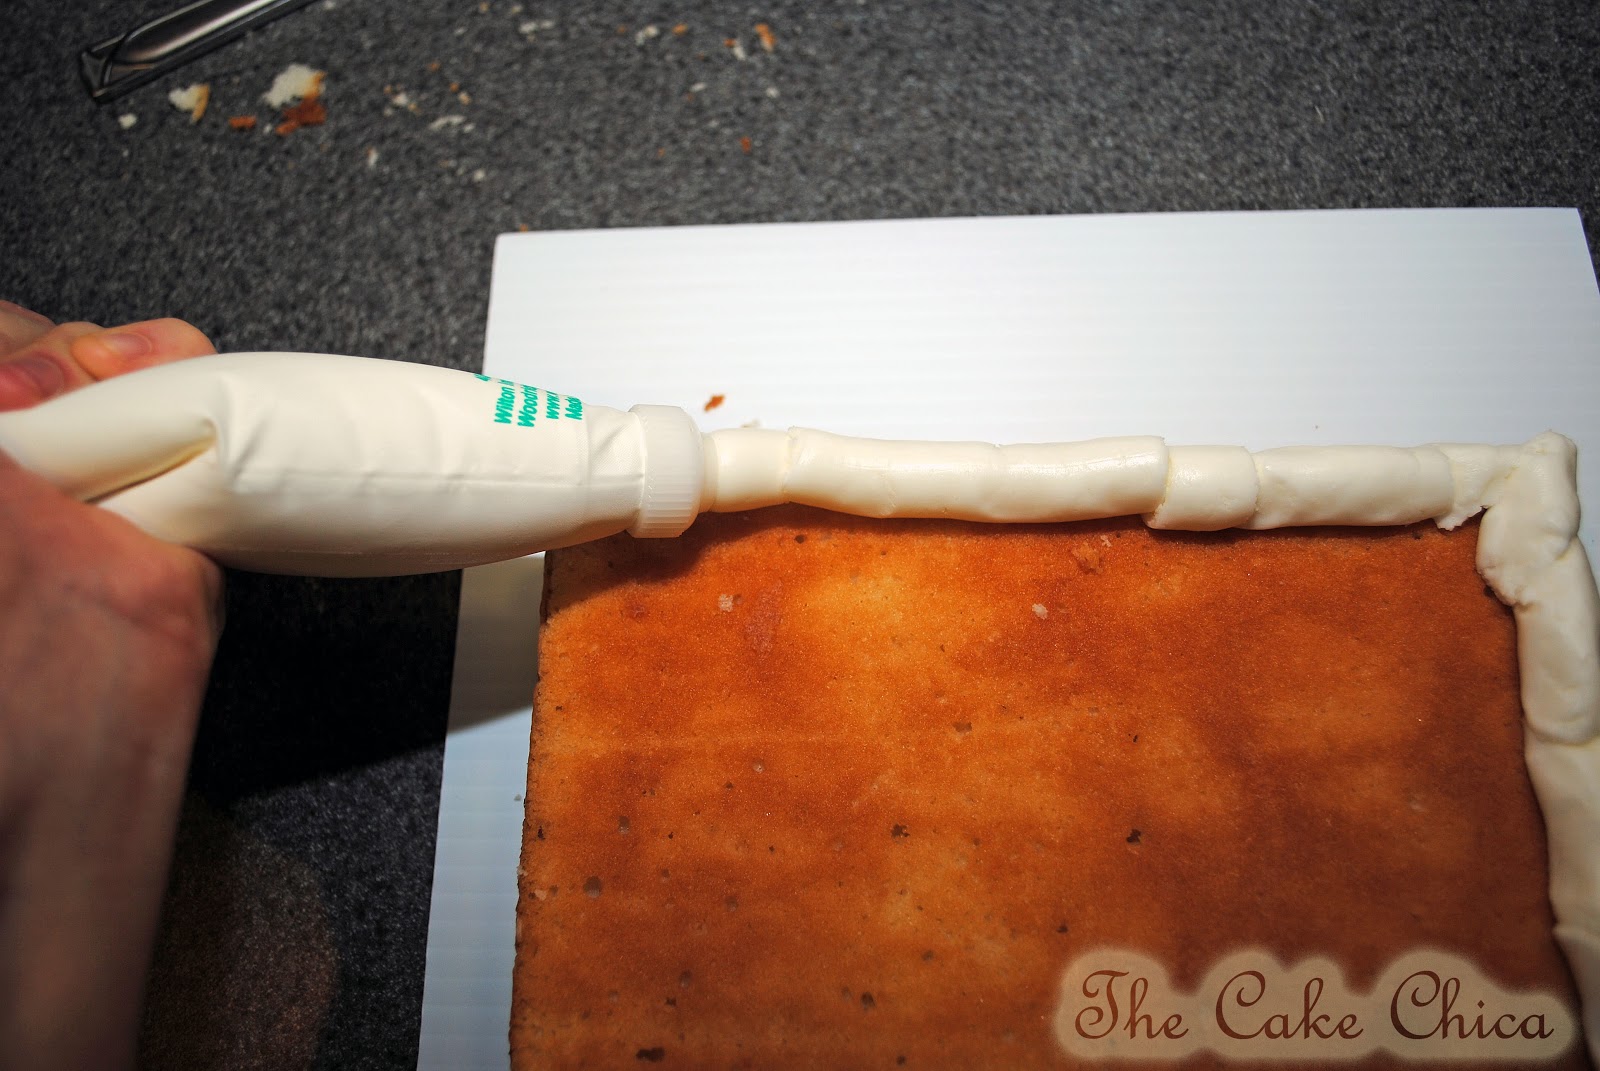
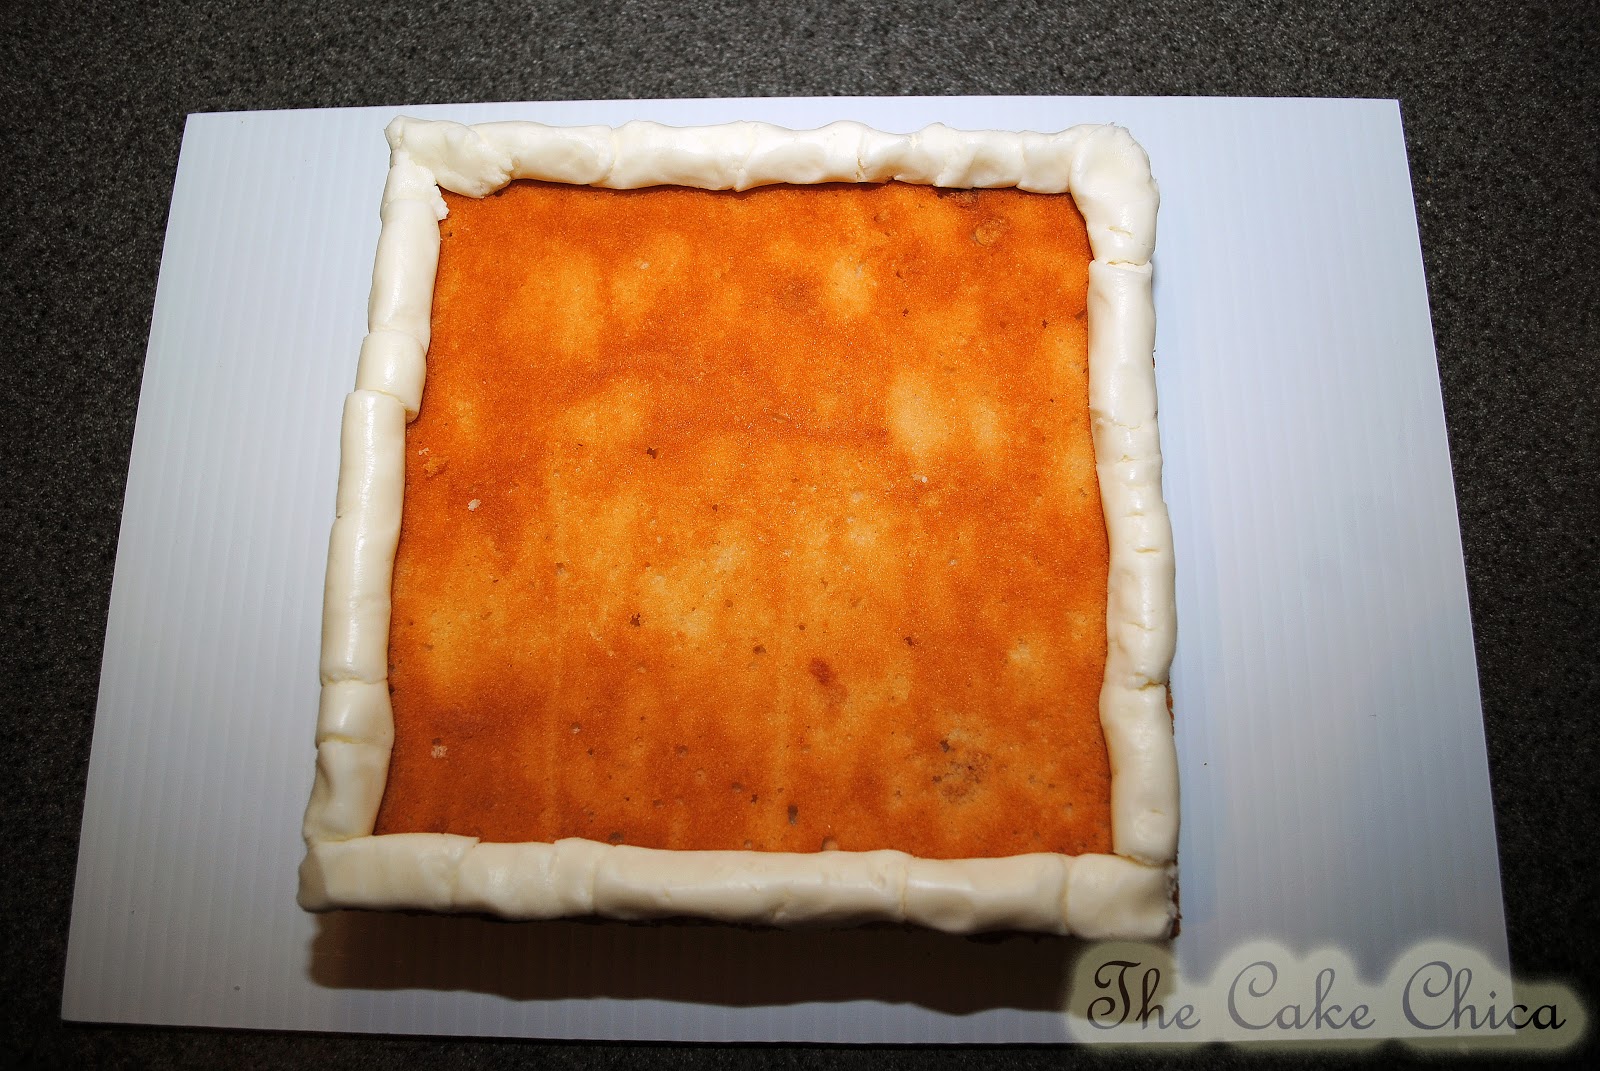
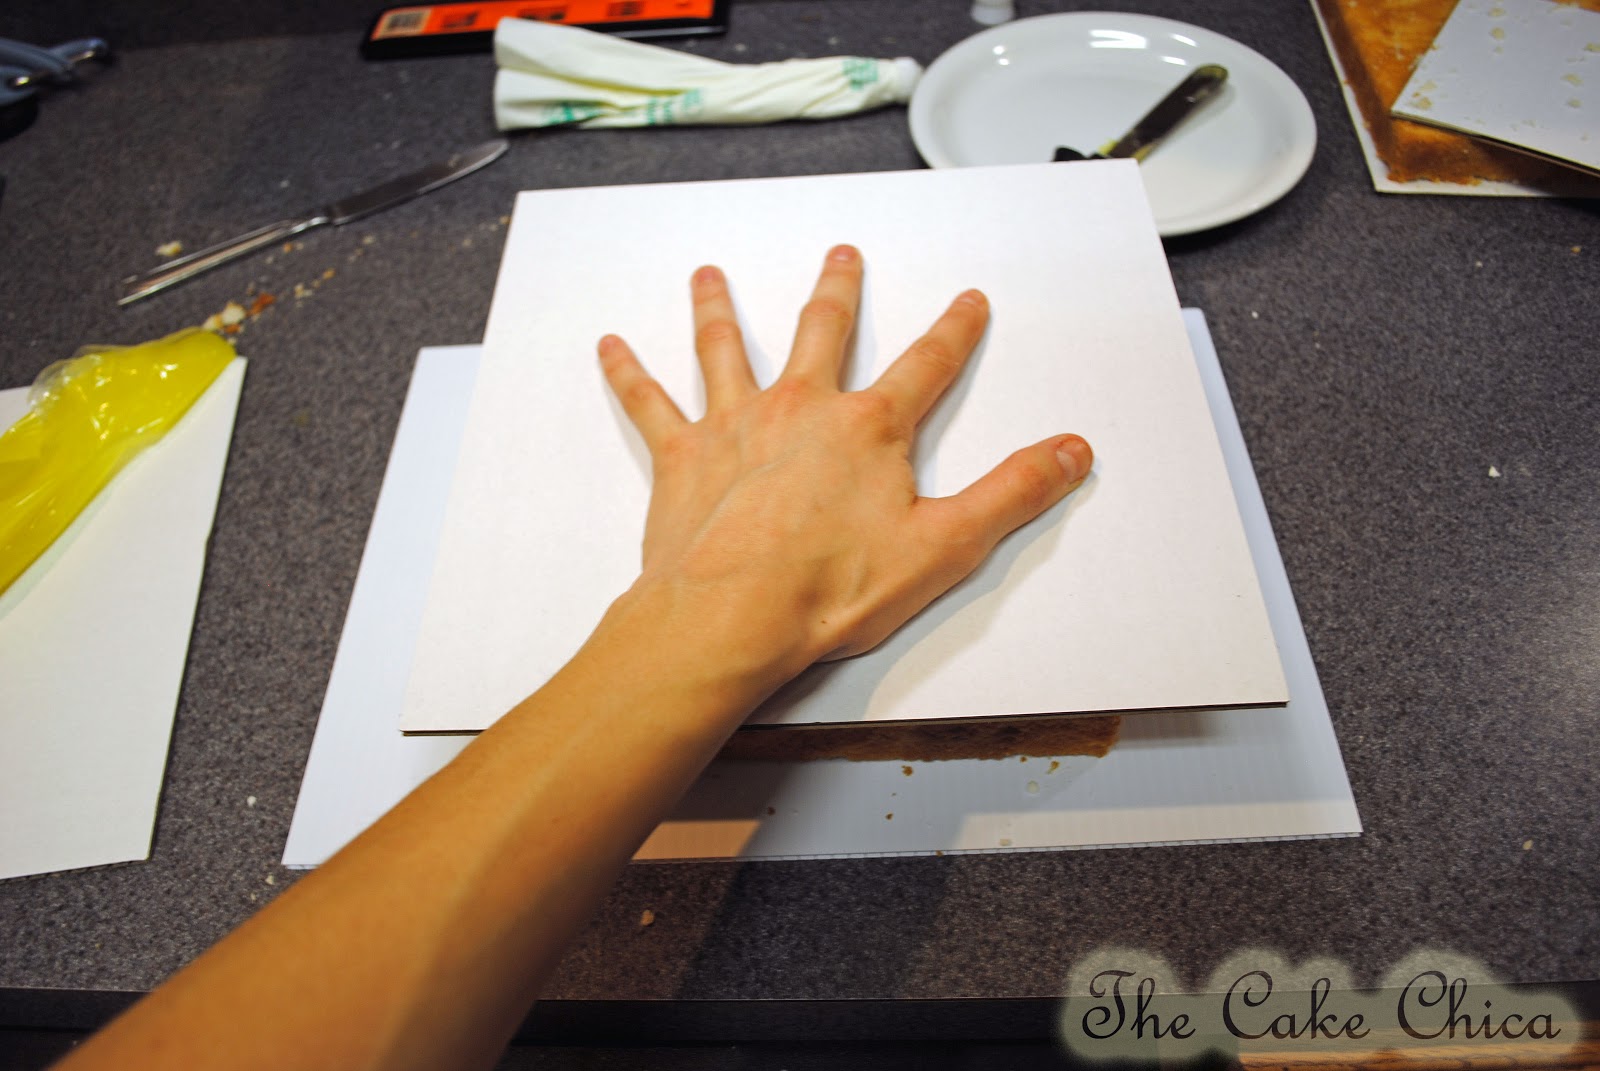
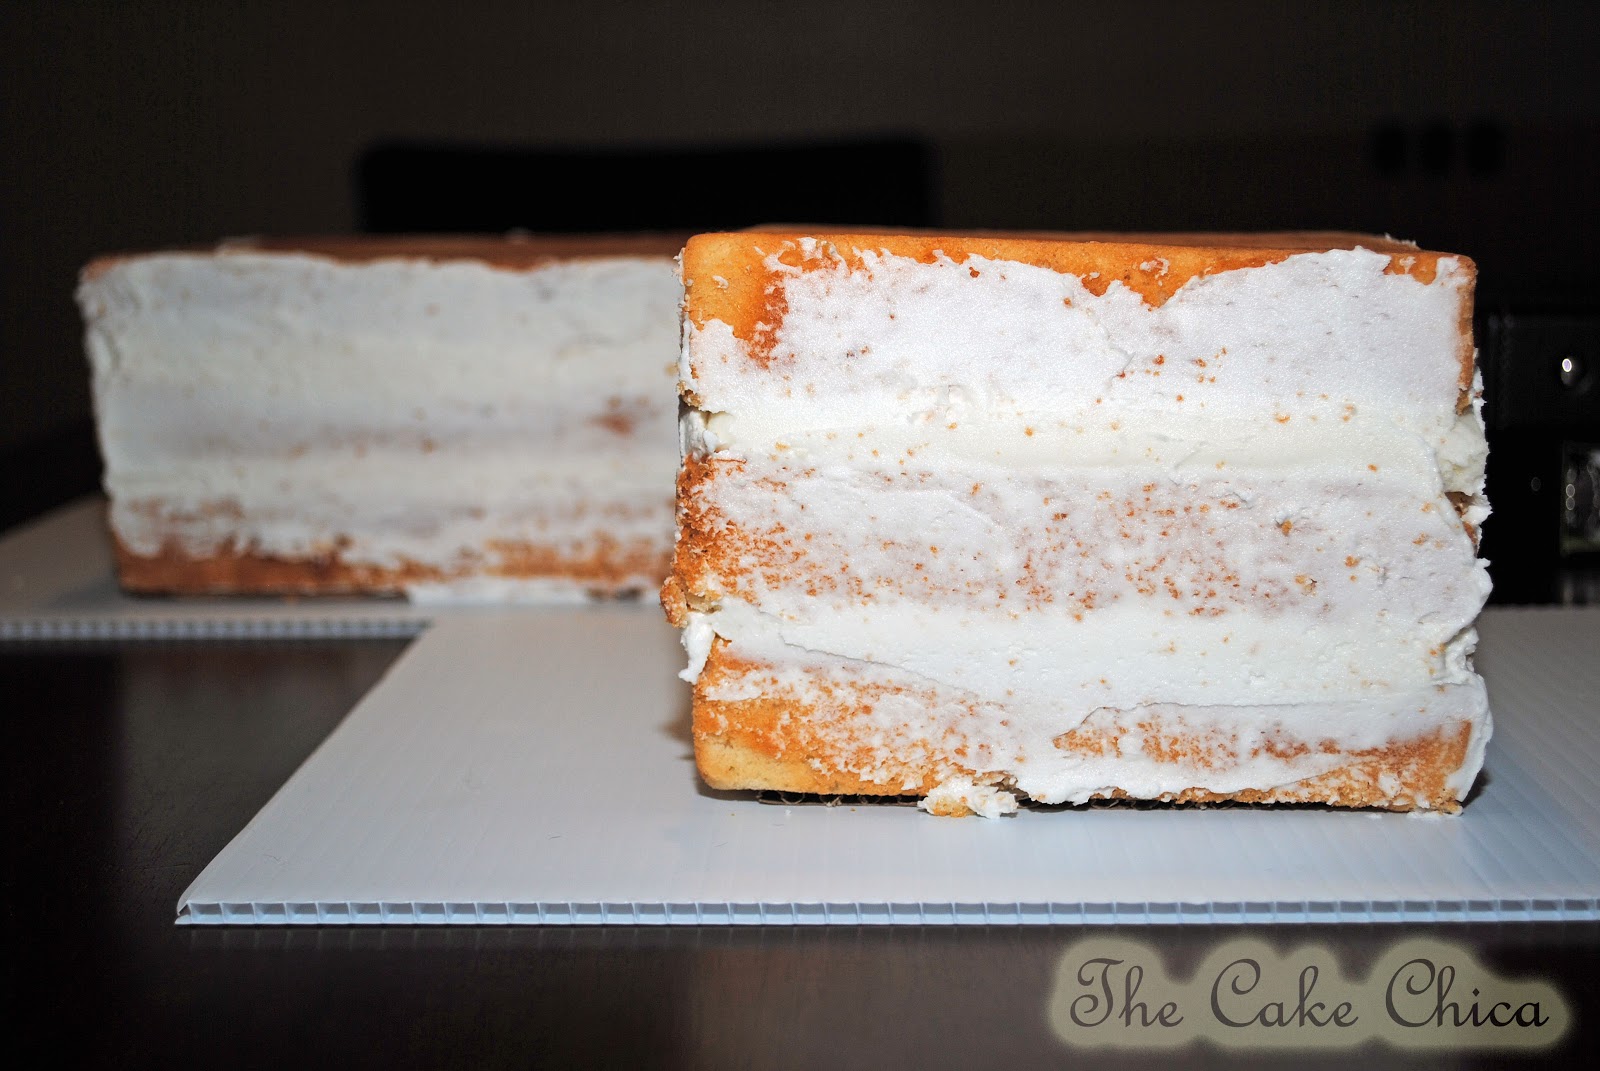
I get lots of inquiries from my co-workers about ordering cakes like this but they never actually buy them. I know it's because of cost, but that's just how much they are. There is a lot of work involved and I thought I would show just a little bit of what is involved when I do a custom cake. There are still plenty of things I still need to learn but this is the way I do my cakes right now. And each time I do one I learn a lot. That means I will only get better with practice, and practice makes perfect.

First thing I do is bake the cakes. Planning is everything when I do a custom cake, especially since I work full time. I'll usually plan on taking one day just to do the baking.
Now that I have the cakes baked, it's now time to trim them up. I usually take off the cake tops, or cake domes to make the cakes nice and flat on top.
I have a cake cutter that helps take off the cake tops but it doesn't always get it even so sometimes I will have to go behind it and level it myself.

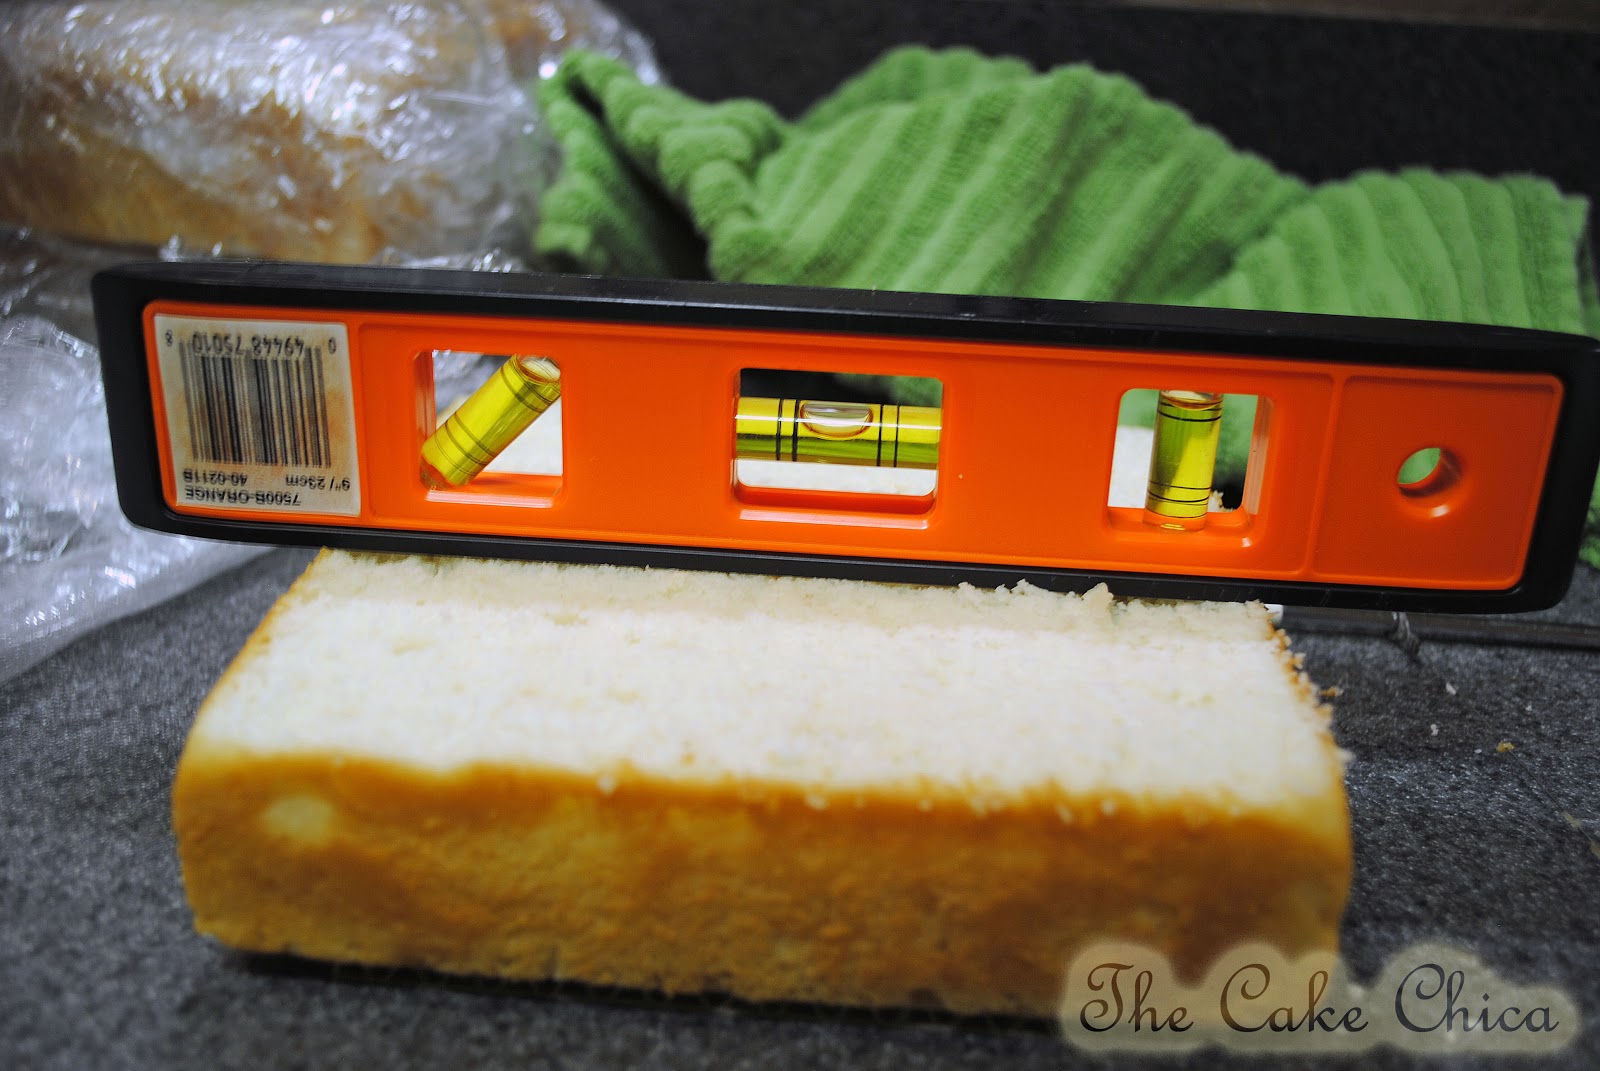
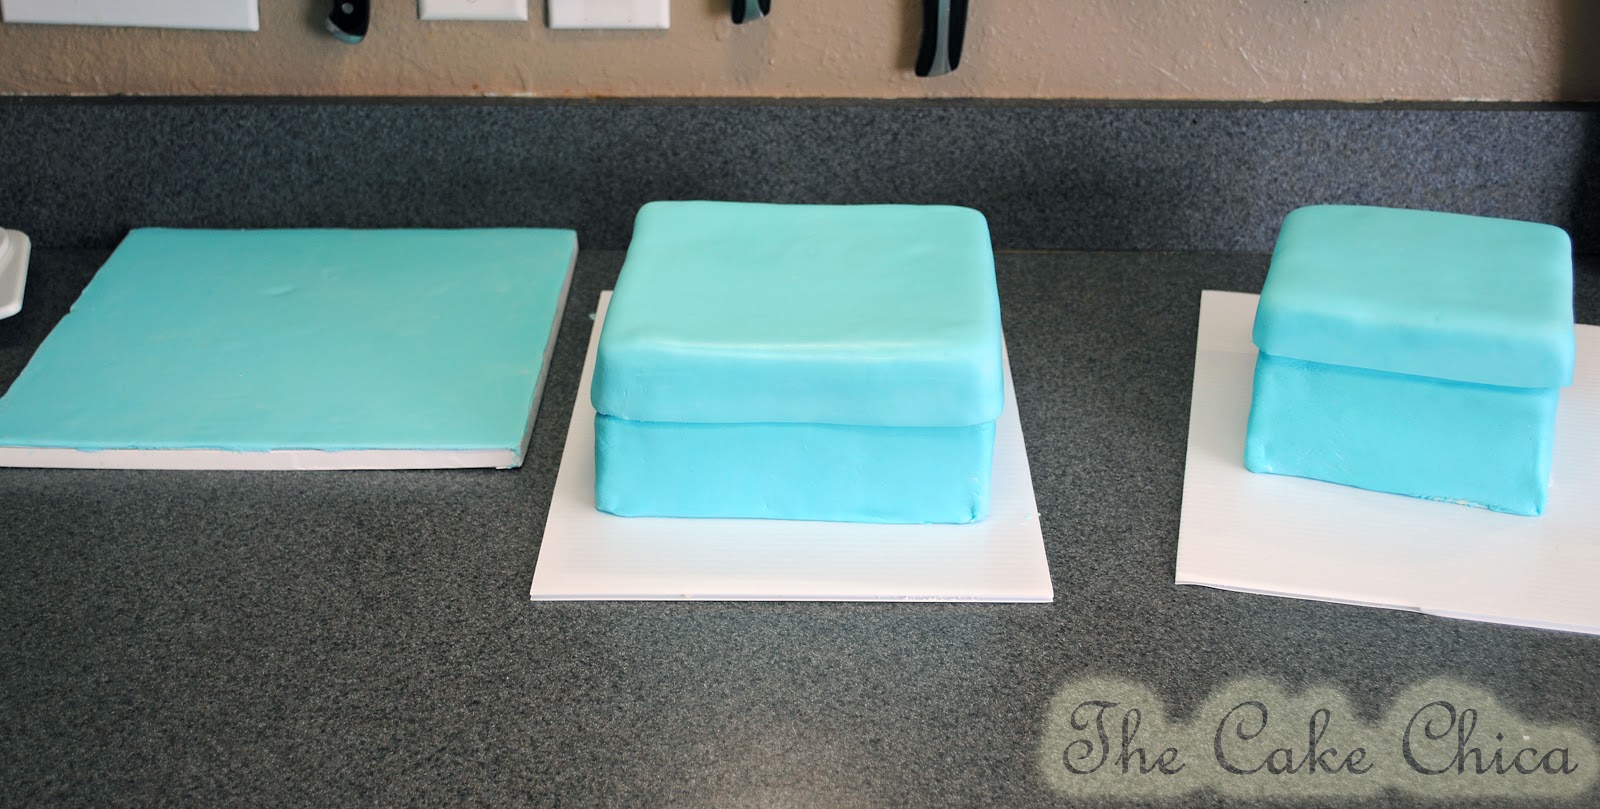
I'll try to get it as level as I can.

Once I have all my cakes level I prepare to fill my cakes. I use a super thick buttercream dam to hold my filling in. To do this I add a lot of cornstarch to make it more of a putty like consistency.
I use a piping bag to pipe out the stiffened buttercream.
For square cakes I make sure I get the buttercream at the very edge of the cakes. The corners have a tendency to slope down and create a droopy effect on the final out come of the cake and I don't like that so I make sure the corners are full of buttercream.
Once my buttercream dam is up I pour in my filling. Lemon this time.( I also made a mental note that I could have put a little more filling in so I will remember that next time. )
From here I will stack the cake layers pressing down just a little and repeating this process for all my cake layers.
I spread some buttercream on the sides of the filling edges and let the cake set for a few hours to settle.
While the cakes set, I prepare my support system. I use a special support system called SPS. No stacked cakes leave my house without this support system!!! It's pretty much fool proof and this also allows my clients to come pick up their cake instead of me delivering it. This way customers can save a little money. This support system was made just for that purpose.
Since my cakes need to be stacked right on top of each other I first need to take off those little rings on the back side of the cake plate.
Now that I have those off I can turn the cake plate over and continue getting the support system ready.
The notch on the top of the cake plate helps the cake stay in place. No middle dowel required.
Just pop the cake board on top of the notch, and when it's time to stack the cake, I'll just place it on the preset hole. You'll also see I have trimmed my cake board. My cakes tend to shrink a bit. Sometimes I will have to cut the cake plate as well but I did not have to do that this time since the fondant covered the edges of the cake plate this time.
After the cakes have settled I then take a knife and even everything out. Everything has to be straight.
 From there it's time for the crumb coat. (which I didn't have enough buttercream to do it properly so I made another mental note for next time) Once the crumb coat has crusted I take my Viva paper towels and my fondant smoothers and I smooth out everything.
I set the crumb coated cakes in the refrigerator for about 8 minutes, just enough time to get the buttercream set so when I lay the fondant on top it would mess up the cake.
Now that all the cakes are covered, it's now time to stack.
I then have to measure to make sure the columns are the correct size so the cakes set flush against each other.
I just push down the columns and there was a gap so that means it's time to get the hack saw out. I take a measurement and mark my columns to get them ready to saw.
This takes a little more work then cutting wooden dowels, but trust me, this cake will go nowhere when it's all set and done. I like not having to worry if a cake will fall because of the type of supports I use.
Once everything is all measured out and ready to go I melt a little white chocolate and spread a little on the cake board for my cake to attach to.
From here I stack the cakes on top of each other and then the fun stuff comes. DECORATING!!!
But that's for another blog post.
Thanks for checking out my blog. If you like what you see please follow. Thanks!

More Cakes and Frostings

  • Chocolate Peppermint Layer Cake cover image.
    Chocolate Peppermint Layer Cake
  • Cover image for Pumpkin Cupcakes with Maple Cream Cheese Frosting.
    Pumpkin Cupcakes with Fluffy Maple Cream Cheese Frosting
  • Pumpkin Spice Layer Cake with Caramel Cream Cheese Frosting cover image.
    Pumpkin Spice Layer Cake with Caramel Cream Cheese Frosting
  • Pumpkin Pie Cupcakes on gold cooling rack cover image.
    Pumpkin Pie Cupcakes

Reader Interactions

Comments

  1. Lisa Crunkhorn says

    December 14, 2012 at 12:46 am

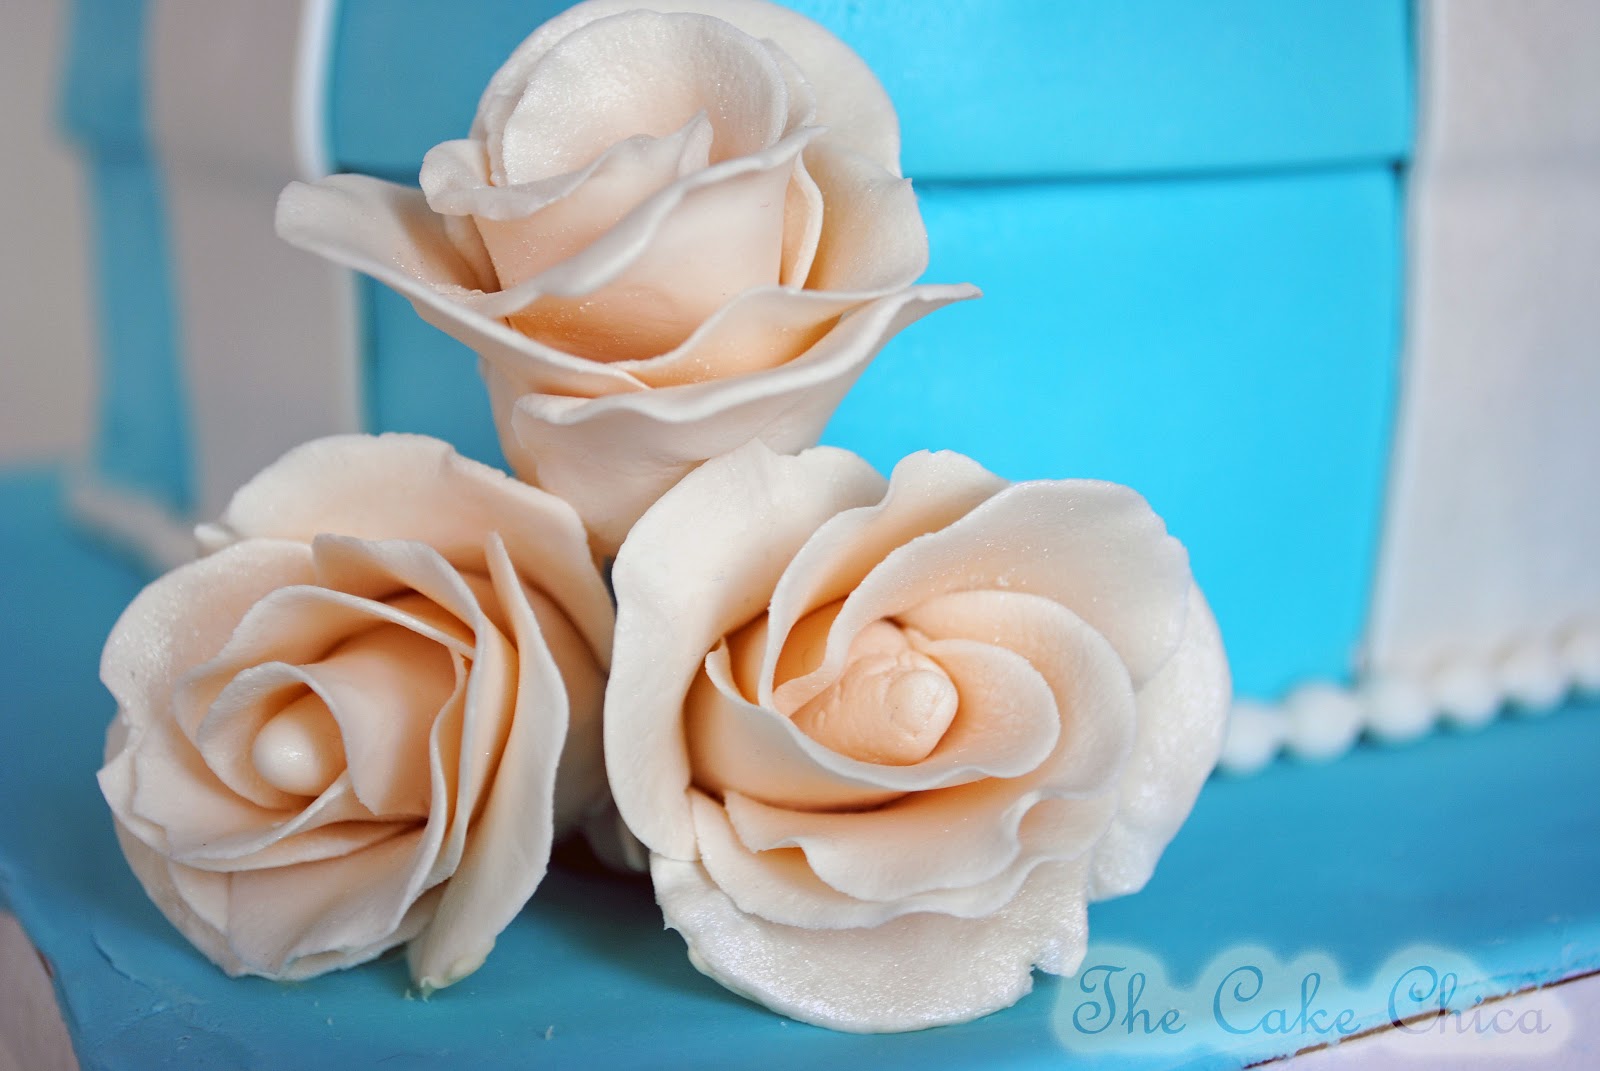
    Wow, wow, WOW! This is soooo beautiful. I love everything about it. The colours, the flowers, beads... everything.That 16 is too cute too. You're uber talented mi'lady. :)-Lisa.Sweet 2 Eat Baking

    Reply
  2. Cake Chica says

    December 14, 2012 at 2:10 pm

    Thanks so much Lisa!

    Reply
  3. Jessiker says

    December 15, 2012 at 8:12 pm

    This cake is FANTASTIC! Like, I want this exact colour at my wedding - I would SO ask you to do it the way you're talented!xx Jessicahttp://www.jessikerbakes.blogspot.com

    Reply
  4. Cake Chica says

    December 15, 2012 at 11:21 pm

    Thank you Jessiker!

    Reply
  5. Cynnamama's Cafe says

    December 23, 2012 at 9:01 pm

    It is beautiful and love the colors! Wished I had known you to make one for my daughter's 16th years ago! Again, great work!

    Reply
  6. Cake Chica says

    December 26, 2012 at 8:17 pm

    Thank you for your kind words Cynnamama!

    Reply

Leave a Reply Cancel reply

Your email address will not be published. Required fields are marked *

This site uses Akismet to reduce spam. Learn how your comment data is processed.

Primary Sidebar

Welcome!

Hi, I’m Mary. The self-taught baker, food stylist, and photographer behind The Cake Chica. If you love creating bakery-style desserts from scratch and want a peek behind the scenes of how they’re styled and captured, you’re in the right place.

More about me

Popular

  • Toasted Coconut Caramel Layer Cake on marble cake pedestal.
    Toasted Coconut Caramel Layer Cake
  • Best Big Fat Chewy Chocolate Chip Cookie
  • Key Lime Pie Layer Cake cover photo.
    Key Lime Pie Layer Cake
  • White Cake with Strawberry Filling
    White Cake with Strawberry Filling

Seasonal

  • Banana Cream Pie
  • Chocolate Root Beer Float Cake
  • Cotton Candy Layer Cake
  • Strawberry Ice Cream Pop Cake

Footer

↑ back to top

About

  • The Cake Chica
  • Recipe Index
  • Work With Me

Legal

  • Privacy Policy

Contact

  • Contact

As an Amazon Associate I earn from qualifying purchases.

Copyright © 2025 The Cake Chica

  • Facebook
  • Pinterest
  • Save
  • X