
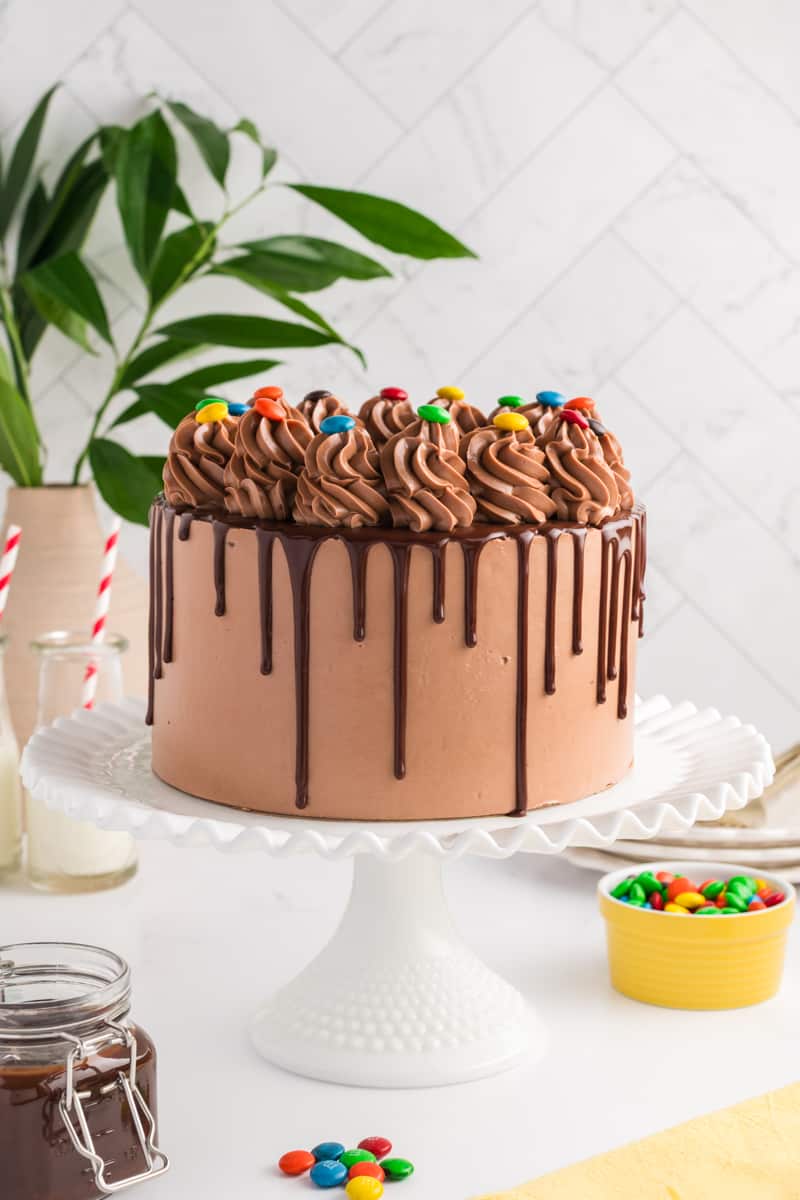
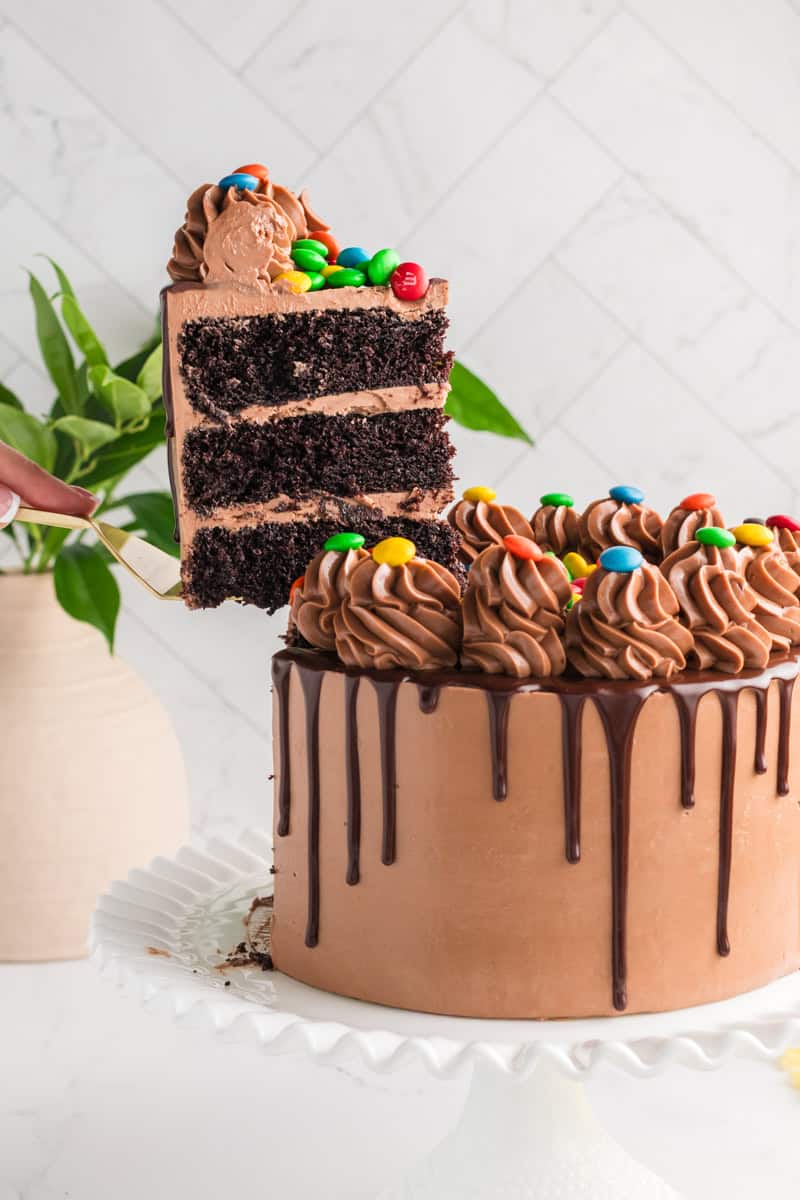
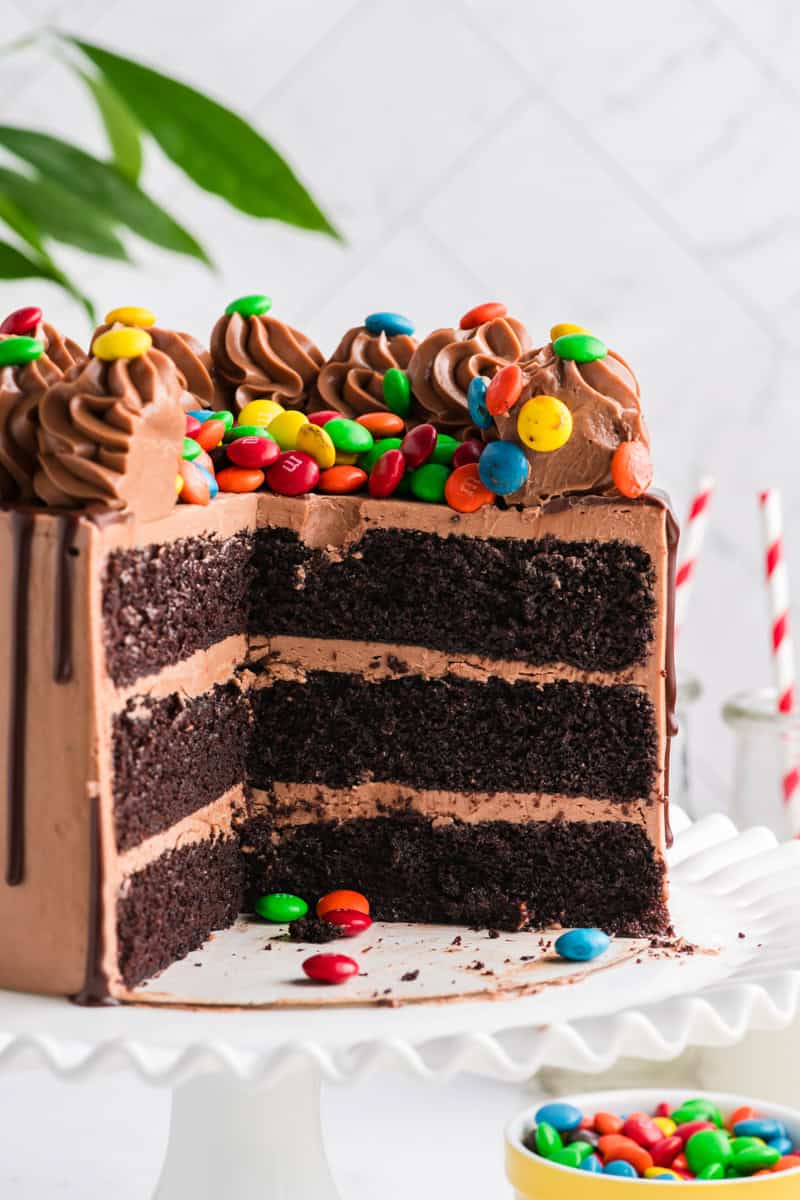
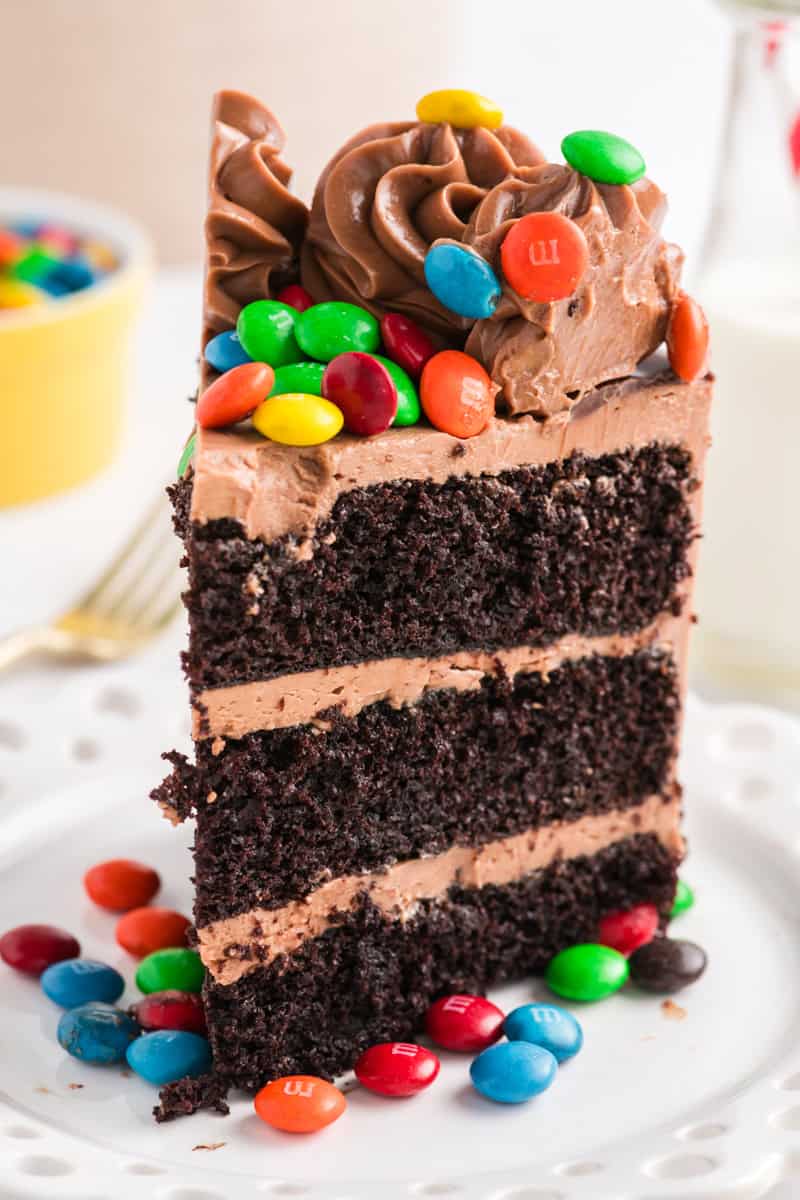
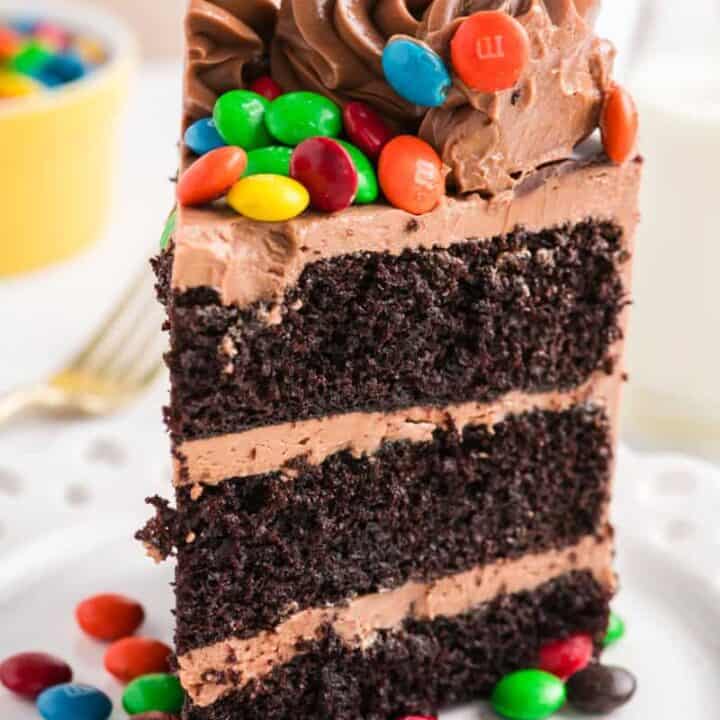
If you’re looking for a chocolate cake that knows how to have a little fun, this M&M Chocolate Cake is it. Three layers of rich chocolate cake are filled and frosted with silky chocolate Swiss meringue buttercream, finished with a glossy chocolate ganache drip, and topped with plenty of colorful M&M’s.
It’s definitely a project cake. There are a few components to make, and the decorating takes a little patience, but the finished cake is absolutely worth it.
And honestly? Look at it. Chocolate cake + chocolate buttercream + ganache + M&M’s is not exactly a combination that needs much convincing. 😉
This was inspired by my Best Big Fat Chewy M&M Chocolate Chip Cookie recipe on this site!
Jump to:
Why You’ll Love This Recipe
Highlight the key features of the recipe:
- Three layers of rich chocolate cake make this a seriously impressive dessert.
- Chocolate Swiss meringue buttercream gives the cake a silky, smooth finish without being overly sweet.
- Chocolate ganache adds those dramatic drips down the sides.
- The cake can be broken into smaller steps, making it easier to tackle when you don't have an entire afternoon to dedicate to baking.
A Few Things to Know Before You Start
Use a clear shot of the ingredients for this recipe, prepped, and labeled if necessary. AddThis isn't a "mix everything in one bowl and throw it in the oven" kind of cake. There are several components, so I recommend reading through the entire recipe before you begin.
The good news is that you don't have to make everything on the same day. In fact, if you're making this cake for a special occasion, I recommend spreading the work out. More on that below.
Don't skip the thermometer
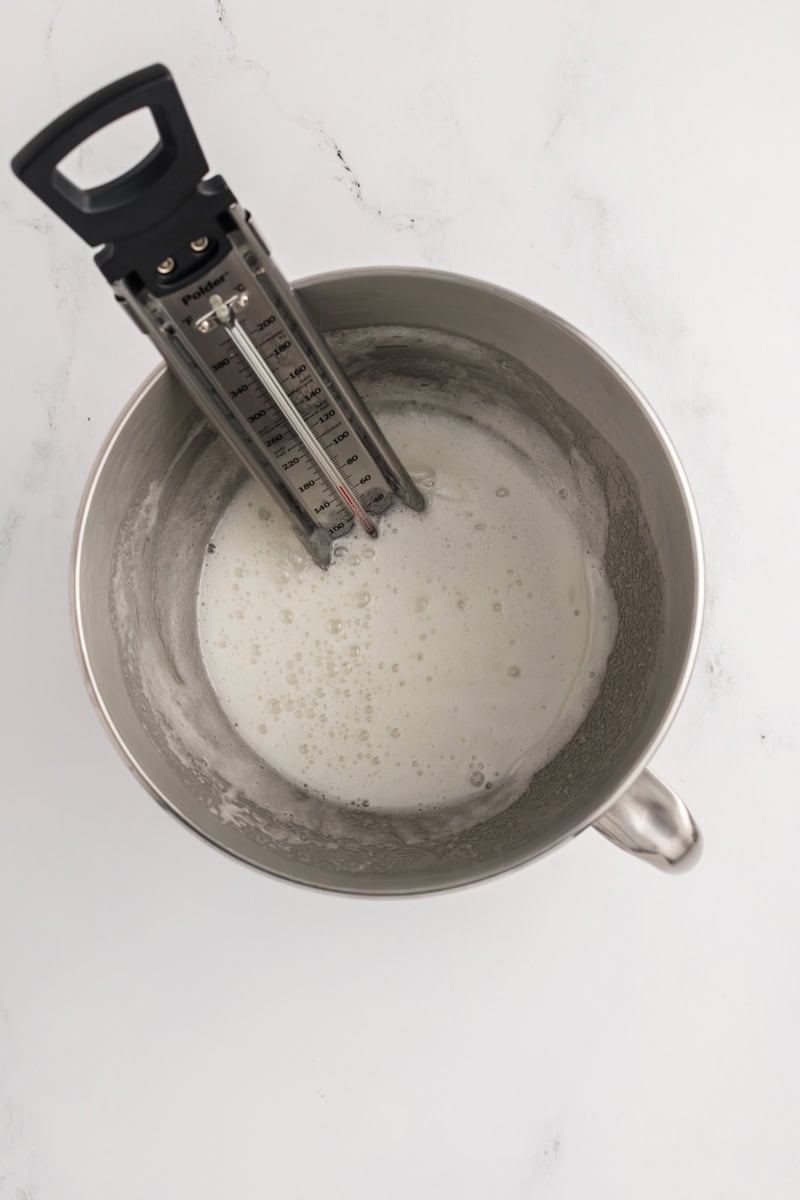
The Swiss meringue buttercream requires the egg whites and sugar to reach 160°F before whipping. An instant-read or candy thermometer makes this much easier and takes the guesswork out of the process.
Once the sugar has dissolved and the mixture reaches temperature, the meringue needs to cool completely before you start adding the butter. This is one of the most important steps for getting smooth buttercream.
The cake batter will be thin
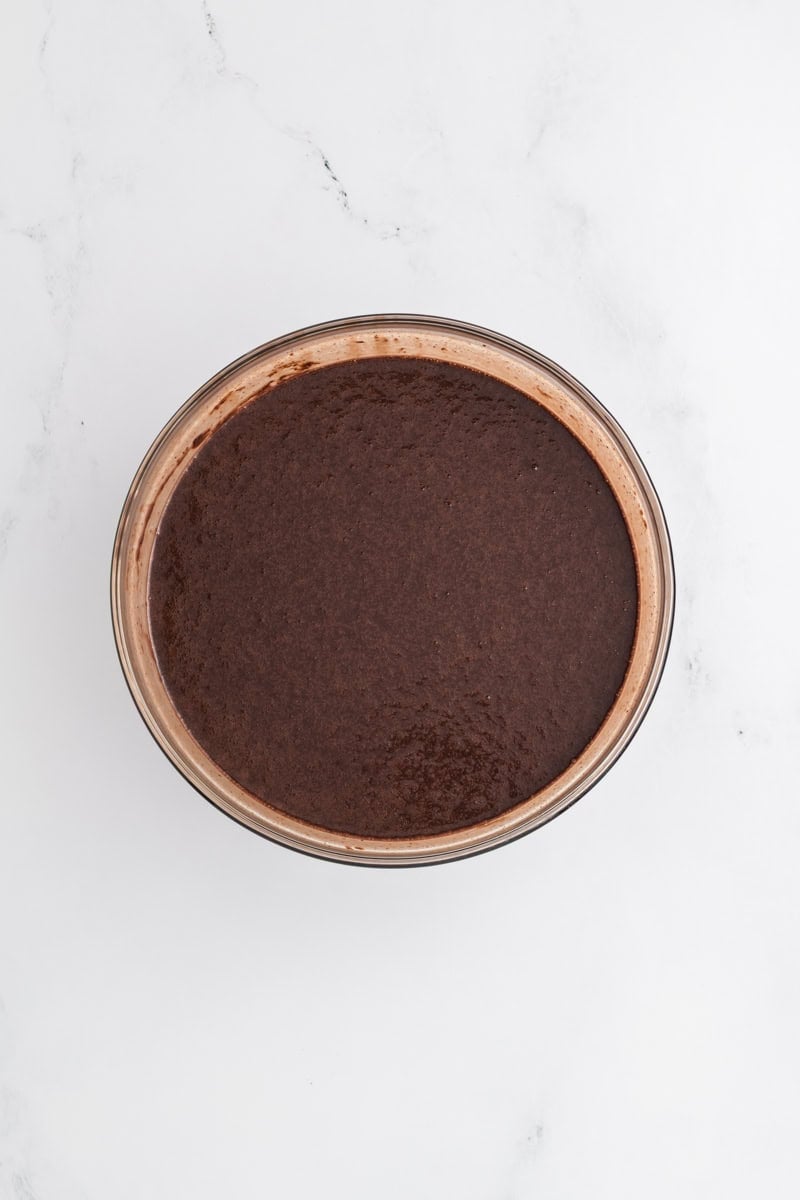
Don't panic when you add the boiling espresso mixture. The finished batter is supposed to be quite thin. That's exactly what you want.
The espresso doesn't make the cake taste like coffee. Instead, it helps deepen the chocolate flavor.
Tips for Making Swiss Meringue Buttercream
Swiss meringue buttercream has a reputation for being a little intimidating, but once you understand what it's doing, it's much less scary.
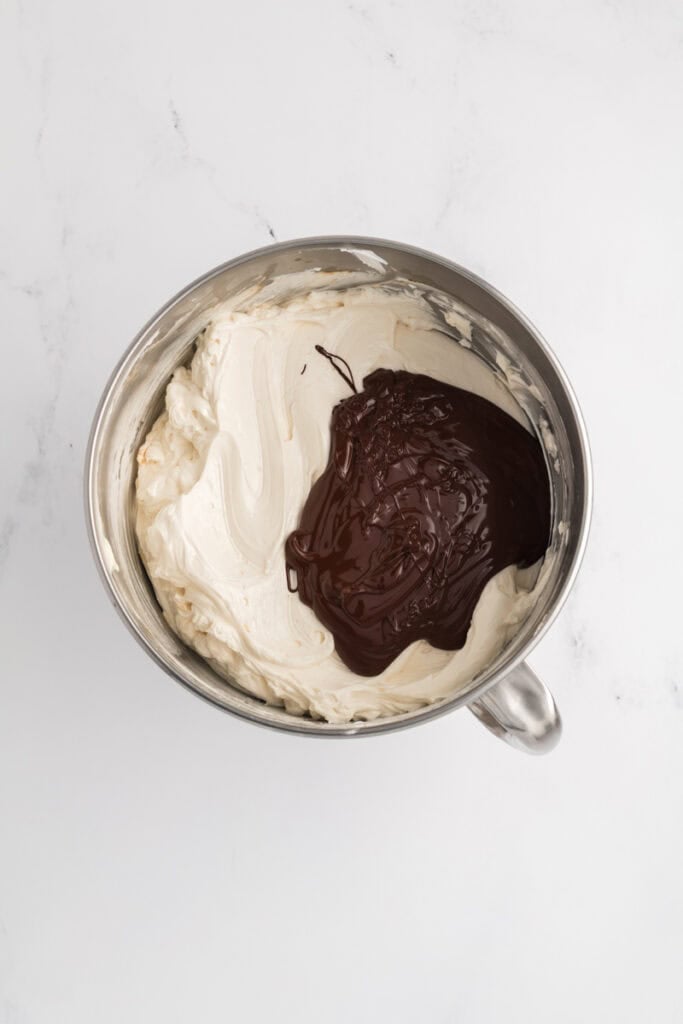
The key is temperature. Your meringue needs to be cool before the butter goes in, and the butter should be soft enough to incorporate easily. If the temperatures aren't quite right, the buttercream can look soupy, curdled, or generally like you've made a terrible mistake.
You probably haven't. Keep going. 😉
My buttercream is too soft or soupy.
The meringue may have still been too warm when you started adding the butter.
Place the bowl in the refrigerator for 5–10 minutes, then return it to the mixer and beat again. Repeat as needed until the buttercream becomes smooth and spreadable. Swiss meringue buttercream is very temperature-sensitive, so a little chilling can make a big difference.
My buttercream looks curdled.
Don't throw it away!
Curdled-looking buttercream often means the mixture is too cold. Continue beating it; if it isn't coming together, gently warm the outside of the mixing bowl while the mixer is running. You can also briefly place the bowl over a pot of simmering water, then return it to the mixer and continue beating.
The goal is to warm the buttercream just enough to bring the ingredients back together—not melt the buttercream.
My buttercream looks greasy.
Keep mixing.
Swiss meringue buttercream can look broken or greasy while the butter is being incorporated. Continue adding the butter gradually and keep mixing. It should eventually transform into a smooth, silky buttercream.
My buttercream is too firm after refrigerating.
That's normal. There's a lot of butter in Swiss meringue buttercream, so it will become quite firm when chilled.
Let it come to room temperature, then return it to the mixer with the paddle attachment and beat until smooth and creamy again.
How do I get really smooth buttercream?
Once the buttercream is finished, switch to the paddle attachment and mix on low speed for a little while. This can help knock out some of the larger air bubbles that can make the frosting look less smooth when you're trying to get those clean cake sides.
Make-Ahead Options
This is where I recommend giving yourself a little breathing room. You don't have to make this entire cake from start to finish in one marathon baking session.
Option 1: Make the cake layers ahead
The chocolate cake layers can be baked 1–2 days ahead. Once completely cool, wrap them tightly in plastic wrap and keep them in the refrigerator if you're assembling the cake within a day or two.
You can also freeze the wrapped cake layers for longer storage. Thaw them before assembling the cake.
Option 2: Make the buttercream ahead
The chocolate Swiss meringue buttercream can also be made ahead.
Store it covered in the refrigerator for up to about 5 days, or freeze it for longer storage. When you're ready to use it, allow refrigerated or frozen buttercream to come back to room temperature and then re-whip it until smooth and creamy before decorating.
Option 3: Break the whole cake into two days
This is what I did, and it works well!
Day 1:
- Bake the cake layers.
- Make the Swiss meringue buttercream.
- Store everything appropriately.
Day 2:
- Assemble and frost the cake.
- Chill the cake.
- Make and add the ganache drip.
- Pipe the buttercream swirls.
- Add the M&M’s.
This makes the project feel much more manageable.
How to Store M&M Chocolate Cake
Because this cake is covered in Swiss meringue buttercream, it can be kept at room temperature for a limited amount of time, but I recommend refrigerating it if you're storing it for longer than a day or two. A fully frosted cake can generally be refrigerated for up to about a week when properly covered.
For the best texture and flavor, take the cake out of the refrigerator before serving and allow it to come closer to room temperature. Swiss meringue buttercream is much softer and silkier once it has had time to warm up.
If you're storing leftover slices, wrap them well or place them in an airtight container before refrigerating.
Frequently Asked Questions
I recommend sticking with semisweet chocolate because it gives you a nice balance with the butter and sugar. A darker chocolate will give you a more intense chocolate flavor, while milk chocolate will make the buttercream sweeter.
No, but I highly recommend it. You won't taste coffee in the finished cake. The espresso simply helps deepen the chocolate flavor.
Yes. The acrylic disc is a tool for getting those very clean, smooth sides and a sharp top edge. If you don't have one, you can smooth the cake using an offset spatula and bench scraper.
A Little Patience Goes a Long Way
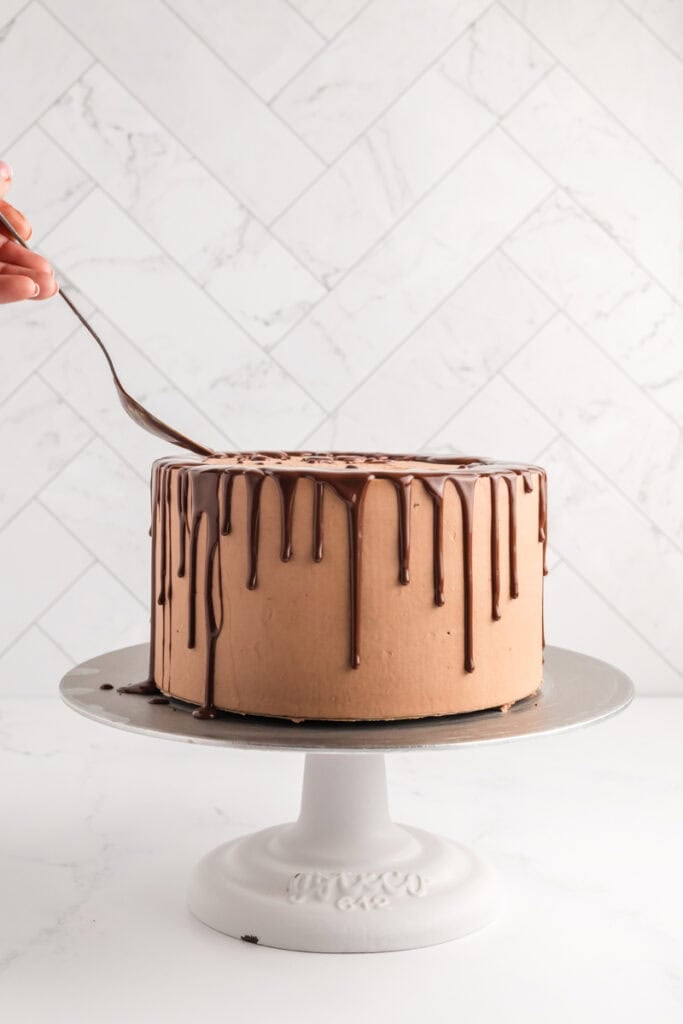
This is one of those cakes where the finished result makes all the individual steps feel worthwhile. Give yourself enough time to let the meringue cool, let the buttercream come together, chill the cake between decorating steps, and let the ganache reach the right consistency before dripping it down the sides.
Don't rush the process.
And if your Swiss meringue buttercream looks a little weird along the way?
Keep mixing. It's probably fine. 😉
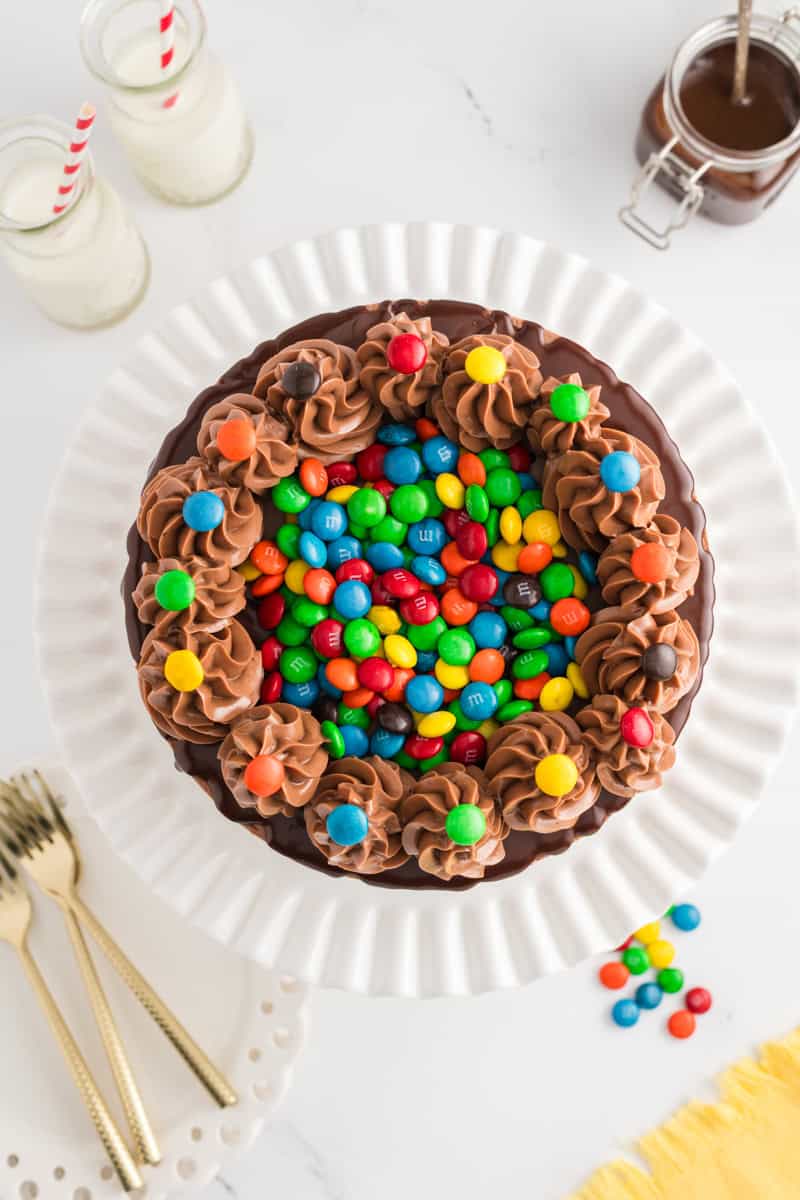
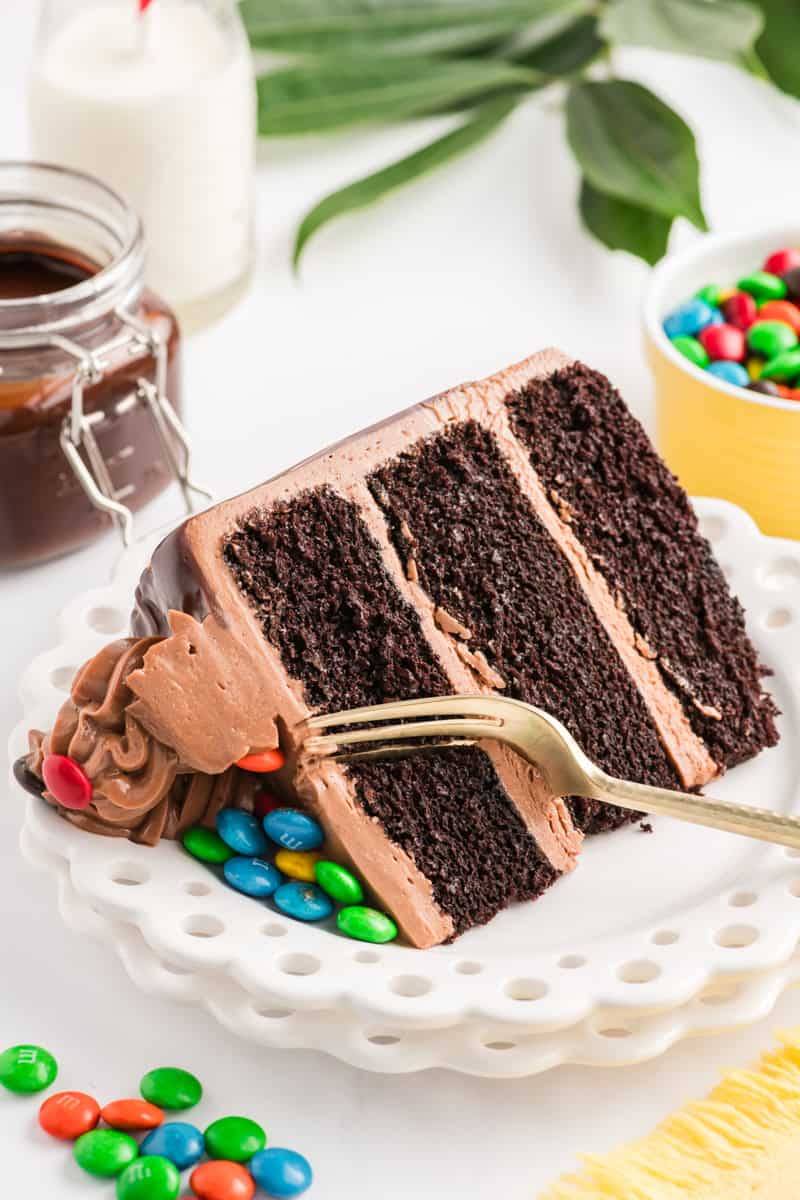
Once you get that silky chocolate buttercream onto those three layers of chocolate cake, add the ganache drips and pile those M&M’s into the center, you'll see why this one is worth the extra effort.
Let's Connect
Want more behind-the-scenes peeks, recipe drops, and food photography inspo? Come hang out with me on Instagram, Pinterest, Facebook and more. I’d love to connect with you there!
Recommended Recipes
Looking for other recipes like this? Try these:

M&M Chocolate Cake
This rich and decadent M&M Chocolate Cake features three layers of moist chocolate cake filled and frosted with silky chocolate Swiss meringue buttercream, finished with a chocolate ganache drip, and topped with colorful M&M’s. It’s a fun, impressive layer cake that’s perfect for birthdays, celebrations, or whenever you’re craving something extra chocolatey.
Ingredients
Tools Needed
- Three 8-inch round cake pans
- Non-stick baking spray
- Parchment paper
- Stand mixer with whisk and paddle attachments
- Instant-read or candy thermometer
- Wire cooling racks
- Kitchen scale
- 8-inch round cake board
- Cake turntable
- 8-inch acrylic cake disc
- Offset spatula
- Bench scraper or cake scraper
- Piping bag
- Large open-star piping tip, such as an Ateco #827
Chocolate Cake
- 2 cups plus 2 tablespoons (15 ounces/428 grams) granulated sugar
- 1¾ cups (8.3 ounces/237 grams) all-purpose flour
- ¾ cup plus 2 tablespoons (3 ounces/87 grams) unsweetened Dutch-process cocoa powder, sifted
- 1½ teaspoons baking powder
- 1½ teaspoons baking soda
- 1½ teaspoons table salt
- 2 large eggs
- 1 cup (8 ounces/240 grams) whole milk
- ½ cup (3.6 ounces/104 grams) vegetable oil
- 1 tablespoon vanilla extract
- 2 tablespoons instant espresso powder
- ¾ cup (6.3 ounces/180 grams) boiling water
Chocolate Swiss Meringue Buttercream
- 9 large egg whites (9 ounces/255 grams)
- 2 cups (14 ounces/397 grams) granulated sugar
- 3½ cups (28 ounces/794 grams) unsalted butter, softened
- 8 ounces (227 grams) semisweet chocolate, finely chopped
- 1 tablespoon vanilla extract
- ½ teaspoon table salt
Chocolate Ganache Drip
- 4 ounces (113 grams) semisweet chocolate, finely chopped
- 1/2 cup (4 ounces/113 grams) heavy cream
- 1 tablespoon (½ ounce/14 grams) unsalted butter
For Decorating
- 1 to 1½ cups (6–9 ounces/170–255 grams) M&M's
Instructions
Chocolate Cake
- Adjust an oven rack to the middle position and heat the oven to 325°F. Spray three 8-inch round cake pans with nonstick baking spray.
- In a large bowl, whisk together the sugar, flour, cocoa powder, baking powder, baking soda, and salt.
- In a 4-cup liquid measuring cup or medium bowl, whisk together the eggs, milk, oil, and vanilla extract.
- In a 2-cup liquid measuring cup or medium bowl, whisk together the espresso powder and boiling water.
- Add the egg mixture to the dry ingredients and whisk until combined. Use a rubber spatula to scrape down the sides and bottom of the bowl.
- Pour the espresso mixture into the batter and whisk until smooth. The batter will be thin.
- Divide the batter evenly between the prepared cake pans.
- Bake for 25 to 30 minutes, or until a wooden skewer inserted into the center comes out with a few moist crumbs attached.
- Let the cakes cool in their pans for 30 minutes on wire racks. Invert the cakes onto wire racks and allow them to cool completely.
Chocolate Swiss Meringue Buttercream
- Place the egg whites and sugar in the heatproof bowl of a stand mixer. Set the bowl over a saucepan containing about 1 inch of barely simmering water, making sure the bottom of the bowl does not touch the water.
- Whisk occasionally until the sugar has dissolved and the mixture reaches 160°F, about 5–7 minutes.
- Transfer the bowl to the stand mixer fitted with the whisk attachment. Whip the meringue on medium-high speed until it forms stiff, glossy peaks and the bowl is completely cool to the touch, about 8–12 minutes.
- Meanwhile, melt the chopped chocolate in a microwave-safe bowl in 20–30 second intervals, stirring between each, until smooth. Set aside to cool until slightly warm but no longer hot.
- Switch to the paddle attachment. With the mixer running on medium speed, gradually add the softened butter, a few tablespoons at a time. Continue mixing until the buttercream becomes smooth and fluffy.
- Add the vanilla and salt and mix to combine.
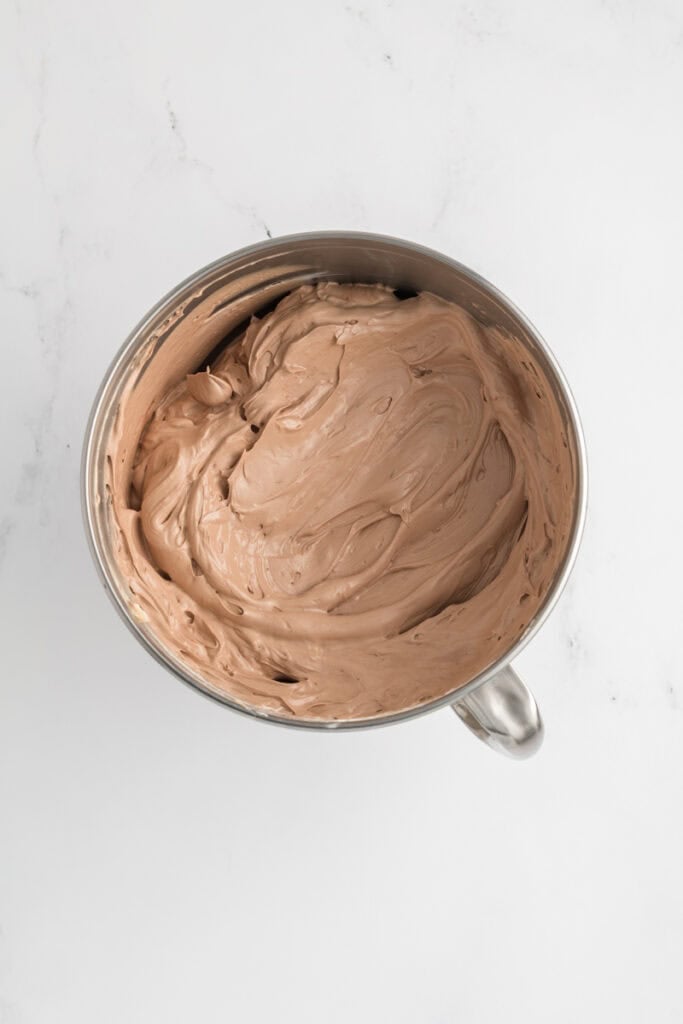
- Slowly add the melted chocolate and mix until completely incorporated and smooth.
- Increase the mixer speed to medium-high and beat for 3 to 5 minutes, until the buttercream is light and silky.
Chocolate Ganache Drip
- Place the chopped chocolate in a heatproof bowl.
- Heat the heavy cream in a small saucepan or microwave until steaming and just beginning to simmer.
- Pour the hot cream over the chocolate and let stand for 2 minutes.
- Stir gently until the chocolate is completely melted and smooth.
- Add the butter and stir until melted and incorporated.
- Let the ganache cool until it reaches a thick but pourable consistency before decorating the cake
Assemble the Cake
- If necessary, use a serrated knife to level the tops of the cooled cake layers.
- Place an 8-inch round cake board on the cake turntable lined with a nonslip mat. Place the first cake layer in the center of the board. Spread approximately 1 cup of buttercream evenly over the top.
- Place the second cake layer on top and gently press to level. Spread another 1 cup of buttercream over the cake.
- Place the final cake layer on top, with the bottom side facing up for a flatter surface.
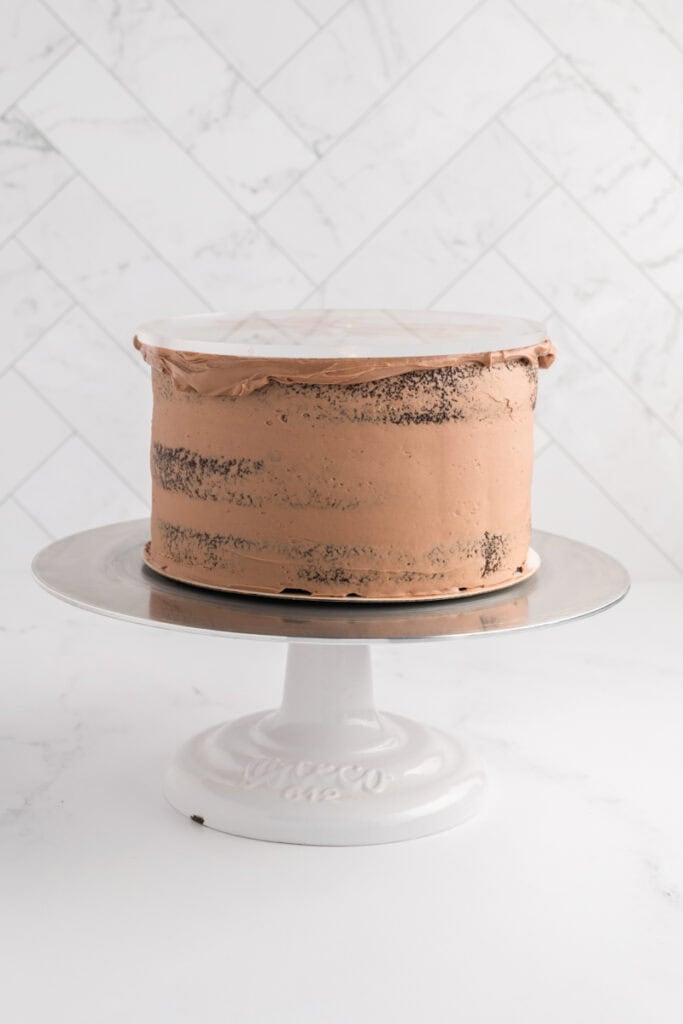
- Apply a thin crumb coat of buttercream over the top and sides of the cake. Freeze for 15 minutes or refrigerate for 30 minutes, or until the buttercream is firm.
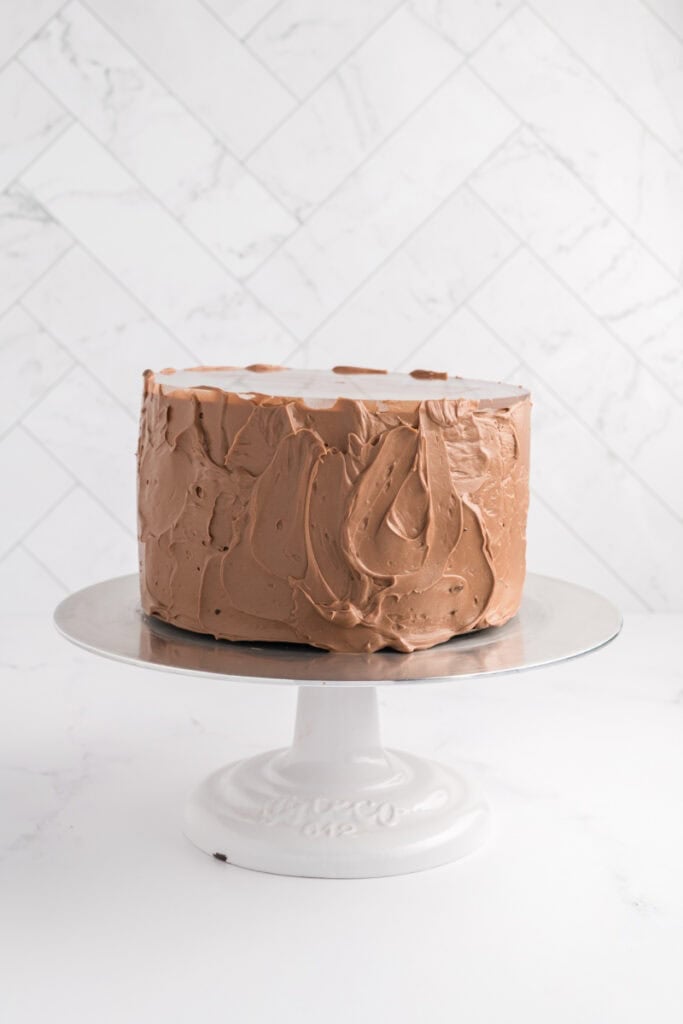
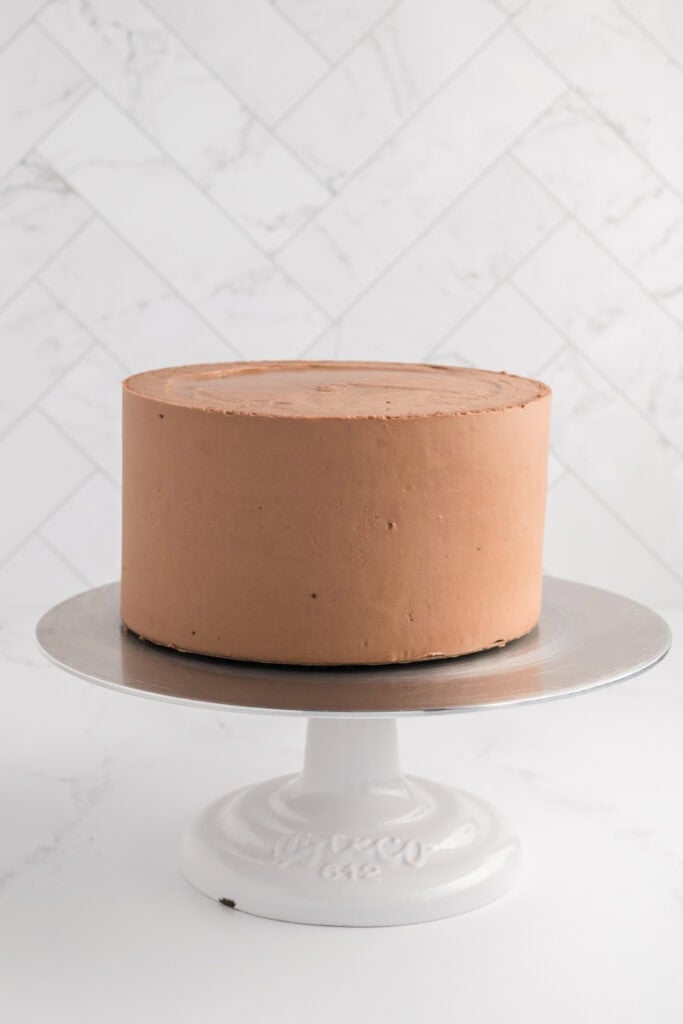
- Apply the remaining buttercream to the top and sides of the cake. Use an offset spatula or cake scraper to smooth the frosting.
- For a smooth finish using an acrylic cake disc: Apply a generous layer of buttercream to the top of the chilled crumb-coated cake and spread it evenly. Place a parchment paper-lined acrylic disc on top of the buttercream, gently pressing it into place. Apply a generous layer of buttercream to the sides of the cake, filling in the space between the cake and the disc. Use a bench scraper to smooth the sides, holding the scraper level against the cake and rotating the turntable as you work. Once the sides are smooth, carefully remove the acrylic disc and smooth the top edge with a small offset spatula.
- Refrigerate the cake for another 15–20 minutes before adding the ganache drip.
- Test the ganache consistency by adding a small drip to the back of the cake. If it runs too quickly, allow it to cool longer. If it doesn't drip easily, warm it slightly.
- Pipe buttercream swirls around the outer edge of the top of the cake using a large open-star piping tip, such as an Ateco #827.
- Spoon M&M's into the center of the cake, filling the area inside the buttercream swirls.
Notes
Make-Ahead: The cake layers and Swiss meringue buttercream can be made a day ahead. Store the cake layers tightly wrapped and store cake and buttercream in the refrigerator refrigera. Bring the buttercream to room temperature and re-whip before assembling the cake.
Make-ahead note: The buttercream can be made up to 5 days ahead and stored refrigerated. Bring it to room temperature and re-whip until smooth before using.

Leave a Reply