
As an Amazon Associate, I earn from qualifying purchases.
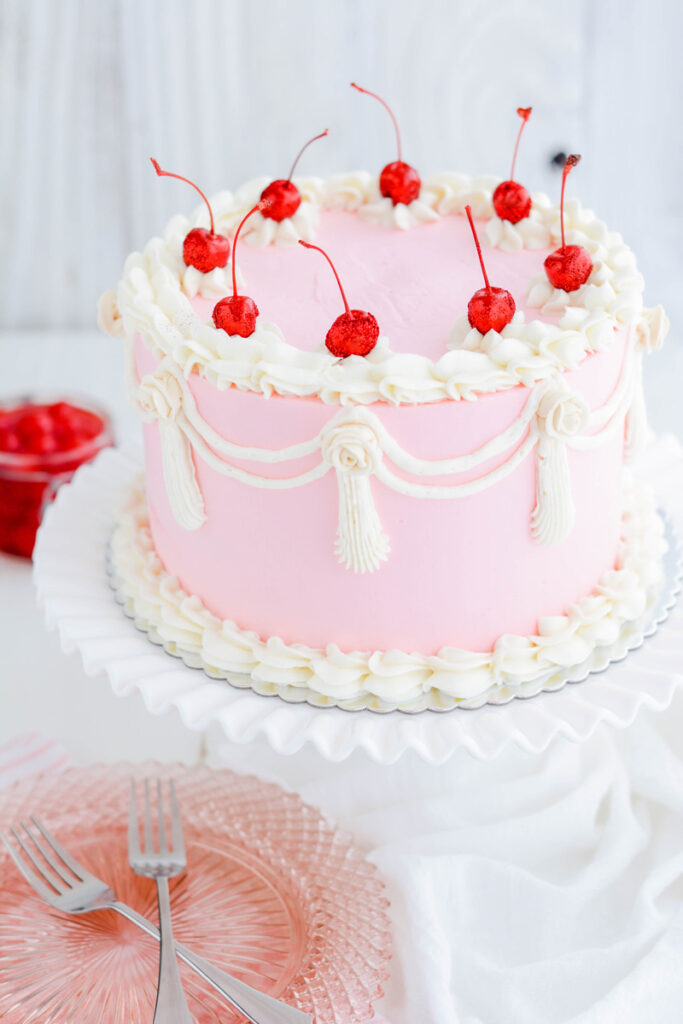
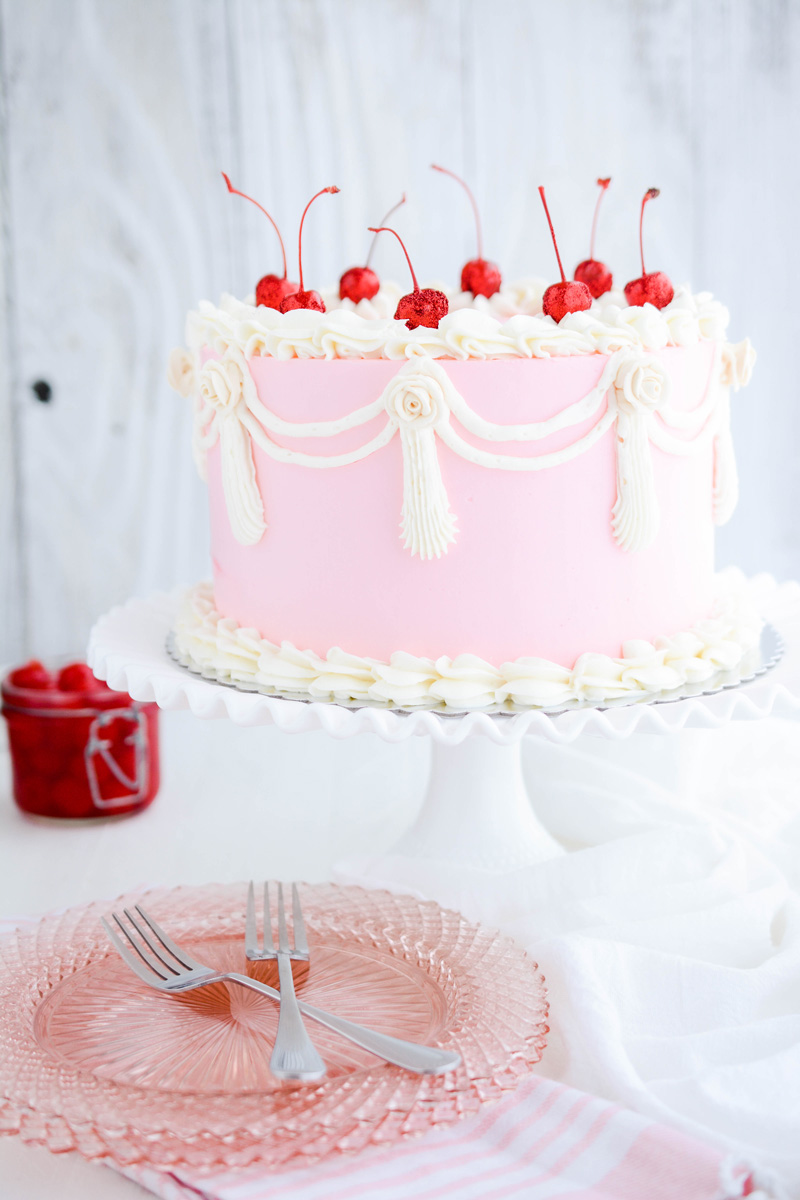
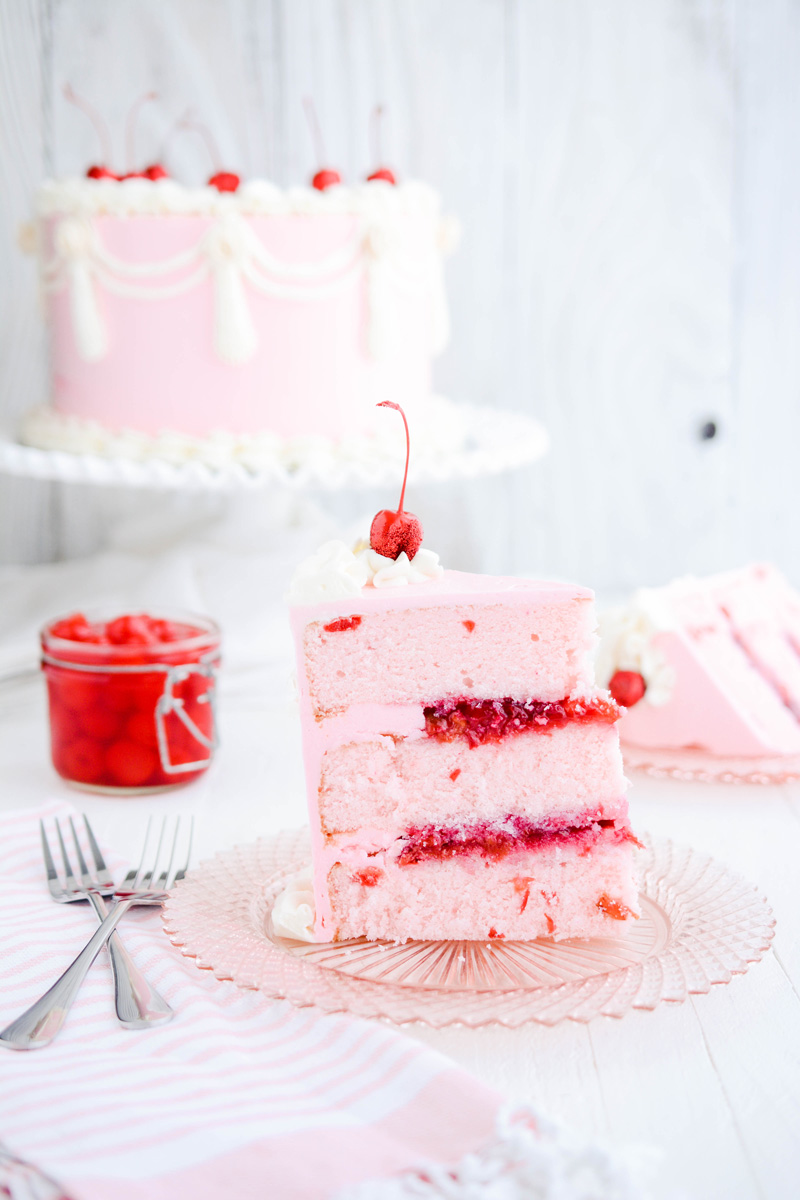
This Vintage Cherry Layer Cake is inspired by those incredible Lambeth Cakes of yesteryear. A Lambeth Cake is a cake that has been intricately piped with royal icing, creating elegant overlapping scrolls, details and garlands.
My version is a little easier to accomplish, but make no mistake, this cake is still a challenge in its simplest form. Piping takes practice. And for me, the third time was the charm.
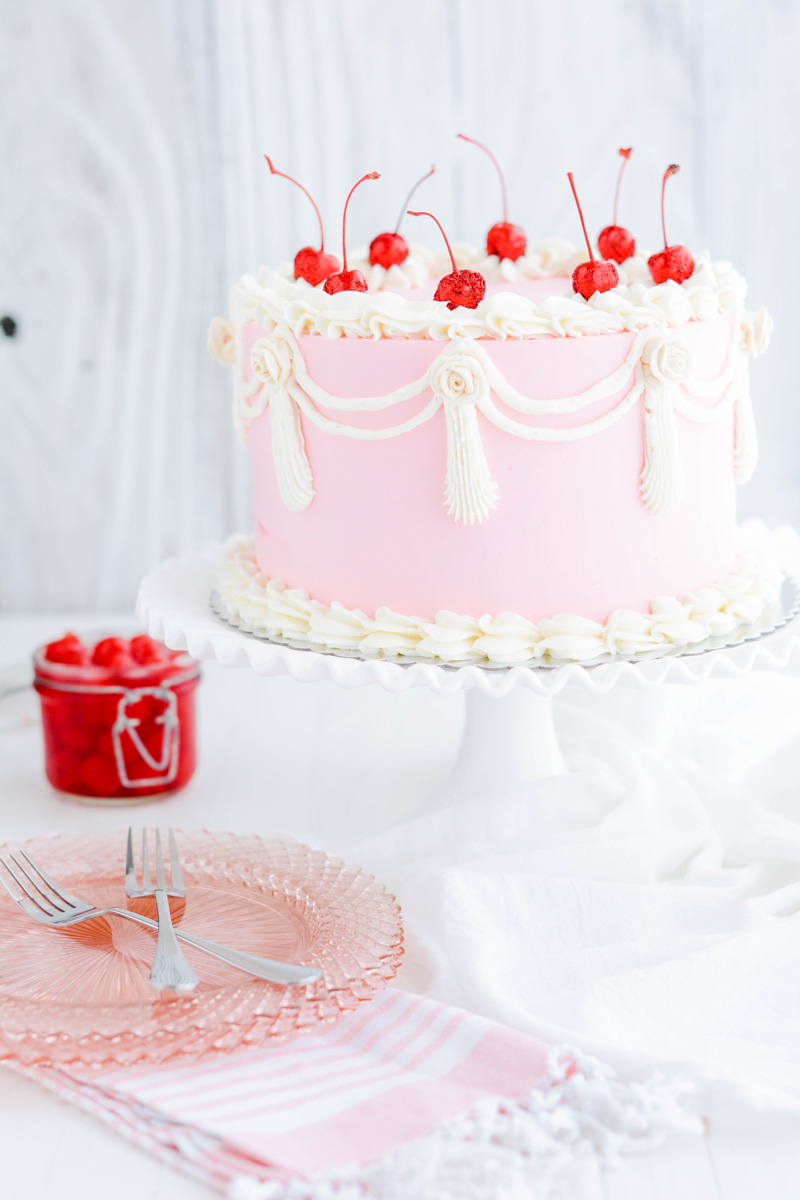
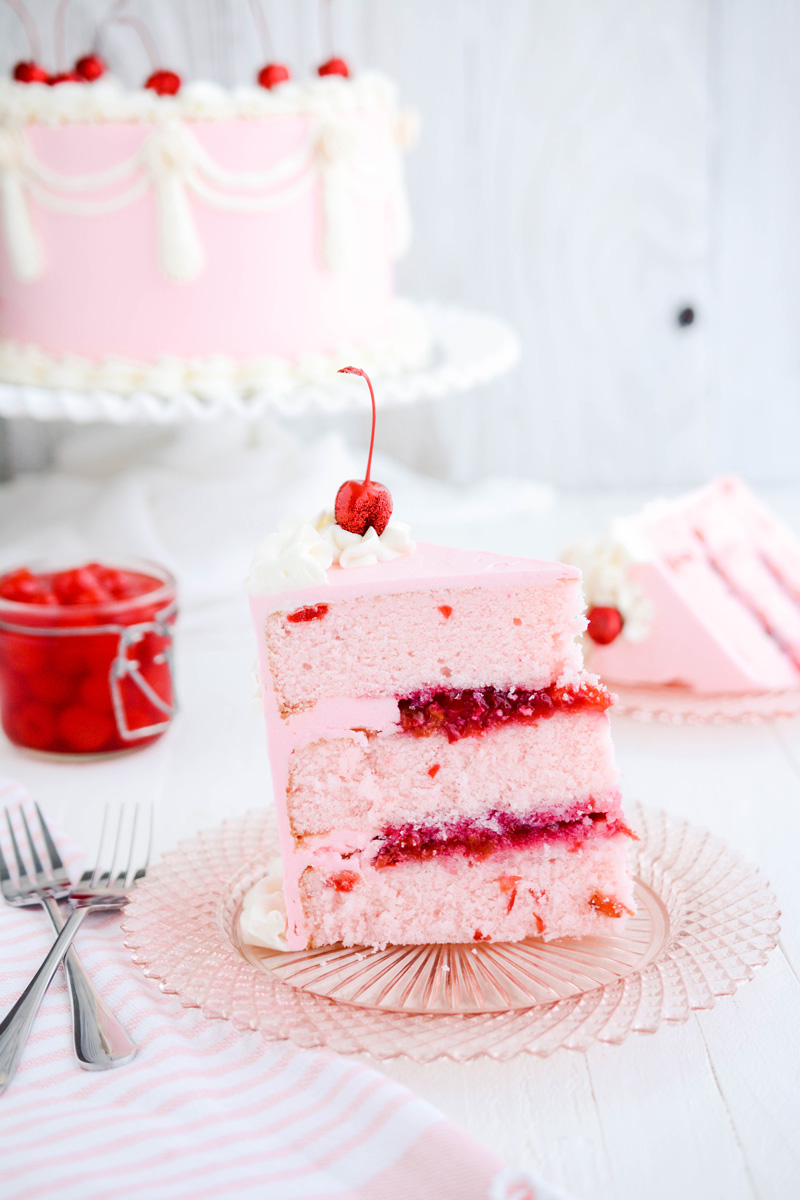
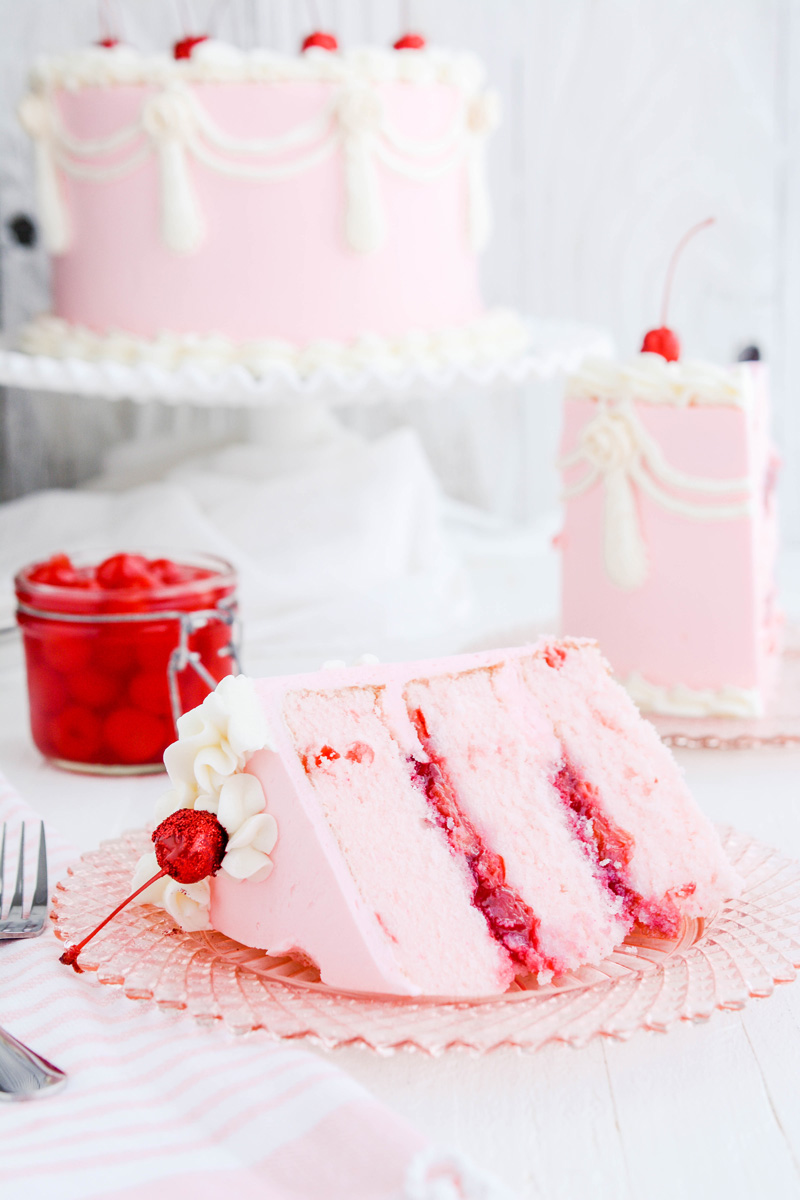
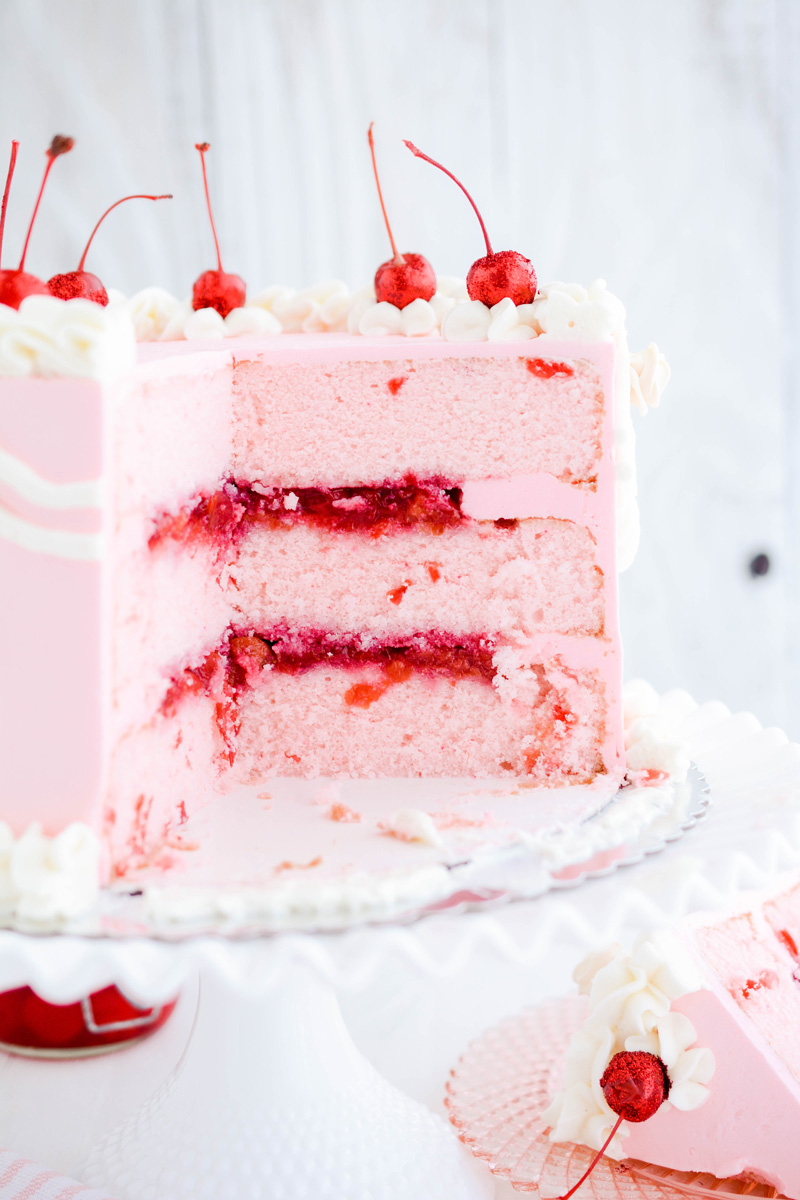
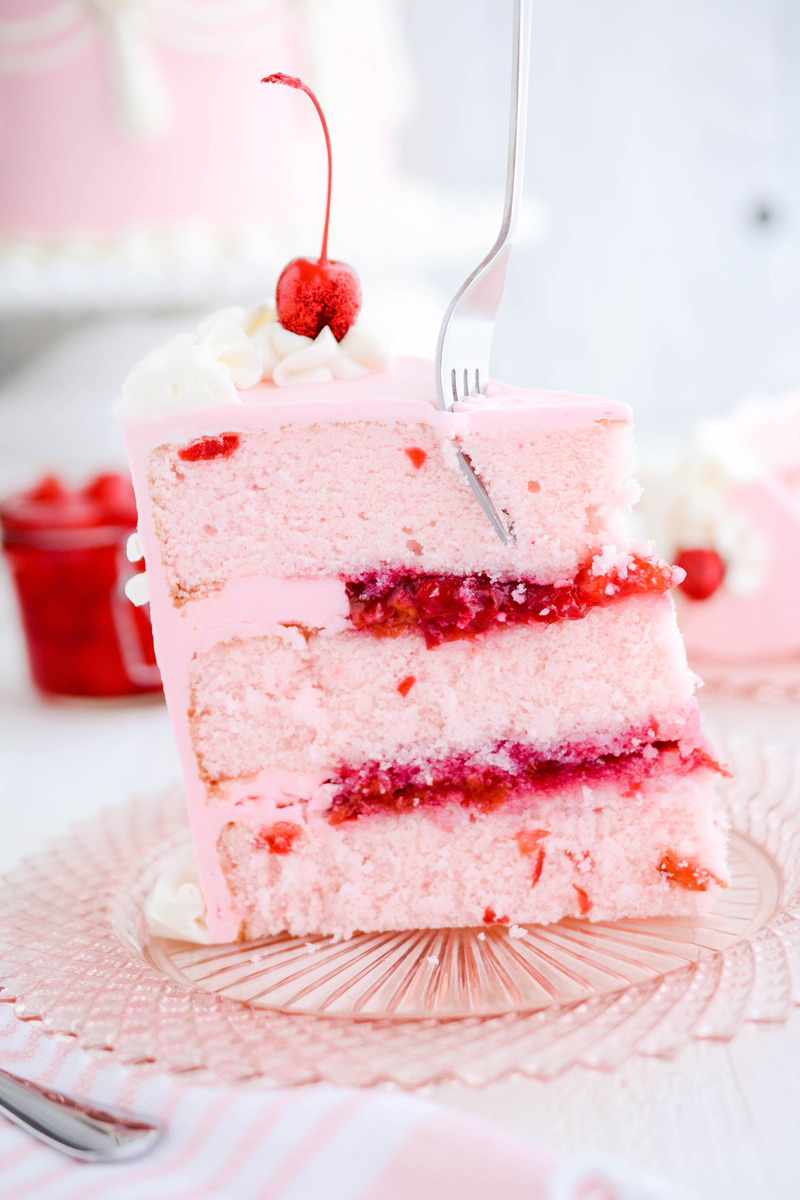
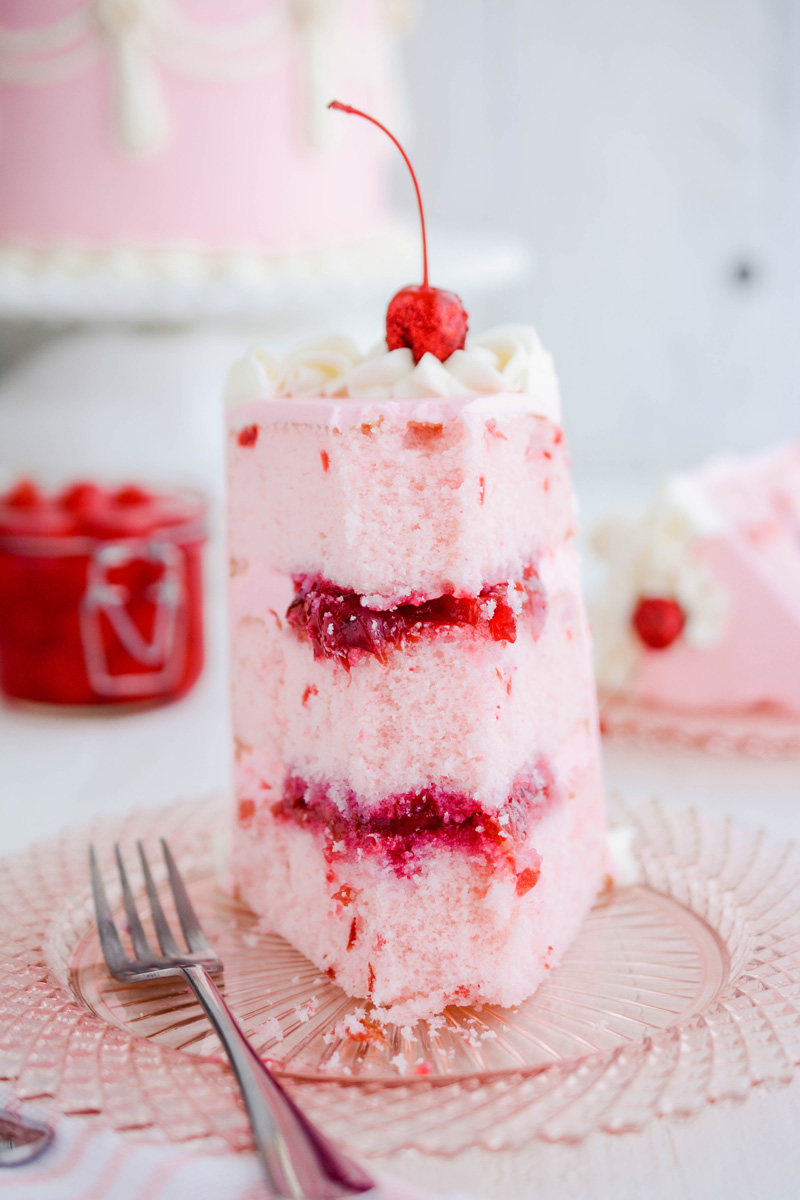
While the outside is beautiful, let's not forget the internals of this cake. You'll be thrilled when you sink your teeth into three layers of fluffy cherry cake that's filled with cherry filling and covered with cherry frosting.
Cherry Cake Tips
- Superfine sugar: If you don't have superfine sugar you can process granulated sugar in a food processor to make your own. (Be sure to add more granulated sugar to the processor and then weigh or measure out.) Superfine sugar will dissolve more easily in your cake batter, plus it helps to create a cake that's light and airy.
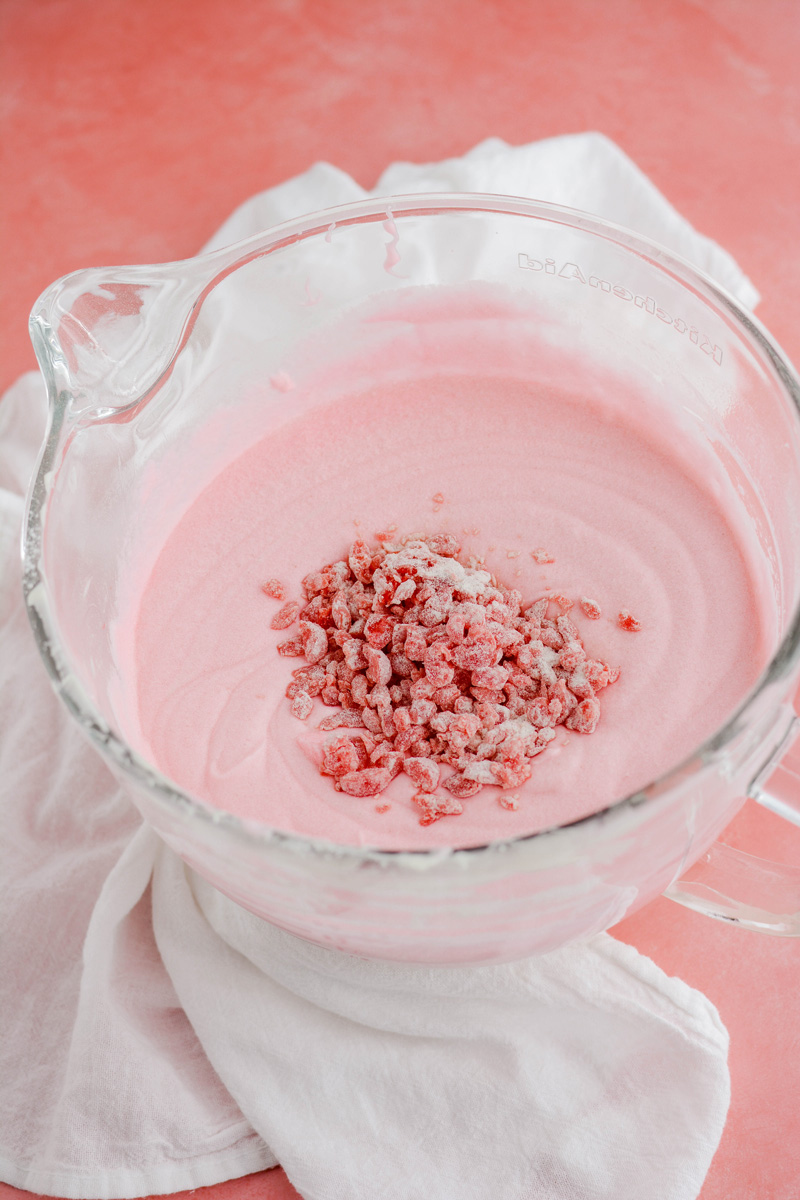
- Chopped maraschino cherries: To help keep the chopped cherries from collecting on the bottom of each cake layer, I mixed them with 3 tablespoons of flour.
- Pink gel food coloring: I used 1 to 2 drops of Americolor's Soft Pink to color the cake layers.
Cherry Filling Tips
- You can use either fresh or frozen cherries for this recipe. However, if you're using frozen cherries, be sure to thaw them, then weigh them.
- I prefer to use frozen tart cherries for this recipe. It gives the filling a cherry pie filling vibe.
- Filling can be stored in the refrigerator for up to 1 week, or in the freezer for up to 3 months.
Cherry Frosting
Are you looking for a bakery-style frosting that’s sweet, smooth and fluffy? Well, look no further because you’ve found it! For the cherry flavoring, I used a cherry baking emulsion.
Layer Cake Assembly
- Place a nonslip mat on top of your cake turntable. Place an 8-inch cake board on top. Spread a small amount of frosting in the center of the cake board to act as glue for the cake. Center one cake layer on the cake board.
- Fit a piping bag with a round tip or coupler and fill the piping bag with frosting. Pipe a frosting dam around the edge of the cake.
- Spread about 1/2 cup filling over the top with an offset cake spatula, smoothing the frosting out all the way to the frosting dam.
- Place the second cake layer on top and pipe another frosting dam around the edge.
- Spread another 1/2 cup filling on top in an even layer, spreading it all the way to the frosting dam.
- Place the last cake layer on top (bottom side up) and gently press down to adhere.
Piping Decorating Tips
I'm a newbie to this design, so I had some help in the way of using stenciling to help keep my piping as clean as possible. Piping is NOT my favorite, but I can attest from practicing on this cake multiple times, practice does help!
Recommended Cake Decorating Tools
- 3-inch round cutter
- Cake scraper
- Wilton piping tip #7
- Wilton piping tip #6B
- Wilton piping tip #2D
- Royal Icing Cream Roses
Vintage Cherry Layer Cake Baking Schedule
- Day 1: Prepare cherry filling.
- Day 2: Bake cake layers.
- Day 3: Prepare frosting, assemble, decorate and serve cake.
Make Ahead
- Cherry filling can be stored up to 1 week in the refrigerator or in the freezer for up to 3 months.
- Cake layers can be baked up to 3 days ahead, wrapped in plastic wrap and stored in the refrigerator.
- Frosting is best used the day it is made.
Let's Connect
The Cake Chica is on the following social media platforms below. Click subscribe, like and follow! We would love to have you over!
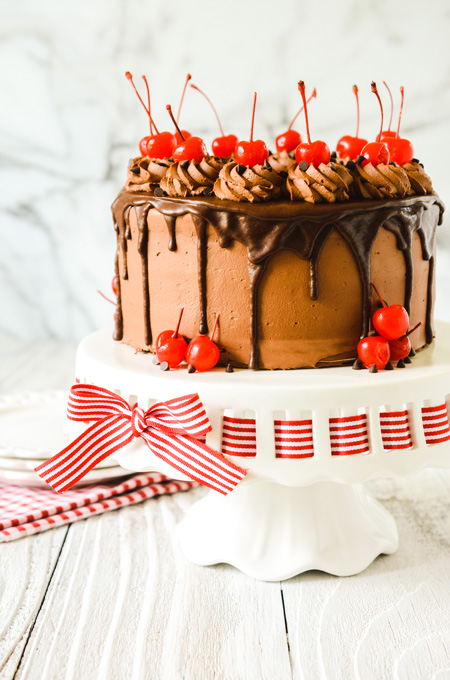
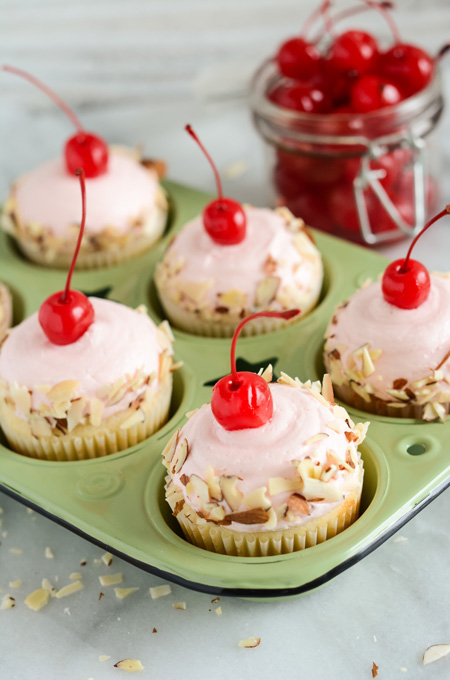
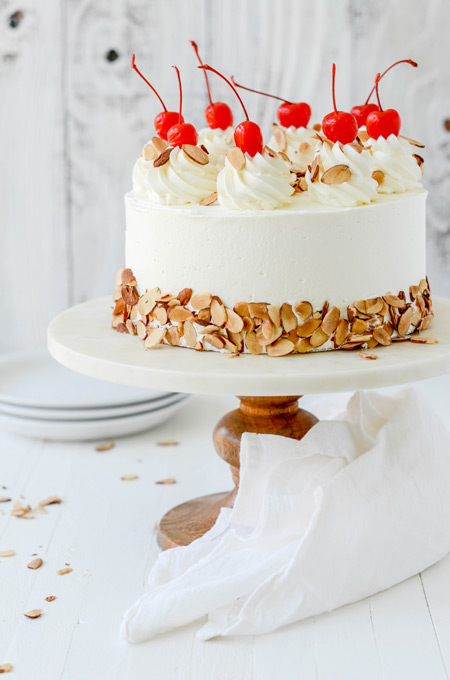
Suggested Recipes
Adapted from The Sweetapolita Bakebook by Rosie Alyea
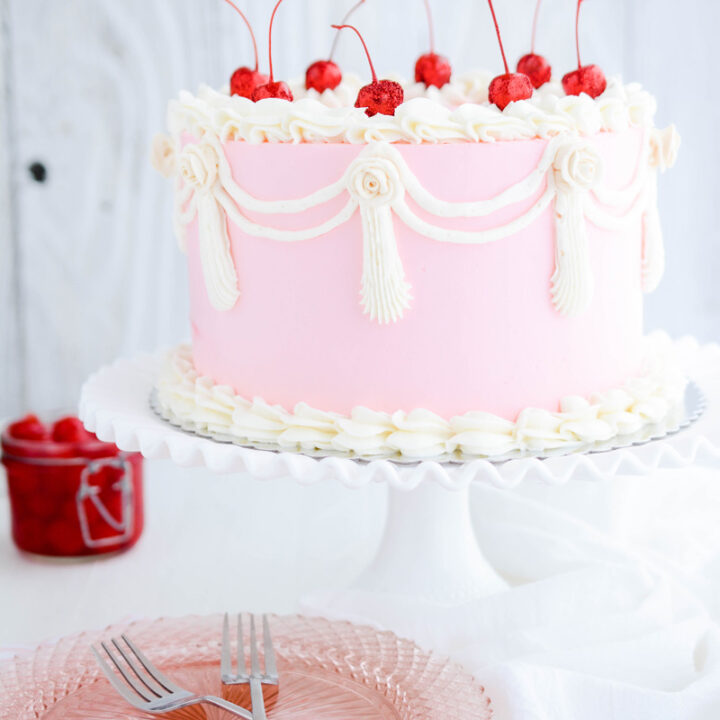
Vintage Cherry Layer Cake
This cake has three layers of cherry cake that's filled with cherry filling and covered with cherry frosting. Piped with swags and shells and garnished with sparkling cherries.
Ingredients
SPECIAL TOOLS
- 3 8-inch round cake pans
- Nonstick baking spray
- Stand mixer
- 4 cup liquid measuring cup
- Americolor Soft Pink gel food coloring
- Nonslip mat
- Cake turntable
- 8-inch round cake board
- Piping bags (4)
- Coupler
- Offset cake spatula
- 8-inch round acrylic disc
- Parchment paper
- Cake scraper/bench scraper
- 10-inch round cake board
- 3-inch round cutter
- Wilton piping tip #7
- Wilton piping tip #6B
- Wilton piping tip 2D
- 8 maraschino cherries
- Edible Red Disco Dust (optional)
CHERRY CAKE
- 3 1/4 cups (13 ounces/375 grams) cake flour, plus 3 tablespoons for chopped cherries
- 2 1/4 cups (16 ounces/450 grams) superfine sugar
- 1 tablespoon, plus 1 teaspoon baking powder
- 1/2 teaspoon salt
- 3/4 cup unsalted butter cut into tablespoon sized pieces, at room temperature
- 1 1/3 cup whole milk, at room temperature
- 2 tablespoons Maraschino cherry juice
- 1 teaspoon fresh lemon juice
- 1 teaspoon Princess Bakery Emulsion or 1 teaspoon vanilla extract
- 7 large egg whites, at room temperature
- 1 to 2 drops of AmeriColor Soft Pink gel color
- 20 Maraschino cherries, chopped
CHERRY FILLING
- 3/4 cup (5.25 ounces/149 grams) granulated sugar
- 2 tablespoons cornstarch
- 11 ounces (2 cups/310 grams) pitted fresh or frozen cherries, thawed if using frozen
- 2 tablespoon lemon juice
- 2 tablespoons water
- 1/4 teaspoon almond extract
BAKERY STYLE CHERRY FROSTING
- 2 cups (16 ounces/450 grams) unsalted butter, at room temperature
- 1/2 cup (8 tablespoons/100 grams) shortening
- 1/4 teaspoon salt
- 6 1/2 cups (26 ounces/820 grams) powdered sugar
- 1 cup (8 fluid ounces) heavy cream
- 2 teaspoons Cherry Baking Emulsion
- Pink gel food coloring
Instructions
CHERRY CAKE
- Adjust an oven rack to the center position and heat to 350 degrees. Spray 3 8-inch round cake pans with nonstick baking spray and set aside.
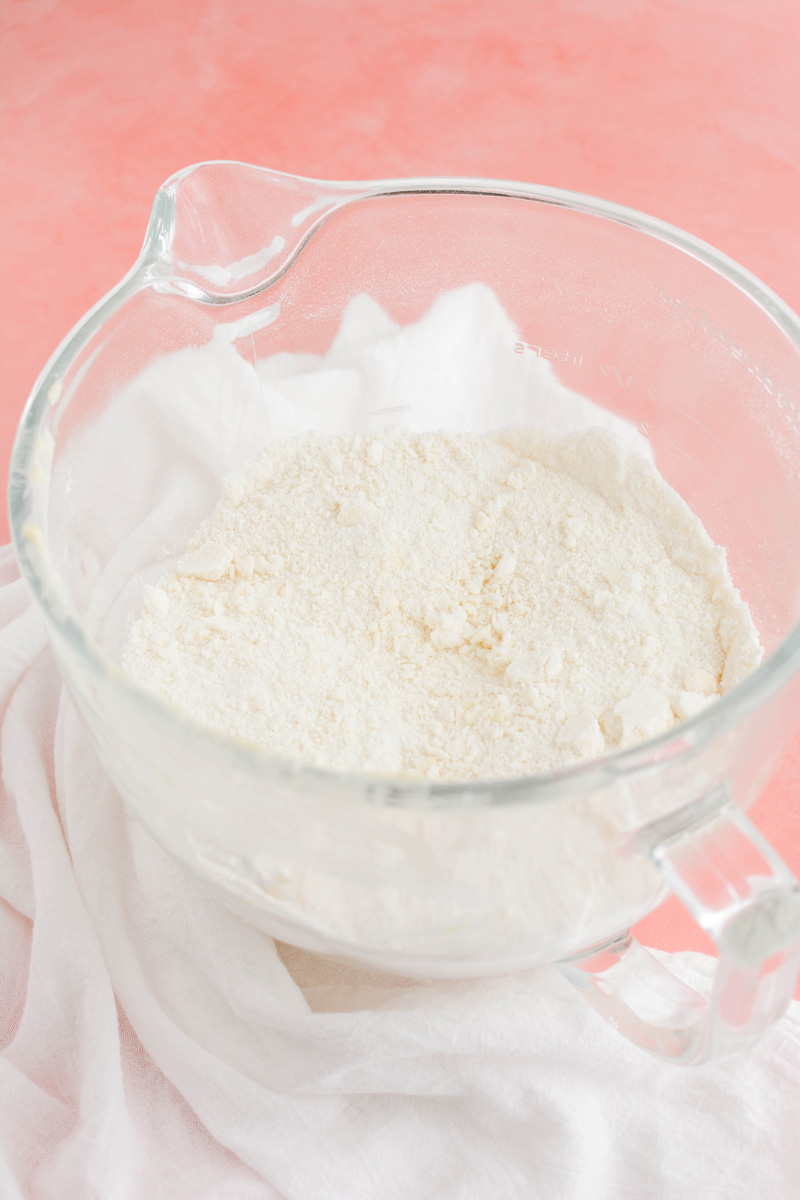
- In the bowl of a stand mixer, combine the flour, sugar, baking powder and salt and mix on low speed until combined.
- Add butter one tablespoon at a time and mix on low speed until all the butter has been incorporated, about 3 minutes.
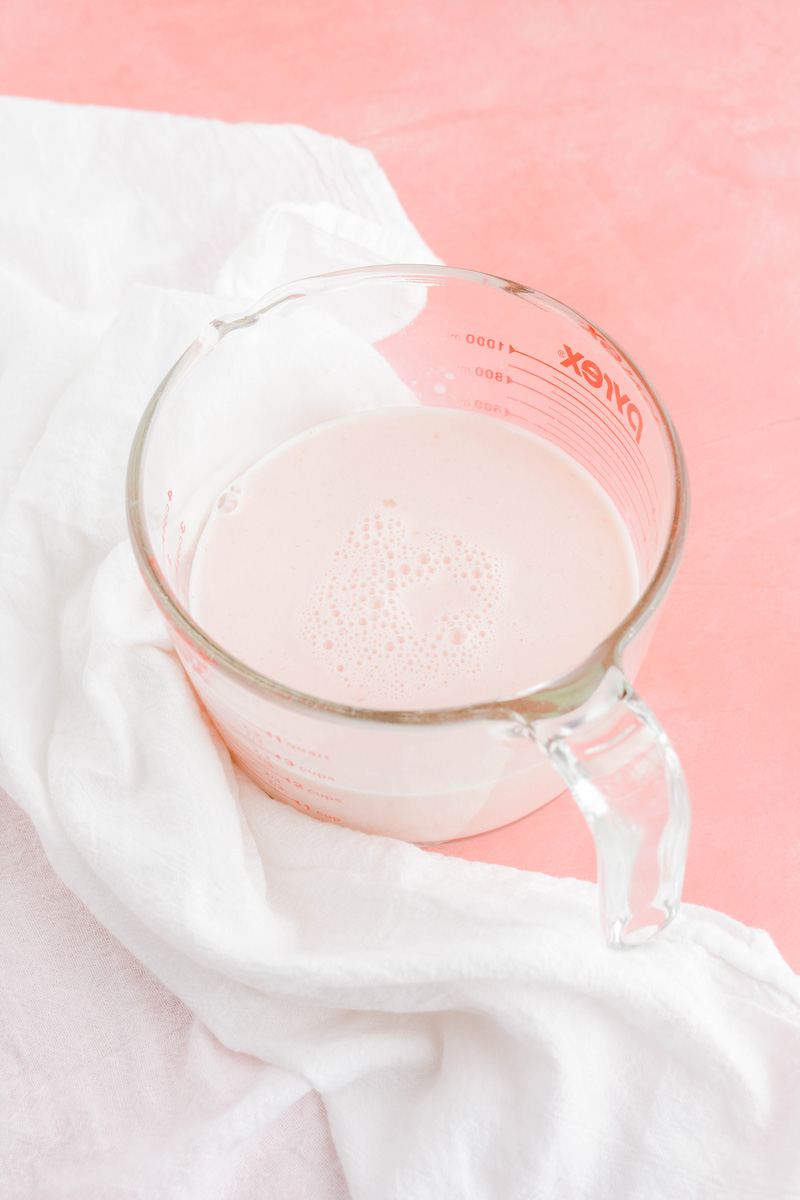
- In a 4 cup liquid measuring cup add the milk, Maraschino cherry juice, lemon juice, Emulsion and egg whites and whisk to combine.
- Add about 3/4 of the egg mixture to the dry ingredients and mix for 2 minutes on medium speed. Scrape the sides of the bowl as needed. Add the remaining egg mixture and mix on low speed for 1 minute. Add pink gel food color and mix until combined.
- Toss the chopped cherries in a little bit of flour and add gently fold into the cake batter.
- Divide the cake batter into the prepared cake pans and bake for 20 to 25 minutes, or until a toothpick inserted in the center comes out with a few moist crumbs attached. Let cakes cool in their pans on wire racks for 10 minutes. Invert cakes on to wire racks and cool completely.
CHERRY FILLING
- In a small saucepan, combine the sugar and cornstarch.
- Add the cherries, lemon juice and water and cook over medium heat.
- Bring to a simmer, stirring frequently to prevent the mixture from burning. Reduce the heat to low and allow to simmer for about 10 minutes, stirring occasionally.
- Once thickened, remove from the heat and stir in the almond extract. Cool for 15 minutes before transferring to an airtight container and store in the refrigerator.
BAKERY-STYLE FROSTING
- In the bowl of a stand mixer with the paddle attachment attached, beat the butter, shortening and salt on medium speed until light and fluffy, about 8 minutes. Add the powdered sugar, heavy cream, and emulsion and slowly mix until combined, about 1 minute.
- Increase the mixer speed to medium-high and beat until light and fluffy, about 6 minutes.
- Remove about 2 1/2 cups frosting and reserve for piping. With the remaining frosting, add a drop or two of Soft Pink gel food coloring and mix until combined.
- The frosting will keep in an airtight container in the refrigerator for up to 3 days. Bring chilled frosting room temperature and beat on low speed to soften. You can also warm the frosting in a heatproof container in the microwave in 10 second intervals, stirring after each interval until the frosting is smooth.
ASSEMBLE CAKE
- Place a nonslip mat on top of your cake turntable. Place an 8-inch cake board on top. Spread a small amount of frosting in the center of the cake board to act as glue for the cake. Center one cake layer on the cake board. Fit a piping bag with a round tip or coupler and fill the piping bag with frosting. Pipe a frosting dam around the edge of the cake. Spread about 1/2 cup filling over the top with an offset cake spatula, smoothing the frosting out all the way to the frosting dam.
- Place the second cake layer on top and pipe another frosting dam around the edge. Spread another 1/2 cup filling on top in an even layer, spreading it all the way to the frosting dam. Place the last cake layer on top (bottom side up) and gently press down to adhere.
CRUMB COATING
- Apply a small amount of buttercream on top of the cake and with an offset cake spatula, spread a thin layer of frosting over the top and sides of the cake, catching any loose crumbs and sealing them in. Refrigerate or freeze the cake for 15 to 30 minutes.
FROSTING THE CAKE
- Apply a large dollop of frosting on top of the cake and spread out evenly. Line an 8-inch round acrylic disc with parchment paper with a bit of frosting. Line up the acrylic disc with the bottom cake board and gently press on to the top of the cake to adhere. Add more frosting to the sides of the cake, making sure to cover the bottom cake board completely, and gently press a cake scraper against the acrylic disc and bottom cake board. Slowly rotate the cake turntable all the way around to create a smooth finish on the side of the cake. Chill the cake in the refrigerator or freezer for 15 to 30 minutes.
- Insert a small offset spatula under the acrylic disc and rotate the turntable until the disc releases. Peel off the parchment paper. Add more frosting to the top of the cake to fill in any gaps if needed. Smooth out the top of the cake with an offset cake spatula while rotating the turntable. Spread a small dollop of frosting on a 10-inch round cake board and carefully transfer the cake to the board. Place the cake back on the cake turntable.
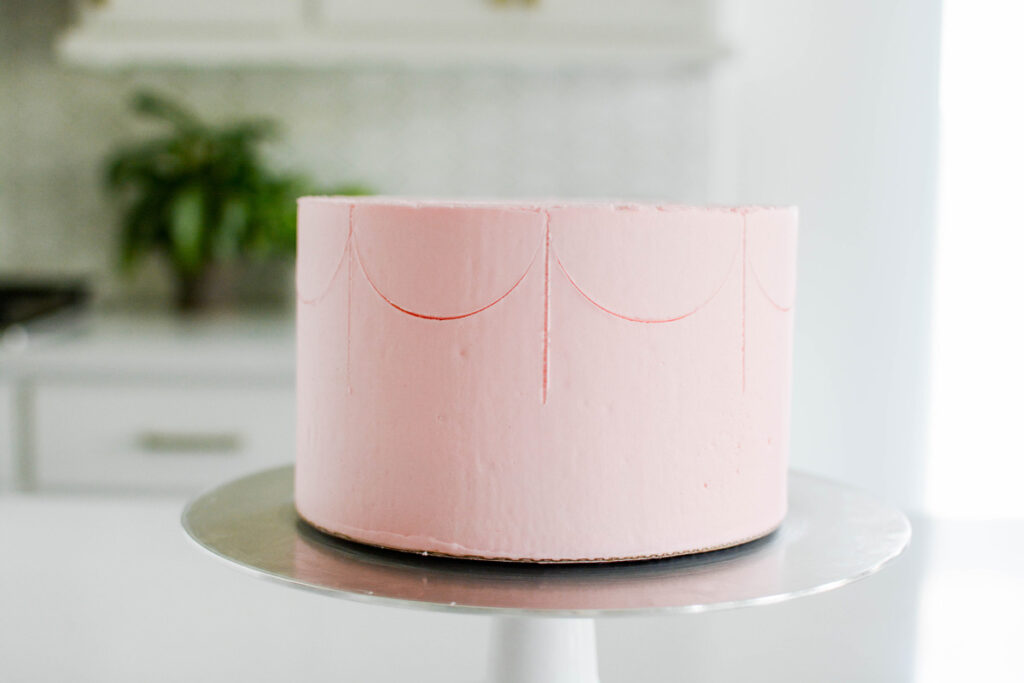
DECORATING
- Use a 3-inch round cutter and stamp semi circle outlines from the top edge of the cake.
- Using a cake scraper, stamp out lines for the shell placement between the stamped semicircles.
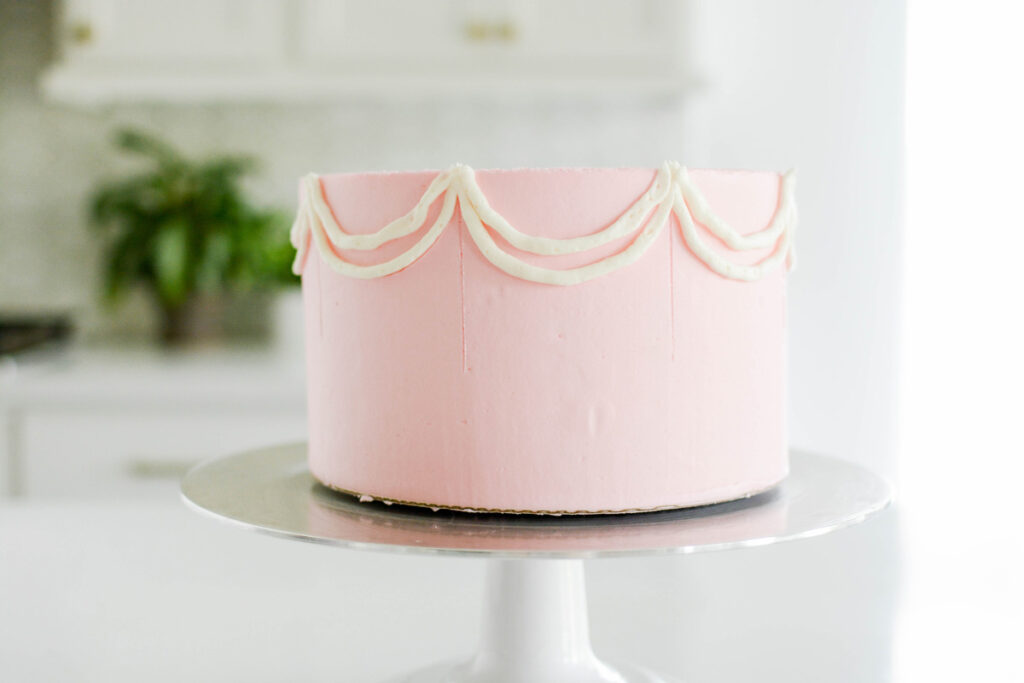
- Fit a piping bag with Wilton piping tip #7 and fill with uncolored frosting. Carefully pipe swags on the stamped out semicircles. Pipe another smaller swag inside that swag, making sure the joints meet.
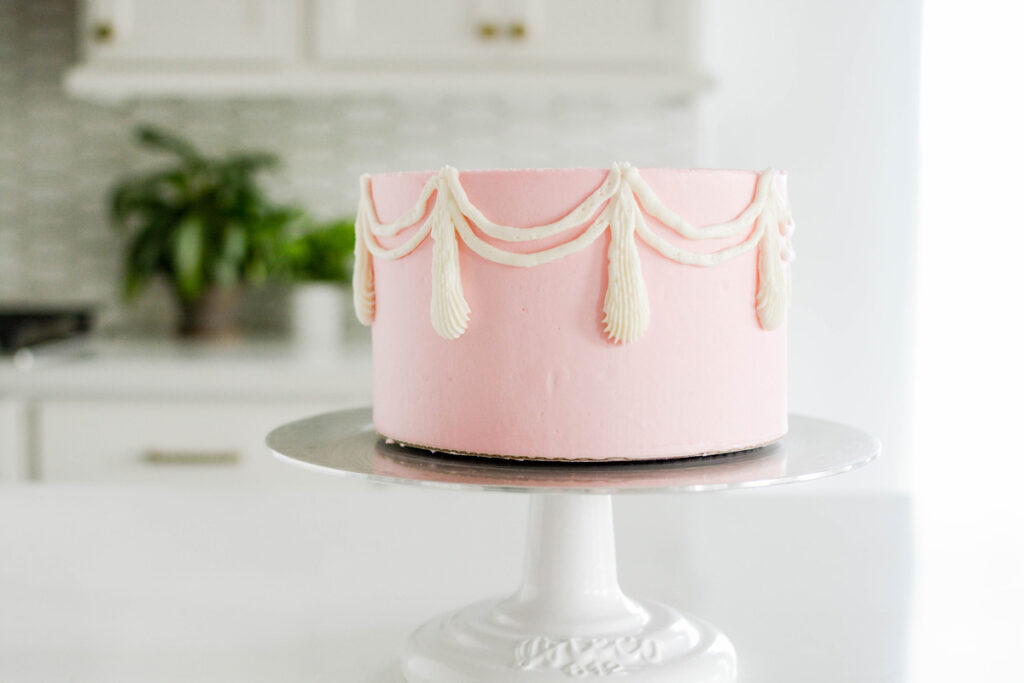
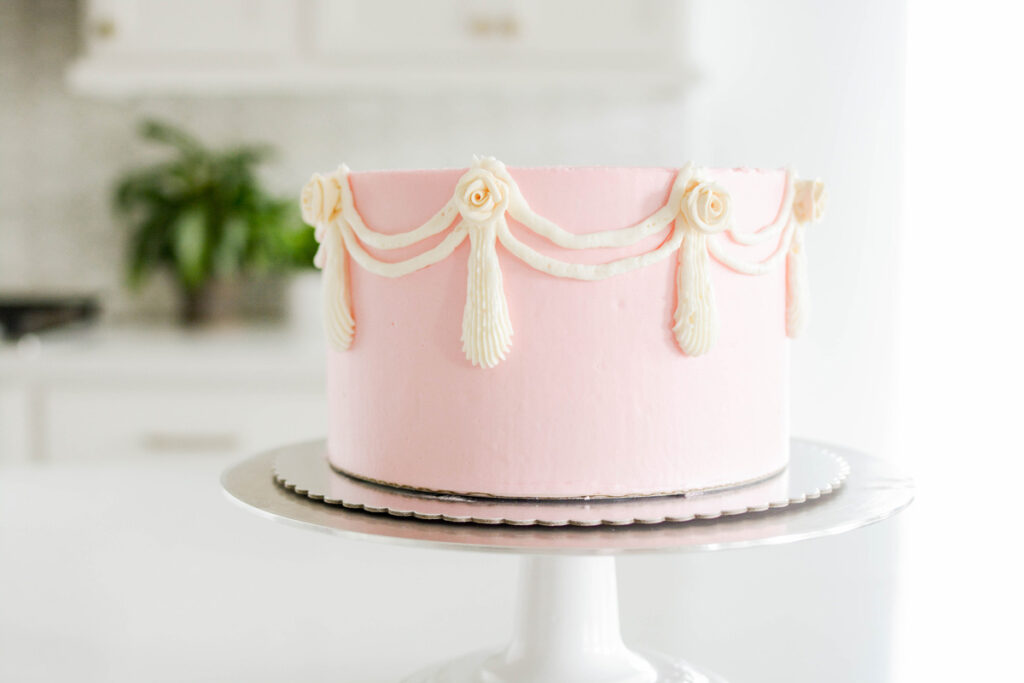
- Fit a piping bag with Wilton piping tip #6B and fill with uncolored frosting. Pipe a single shell upward on each place the swag joints meet, covering the line indentations made with the bench scraper. Be sure to release pressure as you pull away to create a clean point on each shell. Place a royal icing rose or dragee on the point of each shell.
- Fit a piping bag with piping tip #2D and fill with uncolored frosting. Pipe a shell border along the top and bottom edge of the cake. Pipe 8 small dollops of frosting evenly on top of the cake for the cherries. Place a maraschino cherry on each dollop and serve.
Notes
- Cherry filling can be made up to 1 week or in the freezer for up to 3 months.
- Cake layers can be baked up to 3 days ahead, wrapped in plastic wrap and stored in the refrigerator.
- Frosting is best used the day it is made.
Cake Storage
Assembled cake can be stored in the refrigerator in an airtight container for up to 3 days. Bring to room temperature before serving.
Nutrition Information:
Yield: 12 Serving Size: 1Amount Per Serving: Calories: 511Total Fat: 24gSaturated Fat: 11gTrans Fat: 0gUnsaturated Fat: 11gCholesterol: 75mgSodium: 368mgCarbohydrates: 67gFiber: 2gSugar: 33gProtein: 8g
*Nutrition information is an estimate and will vary.*


Leave a Reply