

You could say blood, sweat and tears went into this one. Okay not literally but I was up against some crazy obstacles when making this recipe for Grandma’s Neapolitan Ice Cream Cake.
The recipe comes from…well you probably guessed it…my Grandma. I’ve never made it before but I sure do remember eating it when I was young and still to this day during holidays.
Round 1: So a power line behind our street fell down the day I was supposed to finish and take pictures of this cake. With the power out for a few hours, the cake was pretty much done for. But this was actually a blessing in disguise. I realized I didn’t use enough ice cream filling for the ice cream layers and I also used baking soda instead of baking powder for the cake 🙁

Round 2: After my failure the day before, I was determined to get it right! The next day (Sunday) I started all over. With the power back on, I was ready to tackle the challenge. Or so I thought. Ice cream cake should never be rushed!!!! My mistake on the second round. Talk about melting ice cream everywhere. Not only that, but I hadn’t made the proper adjustments in my freezer for a cake this tall in stature.
Round 3: Yes!!! The final round! Having learned from all my mistakes I now have the perfect, show stopping ice cream cake ready for it’s debut on The Cake Chica.
As mentioned above, don’t rush the ice cream cake. So here is what my schedule looked like when making this amazing ice cream treat:
Friday:
- Make the sponge cake
- Make the ice cream layers
- Assemble cake and cover tightly with plastic wrap and store in the freezer overnight to set up.
Saturday:
- Prepare for any garnishes: set up piping bags, make Magic Shell, get sprinkles ready, get cherries all cleaned up and get the ice cream cone pieces prepped.
- Make whipped cream.
- Cover cake with whipped cream and decorate with garnishes of your choosing.
I have some tips on this cake that you should be made aware of before tackling this recipe:
- Be sure you have enough freezer space in your freezer for this cake. It gets very tall! If you have a bottom loading freezer this recipe will be difficult to do.
- Use a marble or granite serving platter and store the cake on top to keep it as cold as possible in the freezer. I used a marble lazy Susan which made it a breeze to store and frost the cake.
- Don’t rush the ice cream cake!
- You can use 9 inch round cake pans to make the cake a little shorter and wider if that fits your storage space better. Just be sure to adjust the baking time on the cake.

Lucky for you I have made all the mistakes for you :). This is my Grandma Mary’s recipe and I wanted to do it justice! So no matter how many times I had to redo it until I got it just right, then that’s just what I was going to do. Thankfully the third time was the charm. I had to put my own twist on this recipe just a little by adding homemade whipped cream, Magic Shell, sprinkles and some crushed up ice cream cone.
I hope you enjoy this recipe as much as I did. And now I have the recipe down to pass on to future generations. You can follow me on social media on Facebook, Instagram, and Pinterest.
You May Also Like:
Chocolate Root Beer Float Cake
Homemade Magic Shell
Lightened Up Brownie a la Mode
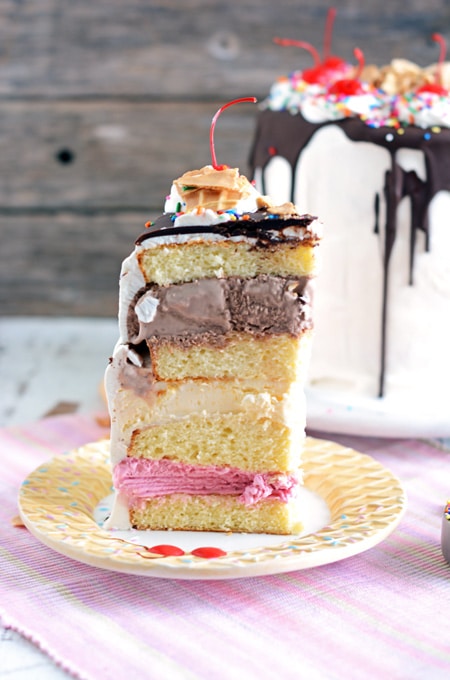
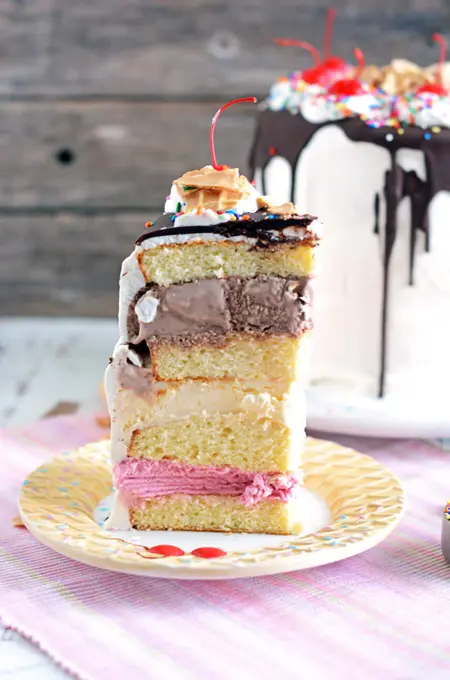
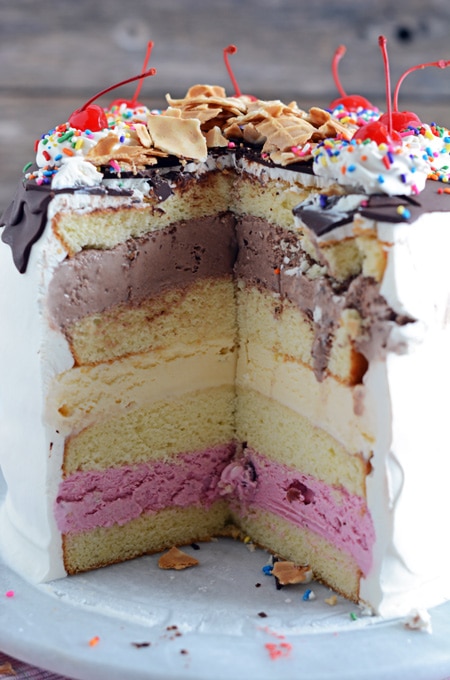
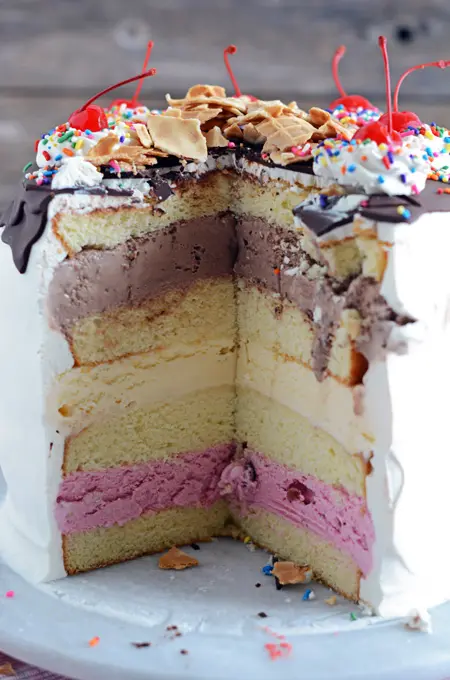
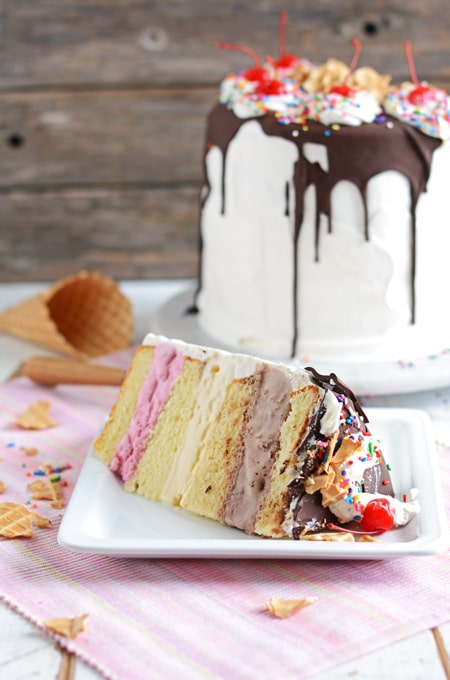
Grandma's Neapolitan Ice Cream Cake
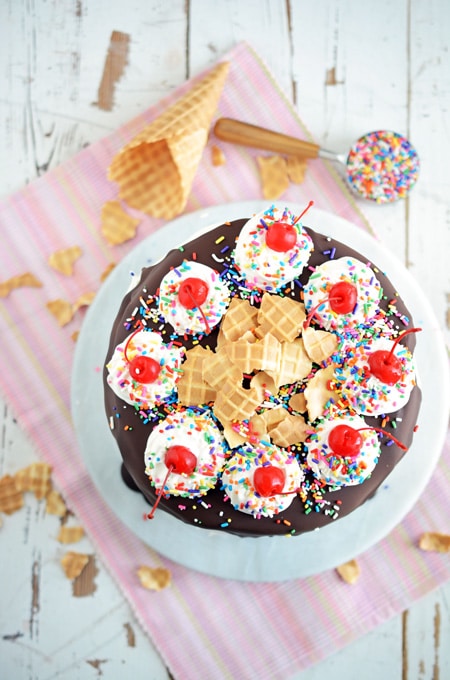
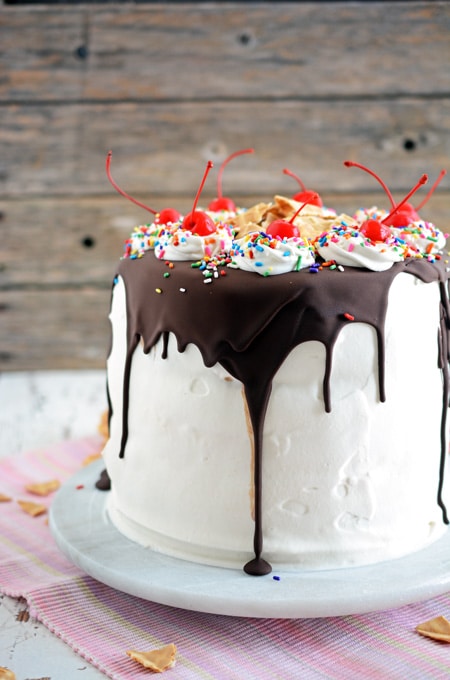
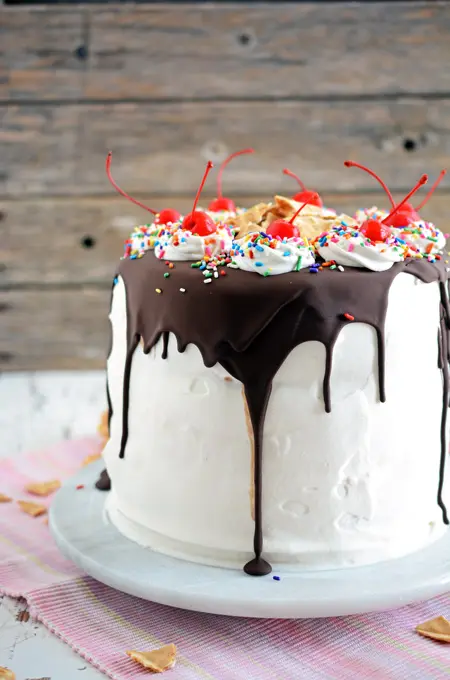
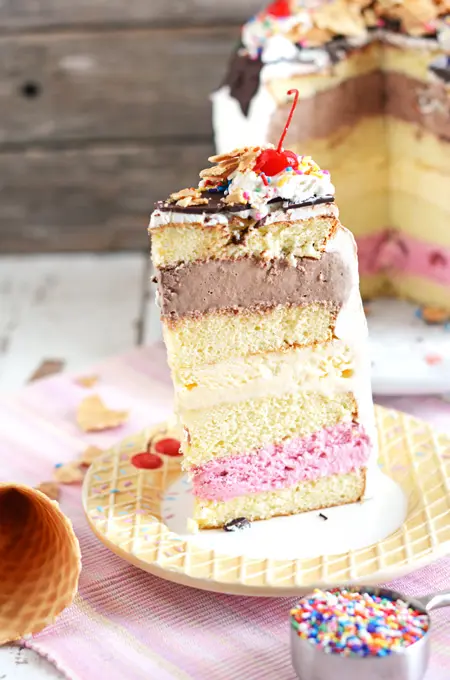
Sponge cake sandwiched between layers of chocolate, vanilla and strawberry ice cream. Then, topped with magic shell, maraschino cherries, homemade whipped cream, sprinkles and crushed up ice cream cone.
Ingredients
SPECIAL TOOLS
- Stand mixer
- Hand mixer
- 3 8-round cake pans
- Small and large offset cake spatulas
- Marble lazy Susan
- Piping tips (optional)
- Piping bags (optional)
CAKE
- 2 cups cake flour
- 2 teaspoons baking powder
- ½ teaspoon table salt
- ½ cup grapeseed oil
- 1 ¼ cups plus 2 tablespoons granulated sugar, divided
- 2 teaspoons vanilla extract
- 6 large egg yolks, at room temperature (reserve egg whites for later use in the recipe)
- ½ cup whole milk, at room temperature
- 8 large egg whites, at room temperature (use reserved egg whites)
- ¾ teaspoon cream of tartar
ICE CREAM FILLING
- 1 quart vanilla ice cream
- 1 quart strawberry ice cream
- 1 quart chocolate ice cream
WHIPPED CREAM
- 4 cups heavy cream
- 1/3 cup powdered sugar
- 2 teaspoon vanilla extract
GARNISH
- Maraschino cherries with stems (optional)
- Sprinkles (optional)
- Homemade or store bought Magic Shell (optional)
Instructions
CAKE
- Preheat an oven to 350 degrees. Spray two 8-inch cake round pans with non-stick baking spray and set aside.
- Sift together the flour, baking powder and salt and set aside.
- In the bowl of a stand mixer fitted with the paddle attachment, beat the oil and 1 ¼ cups sugar together on medium speed for 1 minute. Scrape down the sides of the bowl. Reduce the speed to medium-low and add the vanilla and egg yolks, one at a time and mix for about 3 minutes or until the mixture has increased in volume and has turned pale in color. Scrape down the sides of the mixer bowl as necessary.
- Reduce the speed to low and add the flour mixture in three batches, alternating with the milk in 2 batches, starting with the flour mixture and ending with the flour mixture. Turn the mixer speed up to medium and beat for 30 seconds until the dry ingredients are combined.
- In a large bowl with a hand mixer fitted with the whisk attachment, whisk the egg whites on medium-low speed until foamy. Add the remaining 2 tablespoons of sugar and cream of tartar and whisk on high speed until stiff peaks form.
- Carefully fold in the egg whites into the batter and divide batter evenly among the prepared cake pans. Bake for 25 to 28 minutes or until a toothpick inserted in the center of the cakes comes out clean or with a few moist crumbs. Let the cakes cool on a wire rack in their pans for about 10 to 15 minutes. Then invert on the cooling racks to cool completely.
ICE CREAM FILLING
- Soften ice cream on the counter for about 15 minutes. Prepare three 8 inch cake pans by lining with heavy duty foil over the bottom and sides of each cake pan. Once the ice cream has softened smooth each quart of ice cream in the cake pans (you should have one flavor in each cake pan). To help the ice cream spread, use an offset metal cake spatula heated under hot water and dried; and press and smooth the ice cream in an even layer. Place cake pan in the freezer to set up, at least 2 hours.
ASSEMBLE
- Slice cake layers horizontally creating 4 layers of sponge cake. Place one of the bottom cake layers on a cake round or marble slab cut side up; reserving the other bottom cake layer for the top of the cake. Remove the strawberry layer of ice cream from the freezer and carefully unwrap the foil and place on top of the sponge cake layer, top ice cream layer with another layer of cake. Repeat this process with the vanilla ice cream layer, topping it with another layer of sponge cake. And again with the chocolate layer of ice cream and topping the cake with the remaining bottom layer, cut side down on the top. Stick the cake in the freezer for at least 3 hours or overnight to set up.
TOPPING
- In the bowl of a stand mixer fitted with the whisk attachment, whisk the cream on medium speed until soft peaks form. Add the sugar and vanilla and whisk on high until medium peaks form. Separate about 2 cups of the whipped cream in a piping bag fitted with a piping tip if using for piping décor.
- Take the cake out of the freezer and with the remaining whipped cream, spread over the top and sides of the cake until completely covered. Decorate as you would like with reserved whipped cream, Magic Shell, cherries and sprinkles and put back in the freezer for about an hour to set up. Serve ice cream cake by heating up a large knife under hot running water and then drying and slice through the cake. Store remaining cake in the freezer wrapped in plastic wrap and then wrapped in foil. Cake will keep for about 2 days in the freezer.
Nutrition Information:
Yield: 12 Serving Size: 1Amount Per Serving: Calories: 1000Total Fat: 64gSaturated Fat: 30gTrans Fat: 1gUnsaturated Fat: 28gCholesterol: 284mgSodium: 504mgCarbohydrates: 93gFiber: 2gSugar: 50gProtein: 17g
*Nutrition information is an estimate and will vary.*
elizabeth
Friday 18th of August 2017
looks wonderful!
Mary
Friday 18th of August 2017
Thank you!